[ESP-ENG] Haciendo un nuevo bolso de paseo para mí | Making a new walking bag for me
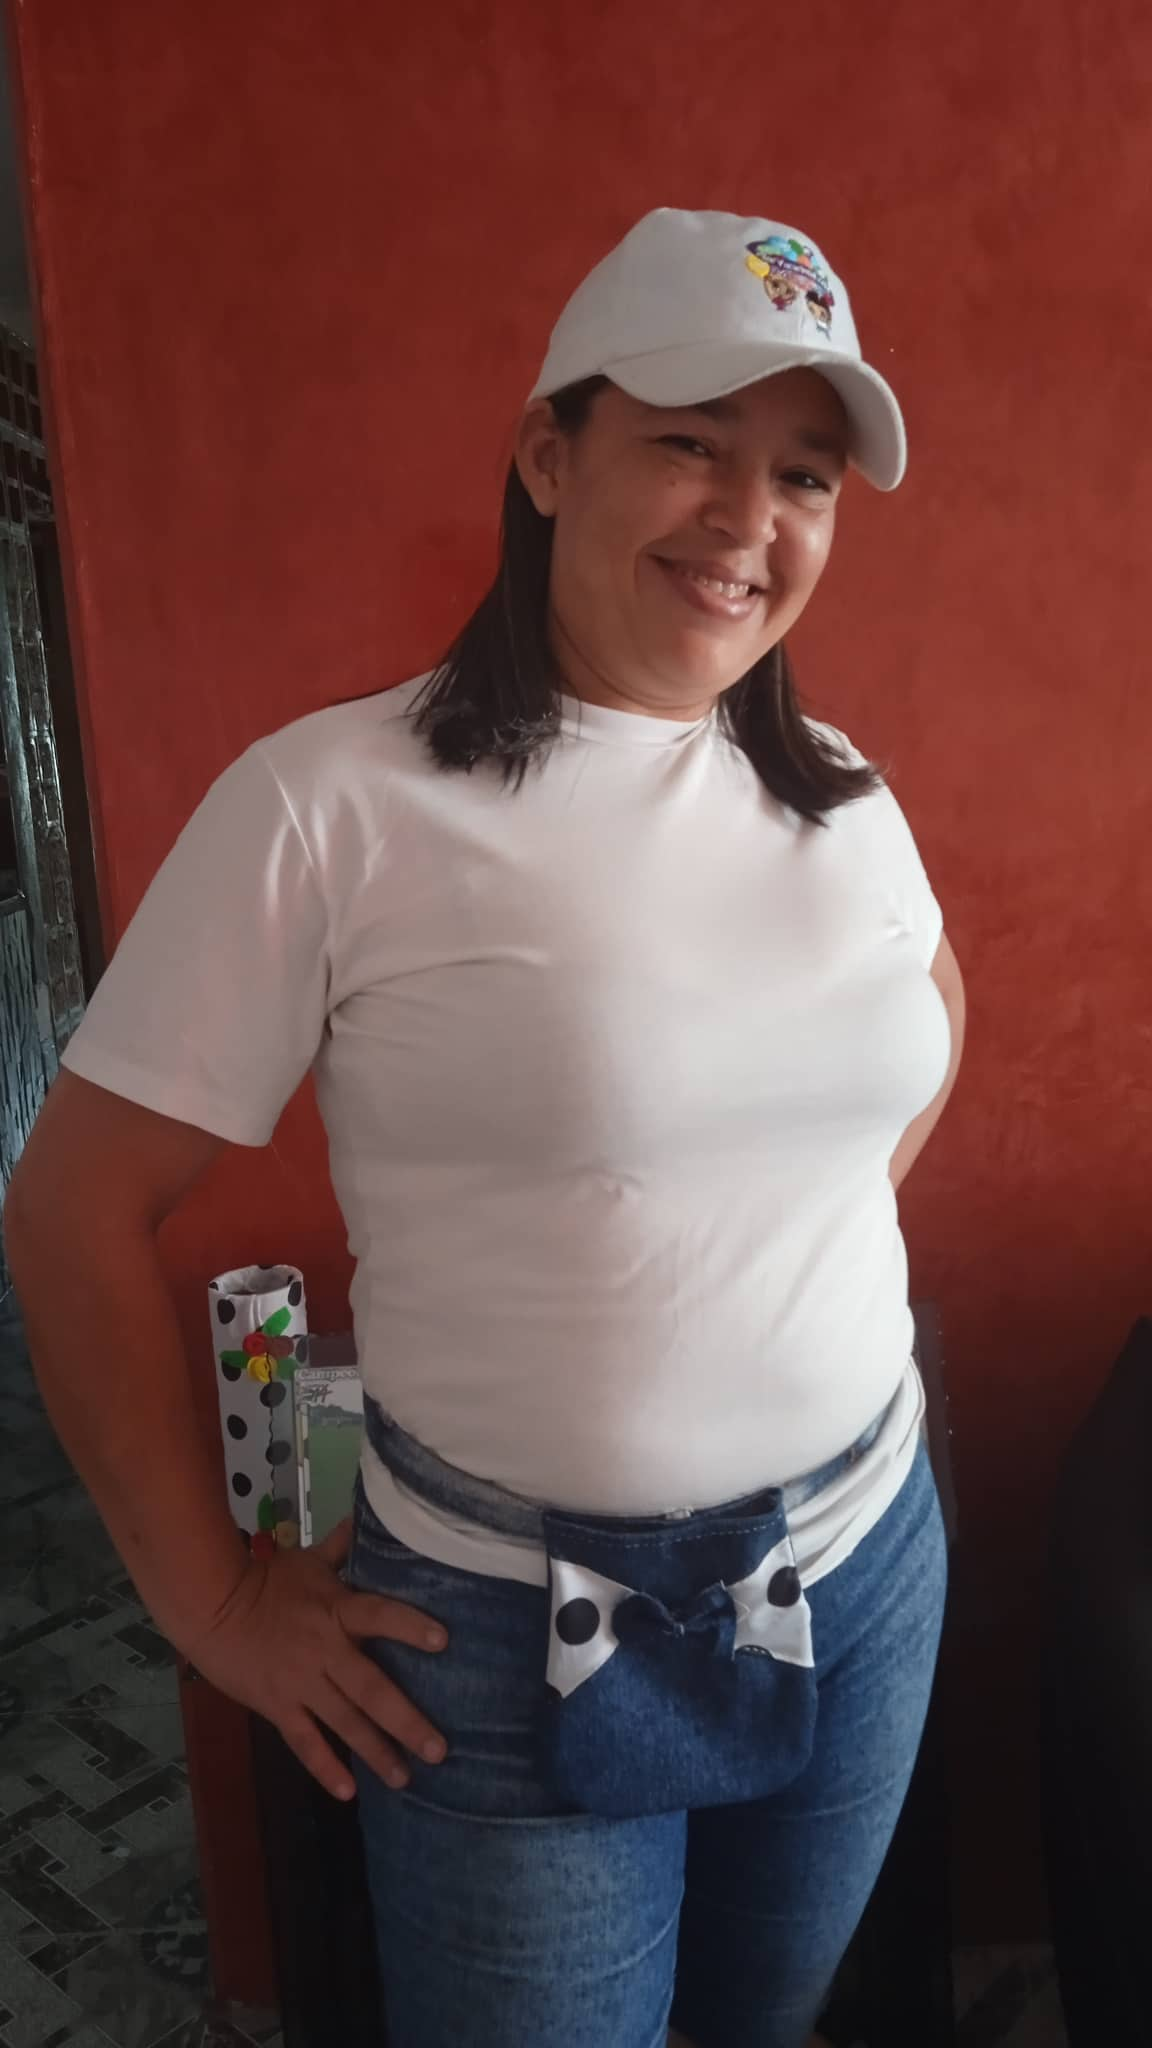
I hope everyone is very well, I want to share a new bag I made for me koala type, the truth I wanted to make it because it is very comfortable when going out for a walk, we can put the phone, cards, ID, money, the truth I liked it a lot besides not having to carry anything in hand, let's see the step by step.
.jpg)
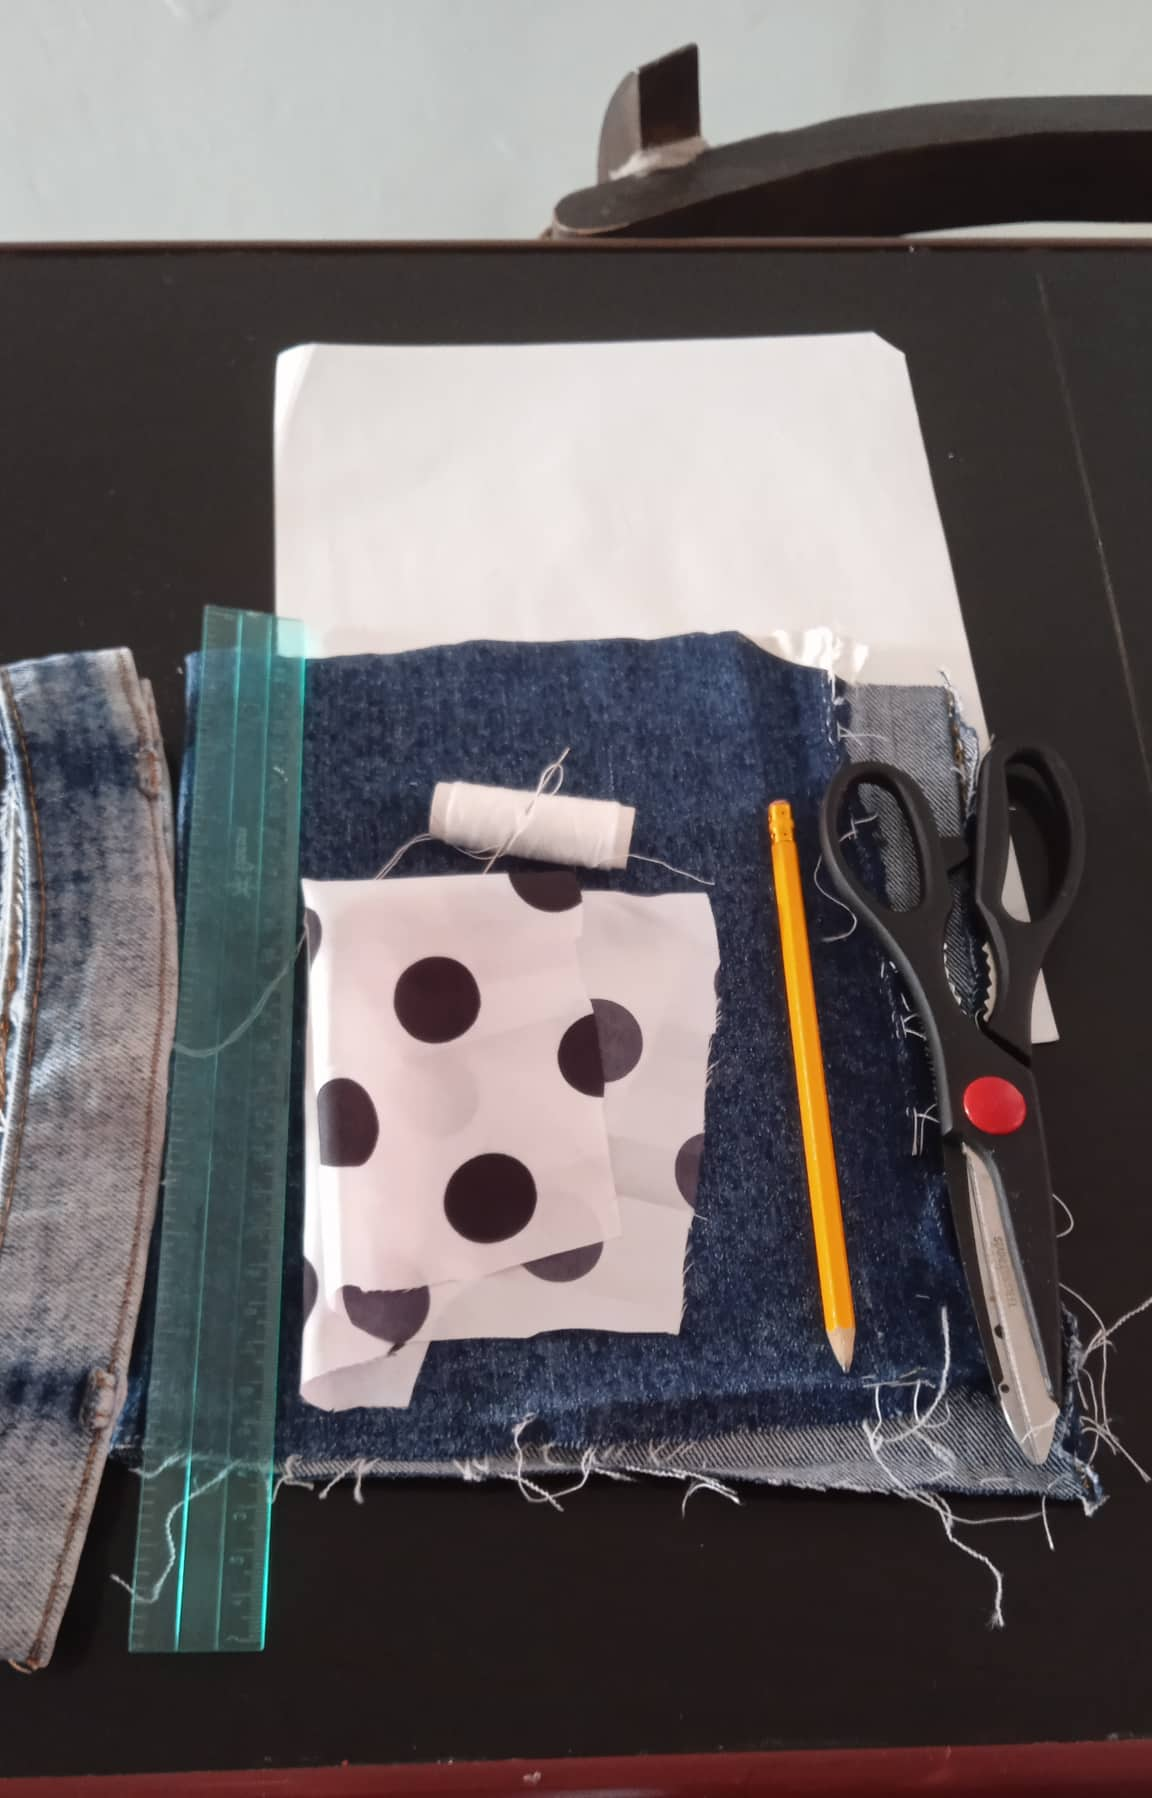
- Los materiales a utilizar son:
- Retazos de tela de jean y de cualquier otro que tengas.
- Tijera.
- Hilo y aguja de coser.
- Regla.
- Lápiz.
- Una pretina de pantalón que ya no uses.
- Hoja de reciclaje.
- The materials to be used are:
- Scraps of denim and any other fabric you have.
- Scissors.
- Thread and sewing needle.
- Ruler.
- Pencil.
- A pant waistband that you no longer use.
- Recycling sheet.
.jpg)
- Paso 1: Primero hacemos el patrón, marcamos en la hoja un cuadrado de 17 cm de ancho por 18 cm de largo y le vamos dando la forma al bolso, luego en el centro dibujamos un lazo u seguidamente recortamos el patrón.
- Step 1: First we make the pattern, we mark on the sheet a square of 17 cm wide by 18 cm long and we are giving the shape to the bag, then in the center we draw a loop and then cut the pattern.
.jpg)
- Paso 2: Una vez sacado el patrón, lo colocamos sobre la tela y sacamos dos partes iguales, luego recortamos el lazo del patrón, y lo colocamos sobre la otra tela, marcamos y recortamos.
- Step 2: Once the pattern is removed, place it on the fabric and cut out two equal parts, then cut out the loop from the pattern and place it on the other fabric, mark and cut it out.
.jpg)
- Paso 3: Luego de recortar el lazo lo colocamos sobre una de las partes del bolso doblamos medio centimetro hacía adentro y cosemos por toda la orilla, deberá quedar como muestra la segunda imágen, luego colocamos las partes una sobre otra, derecho con derecho y cosemos por toda la orilla luego volteamos y deberá quedar como muestra la última imágen.
- Step 3: After cutting out the ribbon we place it on one of the parts of the bag we fold half a centimeter inwards and sew along the edge, it should be as shown in the second image, then we place the parts one on top of the other, right to right and sew along the edge then flip and it should be as shown in the last image.
.jpg)
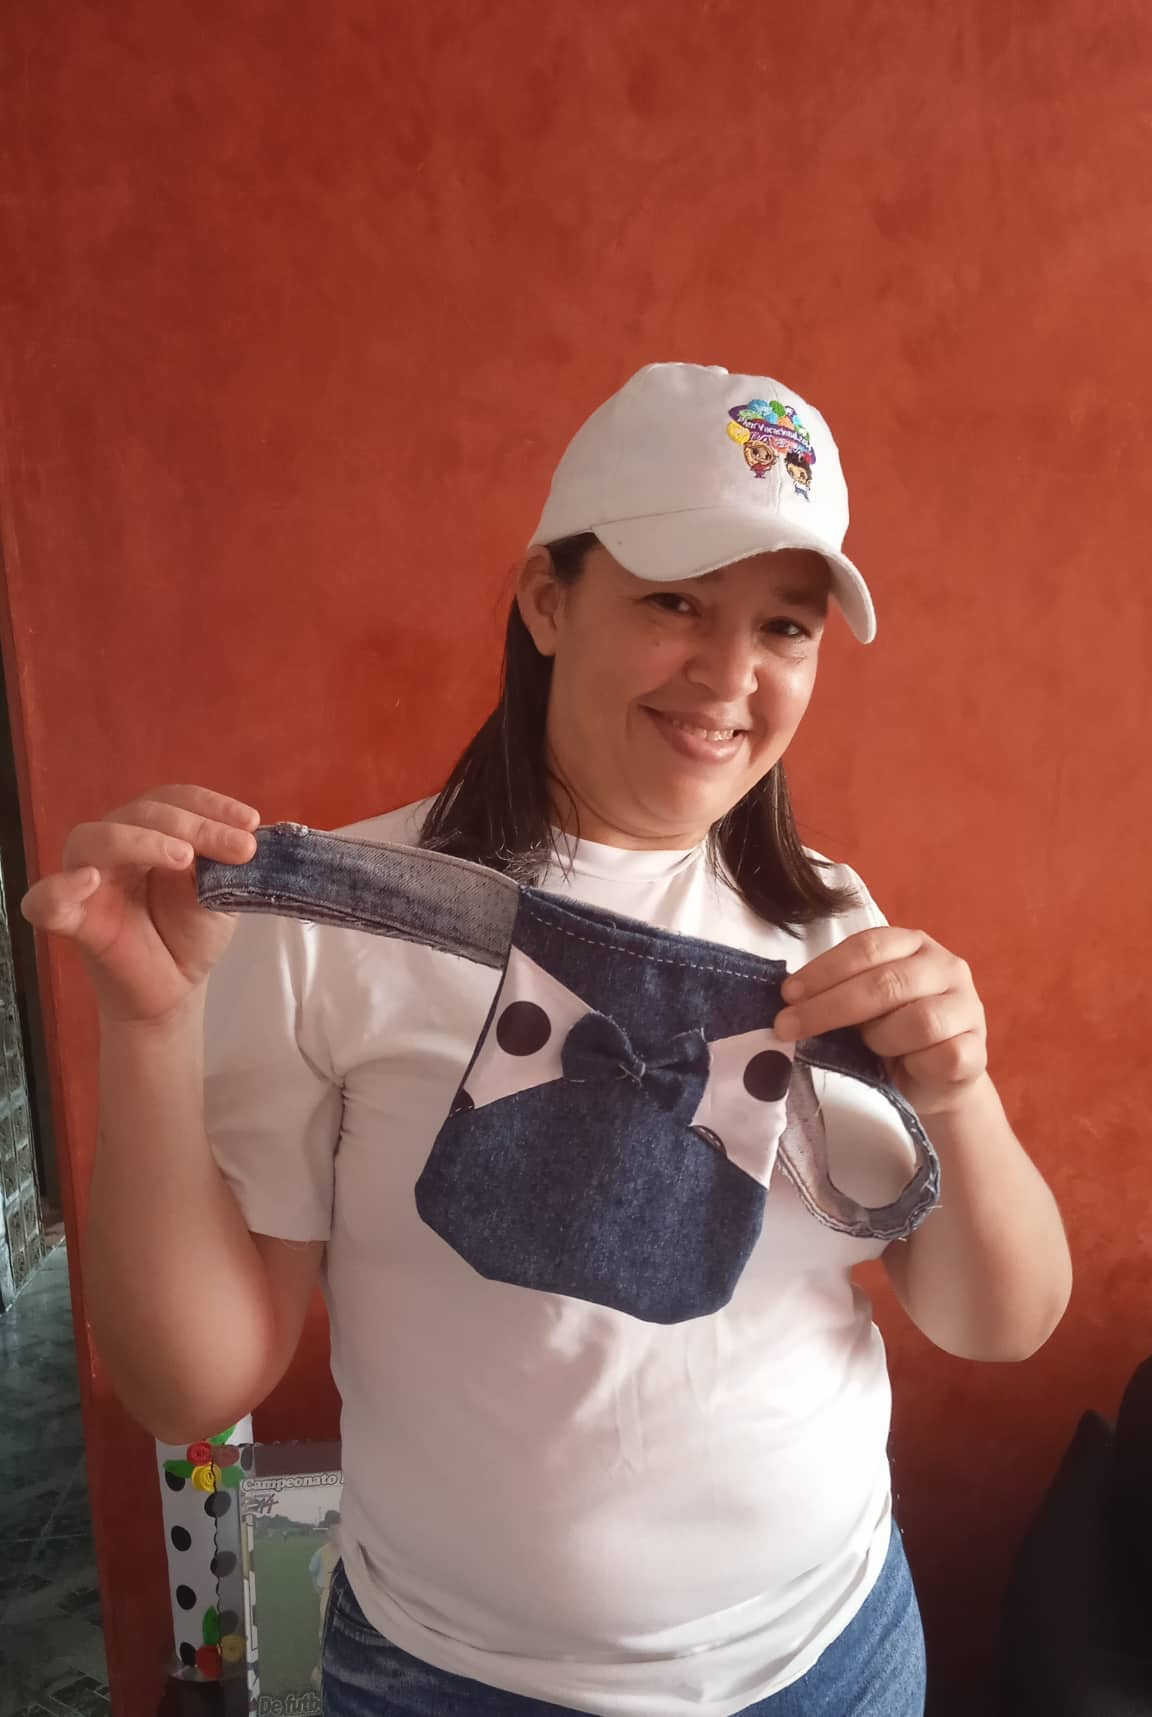
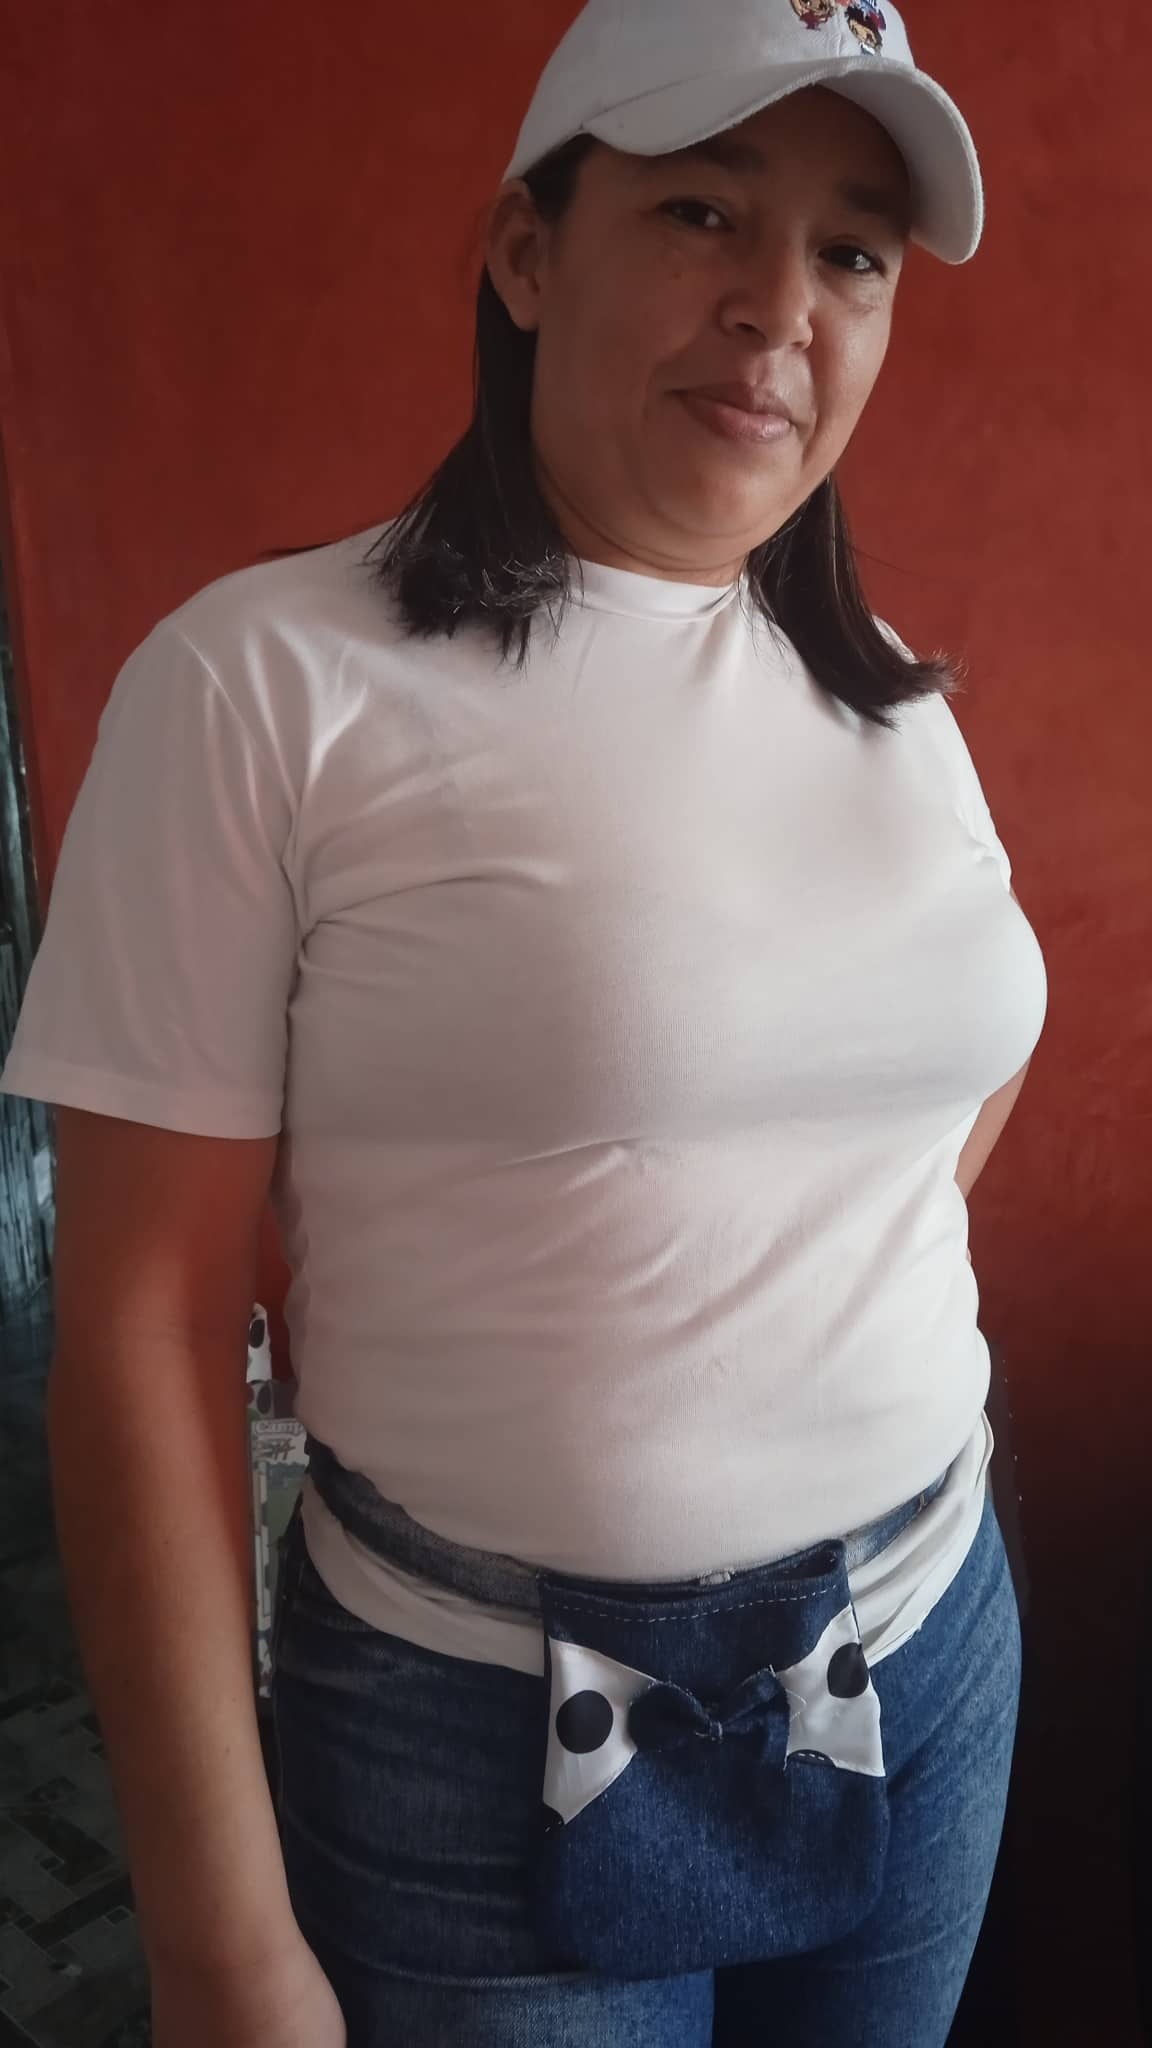
- Paso 4: Doblamos en la parte de arriba 1 centímetro hacía adentro y cosemos, hacemos un lazo de jean y lo cosemos en el centro del lazo, por último colocamos el bolso sobre el medio de la pretina del pantalón y lo cosemos por toda la orilla y a los lados, cabe destacar que la pretina que yo usé tenía su botón y su ojal no hubo necesidad de un broche, y si es de su gusto puede colocar adentro cierre mágico o dejarlo como mejor prefiera.
- Step 4: Fold the top 1 centimeter inward and sew, make a jean loop and sew it in the center of the loop, finally place the bag on the middle of the waistband of the pants and sew it all around the edge and sides, note that the waistband I used had its button and buttonhole there was no need for a clasp, and if you like you can place inside magic clasp or leave it as you prefer.

0
0
0.000
I love projects that make use of denim scraps. It's like giving those jeans a second chance at life. And this one's cute, which is a bonus! Well done!
Thanks for commenting friend, hugs.
Beautiful thanks for sharing @yannet80
Thanks to you my friend.
Wow this is amazing. Thanks for sharing
Thanks to you my friend.
Oh pero que proyecto tan lindo y útil, felicitaciones
Gracias @leslieq por comentar