[ESP-ENG] Cosiendo una linda bolsita de mano full color | Sewing a beautiful full color tote bag
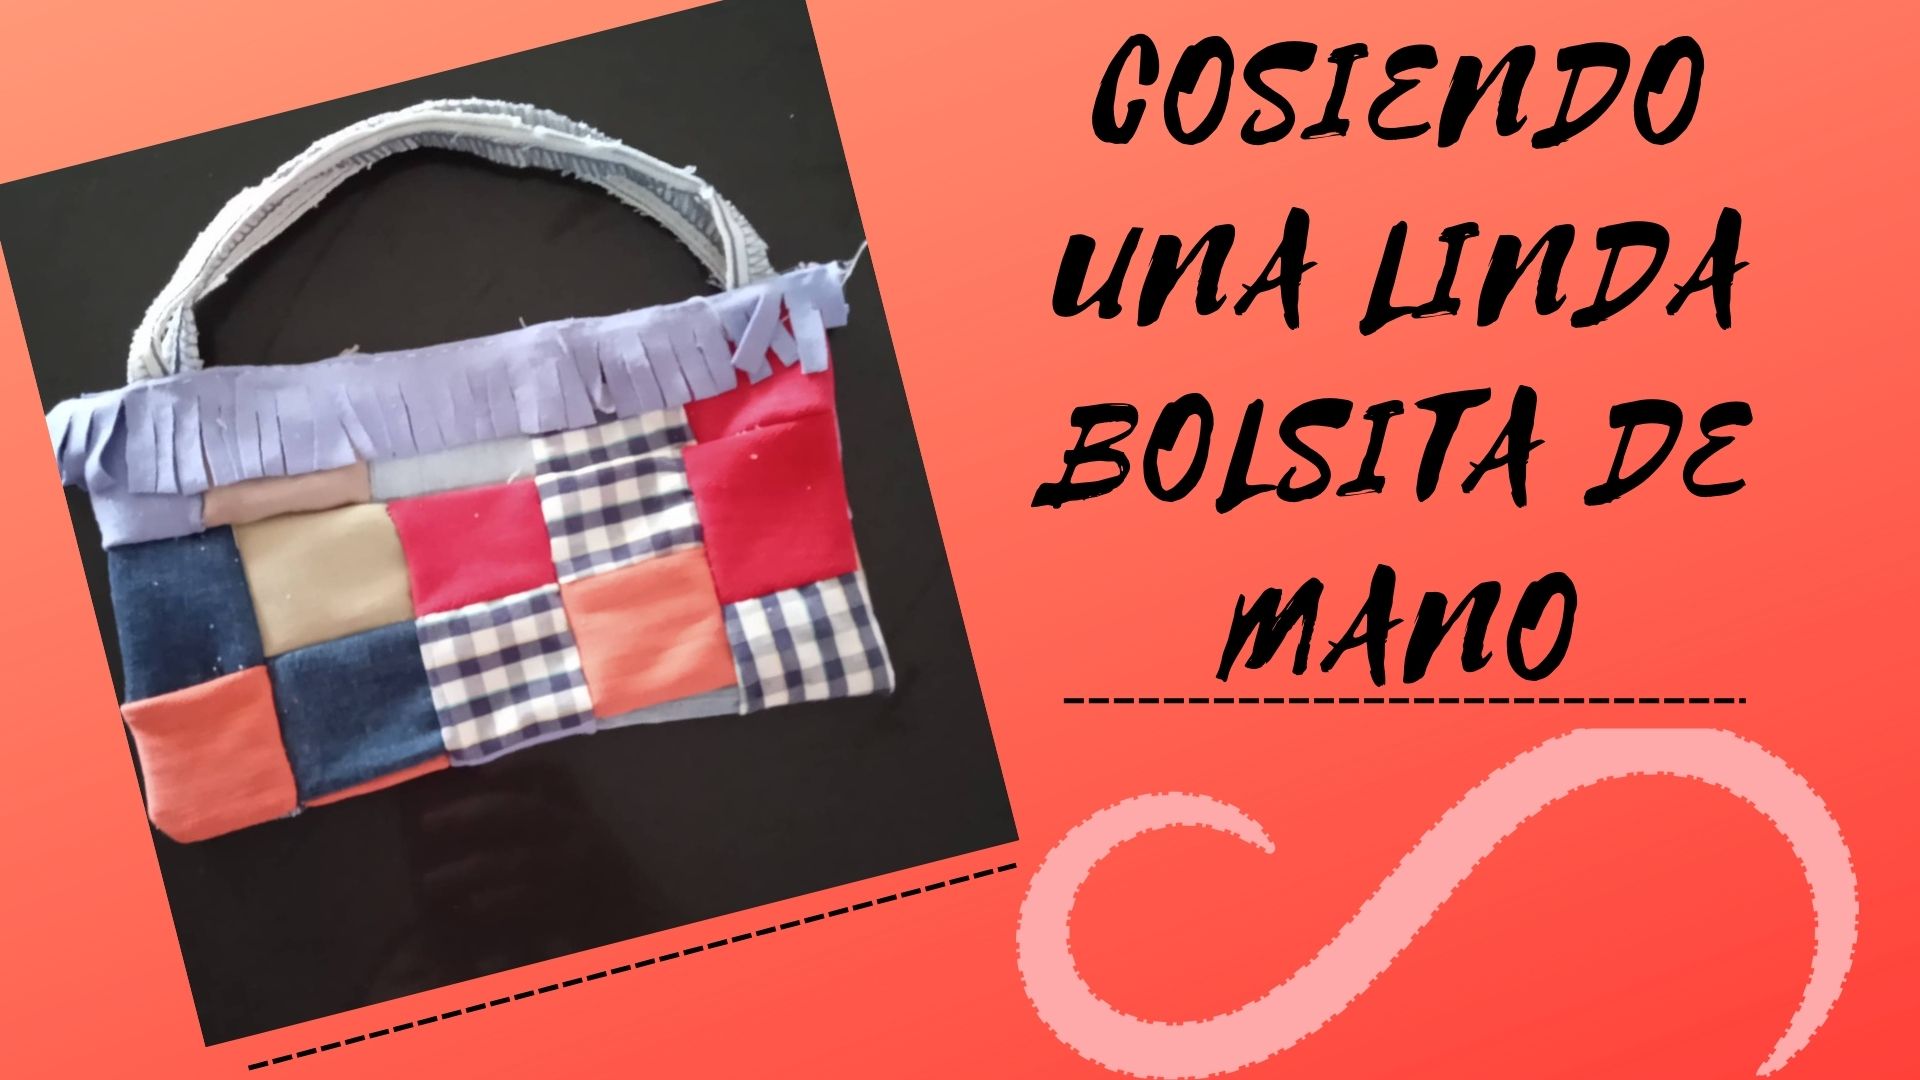
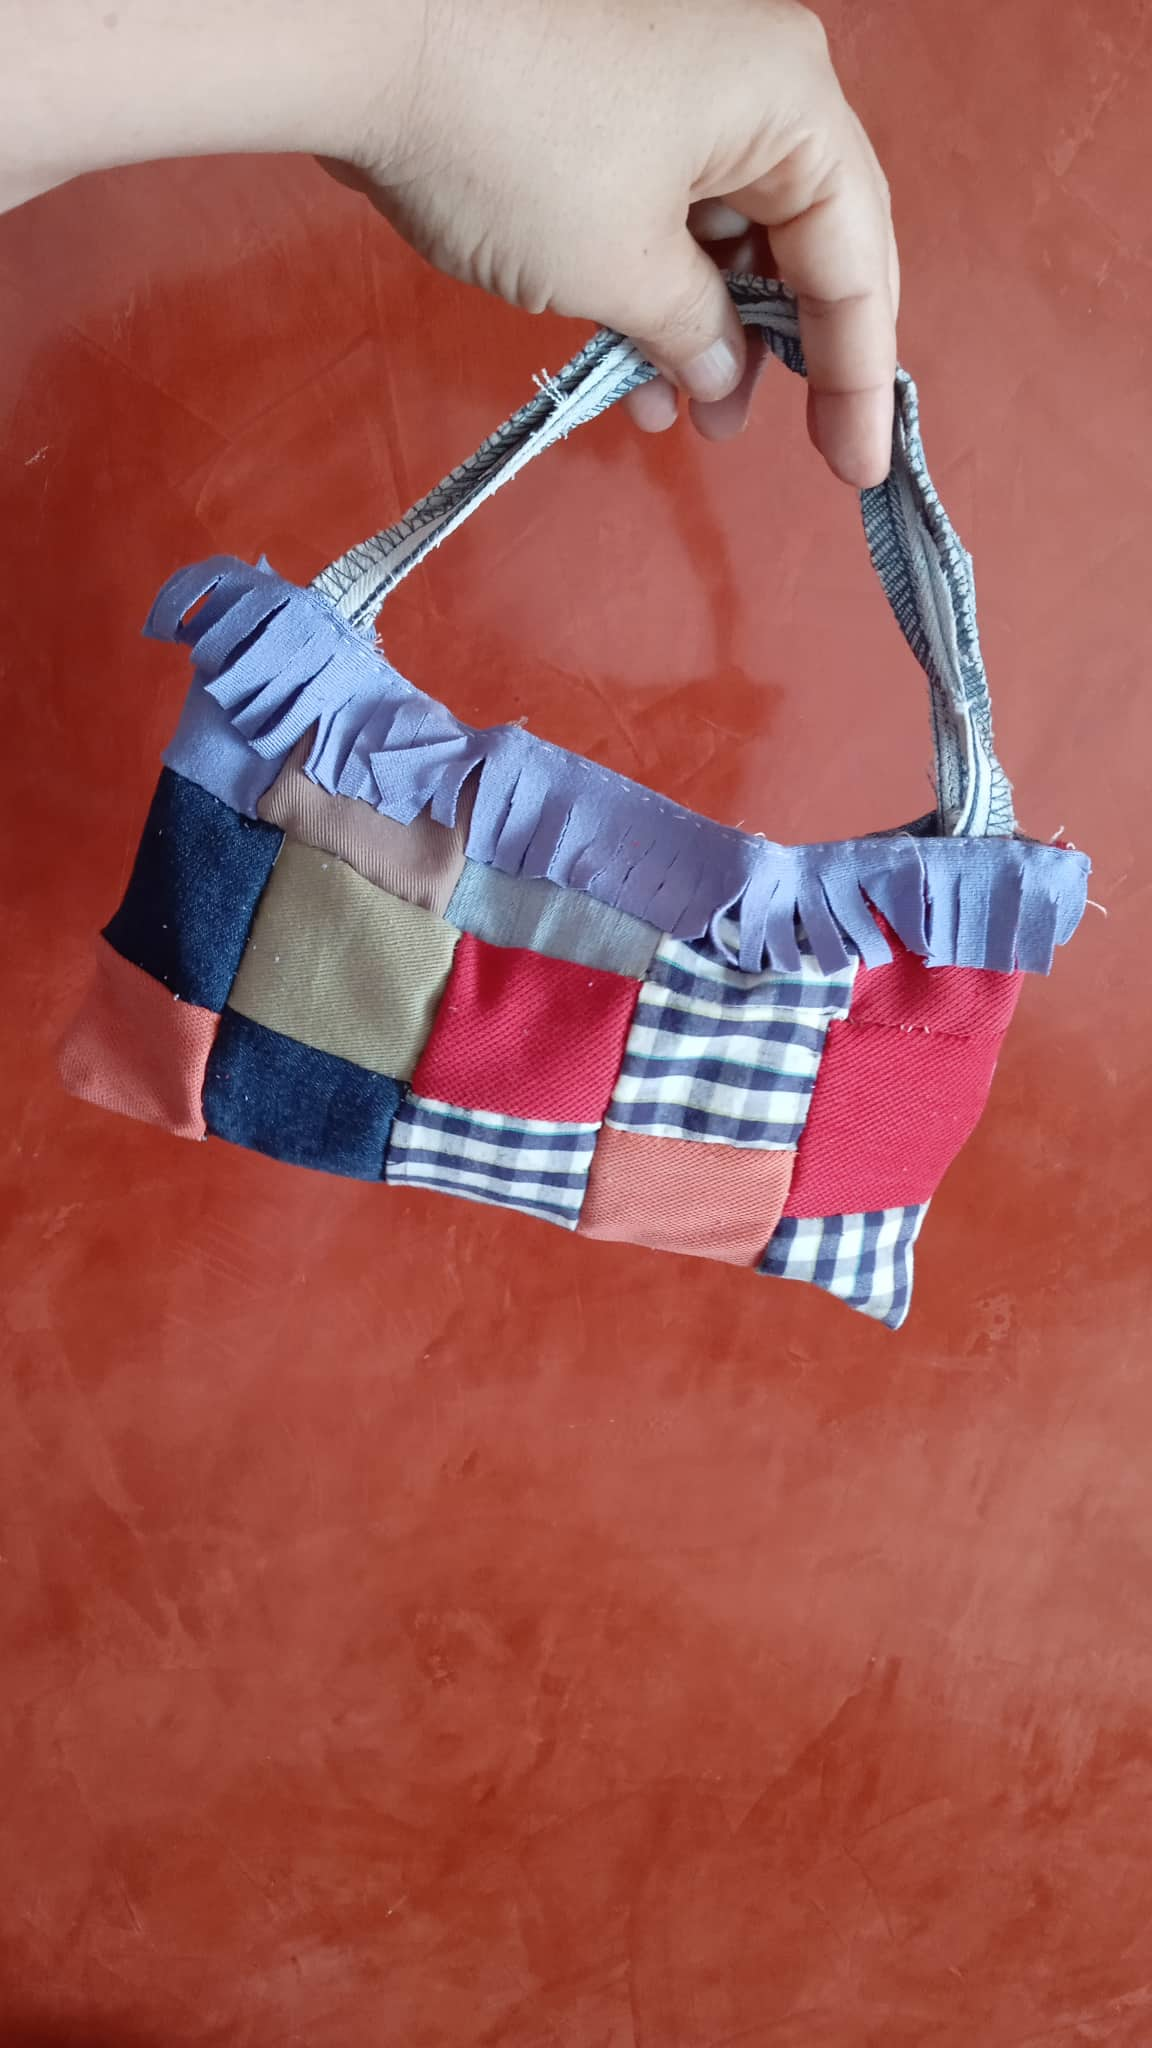
Once again I am with you to share a cute little hand bag made with colorful fabric pieces, it is very simple and practical when it comes to store our simplest things, such as makeup, pencils, cell phone and charger and other little things you want to keep there, let's see the steps to follow.
.jpg)
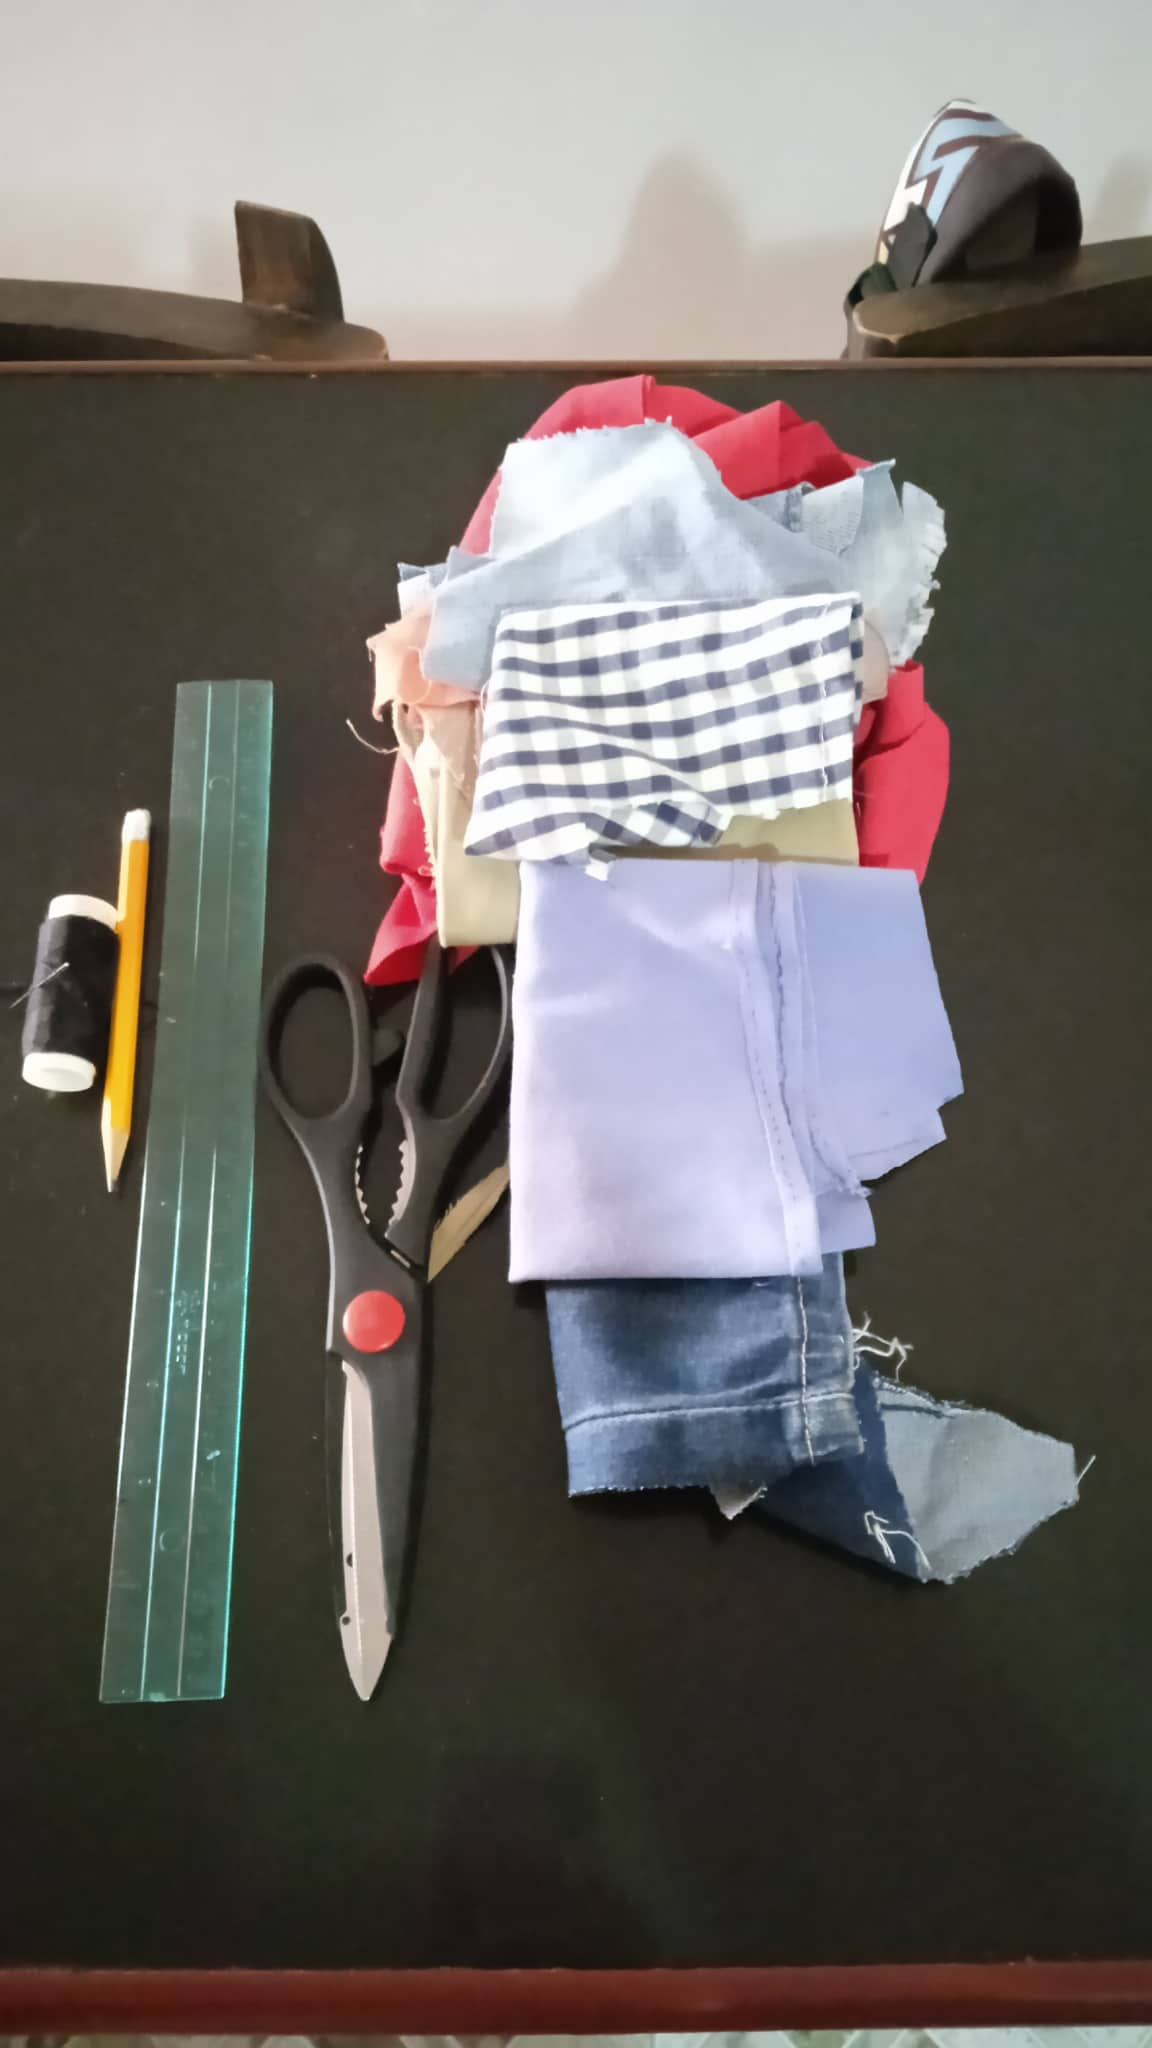
- Los materiales a utilizar son:
- Retazos de tela de colores.
- Tijera.
- Hilo y aguja de coser.
- Regla.
- Lápiz.
- Cierre mágico.
- The materials to be used are:
- Colorful fabric scraps.
- Scissors.
- Thread and sewing needle.
- Ruler.
- Pencil.
- Magic clasp.
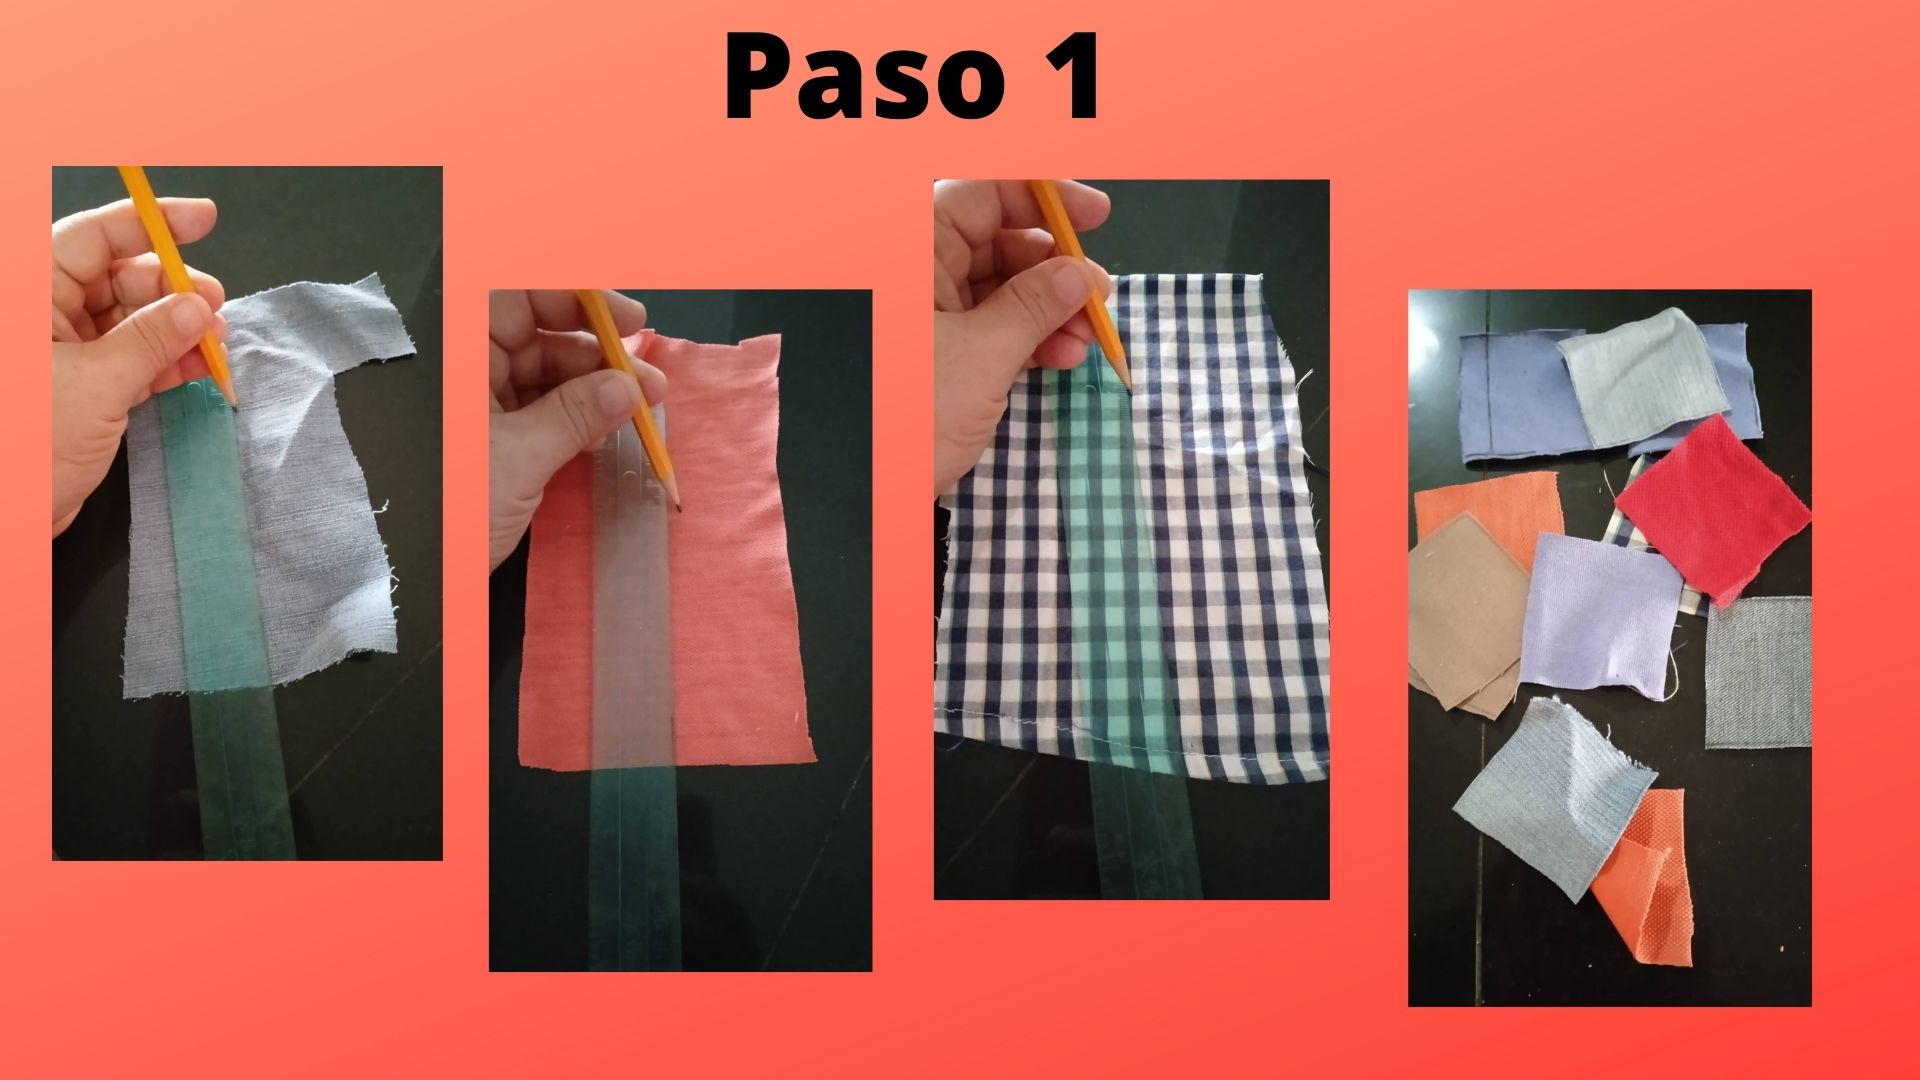
- Paso 1: En cada retazo de tela de colores, marcamos un cuadro pequeño de 5 cm de ancho por 5 cm de largo, luego recortamos cada una de los cuadros, la cantidad de cuadros recortada será a su preferencia, todo depende del tamaño que usted quiera el bolso.
- Step 1: On each piece of colored fabric, we mark a small square of 5 cm wide by 5 cm long, then we cut out each of the squares, the amount of squares cut out will be to your preference, it all depends on the size you want the bag.
.jpg)
- Paso 2: Luego colocamos los cuadritos derecho con derecho y cosemos, uniendolos en tiras de 5 cuadros cada tira, al obtener la cantidad de tiras deseadas las colocamos derecho con derecho y cosemos por toda la orilla.
- Step 2: Then we place the squares right sides together and sew, joining them in strips of 5 squares each strip, when we obtain the desired number of strips we place them right sides together and sew all around the edge.
.jpg)
- Paso 3: Una vez que estén todas las piezas cosidas, doblamos a la mitas colocándolas derecho con derecho y cosemos por toda la orilla en ambos extremos, deberá quedar como muestra la última imágen.
- Step 3: Once all the pieces are sewn, fold them right sides together and sew along the edge at both ends, as shown in the last image.
.jpg)
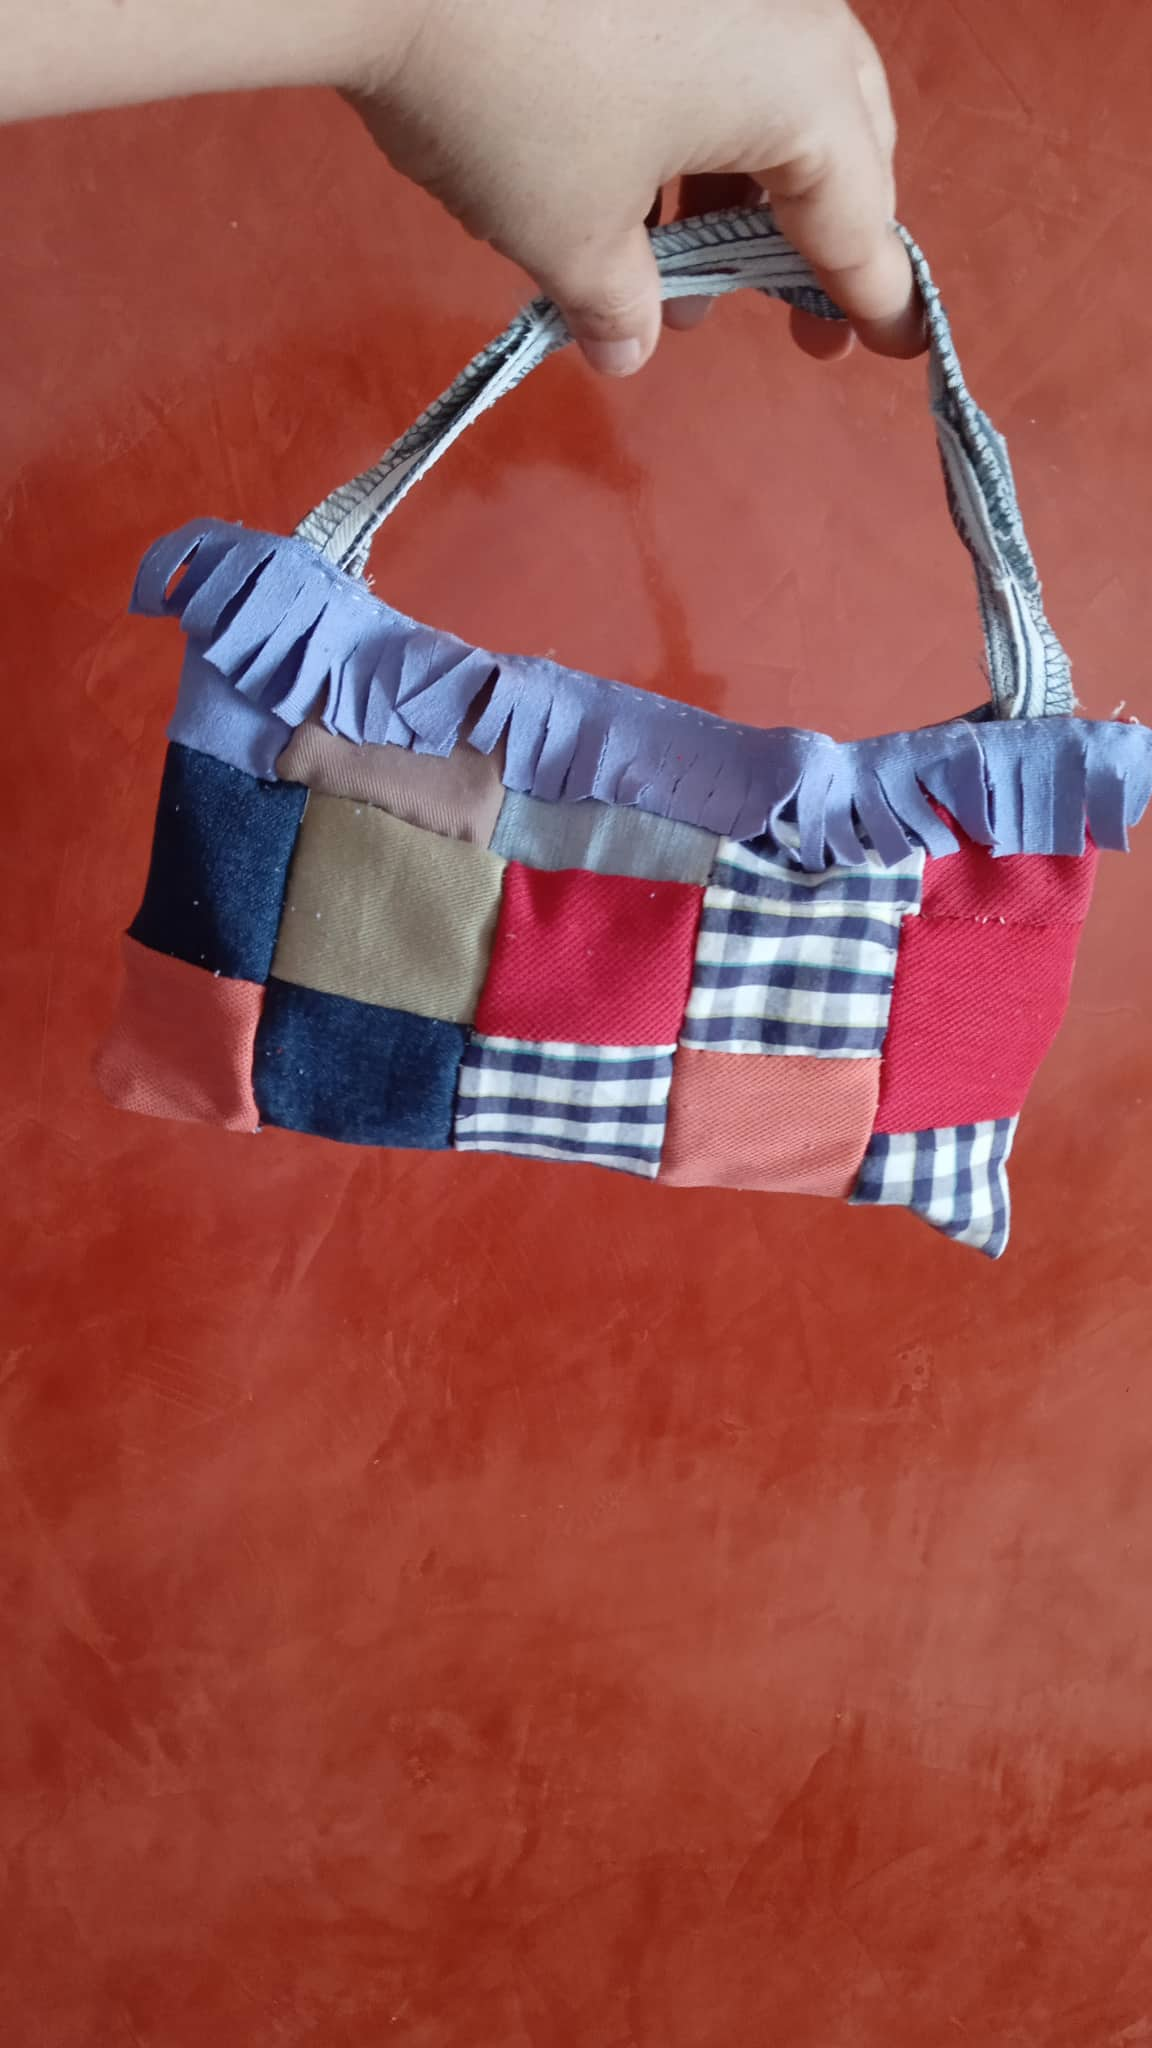
- Paso 4: Recortamos una tira del mismo largo del bolso y la cosemos en la parte delantera, luego la cortamos en flecos, y posteriormente en la parte trasera doblamos 1 cm hacía adentro y cosemos.
- Step 4: Cut a strip of the same length as the bag and sew it on the front, then cut it into bangs, and then fold 1 cm inward on the back and sew.
.jpg)
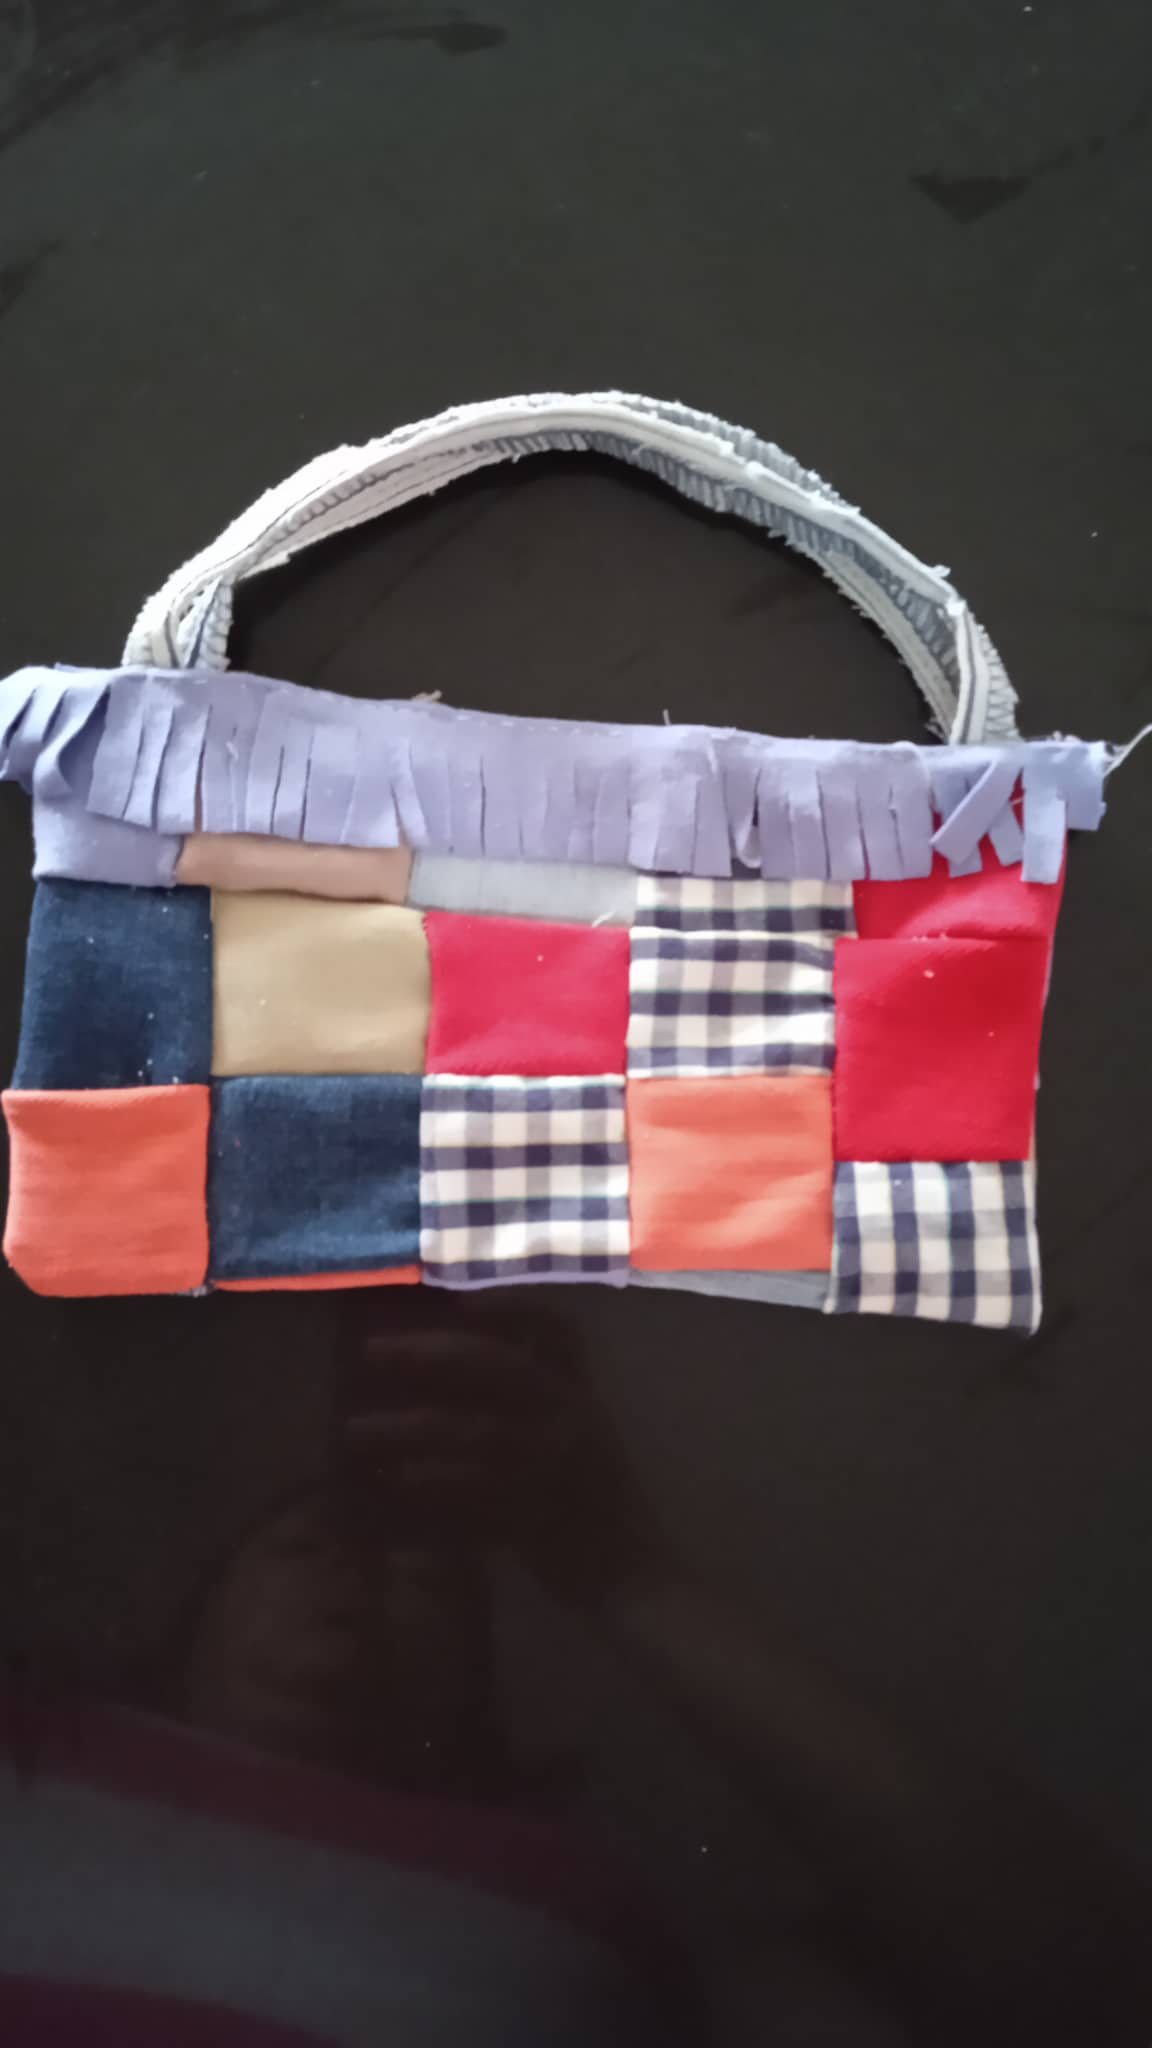
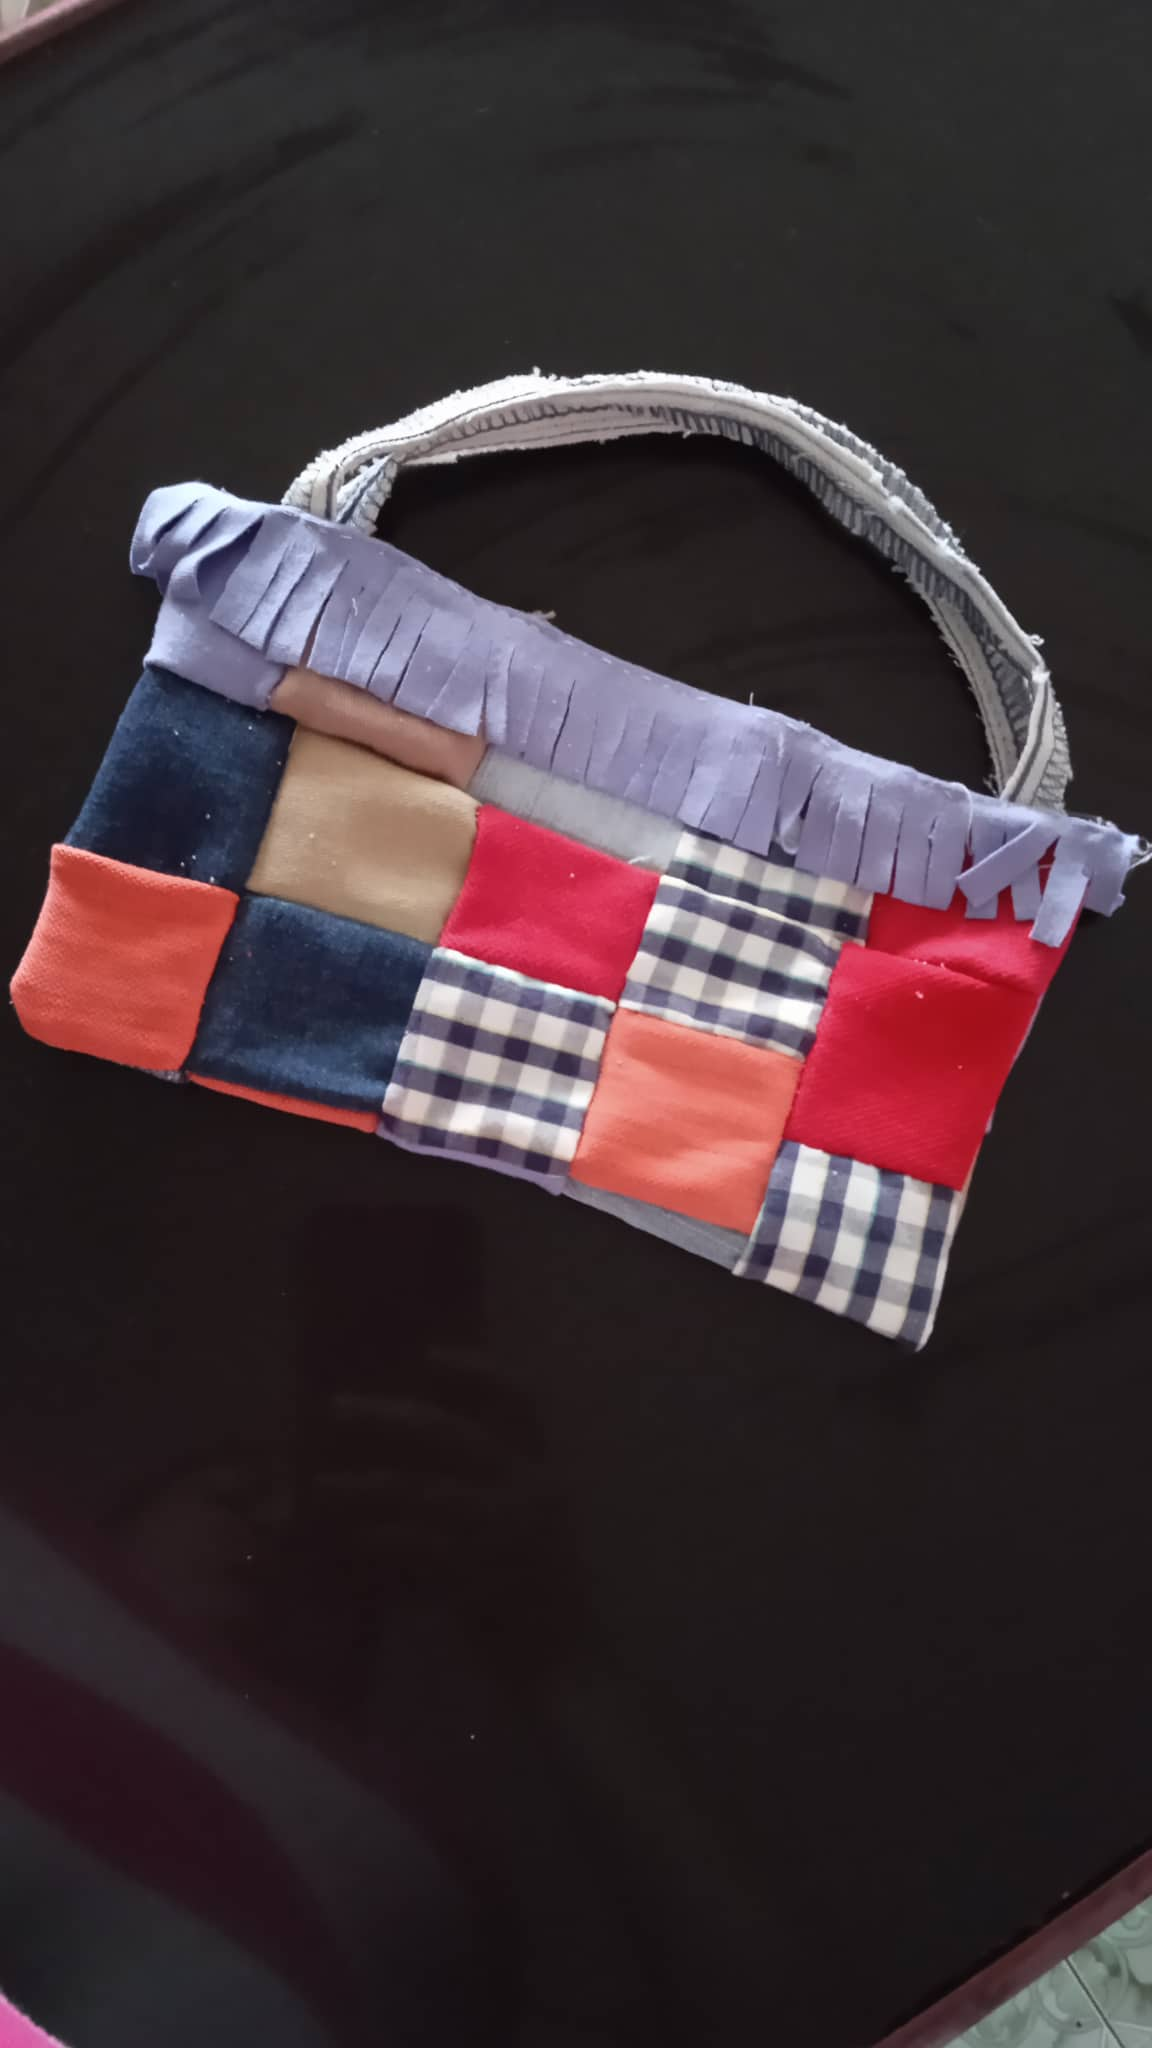
- Paso 5: Pegamos el cierre mágico en la parte de adentro del bolso, luego tomamos 2 tiras de costuras de jeans y las cosemos en ambos extremos del bolso.
- Step 5: Glue the magic zipper on the inside of the bag, then take 2 strips of jeans stitching and sew them on both ends of the bag.

0
0
0.000
Me encantó el resultado, justo tengo muchos retazos pequeños de tela y estaba pensando hacer un cojín, aunque ahora que lo veo, un bolso como ese no estaría mal, para comprar cosas:D
Así es, aunque en un cojín se verán tan bien muy bien, todo es cuestión de gustos, esa bolsita la puedes hacer del tamaño que desees, saludos.
The bag is beautiful. Can it carry heavy things? Thanks for sharing.
Hi friend, if you make it bigger yes, like for example you buy for the market, as I said at the beginning of the post, only small things. Hugs, thanks for commenting. You are loved.
Thank you for sharing this amazing post on HIVE!
Your content got selected by our fellow curator @rezoanulvibes & you just received a little thank you via an upvote from our non-profit curation initiative!
You will be featured in one of our recurring curation compilations and on our pinterest boards! Both are aiming to offer you a stage to widen your audience within and outside of the DIY scene of hive.
Join the official DIYHub community on HIVE and show us more of your amazing work and feel free to connect with us and other DIYers via our discord server: https://discord.gg/mY5uCfQ !
If you want to support our goal to motivate other DIY/art/music/homesteading/... creators just delegate to us and earn 100% of your curation rewards!
Stay creative & hive on!
Thank you for your support
Beautiful thanks for sharing @yannet80
Hello my beautiful friend, thanks for commenting.
Muy linda esta bolsita, con mucha creatividad
Gracias amiga.
Cute little bag @yannet80!