[ESP-ENG] Antifaz para dormir | Sleep mask
Happy start of the week, I hope you are feeling great, today I used some scraps of fabric that I had saved, and I want to share with you a nice sleeping mask, ideal to cover our eyes, here are the steps to follow.
.jpg)
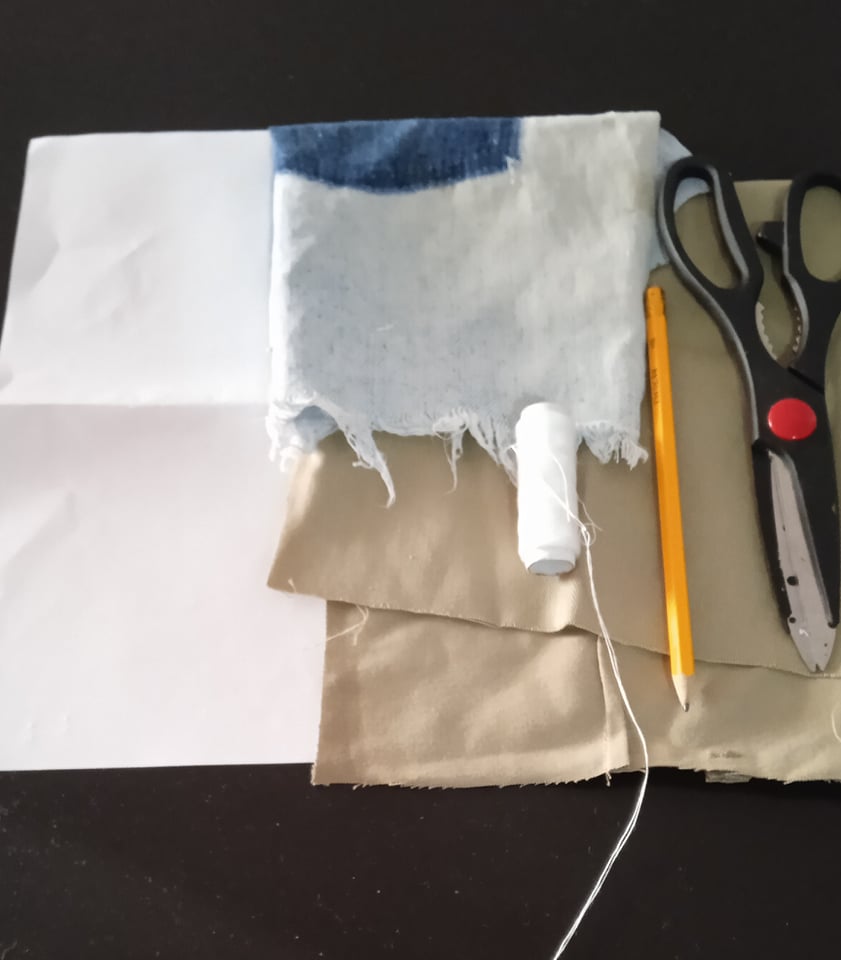
- Los materiales a utilizar son:
- Retazos de tela.
- Hoja de reciclaje.
-Lápiz. - Hilo y aguja de coser.
- Tijera.
- The materials to be used are:
- Fabric scraps.
- Recycling sheet.
-Pencil.- Thread and sewing needle.
- Scissors.
.jpg)
- Paso 1: Primero hacemos el patrón en la hoja de reciclaje, luego recortamos y colocamos sobre la tela que usaremos para hacer el antifaz.
- Step 1: First we make the pattern on the recycled sheet, then we cut it out and place it on the fabric we will use to make the mask.
.jpg)
- Paso 2: Luego de marcar el patrón sobre la tela, recortamos, debemos sacar dos partes iguales, una vez recortadas las partes, agarramos una tira de tela obviamente de su preferencia, yo usé también retazo de tela de jean, a esa tira la deshilachamos y luego la colocamos dentro de ambas partes del antifaz.
- Step 2: After marking the pattern on the fabric, we cut out two equal parts, once the parts are cut out, we take a strip of fabric obviously of your preference, I also used a piece of jean fabric, we fray that strip and then we place it inside both parts of the mask.
.jpg)
- Paso 3: Una vez colocada la tira dentro de las partes, cosemos por toda la orilla, luego recortamos 2 tiras más pequeñas, y la cortamos en tiritas delgadas.
- Step 3: Once the strip is placed inside the parts, we sew all around the edge, then we cut 2 smaller strips, and cut it into thin strips.
.jpg)
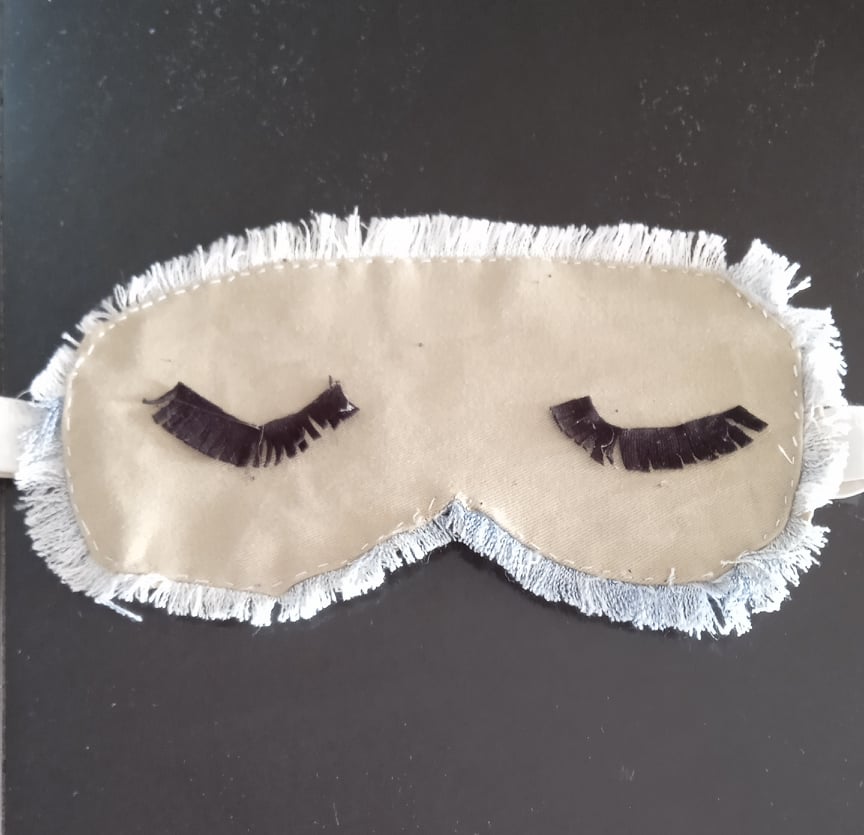
- Paso 4: Luego esas tiritas que recortamos las pegamos en la parte delantera del antifaz para que parezcan unas pestañas, luego agarramos una tira de una tela que estire, y la cosemos en ambas partes de los lados del antifaz.
- Step 4: Then those strips that we cut out we glue them on the front of the mask to look like eyelashes, then we take a strip of a fabric that stretches, and sew it on both sides of the mask.


0
0
0.000
Electronic-terrorism, voice to skull and neuro monitoring on Hive and Steem. You can ignore this, but your going to wish you didnt soon. This is happening whether you believe it or not. https://ecency.com/fyrstikken/@fairandbalanced/i-am-the-only-motherfucker-on-the-internet-pointing-to-a-direct-source-for-voice-to-skull-electronic-terrorism
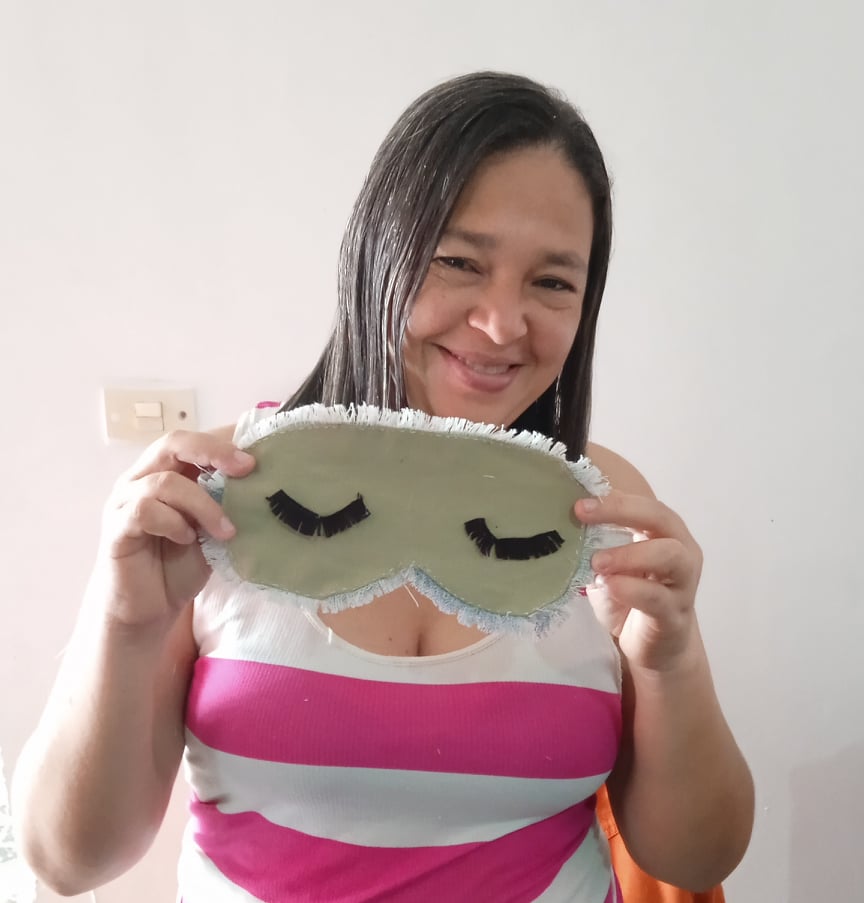
Love the eyelashes you added. So cute!
Thank you very much.
So cute! My grandson likes to sleep with an eyemask - he might find the eyelashes super fun :)
Thanks for commenting my friend, best regards.
Wow lovely so beautiful, have never tried this on while sleeping before
Thanks for commenting my friend, kisses.
I like how you used the fraying to decorate the mask!
I'm glad you liked it, greetings and thanks for commenting.