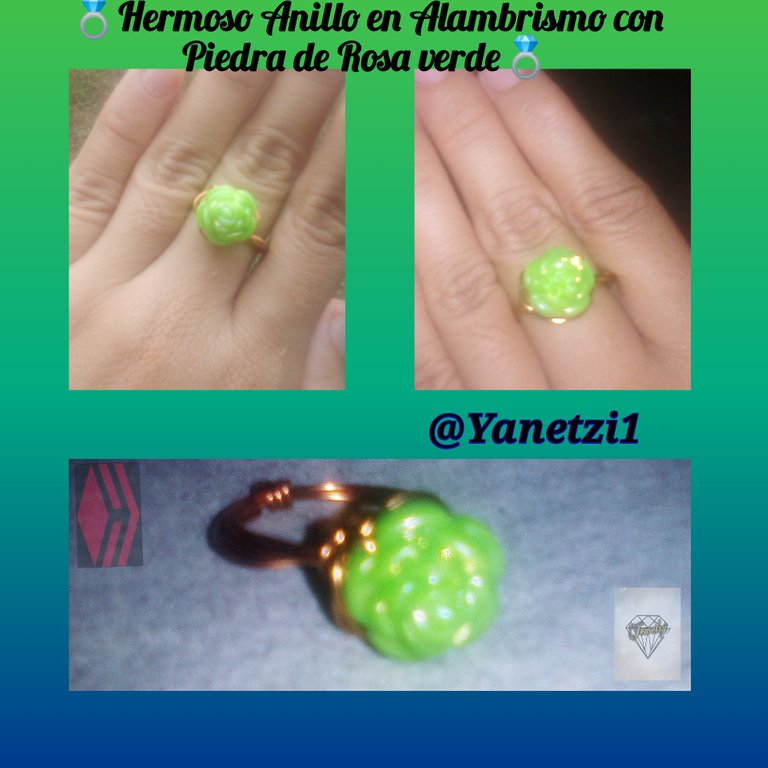
💍Hermoso Anillo en Alambrismo con Piedra de Rosa verde 💍Beautiful ring with green rose stone 💍
Este hermoso Anillo en Alambrismo que es lo que más se hacer por qué en realidad me encanta es muy fácil de hacer y que implementa siempre los mismo pasos .
Les estaré presente los materiales a utilizar :
💎Alambre de cobre Dorado
💎Una Piedra hermosa en forma de Rosa color verde
💎Piqueta de Cortar .
A continuación los paso a seguir:
Pasó 1
![]
Lo primero que vamos hacer es agarrar el tubo de pintura y el alambre de cobre .
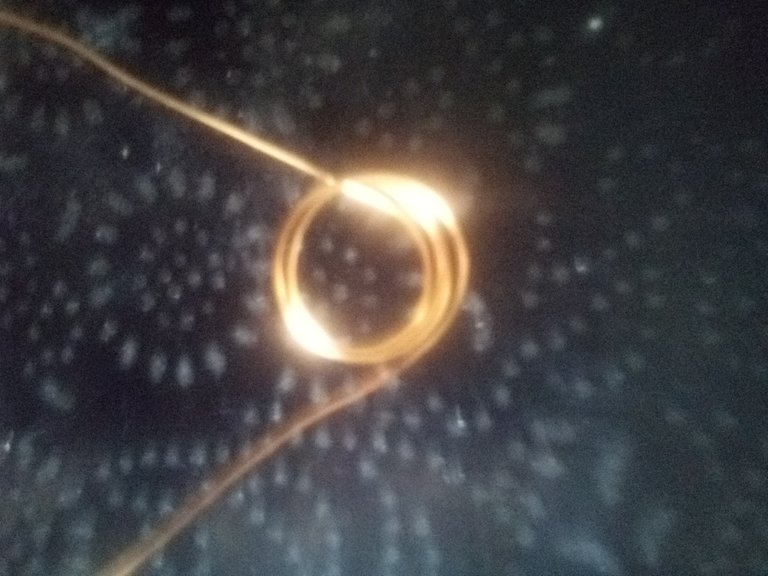
Se toma el alambre y se va enrollando en el tubo de pintura dándole giros apretados para que asi quede formado el aro del anillo .
Pasó 2
Mínimo los giros hecho con el alambre de cobre son 3 o pueden ser hasta 4.
Pasó 3
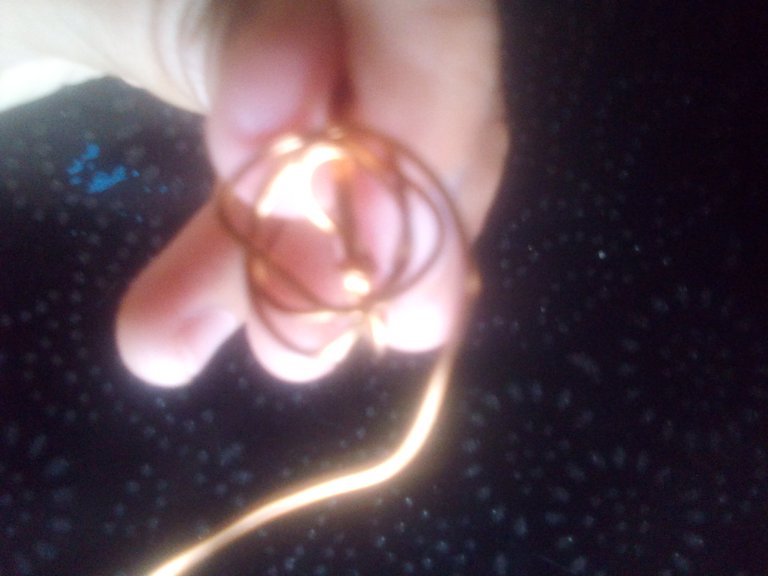
Una vez ya hechos los giros vamos con el trancado.
Lo que Vamos hacer es tomar el alambre y pasar por dentro del aro dándole vueltas yo es este procedimiento hice 3 vueltas y el anillo quedará de esta forma .

Pasó 4
Bien ahora la parte de los giros en forma de Rosa .
Lo primero que vamos hacer es con el alambre de cobre que queda osea el único se va haciendo giros alrededor del anillo de manera que quede como está forma.
Una vez ya hechas las vueltas que son mínimo como 5 así quedará .
Pasó 5
Una vez ya terminada las vueltas viene ahora tomar la piedra y encajarle en el alambre de cobre de modo que será de está piedra el modelo del anillo en color verde .
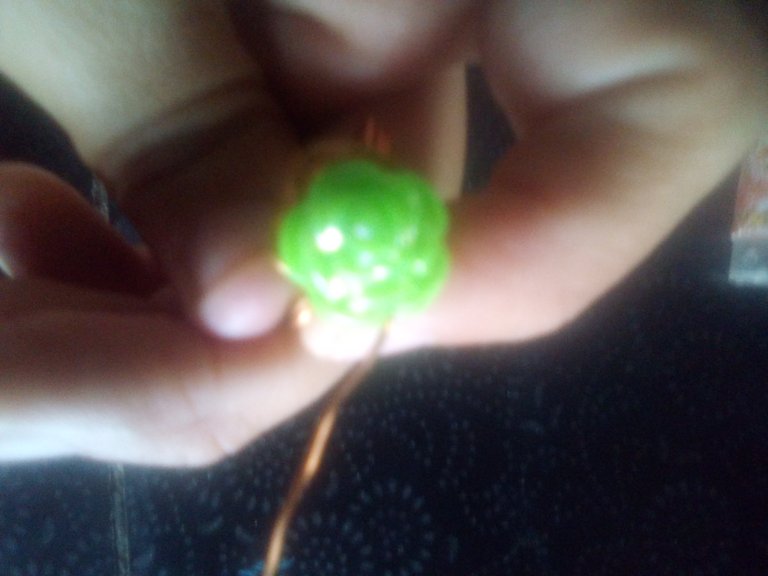
Una vez ya la piedra lista se a girando hacia la parte de abajo y después seguidamente hacías a parte de arriba .
Pasó 6
Una vez a lista la piedra con lo que queda de alambre en la parte izquierda del anillo se le hace unas 3 vueltas y se va apretando para que asi quede bien tupida y pueda quedar de un solo lado y estable la rosa .
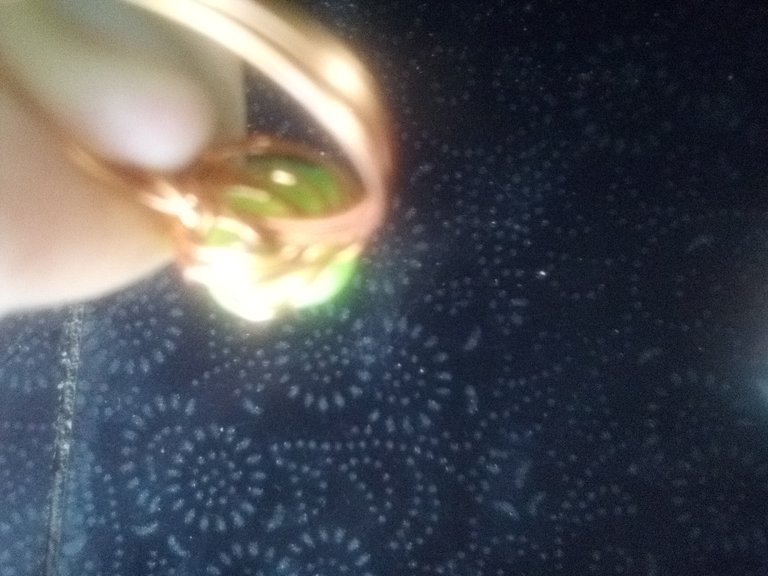
En realidad es muy fácil una ves ya hecho los nudos con la Piqueta lo que queda de alambre de cobre se va cortando y con mucha precaución se revisa que quede muy corto así evitar un accidente de raspones en los dedos a utilizar el anillo .
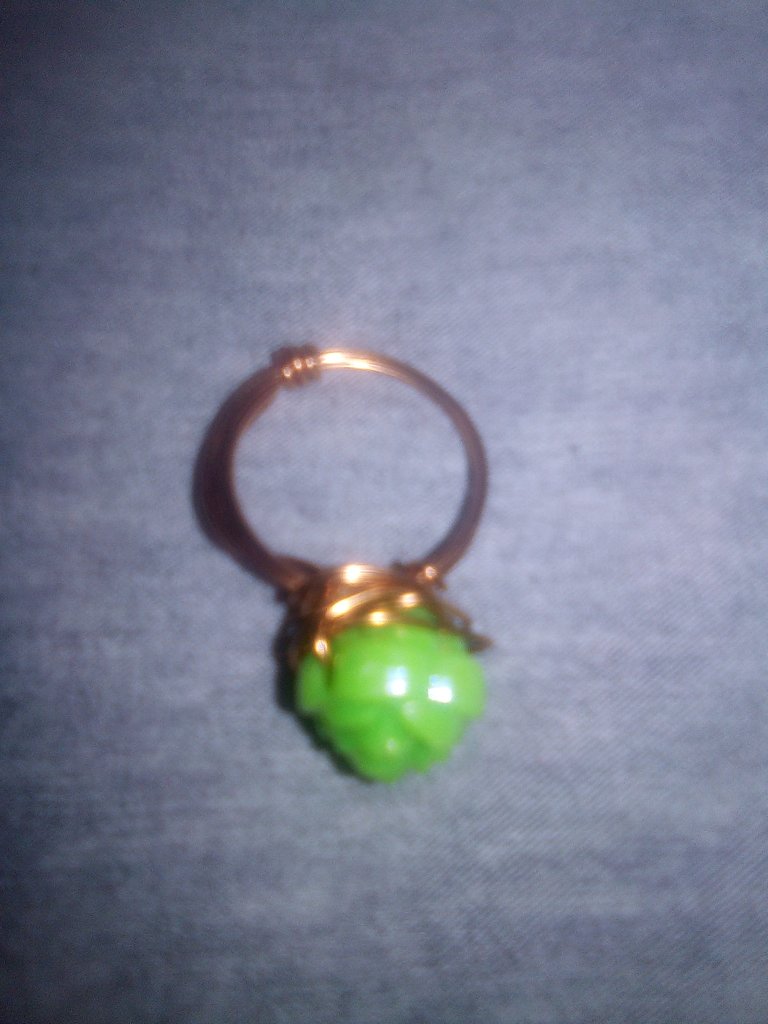
Pasó 7
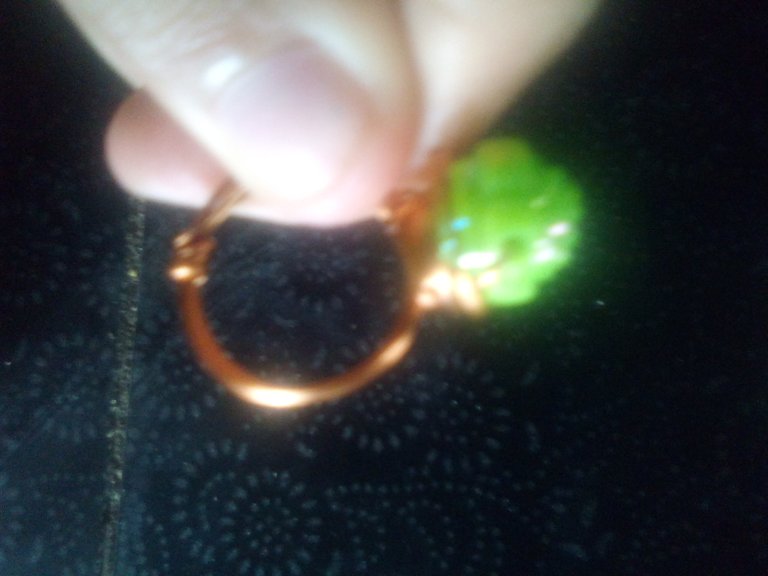
De esta manera quedará el anillo de alambre de cobre muy fácil de hacer increíble para dárselo a una persona enamorada o en caso también de aniversario para la próxima les estaré presentando unos anillos para hombre muy fácilmente de hacer también tienen derecho a tener anillos hechos por mi .
Espero que les guste mucho aquí estaré viendo los comentarios.
- Las imágenes son de mi autoria y fueron tomadas por mi teléfono Alcatel 1.
Traductor Utilizado Deepl traductor
Las edición de las fotos las realize mediante la aplicación editor de fotos polish y los separadores se editaron en canva.
This beautiful Ring in Alambrismo which is what I know how to do the most because I really love it is very easy to do and that always implements the same steps .
I will be presenting you the materials to use
💎Golden copper wire
💎A beautiful stone in the shape of a green rose.
💎Cutting Picket .
Here are the steps to follow:
Step 1.
The first thing we are going to do is grab the paint tube and the copper wire .
Take the wire and wrap it around the paint tube and twist it tightly to form the ring of the ring.
**Step 2
The minimum number of turns made with the copper wire is 3 or can be up to 4.
**Passed 3
Once the turns are done, let's go with the locking.
What we are going to do is to take the wire and pass it through the inside of the ring giving it turns, I did 3 turns and the ring will look like this.
Passed 4
Okay now the part of the Rose-shaped turns .
The first thing we are going to do is with the remaining copper wire osea the only one is making turns around the ring so that it looks like this form.
Once the turns have been made, which are at least 5, this is how it will look.
Passed 5.
Once already finished the turns comes now to take the stone and to fit it in the copper wire so that it will be of this stone the model of the ring in green color.
Once the stone is ready, turn it towards the bottom and then turn it towards the top.
It happened 6.
Once the stone is ready with what is left of wire on the left side of the ring is made about 3 turns and is tightened so that it is well dense and can be on one side and stable rose.
Actually it is very easy once the knots have been made with the Piqueta, what is left of the copper wire is cut and with great caution it is checked that it is very short to avoid an accident of scratches in the fingers to use the ring.
**Step 7
In this way the copper wire ring will be very easy to make incredible to give it to a person in love or in case also of anniversary for the next one I will be presenting some rings for man very easy to make also have the right to have rings made by me .
I hope you like it very much here I will be watching the comments.
- The images are authored by me and were taken by my Alcatel 1 phone.
Translator Used Deepl translator
The photos were edited using the polish photo editor application and the separators were edited in canva.
Congratulations @yanetzi1! You have completed the following achievement on the Hive blockchain And have been rewarded with New badge(s)
Your next target is to reach 1500 upvotes.
You can view your badges on your board and compare yourself to others in the Ranking
If you no longer want to receive notifications, reply to this comment with the word
STOPCheck out our last posts:
Support the HiveBuzz project. Vote for our proposal!
Esta muy bonito tu anillo amiga. Me encanta!
Muy bonito y creativo, me gusto el color, gracias por compartirlo, saludos.
Está hermoso, me encanta el detalle de la rosa 👍