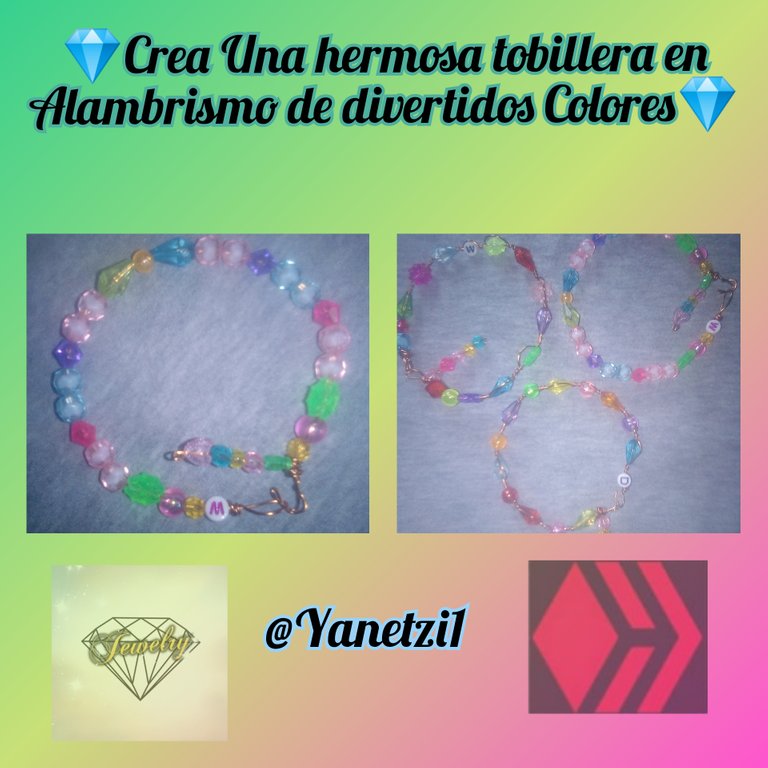
💎Crea una Hermosa tobillera en Alambrismo de Divertidos Colores 💎💎Create a beautiful anklet in Alambrismo by Divertidos
Los materiales utilizados en esta creación de las tobilleras fueron estás .
💎Perlas de diferentes colores
💎Alambre de cobre de 12 CM doble
💎Piqueta de cortar alambre
Acontinuación los pasos a seguir en la creación
Pasó 1
Lo primero que vamos hacer es tomar el alambre de cobre y ponerlo doble .
Esto es importante porque para poder hacer los giros se necesita tener dos alambres
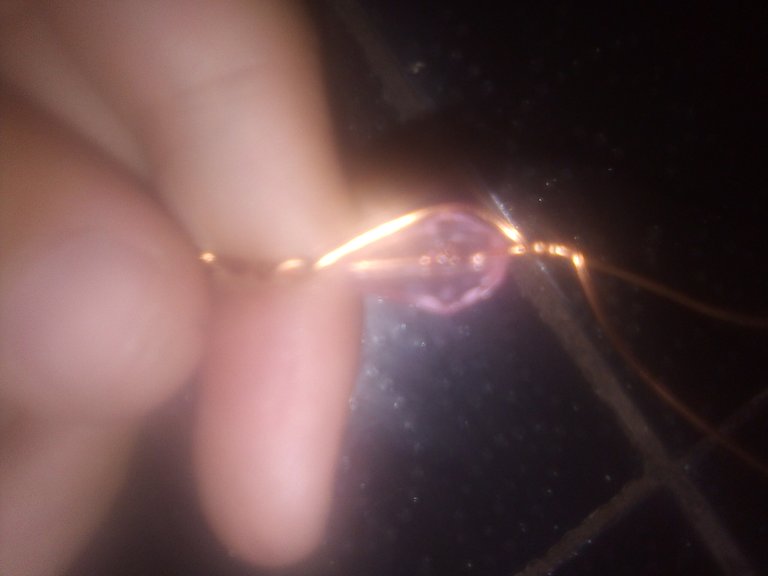
Pasó 2
Una vez ya tomado los dos alambres de le hace un giro eso va a permitir que una vez ya metida la primera piedra con el otro alambre se va cruzando en forma de sitsa
Pasó 3
Una vez ya hecho el primer cruce debe quedar de está forma
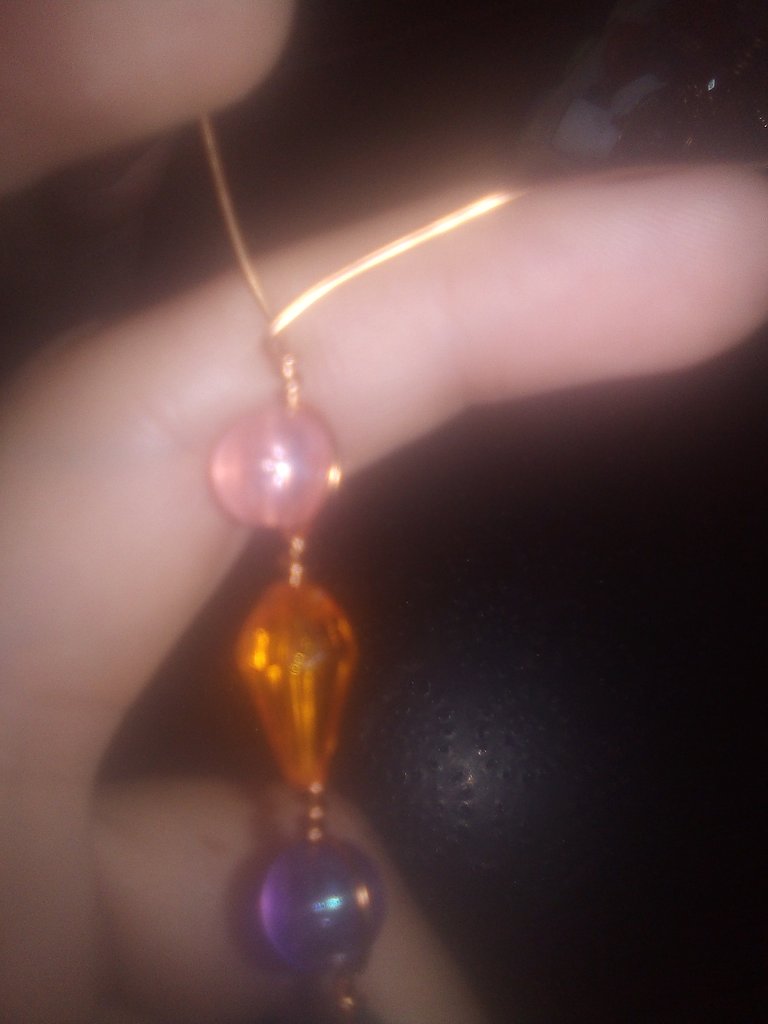
Pasó 4
Siempre se va introduciendo una perlas grande y una pequeña de diferentes colores esto permite que no sean iguales tanto de forma como de color .
Pasó 5
Cuando se mete una piedra en uno de los alambres con el otro alambre se va haciendo los giros que son mínimo como 3 o 4 giros .
Pasó 5
Siempre va hacer el mismo pasó en tanto la parte derecha como en la izquierda dejando siempre los giros de por medio
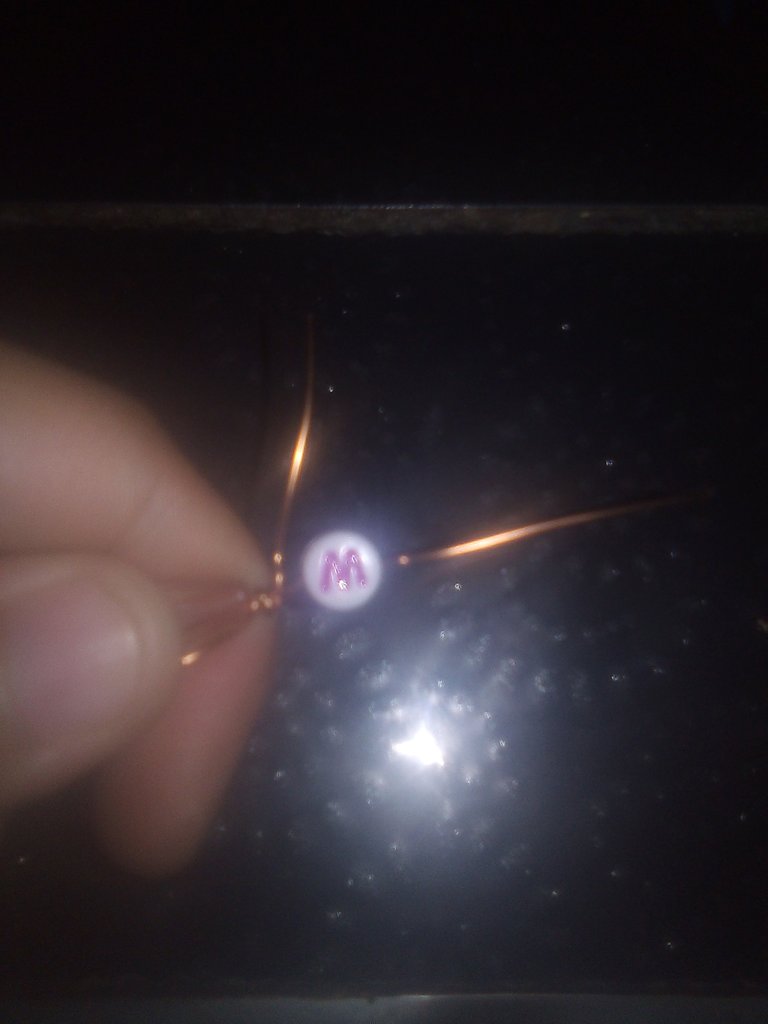
Pasó 6
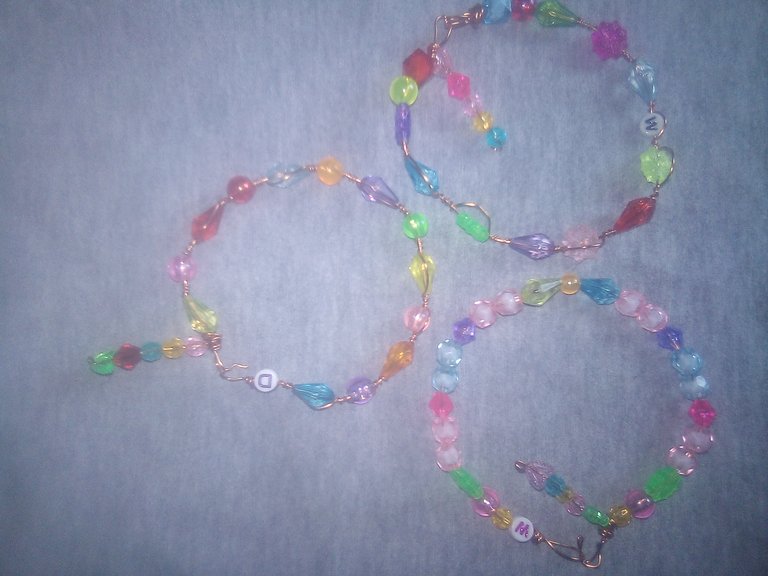
Ya hecho lo mismo procedimientos se agarra y ya terminando la parte final de la tobillera se le introduce una iniciales de una letra ya identificando el nombre de quién va hacer dueña de la pulsera .
Pasó 7
Una vez ya terminada la parte de la letra se comienza hacer el trancado osea donde va trancado la tobillera es muy fácil de hacer este pasó lo único que se debe hacer es que una vez terminada de meter todas las piedras con unos de los alambres se le hace un giro dejando un agujero donde calzar el broche .
Pasó 8
La otra parte es el broche y siempre cortando lo restante del alambre de cobre es muy fácil lo que se va hacer es un giro en forma de U .

Pasó 9
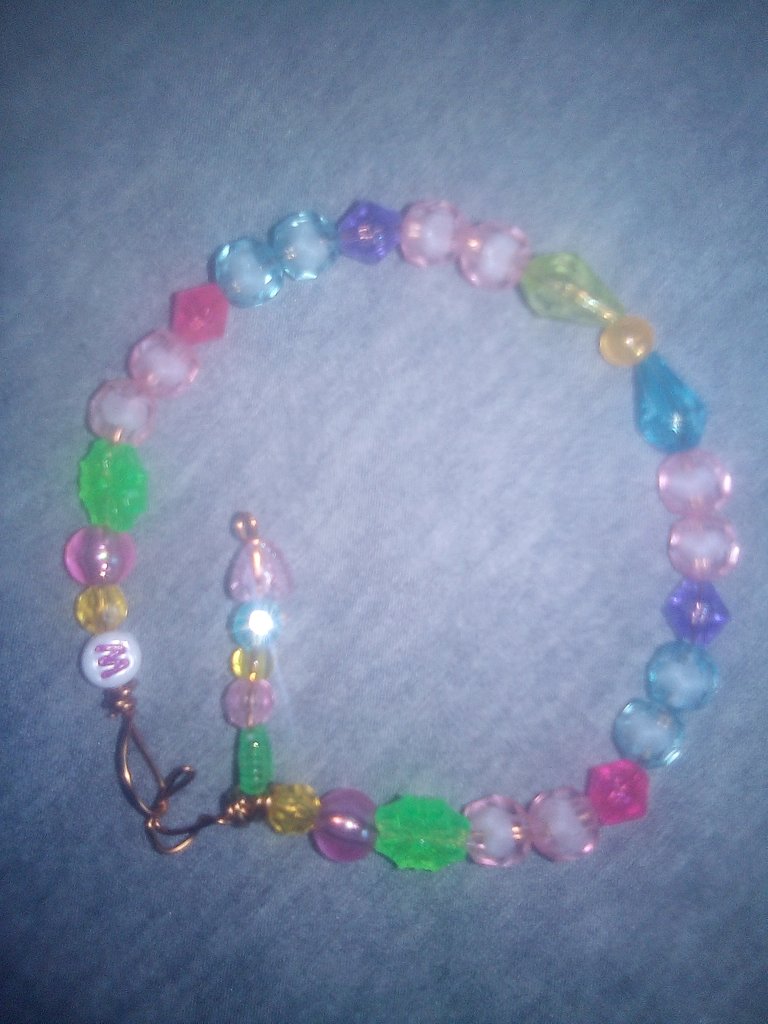
Una vez ya terminada la tobillera queda de está forma
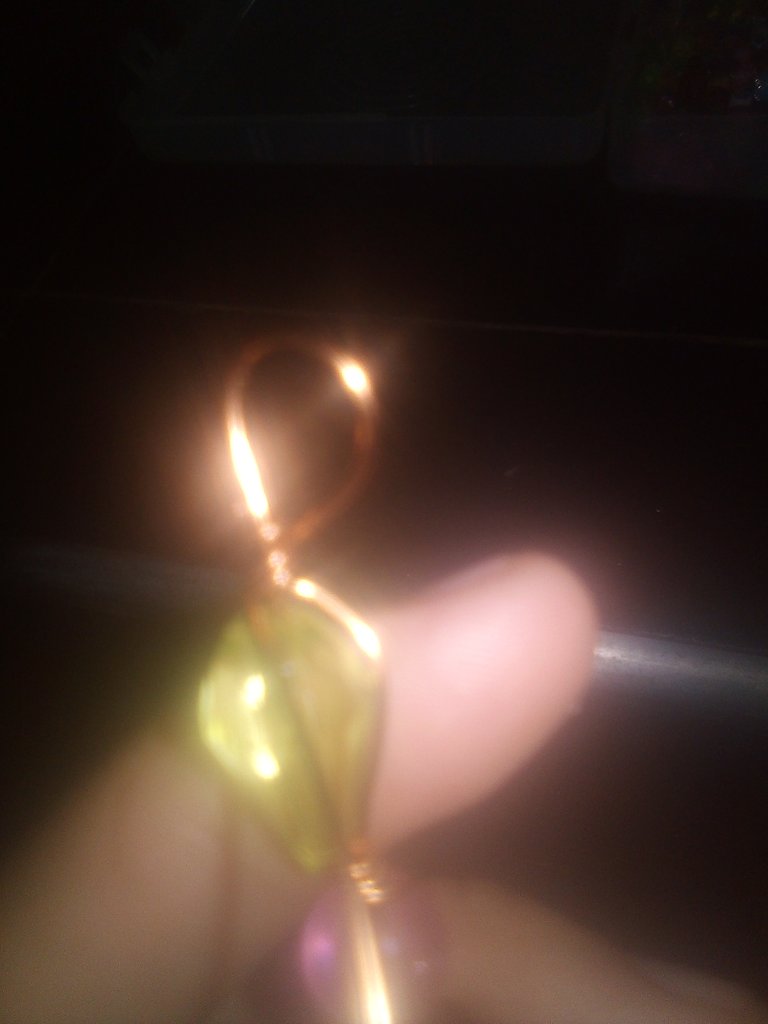
Tambien con un pedazo de alambre se puede hacer un colgante estilo como el de la foto .
Bueno espero que de verdad le guste mi creación de como hacer una hermosa y delicada tobillera para lucir en toda clase de ocación .
Éxitos y bendiciones para todos espero que les guste y también quiero sus comentarios
- Las fotos fueron editadas y creadas por mi teléfono Alcatel 1 y son de mi autoria.
- Las edición de las fotos las edite mediante la aplicación de editor de fotos polish y los separadores en la aplicación de canva
- Traductor Utilizado: Deepl traductor .
The materials used in this creation of the anklets were these .
💎Pearls of different colors.
💎 12 CM double copper wire
💎Wire cutting stick
Here are the steps to follow in the creation of the wire
**Step 1
The first thing we are going to do is to take the copper wire and double it.
This is important because in order to make the turns you need to have two wires.
**Passed 2
Once the two wires have been taken, a twist is made that will allow that once the first stone with the other wire is crossed in a sitsa shape.
**Step 3
Once the first crossing is done, it should look like this
Passed 4
Always introduce one large and one small bead of different colors, so that they are not the same in shape and color.
**Step 5
When you put a stone in one of the wires with the other wire you make the turns, which are at least 3 or 4 turns.
It passed 5.
You will always make the same pass on both the right and left side, always leaving the turns in between.
**Passed 6
Once the same procedures are done, the anklet is grasped and when the final part of the anklet is finished, an initial letter is inserted identifying the name of the person who will own the bracelet.
Passed 7
Once the part of the letter is finished, start making the locking osea where the anklet is locked is very easy to do this step the only thing to do is that once finished putting all the stones with one of the wires is made a turn leaving a hole where to put the clasp .
**Step 8
The other part is the brooch and always cutting the rest of the copper wire is very easy what you are going to do is a U-shaped twist.
**Step 9
Once the anklet is finished, it looks like this
Also with a piece of wire you can make a pendant like the one in the picture.
Well I hope you really like my creation of how to make a beautiful and delicate anklet to wear in all kinds of occasions.
I hope you like it and I also want your comments.
Uploading IMG_20230118_113704.jpg #76]()
- The photos were edited and created by my Alcatel 1 phone and are authored by me.
- I edited the photos using the polish photo editor application and the separators in the canva application.
- Translator Used: Deepl translator .
Están muy lindas esas pulseras...son como arcoíris que puedes llevar en tus muñecas para verte más bella o bello.
Congratulations @yanetzi1! You have completed the following achievement on the Hive blockchain And have been rewarded with New badge(s)
Your next target is to reach 30 posts.
You can view your badges on your board and compare yourself to others in the Ranking
If you no longer want to receive notifications, reply to this comment with the word
STOPTo support your work, I also upvoted your post!
Check out our last posts:
Support the HiveBuzz project. Vote for our proposal!
Está hermosa la pulsera, es fácil de hacer y combina con todo. Muchos éxitos 👍
Me encanta esas pulseras de colores! algo muy diferente y bonito!
A nice bracelet very colorful and easy to make, good job, we only ask that the photos can be seen a little clearer because they look shaky.
Está increíble
!discovery 30
This post was shared and voted inside the discord by the curators team of discovery-it
Join our community! hive-193212
Discovery-it is also a Witness, vote for us here
Delegate to us for passive income. Check our 80% fee-back Program
Me encantan esta muy bonitas, los colores están maravillosos.
Me encanta amiga es muy hermosa y creativa.
Esta muy hermoso!!! Felicidades