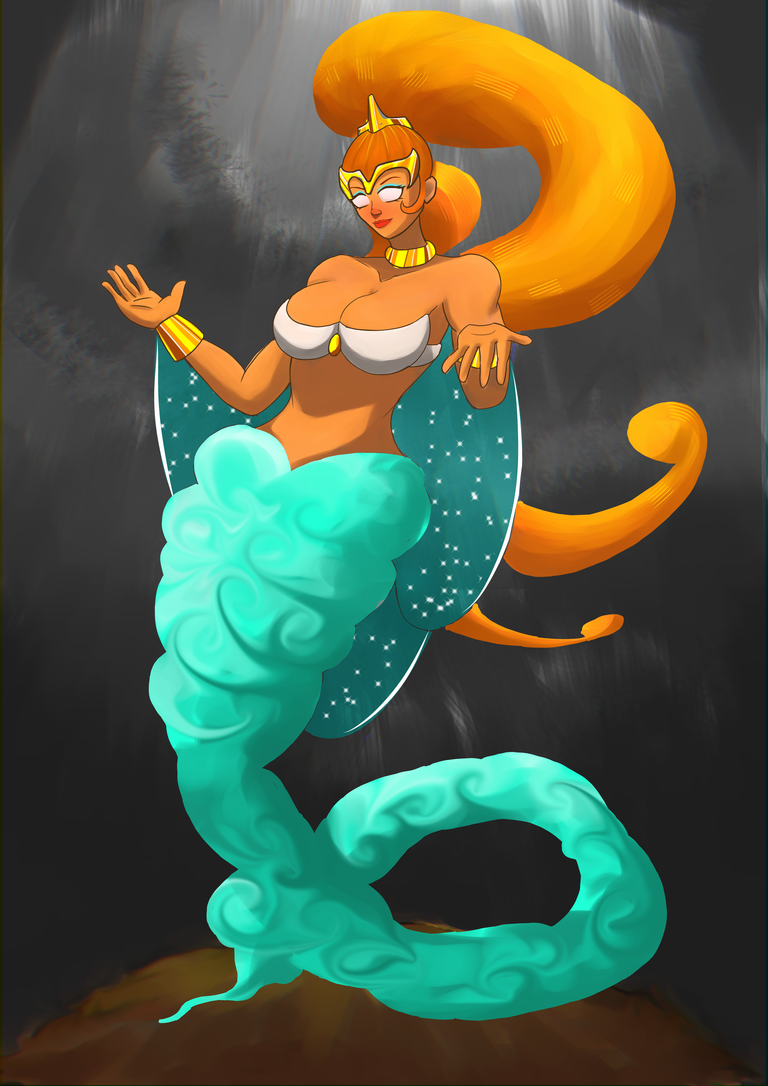
Hello Everyone!
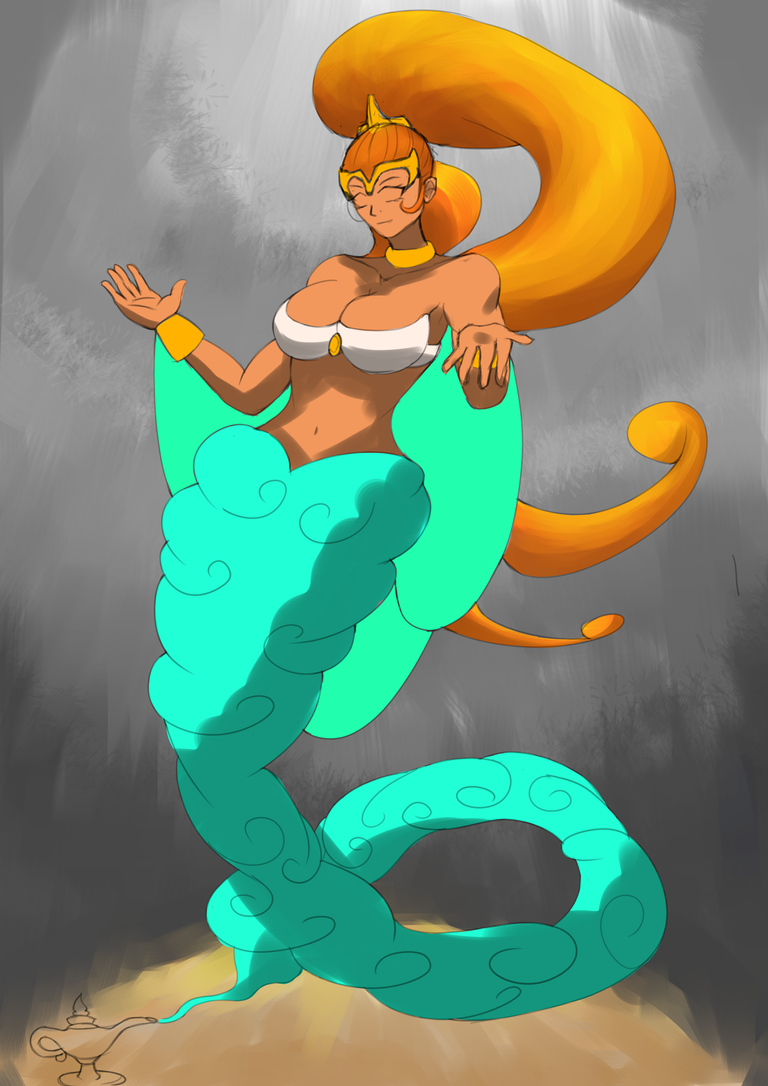
I drew Djinn Renova for my entry in this week's art contest. Well, this was supposed to be my entry for last week but I got sick so wasn't able to finish it. I was just able to continue working on it on Wednesday. I go back to using the Medibang Paint Pro for this drawing because my Laptop can't handle Krita at 20 layers and I usually draw with layers more than that amount xD.
Lore
Calling to each of the trapped Belludae souls throughout the world, the Planet extended them an offer of freedom. None of them refused the offer. The Planet used its delicate but powerful forces to destroy each enchanted vessel that contained the trapped Belludae souls. Then as they were going free, the Planet ensnared each of them into a new type of confinement. They were each trapped by one of the magical elements, unable to change physical forms or leave the territory of their element. With each of the Belludae a deal was struck. They would henceforth be called Djinn.
Drawing Process
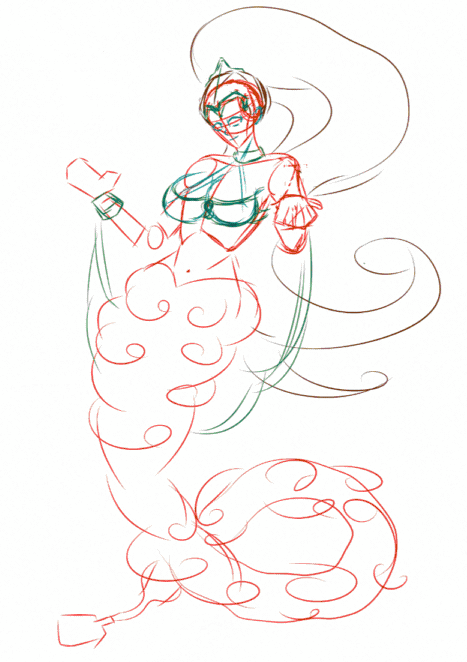
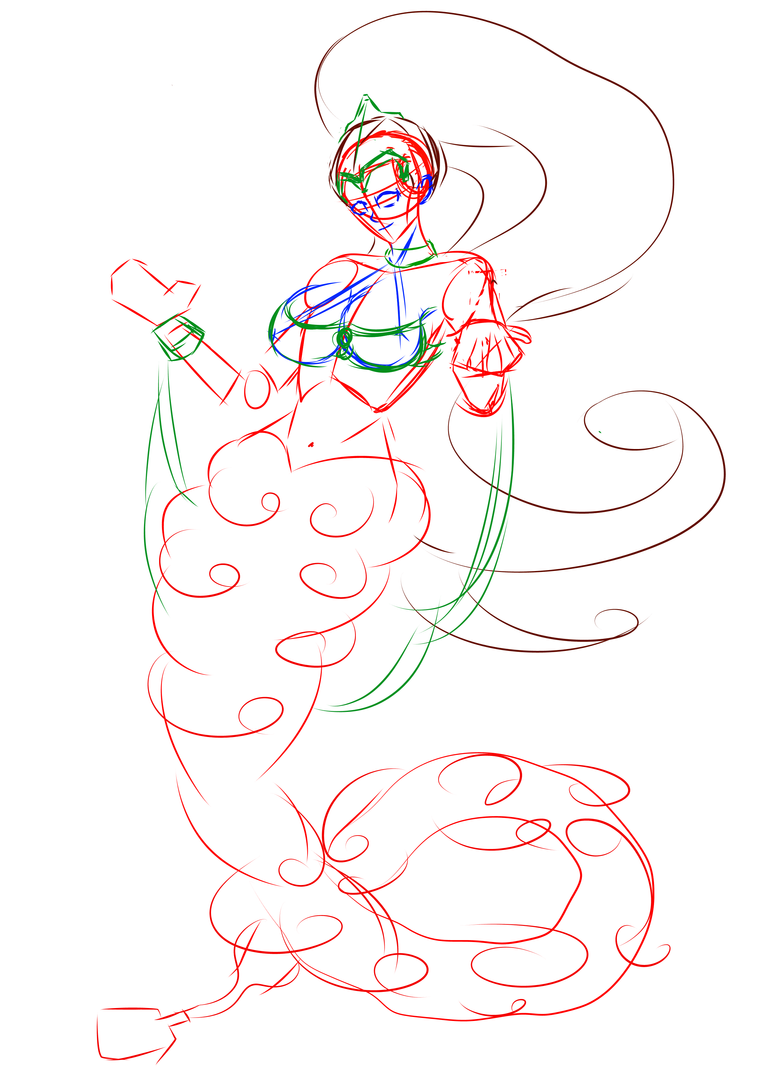
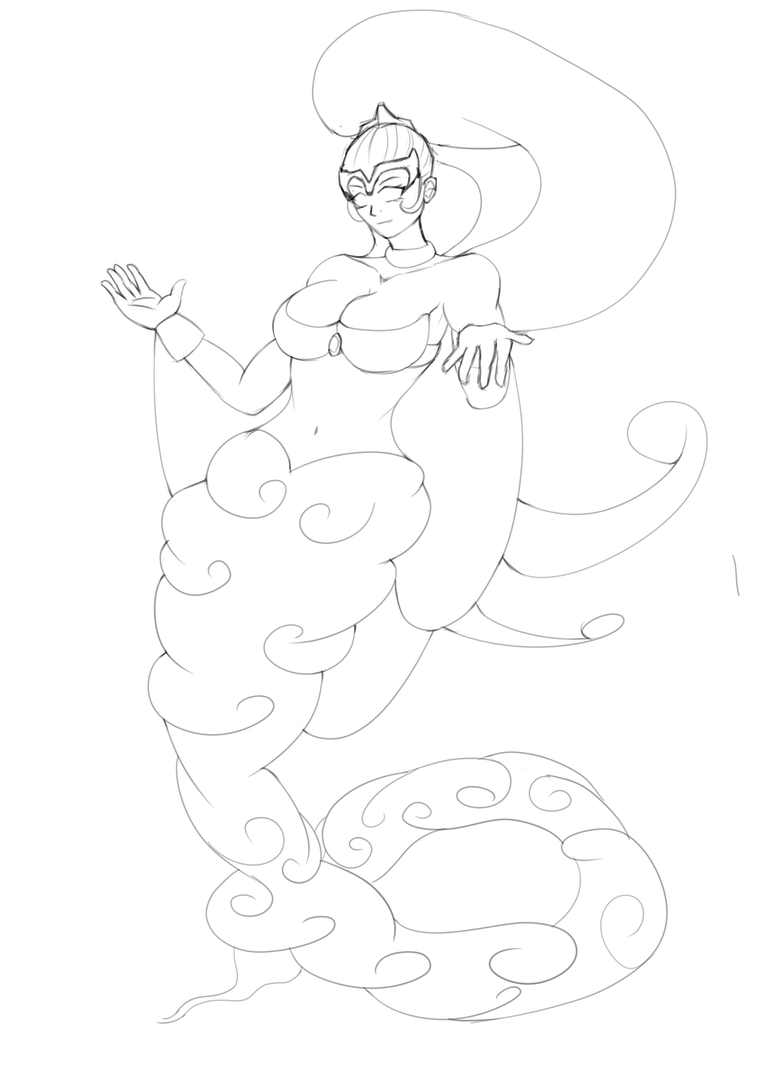
I started with a rough sketch of the pose using a sharp pen and used different colors on each material. And then used a pencil to ink the lineart I made sure to darken the parts where the lines connect.
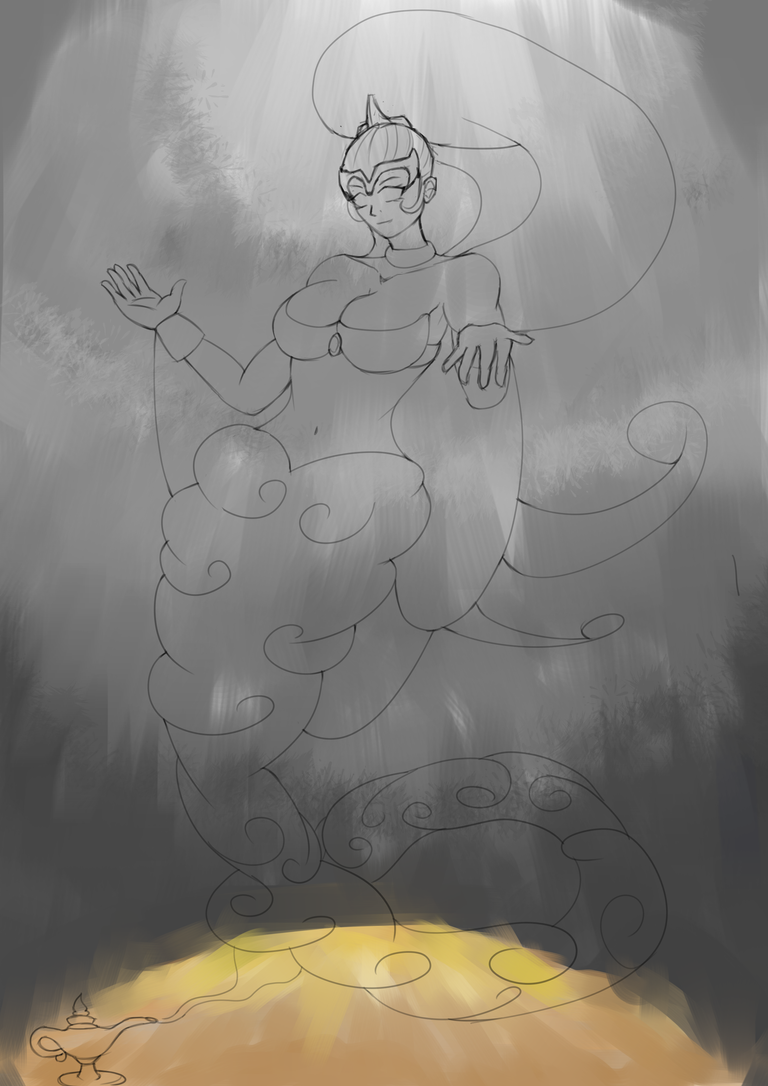
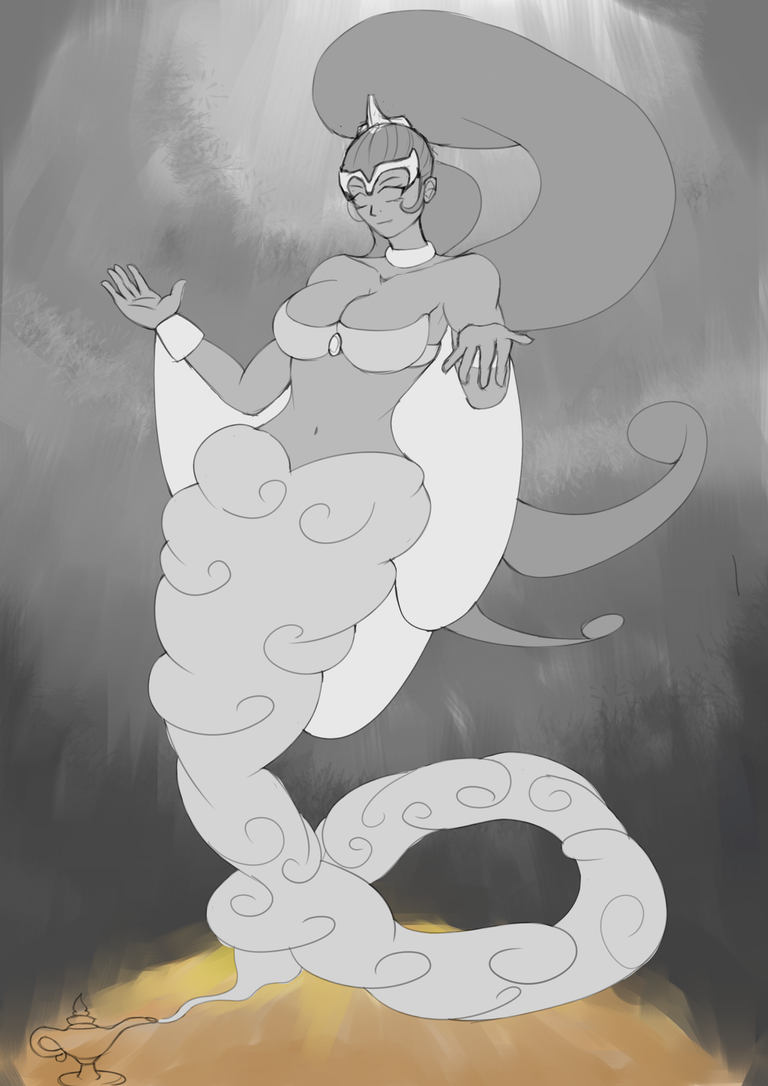
I've thrown a lot of brushes into the background, it was time for some of my barely used texture brushes to shine until they formed into something I imagined - a cave. I then painted the whole character in greyscale and instead of only layers each shade was separated into folders so that I won't get lost later on.
I painted the base colors and then sketched where should I put my shadows based on the light source. On top of the base layer, I added a Multiply layer to paint the shadow.
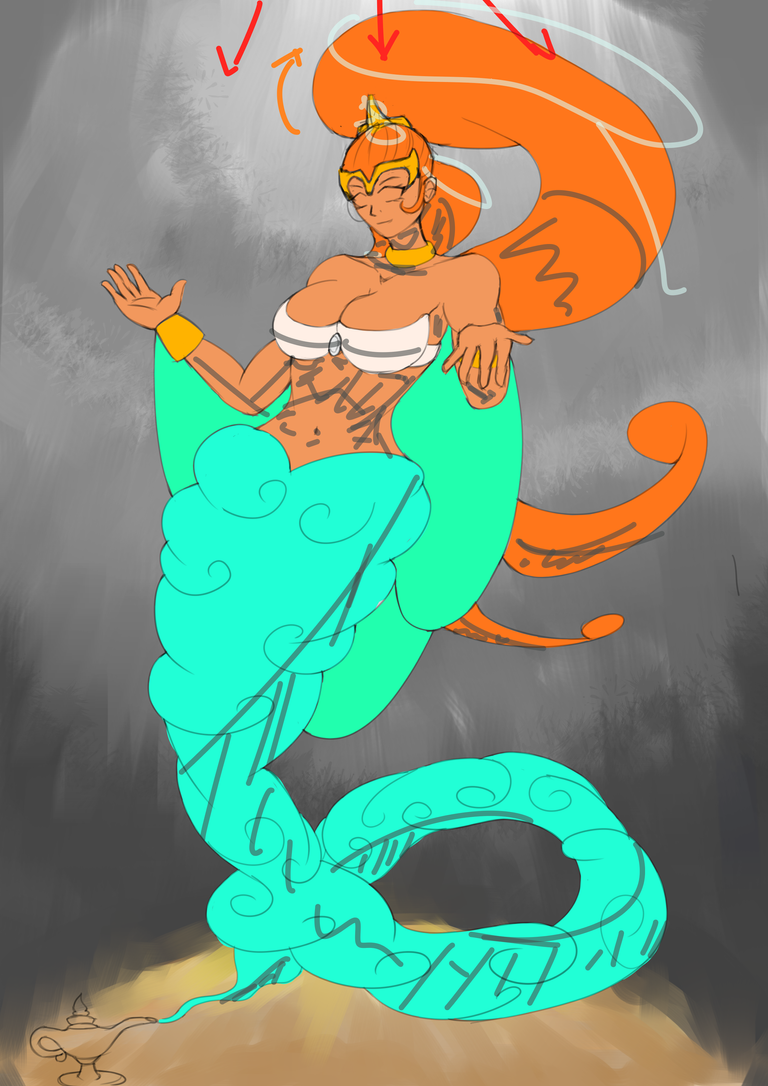
I started painting the hair with a flat brush and then used a watercolor brush to render the skin. In painting the smoke, I throw some shadows and lights over the base and swirl it everywhere using the smudge brush. Also, It's my first time utilizing the filter tool to adjust the color saturation and brightness of selected areas.
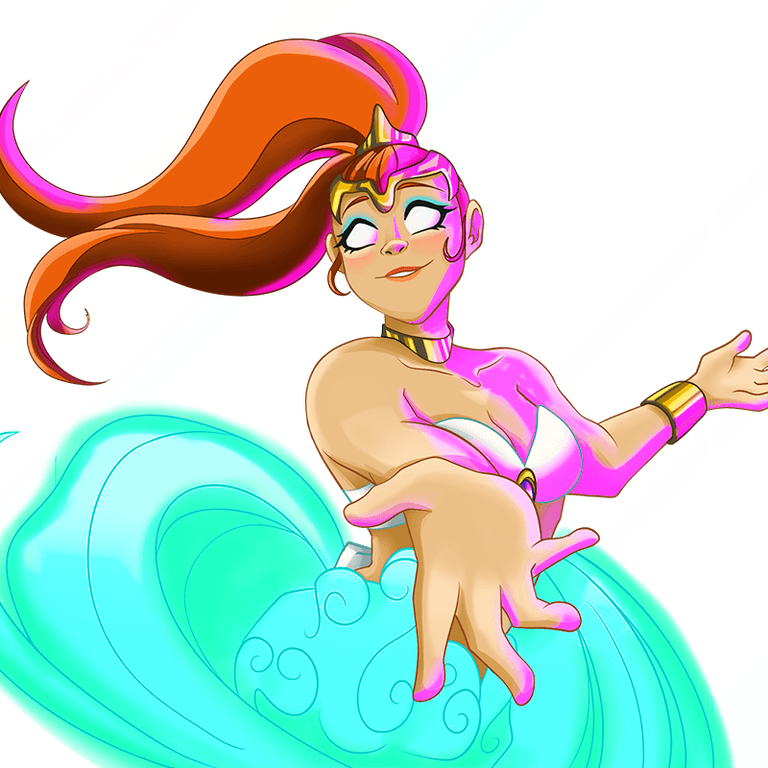
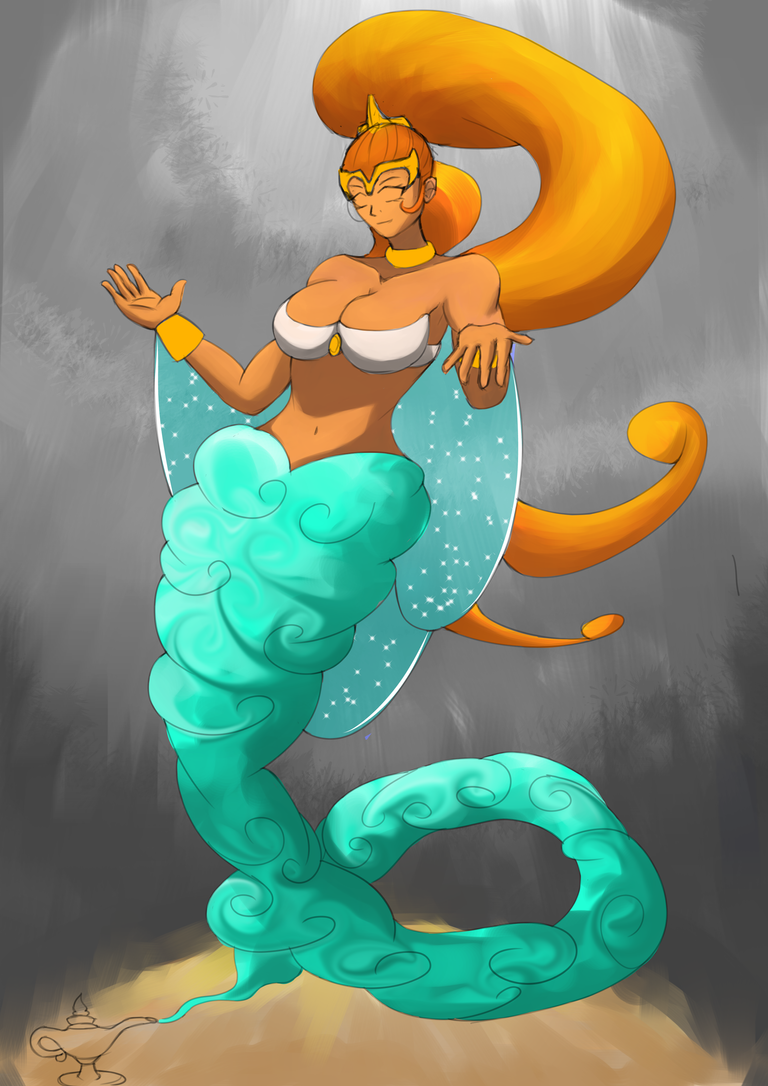
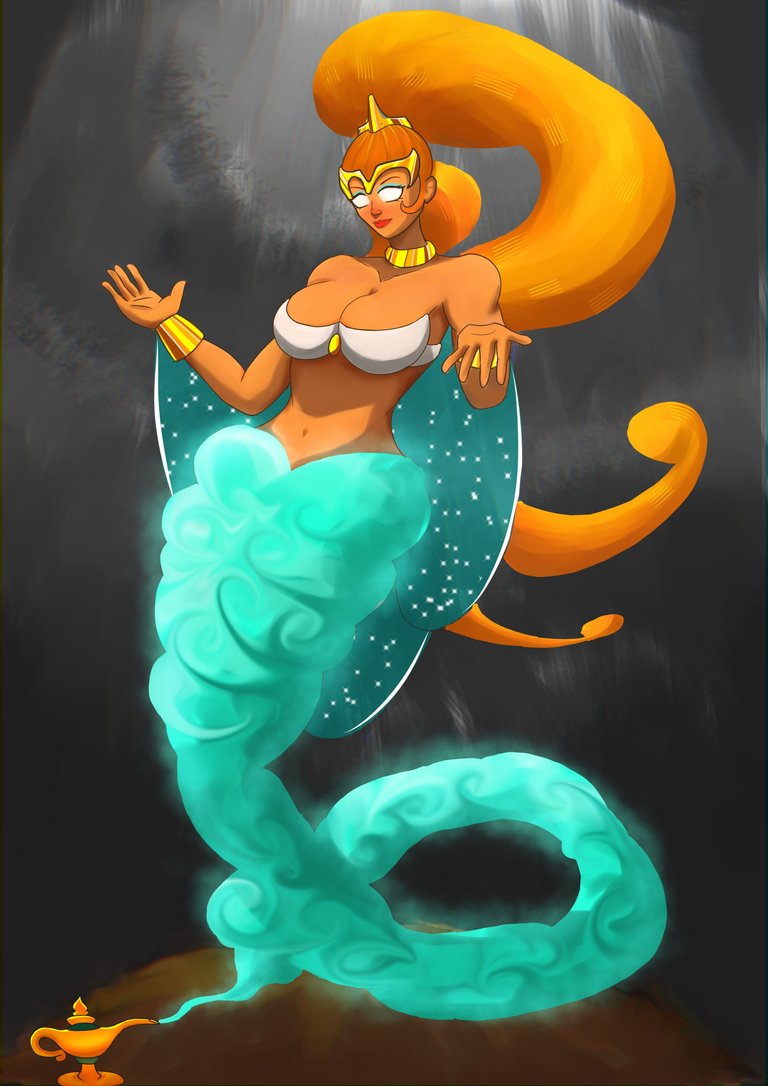
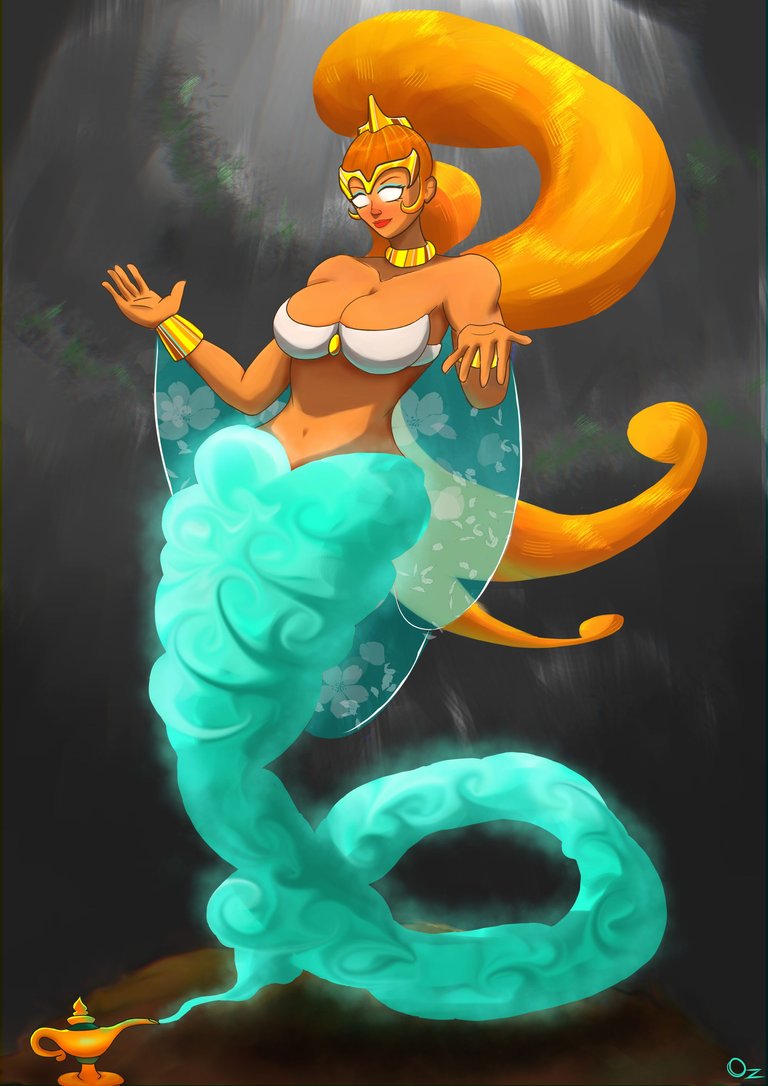
I removed my lineart from earlier and made a new and clean one for the upper part of the body only. I experimented with ambient occlusion shadows to add more depth to it. Then I go back to the background and change the levels darkening it more. I also tried to use slight chromatic aberration. I went back to paint my character and change the design of the shole and also added a continuation of the hair behind to make it look like a see-through shole. Lastly, I added the highlights using a brush in Medibang called "dry or rough feeling" in an Add blending mode layer.
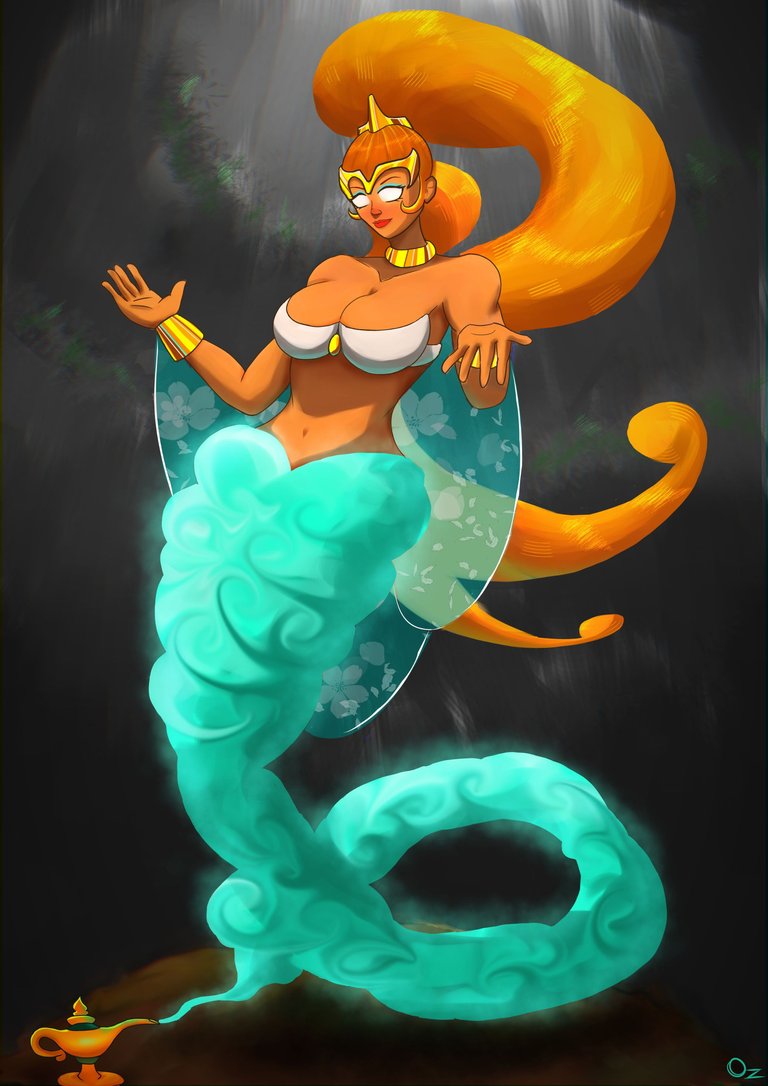
And here is the final result
Thank You!
💾Software: Medibang Paint Pro
📙Reference here


Colours look fantastic on this one bro!
What are you doing these days?
thanks bro
I've been attending online courses about freelancing lately and studying art from time to time
Oh I see. I thought you had offline classes hence the inactivity.
Thanks for sharing! - castleberry#6859

Thank you