FUNDA KOALA PARA CELULARES / KOALA CELL PHONE CASE
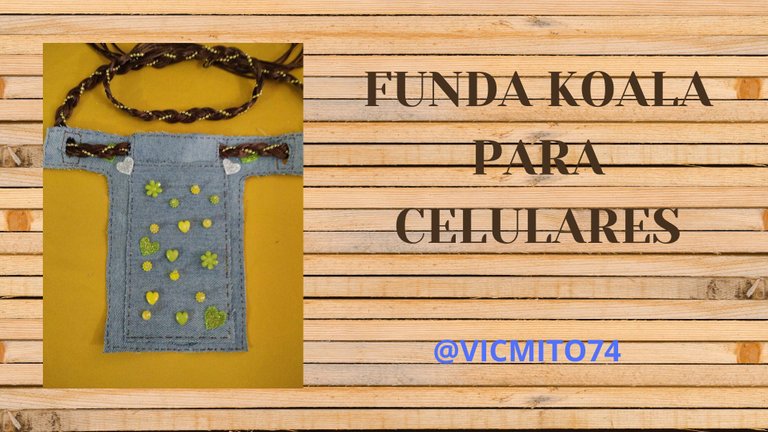
Hola amigos de la comunidad #NeedleWorkMonday, es un gusto saludarles y estar por acá compartiendo con ustedes un hermoso proyecto, en este tiempo estamos en casa o en nuestro lugar de trabajo y muchas veces tenemos nuestras manos ocupadas, o no tenemos bolsillos en nuestros outfits por lo que se me ocurrió crear esta hermosa funda koala para celulares, elaborada con tela de jeans (cosa que me encanta porque esta tela se presta para todo) y detalladamente adornada con cuentas de colores, foami y marcadores; espero les guste y se animen a hacerla, ya que les seria muy útil en el día a día.
Hello friends of the #NeedleWorkMonday community, it is a pleasure to greet you and be here sharing with you a beautiful project, at this time we are at home or in our workplace and often we have our hands busy, or do not have pockets in our outfits so it occurred to me to create this beautiful koala cell phone case, made with jeans fabric (which I love because this fabric lends itself to everything) and detailed adorned with colored beads, foami and markers; I hope you like it and I encourage you to make it, because it will be very useful in your daily life.
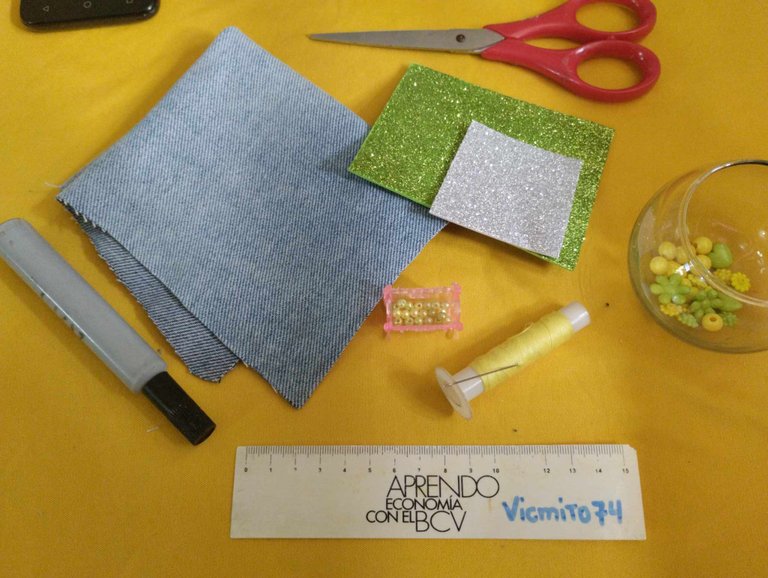
MATERIALES / MATERIALS
Para la elaboración de esta funda, utilice los siguientes materiales.
Tela de jeans o mezclilla.
Hilo y aguja.
Marcadores.
Foami.
Tijeras.
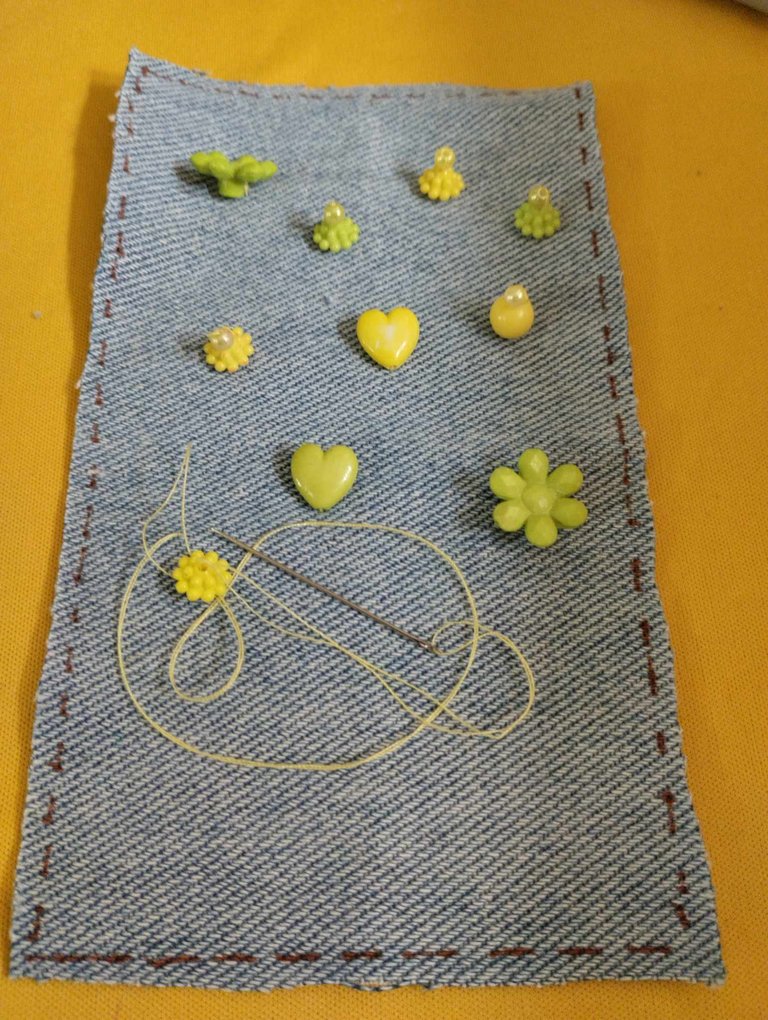
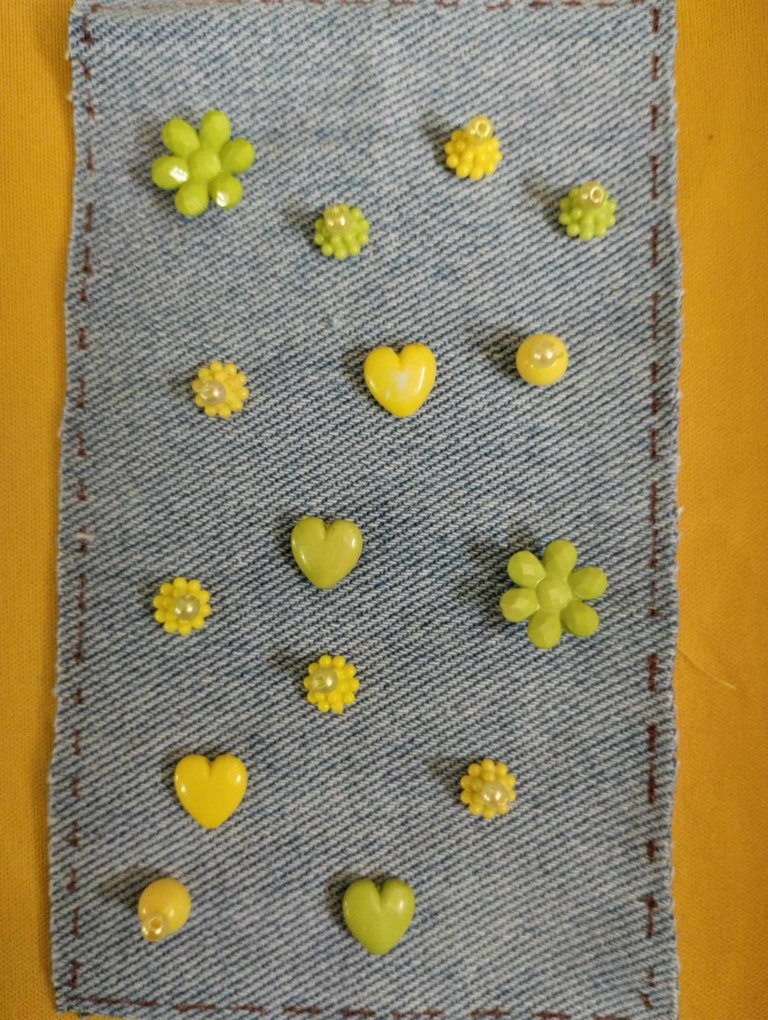
Cuentas de colores verdes y amarillas.
Silicón caliente.
Regla.
To make this cover, use the following materials.
Denim or denim fabric.
Thread and needle.
markers
Foami.
Scissors.
Green and yellow beads.
Hot glue.
Ruler.
PASO A PASO / STEP BY STEP
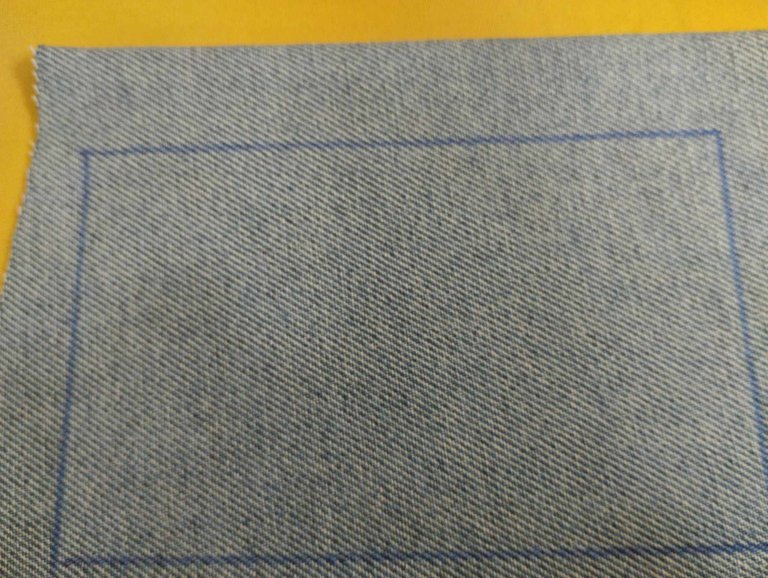
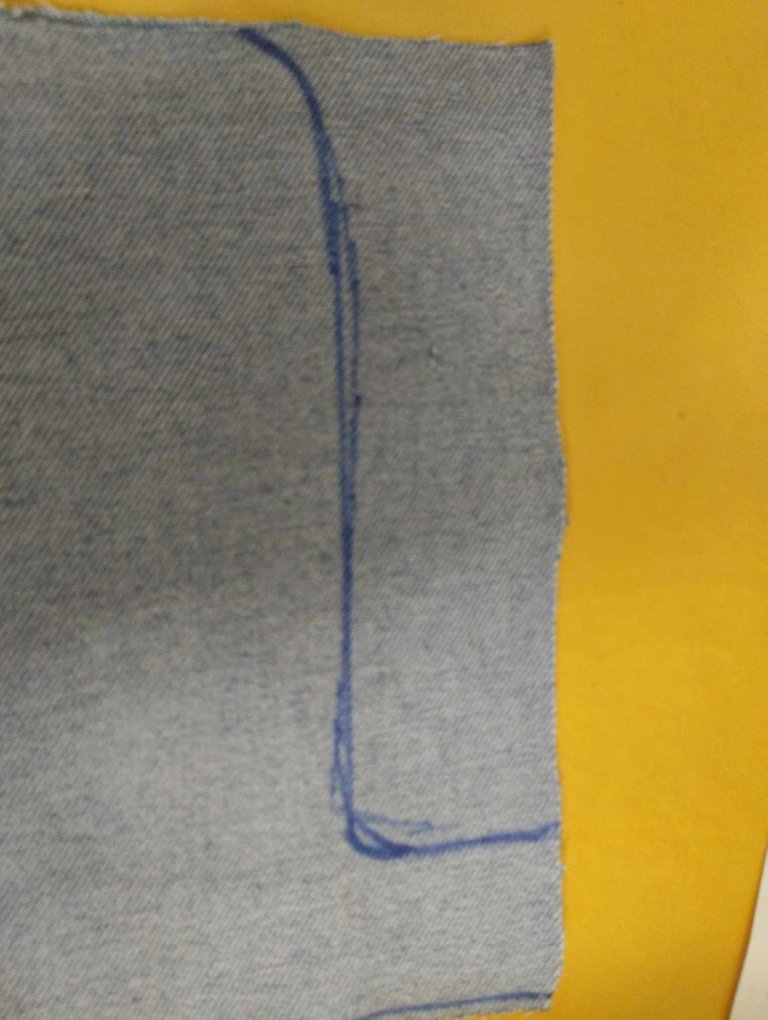
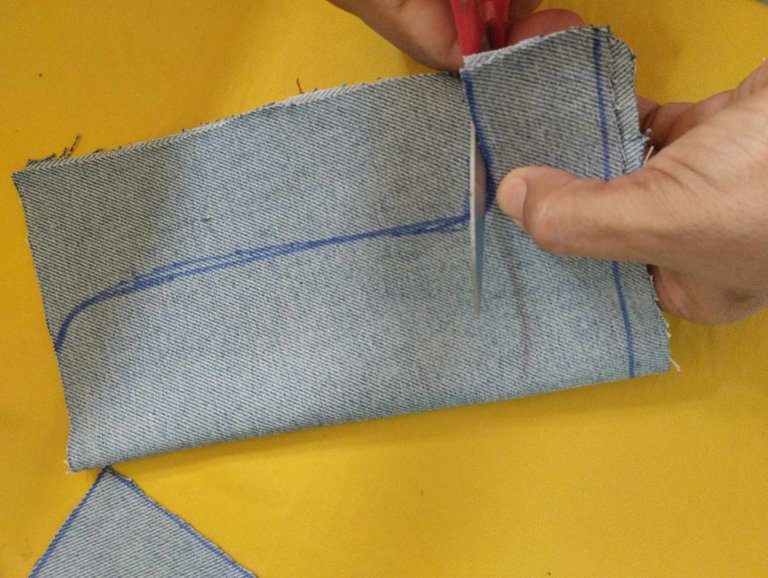
1- Tomamos la tela y trazamos un rectángulo de 9.5 cm de ancho x 15 cm de largo. Luego doblamos el restante de la tela por la mitad y trazamos una línea para hacer la forma de U que usaremos como base para la funda, y recortamos con las tijeras como se logra captar en las imágenes.
1- We take the fabric and draw a rectangle of 9.5 cm wide x 15 cm long. Then fold the rest of the fabric in half and draw a line to make the U shape that we will use as a base for the cover, cut with scissors as shown in the images.
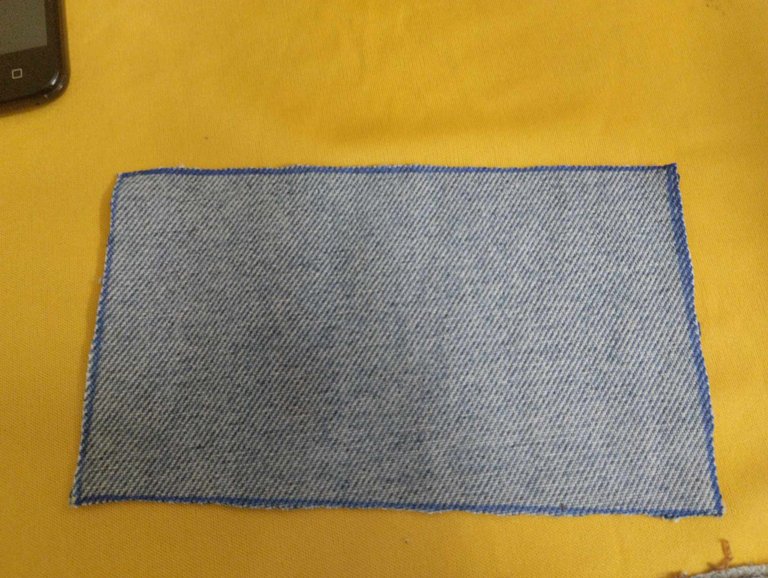
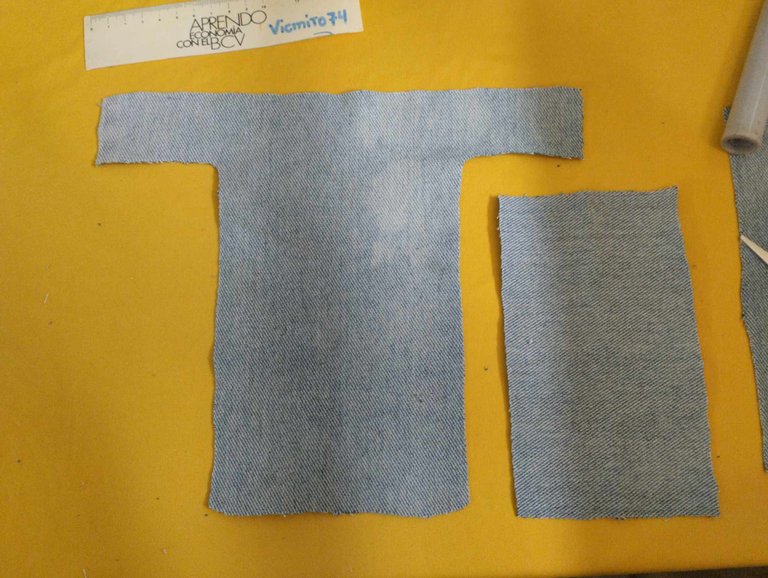
Así quedan las dos piezas de tela para hacer nuestra funda.
This is how the two pieces of fabric to make our cover look like.
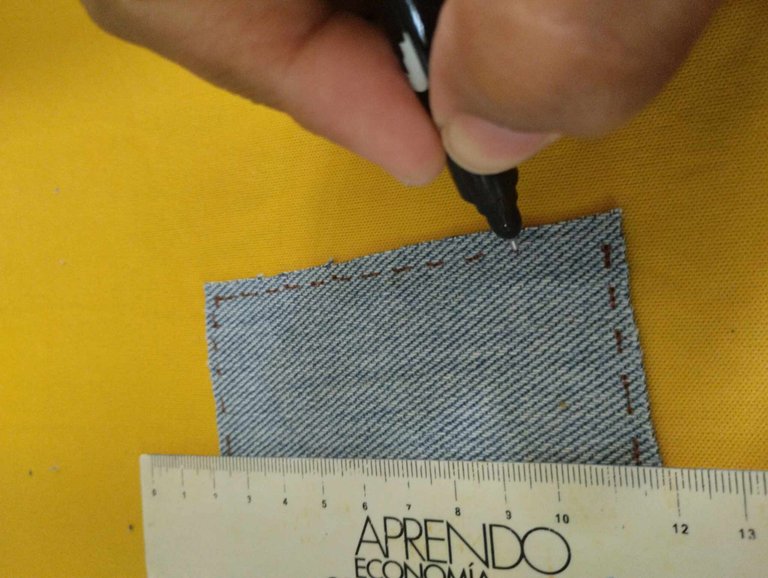
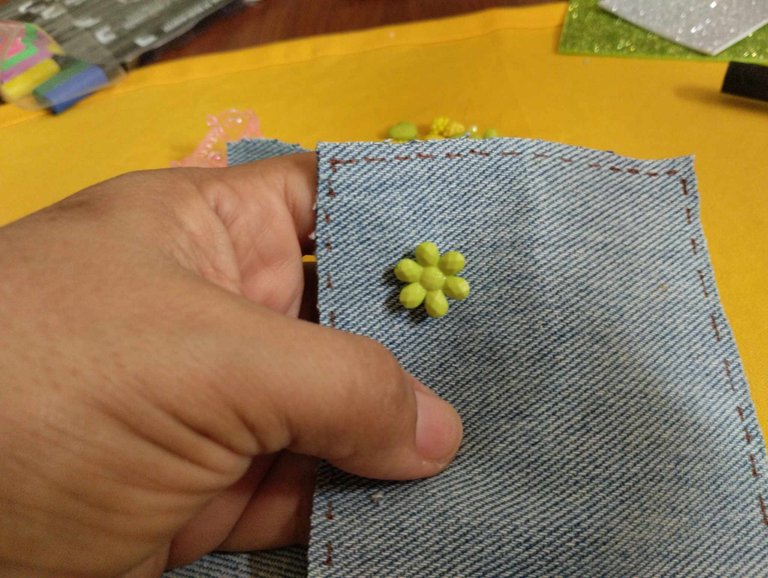
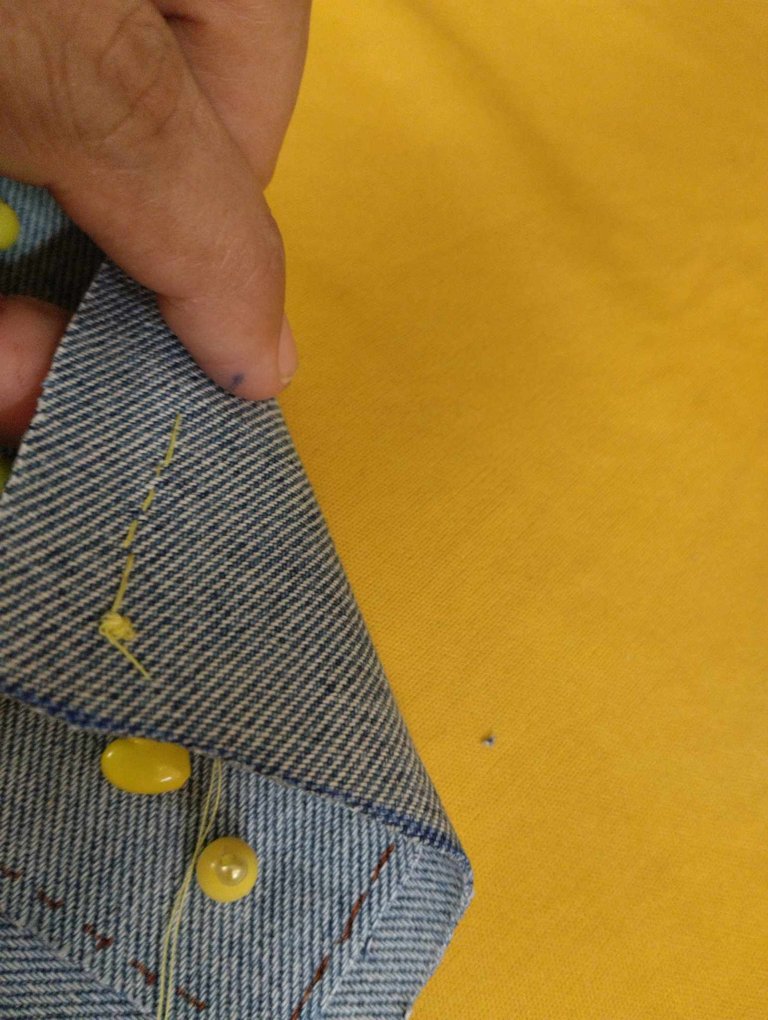
2- Una vez obtenidas las dos piezas, procedí con el marcador marrón, a trazar unas líneas al borde de cada pieza, para hacer el efecto de costura, una vez terminado, tome el rectángulo y con aguja e hilo, comencé a pegar cada una de las cuentas para adornar la funda.
2- Once the two pieces were obtained, I proceeded with the brown marker, to draw some lines on the edge of each piece, to make the seam effect, once finished, I took the rectangle and with needle and thread, I began to glue each of the beads to decorate the cover.
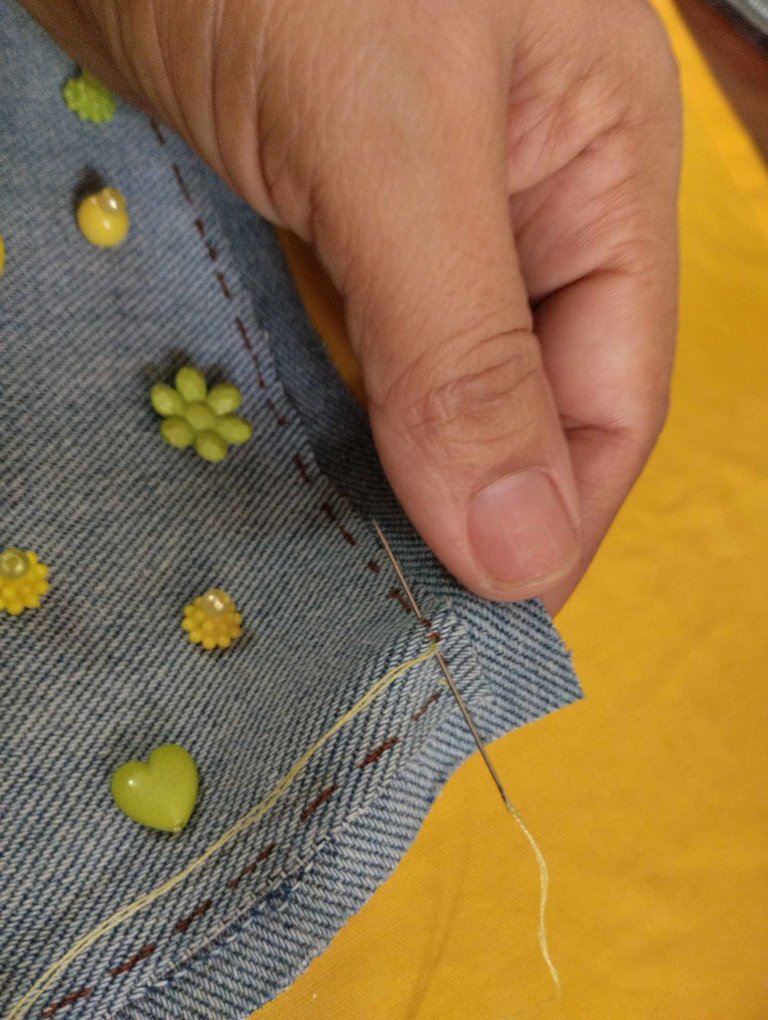
3- Una vez terminada la tapa del bolsillo de la funda, procedemos a coserla a la base con aguja e hilo y terminamos de trazar con el marcador las líneas por el borde de la base
3- Once the pocket cover is finished, we proceed to sew it to the base with needle and thread and we finish tracing the lines along the edge of the base with the marker.
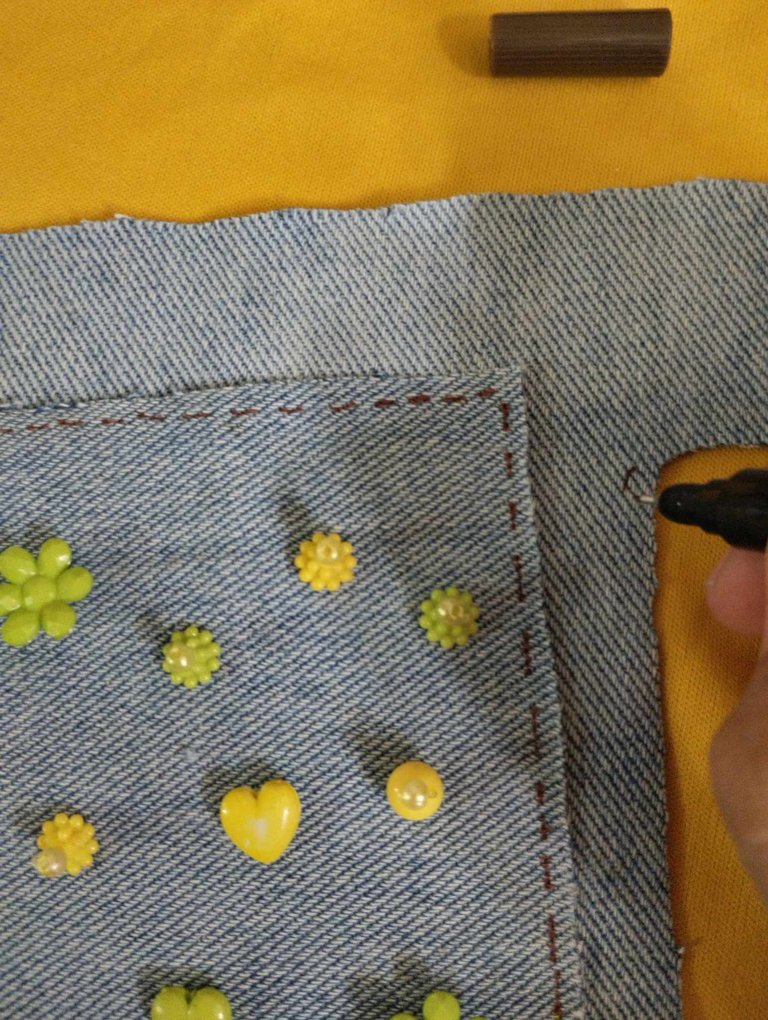

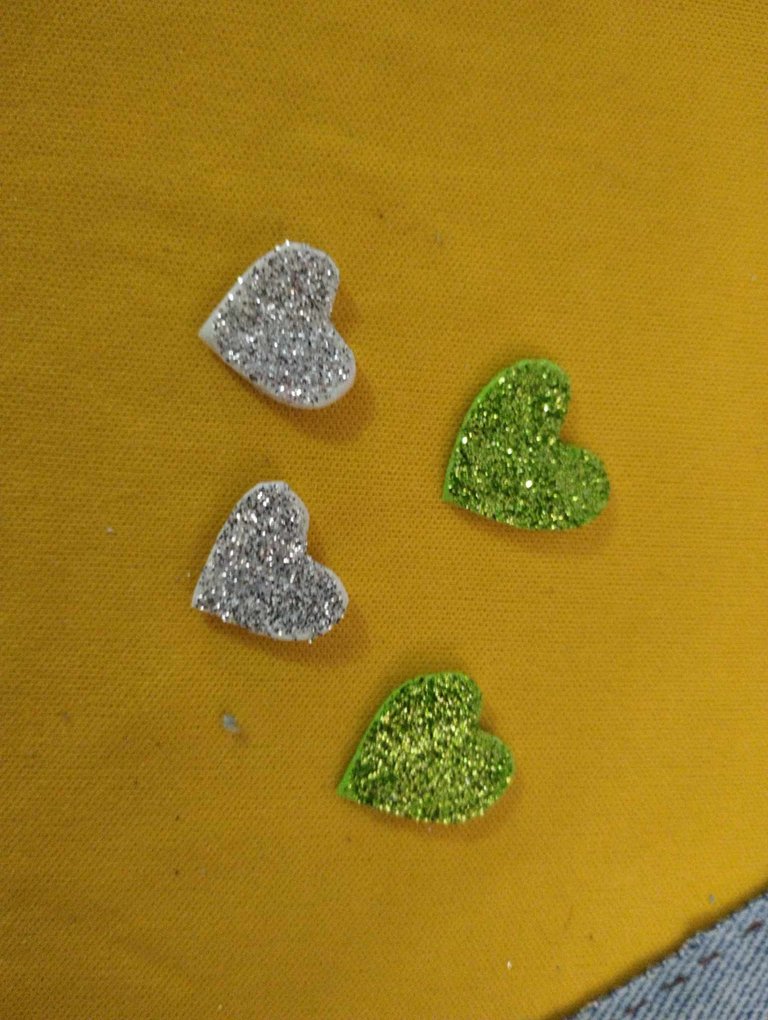
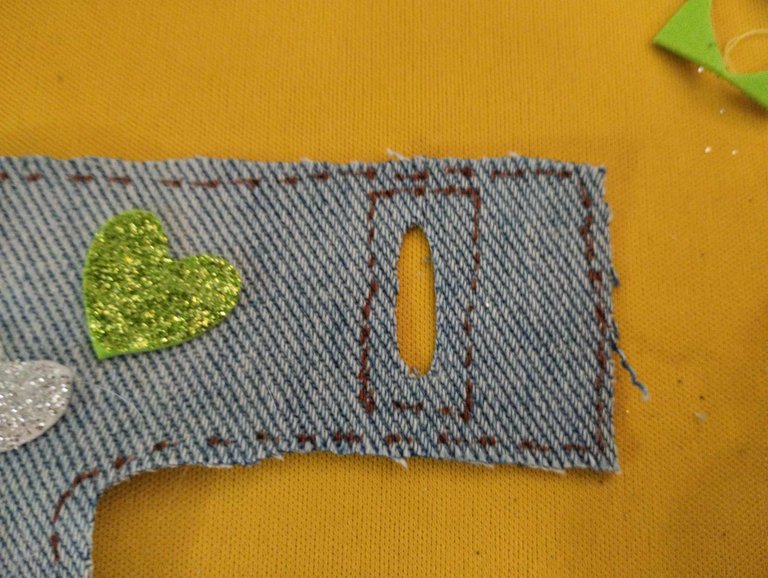
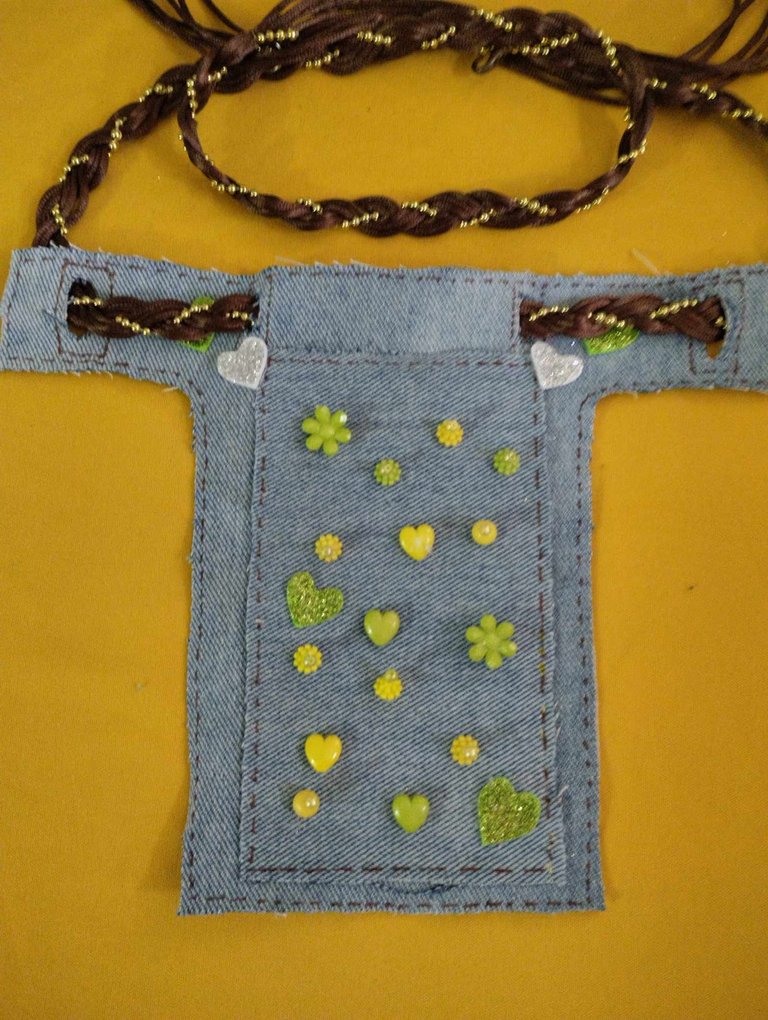
4- Una vez armada la funda, con el foami hacemos unos corazones y los pegamos a la tela; además abrimos 4 huecos a la parte superior de la funda para poder pasar el cinturón o cinta.
4- Once the cover is assembled, we make some hearts with the foami and glue them to the fabric; we also open 4 holes at the top of the cover to be able to pass the belt or ribbon.
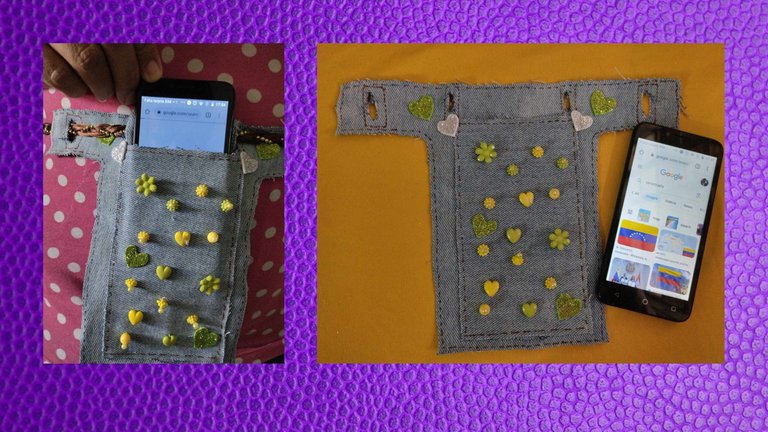
Acá mi funda terminada, espero les haya gustado, todas las imágenes son de mi autoría, la imagen de portada fue editada con canva, utilice traductor Deepl.
Here is my finished cover, I hope you liked it, all the images are my own, the cover image was edited with canva, I used Deepl translator.
Gracias!
Te quedo muy linda y es muy práctica, gracias por compartir ❤️
Gracias a ti por pasar
Hola. Está muy bonita la funda, me encantan todos los detalles amarillos. Gracias por compartir tu creación. Saludos.
hola, gracias. si el amarillo y verde es buena combinación
@vicmito74 es muy interesante está creación,creo que tendrá una una gran utidad porque podrás llevar tu cel, a todas partes, gracias por compartir 🤗
Si una buena opción a la hora de trabajar, gracias por pasar