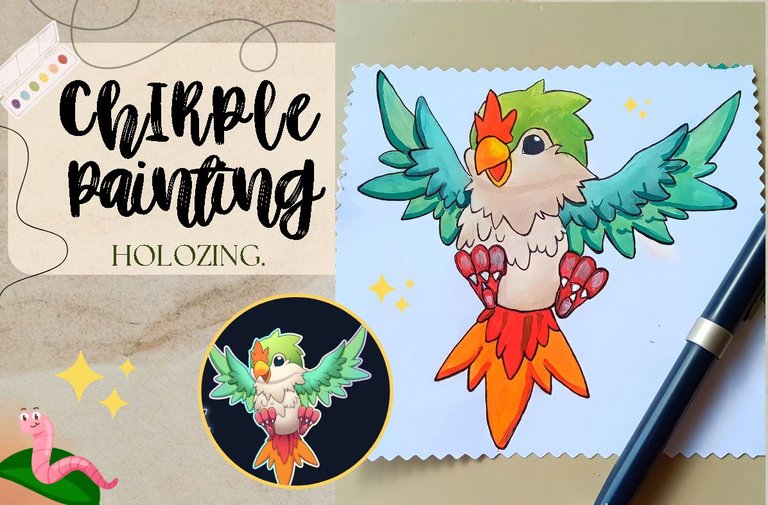
[Esp/Eng] ✨Chirple painting. ✨
🔸Sin más que añadir, a continuación los dejo con el paso a paso:
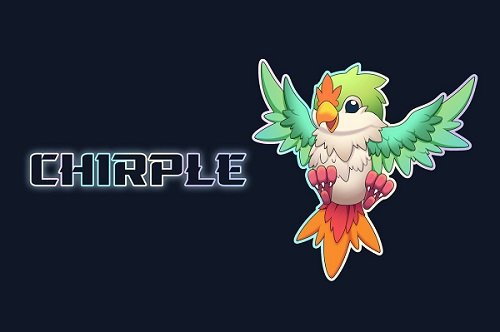
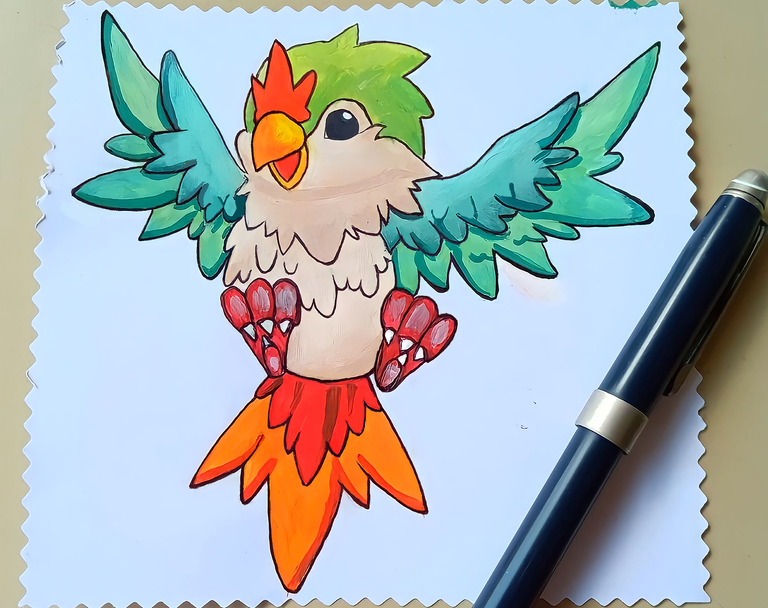
🐦🍃Good afternoon, Holozing friends! I'm happy to stop by again to share with you a new painting of my second favorite Holozing creature, in this case CHIRPLE. I was a little nervous when it came to starting to paint this drawing, because it has a lot of blurred colors and I honestly had no idea how to do it, but it really was much easier than I thought and I learned this technique that I think is which has a very nice finish.
On the other hand, I was a little frustrated because the wings didn't turn out the way I wanted, let's just say that I have a lot to learn when it comes to shadows, but in the end, I was very happy with the result.
🔸Without more to add, then I leave you with the step by step:
♥️ESPERO QUE TE GUSTE,
¡Empecemos!
♥️I HOPE YOU LIKE IT,
Let's start!

✂️ MATERIALES | ✂️ MATERIALS
- Opalina o cartulina blanca.
- Pinceles.
- Marcador negro.
- Pinturas.
- Lápiz.
- Opaline or white cardboard.
- Brushes.
- Black marker.
- Paintings.
- Pencil.
🐦🍃 PROCEDIMIENTO | 🐦🍃** PROCESS
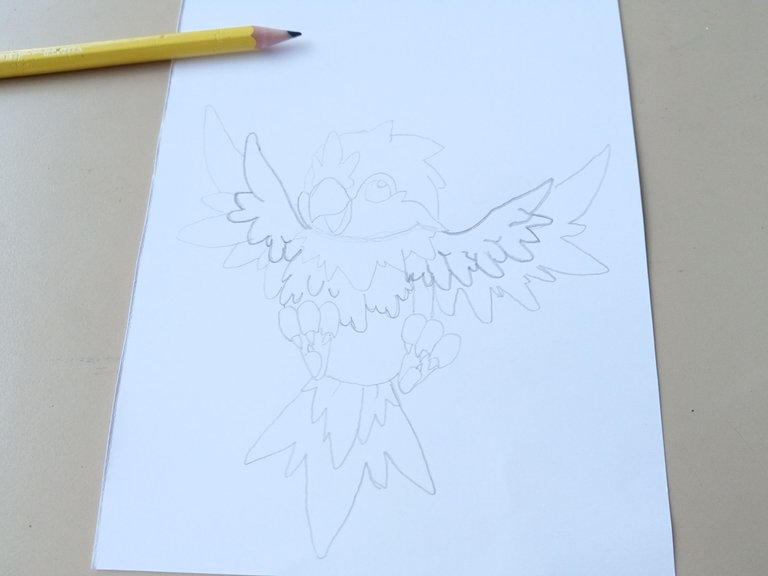
- PASO 1:
Lo primero que hice fue dibujar a CHIRPLE, lo cual fue un poco complicado porque no sé dibujar, así que me tomó un gran tiempo arreglar las alas. Una vez listo el boceto, seleccioné más o menos los colores de pintura que iba a utilizar y mis pinceles.
- STEP 1:
The first thing I did was draw CHIRPLE, which was a bit tricky because I don't know how to draw, so it took me a long time to fix the wings. Once the sketch was ready, I roughly selected the paint colors I was going to use and my brushes.

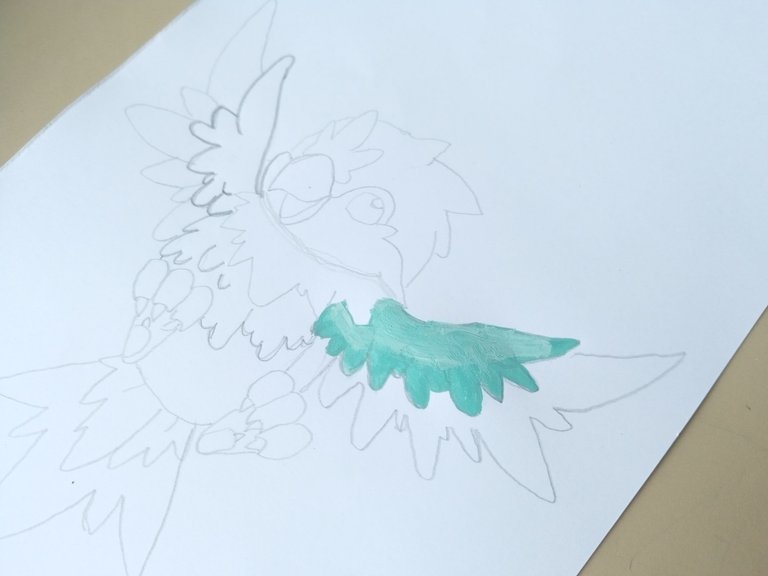
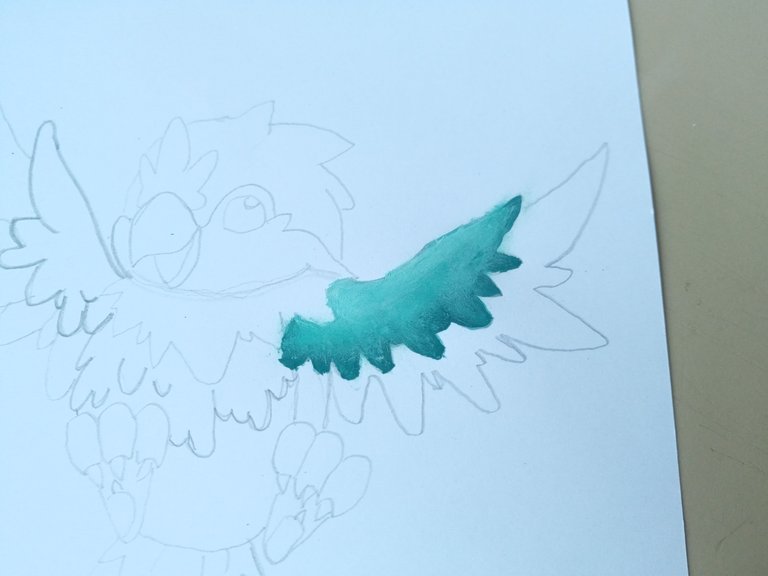
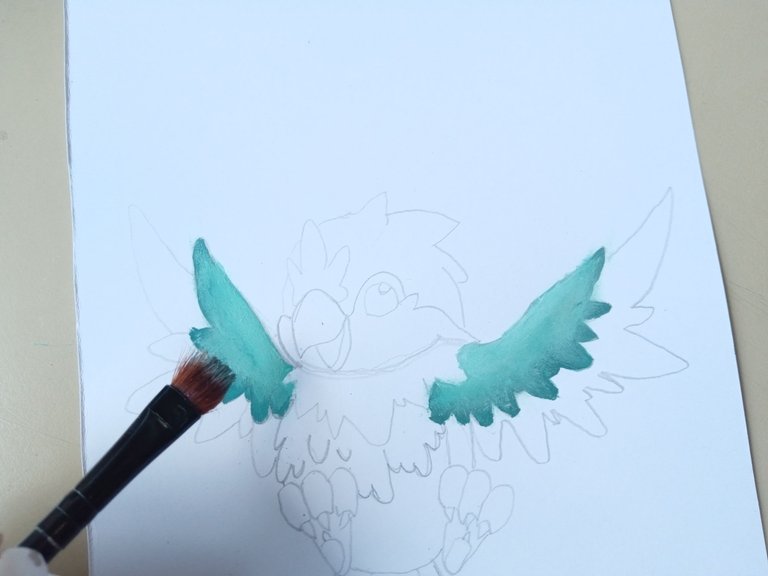
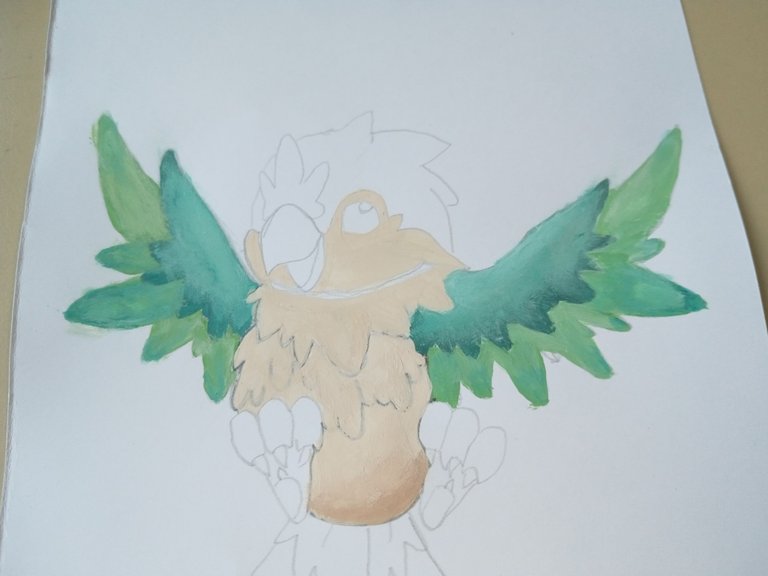
- PASO 2:
Comencé pintando las alas, que para mí era lo más difícil, pero resulto ser más fácil de lo que pensaba, claro que es un poco tardado el hacer el difuminado y hacer la mezcla de colores lo más parecido posible al personaje original. Para crear turquesa, mezclé verde, azul, poco a poco fui integrando el blanco y pinté las alas. Después, para el tono más oscuro, fue la misma mezcla de colores, pero dejándolo uno o dos tonos más oscuros que el anterior.
📌Para que no se vea la unión de ambos tonos, simplemente tomé un pincel seco y lo pase como si estuviera borrando en medio de ambos, para así lograr el difuminado.
- STEP 2:
I started by painting the wings, which for me was the most difficult, but it turned out to be easier than I thought, of course it takes a little time to do the blending and make the color mix as similar as possible to the original character. To create turquoise, I mixed green, blue, little by little I integrated the white and painted the wings. Then, for the darker tone, it was the same mix of colors, but leaving it one or two shades darker than the previous one.
📌So that the union of both tones is not seen, I simply took a dry brush and passed it as if I were erasing in the middle of both, in order to achieve the blend.
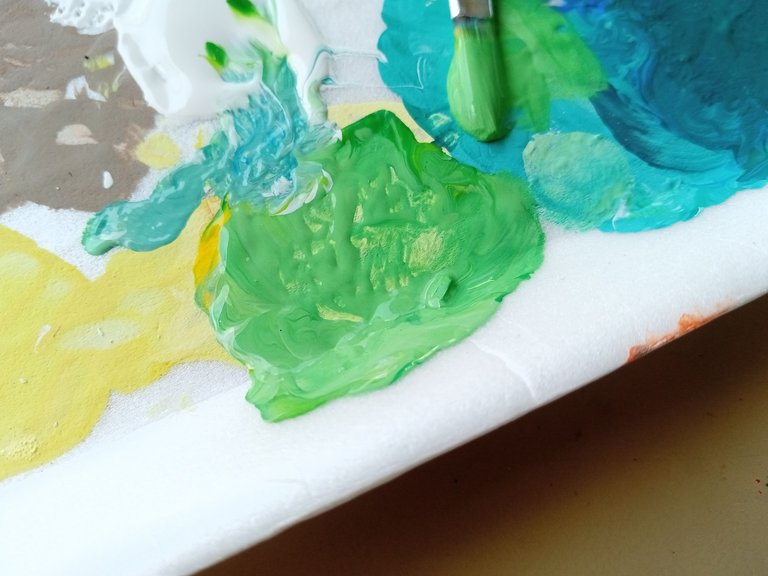
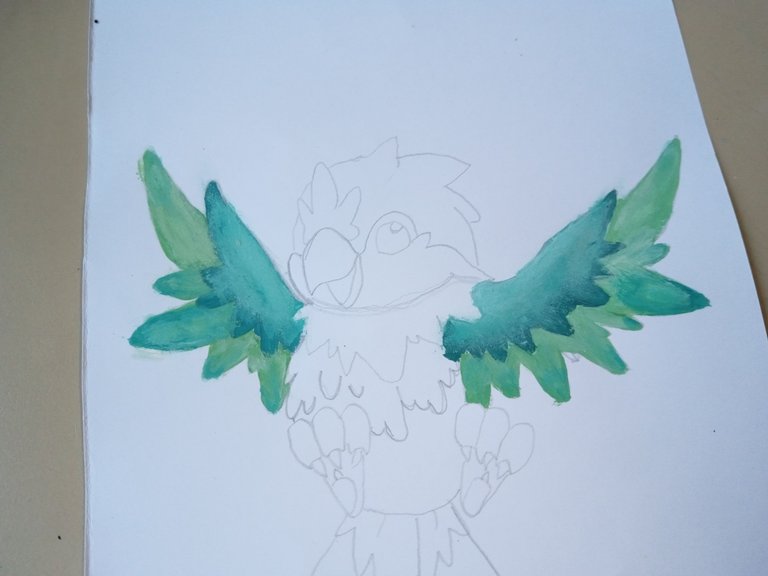
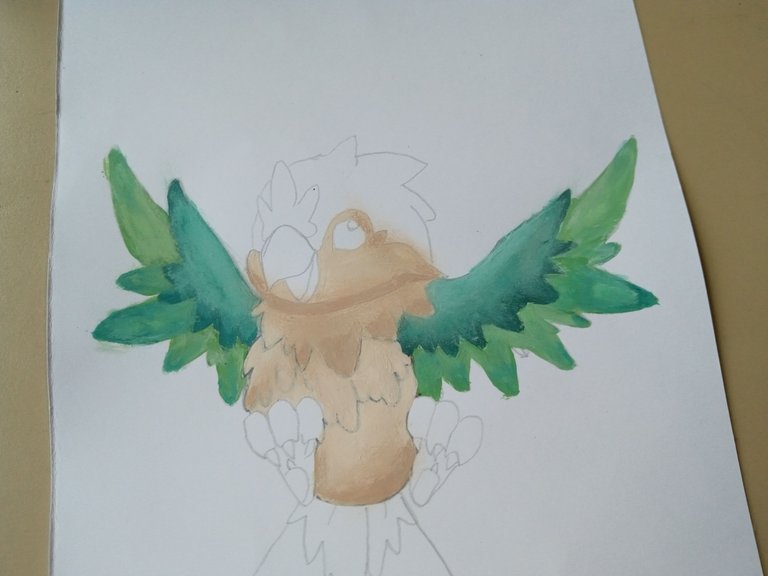
- PASO 3:
En las alas inferiores fue el mismo proceso que en las alas superiores, pero esta vez mezclando verde, amarillo y blanco, pero para el color más fuerte, utilicé un poco del turquesa en algunas de las puntas.
- STEP 3:
On the lower wings it was the same process as the upper wings, but this time mixing green, yellow and white, but for the stronger color, I used a little bit of the turquoise on some of the tips.
- PASO 4:
Para el cuerpo, mezclé blanco con una gota de marrón y pinté. Para las sombras del cuerpo, tomé otra gota de marrón para oscurecer solo un poco y apliqué las sombras, ayudándome con la misma técnica con el pincel seco para unir los colores.
- STEP 4:
For the body, I mixed white with a drop of brown and painted. For the body shadows, I took another drop of brown to darken just a little and applied the shadows, using the same technique with the dry brush to blend the colors.
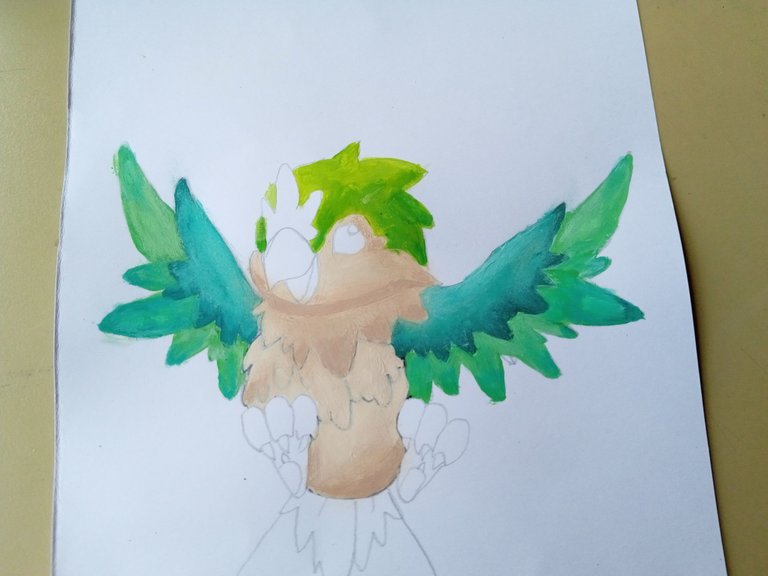
- PASO 5:
La cabeza también iba con esta técnica de difuminado, así que para el color más claro mezclé el verde con más cantidad de amarillo y para el oscuro con más cantidad de verde. Posteriormente, pinté la cresta y parte de la cola de rojo. También, pinté el pico utilizando amarillo y luego naranja.
- STEP 5:
he head also went with this blending technique, so for the lighter color I mixed the green with more yellow and for the dark one with more green. Later, I painted the crest and part of the tail red. Also, I painted the beak using yellow and then orange.

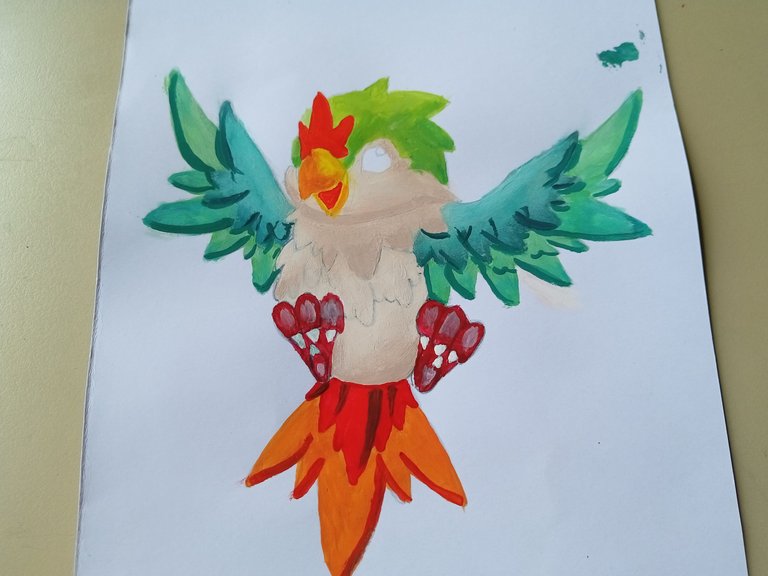
- PASO 6:
Pinté las patas con un rojo más intenso, las pesuñas de blanco, apliqué las sombras y usé un tono más oscuro para cada una de las partes del cuerpo y las alas. Por último, pinté el ojo, delineé con marcador negro el dibujo y modifiqué las partes que no me convencían.
- STEP 6:
I painted the legs with a deeper red, the hooves white, applied the shadows and used a darker tone for each of the body parts and the wings. Finally, I painted the eye, outlined the drawing with a black marker and modified the parts that did not convince me.
❤️ Hasta la próxima publicación.
❤️ Until the next post.


Todas las fotografías son de mi propiedad.
Separador y Fotos editadas en Canva
All photographs are my property.
Photos edited in Canva
Pero si te quedó preciosooo 😍 Me encantan sus colores, que hermoso mi Valen!!!
Muchas gracias mi Vane bella!! Me alegra que te haya gustado, siempre me dejas bonitas palabras y lo agradezco 💕
Una belleza total este dibujo mi Valen, cada vez me sorprendes más y estoy muy orgullosa de ti por atreverte cada día a experimentar cosas nuevas, sabes que tampoco soy experta pero disfruto de hacer esta actividad;
Me fascinó ✨💗
Gracias por compartir, te quiero mucho!
Ay amiga, no puedo creer que seas tan hermosa !! Gracias por tus bellas palabras 💕. Eso es verdad amiga, aunque tú si qué pintas precioso y me alegra compartir este amor a la pintura contigo.
Te quiero muchísimo bella!!! 💕
Te quedó bellísimo, Valen. Demasiado cuchi.
Muchas gracias Bani bella!! Me alegra mucho que te haya gustado.🤭
Que precioso dibujo ami 😍😍 Amo como te quedan con tantos detalles y colores, de verdad que tienes mucho talento para esto 😘
Muchas gracias Mary bella! Me alegra muchísimo que te haya gustado. A mí aún me da un poco de vergüenza mostrar mis dibujitos, pero se hace lo que se puede.🤭
nice :)
Thanks very much buddy!
A mi me encantoooo😍😍😍, te quedo muy hermoso ami
Muchas gracias mi Yage bella! A mí me cuesta un poquito, mostrar mis pi tiras, pero poco a poco voy aprendiendo 🤭
Congratulations, your post has been upvoted by @dsc-r2cornell, which is the curating account for @R2cornell's Discord Community.
Enhorabuena, su "post" ha sido "up-voted" por @dsc-r2cornell, que es la "cuenta curating" de la Comunidad de la Discordia de @R2cornell.
Muchas gracias amigos 💗☺️
Amoo aparte que el personaje es bello y muy tierno, hiciste un trabajo increíble. Yo no sé pintar ni combinar colores así. Es todo un arte amiga bella.
Te quedó hermoso
Gracias mi Rosita! Ay no creo mucho, tu eres muy creativa y talentosa, yo creo que te pones a pintar y sale algo hermoso 🤭💗.
Gracias hermosa!
Hermoso trabajo amiga! Espero ver más dibujos como estos 🥰✨
Muchas gracias Ely! Me alegra que te haya gustado, así será!✨✨