Christmas gifts! 🌲💝💯
Hola a todos en esta gran familia de HiveDiy, el día de hoy paso por acá para mostrarles como realizó un hermoso zapatito navideño de foami y marabú; ideal para utilizarlo de cofre para hacer un obsequio en estos tiempos de Pascua, para llenarlo de golosinas o sencillamente para decorar el árbol de navidad.
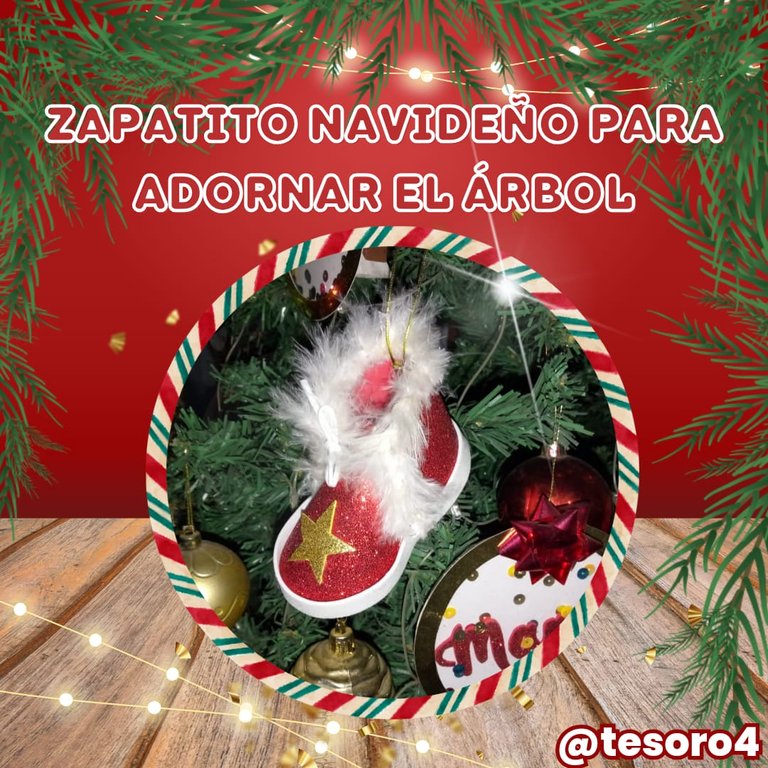
Hello everyone in this great family of HiveDiy, today I'm stopping by to show you how I made a beautiful Christmas shoe made of foami and marabou; ideal to use it as a gift box for Easter, to fill it with candy or simply to decorate the Christmas tree.
Los materiales que vamos a utilizar son los siguientes:
🪄🪄🪄🪄🪄🪄🪄🪄🪄🪄🪄🪄🪄🪄🪄🪄
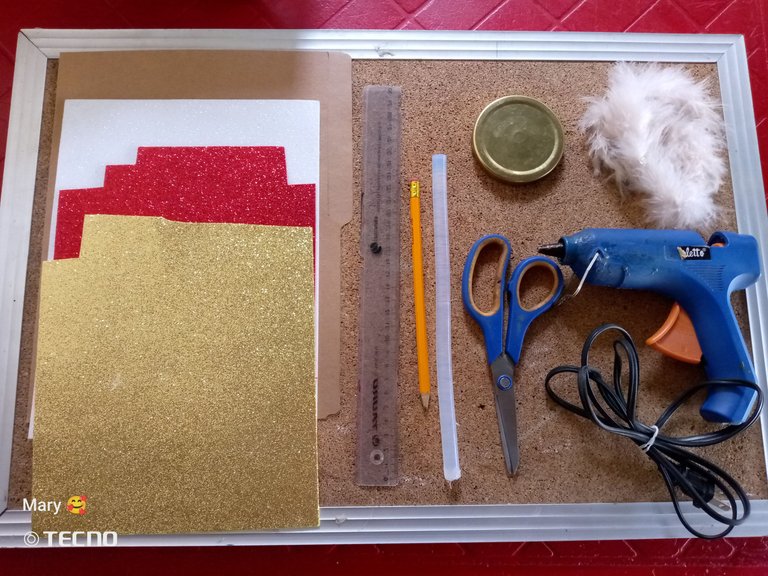
🌲Foami rojo, blanco, beige y dorado
🌲Silicón en barra
🌲Pistola de silicón
🌲Marabú color beige
🌲Cartón o cartulina
🌲Tijeras
🌲Lápiz
🌲Tapa para medir circunferencia
🌲Cinta métrica
🌲Red, white, beige and golden foami
🌲Silicone stick
🌲Silicone gun
🌲Marabou beige color
🌲Cardboard or cardboard
🌲Scissors
🌲Pencil
🌲Circumference measuring cap
🌲Tape measure
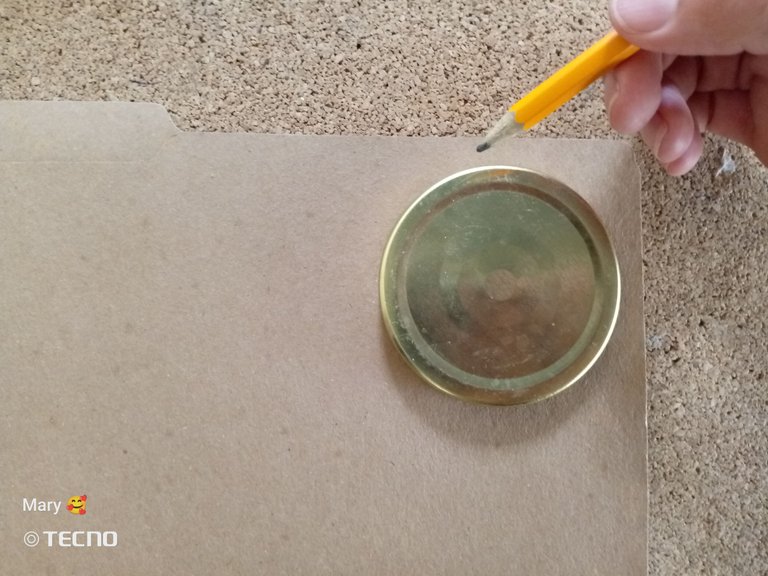
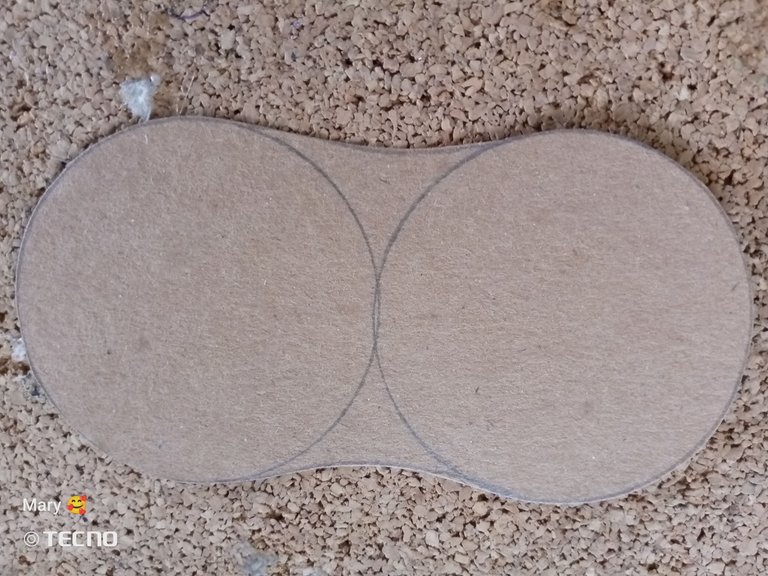
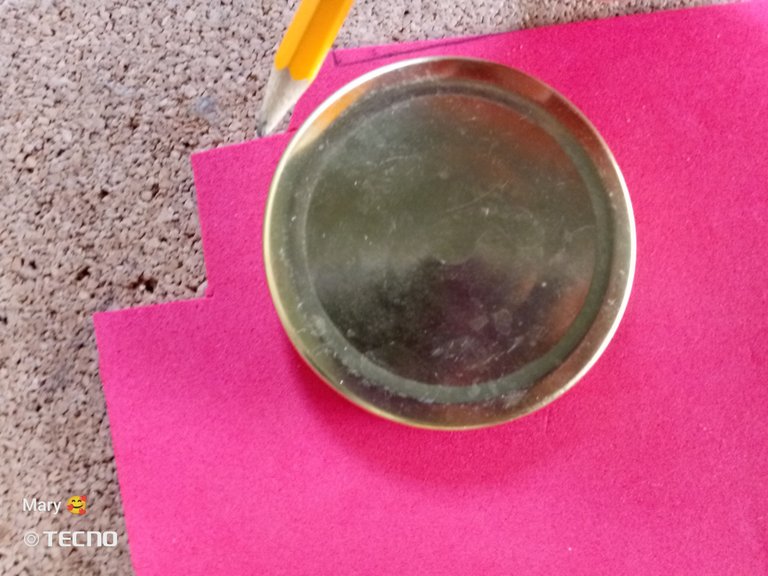
Paso 1
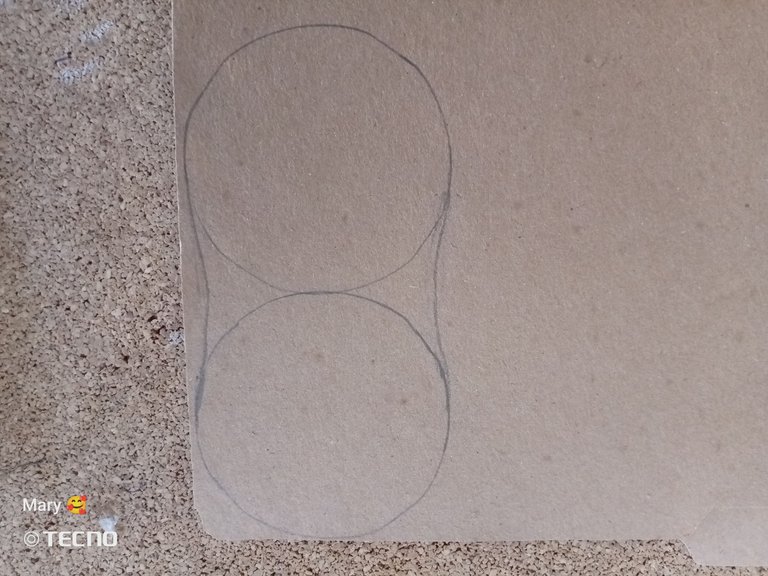
Marcamos en el cartón con la ayuda de un lápiz, la circunferencia de la tapa, para lo que será la suela de nuestro zapatito; está marca hay que hacerla doble para marcar la punta y el talón; y recortamos.
We mark on the cardboard with the help of a pencil, the circumference of the lid, for what will be the sole of our little shoe; this mark must be doubled to mark the toe and the heel; and we cut it out.
🌲Foami rojo, blanco, beige y dorado
🌲Silicón en barra
🌲Pistola de silicón
🌲Marabú color beige
🌲Cartón o cartulina
🌲Tijeras
🌲Lápiz
🌲Tapa para medir circunferencia
🌲Cinta métrica
🌲Red, white, beige and golden foami
🌲Silicone stick
🌲Silicone gun
🌲Marabou beige color
🌲Cardboard or cardboard
🌲Scissors
🌲Pencil
🌲Circumference measuring cap
🌲Tape measure
Paso 1
Marcamos en el cartón con la ayuda de un lápiz, la circunferencia de la tapa, para lo que será la suela de nuestro zapatito; está marca hay que hacerla doble para marcar la punta y el talón; y recortamos.
We mark on the cardboard with the help of a pencil, the circumference of the lid, for what will be the sole of our little shoe; this mark must be doubled to mark the toe and the heel; and we cut it out.
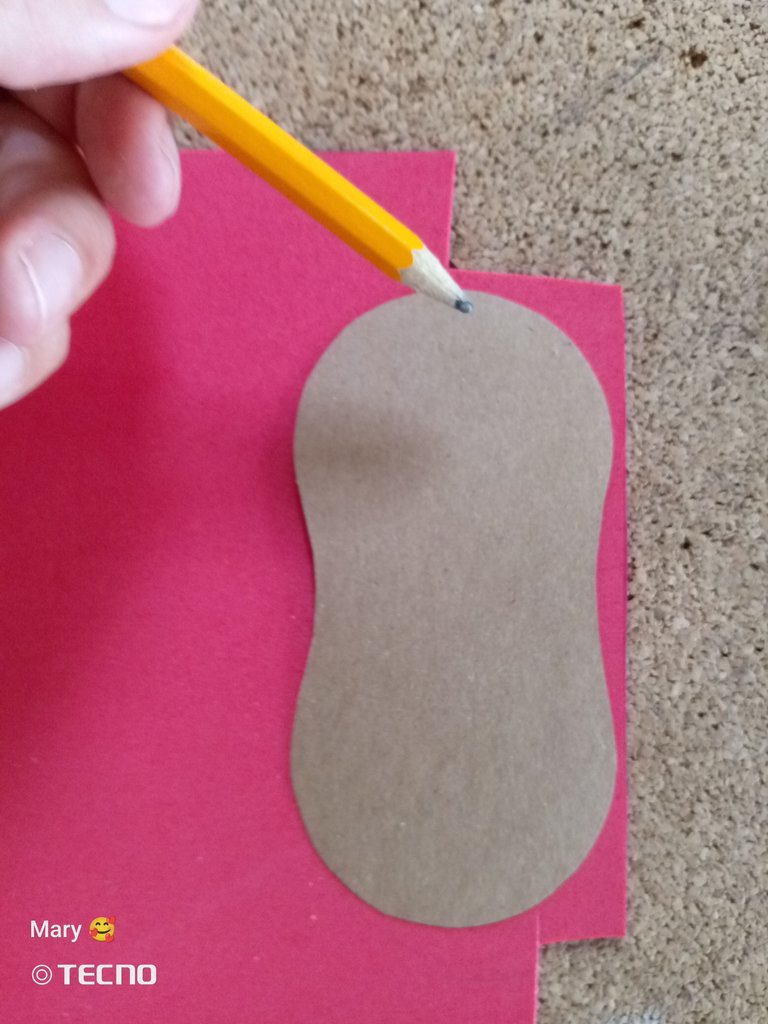
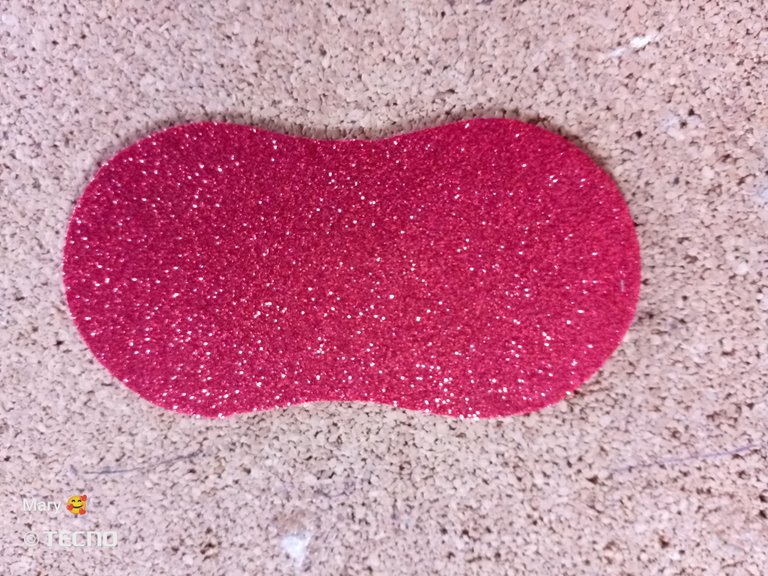
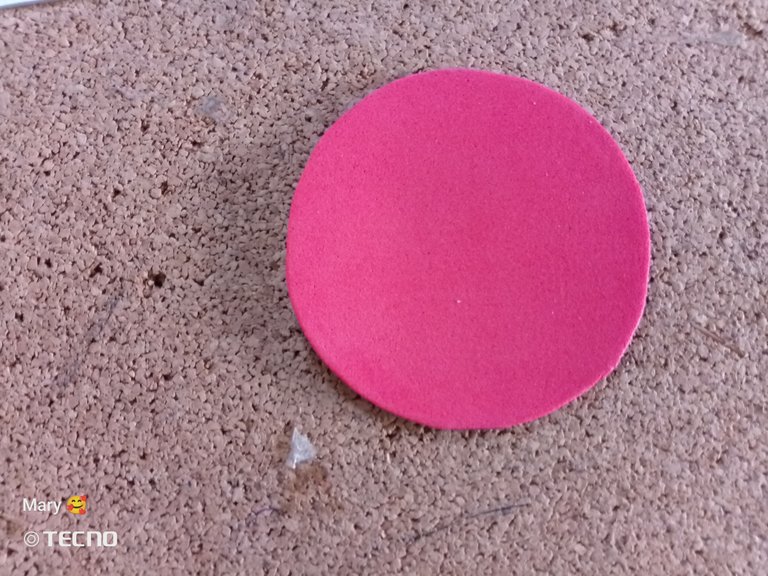
Paso 2
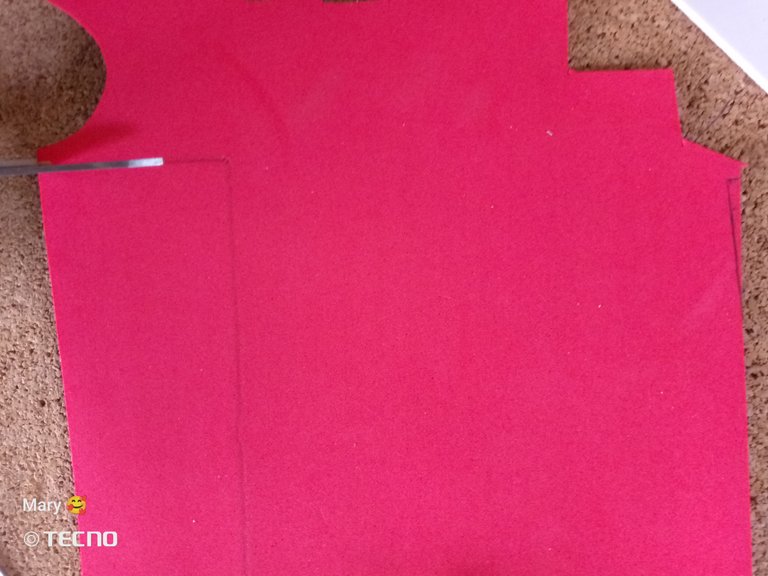
Copiamos y recortamos la pieza en el foami rojo y beige, para forrar el cartón; por la parte de arriba con Foami beige que será la parte interna de la bota y por la parte de abajo con foami rojo.
We copy and cut out the piece in red and beige foami, to line the cardboard; on the top with beige foami, which will be the inner part of the boot, and on the bottom with red foami.
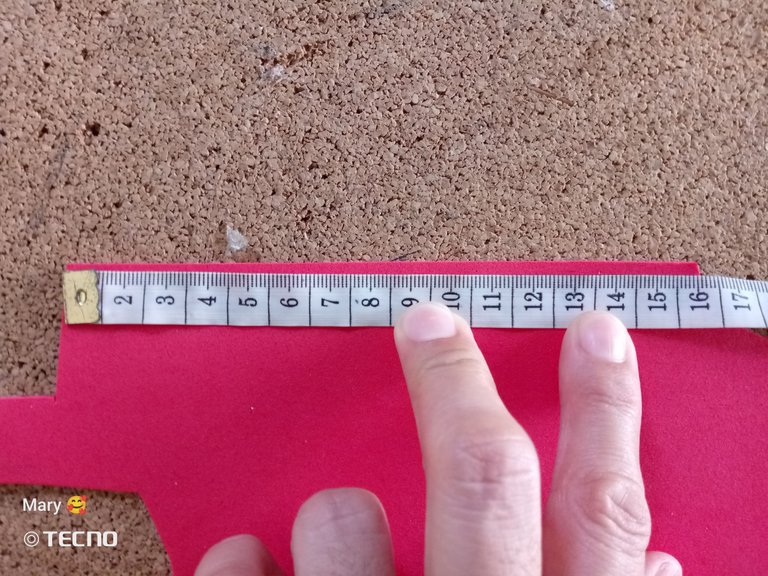
Paso 3
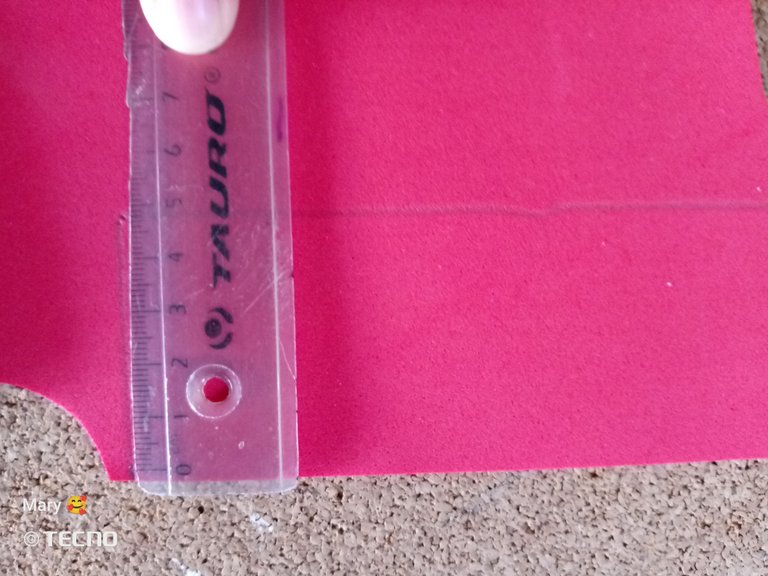
Luego con la ayuda de la cinta métrica, medimos en el zapatito lo que será el contrafuerte (parte que recubre el talón y lo sujeta en la posición adecuada); para luego marcar en el foami rojo y recortar la pieza, en este caso las medidas son de 15cm de largo por 5 de ancho; estás medidas van a depender del tamaño de su zapatito.
Then with the help of the tape measure, we measure on the shoe what will be the buttress (part that covers the heel and holds it in the right position); then we mark on the red foami and cut the piece, in this case the measures are 15cm long by 5 wide; these measures will depend on the size of your shoe.

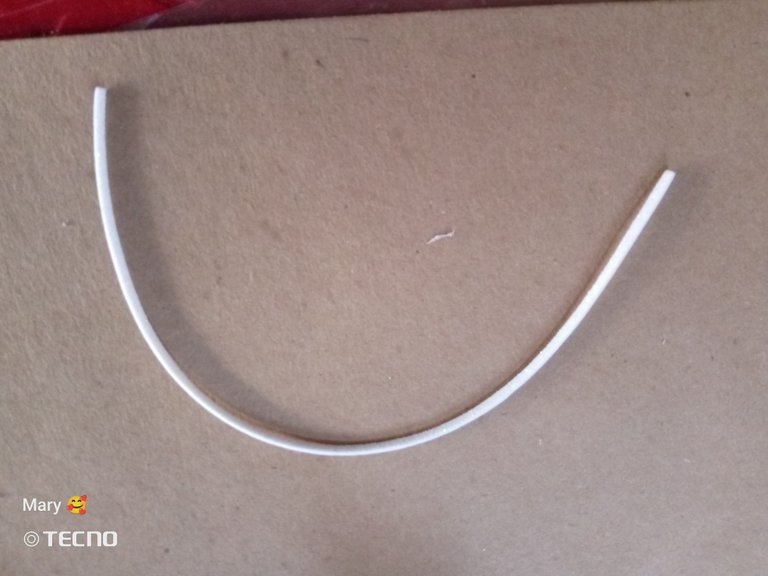
Paso 4
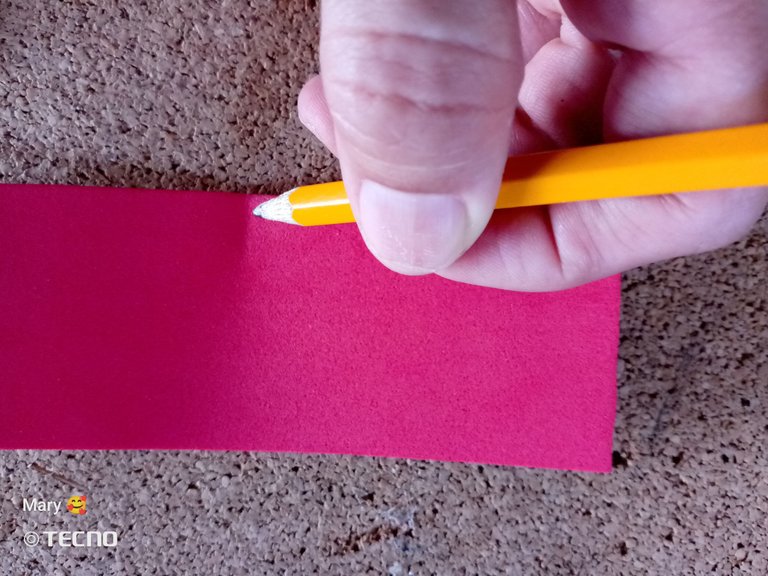
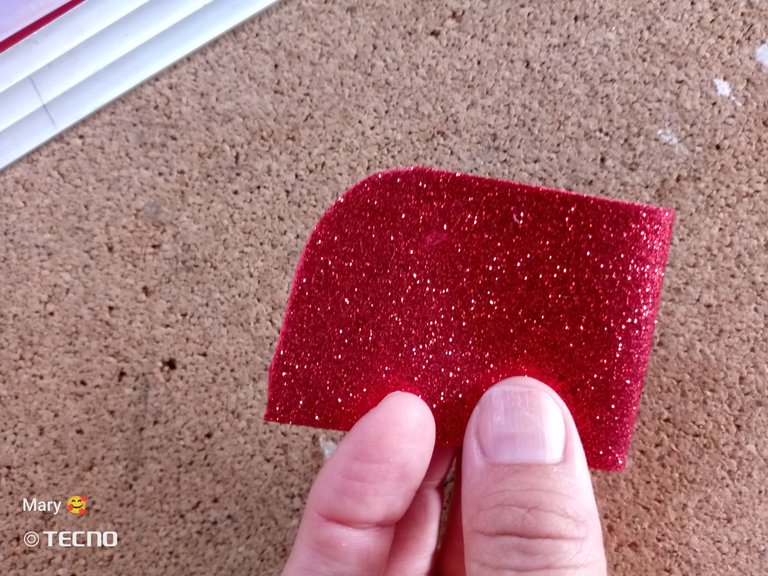
Recortamos y nos va a quedar una tira como les muestro a continuación; luego marcamos cuál es la mitad del contrafuerte y doblamos para hacer la marca de la mitad de la pieza.
We cut and we will have a strip as shown below; then we mark which is the half of the buttress and we fold to make the mark of the half of the piece.
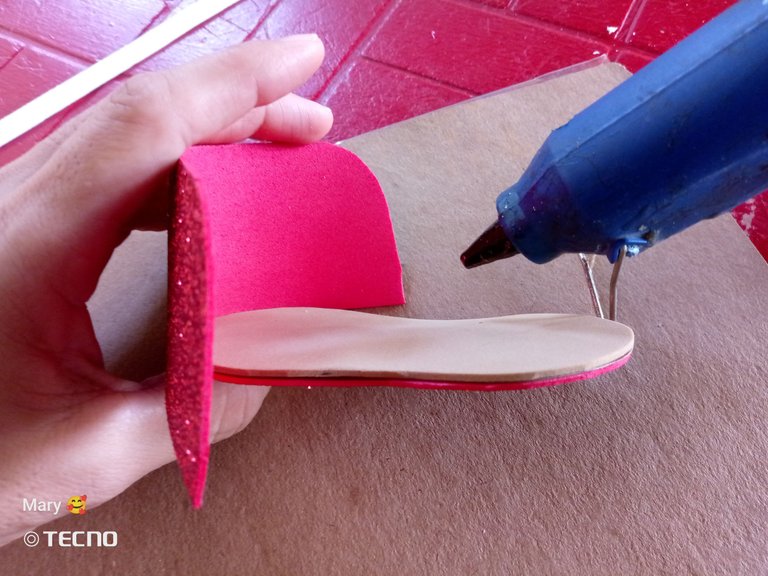
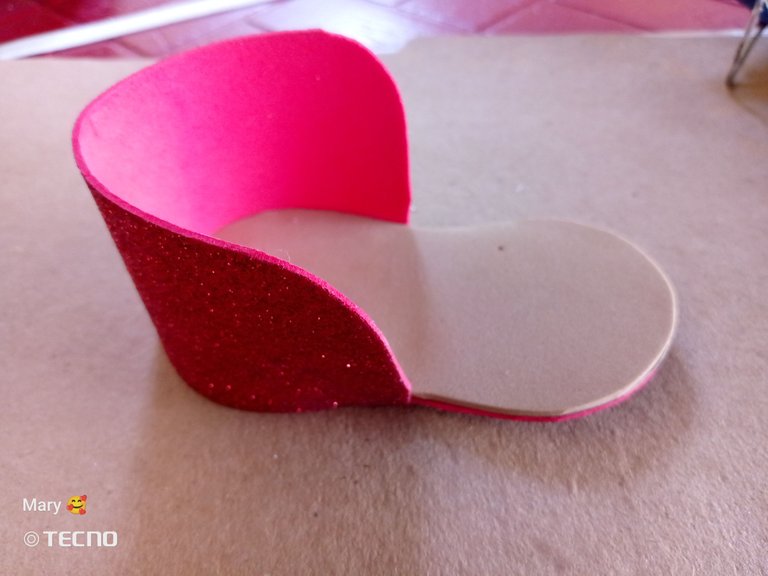
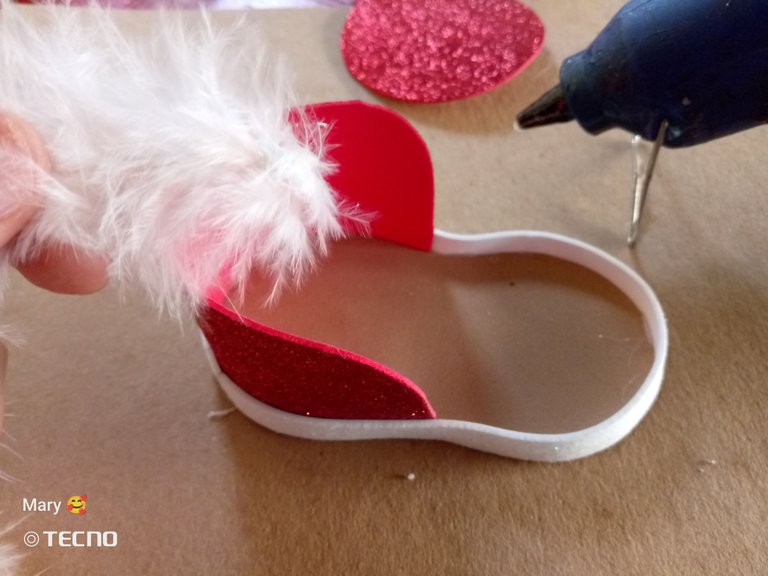
Paso 5
Procedemos a pegar en la suela del zapato, con la ayuda del silicón de pistola y se verá como les muestro.
We proceed to glue on the sole of the shoe, with the help of the silicone gun and it will look as I show you.
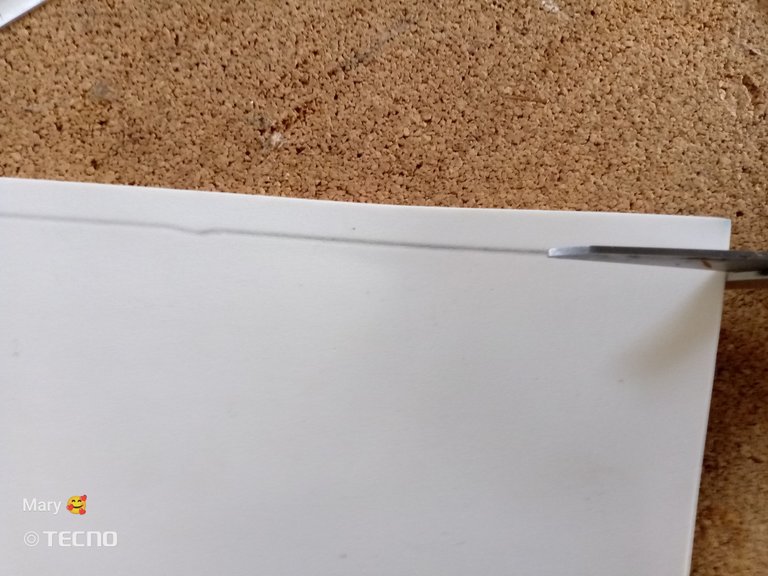
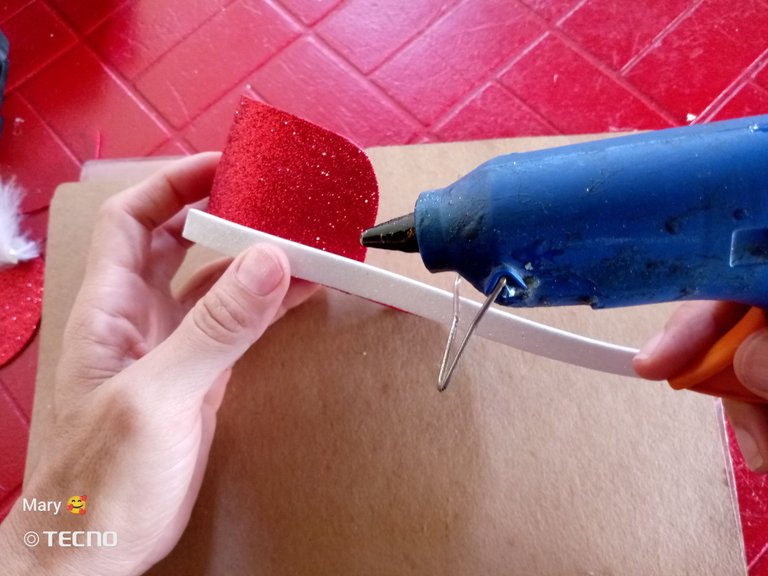
Paso 6
Seguidamente marcamos y cortamos una tira de Foami blanco de 1cm, para llevar en el borde de toda la suela de nuestro zapatito.
Then we mark and cut a 1cm strip of white Foami, to be worn on the edge of the entire sole of our little shoe.

Paso 7
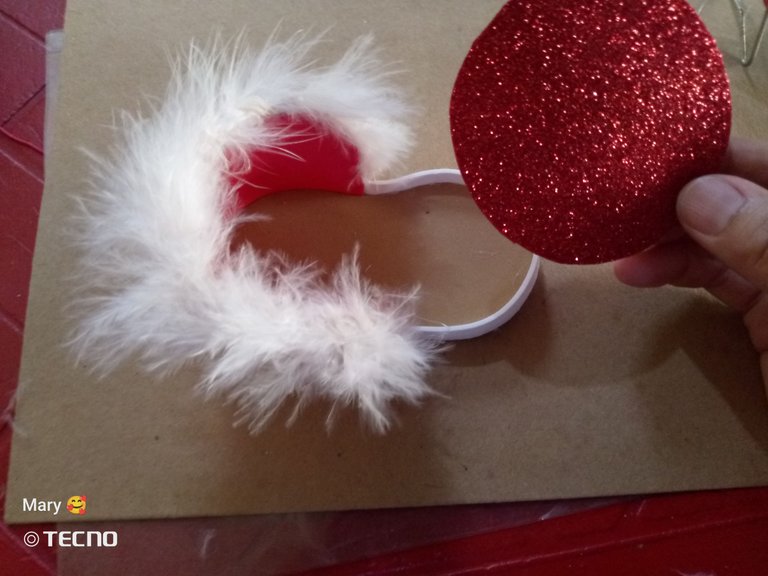
En este momento marcamos y recortamos la puntera (pieza que recubre los dedos y la punta del zapatito).
At this point we mark and cut out the toe cap (the piece that covers the toes and the tip of the shoe).
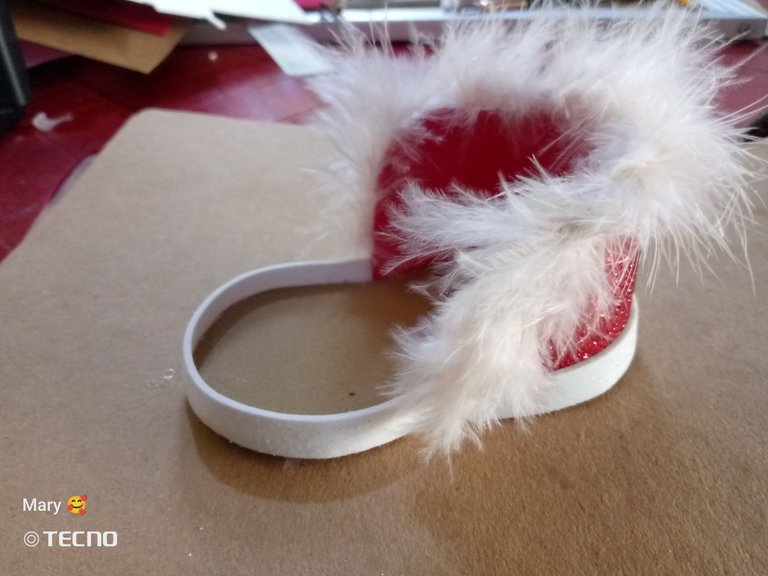
Paso 8
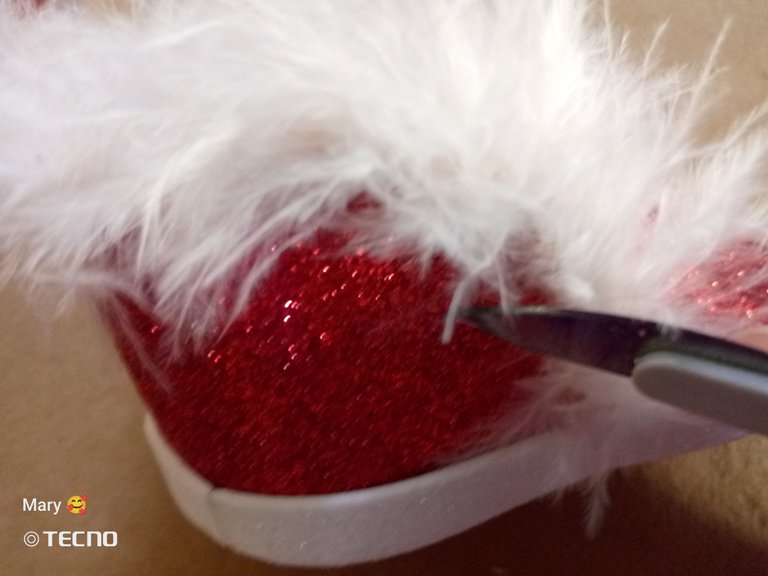
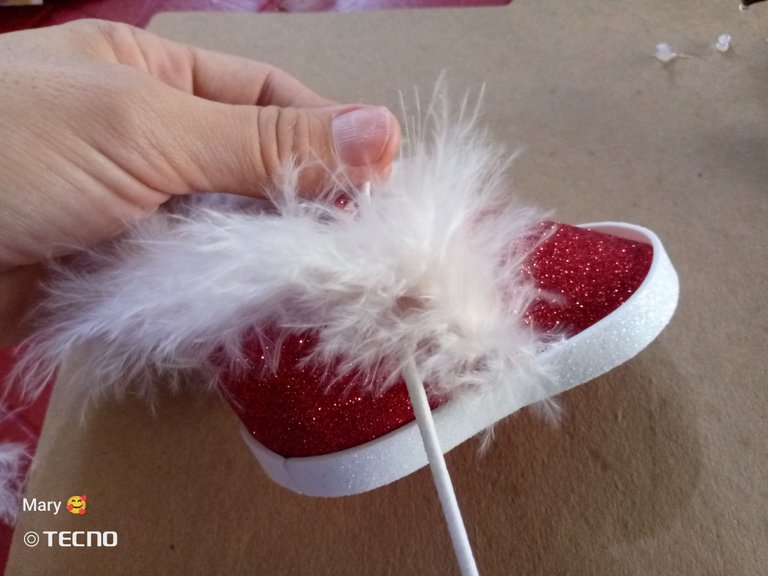
Pegamos por el borde de la pieza contrafuerte, el Marabú.
We glue along the edge of the buttress piece, the Marabu.
Paso 9
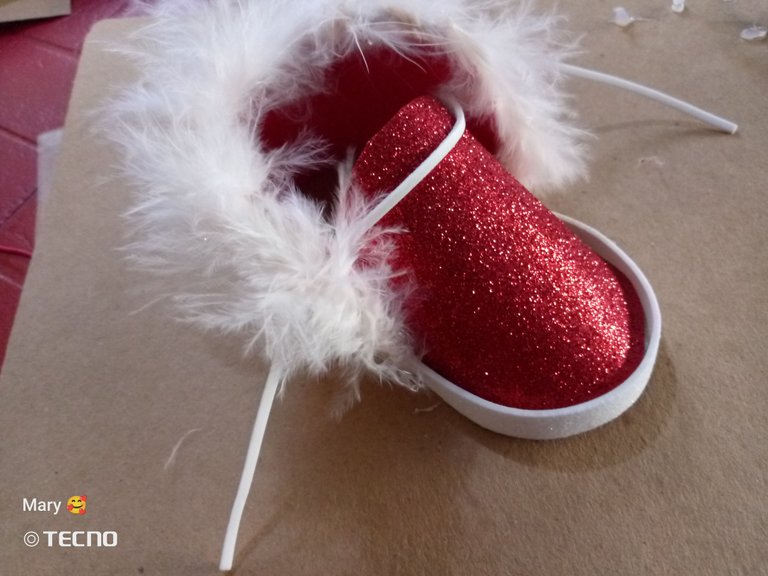
Pegamos la puntera con la ayuda de la pistola de silicón.
We glue the toe cap with the help of the silicone gun.
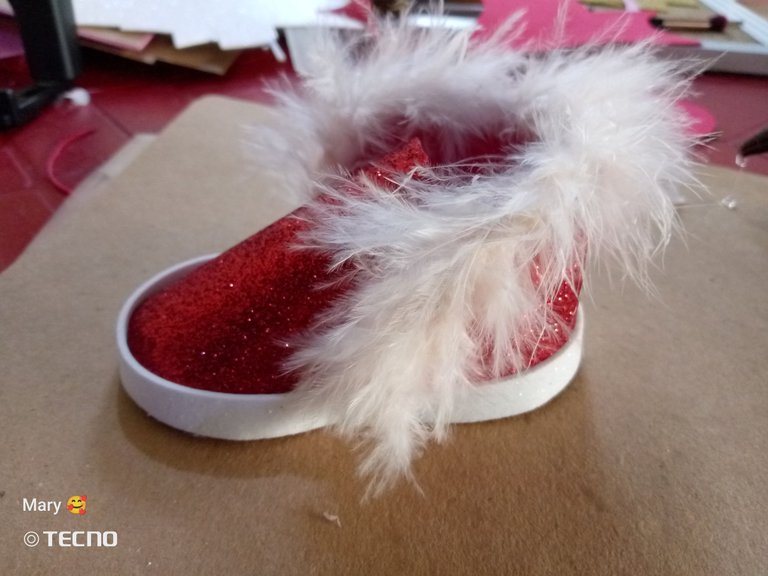
¡Así de lindo está quedando nuestro zapatito!
Paso 10
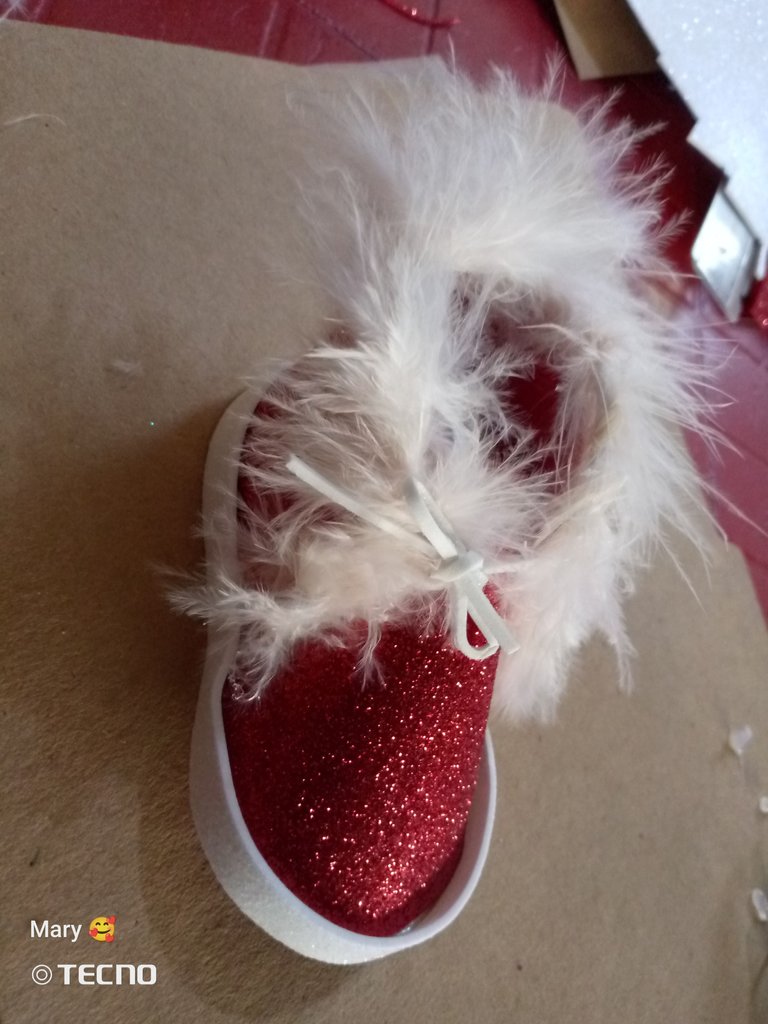
Ahora recortamos de foami blanco una tira muy fina que será nuestra trenza y marcamos con la punta de un exacto el orificio por dónde pasaremos dicha trenza.
Now we cut out a very thin strip of white foami that will be our braid and we mark with the tip of an exacto the hole where we will pass the braid.
Paso 11
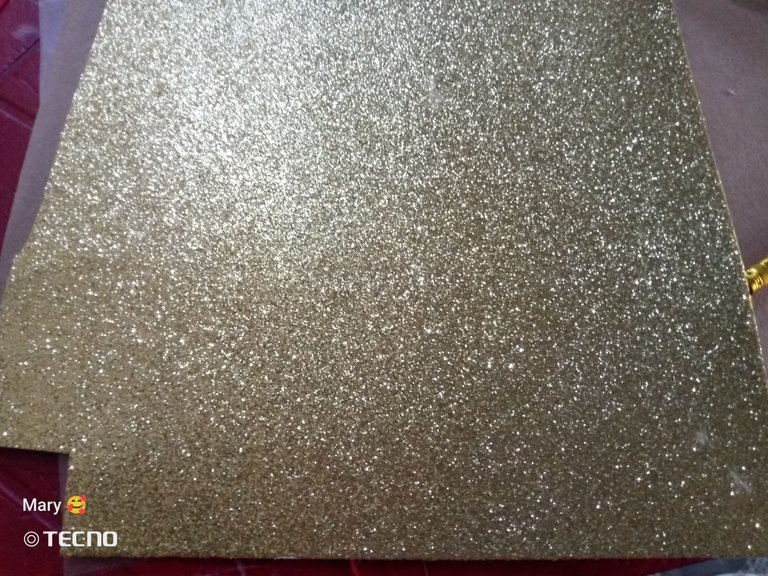
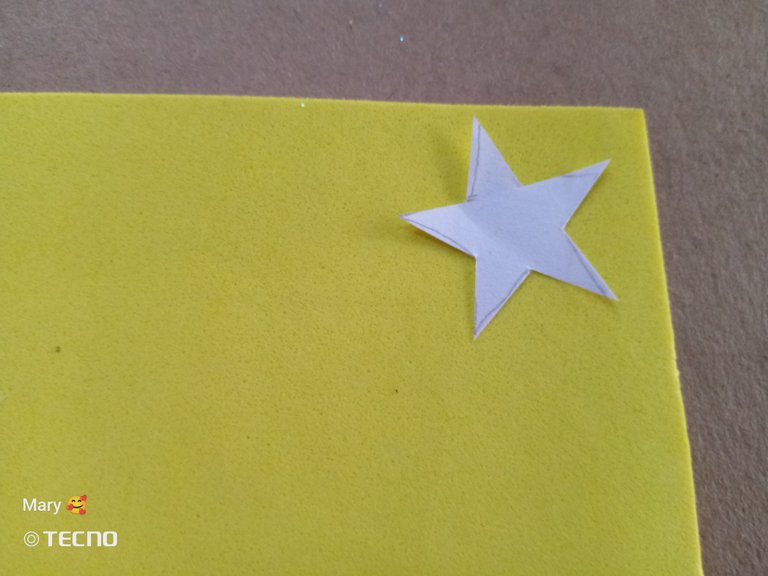
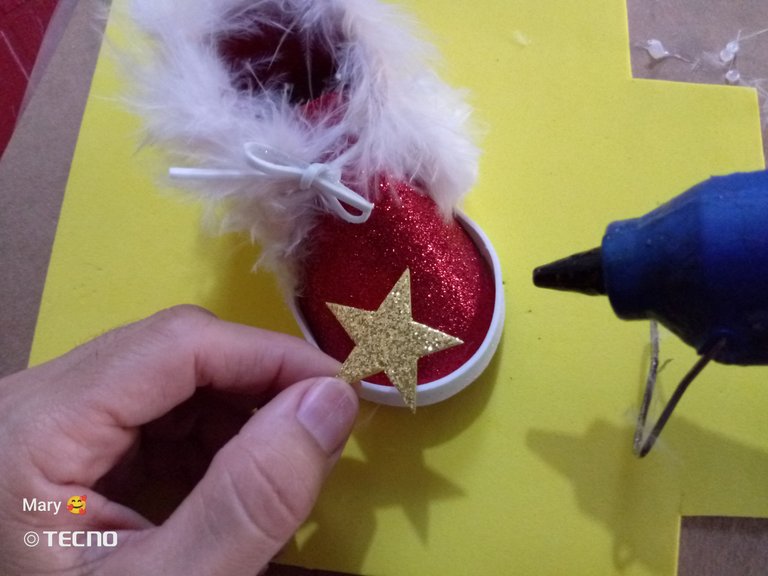
Seguidamente tomamos un trozo de foami dorado, marcamos una estrella para decorar, recortamos y la pegamos en la parte de adelante de nuestro zapatito.
Then we take a piece of gold foami, mark a star to decorate, cut it out and glue it on the front of our little shoe.
Paso 12
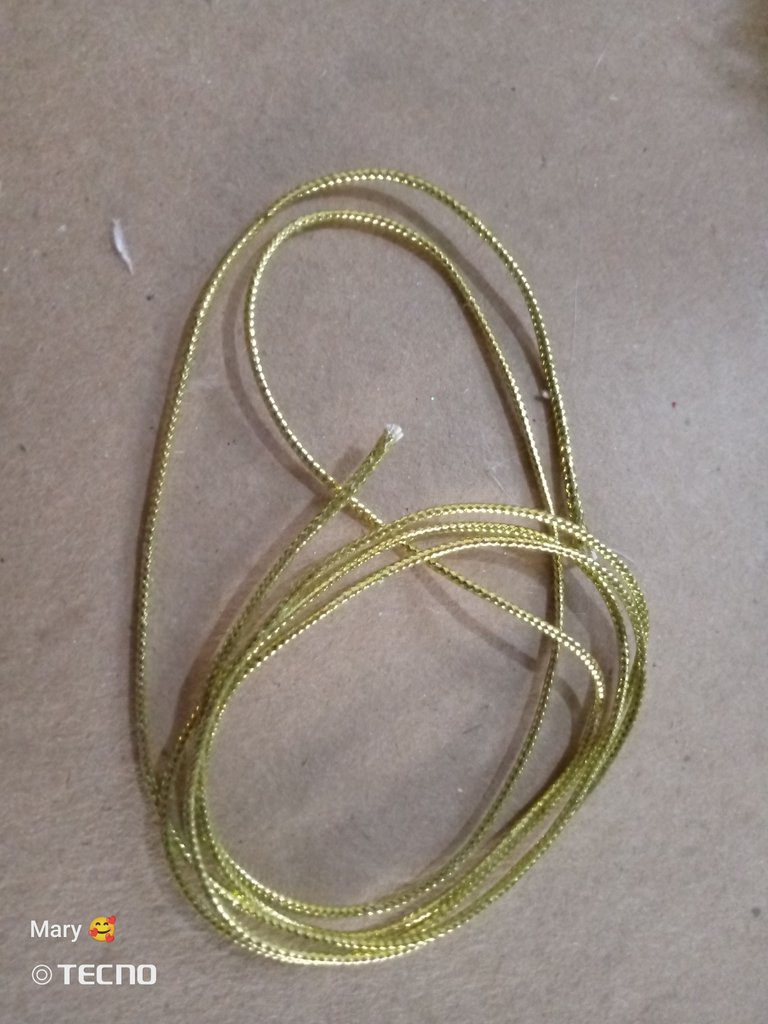
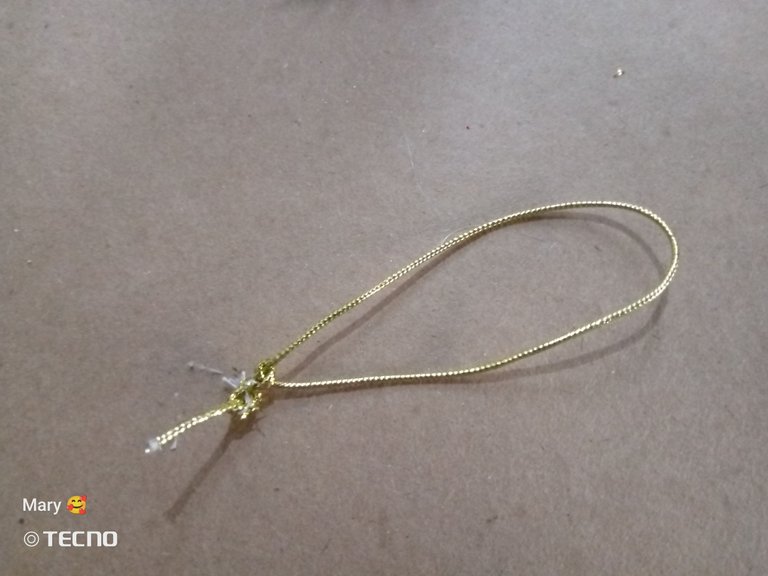
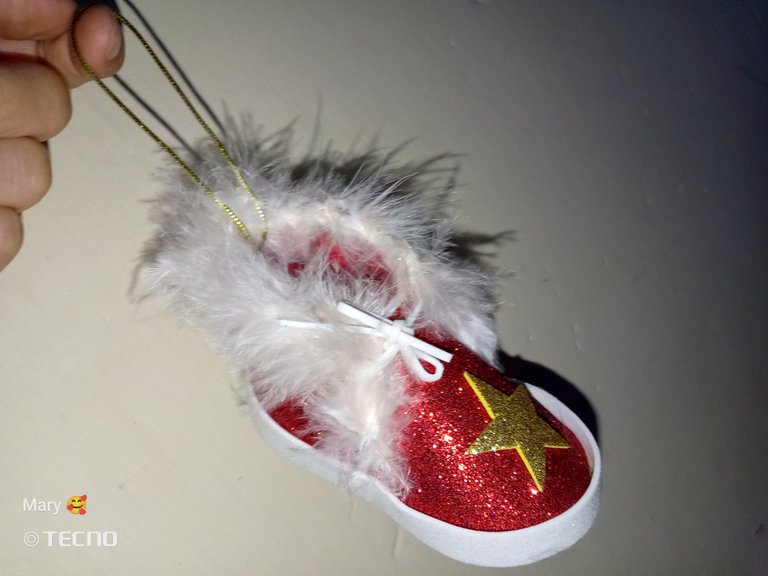
Por último, tomamos un trozo de cordón dorado le hacemos un pequeño nudo y lo pegamos a nuestro zapatito, que servirá para colgarlo.
Finally, we take a piece of golden cord, tie a small knot and glue it to our little shoe, which will be used to hang it.
Así de hermoso quedará nuestro zapatito, como les dije antes; servirá para colgar en el árbol o para obsequiar golosinas en estos días de Pascua.
This is how beautiful our little shoe will be, as I told you before; it will be useful to hang on the tree or to give as a gift for Easter.
- El texto es completamente de mi autoría
- The text is entirely by me
- Traducción realizada con DeepL Traslate
- Translation using DeepL Traslate
- App's de edición:
- App's edition: Picsart
- Cámara: Tecno Spark GO 2023
- Camera: Tecno Spark GO 2023
- El texto es completamente de mi autoría
- The text is entirely by me
- Traducción realizada con DeepL Traslate
- Translation using DeepL Traslate
- App's de edición:
- App's edition: Picsart
- Cámara: Tecno Spark GO 2023
- Camera: Tecno Spark GO 2023
- Traducción realizada con DeepL Traslate
- Translation using DeepL Traslate
- App's de edición:
- App's edition: Picsart
- Cámara: Tecno Spark GO 2023
- Camera: Tecno Spark GO 2023
- App's de edición:
- App's edition: Picsart
- Cámara: Tecno Spark GO 2023
- Camera: Tecno Spark GO 2023
- Cámara: Tecno Spark GO 2023
- Camera: Tecno Spark GO 2023
0
0
0.000
Que cosita más linda, te quedó realmente hermoso me encantó.
Está precioso !