The Tricky Motor Mounts.

Well Hello There Fellow Technicians And Hivers!
A Unusual Request.
Well probably not unusual as much but we rarely do motor mounts on these Fords, it's not that they don't give in it's that we do transmissions and drive trains. But when a customer asks for something we tend to do it, unless it really isn't anywhere close to our field of expertise.
Which we do get, if you wondered. On the otherside motor mounts would be fairly easy to understand. Well I have done them before and I know that on this vehicle it is a pretty crappy job. It was a pretty crappy job.
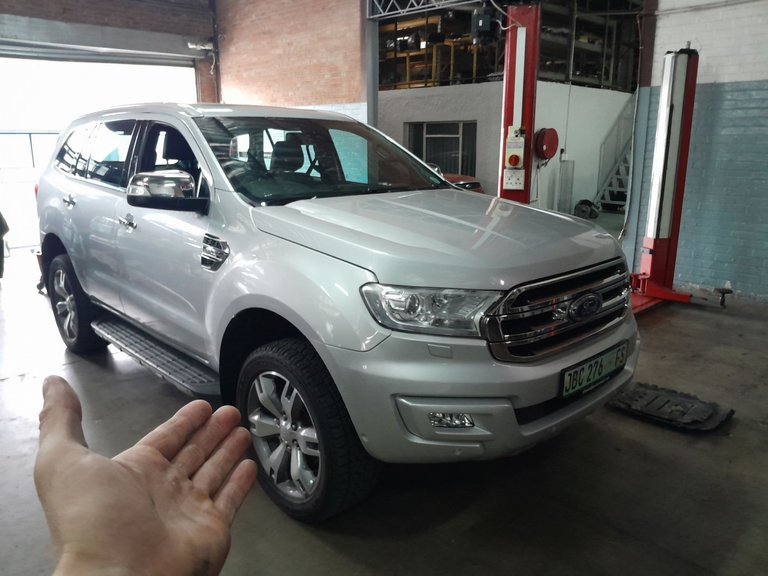
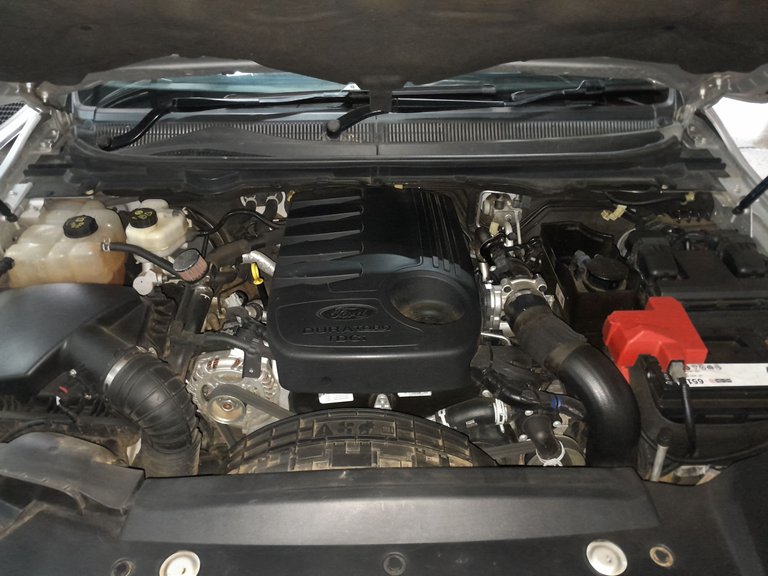
It Is A Beautifull Machine.
Without a doubt I have some love for these "Crappy" motors, or well people tend to call them crappy but I don't think they are. Just remember that all machines die eventually some just faster than others. But it's not about the lifetime of this machine, I just like it. Plain and simple, maybe because most of the rest is fairly easy to work on ey.
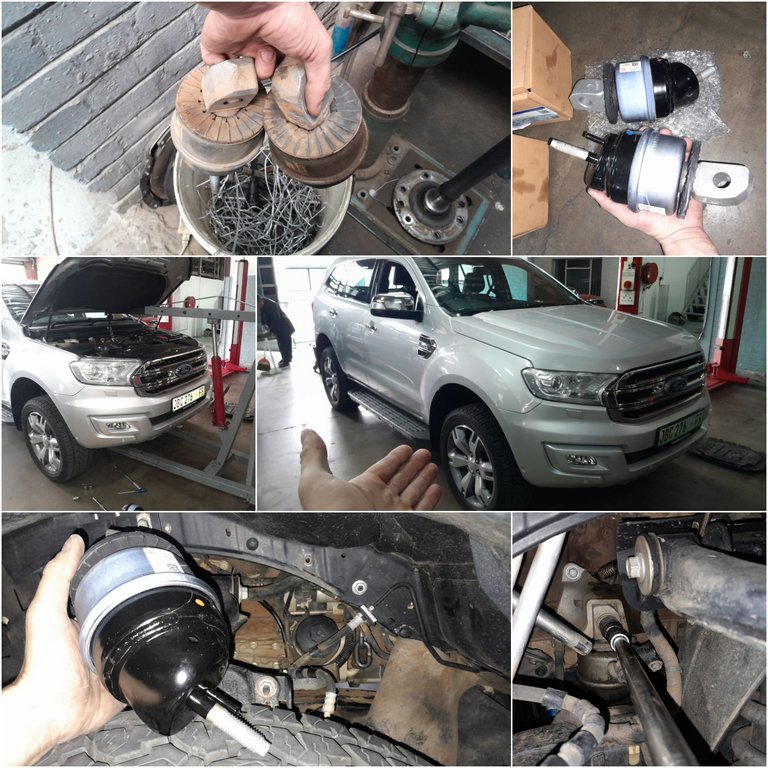
Well There's Two Of Them.
Left And Right, Or West And East.
Which ever you may prefer!
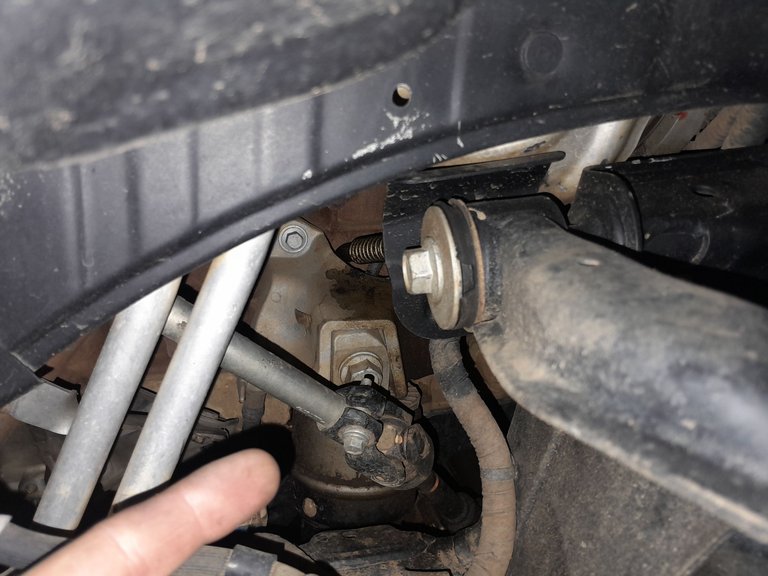
The first one is the right side, sitting in the driver seat of course. Now that one is going to be a little tricky! Oh yes it was a bitch, it was a real bitch. See I hate uncoupling steering racks, I just hate them!
When I see one I feel like throwing a sissy fit xD!
I managed my way around it.
The Lefty!
Now that one was easy to unbolt and all that jazz but boy oh boy did I have a hard time getting the mounting itself out!
I had a little bit of an irritation boil over but that was fine! Getting the new mount in there was actually the real problem.
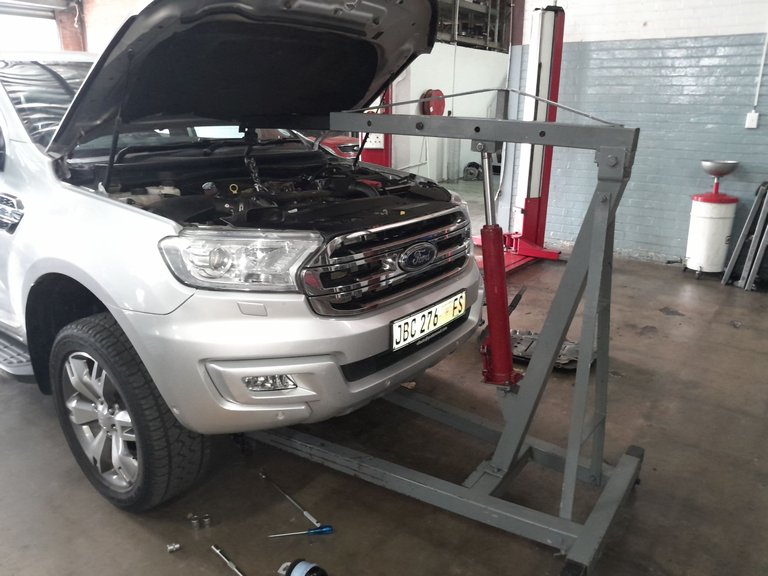
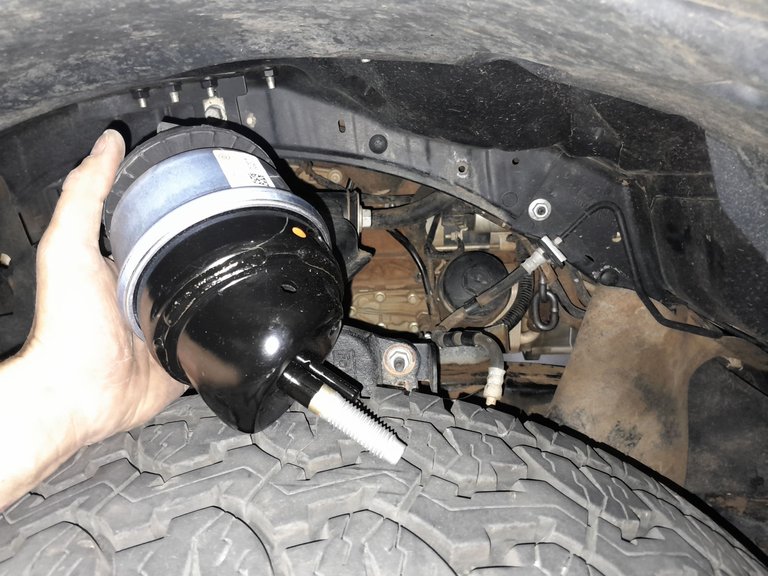
Here Comes The Jacking.
Now before we can continue we have to hoist the motor up, not a little but a lot, very much a lot.
Yeah I did unbolt the two main bolts and also the only bolts on the mounts themselves, but as it is designed to push down, of-course the mountings would stay in place even when the bolts are removed.
So now I am free to hoist it up into the sky.
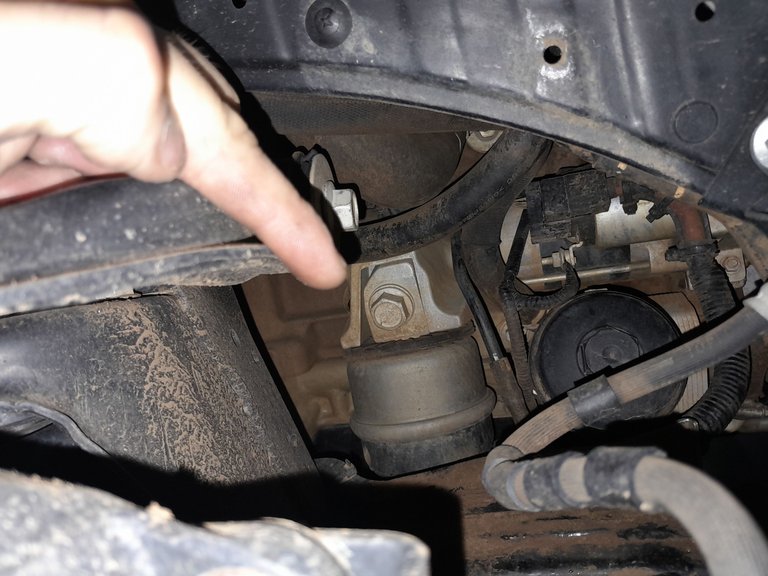
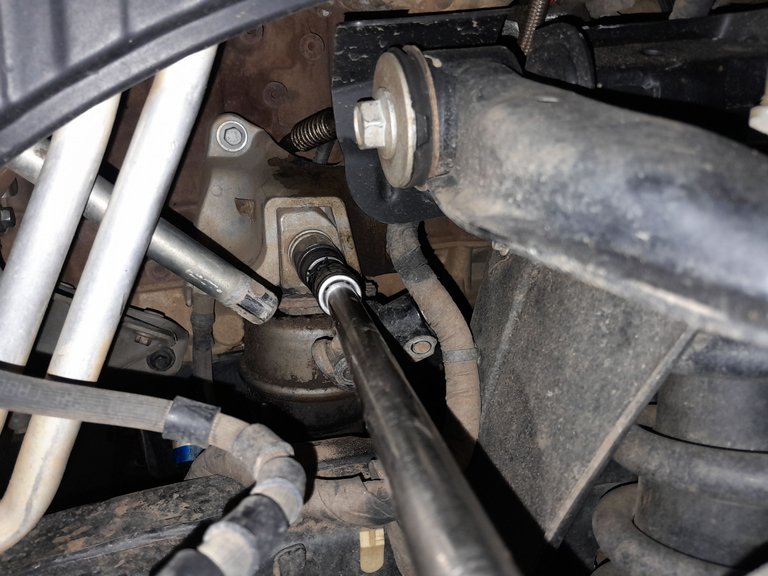
That Nut.
Oh boy oh boy, getting that nut in place wasn't the problem this time it was getting the socket on, there just wasn't any space. Well I think there was, one just had to get the right way of angling it that's all really.
But it was a struggle, that much I can give.
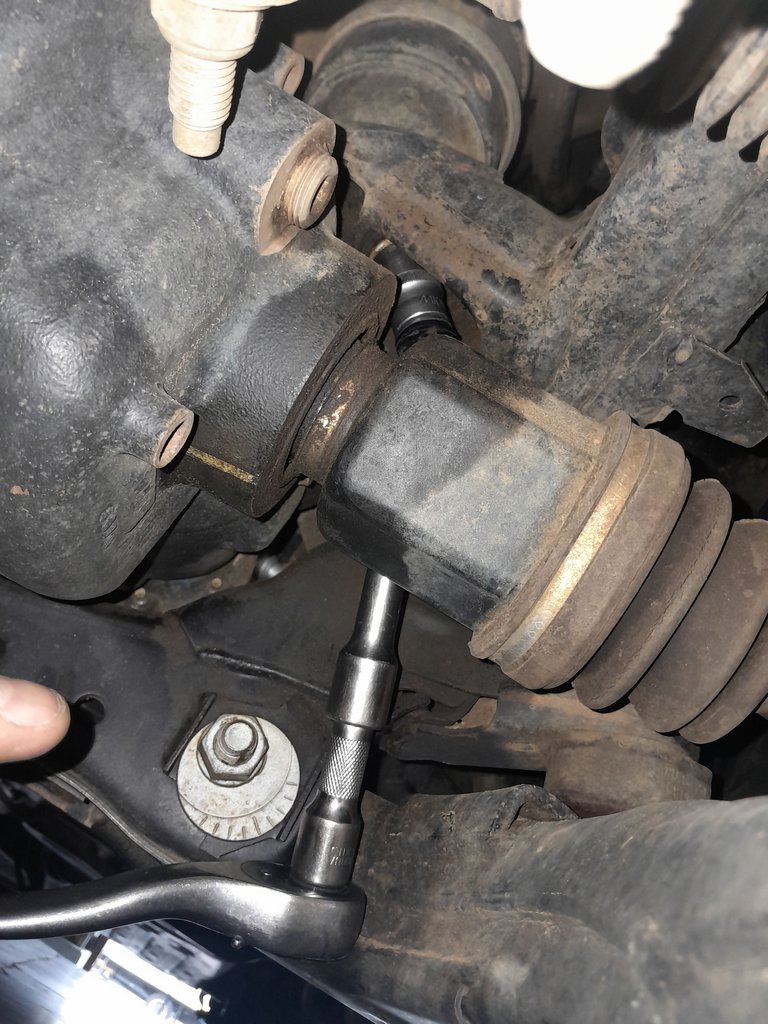
Back To The Right Side.
Well yeah I had to disconnect the steering wheel shaft from the rack to get that bolt out and even then it was a real hard struggle because the bottom piece was still a little in the way, although it doesn't look like it I know.
There We Go!
Finally we can put in these fancy new shiny things!
Laughs, it has been a mission and it was still a mission here after! It really was! But the job is done now and that is all that matters right!
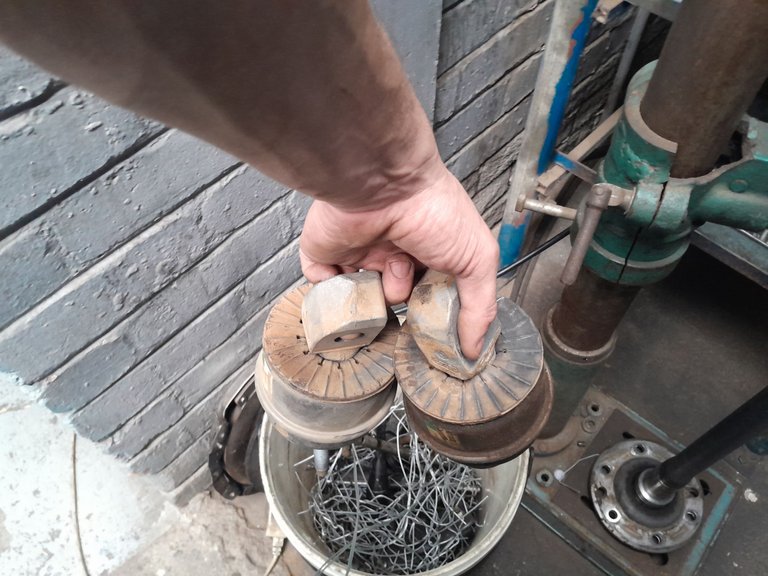
Not Much Needed Here.
Well what can I say, chuck these out because they are in fact done for, I think the only thing these are good for now is to actually say it is still intact. It's just full of sand, I assume that's what the bugger up with these are!
Glad she got them replaced!


Connecting the people of #HIVE across South Africa. #hive