Introducing Animate.css | A styling library to easily add animation effects on web pages or projects
Hi, Am delighted to share with you another web development tool or resource which is Animate.css, It is a library designed or developed to make adding of animation effects of all kinds to web applications or projects.
As we all know that adding animation effects to web applications or websites makes it look more interacting, unique, and attractive to the users.
Animate.css comes to help with that easily and brings more interactions to the websites or web applications.
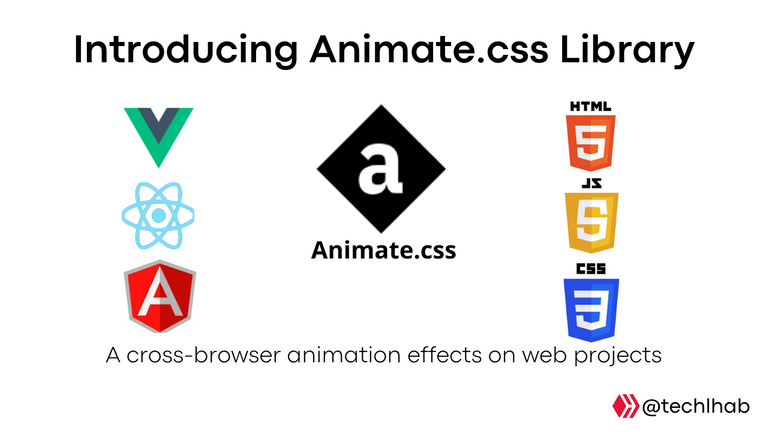
It works on all web development front end frameworks such as VueJs, ReactJs, AngularJs, and other websites or web applciations made with basic HTML, CSS and Javascript.
I have used this in many of my web applications projects using VueJS web application front end frameworks because I so much enjoy working with VueJS using NuxtJS even though I can also code in ReactJS and basic HTML, CSS, and Javascript. It is very easy to set up and integrates into web applications.
I would be explaining how to set up Animate.css into a web application or project.

To install animate.css on web applications or projects developed with web application frontend frameworks like VueJS, ReactJS, AngularJS, and others. Either npm or yarn package installer can be used as demonstrated below:
Using npm
$ npm install animate.css --save
Using yarn
$ yarn add animate.css
Also it can be added directly into web applications developed with basic HTML, CSS and Javascript or webpages using the CDN link inside the head tag of the webpage as demonstrated below:
<head>
  <link
    rel="stylesheet"
    href="https://cdnjs.cloudflare.com/ajax/libs/animate.css/4.1.1/animate.min.css"
  />
</head>
After successful installation of animate.css using any of the above options based on requirements, it can be used on any area, elements or sections on the webpage following the demonstration below:
To use animation on any element it has to be given an initial class name of animate__animated then it can now be followed by the class name such as animate__bounce that represents the specific animation effect intended to be used. An instance is given or demonstrated below.
<h1 class="animate__animated animate__bounce">An animated element</h1>
By doing the above the effect works instantly.
Also other parameters can be passed as class name such as delay and repeat as demonstrated below:
<div class="animate__animated animate__bounce animate__delay-2s">Example</div>

<div class="animate__animated animate__bounce animate__repeat-2">Example</div>
The number of seconds for delay and number of times for repeating the animation can be increased or decreased based on requirements easily by changing the numbers in the animate__delay_2s and animate__repeat-2 classes.
For more information regarding animate.css you can visit the official documentation through this link.
Thanks for reading 🤝, don't forget to like, comment, and share.