[Esp-Eng] Techniques to make letters in dark foamis✂️
¡Hola amigos de hive y nuevamente de Hive Diy! Están muy bien? Espero que si, muchas bendiciones.
Hello hive friends and again from Hive Diy! They are very good? I hope so, many blessings.
Como siempre feliz de estar compartiendo con ustedes. Hoy quiero mostrarles algo que para mi es importante cuando realizamos manualidades y mas cuando trabajamos con letras en foami, existen muchos modos,para poder mirar el mio siganme en este paso a paso:
As always happy to be sharing with you. Today I want to show you something that is important to me when we do crafts and more when we work with letters in foami, there are many ways, to be able to see mine, follow me in this step by step:
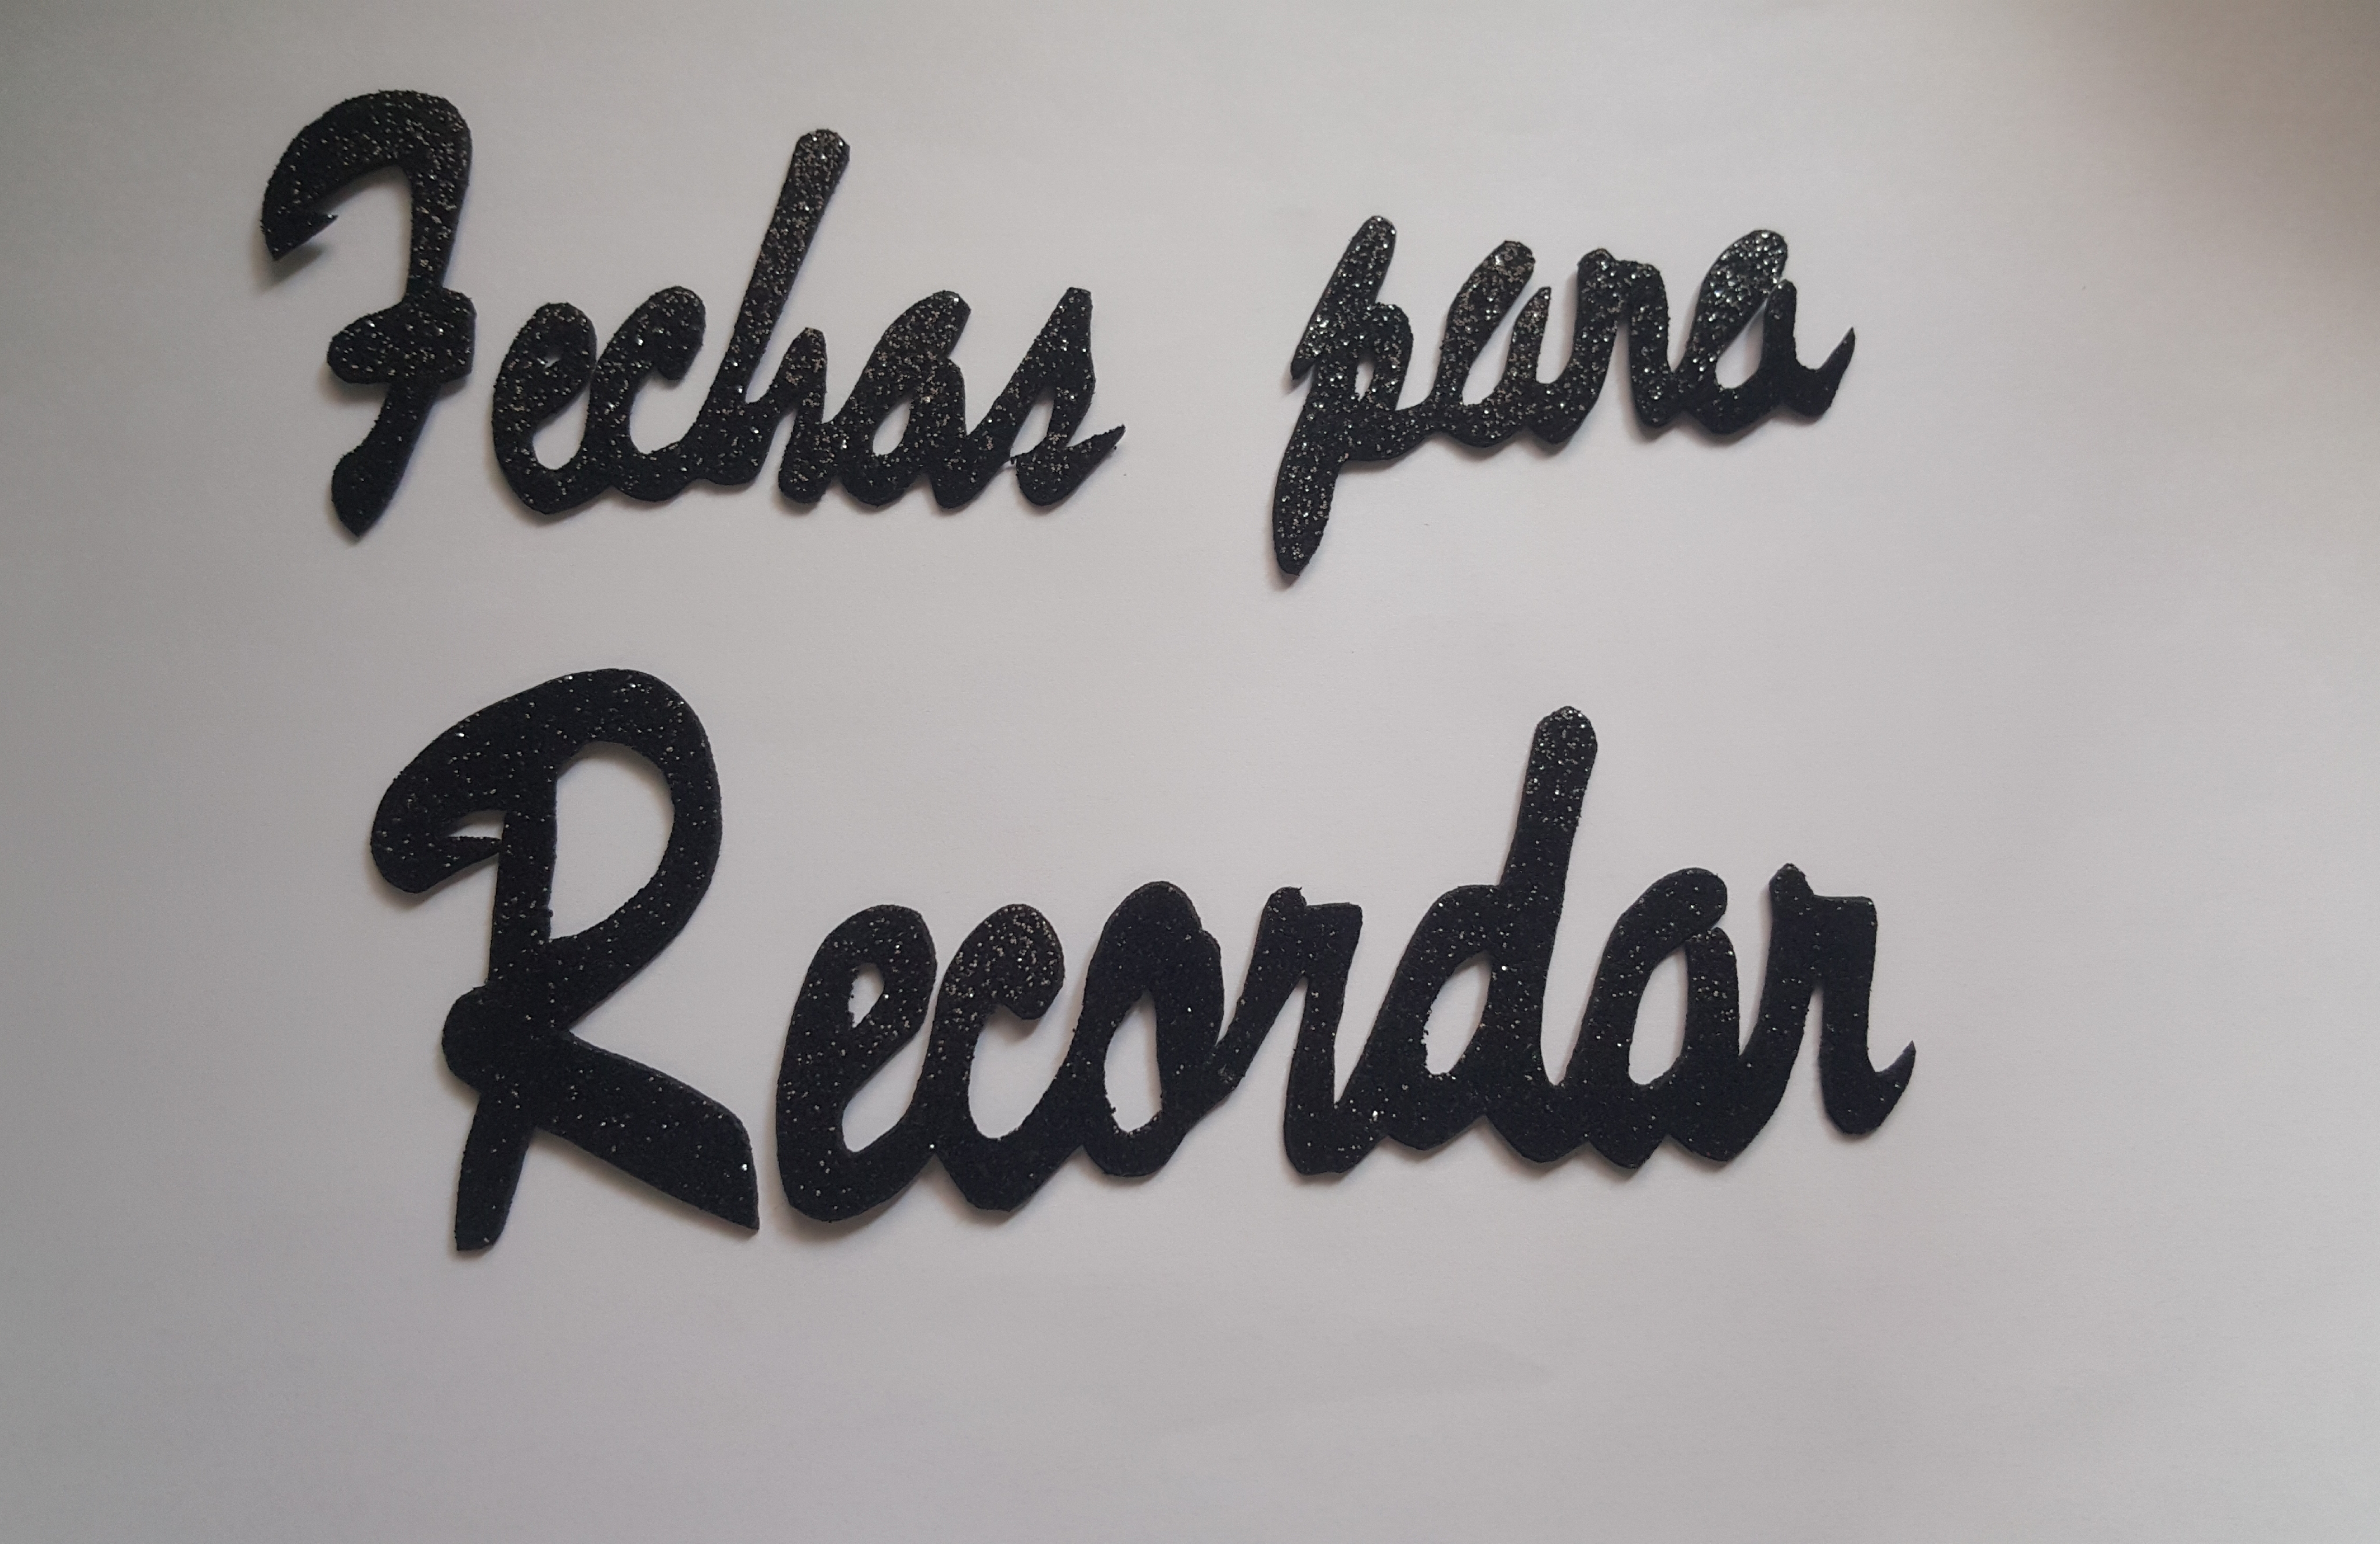
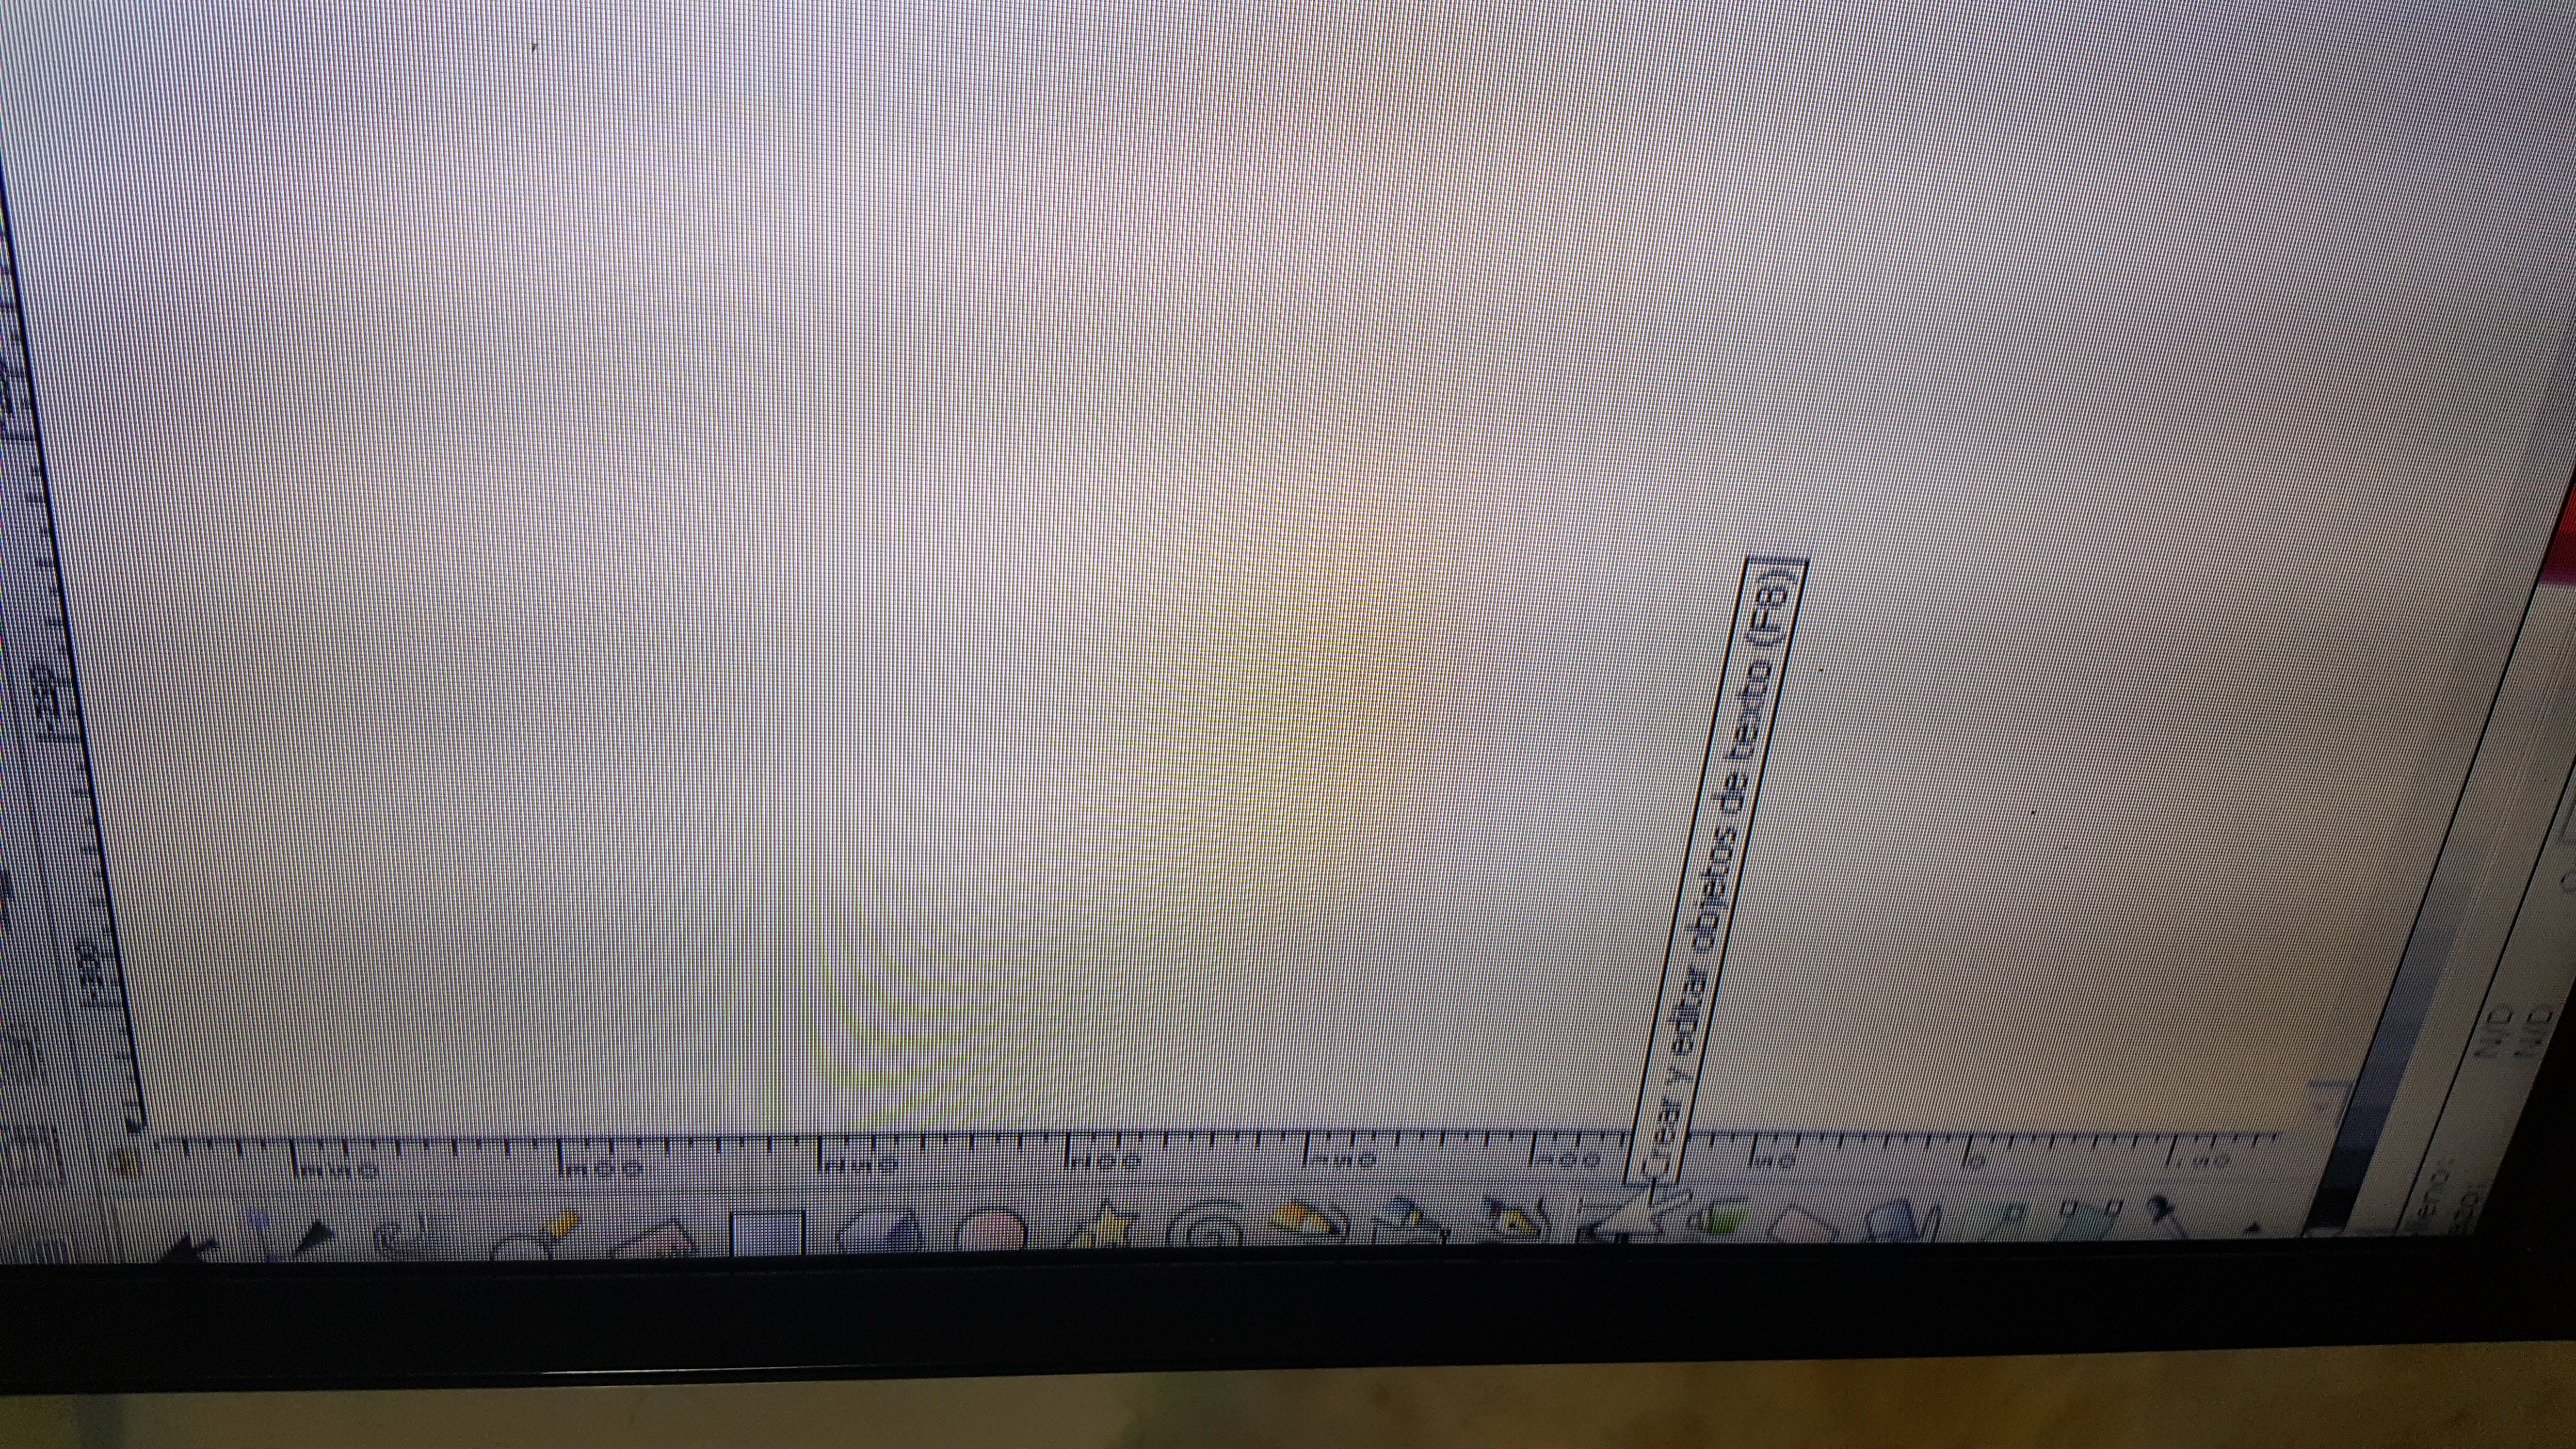
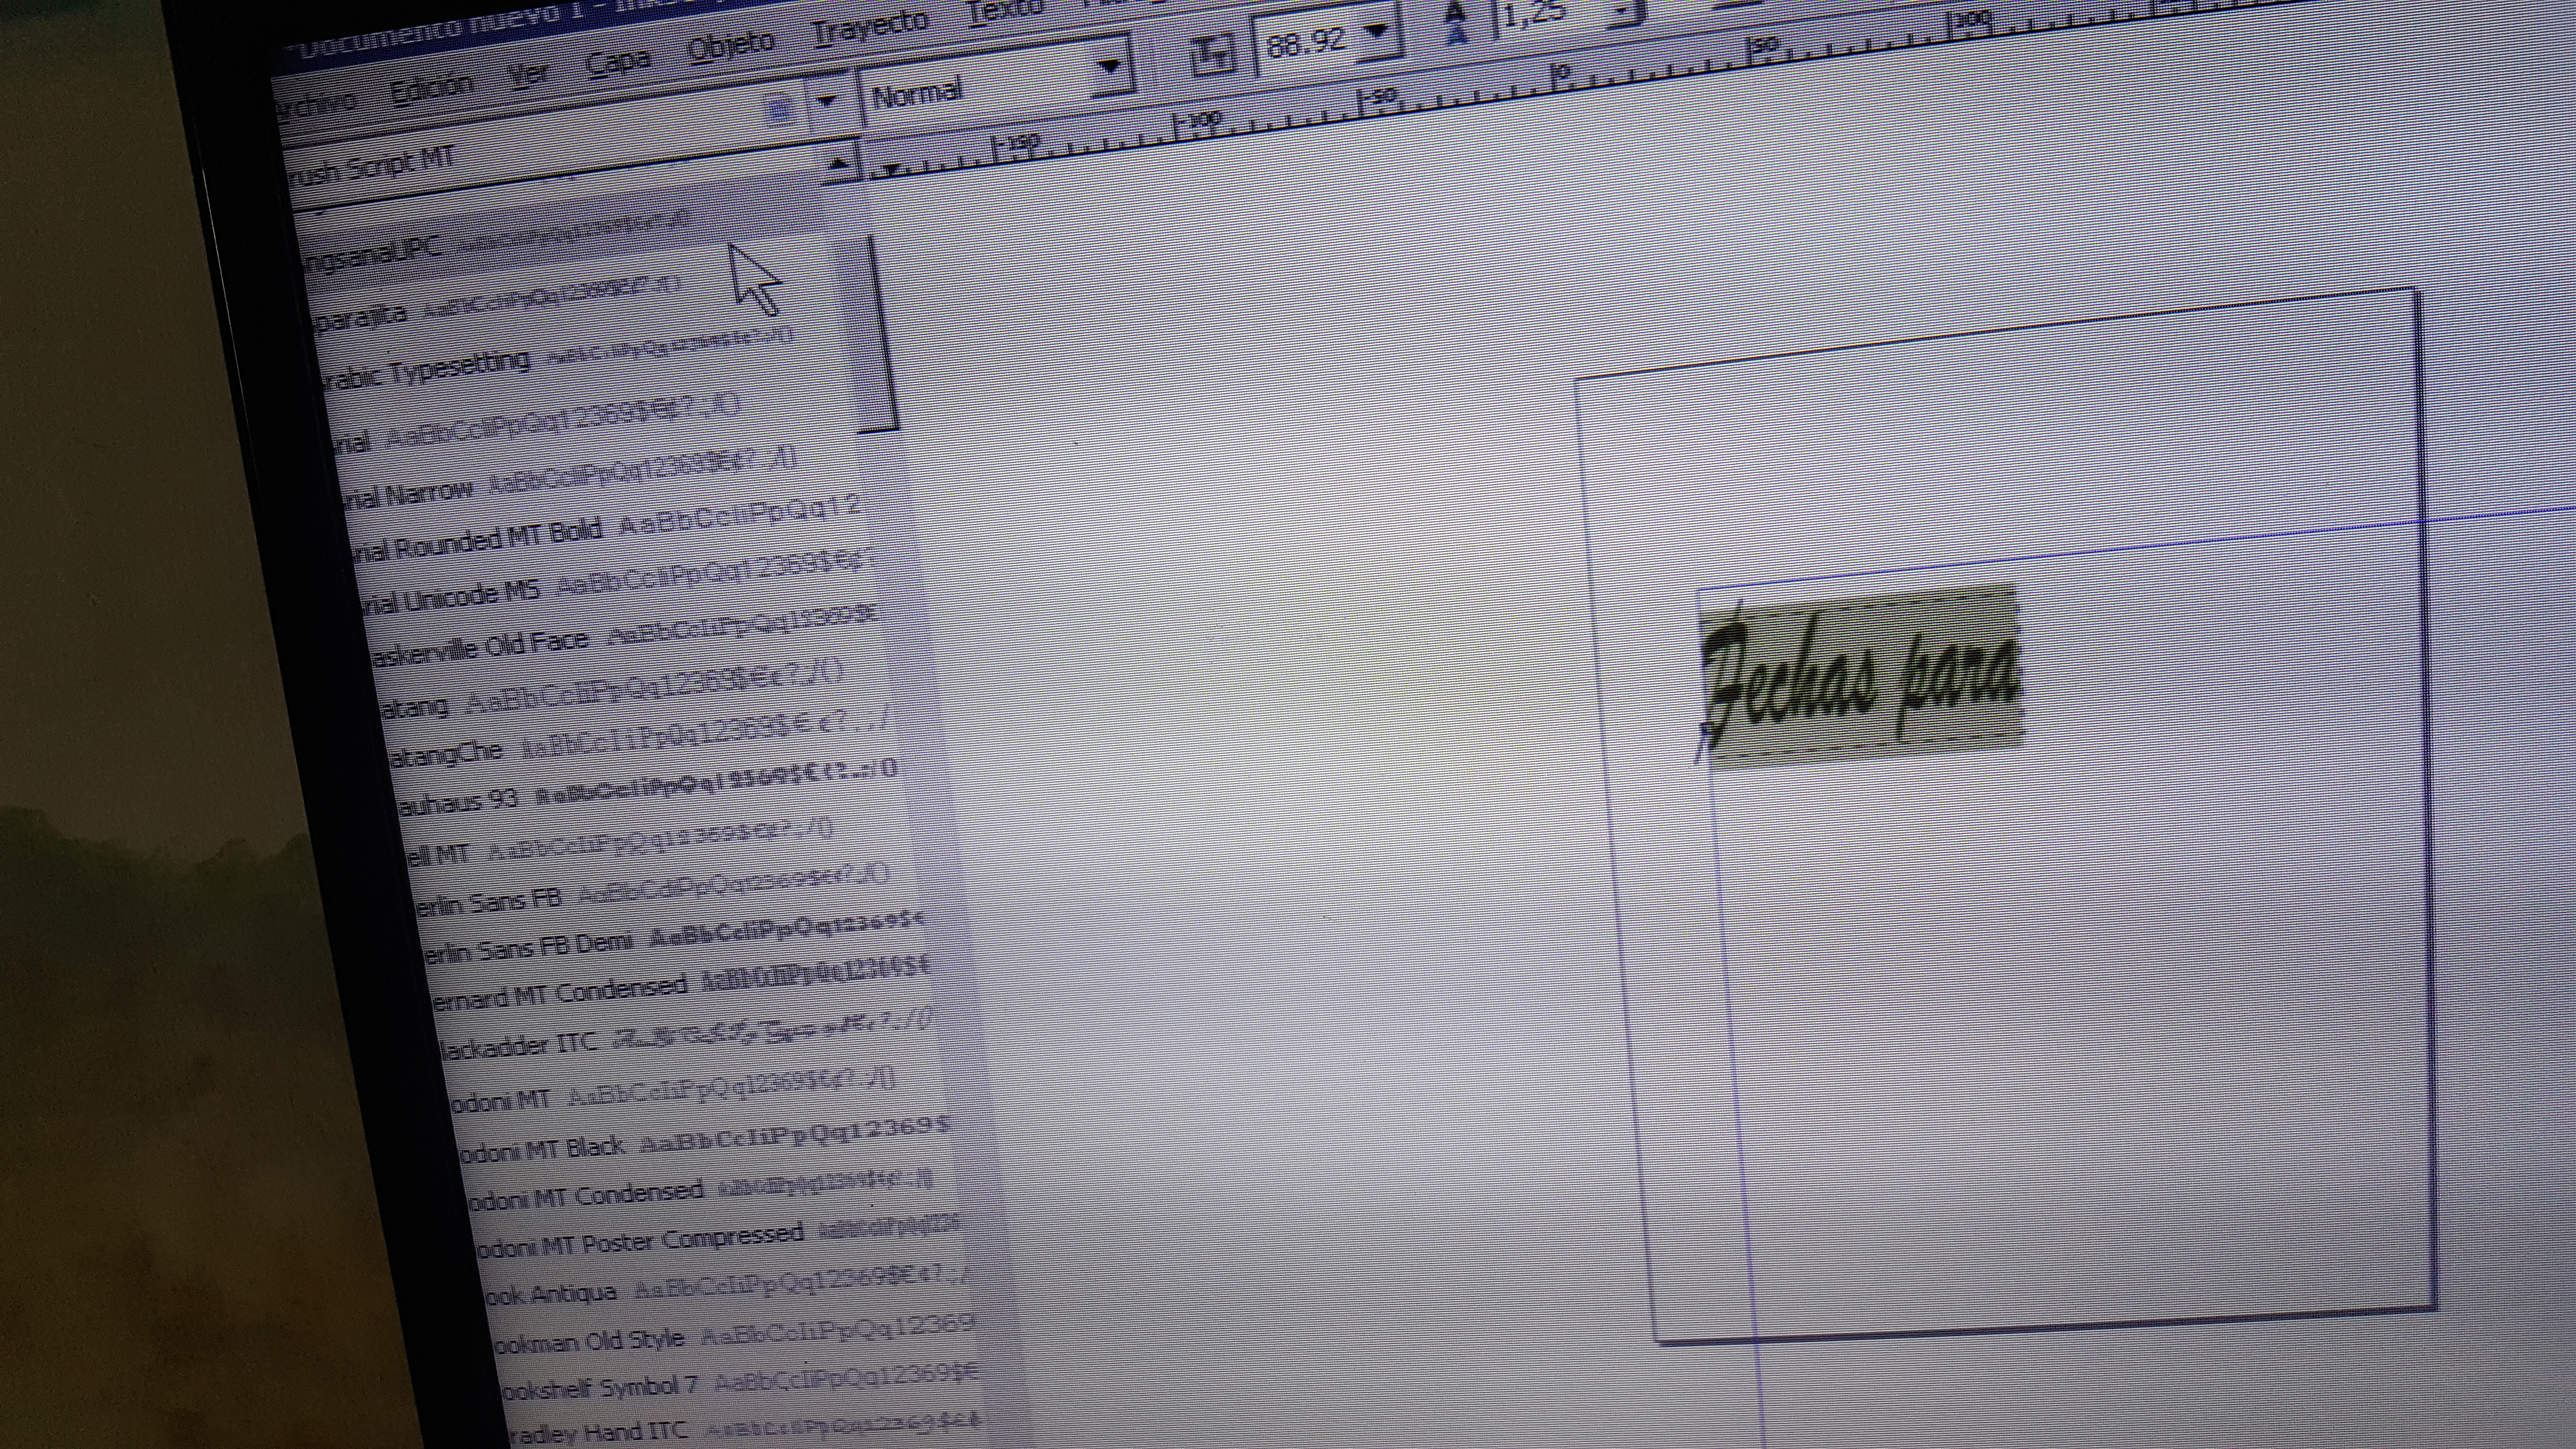
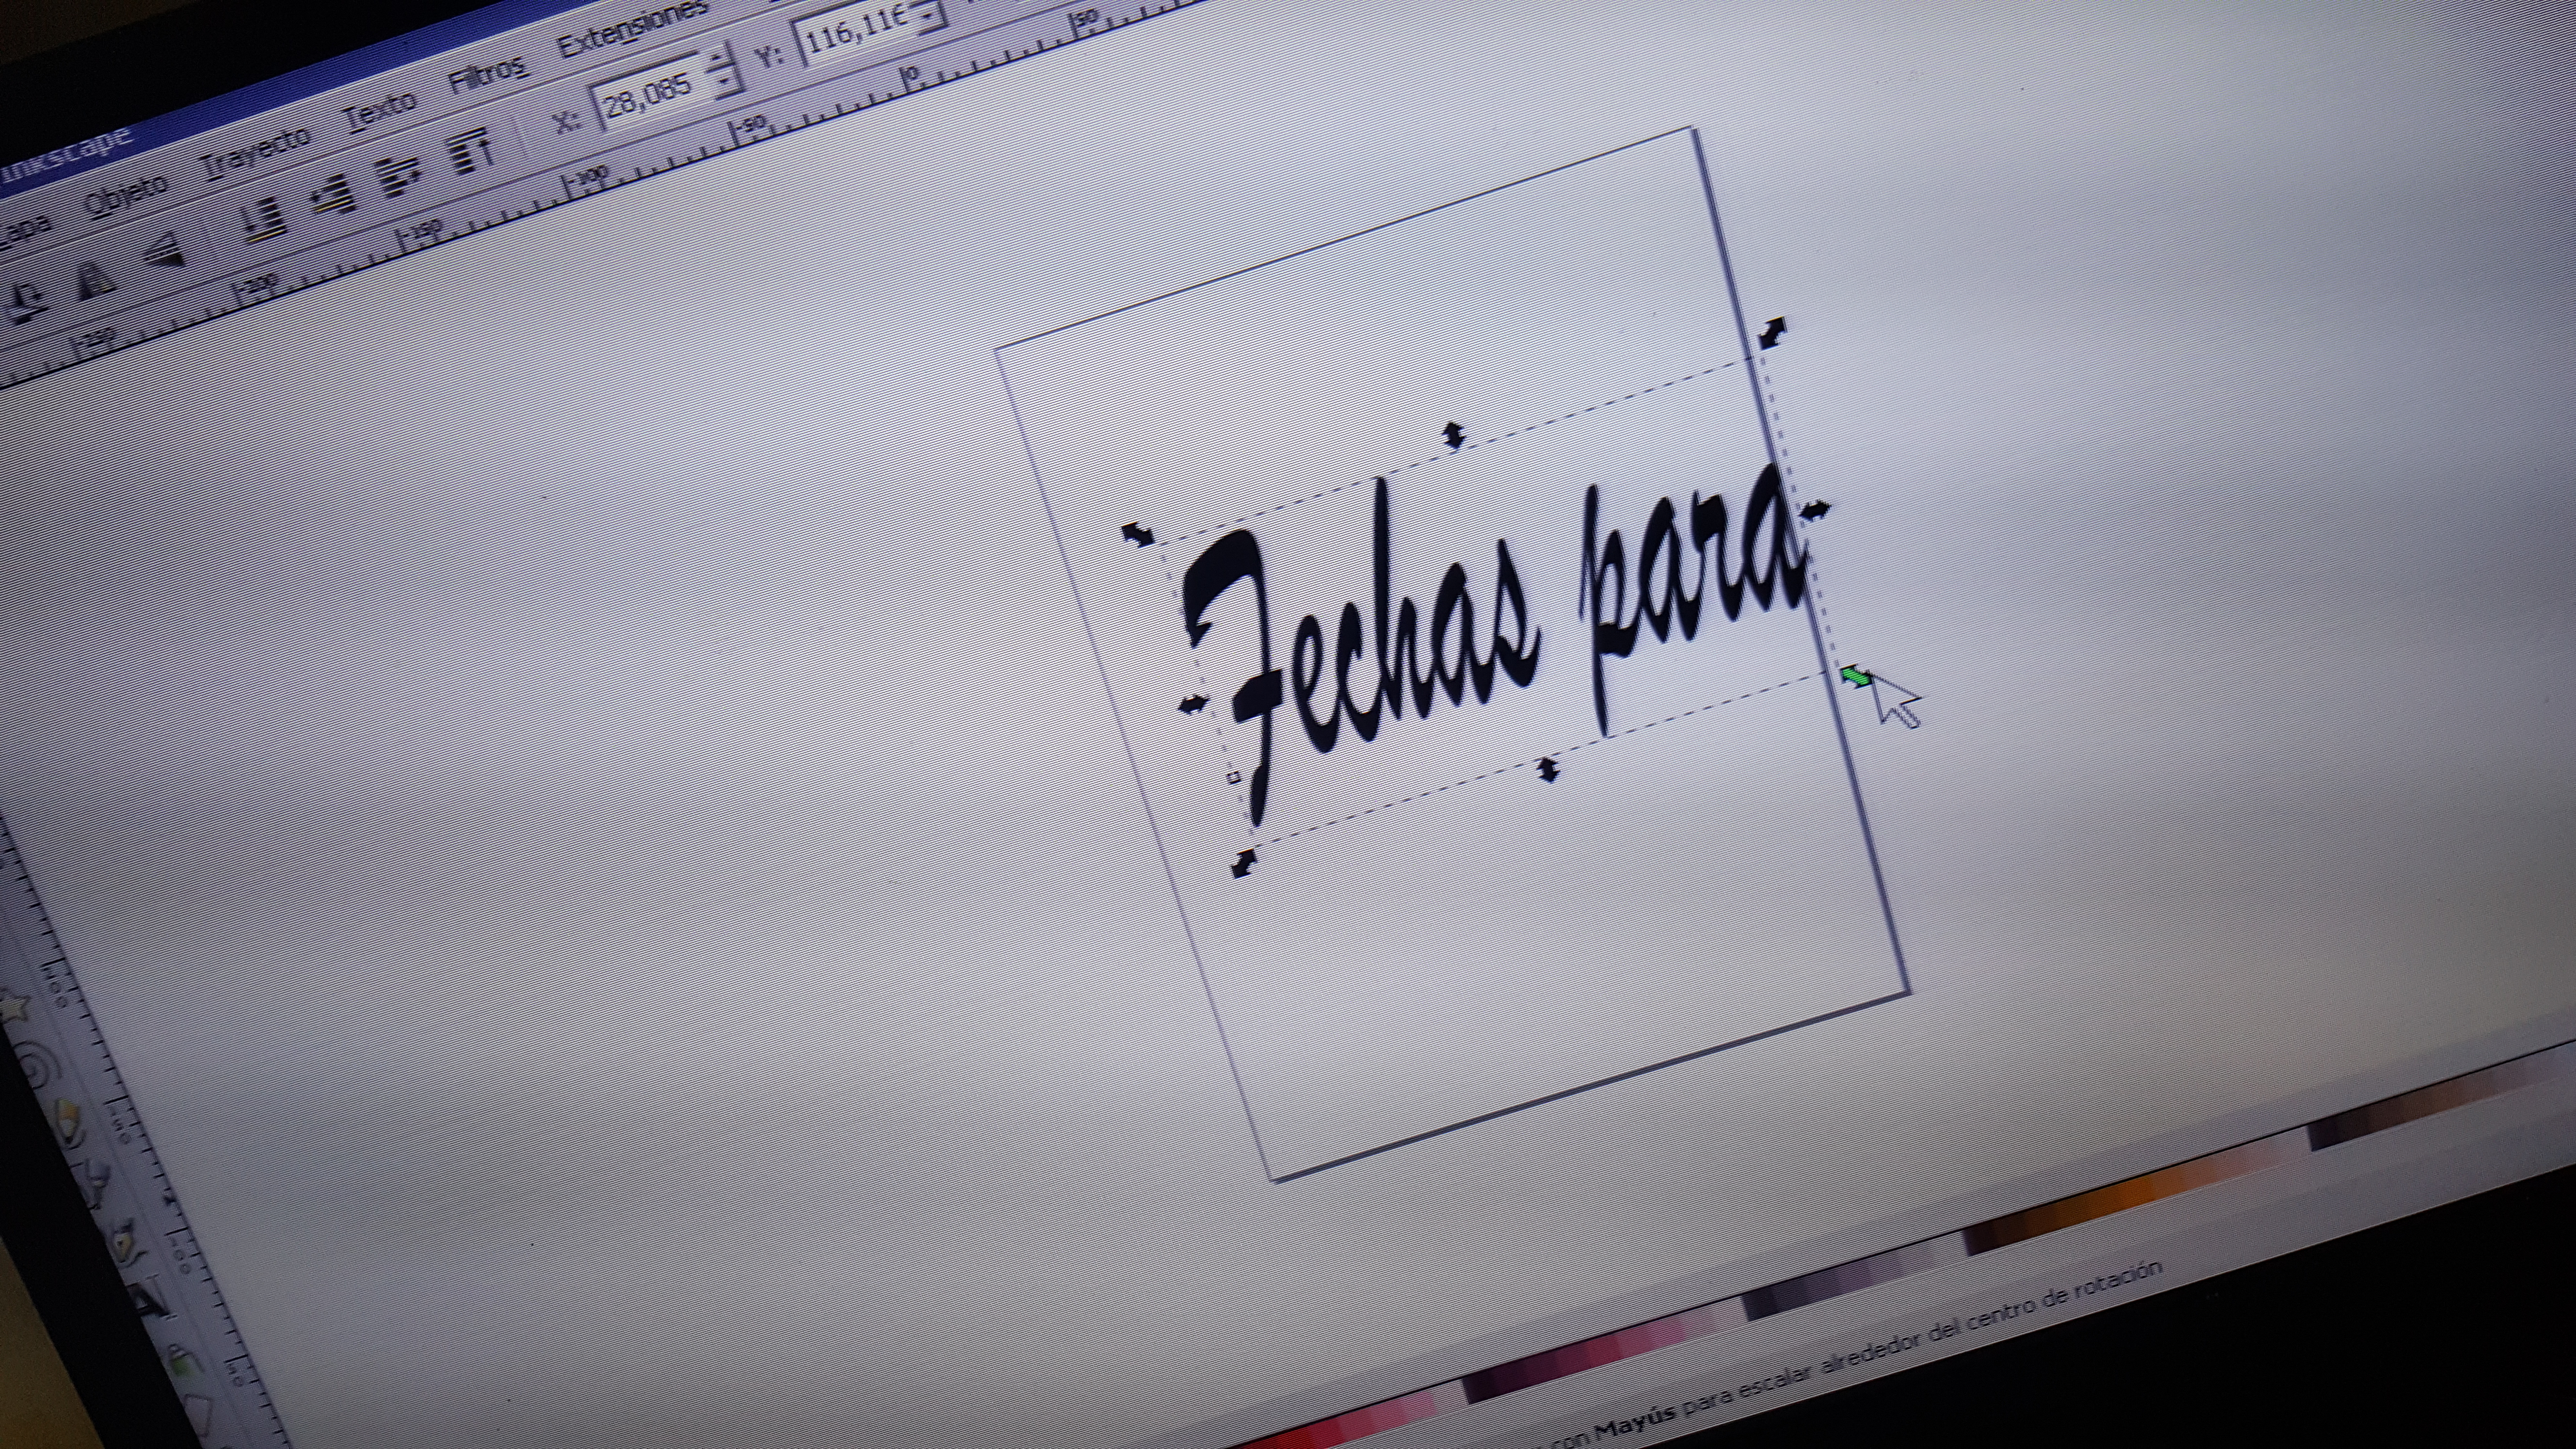
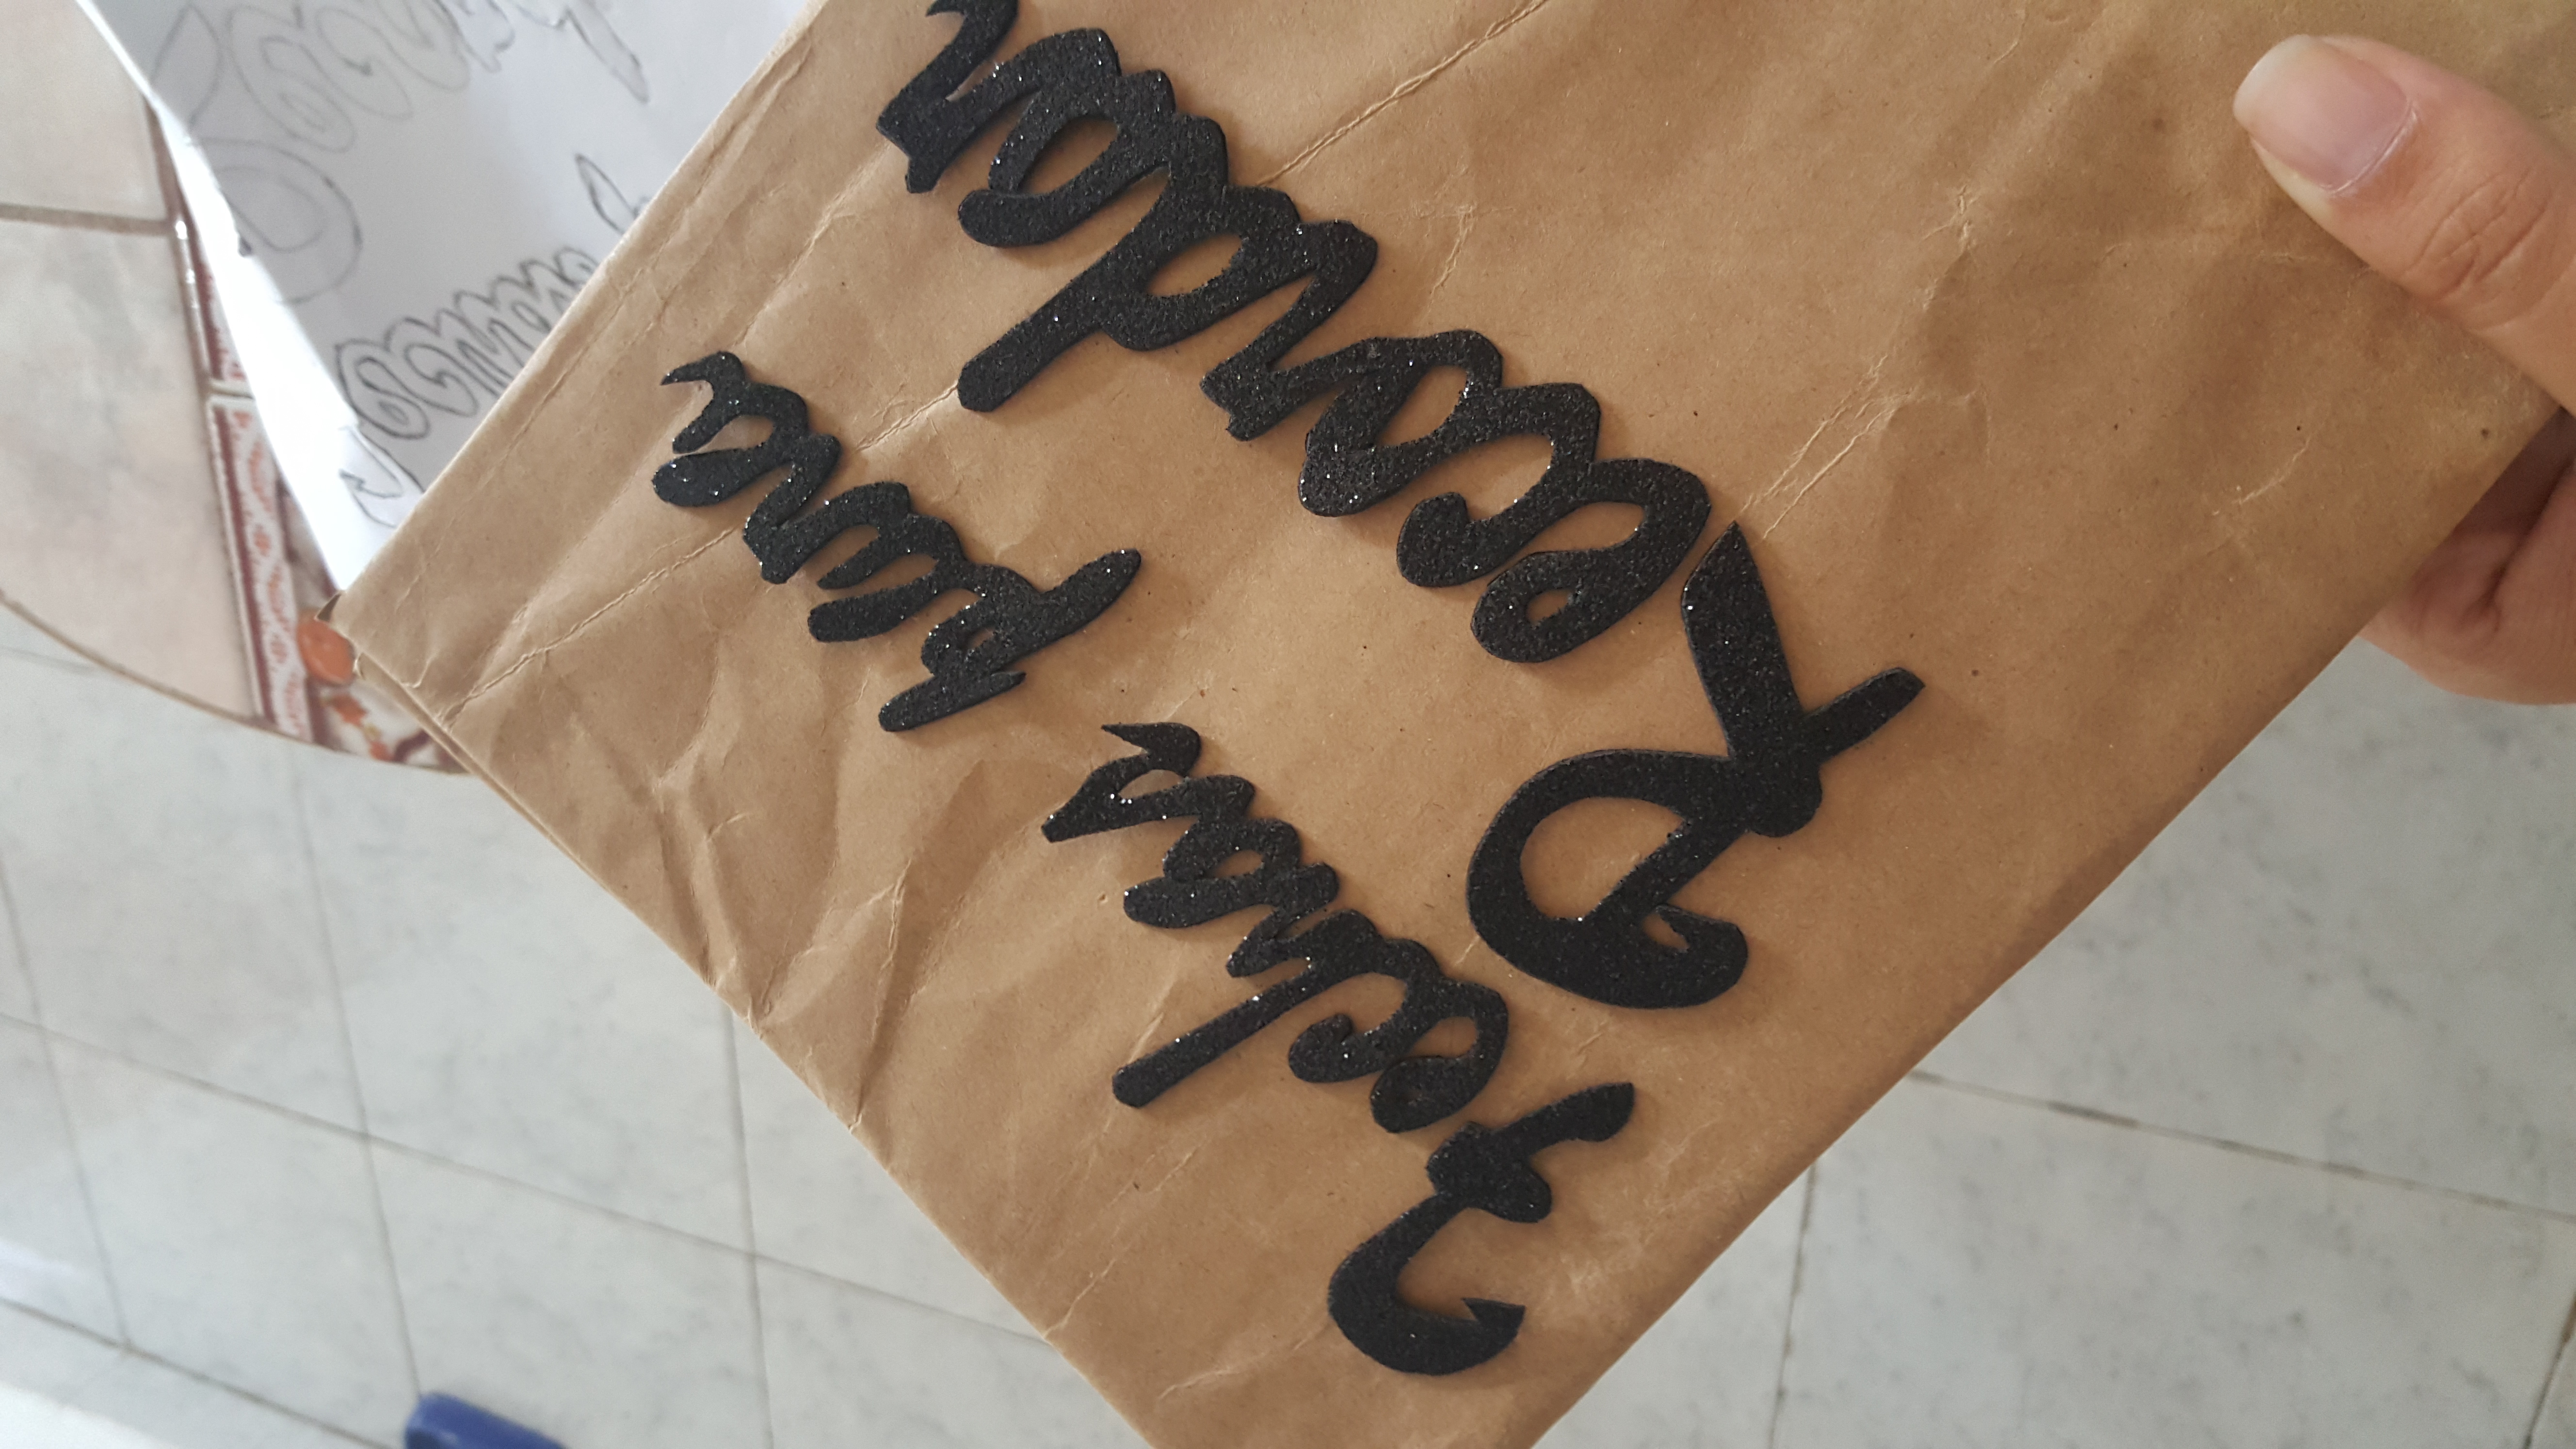
Inicié tomando las medidas de lo que querían, en este caso estas letras es para un trabajo del colegio, un cuaderno de fechas que recordar, lo medí y marqué. Una vez lista las medidas, fui a la computadora, abrí Inscape( habitualmente trabajo en ella), en el lado izquierdo hay una barra de herramientas y es la que vamos a utilizar, para agregar texto buscamos el ícono que es como un A, al colocar el puntero dice un mensaje (crear y editar objetos de texto), también podemos presionar F8, arrastramos donde queremos colocar el texto y escribimos lo que se va a colocar en el trabajo, seleccionamos todo el escrito y en la parte superior nos aparece el nombre de la fuente, allí podemos cambiarlas a la de nuestro gusto.
I started taking the measurements of what they wanted, in this case these letters are for a school project, a notebook of dates to remember, I measured it and marked it. Once the measurements were ready, I went to the computer, opened Inscape (I usually work on it), on the left side there is a toolbar and it is the one we are going to use, to add text we look for the icon that is like an A, at place the pointer says a message (create and edit text objects), we can also press F8, drag where we want to place the text and write what is going to be placed in the work, we select all the writing and in the upper part the name of the font, there we can change them to the one we like.
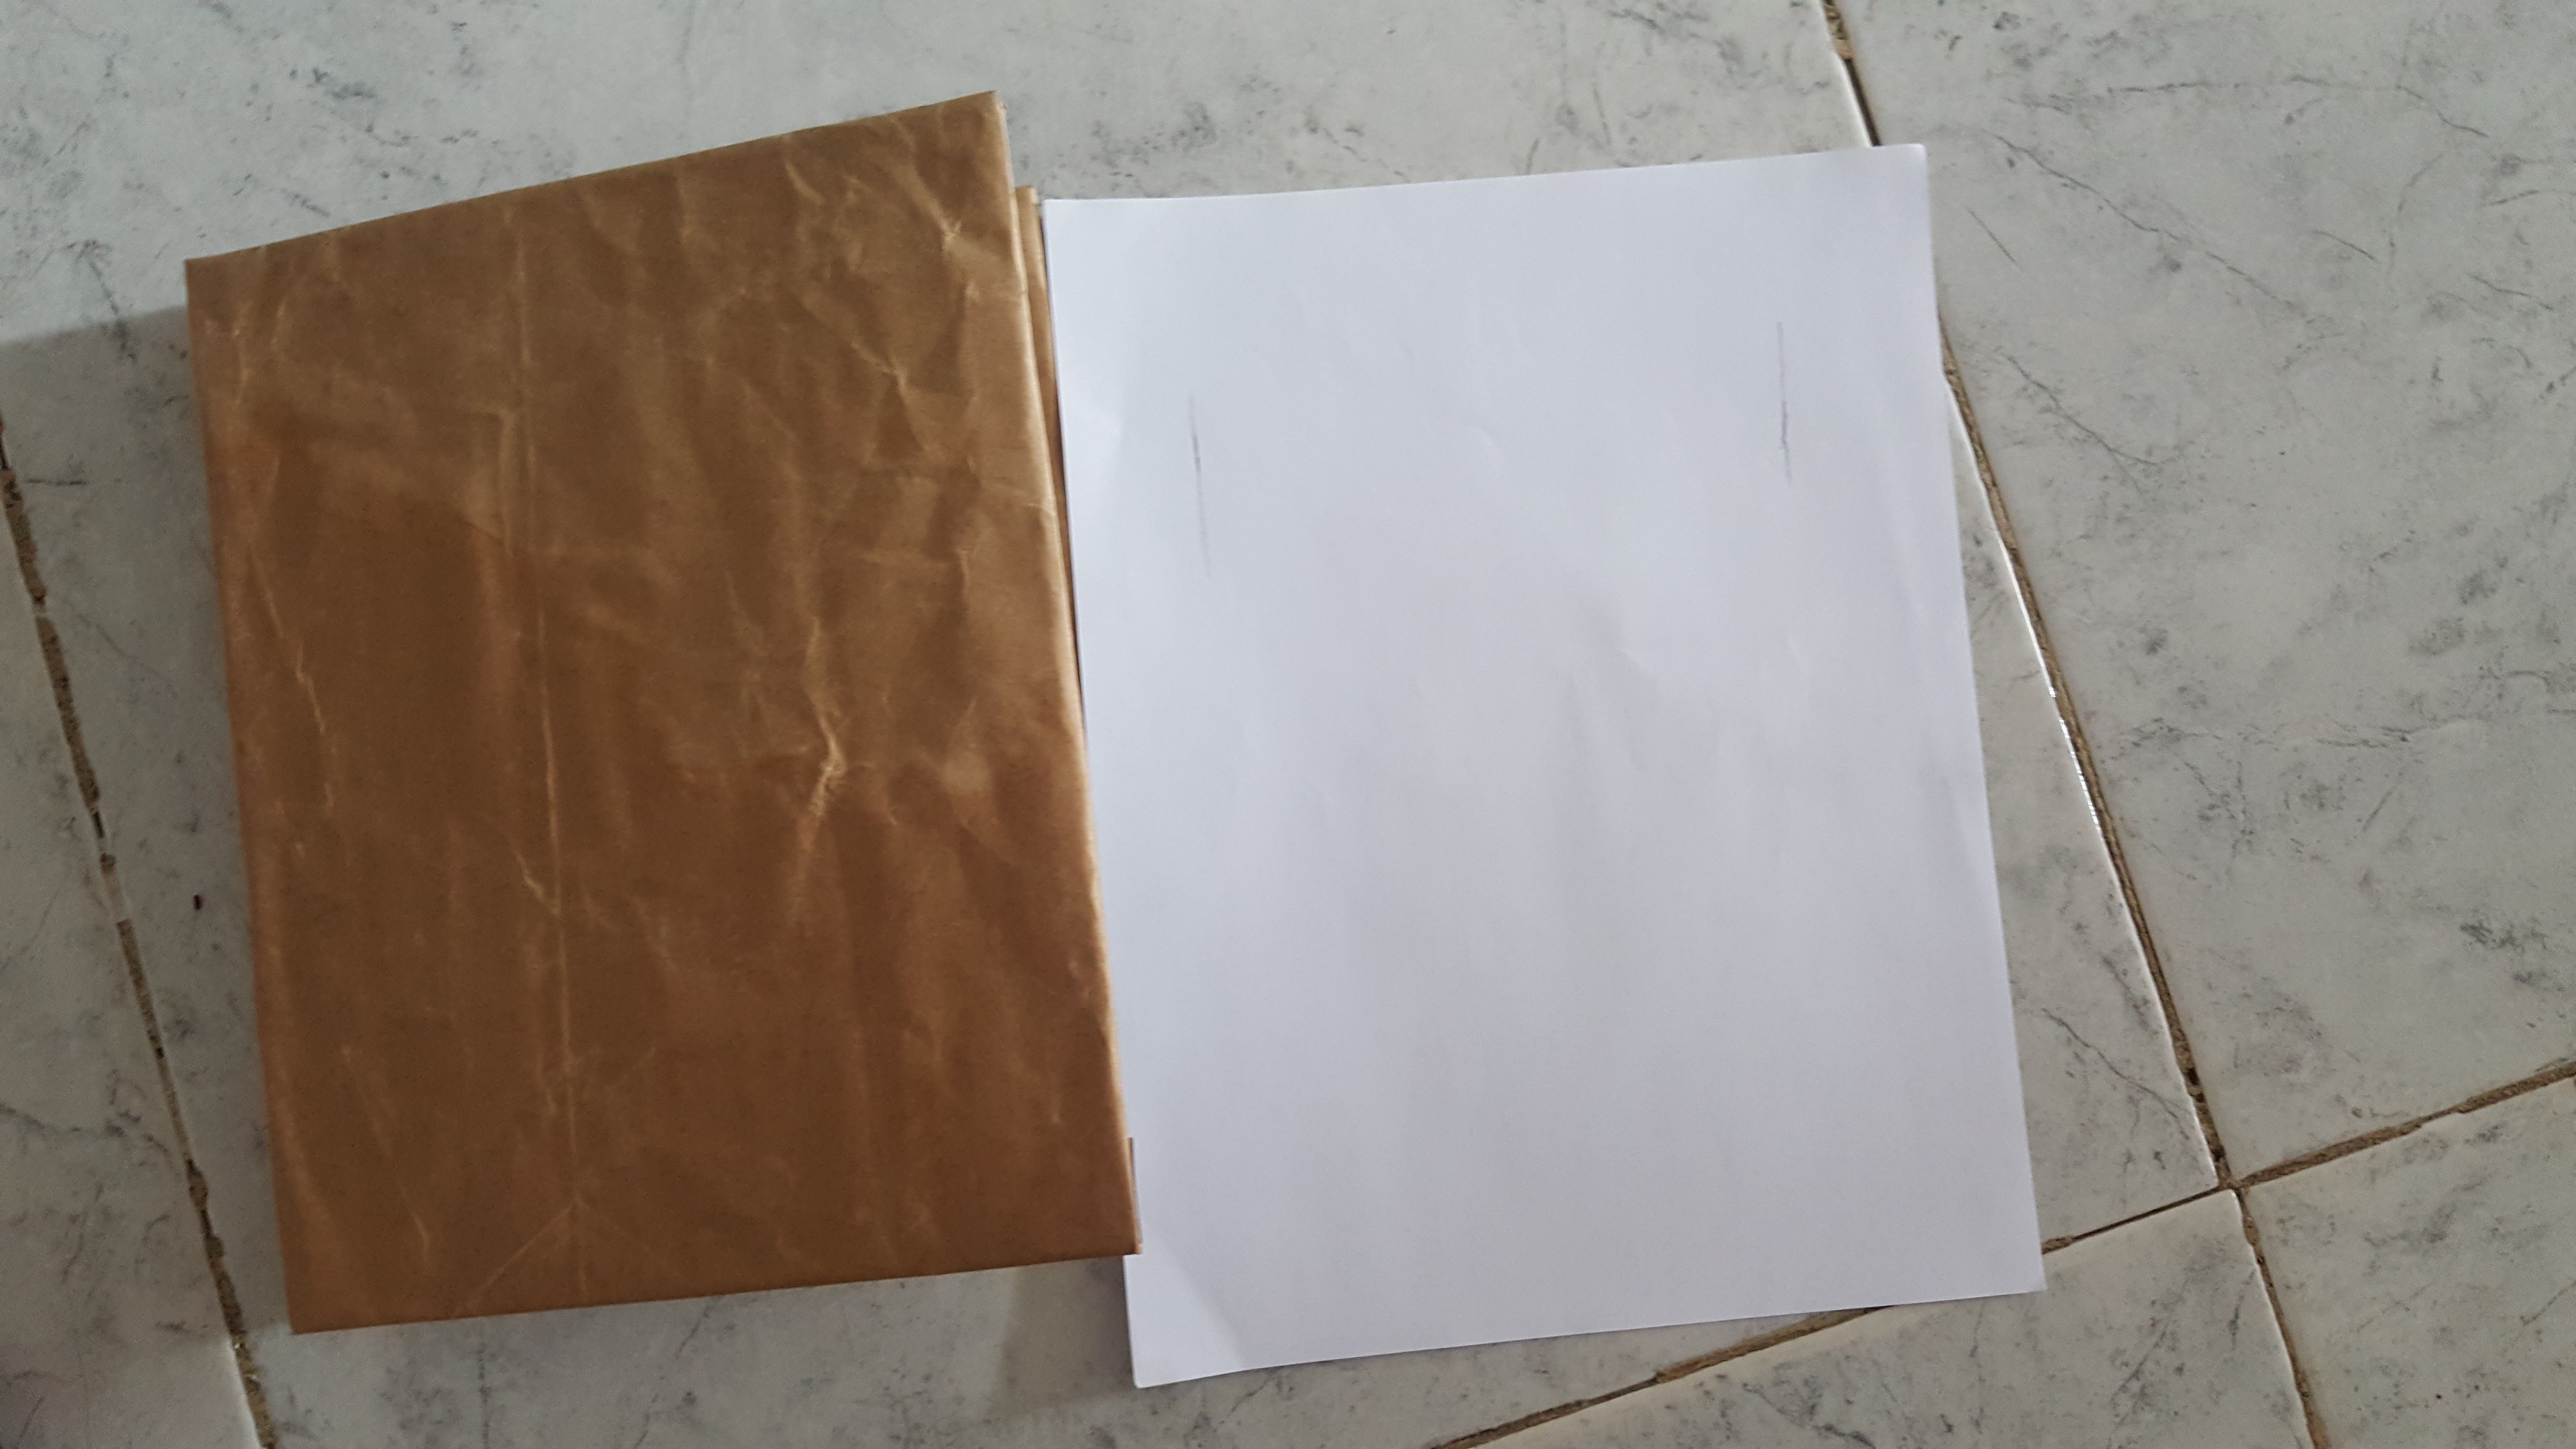


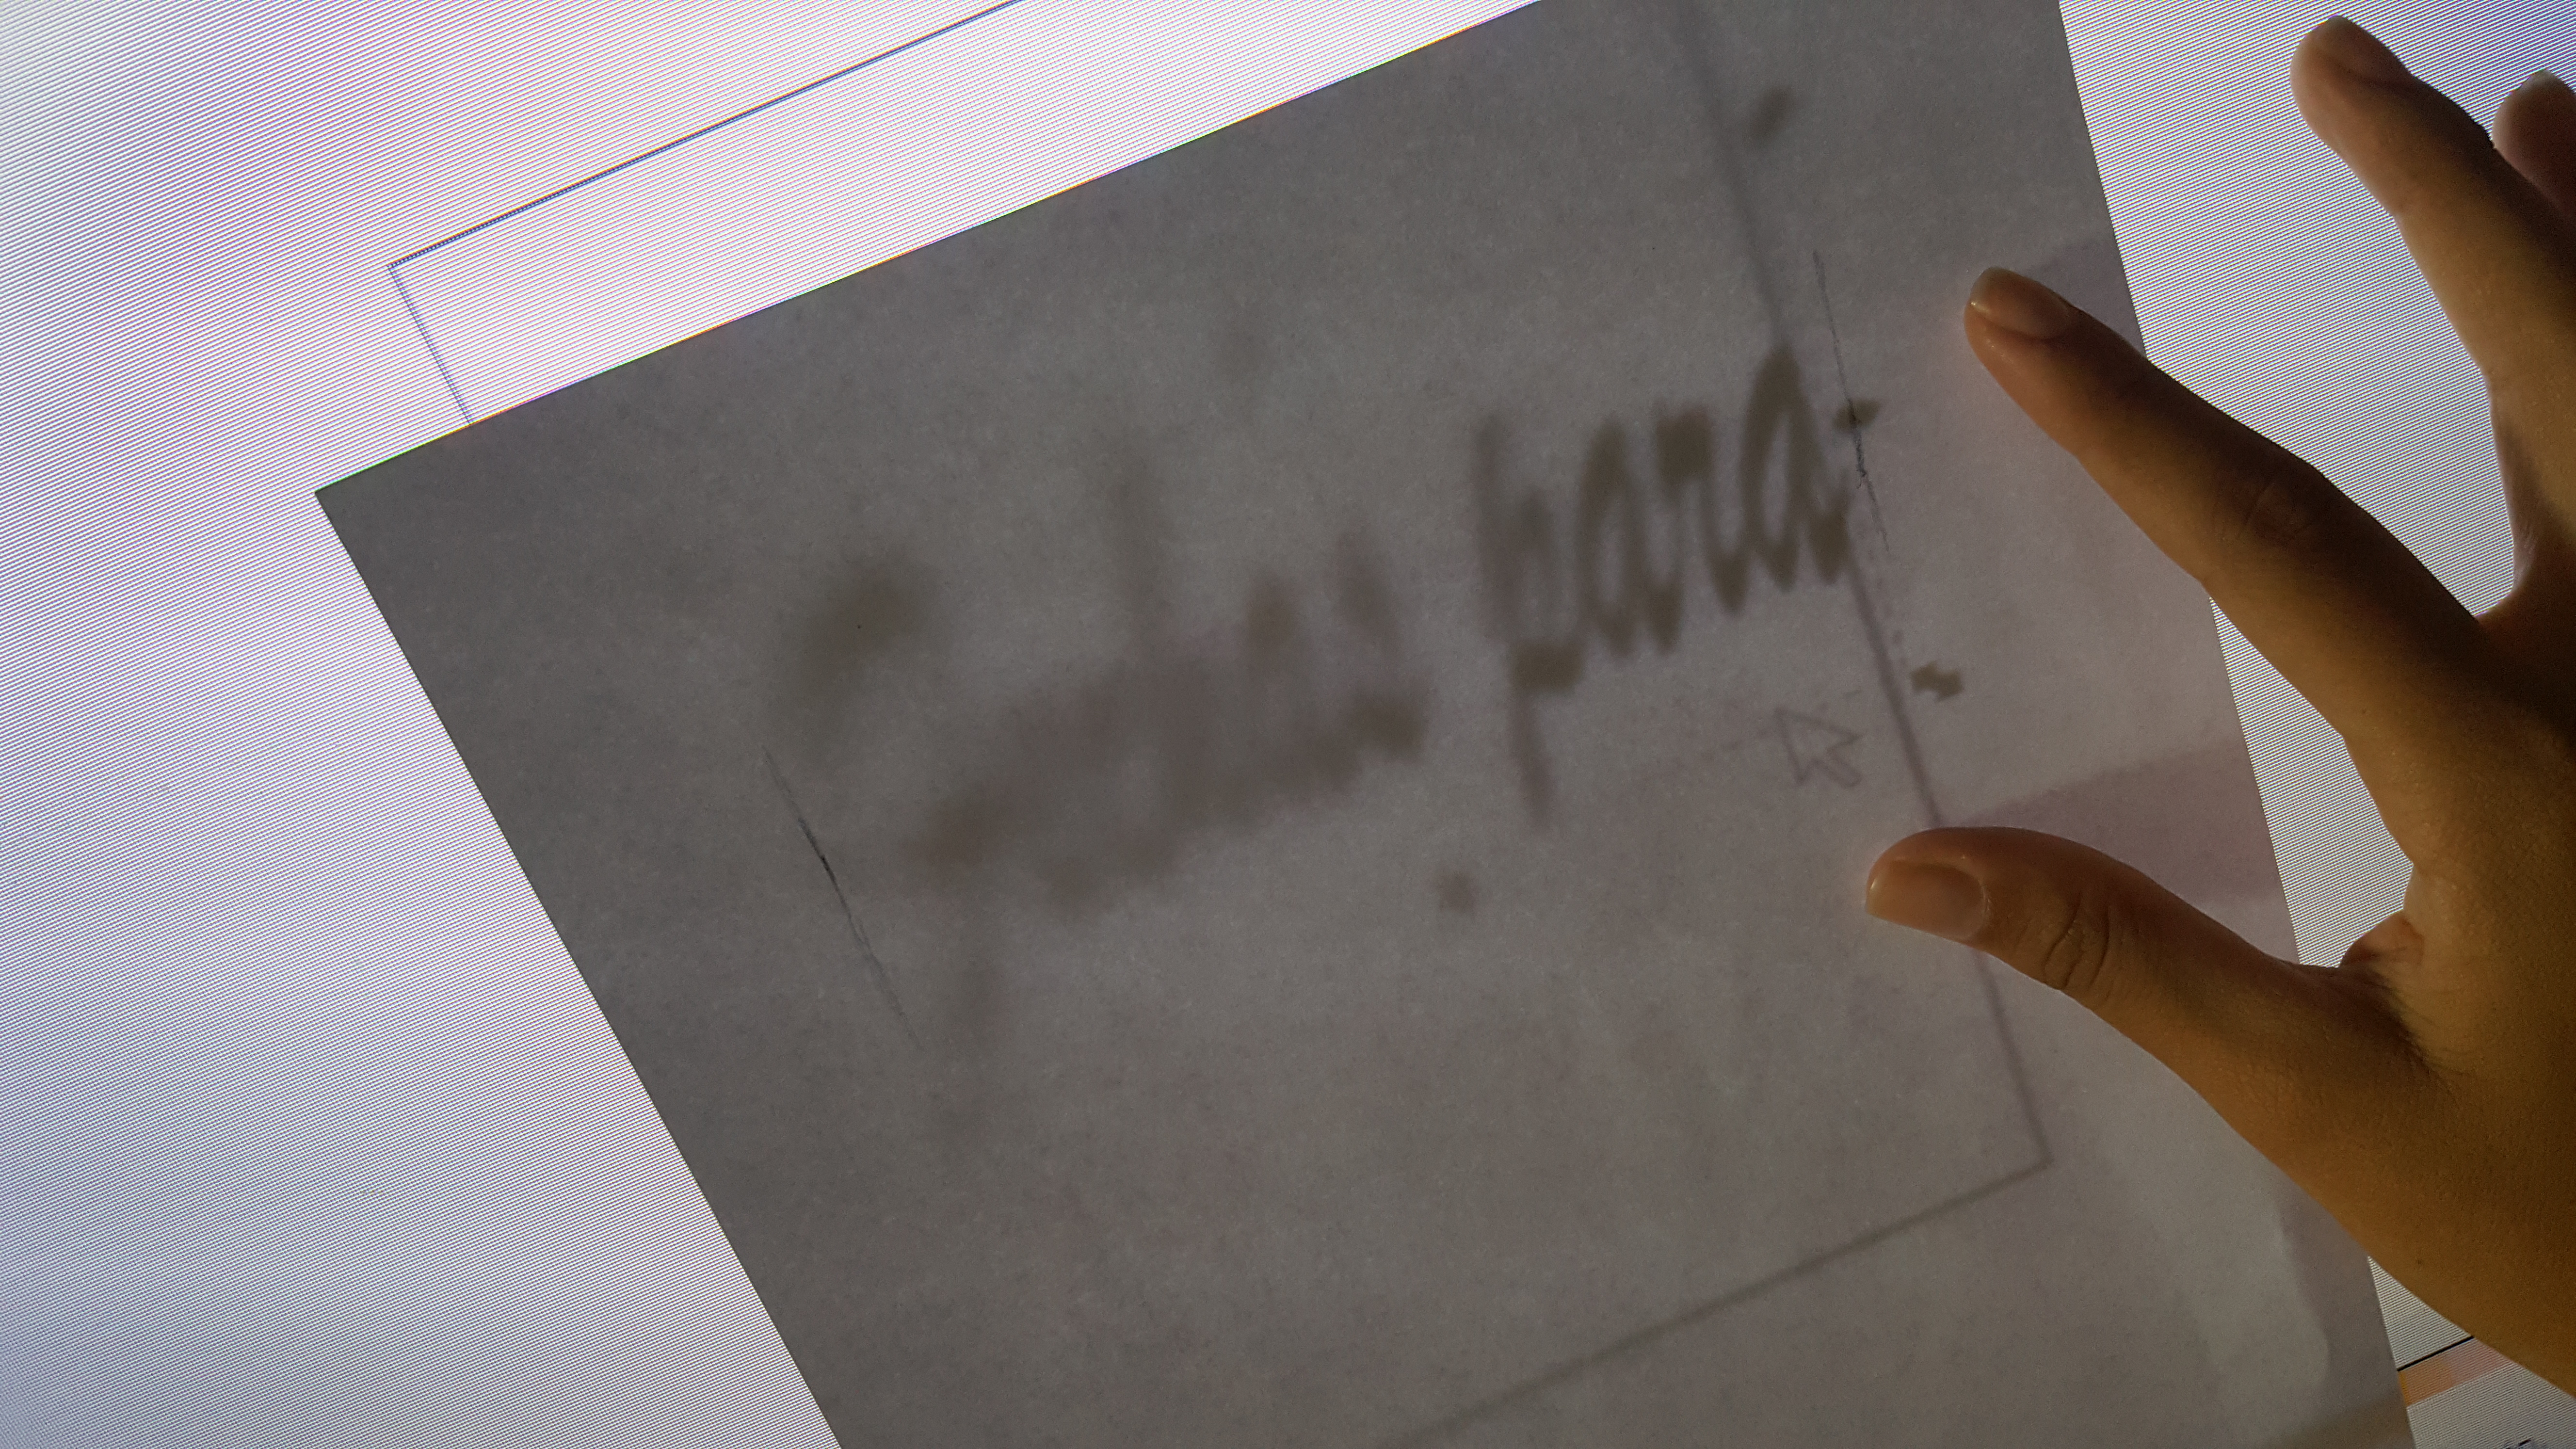
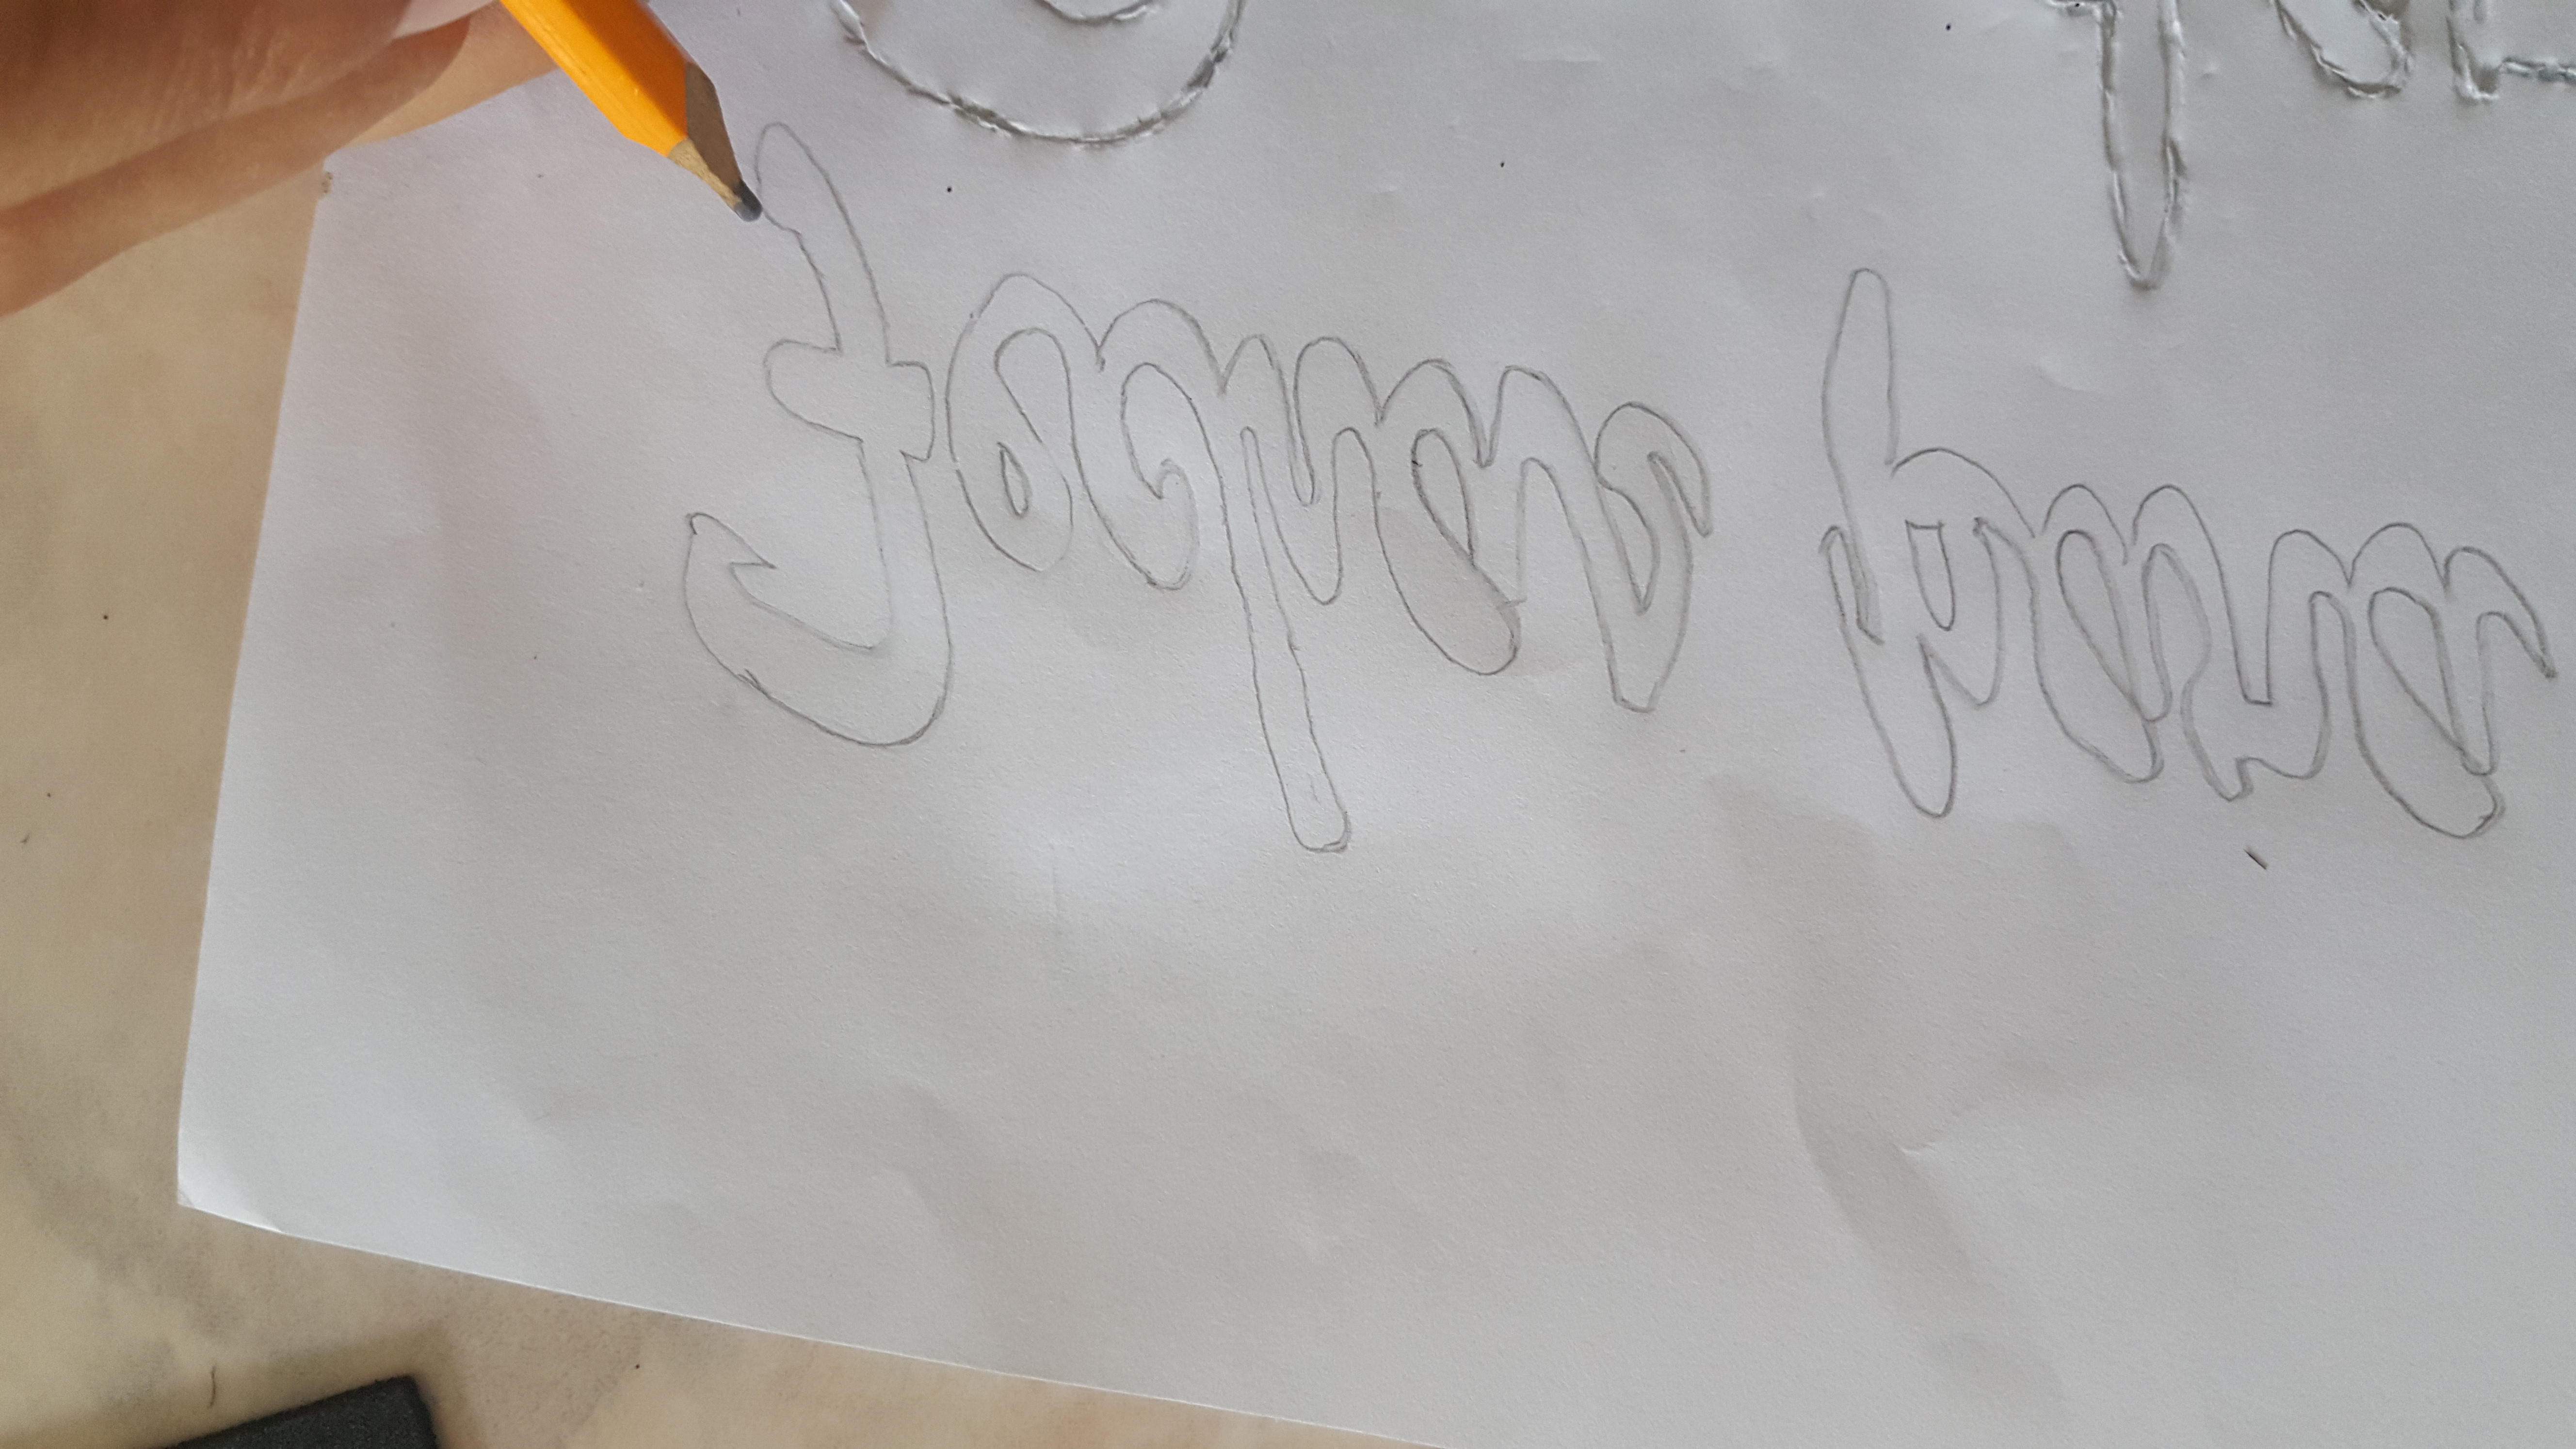
Listo esto, en la barra izquierda, buscamos un icono en forma de puntero y hacemos click en la letras, allí ajustaremos el tamaño, tomé luego la hojita donde tenía mis medidas, ajusté el tamaño correctamente y calquee con un lápiz, después de terminarlas, remarqué para que quedaran un poco más oscuras.
Ready this, in the left bar, we look for an icon in the form of a pointer and we click on the letters, there we will adjust the size, then I took the little sheet where I had my measurements, I adjusted the size correctly and traced with a pencil, after finishing them, I highlighted to make them a little darker.

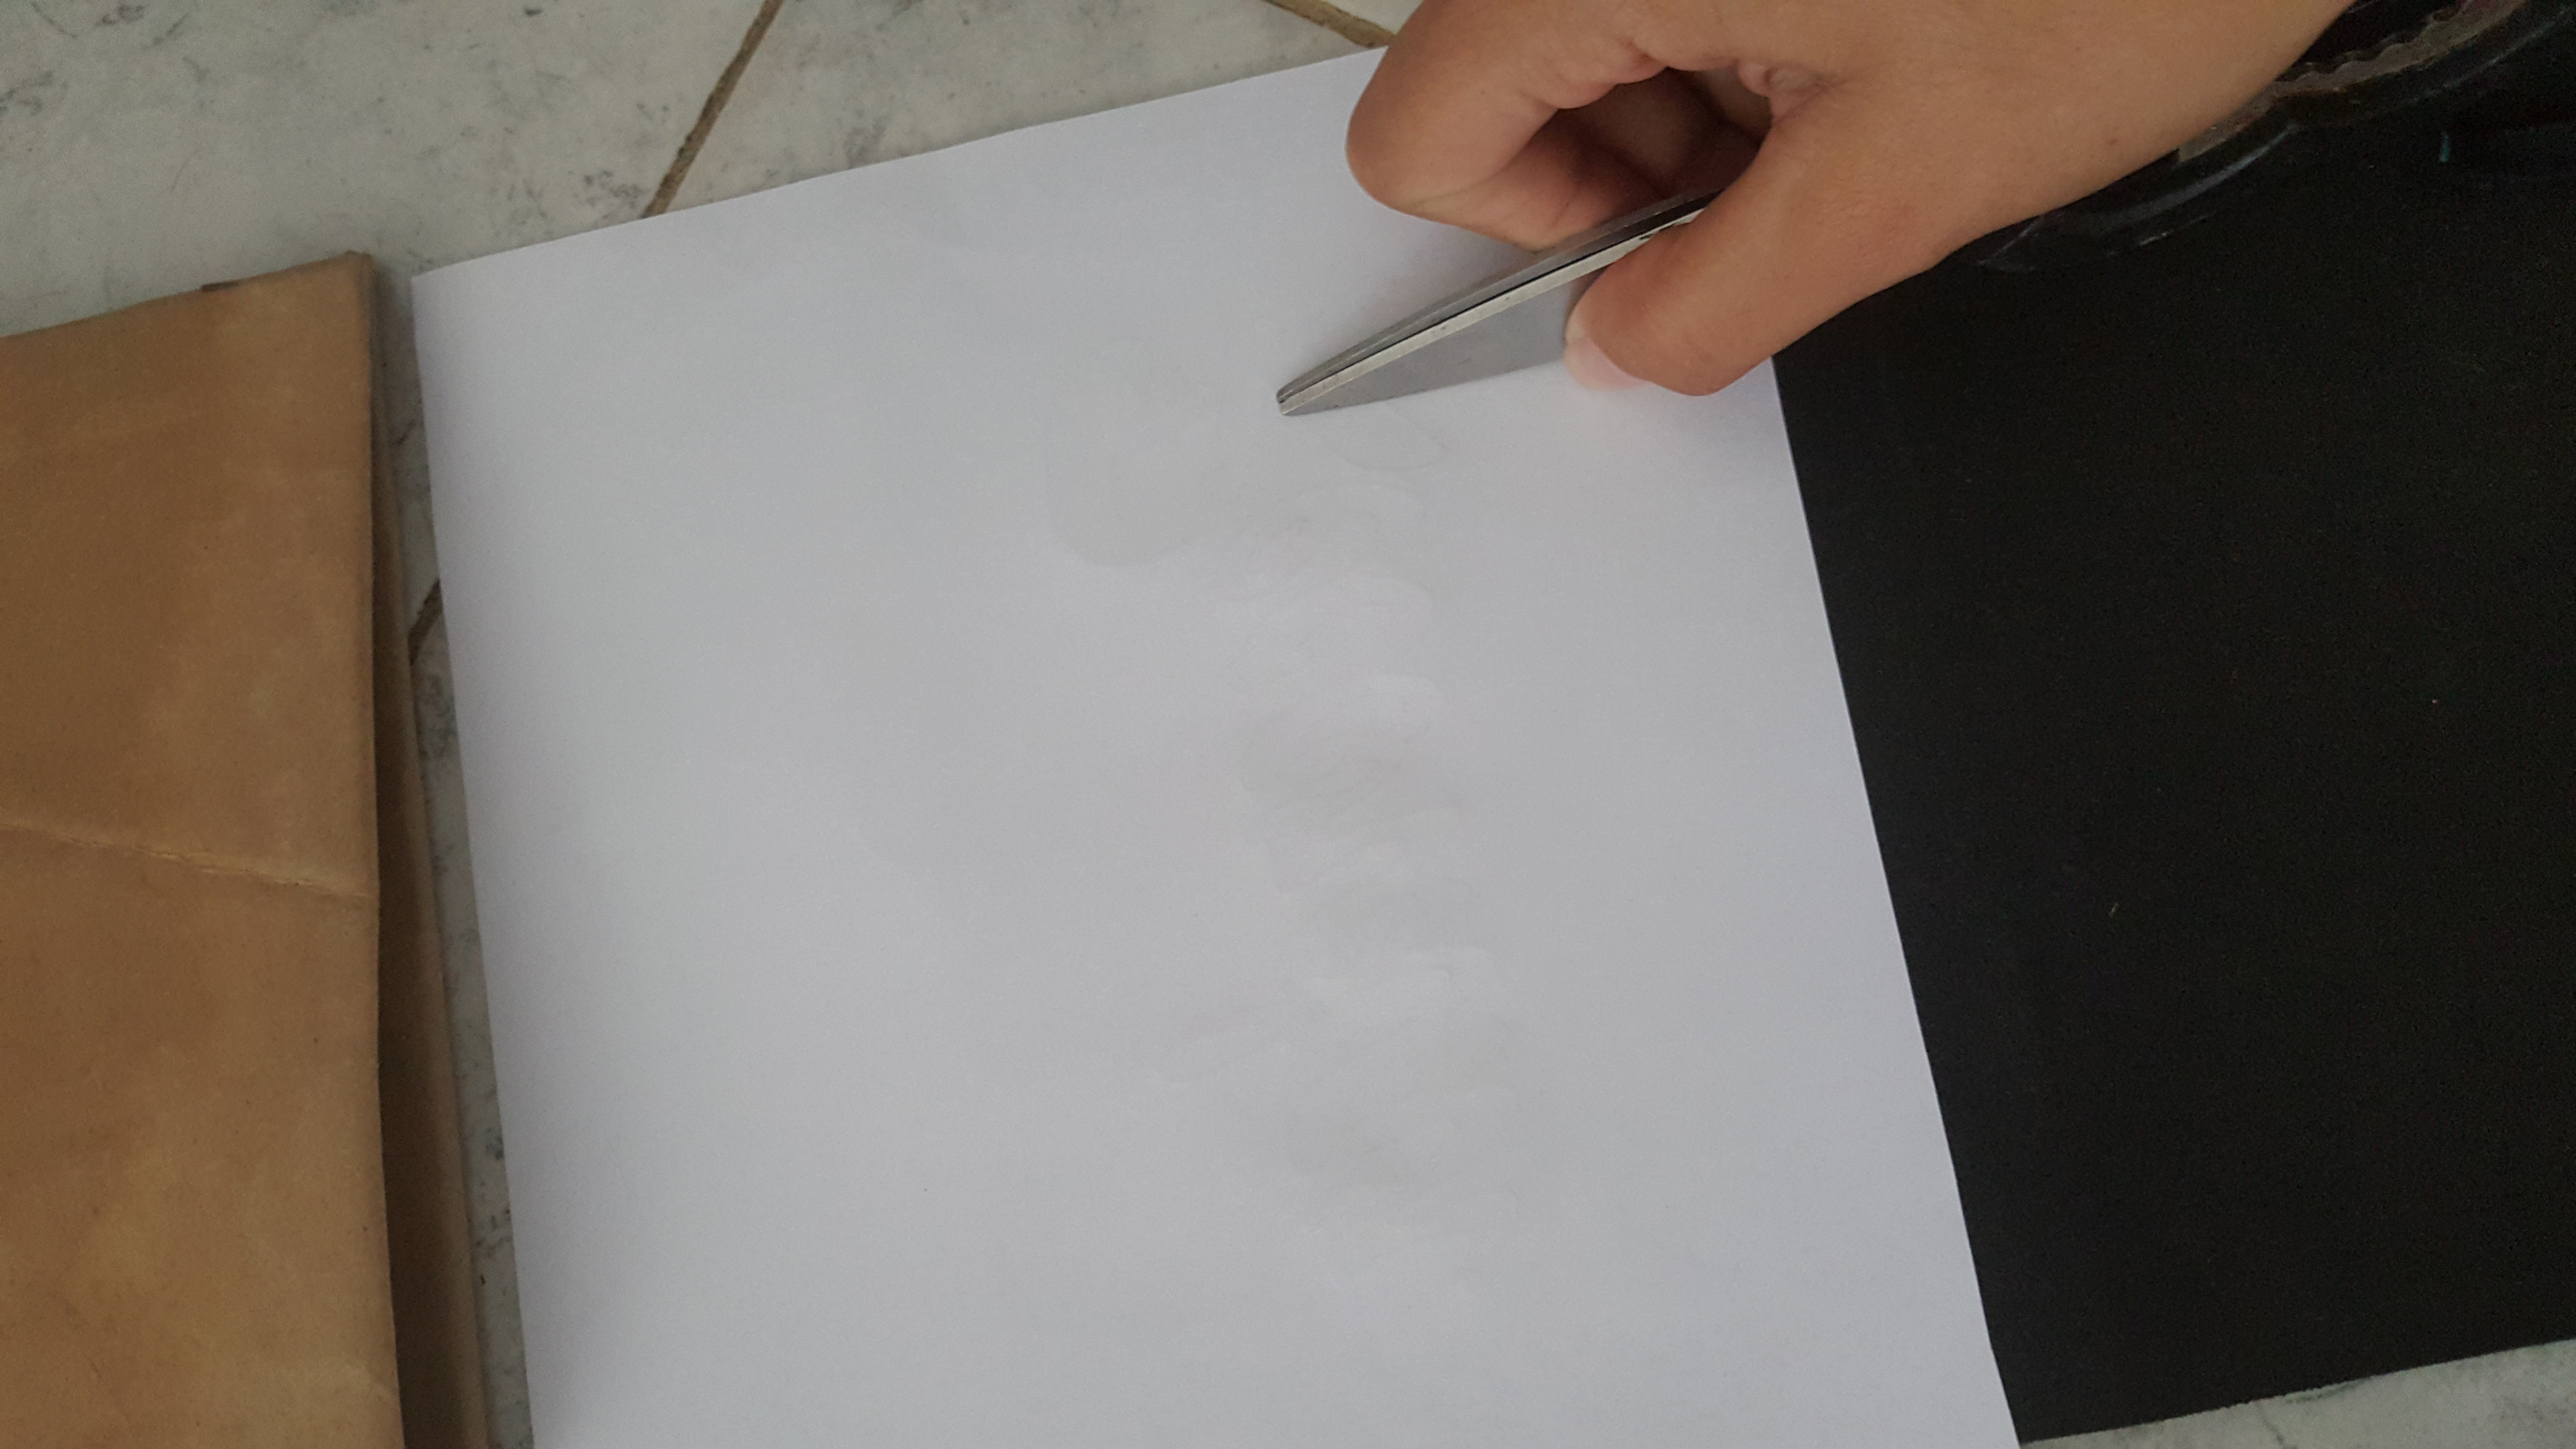
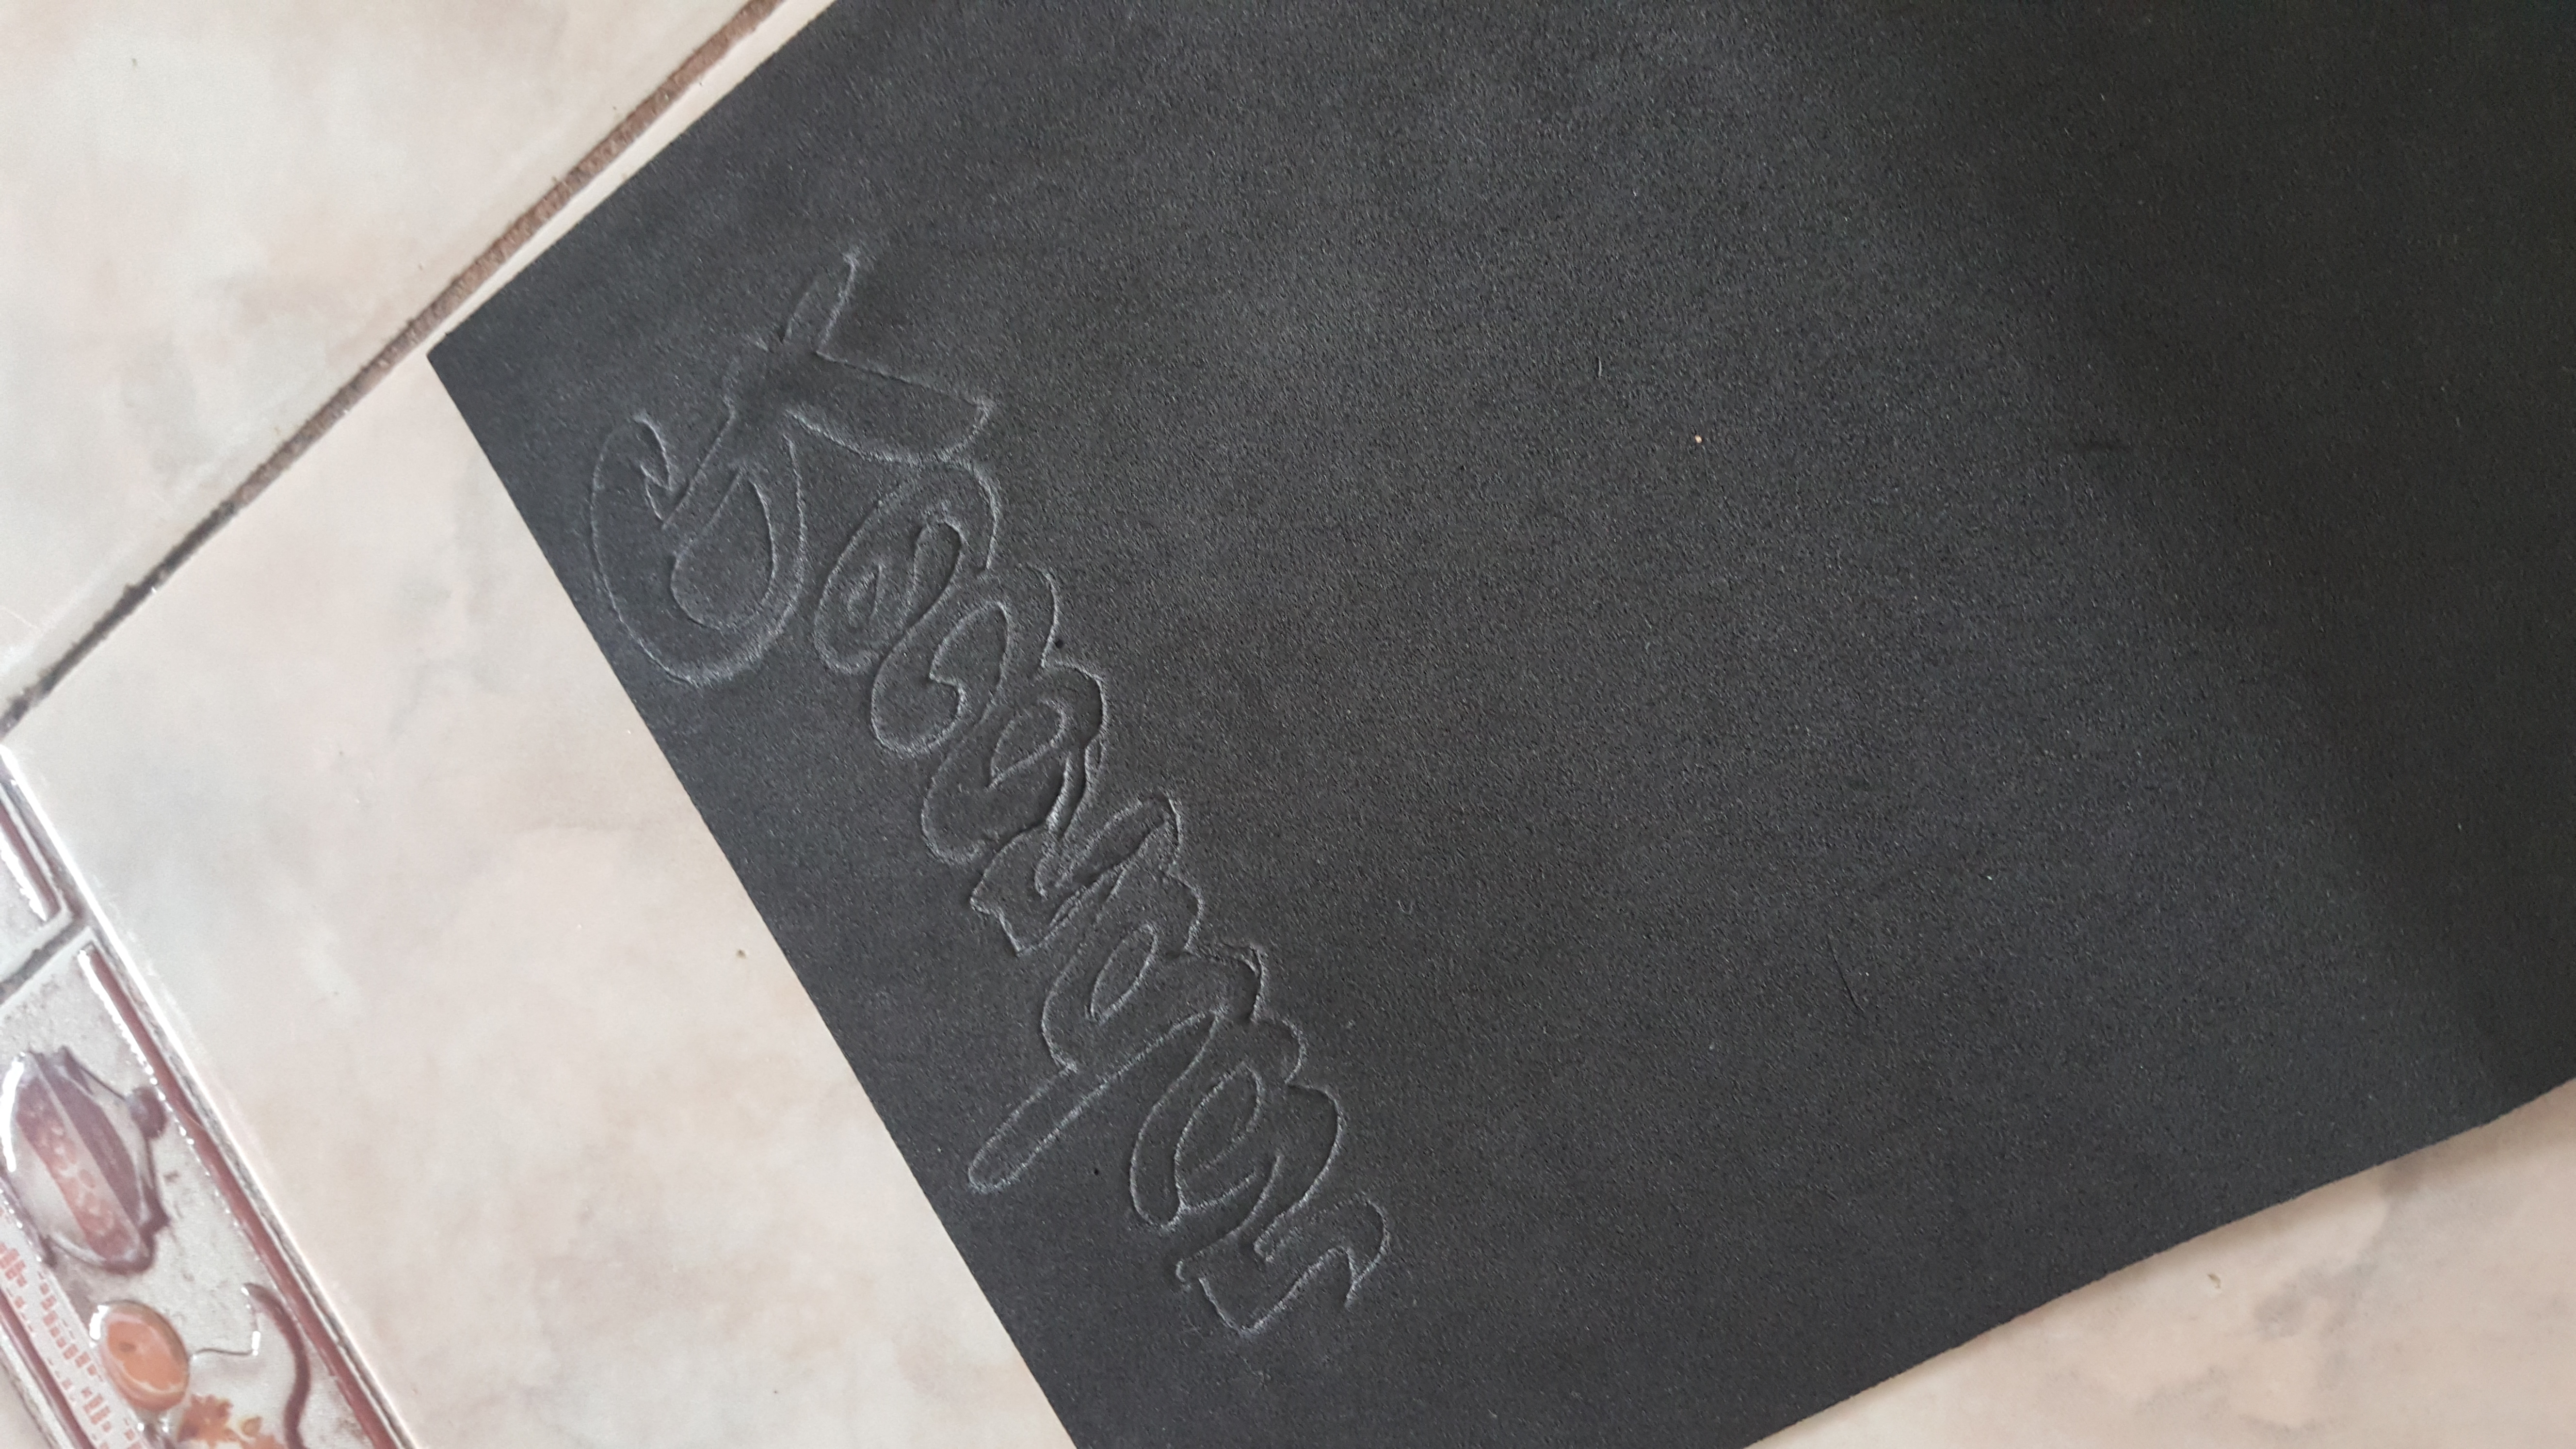
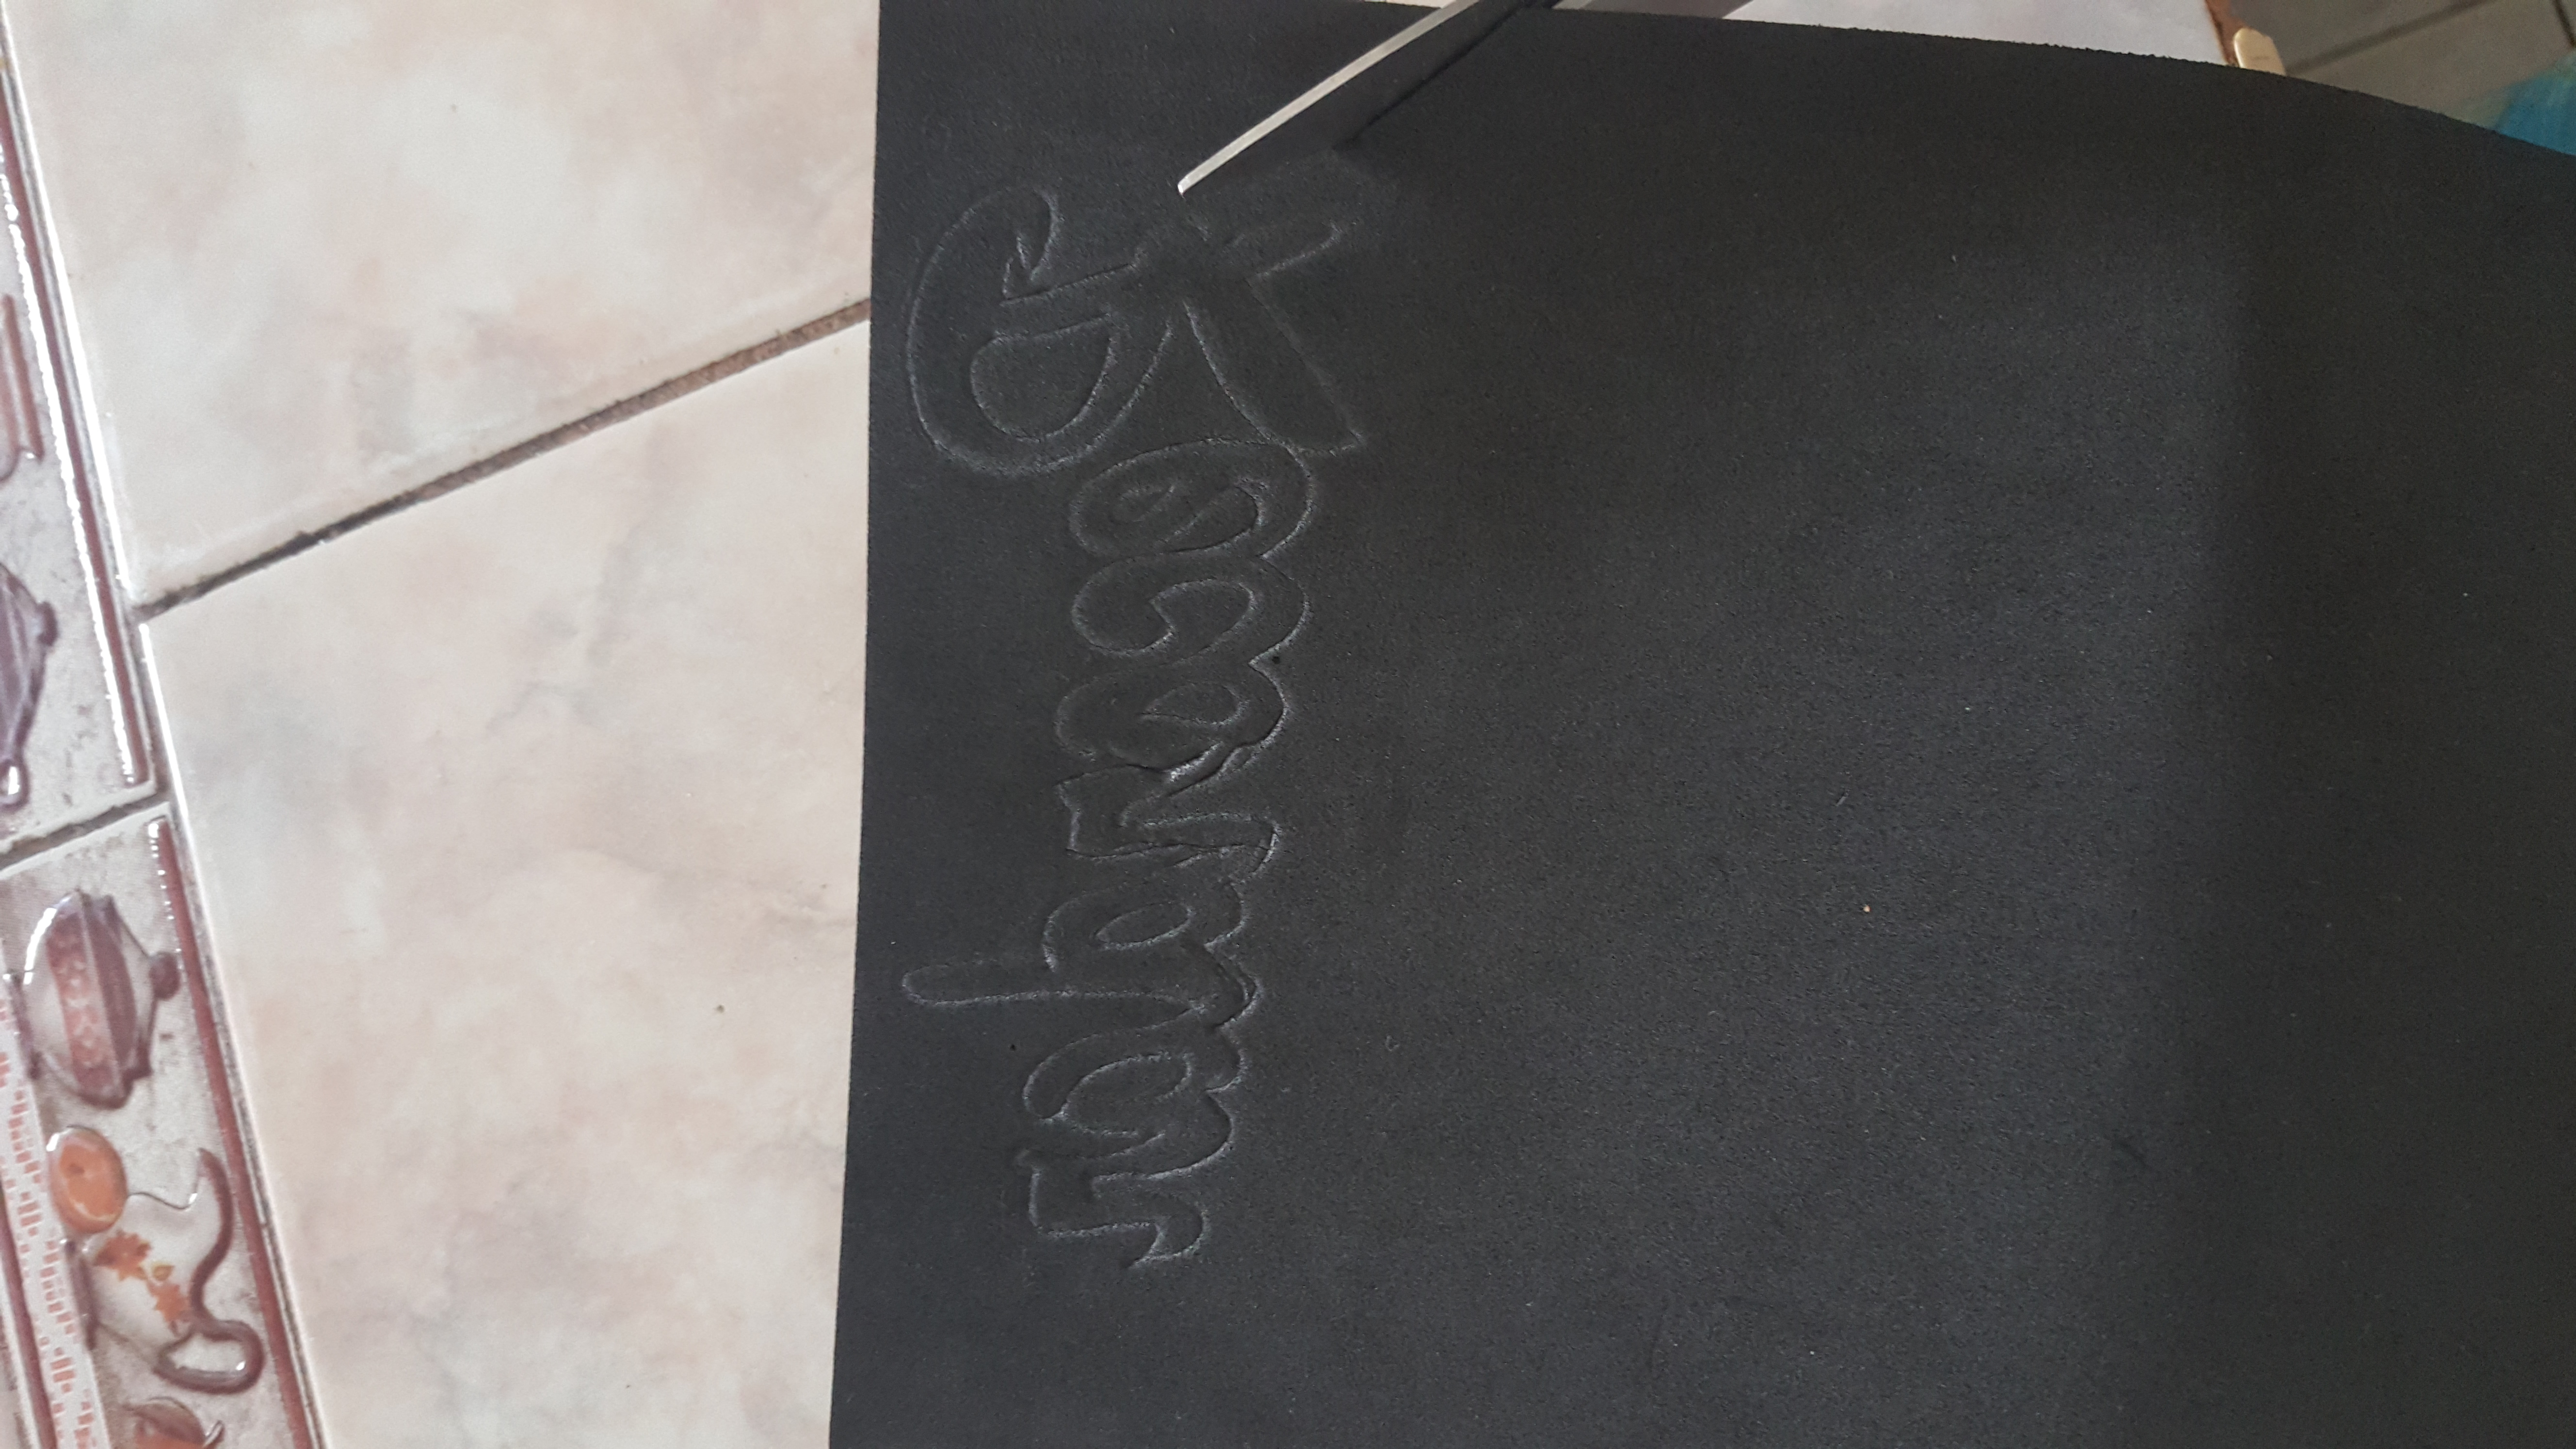
Voletee la hoja sobre el foami y con la ayuda de una tijeras le di al sitio donde estaban las letras de un lado arrastrando a otro y levanté a ver si se había marcado, normalmente por el color como es oscuro no queda muy marcado, con el mismo lápiz remarqué lo poquito que había quedado, arreglé y recorté.
Flip the sheet over the foami and with the help of scissors I hit the place where the letters were from one side dragging to the other and lifted to see if it had been marked, normally because of the color as it is dark it is not very marked, with the same pencil I marked the little that was left, arranged and cut.
El otro modo también puede ser, sacar las letras al contrario, en Inscape hay una opción donde colocas el sentido de las letras al revés, la calquee directamente y remarque encima del foami de modo que quede marcado abajo, remarqué con el lápiz y recorté.
The other way can also be, take out the letters on the contrary, in Inscape there is an option where you put the direction of the letters upside down, I traced it directly and marked it on top of the foami so that it is marked below, I marked it with the pencil and cut it out.

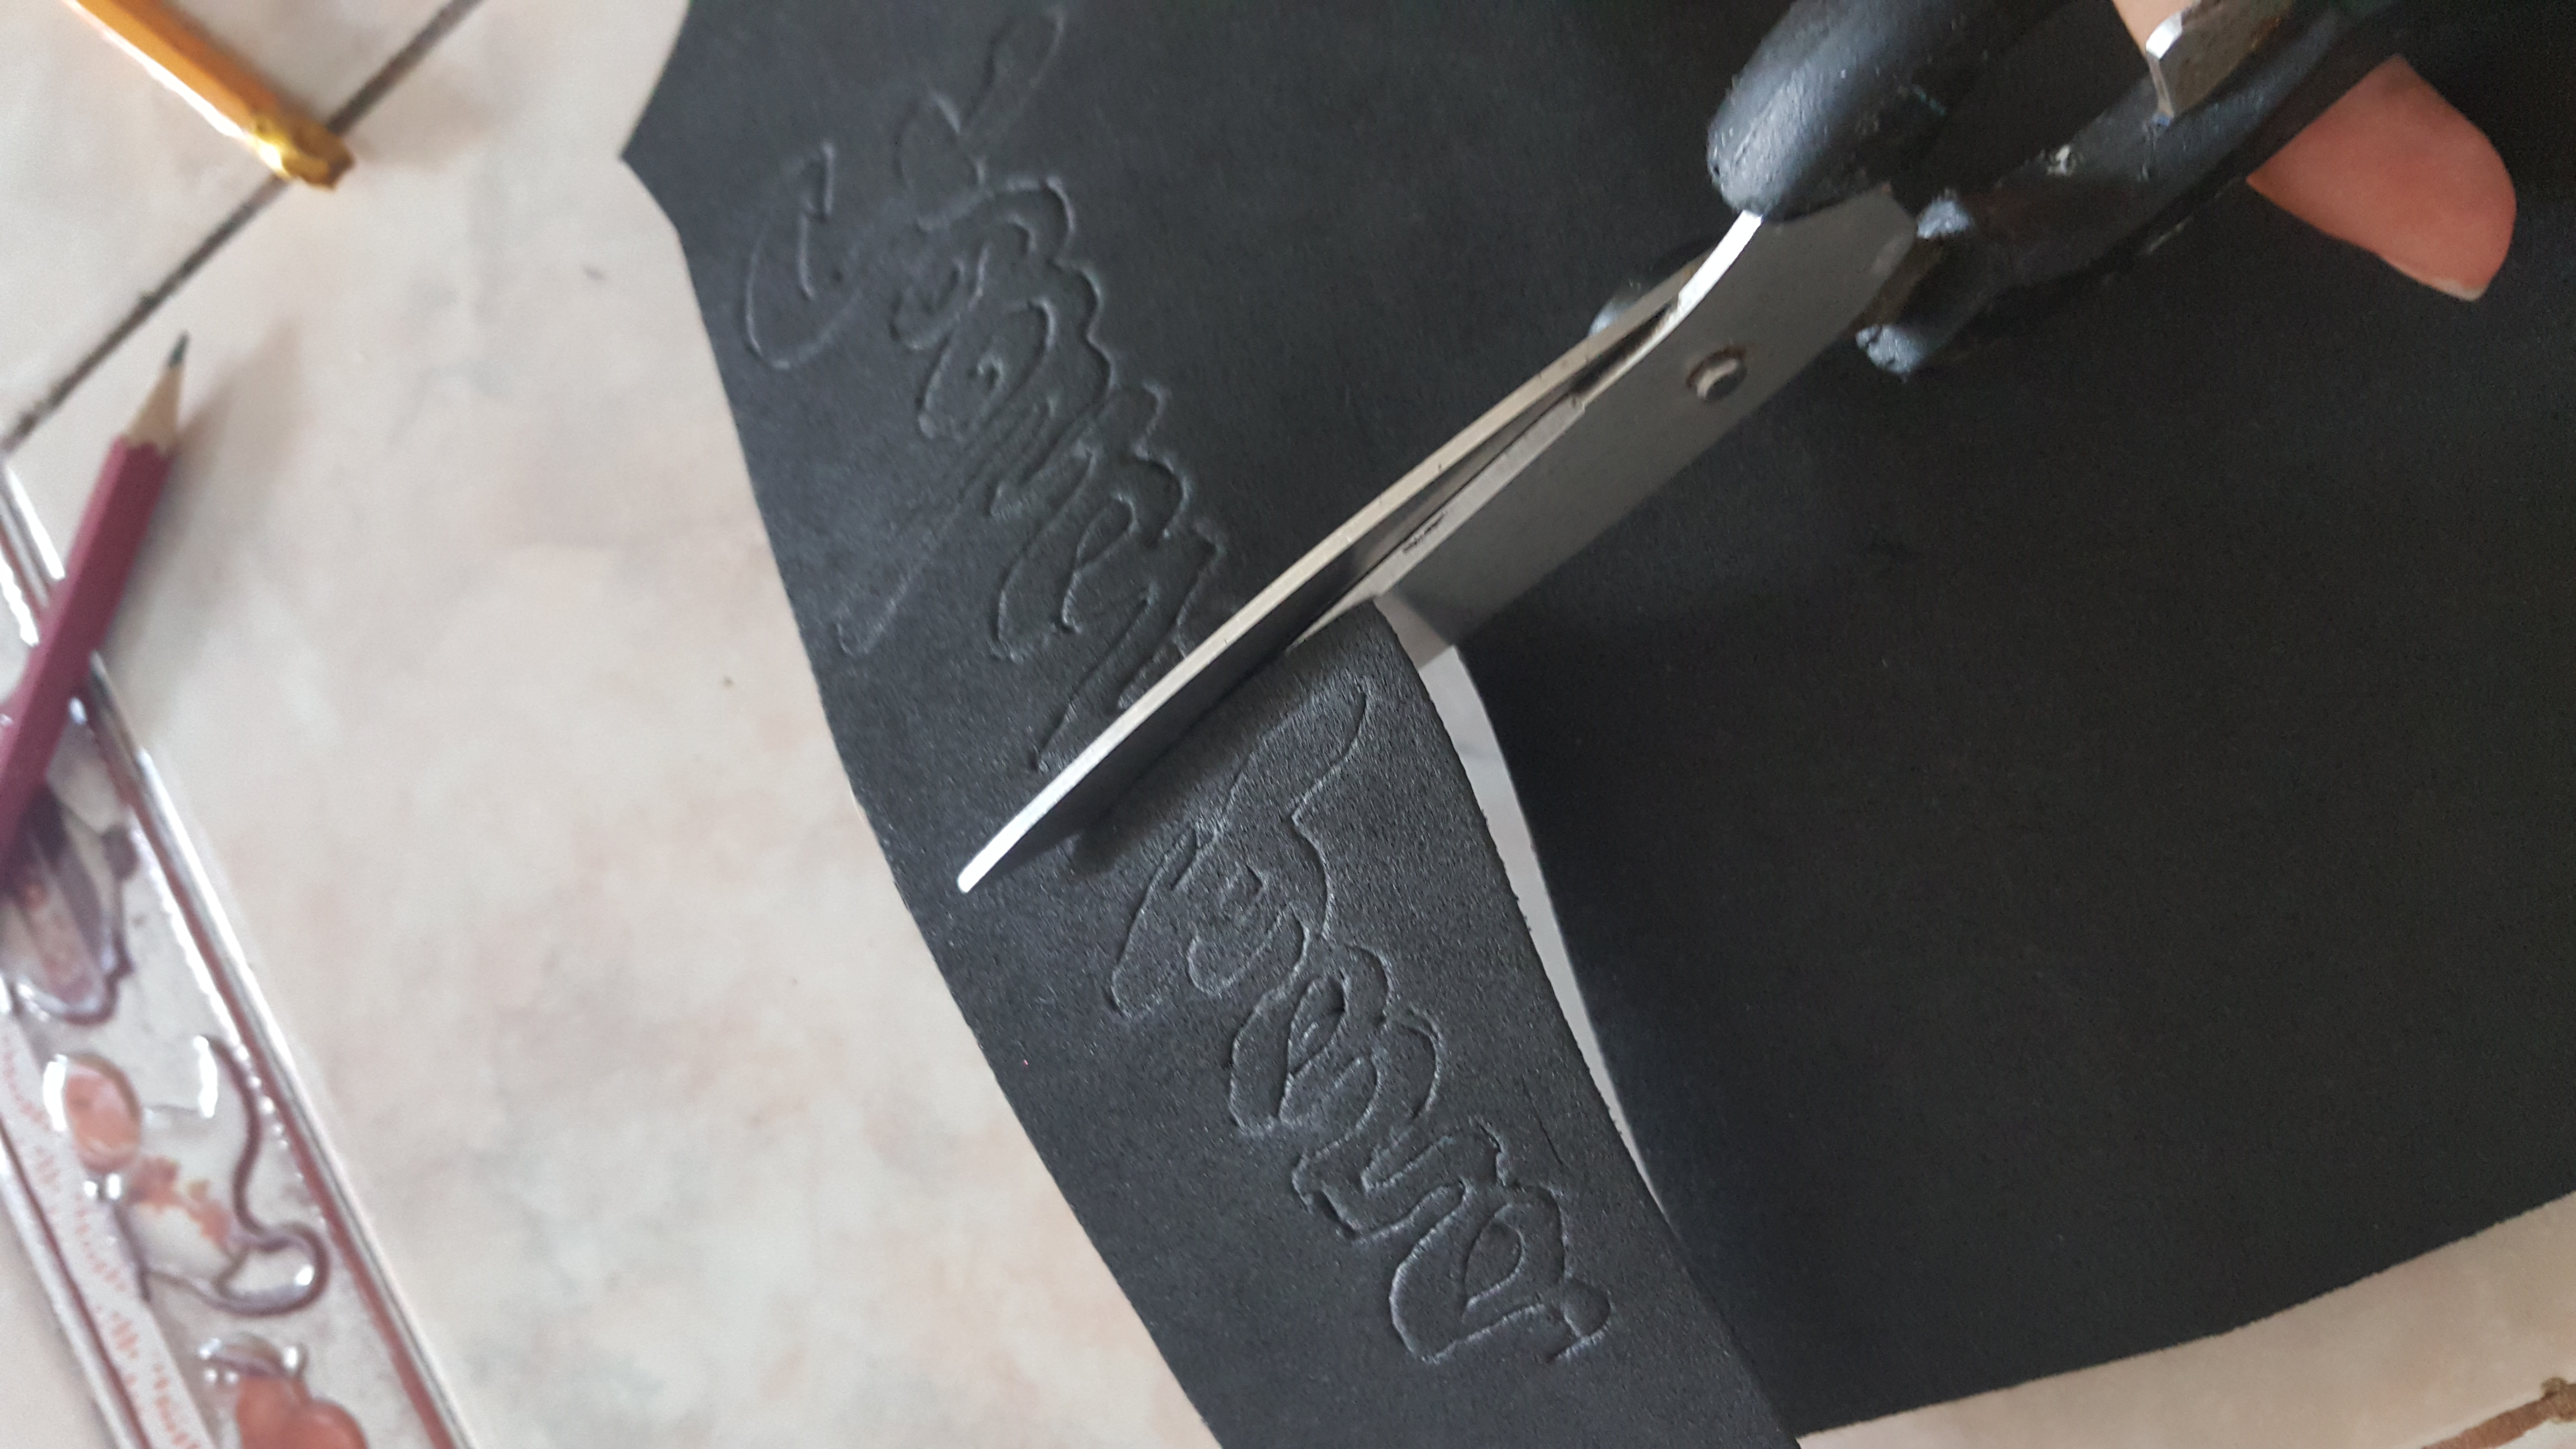
Y por último, recorté las letras junto con el foami, todo junto, sin mover ninguno de los dos para que pueda quedar bien, es decir, me guié del patrón de la hoja para recortar. Este último no lo hice pero si se los explico para que lo sepan.
And lastly, I cut out the letters together with the foami, all together, without moving either of them so that it can be well, that is, I was guided by the pattern of the sheet to cut out. I didn't do this last one but I'll explain it to you so you know.
Con una tijera un poco más pequeña recorté todos los huecos de las letras y listo.
With a slightly smaller pair of scissors I cut out all the holes for the letters and that's it.

Texto traducido por Deepl
Text translated by Deepl
Las fotos y el contenido son de mi autoría
Photos and content are my own
Espero que les guste, acepto sugerencias y nos vemos en el próximo post. Gracias por estar al pendiente, espero que podamos seguir compartiendo conocimientos❤️
I hope you like it, I accept suggestions and see you in the next post. Thank you for being on the lookout, I hope we can continue sharing knowledge❤️