Remplazar integrados dañados para poder encender
Saludos hermosa comunidad de hive. Hoy quiero traerles está pequeña reparación con un decodificador Intel. El cual no encendía y tenía 2 chip dañados los cuales debo extraerlos de otra placa donante
Greetings beautiful hive community. Today I want to bring you this small repair with an Intel decoder. Which did not turn on and had 2 damaged chips which I must extract from another donor board
Comenzamos con el proceso
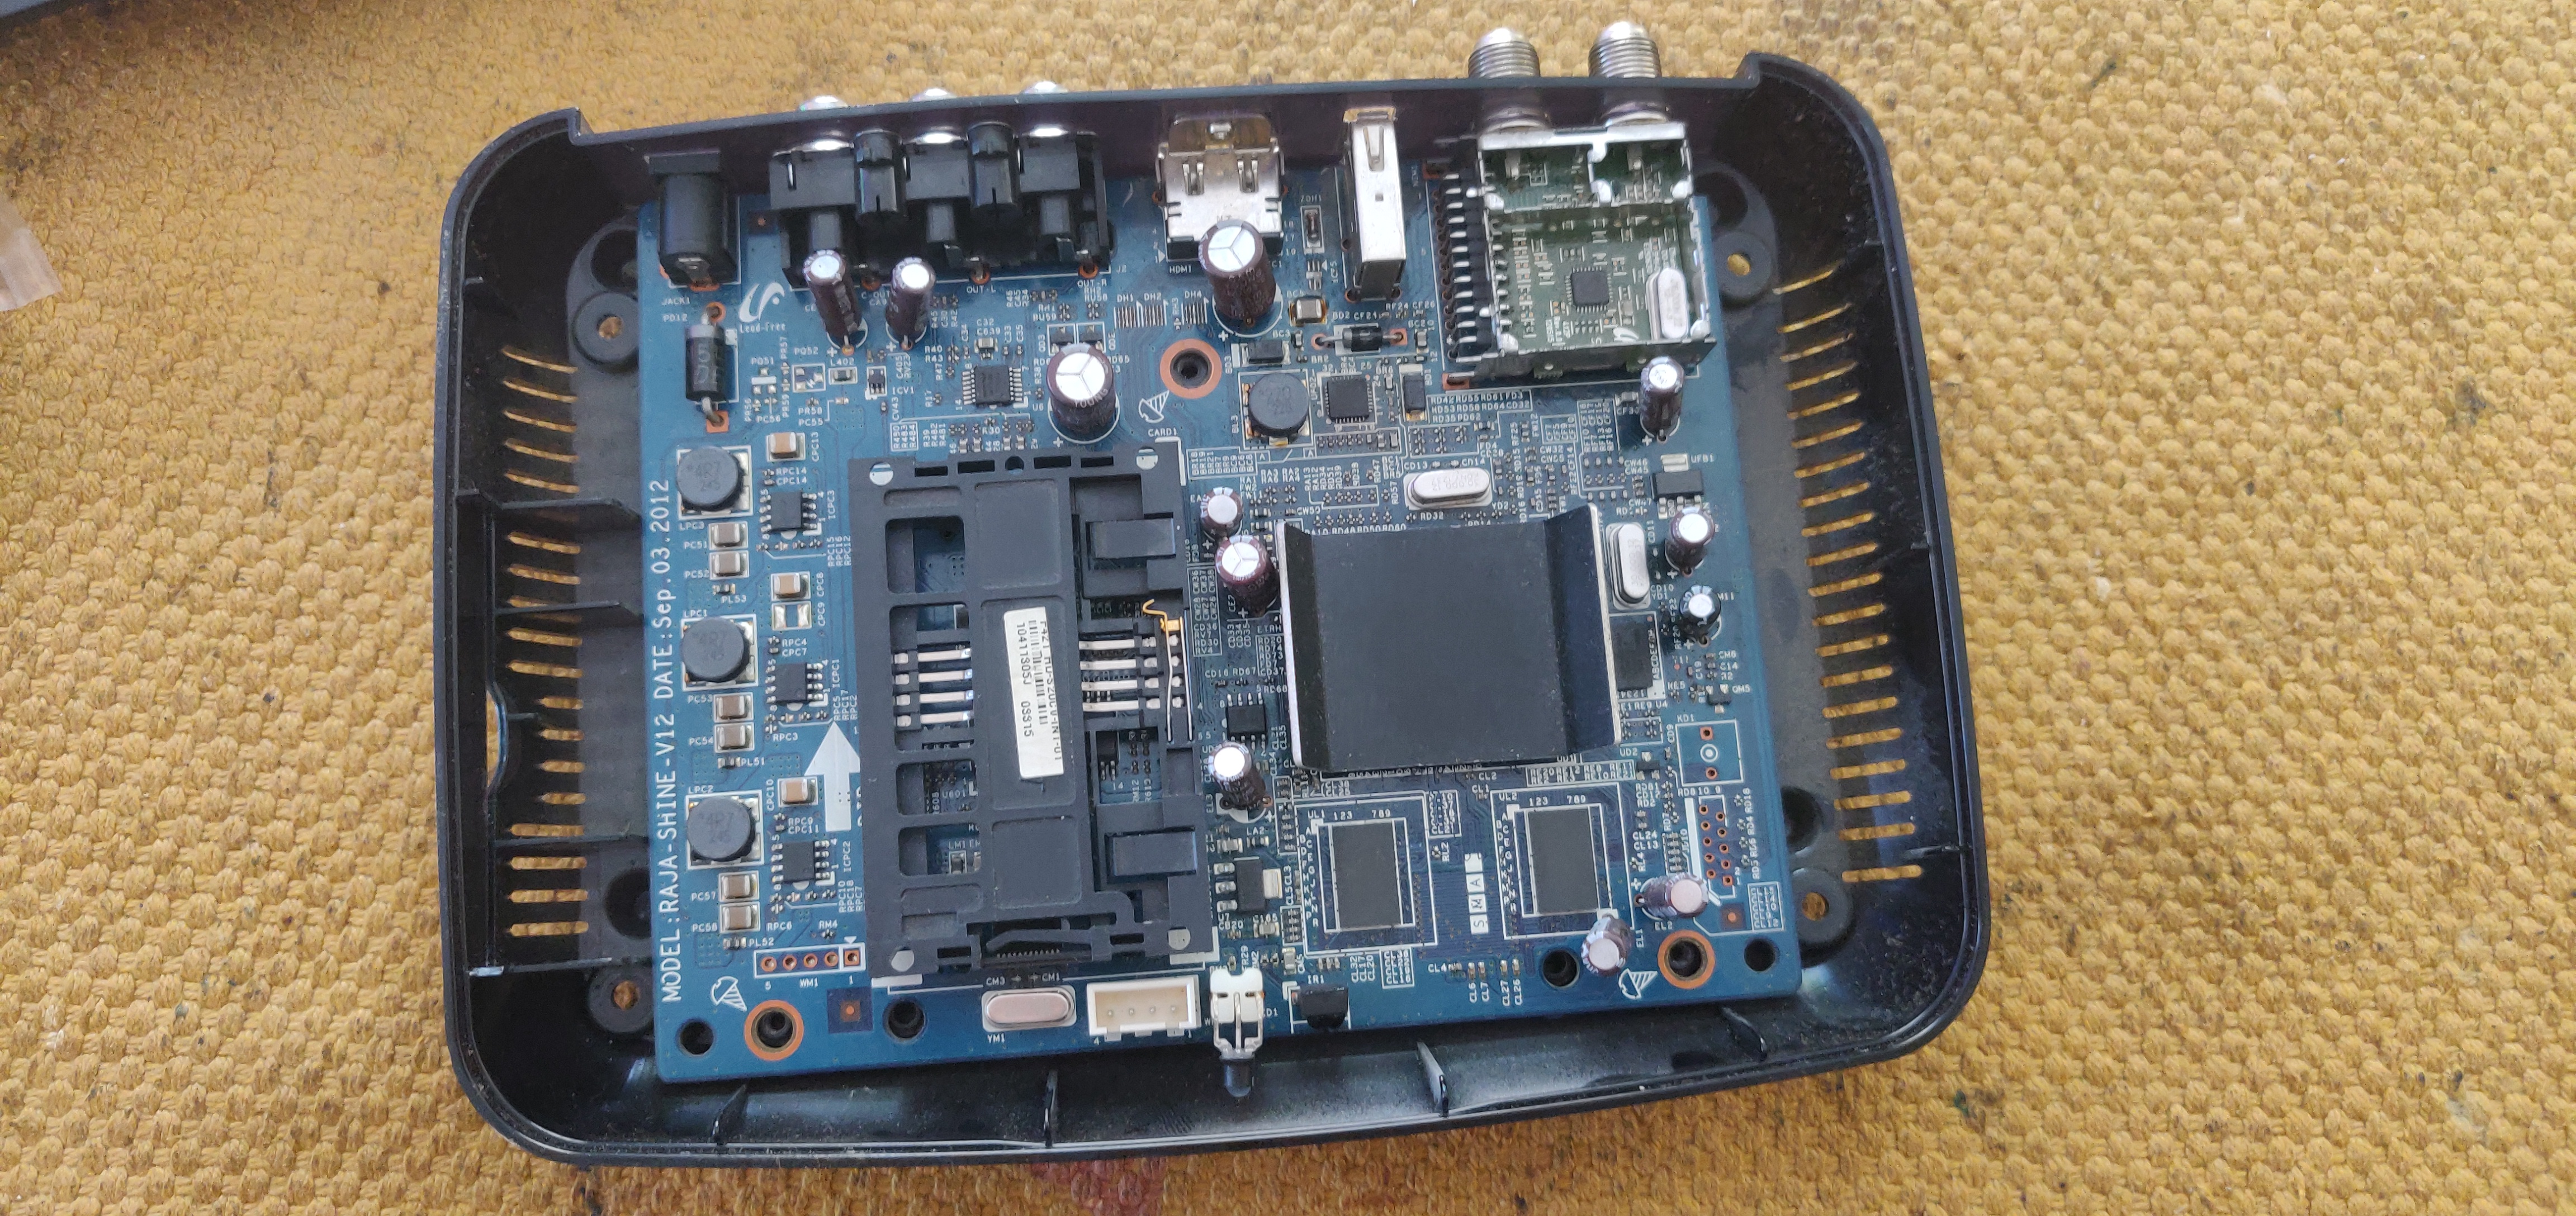
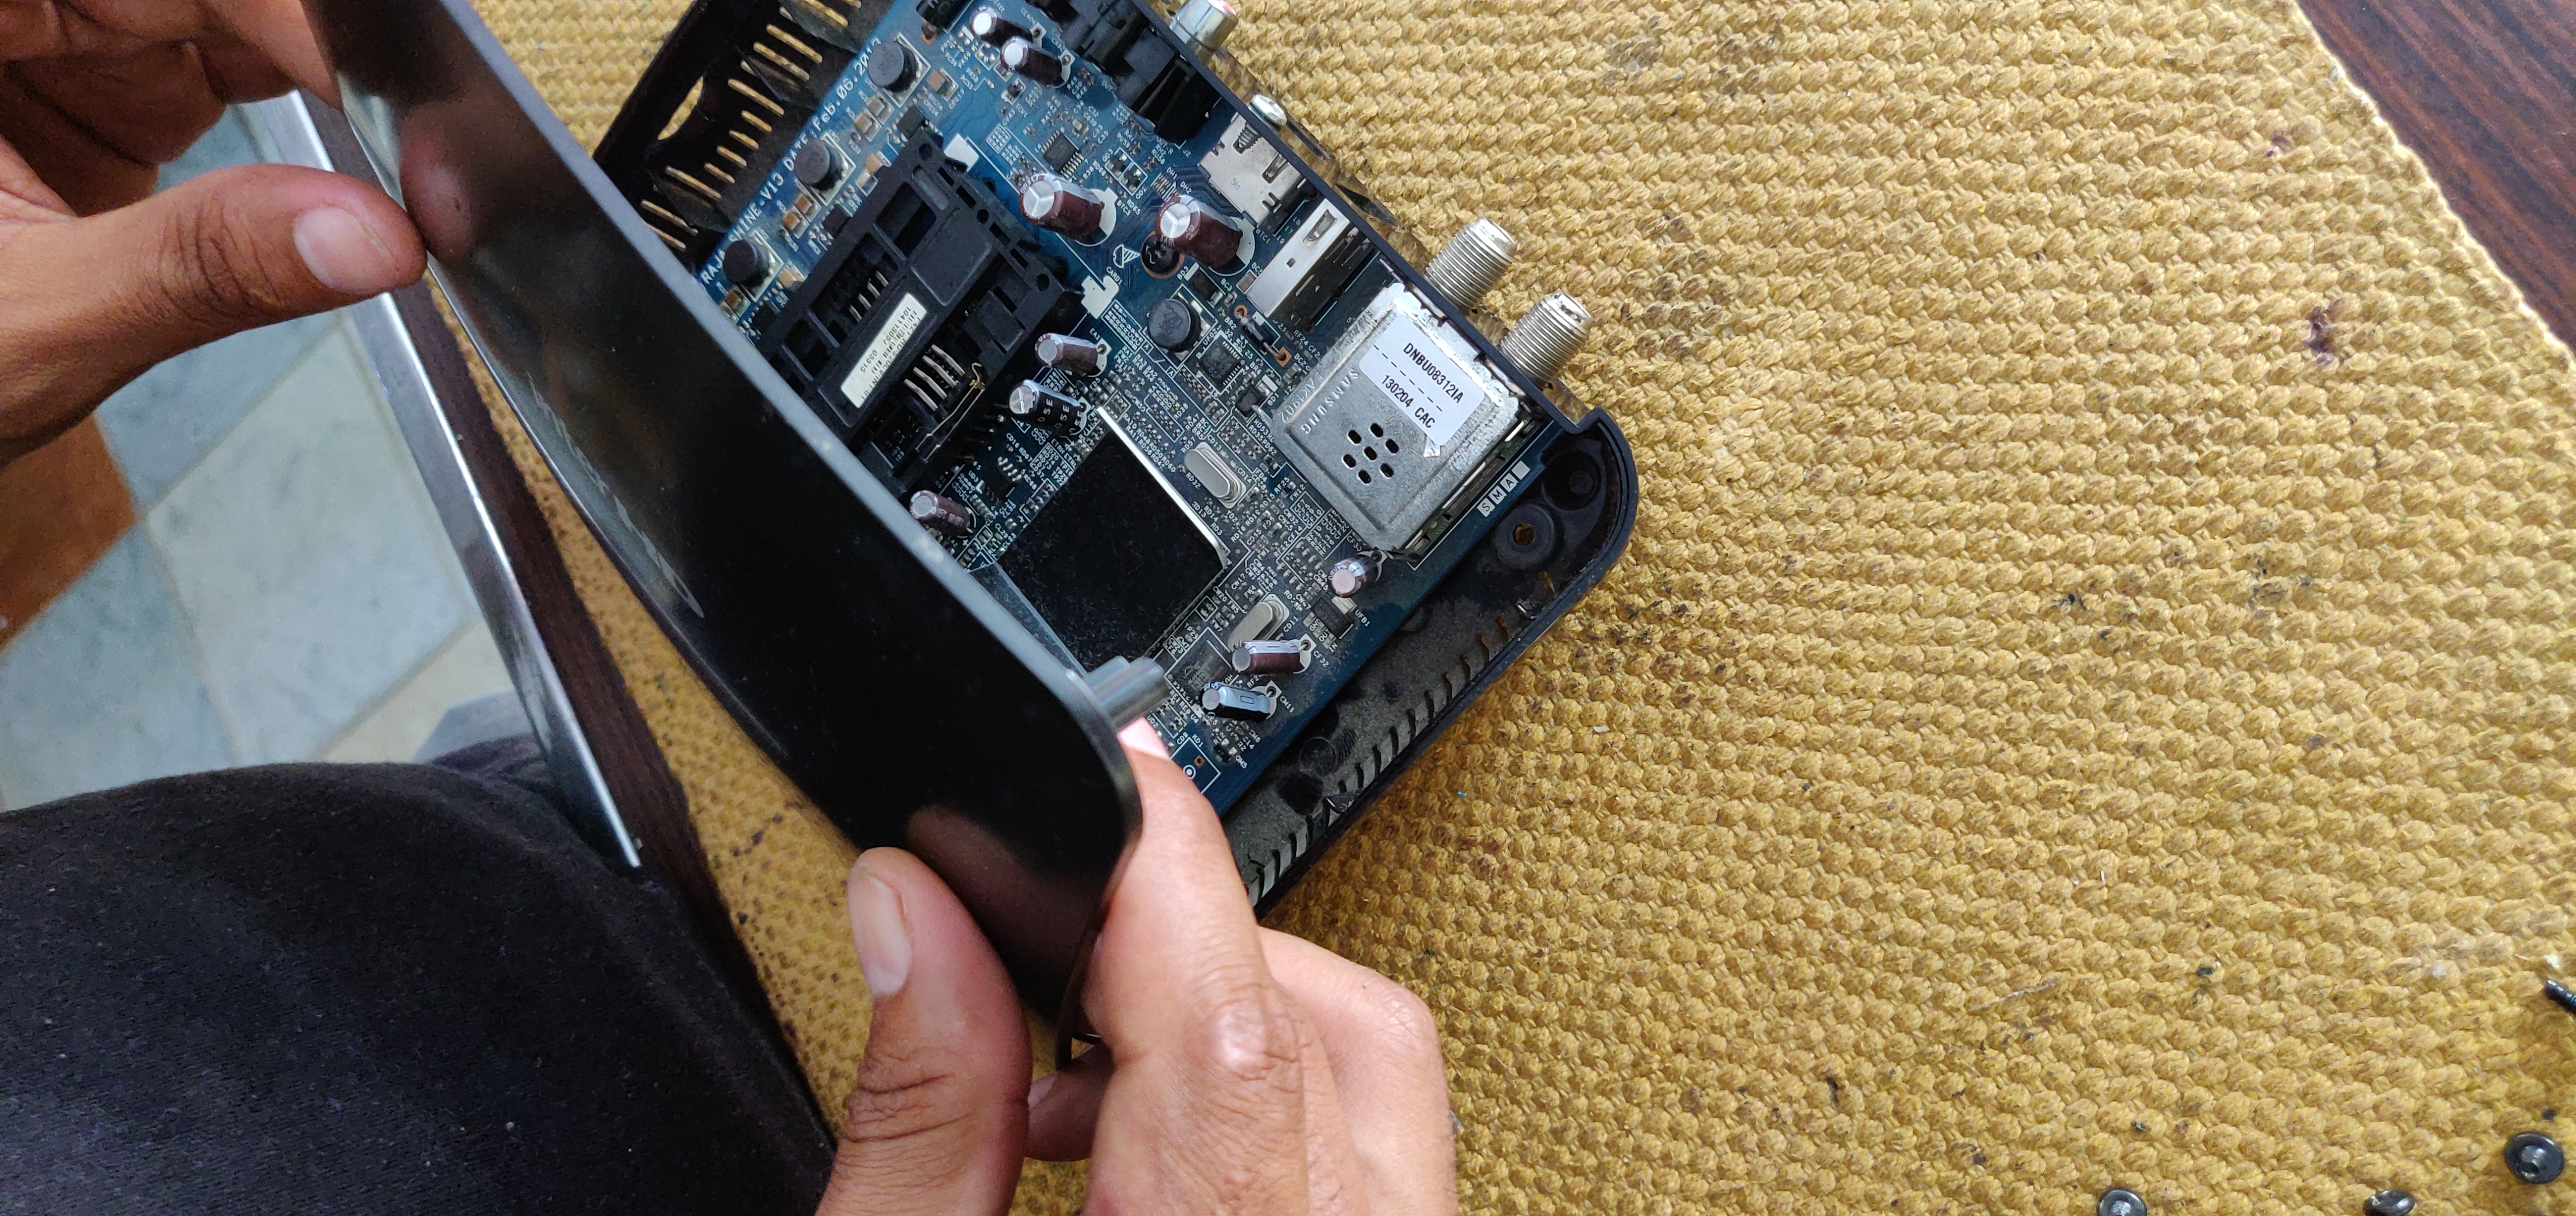
Primero que todo desensamblamos el dispositivo
We begin with the process First of all disassemble the device
Debemos retirar la lectora de tarjetas
We must remove the card reader
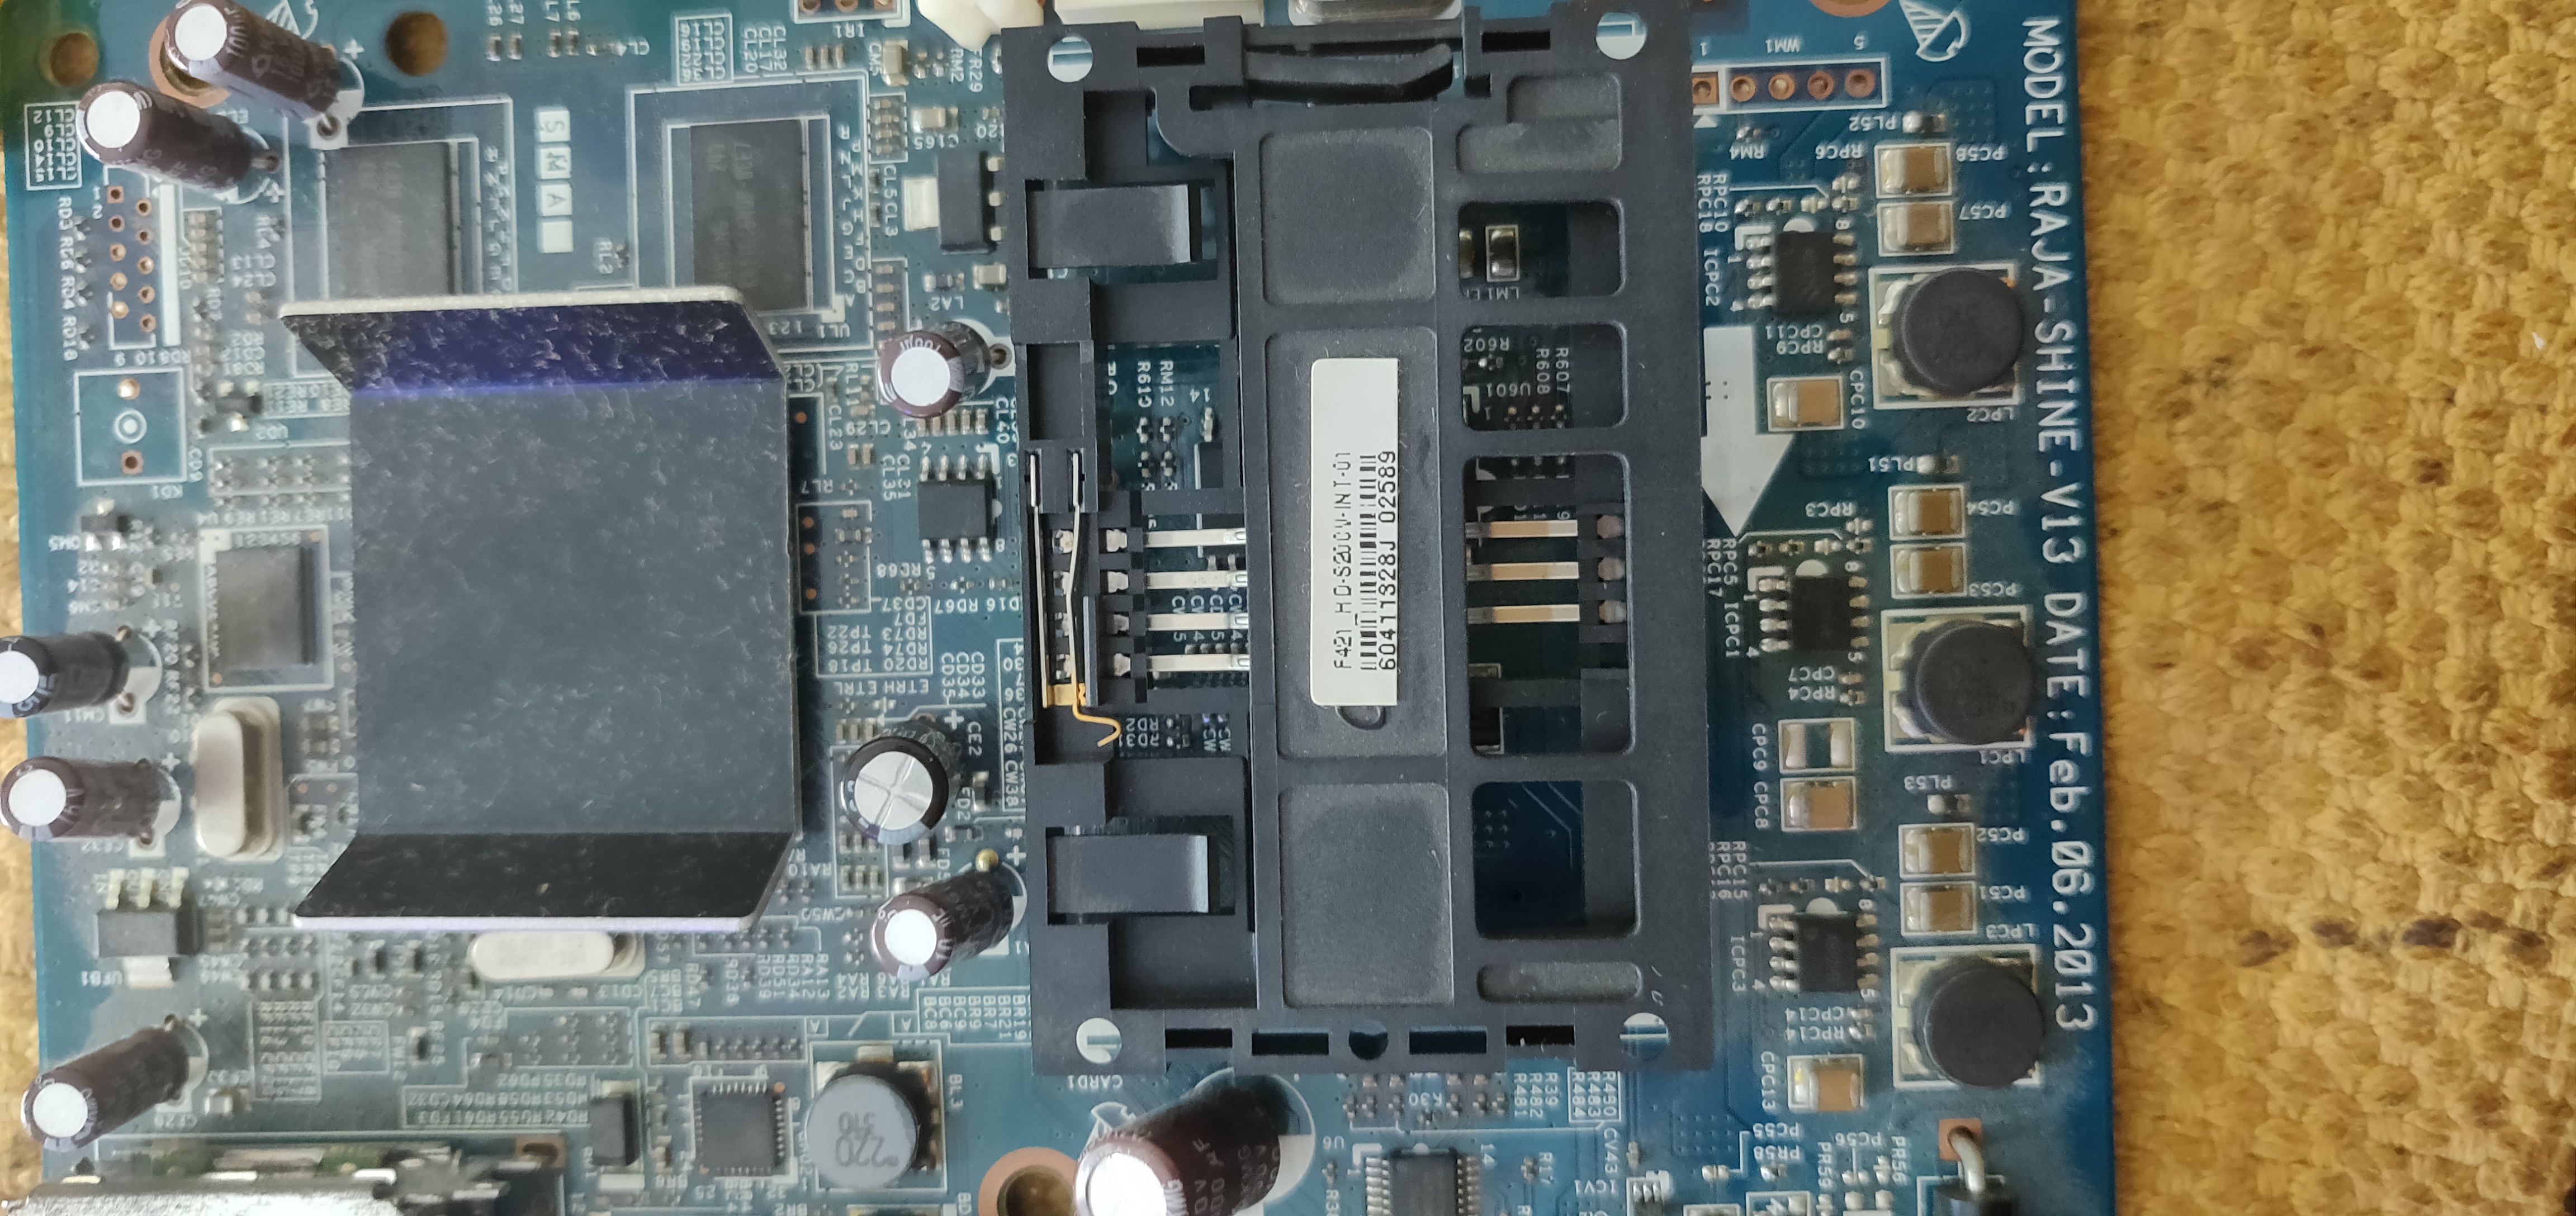
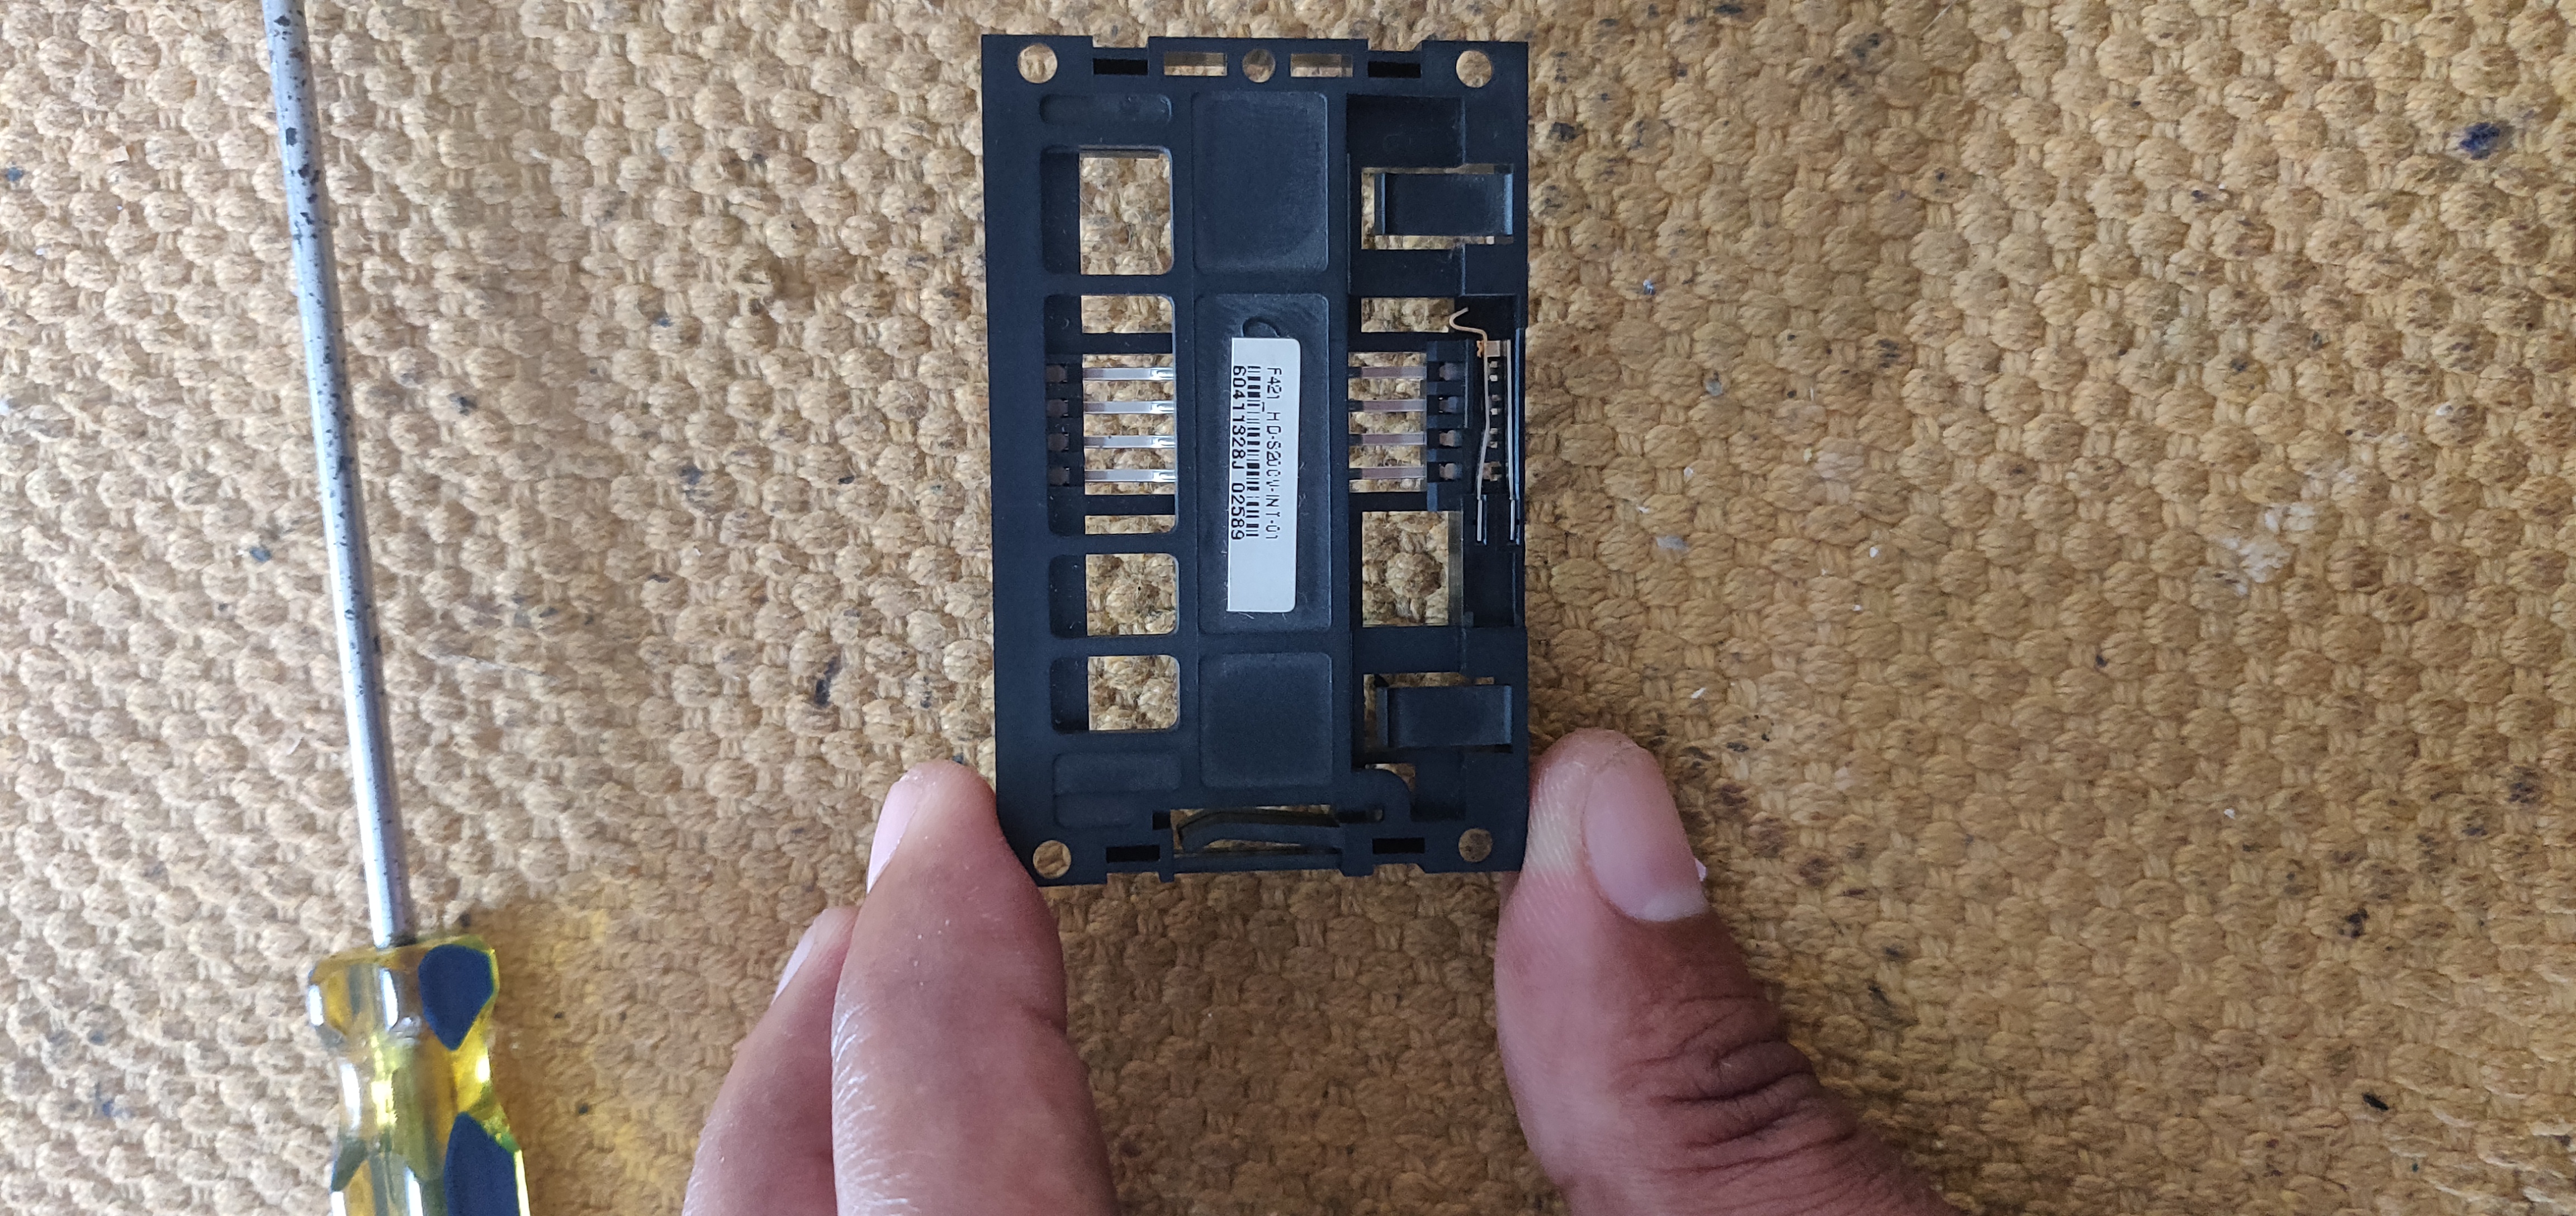
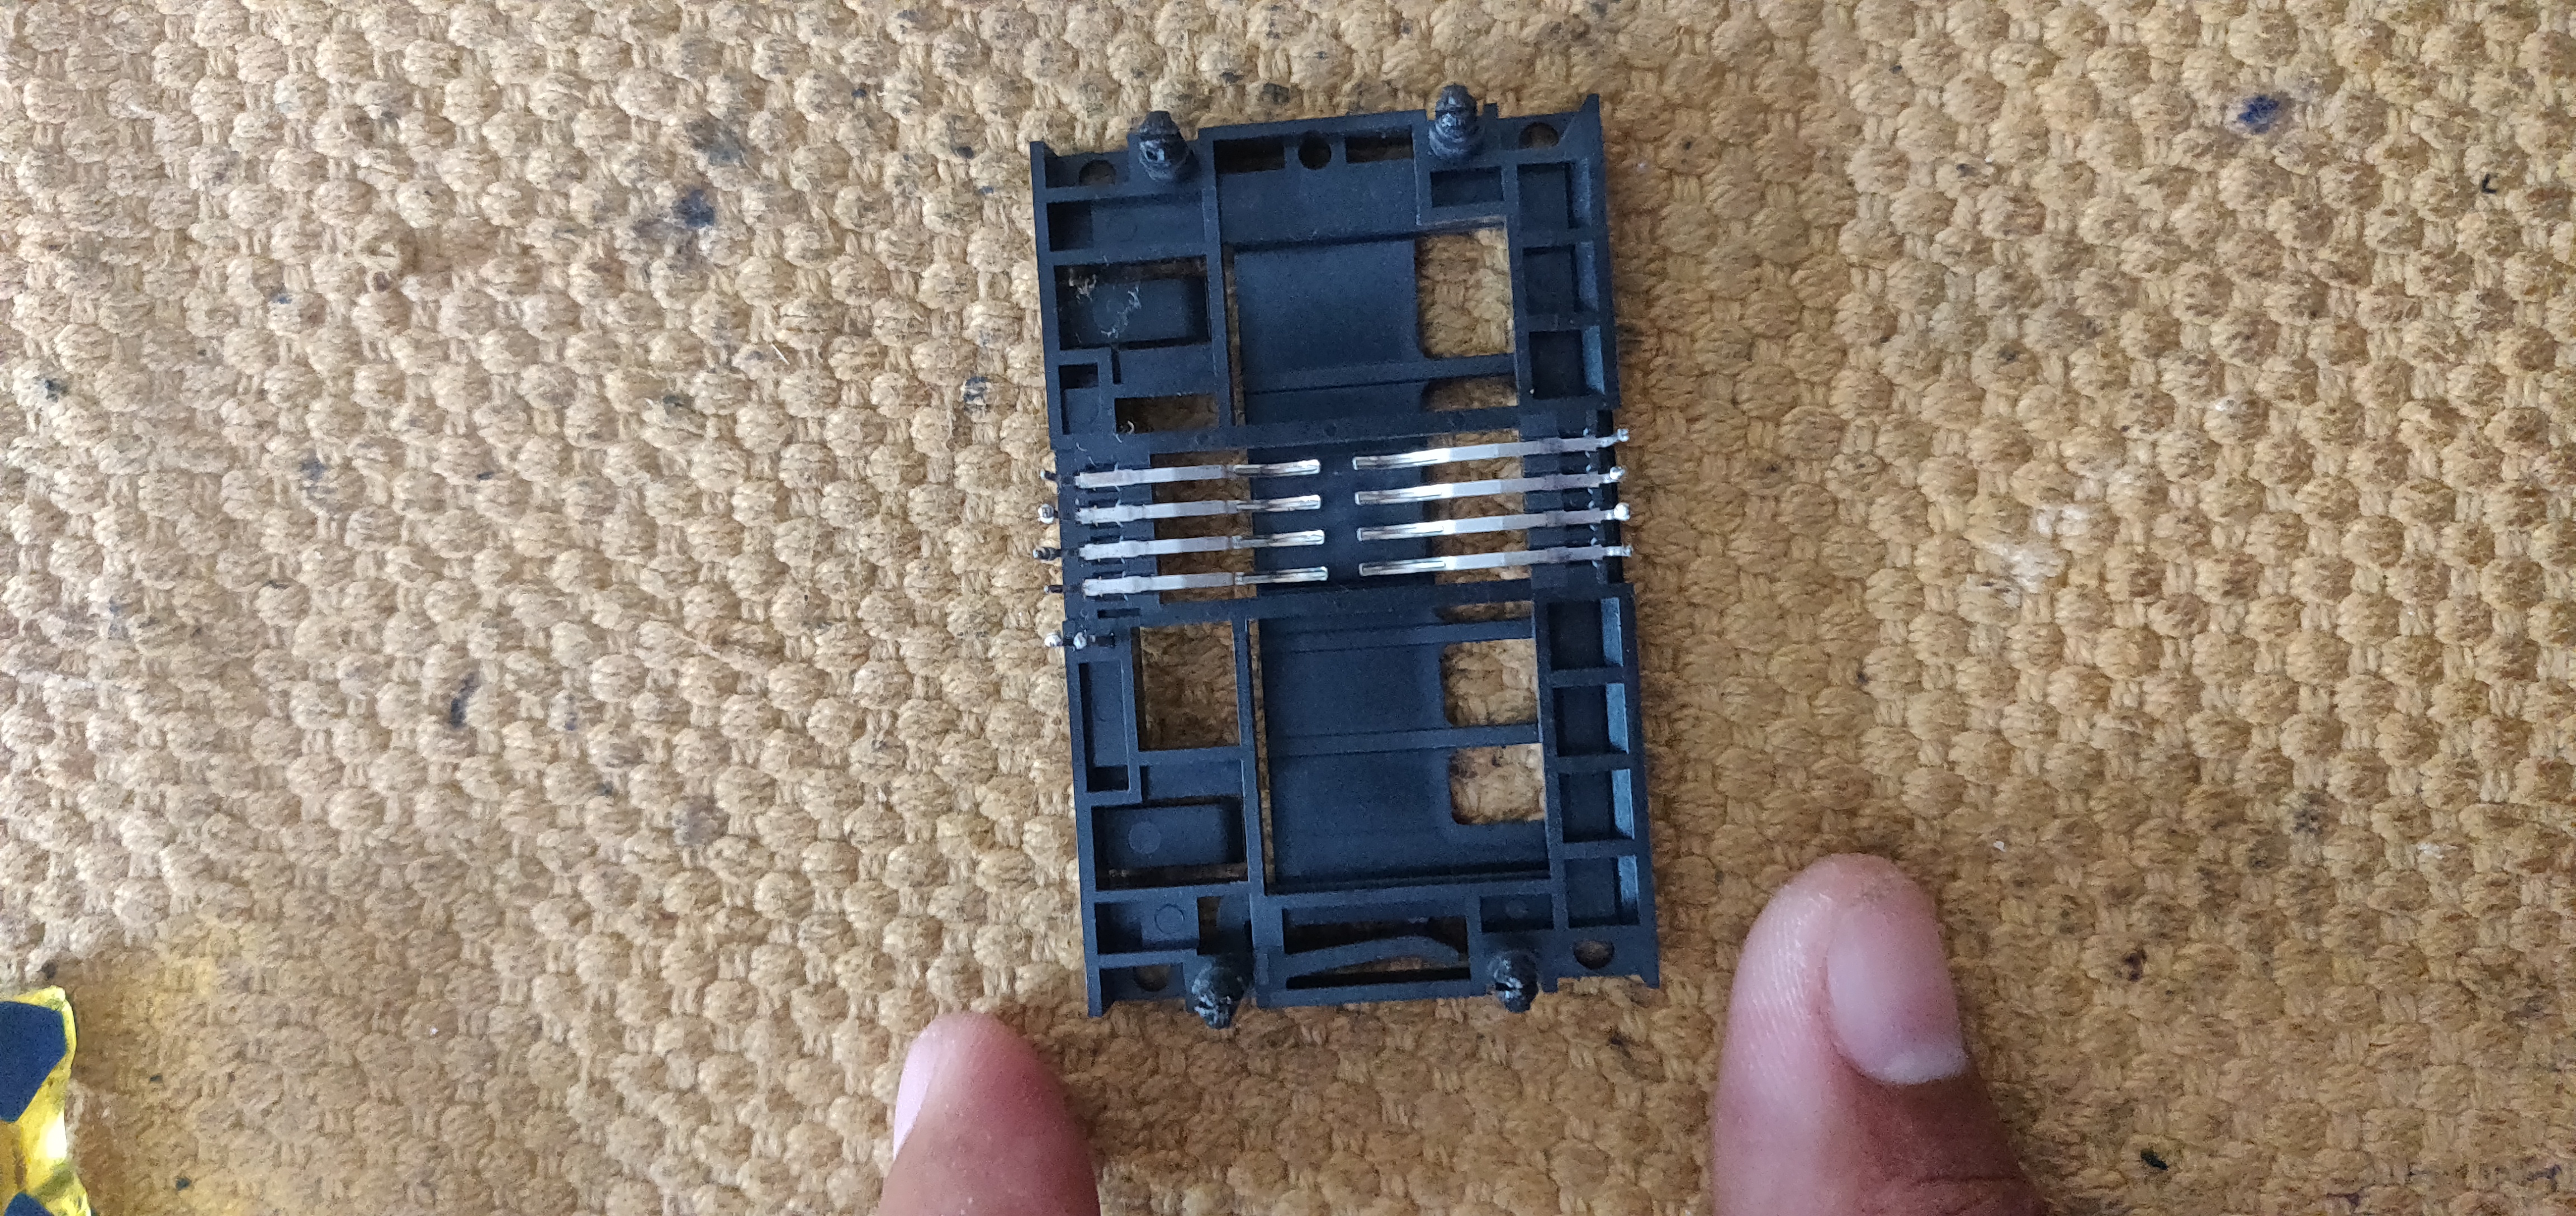
Para ello bajamos la placa y extraemos la bandeja lectora
To do this, we lower the plate and extract the reader tray
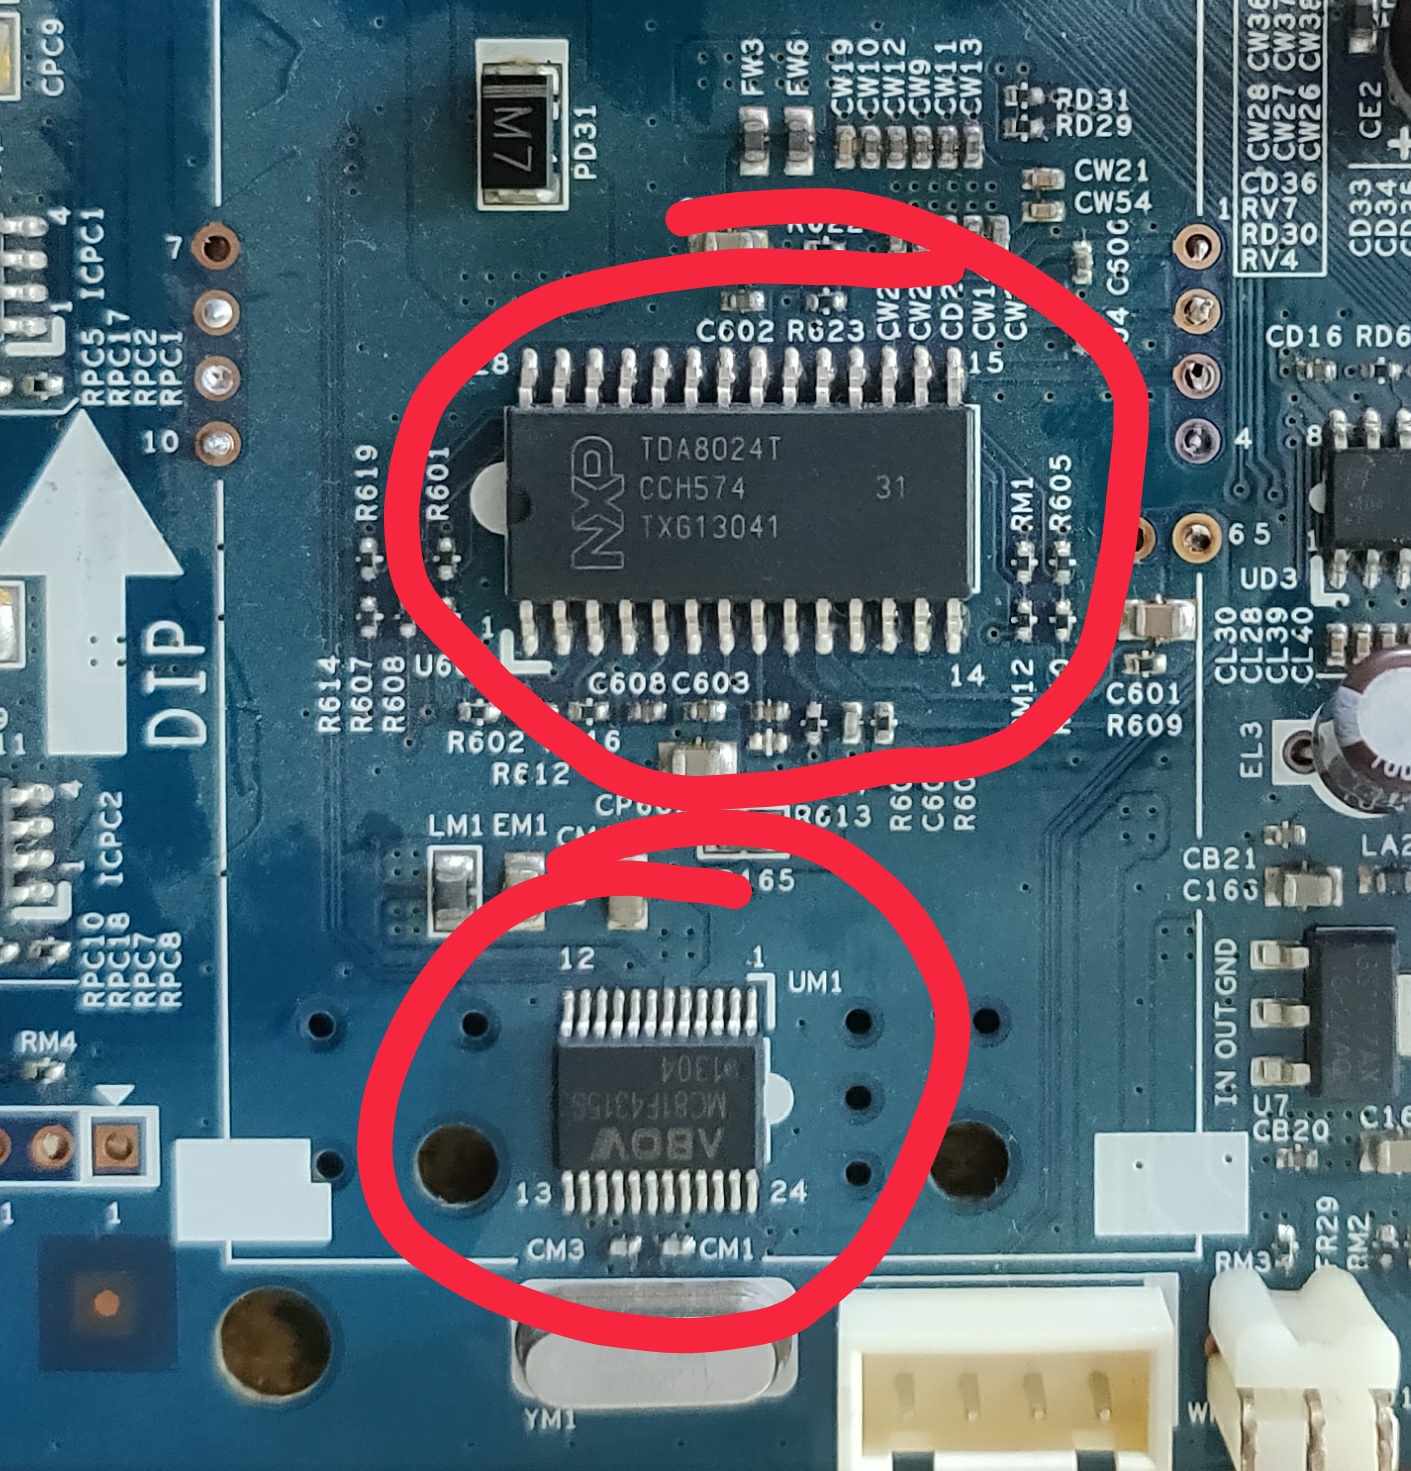
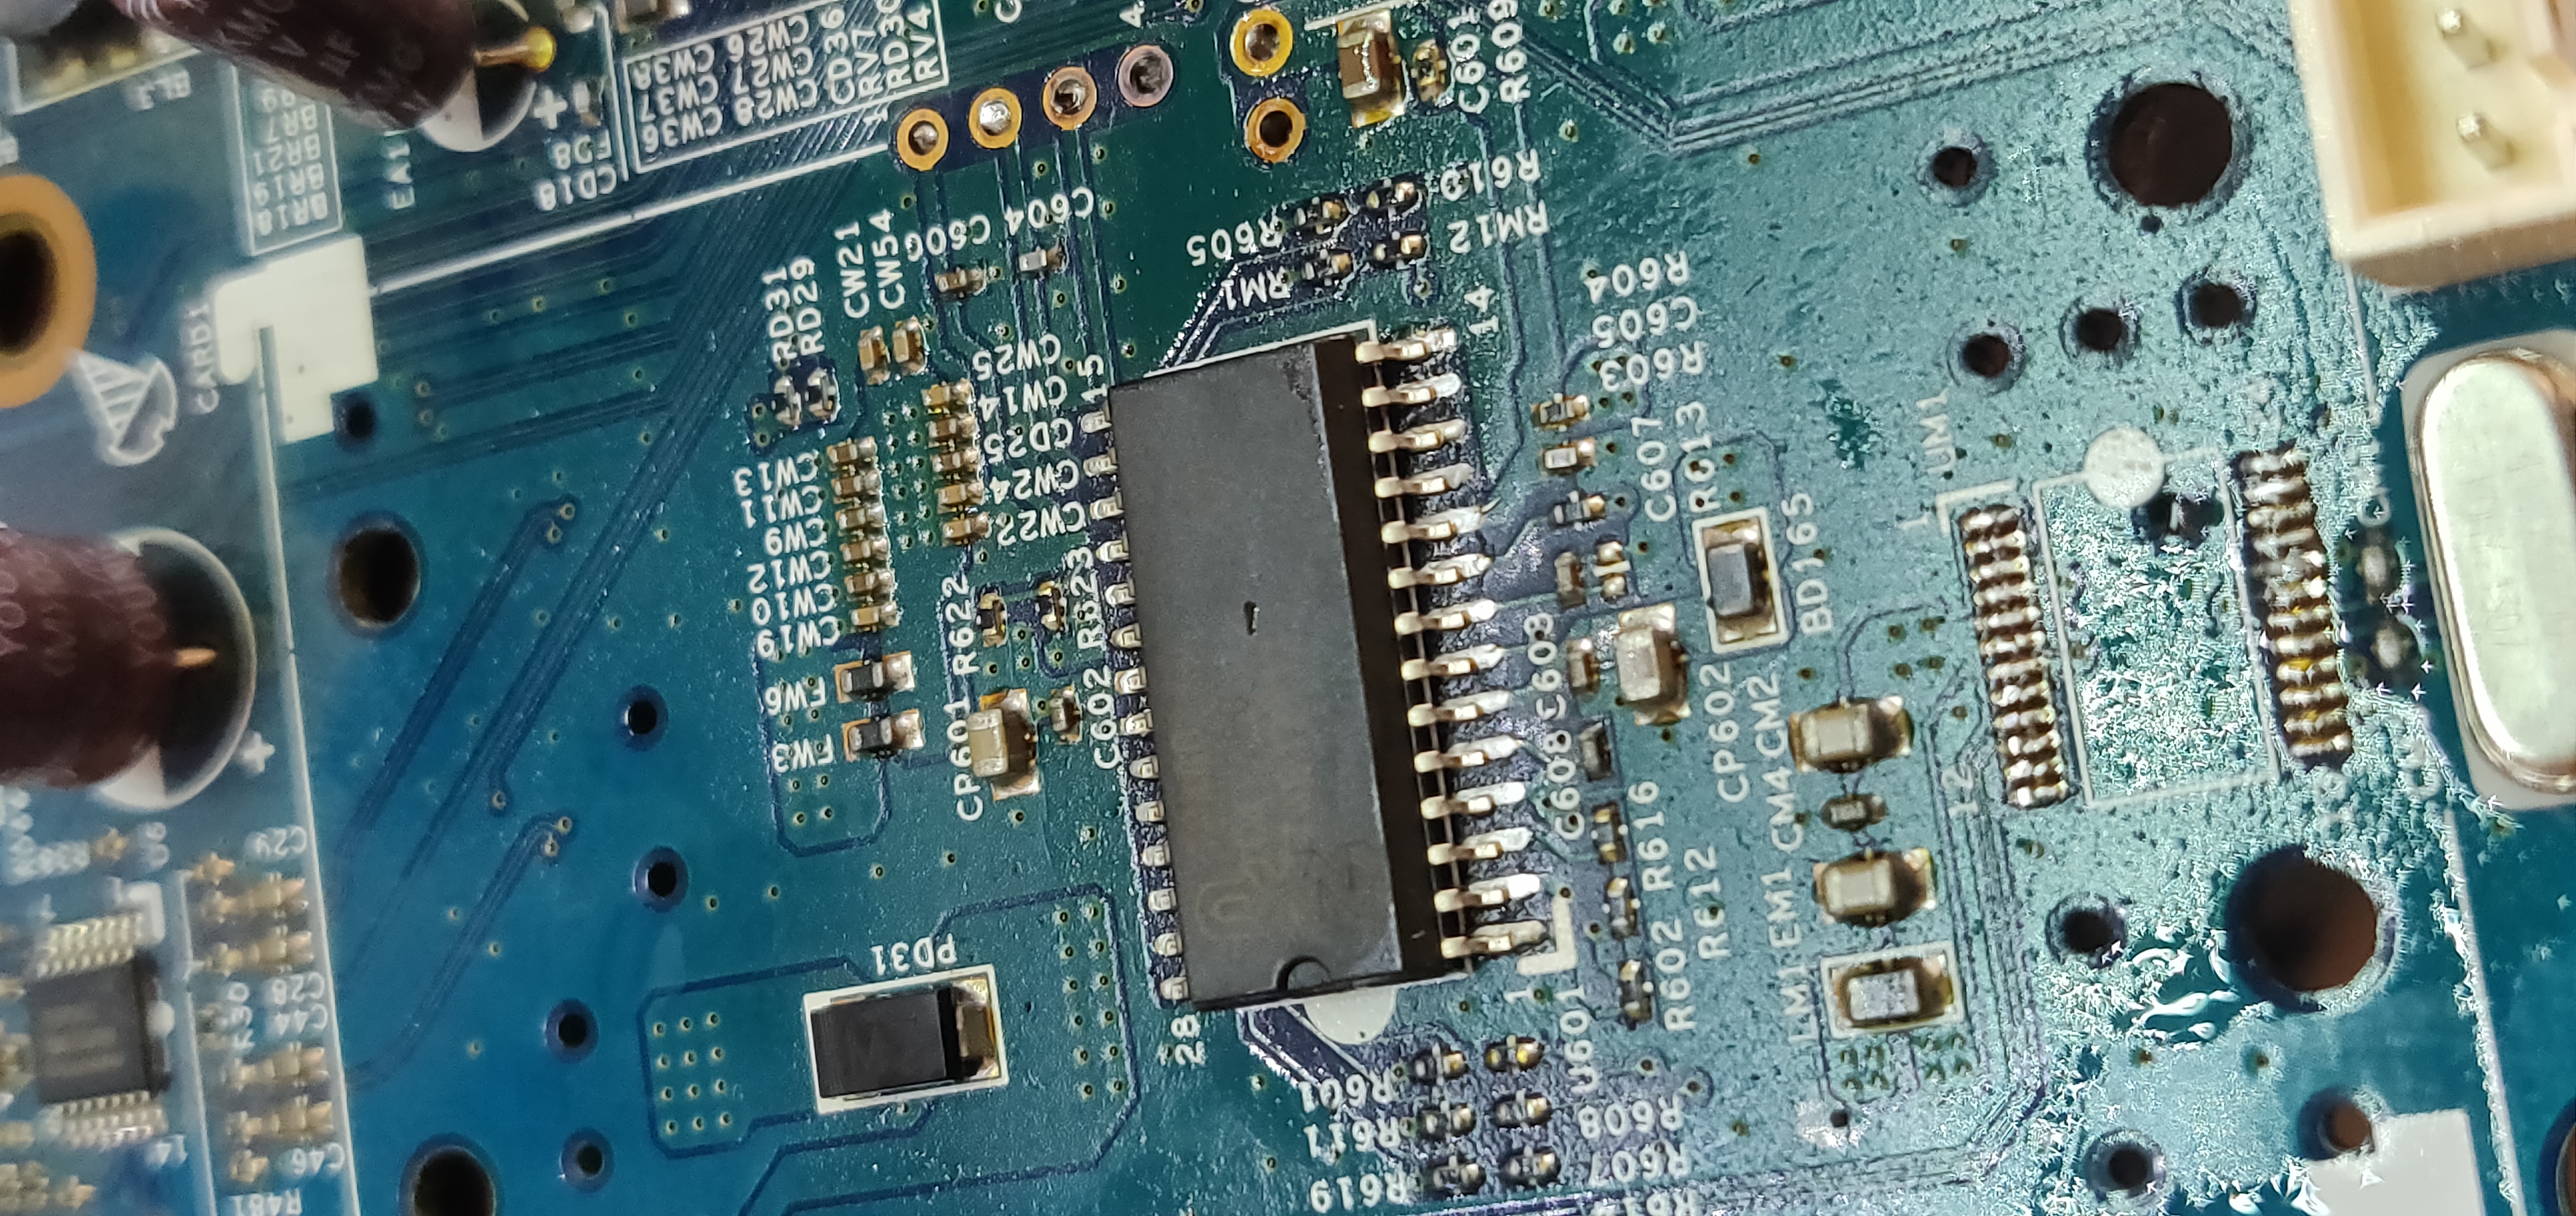
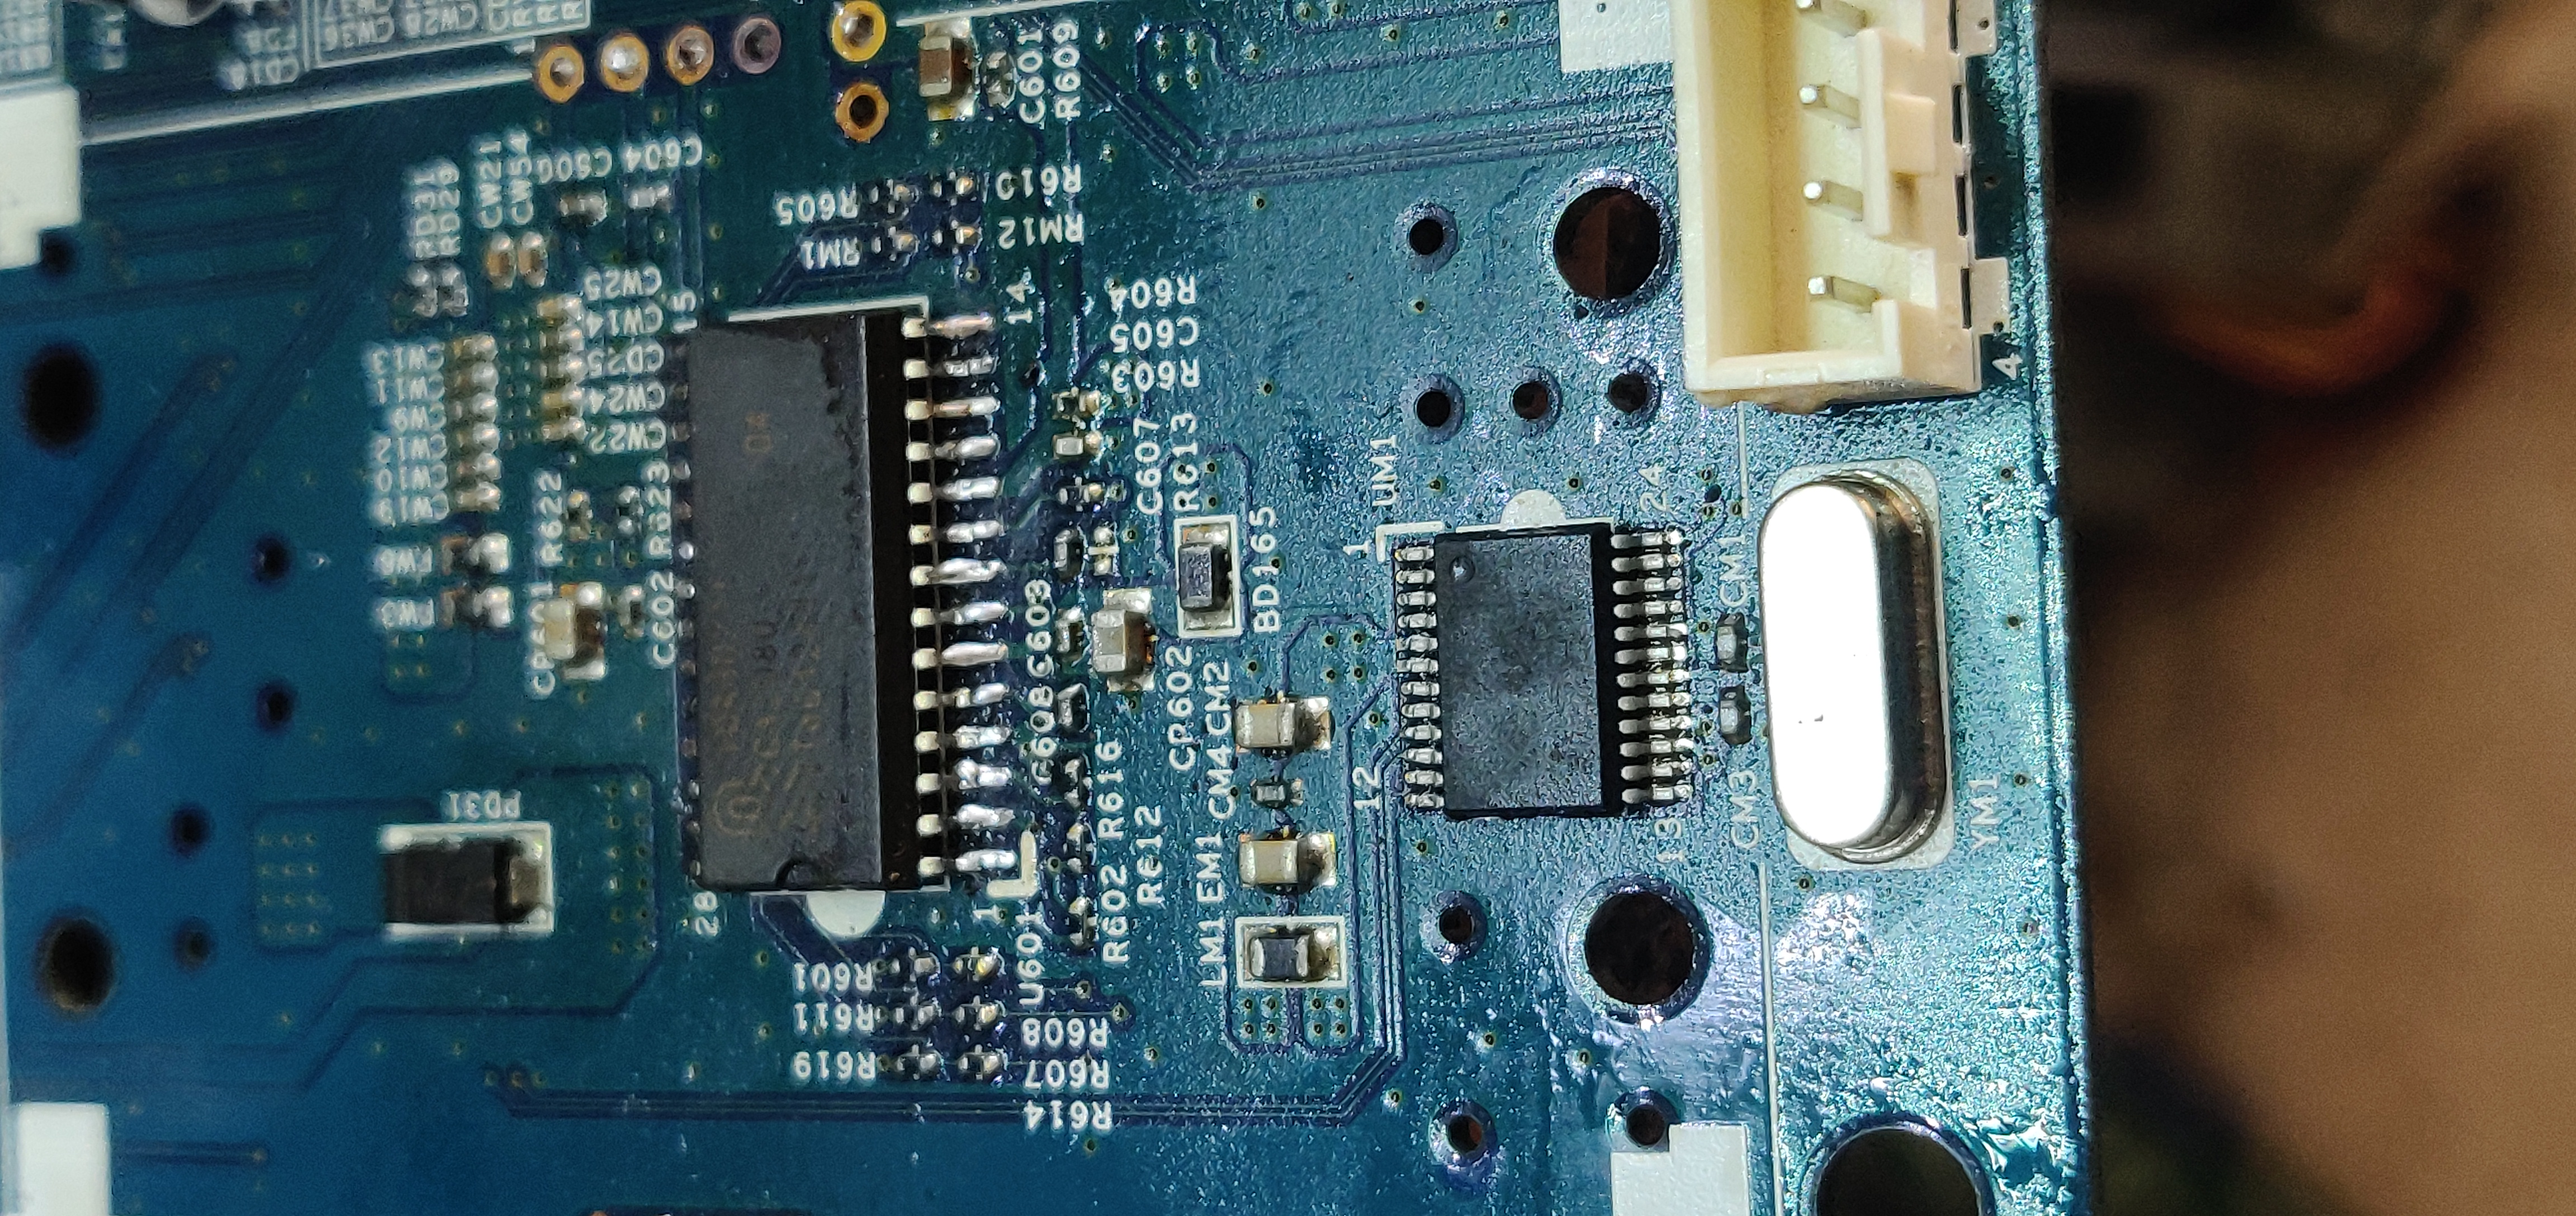
Una vez extraída la bandeja comenzamos con el proceso estos. Integrados Marcados son los los que Debemos remplazar
Once the tray is extracted we begin with the process of these. Marked Integrated are the ones we must replace
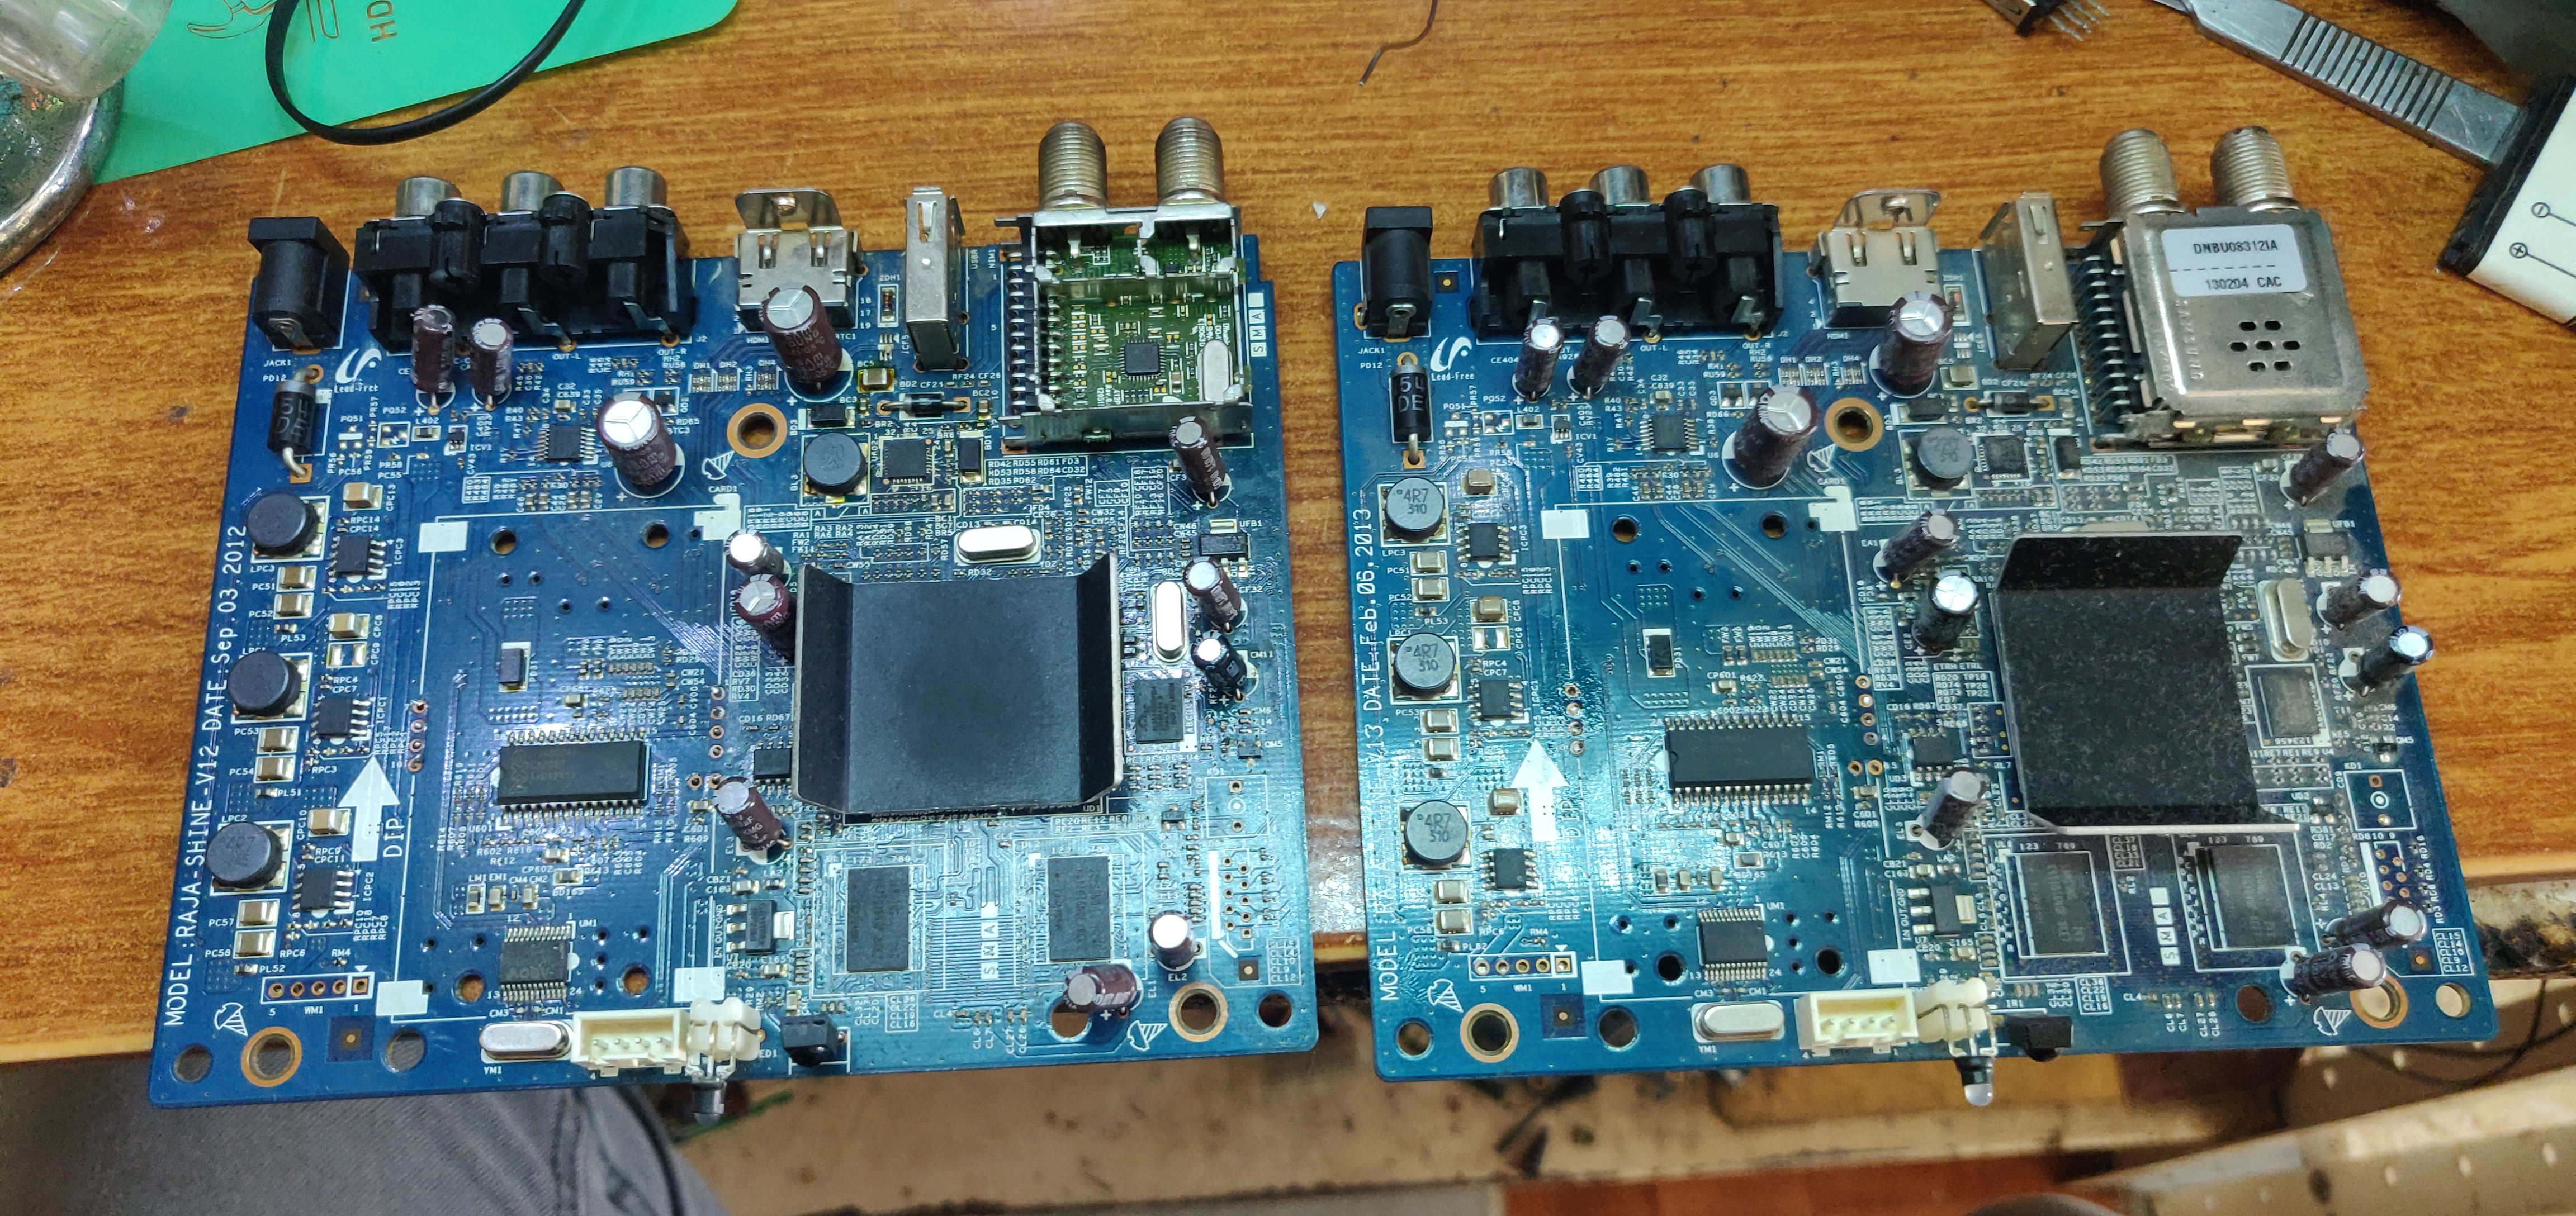
Iniciamos con el proceso de extracción de una placa a otra
We start with the extraction process from one plate to another
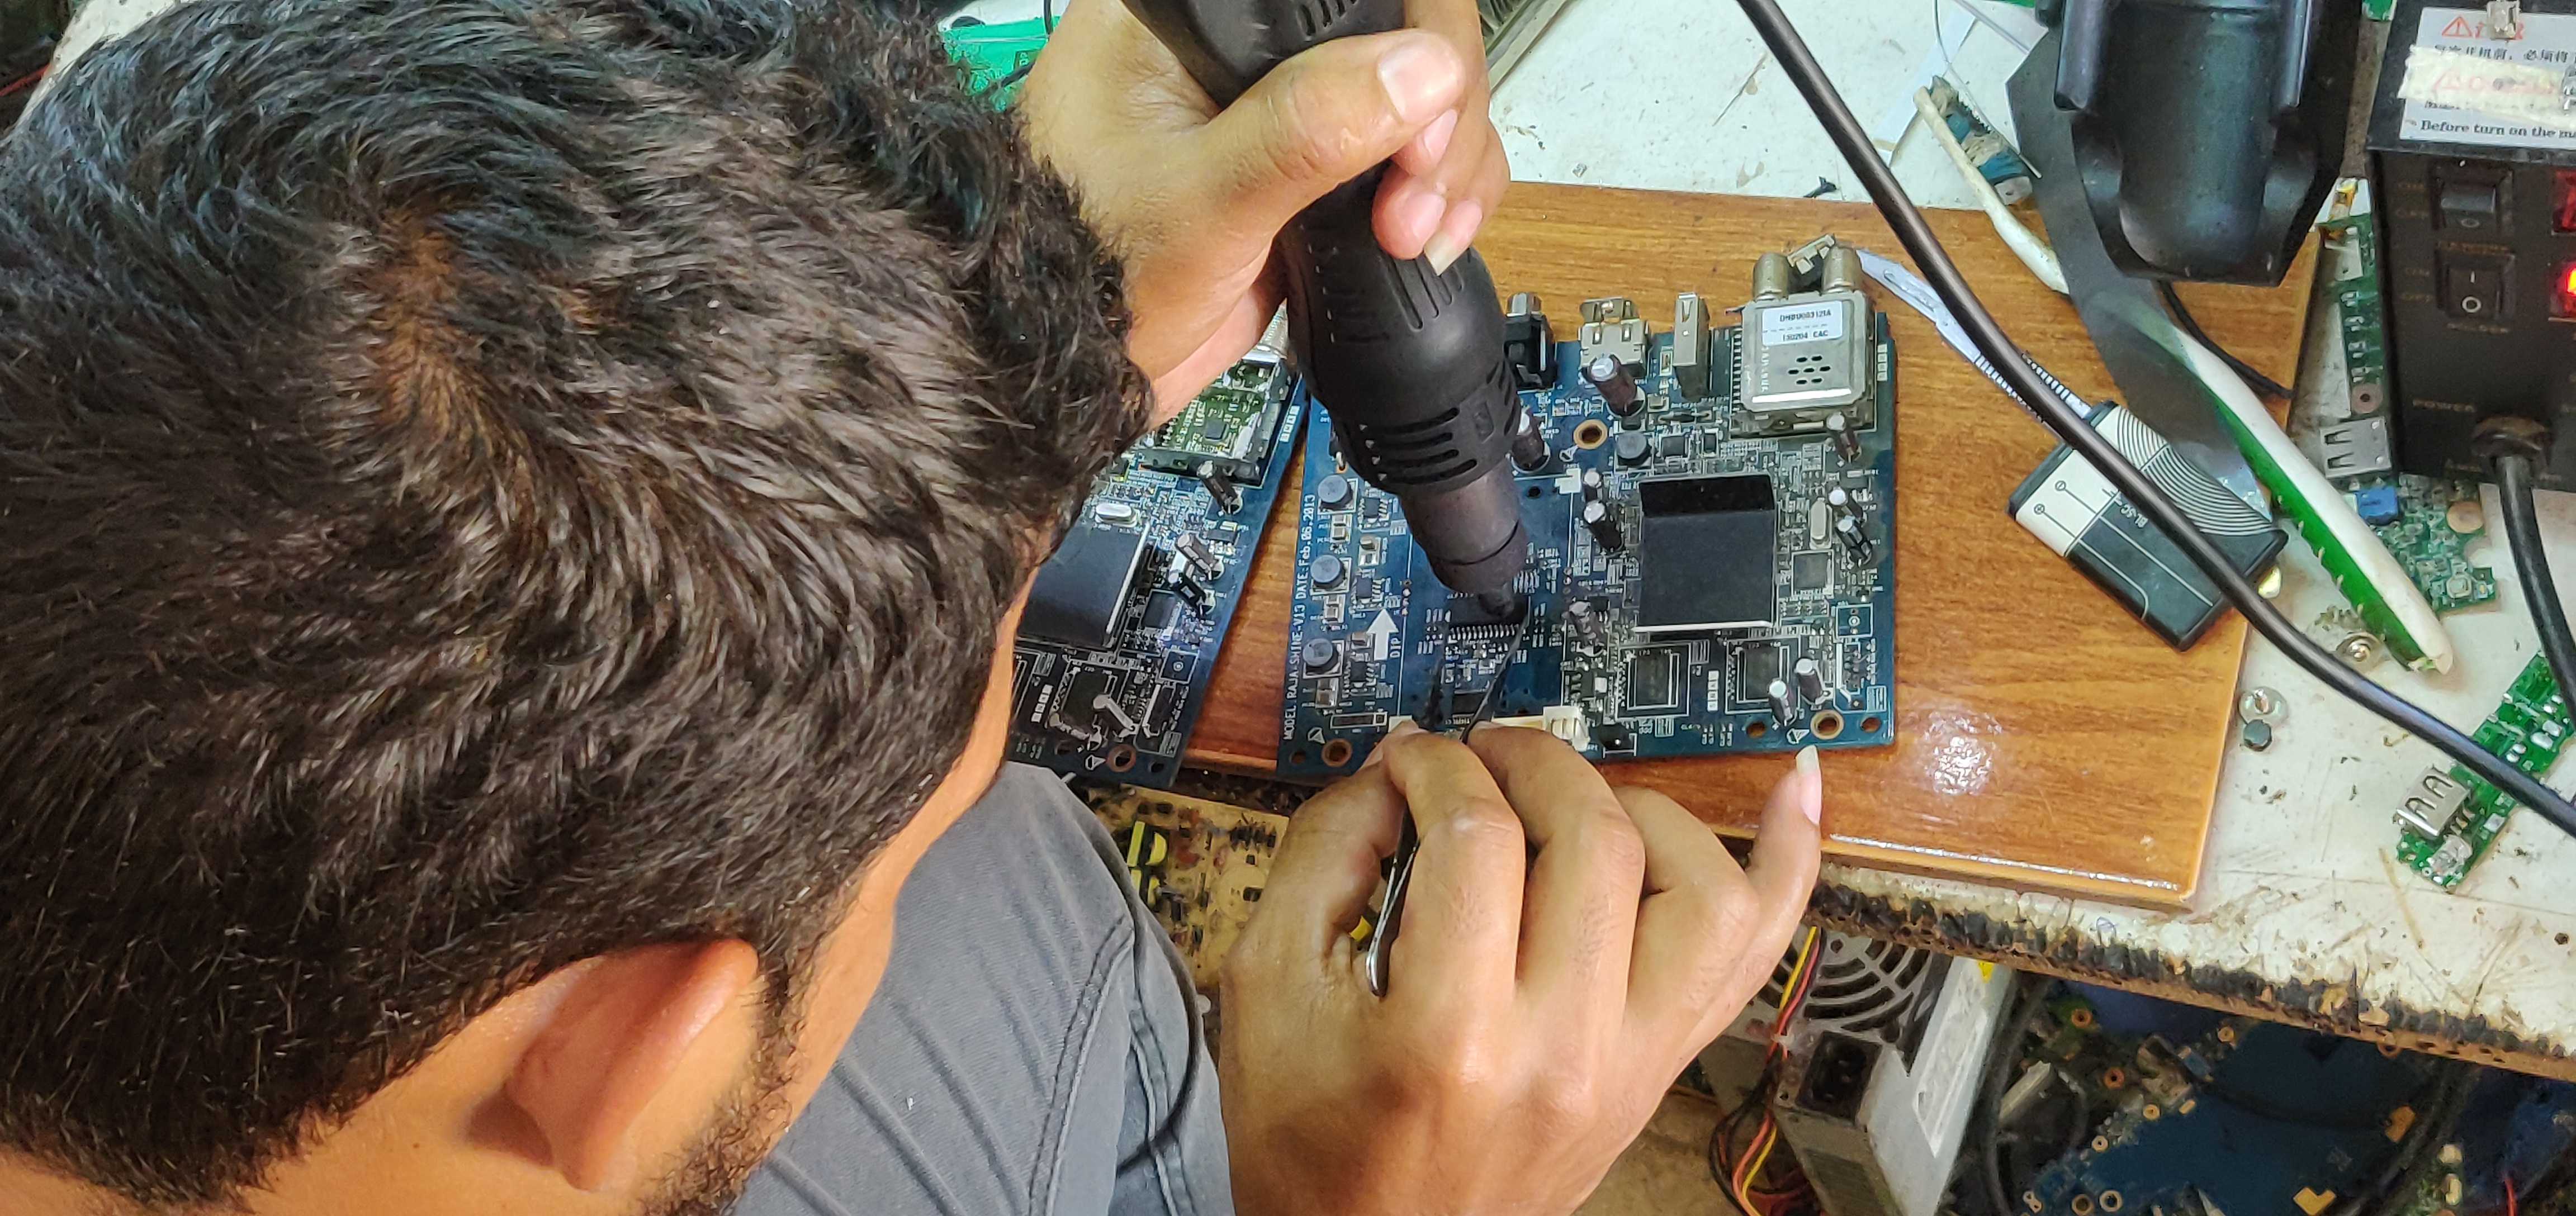
Usamos la pistola de calor para así poder bajar los integrados
We use the heat gun so that we can lower the integrated


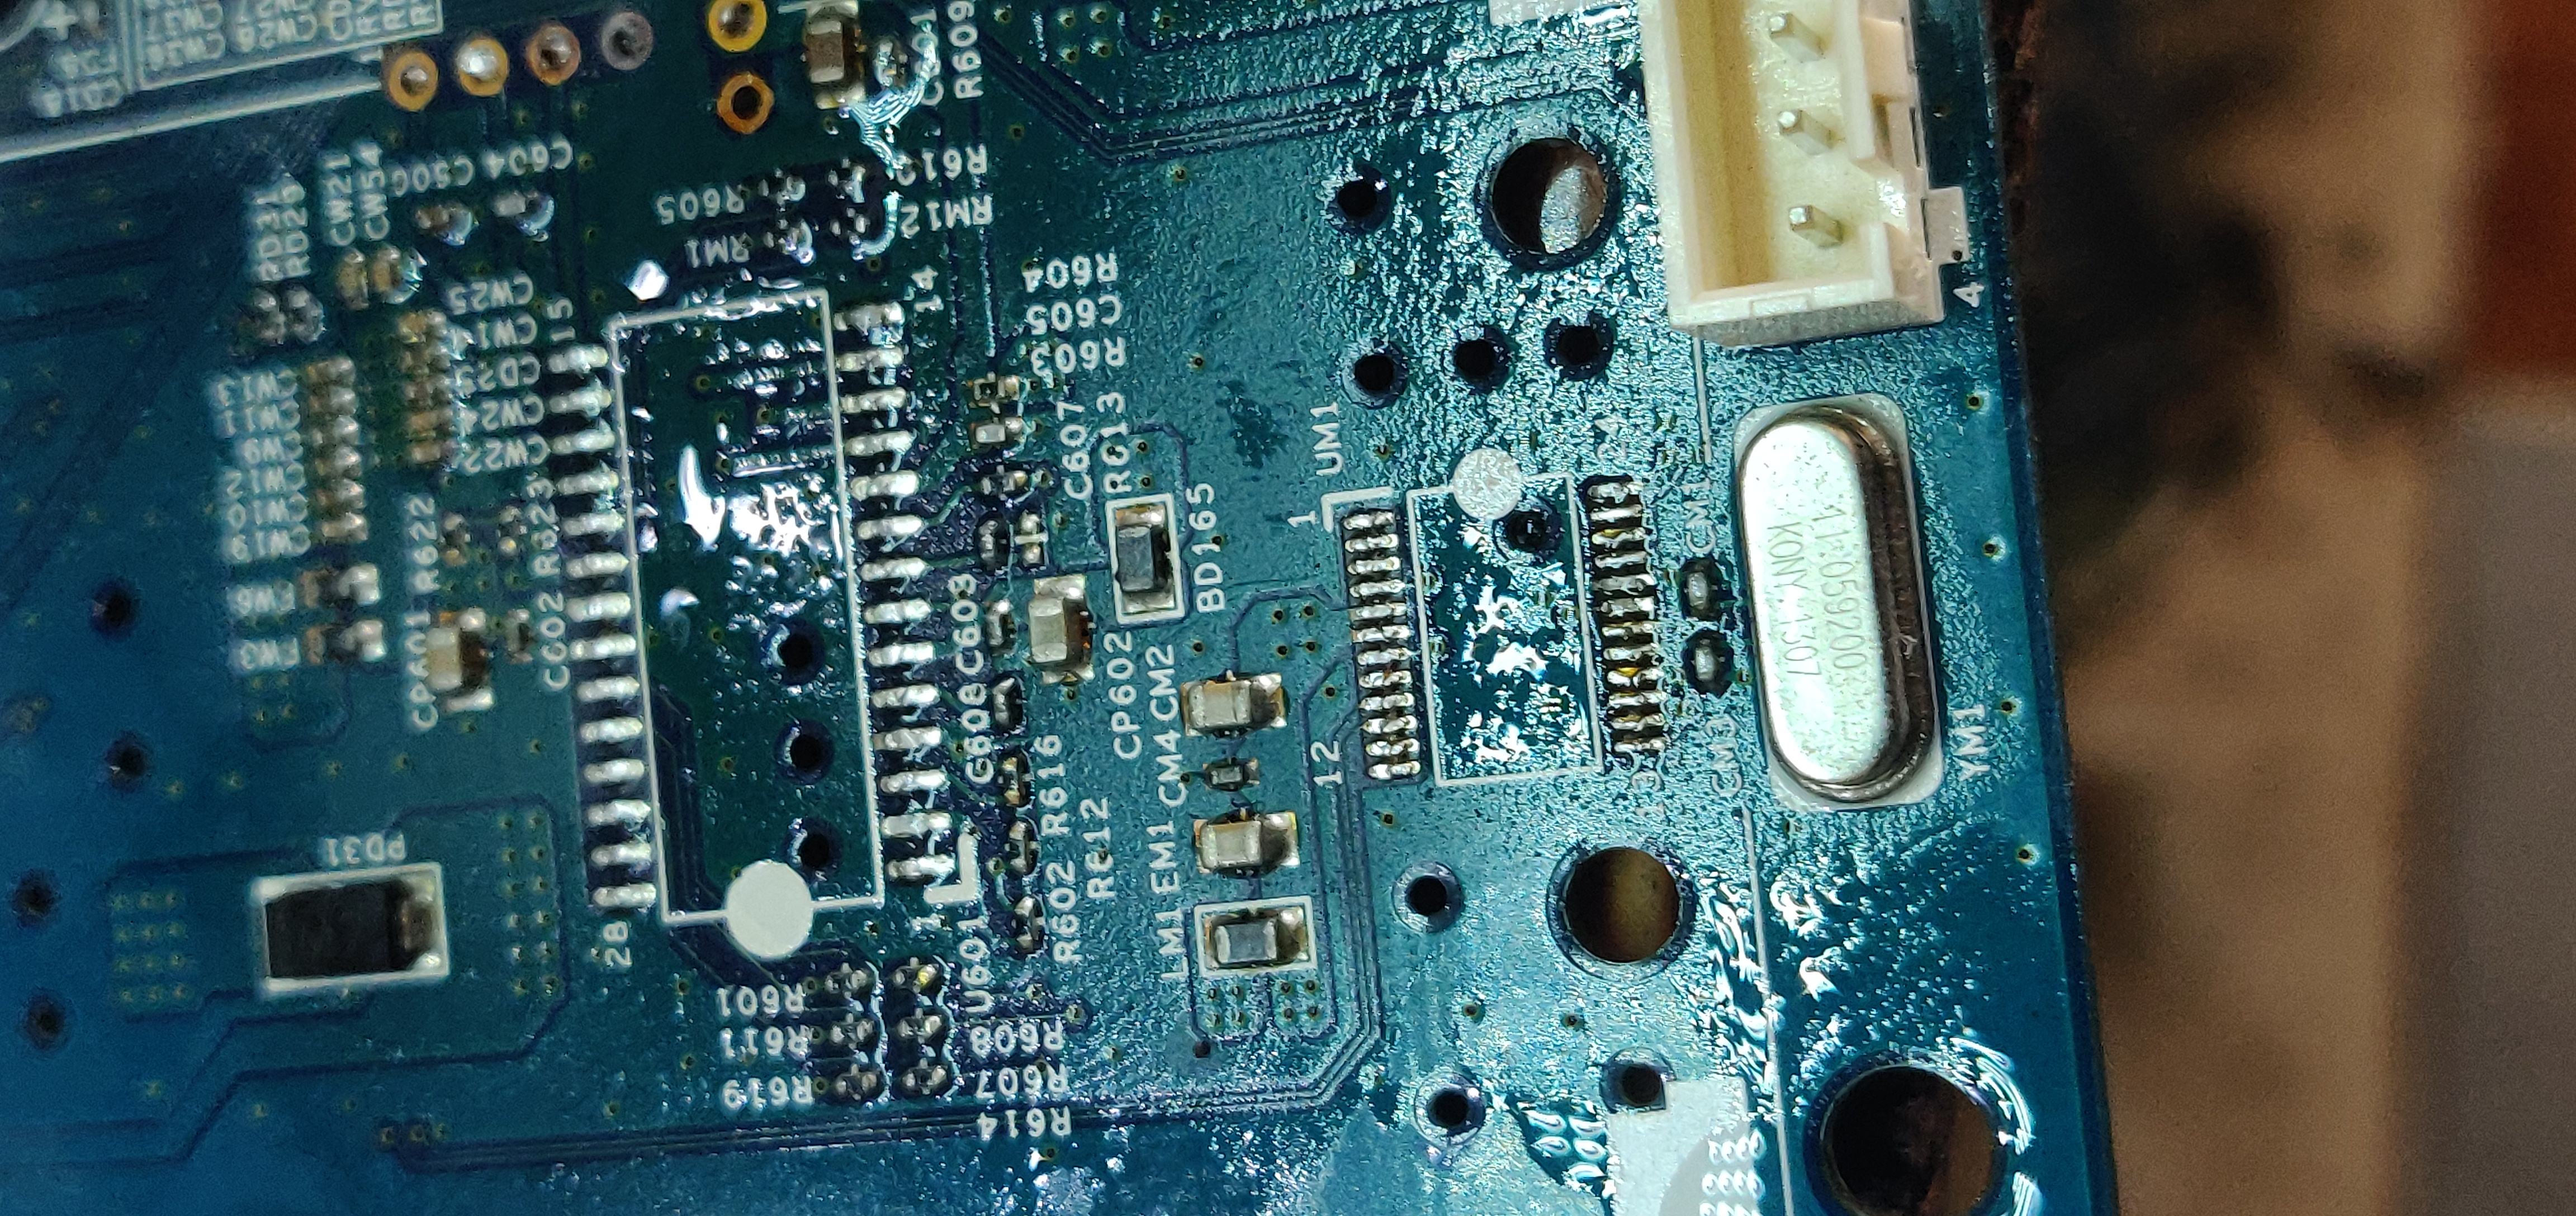
Cómo pueden ver Aquí ya logramos bajar un integrado ahora continuamos con el otro par que nos quede así y poder reparar la placa
How can you see? Here we have already managed to download an integrated now we continue with the other pair that remains like this and to be able to repair the plate
Ahora luego de quitar las piezas dañadas iniciamos con el proceso de colocar las buenas
Now after removing the damaged pieces, we begin the process of placing the good ones.
Ahora colocaremos el integrado más pequeño para armar y terminar el trabajo
Now we place the smallest integrated to assemble and finish the job
Listo ya colocamos el Integrados que hacía falta ,Ahora comenzamos a armar y listo terminado
Ready, we put the integrated ones that were needed, now we begin to assemble and ready finished

Y listo ya está terminado como ven funciona ya enciende perfectamente
And voila, it is finished, as you can see, it works, it turns on perfectly
Gracias por leer mi post espero sea de su agrado pronto estaré publicando nuevos trabajos realizados gracias
Thank you for reading my post I hope you like it soon I will be publishing new work thanks
Las imágenes fueron tomadas con mi teléfono Oneplus
The pictures were taken with my Oneplus phone
Hello @sheshe12! This is a great write up and tutorial! You can share it in the community Geek Zone!
hello greetings I did not know about that community I will take it into account for my next post thanks
Su post ha sido valorado por @ramonycajal
Muchísimas gracias. @ramonycajal estoy muy agradecido por seleccionar mi publicación y votar por ella y gracias a proyecto @cervantes y @blocktrades por curación a mi post 🇻🇪🇻🇪❤️
Congratulations @sheshe12! You have completed the following achievement on the Hive blockchain and have been rewarded with new badge(s) :
Your next target is to reach 100 comments.
You can view your badges on your board and compare yourself to others in the Ranking
If you no longer want to receive notifications, reply to this comment with the word
STOP