Trabajo de impermeabilización / Waterproofing work
Hola amigos de Hive. Bienvenidos a mi blog
Hello friends of Hive. Welcome to my blog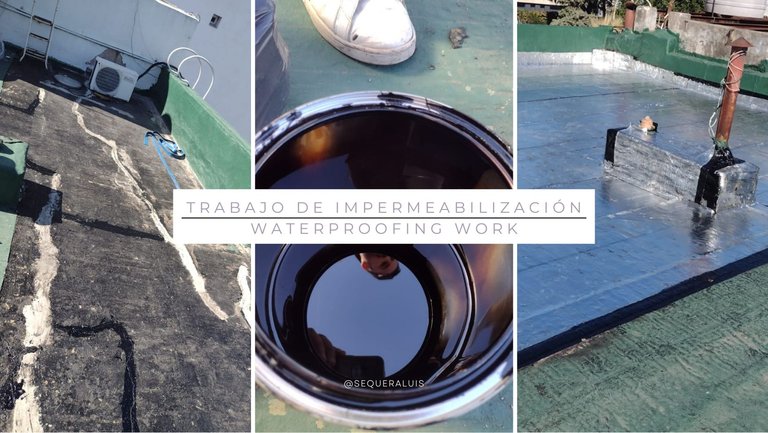

Quiero compartir con ustedes el último trabajo que hice de impermeabilización en el techo de un edificio el cual se encontraba bastante deteriorado.
Esto es algo que aprendí en donde trabajo, me llevo tiempo y mucha práctica el aprender a hacerlo bien. Es algo que requiere de mucho trabajo y dedicación pero los resultados son los mejores.
I want to share with you the last waterproofing job I did on the roof of a building which was quite deteriorated.
This is something I learned where I work, it took me time and a lot of practice to learn how to do it right. It is something that requires a lot of work and dedication but the results are the best.
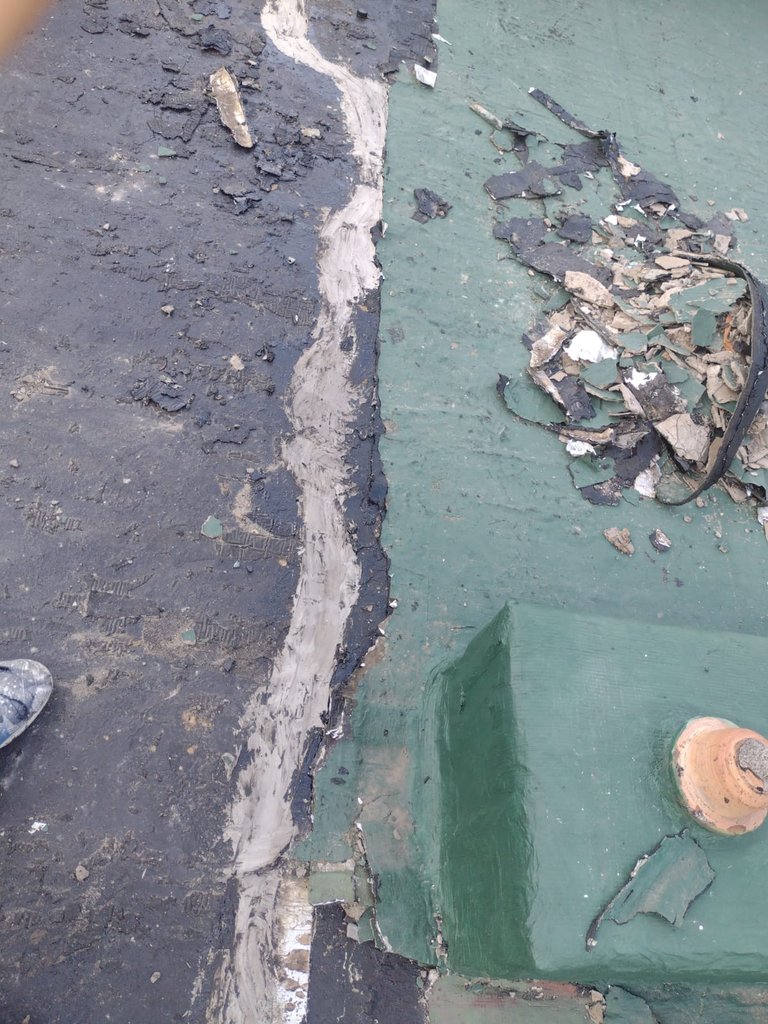
Al principio lo que hicimos fue levantar la membrana vieja que estaba, esta es la terraza de un edificio, pero no se hizo todo porque la parte afectada era esa que vemos en la foto.
Se levanto la membrana vieja agrietada, se limpio todo bien, que no quedaran grumos, piedras ni nada, se le puso un material para cubrir las grieta que habían en el techo. Es un material para cimientos, para que me entiendan, es como un cemento que es duro.
At first what we did was to lift the old membrane that was there, this is the terrace of a building, but not everything was done because the affected part was the one we see in the photo.
The old cracked membrane was lifted, everything was cleaned well, so that there were no lumps, stones or anything, a material was put to cover the cracks that were in the roof. It is a material for foundations, so that you understand me, it is like a cement that is hard.
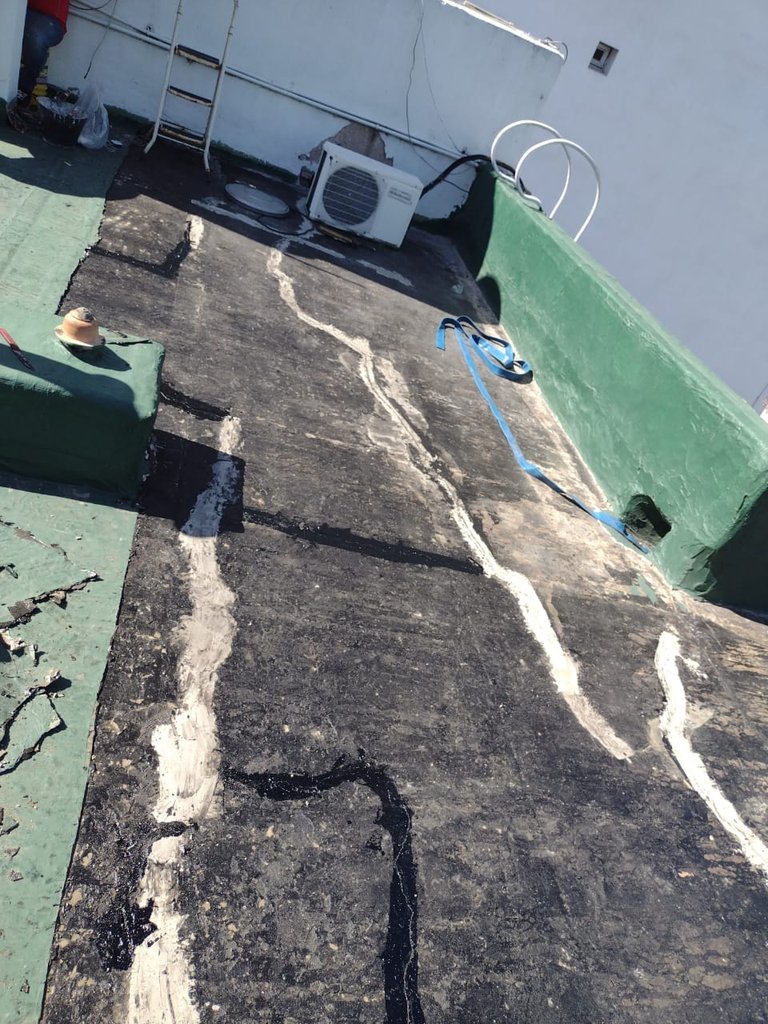
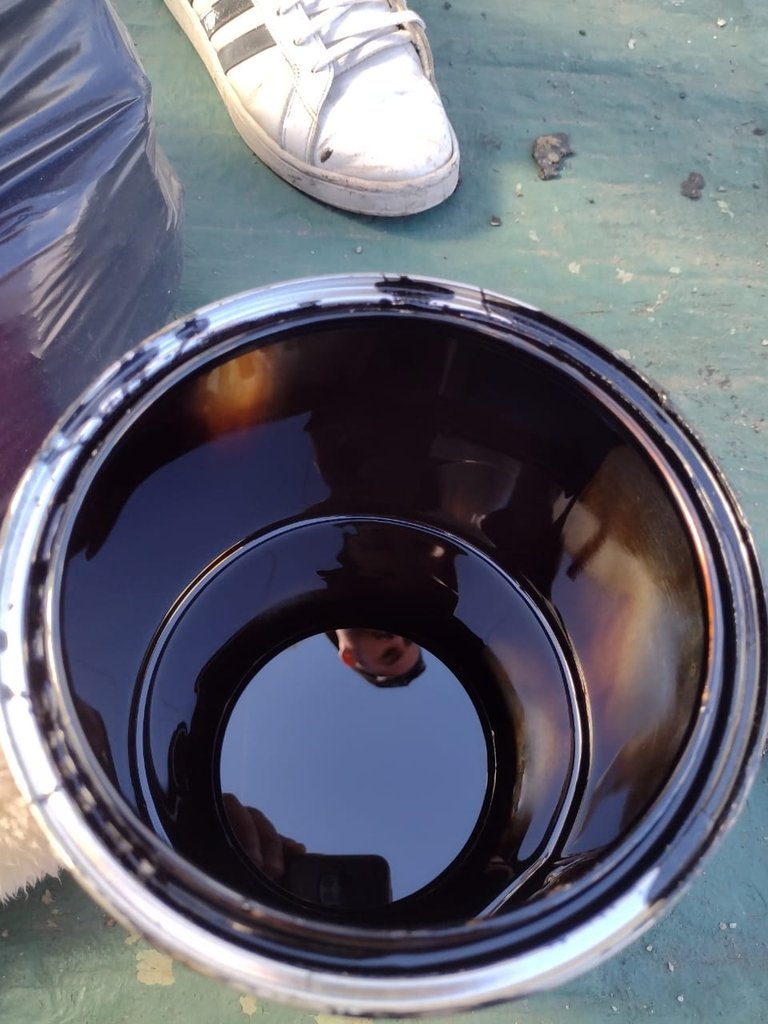
Después de eso se le puso brea liquida a todo para que vaya impermeabilizando y se vayan cubriendo todos los poros que estén abiertos.
Se deja cercar todo un día y al día siguiente se le pone la membrana, que lleva un poco de tiempo ya que bueno, hay que saber ubicarla, calentarla bien e irla estirando poco a poco. hasta que se termina el trabajo.
After that, liquid tar was put on everything to make it waterproof and cover all the open pores.
It is left to fence all day and the next day the membrane is put on, which takes a little time since it is necessary to know how to place it, heat it well and stretch it little by little until the work is finished.

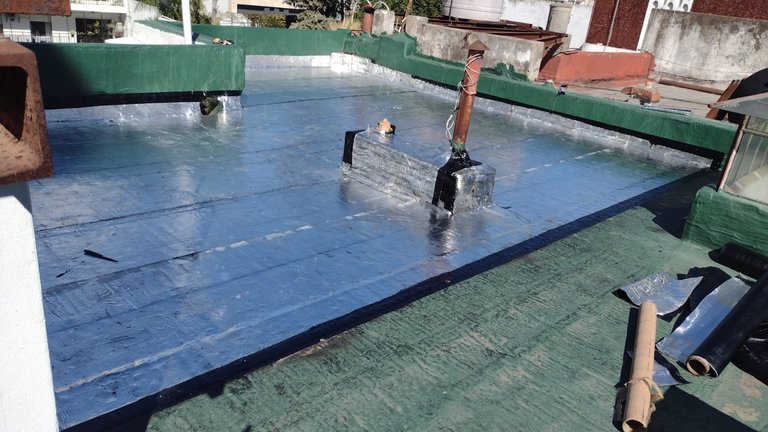
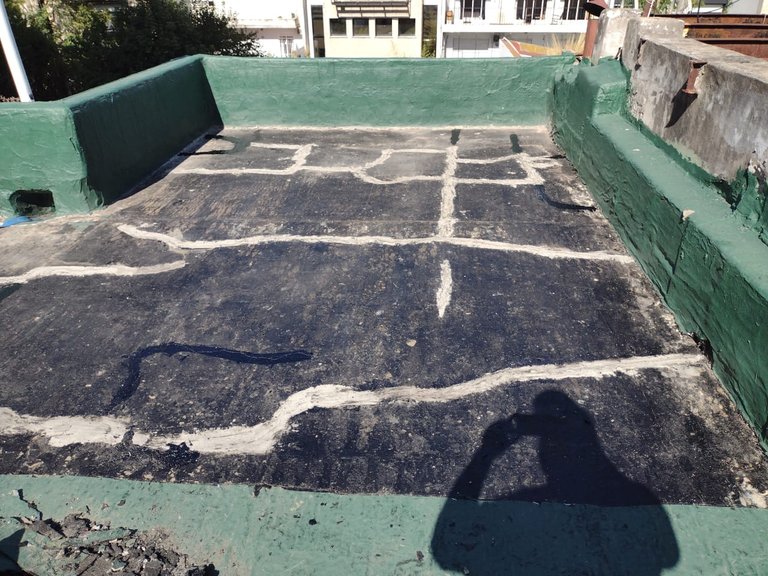
El resultado final es el de la foto, un trabajo de 3 días y un poco complicado porque era la terraza del edificio y subir ahí, subir las membranas y todos los materiales fue un poco difícil. Pero bueno son cosas que se van aprendiendo en el camino en este rubro que es la pintura y todo eso.
Espero les haya gustado esta pequeña muestra del trabajo que realizo.
The final result is the one in the photo, a 3 day job and a little complicated because it was the terrace of the building and going up there, climbing the membranes and all the materials was a little difficult. But well, these are things that you learn along the way in this field that is painting and all that.
I hope you liked this small sample of the work I do.
Oh your did an amazing job to restore the floor of this place.
Now there would be an issue of water going through again to cause a crack.
This post has been selected by the Newbies Initiative team and will receive support from the Hive Learners Community. Kindly click on the banner to visit our community and check out our Discord channel here.
If you'll love to know more about the @newbies-hive and how to join, then I'll suggest you go through this post.