"Part 7: Harley Quinn Mallet Prop Build" or "SaintChristopher Shows Off His New Wood Paint Job In Big Reveal"
Part Seven
The painting process continues and the final exterior look is revealed!
(Look here for the previous part to this build)

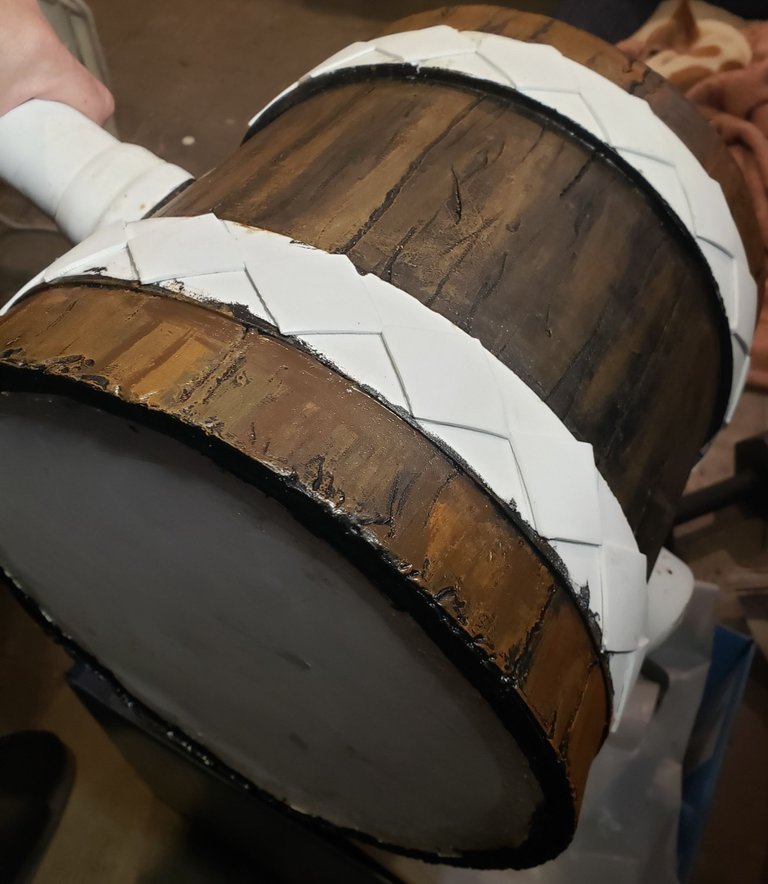
This is where I left off from before. I got the brownish, woody color and texture going, and I got all the exterior elements in place and ready for painting.
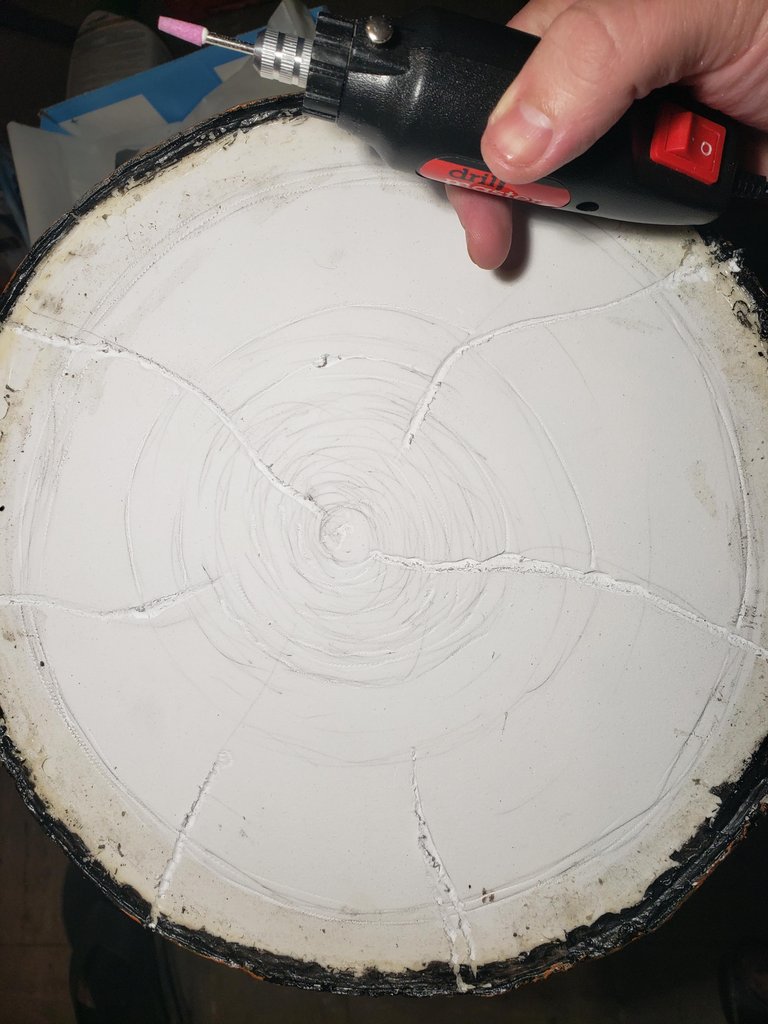
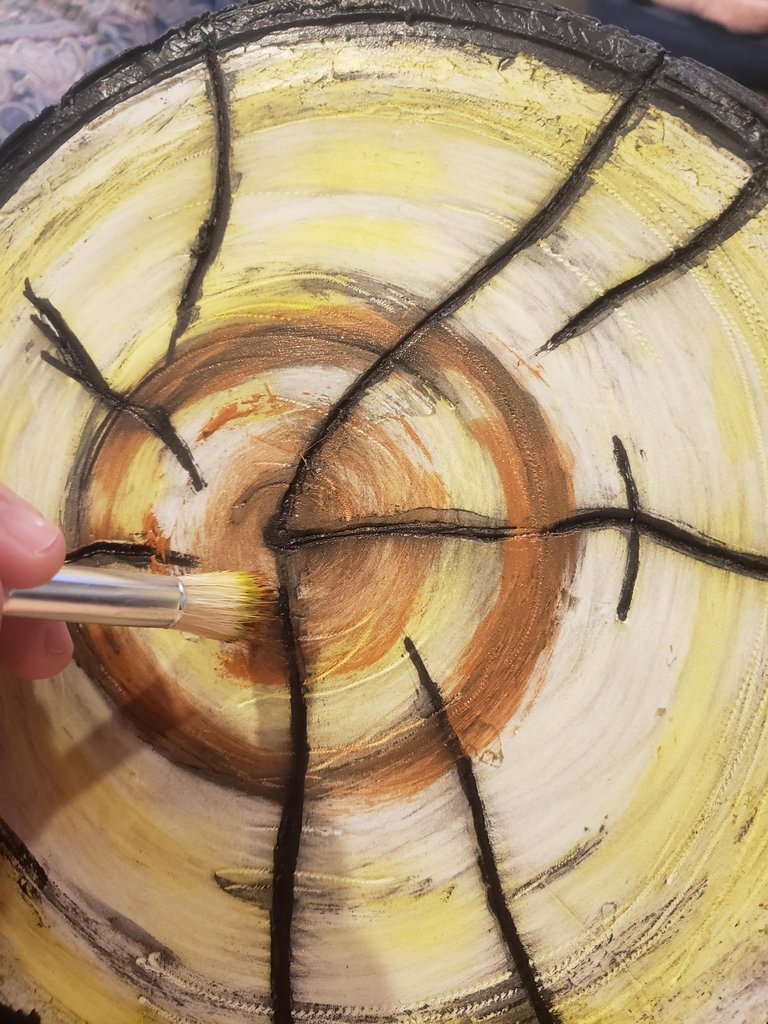
I wanted the head of the mallet to look like a chopped log, with the round part being bark and the flat sides being the tree rings. After some pencil marks, I got my dremel tool and went for it.
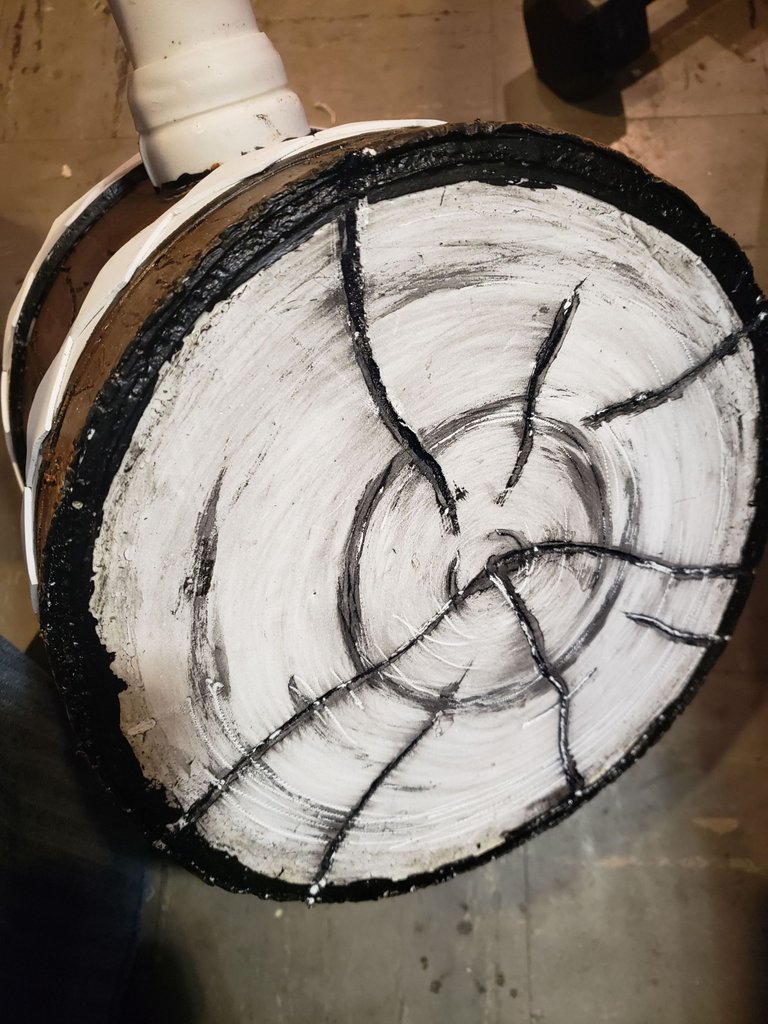
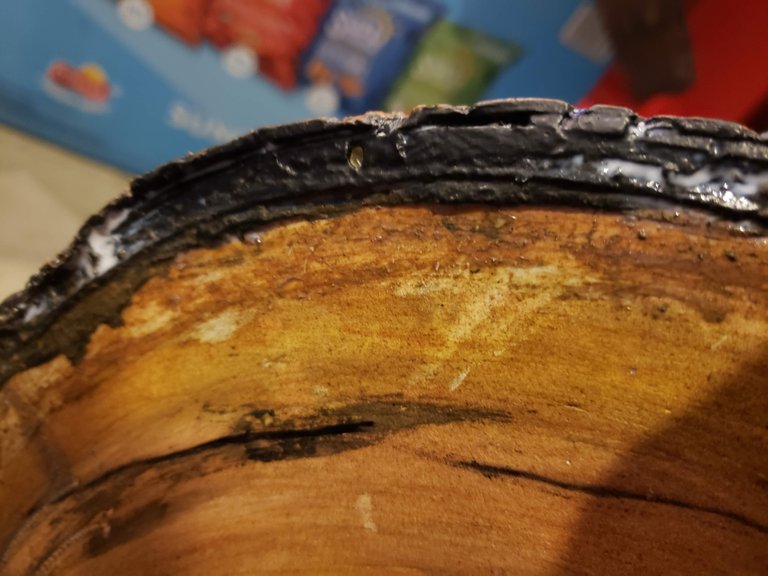
Adding some black to the bark and the deep cracks.
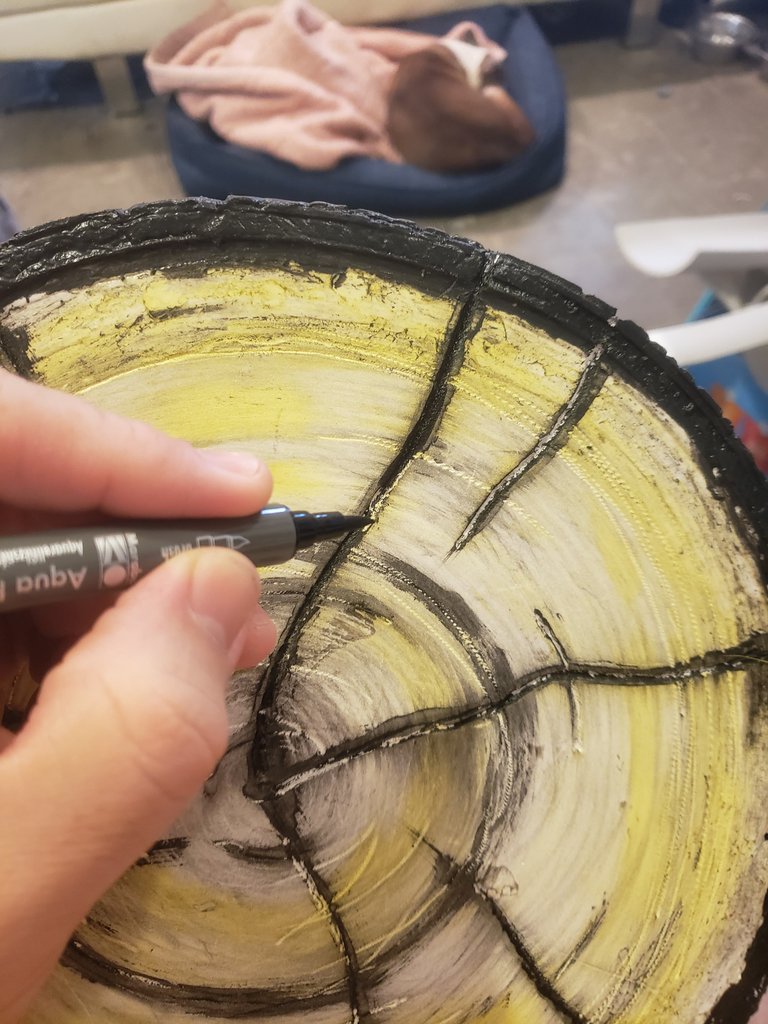
I lightly brushed in some yellow in a circular fashion and then filled in the cracks with more black. That's my doggo napping in the back.
Then more of an orangey color and some browns too, smudging with the brush in a circular fashion.
Brush Brush Brush
Smudge Smudge Smudge
Blend Blend Blend
PAINT! PAINT! PAINT!
I think that looks enough like wood.
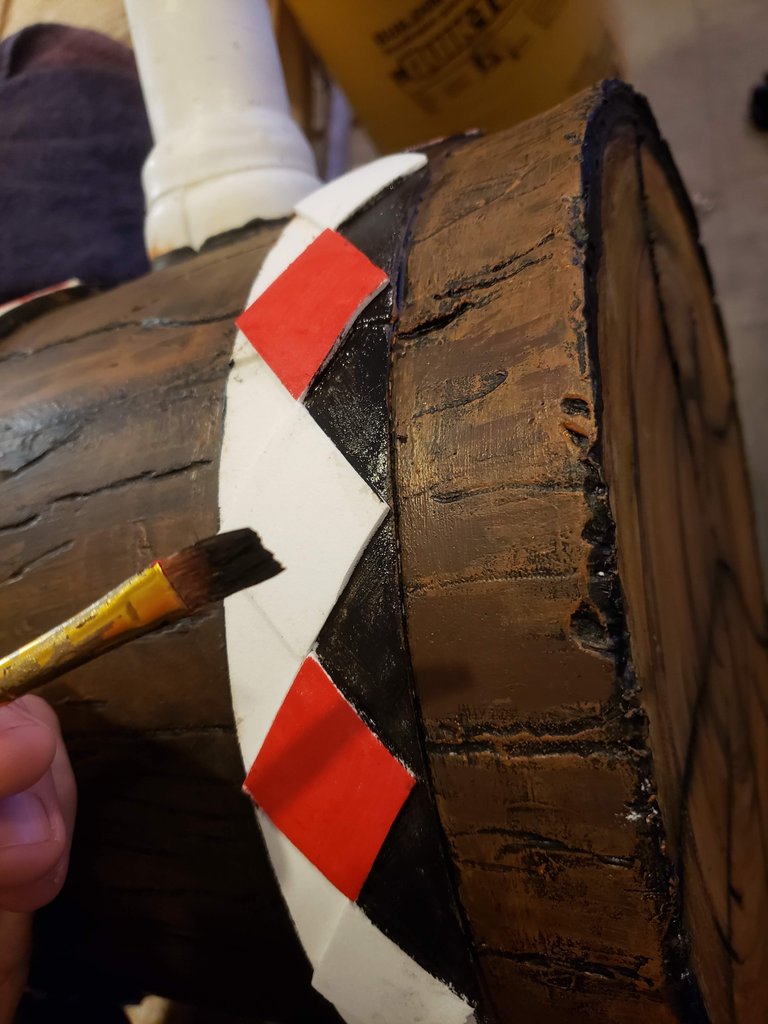
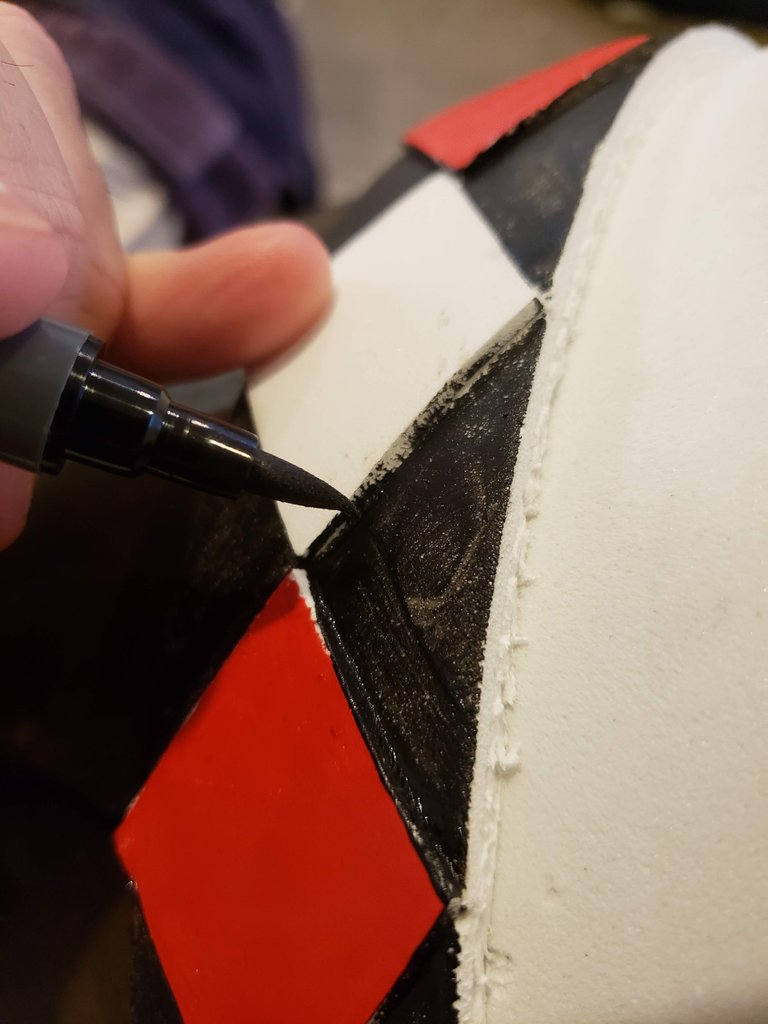
Now back to the bands with some black and red.
Black for the band, and red for every other diamond.
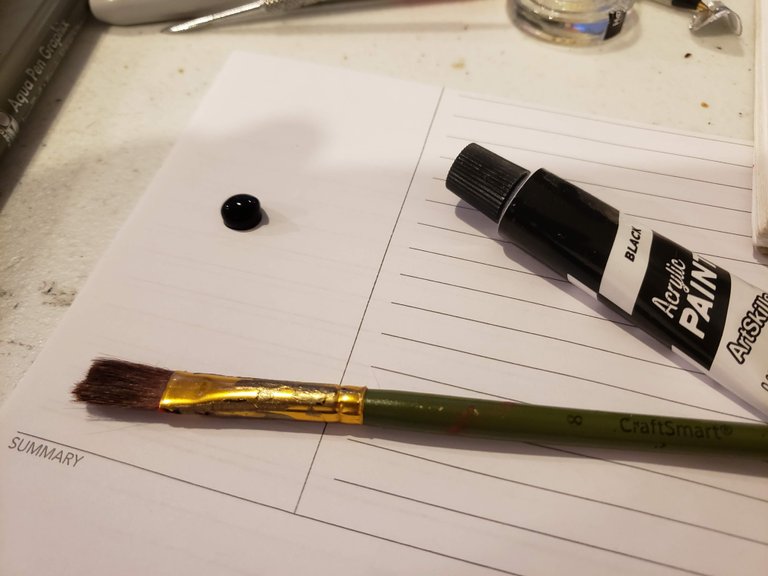
This will need a second coat on the black and then for the fine edges I use this pen.
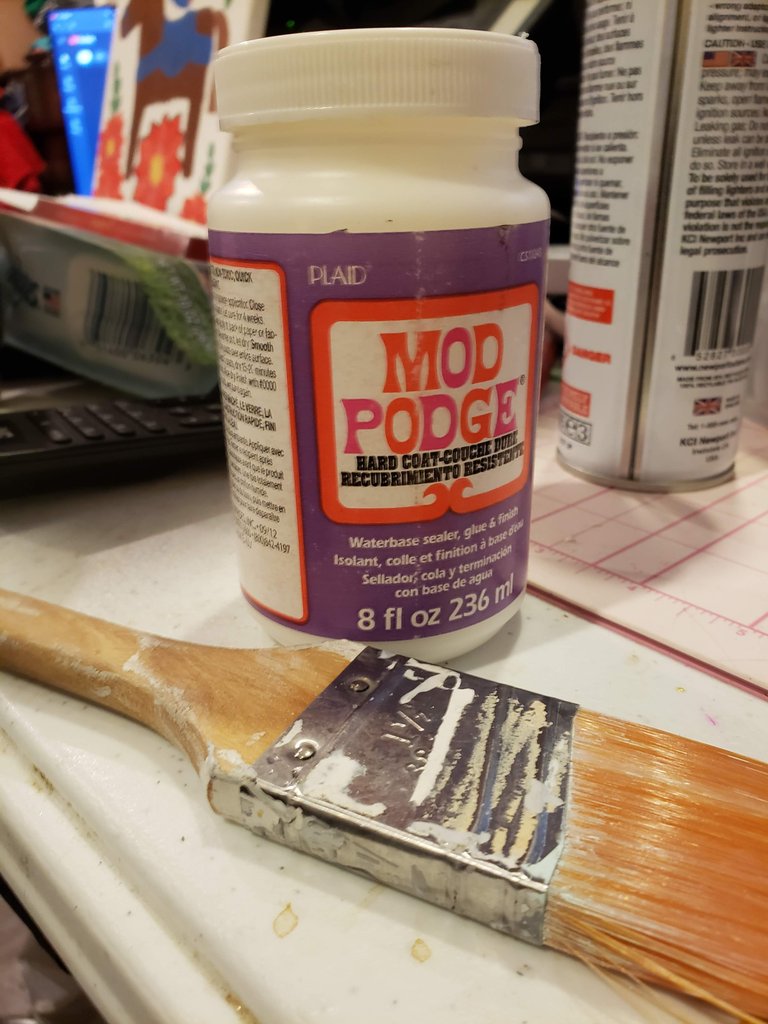
Once I got all the colors set I let it dry then gave it a coating of Mod Podge.
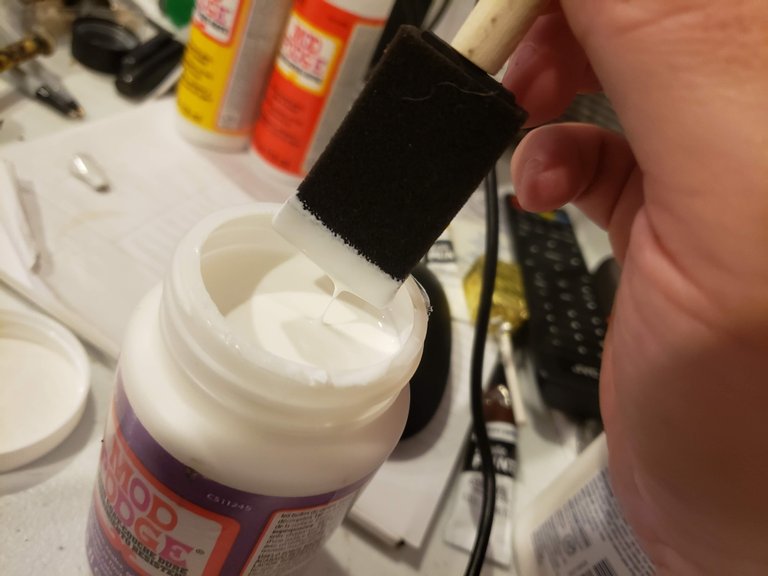
Dip, Slather, Repeat
Now it dries and sets. I get the handle painted as well, though I didn't get a proper shot of that step.
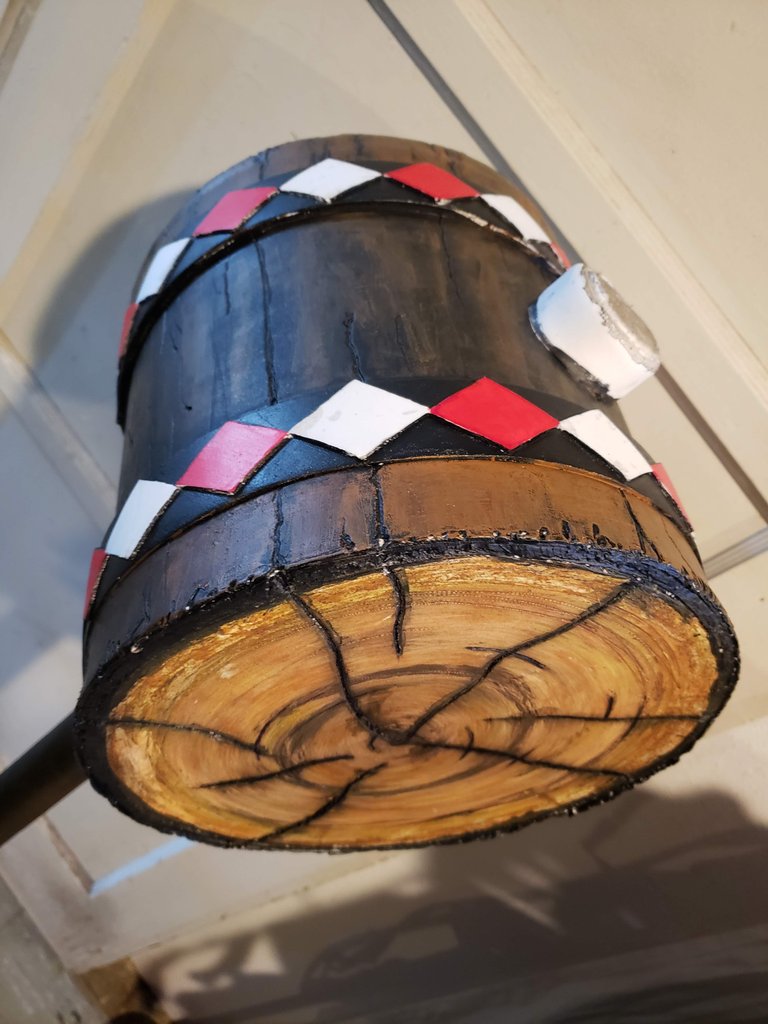
Ta-daaaaaaa!
This concludes part seven.
But then how do you top a big reveal?
You add another dimension.
This cosplay prop will also be a fairly functional personal storage device.
In the next one, I return to the inside of this soon-to-be magic log.
Come back for part eight!

@SaintChristopher
[everyone loves a log]
See The Whole Process
Part 1: Mallet Head & Handle
Part 2: Foam Application to Head
Part 3: Setting the Handle into the Mallet Head
Part 4: Wrapping the Handle
Part 5: Interior and Exterior Foam Work
Part 6: Applying Paint
Previous Prop Builds
HEY Y'ALL! My Second Build is Miss Minutes from Marvel's Loki
I Tried My Hand At Prop Making.
A very fancy stick-and-stump!!
Your content has been voted as a part of Encouragement program. Keep up the good work!
Use Ecency daily to boost your growth on platform!
Support Ecency
Vote for new Proposal
Delegate HP and earn more