Male Light Healer - Holozing Fan-Art.
Hello, My Dear Friends on Hive.
I'm glad to be back among you again. Today, I came before you with my fan-art drawing of a character of Holozing. The character is called "Male Light Healer". I used my Android device and a software called The Autodesk Sketchbook to draw this one. I created this fan-art drawing to participate in the Healer Traits Contest arranged by @holozing and you can also check out this amazing contest yourself by clicking here. I'll explain the full process of my drawing step by step below and I hope you'll like them.
I drew this one following the theme of the Original Male Light Healer. But, I made some changes to it to make it my version and for that, I took inspiration to create the main shape from this image.
- Step:-1
Sketch
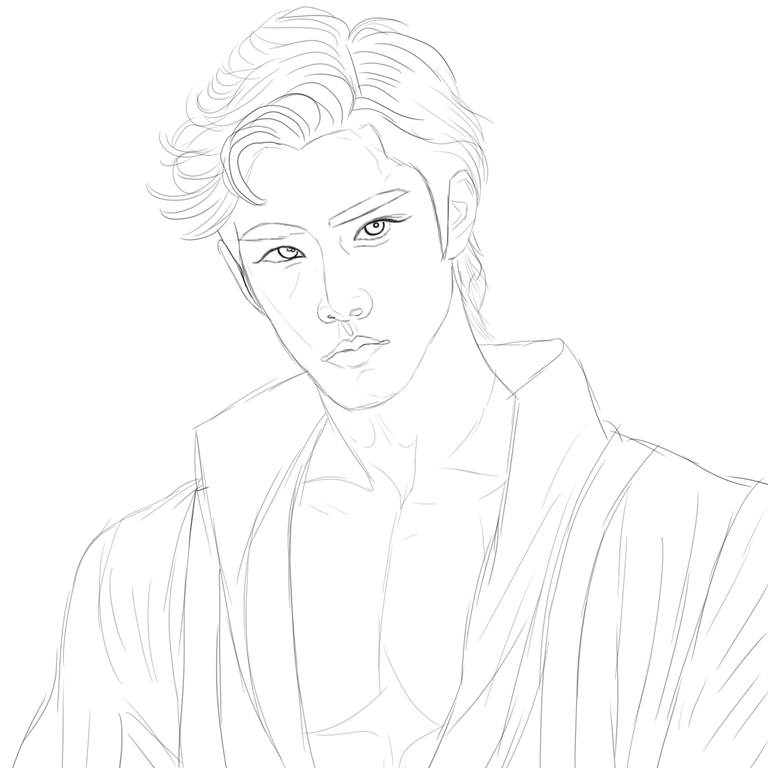
The first step to my drawing was to draw the sketch. Drawing the structure is the most crucial part of a drawing. The whole thing depends on it. I first drew the primary sketch with the 2B pencil tool and then used the HB and 4B pencil to make the borderlines bold and clear. After I was done with drawing the primary sketch, I also sketched the details of the drawing.
- Step:-2
Primary Color
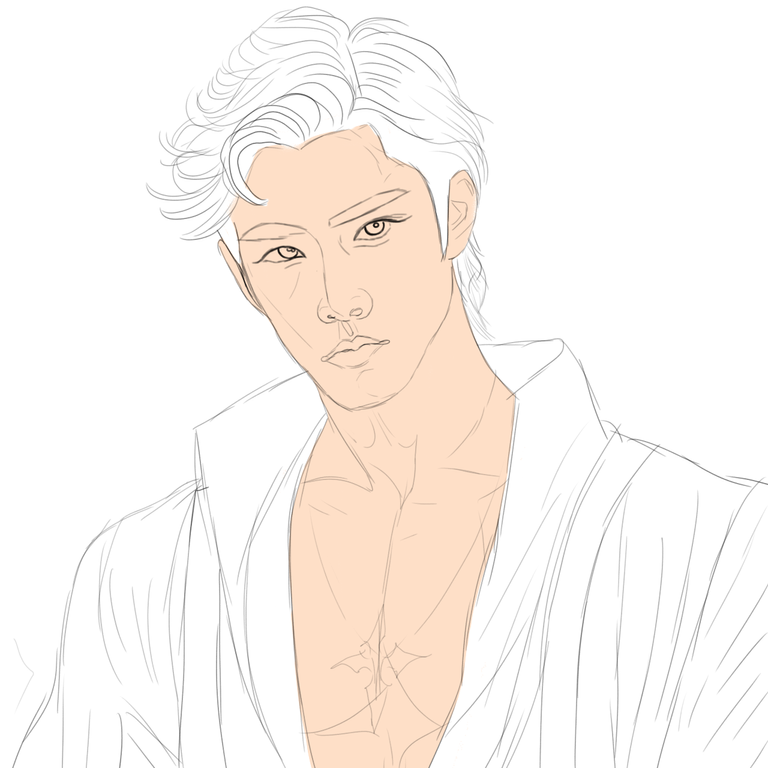
In this part, the colouring process began. I used the fill tool from the app to put a primary colour on his skin. This tool helps the creator to put a specific color to a specific area surrounded by a borderline which the creator can also choose.
- Step:-3
Shading
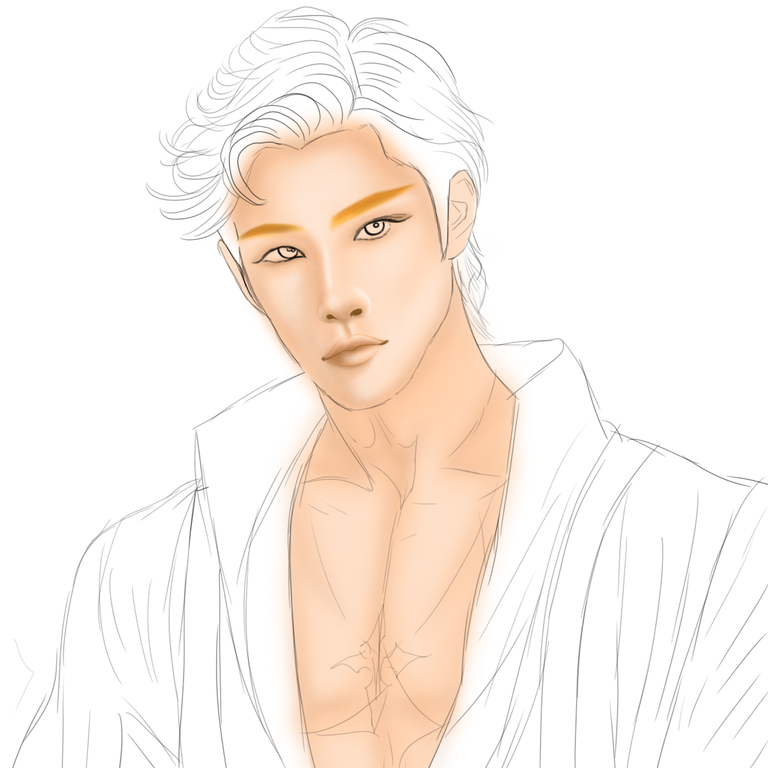
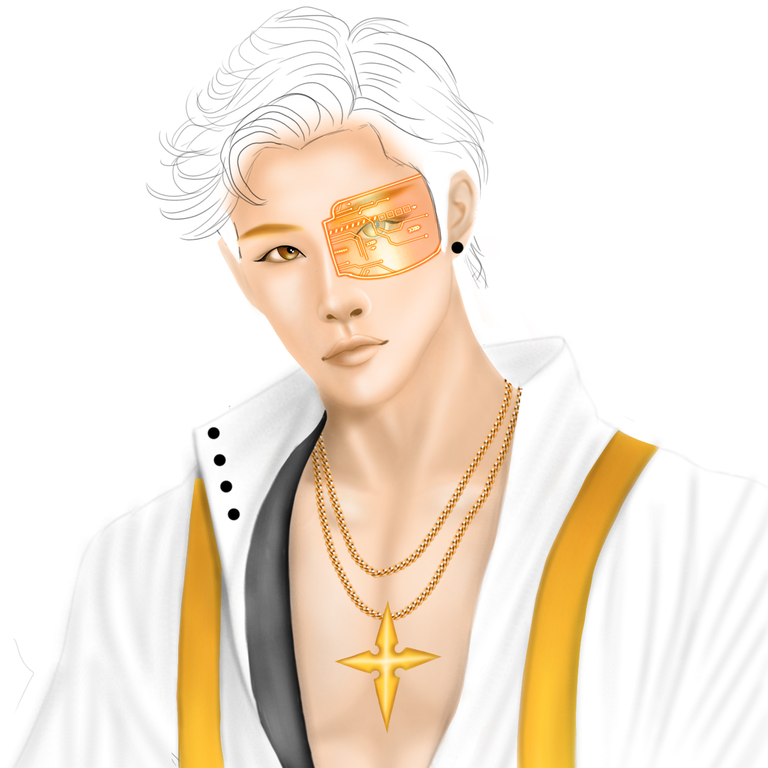
This is the part where I did the shading of the drawing. I used some light colour strokes using a soft brush at 45% transparency and a slightly deeper colour to draw the glowing part and the shades of the drawing. I also drew his eyebrows and lips in this step. But, drawing his eyes was the most difficult one to accomplish in this step. In the last step, I used a smooth brush along with a blending tool to blend in all the shades to give his skin a smooth texture ad you can see in the steps below.

- Step:-4
Decorating & Detailing
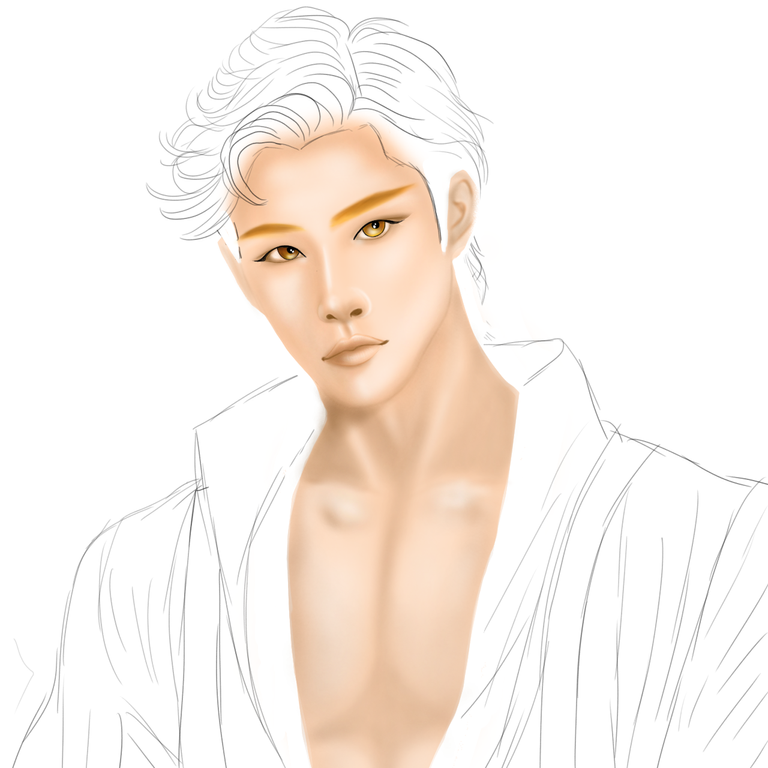
In this step, I drew all the extra elements of the drawing to decorate the character and complete the detailing part. I first drew the gold chain and then added the cross locket to it. I then drew a smart transparent sunglass to his eye which is also sort of a computer that helps him analyse and do a lot of things. I guess it will look good on him, I took that EYEWEAR idea from another holozing character used in the main contest post. I also completed colouring his in this step too.


- Step:-5
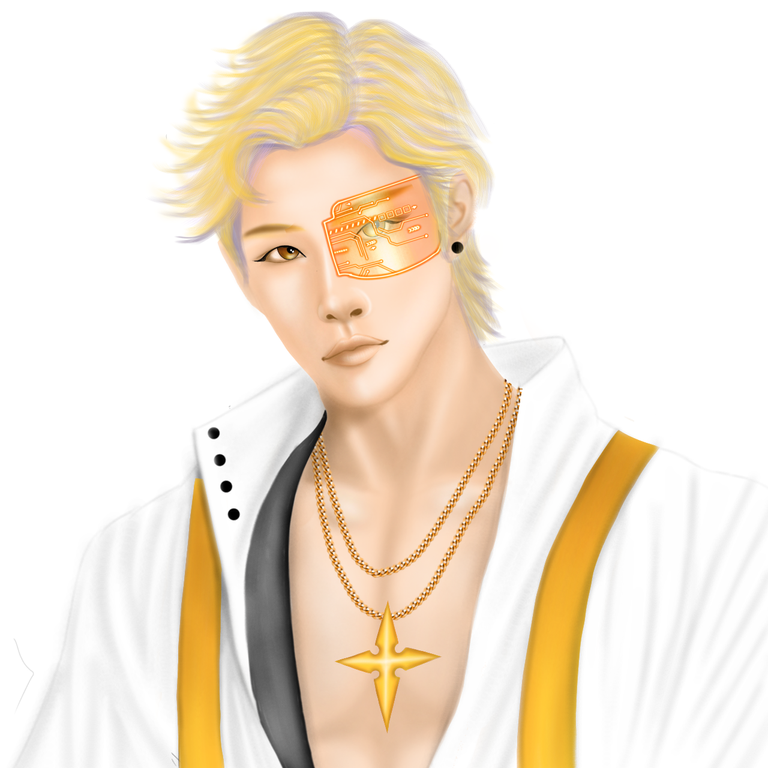
Hair
And in this step, I completed his hair drawing. To do that, I used a multi-color layer as you can see in the images below of my steps. I first put the yellow colour strokes with a smooth and thin brush and then on the gaps I put the grey colors. And then finally, I put on the final yellow colour strokes. These helped me to give the whole hair part a golden yet realistic look. A blonde guy with some grey-coloured hair, I guess it suits him.


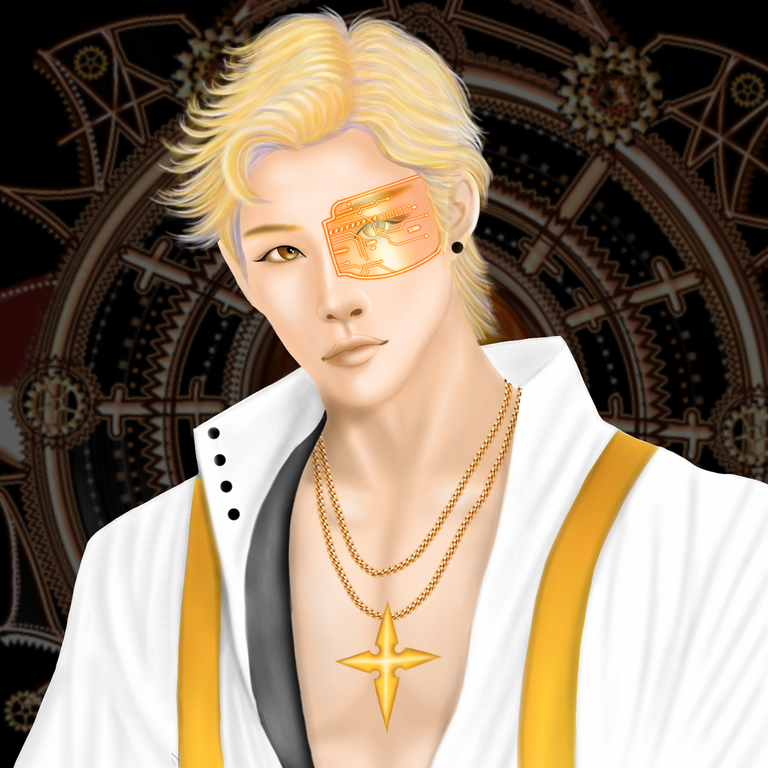
Final Image of Male Light Healer.
The image is finally done with the added background. I didn't create the background myself. I added it from the drawing app I used. There are some copyright-free background images there and I put it from there.
I hope you like my work. You can visit the HOLOZING community and check out this amazing contest and many more. And thanks a lot for visiting my blog.
Nice work. @tipu curate 8
Upvoted 👌 (Mana: 0/75) Liquid rewards.