Share your Battles - Dragons, part deux!
This week's theme is back to dragon! Haven't posted for one of these in quite some time, but back at it again with another dragon feature! Dragon is still my favorite splinter for the daily quest completion as someone with a limited card pool, it's hard to have proper cards for every splinter. Being able to shoehorn unique cards into the battle is super unique and incredibly powerful. It also helps to make it harder for your opponent to guess what strategy you are going to go with.
On to the battle1
The Ruleset

The Strategy
With the given ruleset, mana cost is the #1 factor. 15 mana lends toward playing 2 ways. Go big with a solo frontliner (i.e. Kron the Undying, Hydra, etc.) or try to patch together a team of low cost cards and hope to out speed/dps the opponent. Paired together with the little league ruleset which bans the higher cost cards, this really leaves limited strategy options. The spreading madness format gives enrage to monsters, so ideally here you use melee here to get the bonus damage, or magic to prevent misses from the bonus speed. ranged is okay if you have the speed high enough, but in my opinion ranged is not an ideal choice due to only getting speed bonuses without damage bonus.
Given the cards I have at my disposal and the ruleset, I decided that I would try to stall the front and use powerful sneak monsters in combination to try and destroy the enemy back to front.
The Summoner
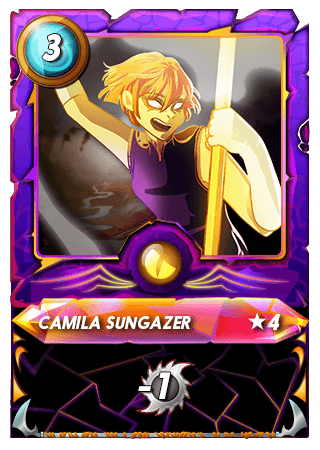
Camila Sungazer is a 3 mana legendary summoner that has the demoralize (-1 to melee) ability. This card is a good match when you expect to face off against melee monsters (or like me you just lack other dragon summoner options).
1st Slot - Tank Stall
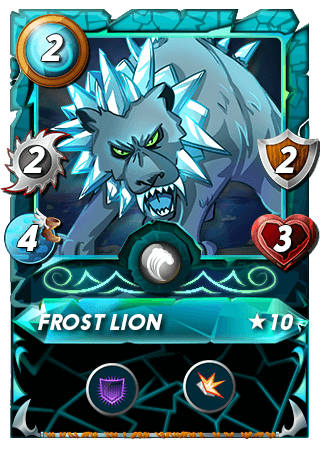
Frost Lion is a pretty underutilized stall card for these low mana formats. With only 3 health and 2 armor, he doesn't look like much, but with shield and void armor, he can often take a full round of hits from the enemy composition before going down. Buying 1 more turn for backline DPS at the cost of 2 mana is not bad at all.
2nd Slot - The Utility Monster
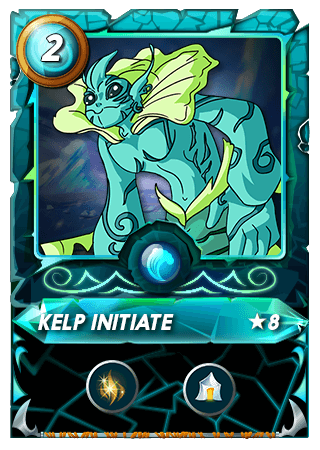
For this comp the whole goal of the team is to stall out and kill the enemies 1 by one from the back to the front. Kelpie does a great job at stalling out the enemy while providing some nice utility. For 2 mana, the 6 speed and 9 health is super good at stalling out for 2 mana. Triage is a nice ability to help keep the backline alive longer in case of magic reflect, thorns or enemy sneak attacks. One of my favorite low mana cards in the game.
3rd Slot & 4th Slot - The Sneaky DPS
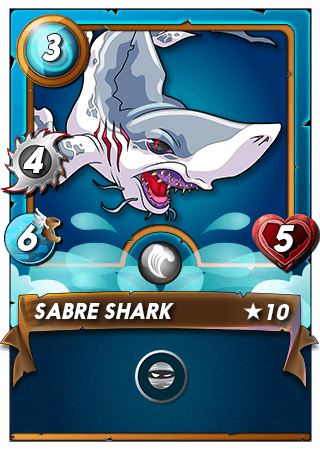
Next up is the DPS. These near twins of stats do the same thing and work great as a pair. Barring a mirror monster, because they are the same rarity, speed and attack type, they will always attack back to back. This means you always get to get that nice double hit to make it so your combo attacks go off as planned. These guys pack a huge punch for 3 mana and are decently fast. A nice little strategy to go with for low mana formats or to surprise people when they think you're going front link magic bombing instead.
5th and 6th slots - Protect the DPS
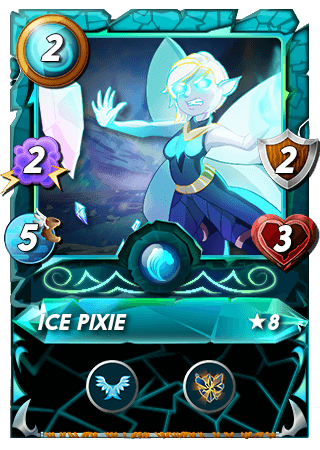
In this format, the mana is so limited it's hard to squeeze all you really want into the team comp. But basically, the goal was to add some cards in the back with the remaining mana to try and protect my DPS monsters. For this I chose the Ice Pixie because it has good speed, armor, and flying. this combo makes it so that in most cases it takes 2 or 3 hits to actually kill it, and it might even dodge something for more survivability. Additionally, the shatter and magic attack are nice against cheap front line monsters like cockatrice which are an absolute pain to deal with in many cases.
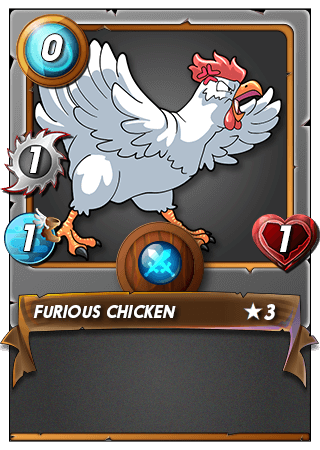
The last slot is some BBQ chicken bait. Again, just basically the only role here is to take a hit and keep the damage off of the DPS for as long as possible.
The Battle
In what turned out to be a surprise, the enemy decided to go anti magic + ranged. I used a summoner expecting melee (I only used water monsters so I could have used a water summoner instead), but there were none from the opponent. This became a race between killing his DPS before my front 2 monsters fell.
Round 1:
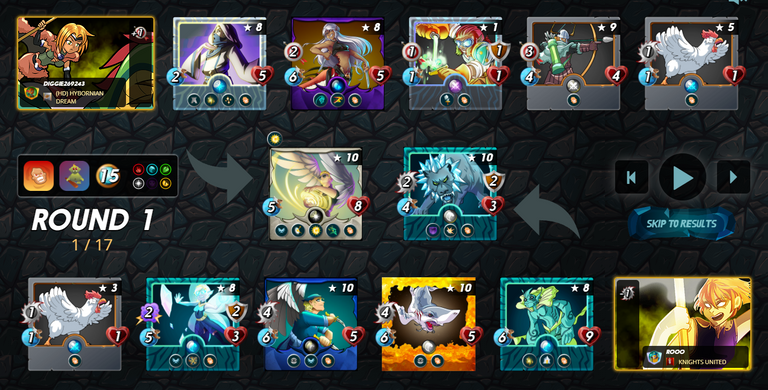
Seeing the truthseeker for armor, I knew I needed 4 total rounds to deal enough damage to cycle through his DPS (2 hits per monster needed). Let's see if I can survive!
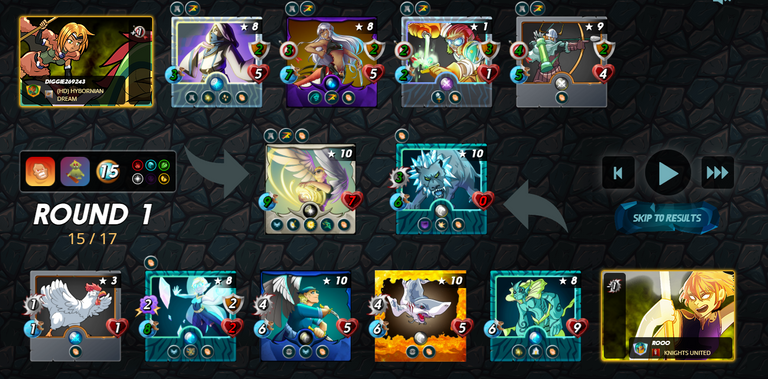
At the end of Round 1, it's 1 monster down a piece....It's gonna be close. Seeing as I outspeed his Highland Archer, I know at least that I should be able to kill it before it attacks.
Round 2:
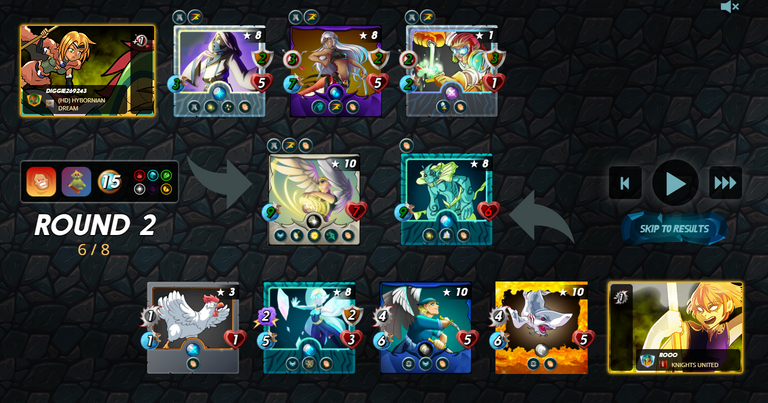
And down goes the Highland Archer as planned. It's going alright so far.
Round 3:
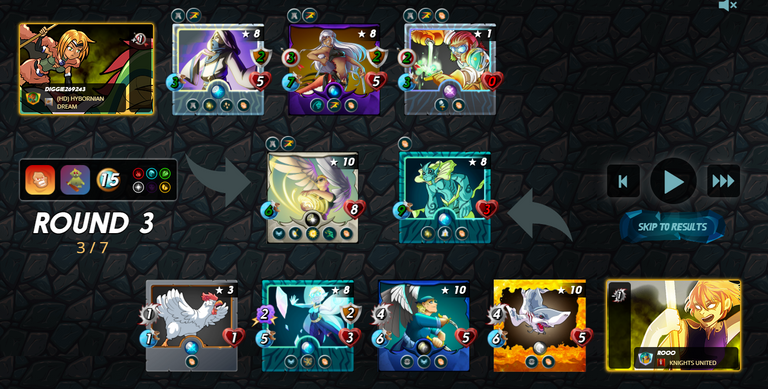
And now the halving alchemist goes down. It's a battle to see if I can kill this Naga Assassin or if RNG dodge will screw me over here. My Kelpie is about to fall. It's gonna be a close one. Luckily for the opponent, they didn't level up their alchemist to get the redemption, otherwise the fight was over as it would proc enrage on my melee guys to pump their speed and attack over the Naga Assassin. Good planning there.
Round 5:
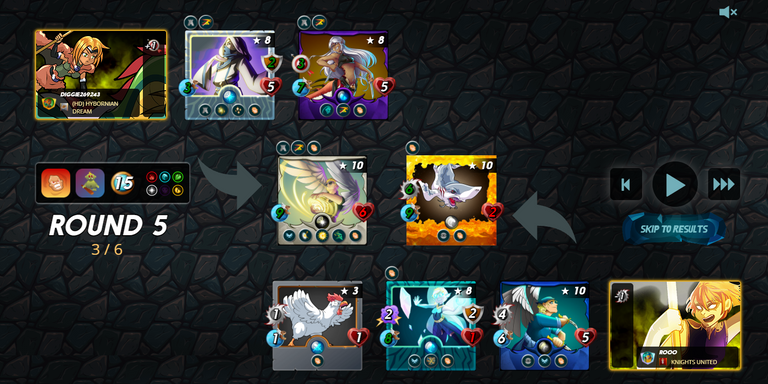
And here it goes. It all comes down to this. Will the shark hit or not hit? 25% to dodge for the opponent. It misses, and the opponent wins, as I would need 4 hits to kill the front two monsters (or two back hits from sneak). With no heals I only have 3 hits from the assassin to go before I die here.
Down goes the conjurer! And now it looks like a sure win from here. We'll trade the Shark for the Truthseeker, and the Assassin comes to the front without the ability to attack or dodge.
Round 6:
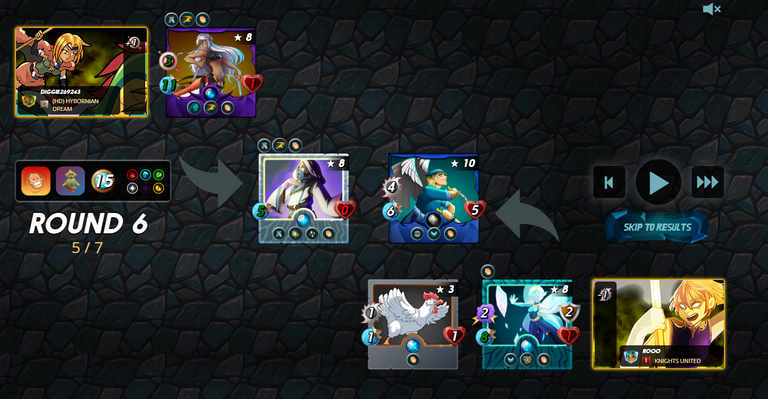
As expected, we trade the shark for the Truthseeker, and the battle is over. A close battle, with a 75/25 to lose at the end there. We'll take the win and the DEC home GG my opponent.
The Wrap
Overall, I think this battle highlights the variety of strategies and how decisions on team compositions can really get you a bonus or a loss if you guess wrong. In this case, I guessed melee, and missed. But thankfully I gauged that they would protect their front line over their backline, so deciding to kill the back monsters instead of trying to brute force the frontline completely paid off. The opponent played into my strategy of a weak backline as my strength paired against his weakness to allow me to win. A good strategy battle in which I managed to eeke out the win. A close battle indeed.
Chickens BBQ'd: 2
Congratulations @rooo! You have completed the following achievement on the Hive blockchain and have been rewarded with new badge(s) :
Your next target is to reach 40 posts.
Your next target is to reach 700 upvotes.
You can view your badges on your board and compare yourself to others in the Ranking
If you no longer want to receive notifications, reply to this comment with the word
STOPTo support your work, I also upvoted your post!
@tipu curate
Upvoted 👌 (Mana: 31/91) Liquid rewards.
Thanks for sharing! - @alokkumar121
