Black dot cake
Hello, today I want to delight you with another interesting thing that was baked at home. This is a cake with cream, cocoa and chocolate. We love sweets at home and because of that I often make things like this.
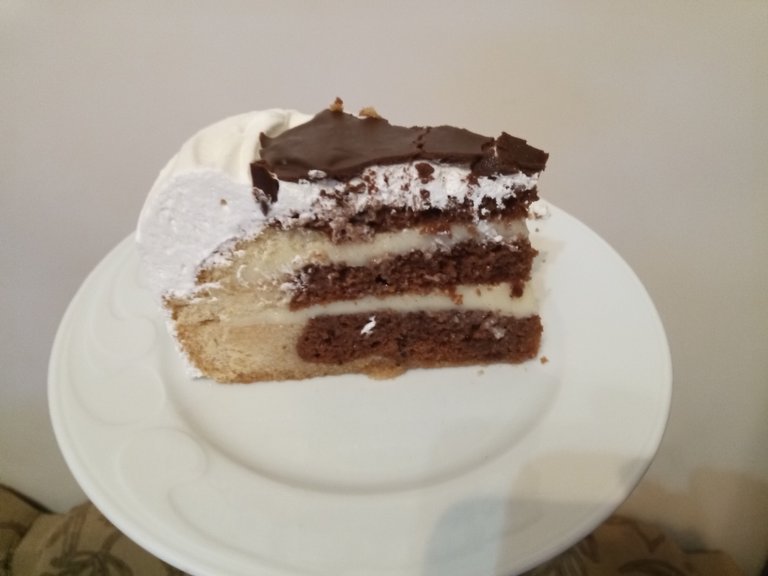
I managed to take a picture of it at a very interesting angle where it looks like it's crooked, but it's not ...
I love to bake and I prefer to make the blats on my cake. I use a basic sponge cake topper.
My recipe:
3 eggs
9 tablespoons of water (if my eggs were too small it is possible to add more water)
6 tablespoons oil
half teaspoon baking powder
half teaspoon bicarbonate of soda
vanilla
1 cup sugar
2 cups flour
2 tsp cocoa
For the cream I used pudding, cream and dark chocolate.
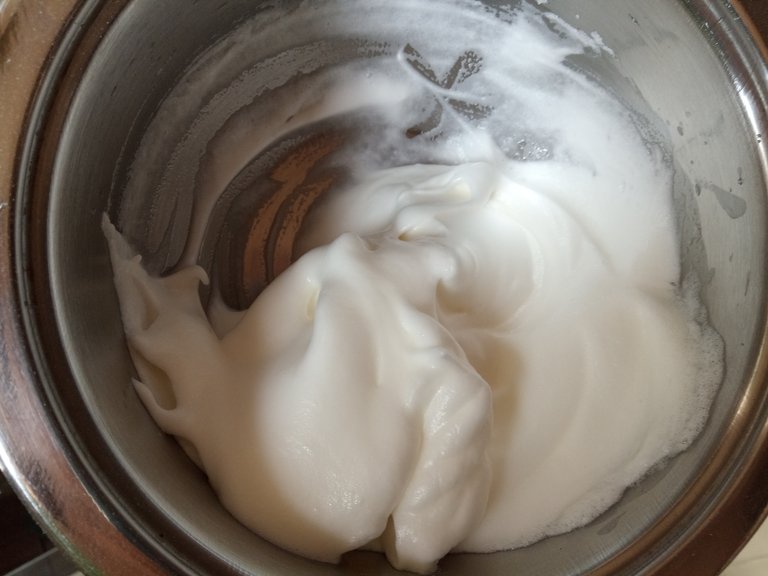
In two separate bowls, separate the egg whites and egg yolks. Whip the egg whites into snow. To make the process faster I add a little salt (pinch of salt) and about 2 tablespoons of sugar once they are already whitened but still runny.
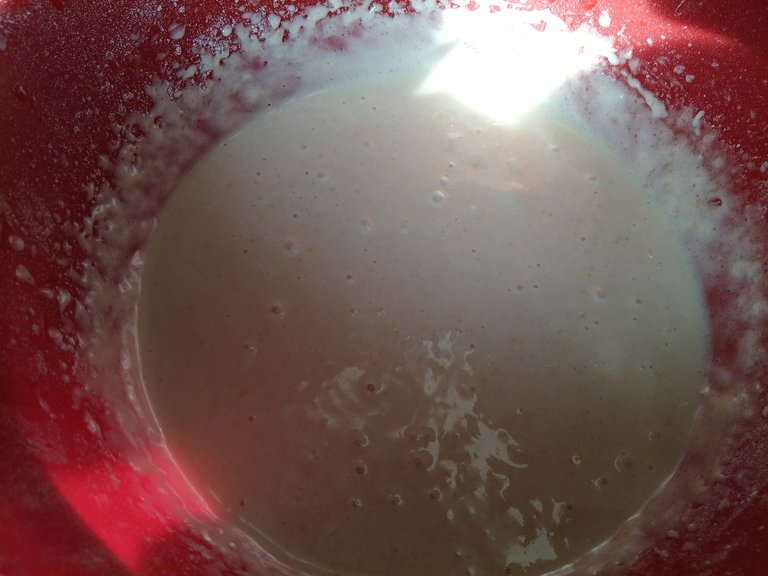
In the other bowl that the yolks are in I add, the water, oil, vanilla, whisk and whisk until it is a uniform mixture. Then I add the flour and make sure no lumps appear. Once this mixture is ready comes the moment when the contents of the two bowls should come together.

Into the bowl with the egg yolks, I pour the beaten egg whites and begin to slowly stir with a spoon. The process is done slowly because if you stir faster the fluffiness of the egg whites disappears. Stir until you get a smooth homogeneous mixture.
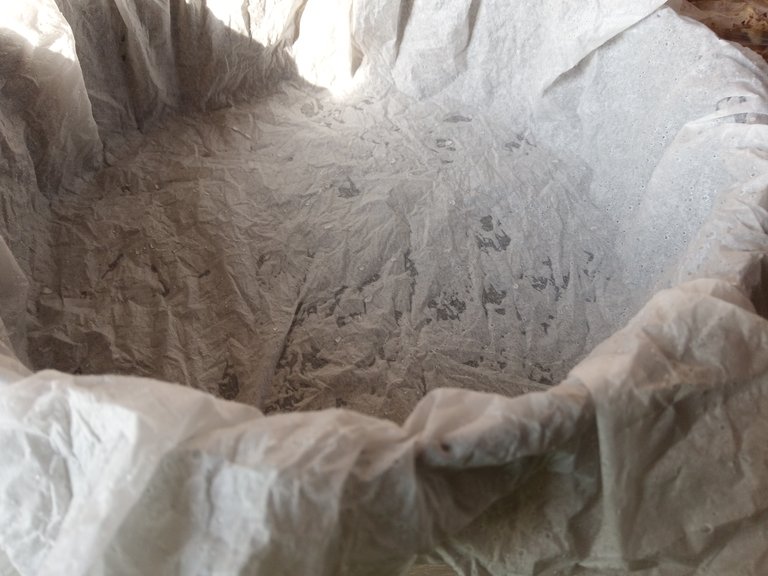
Then I "wrapped" because that's what my baking pan looks like with baking paper. To make the baking paper take the shape of the dish I crumple it and wet it. I shake it out and place it in the given container.
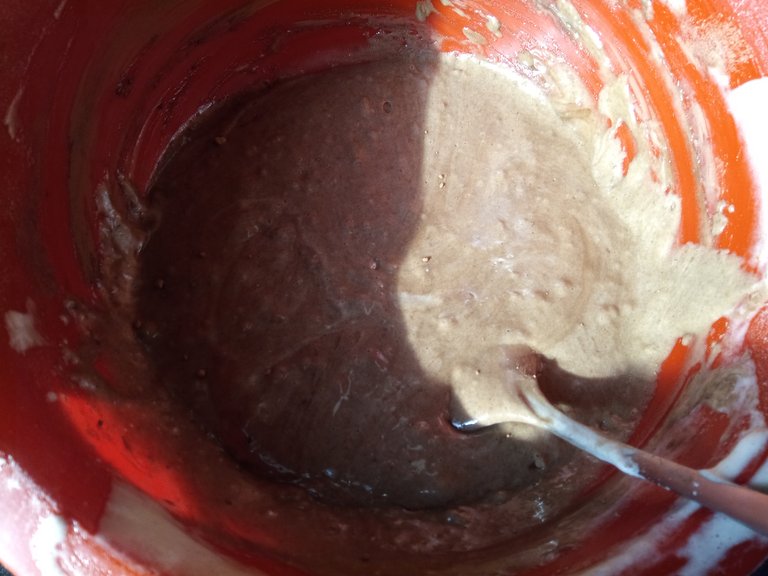
I poured out the larger amount of the mixture and left about a third of it. To the remaining mixture I added the cocoa. Stirring again slowly. To keep the different colors (with and without cocoa) from tasting different, I added 2 tablespoons of water to the mixture.
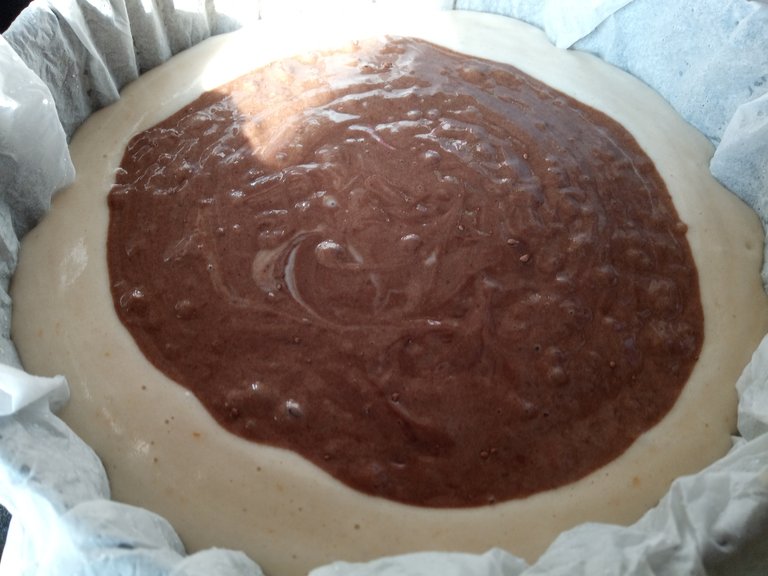
My goal was to keep the cocoa mixture in the middle so I poured it in. By pouring it in one spot it spread evenly vertically.
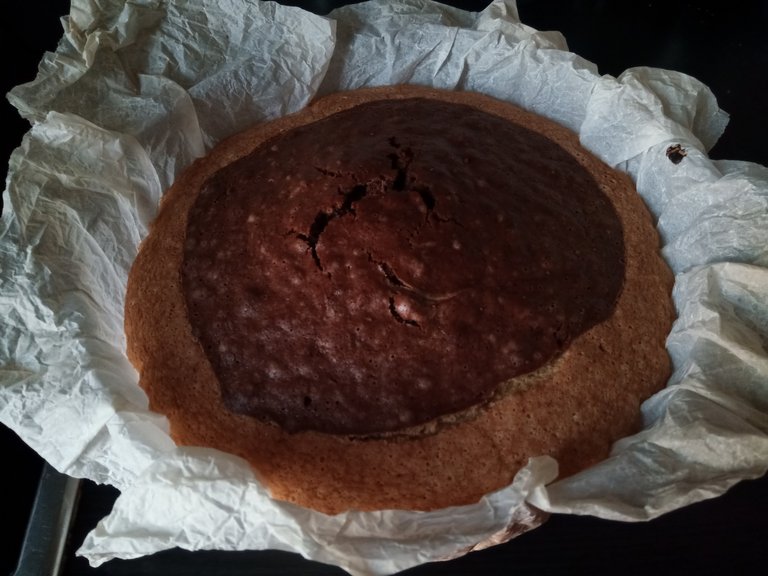
I then placed the pan in the oven and baked it at 170-180 degrees for about 40 minutes. To make sure the blat was baked I pierced it periodically with a wooden toothpick. If the toothpick came out clean - with no crumbs sticking to it then it was baked.
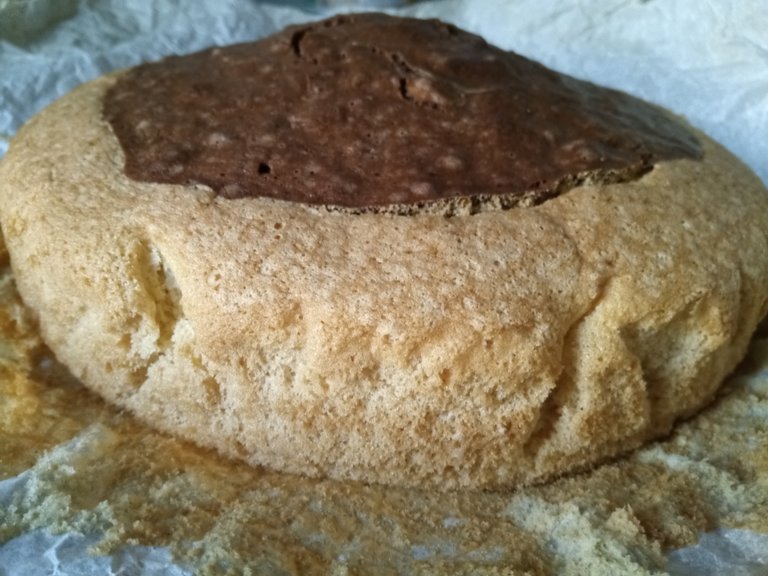
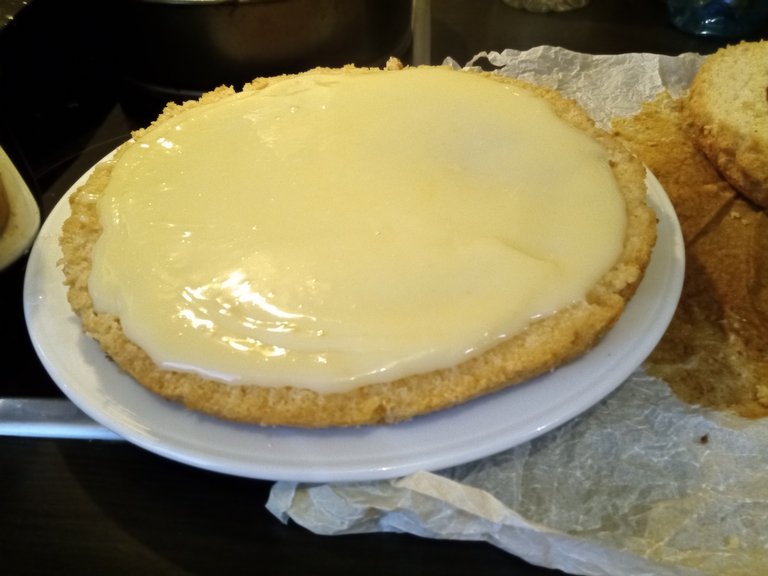
Fortunately or not my blаt had a peak. I cut it out to make the surface flat.
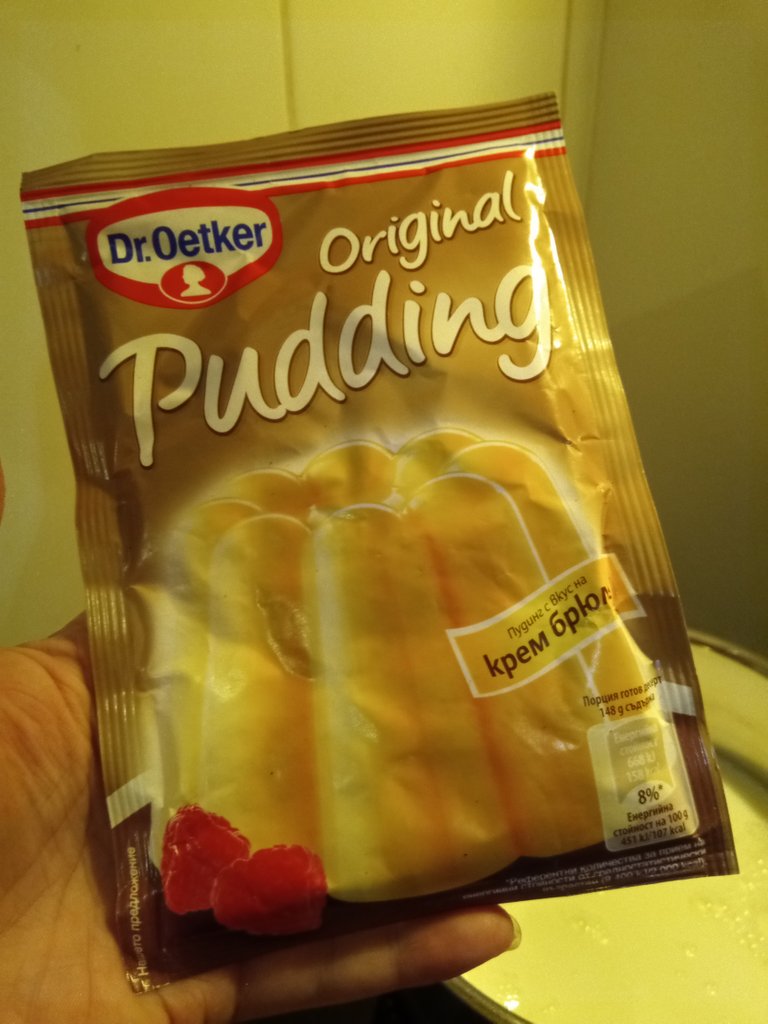
While I waited for the blat to cool I got to work making the cream. I used Dr Yotker's pudding. I followed the directions on the package, although I changed them a bit.
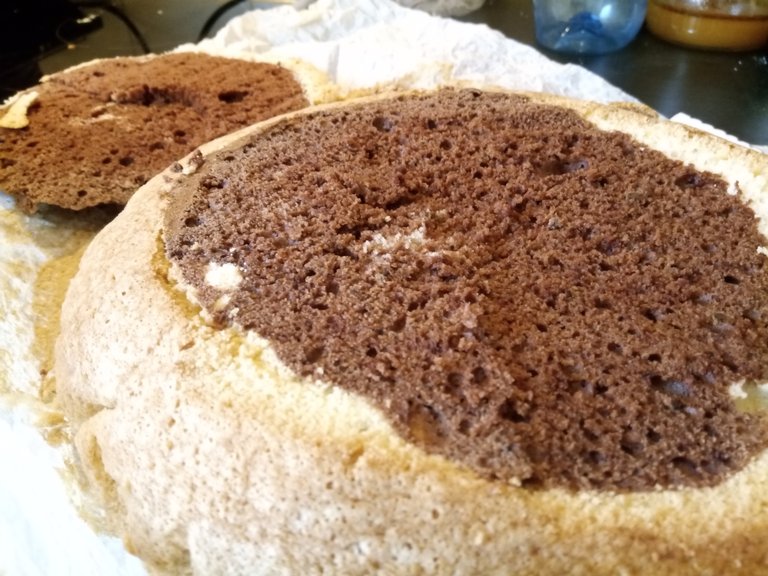
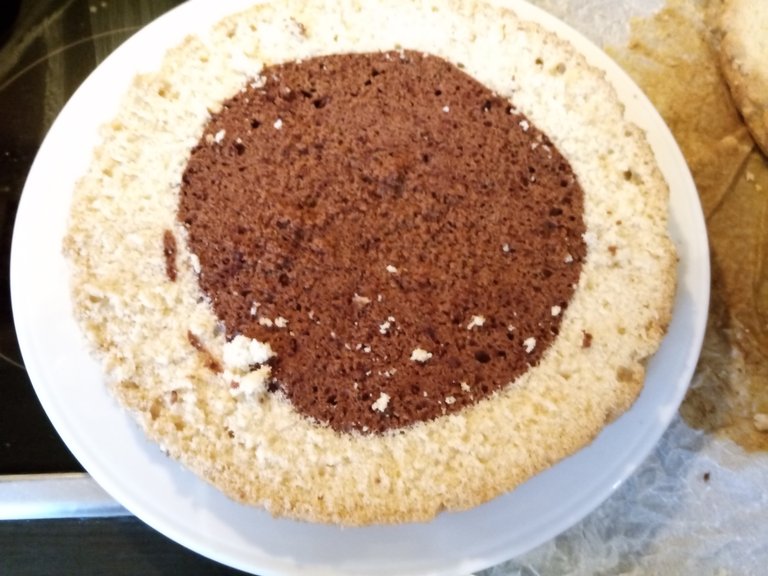
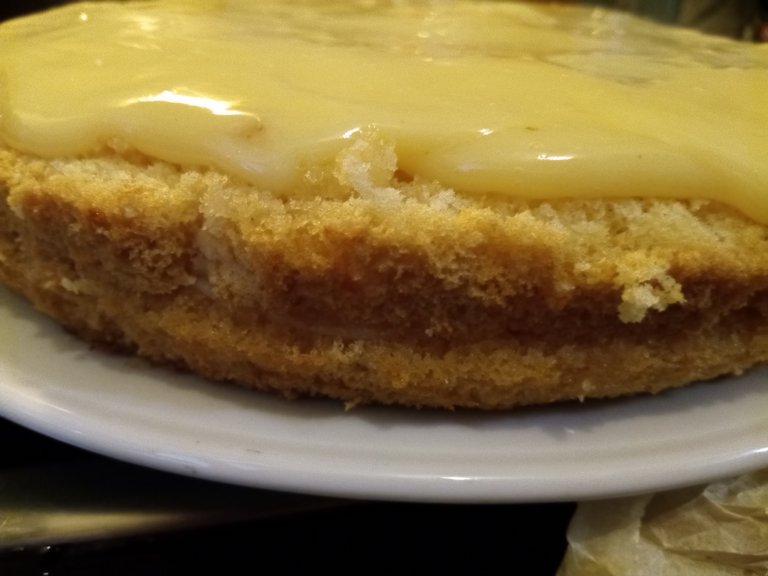
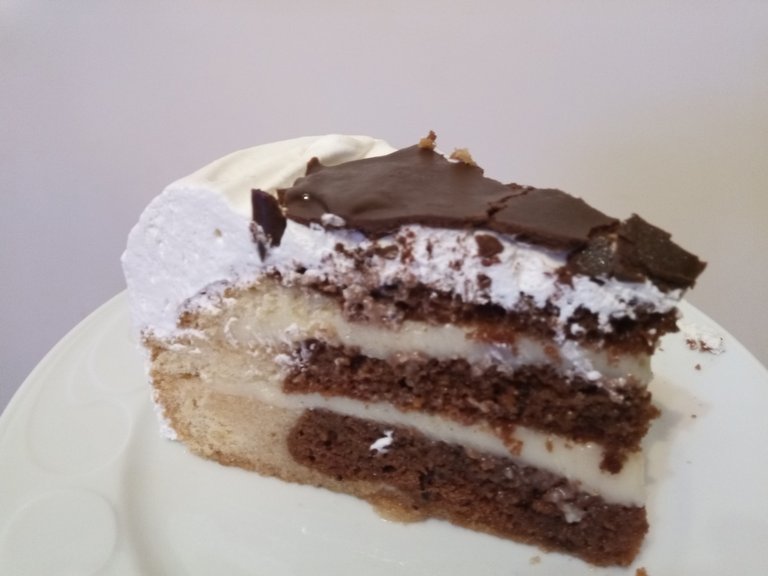
Once the blat was warm I cut it into 3 pieces. With the bottom part being the highest. I put the bottom part on the tray the cake would be in. I started spooning the juice from the apricot jar over it. I like the taste of jam with a slight hint of sour and this juice was perfect for the purpose.
After pouring the juice over the first layer, I added some of the pudding that was hot. I waited a bit and added the next layer on top of the pudding and again drizzled with juice and added pudding.

I just slathered the last layer with the juice. I set about whipping the cream. I used half a litre, but realistically you can use as much as you like.
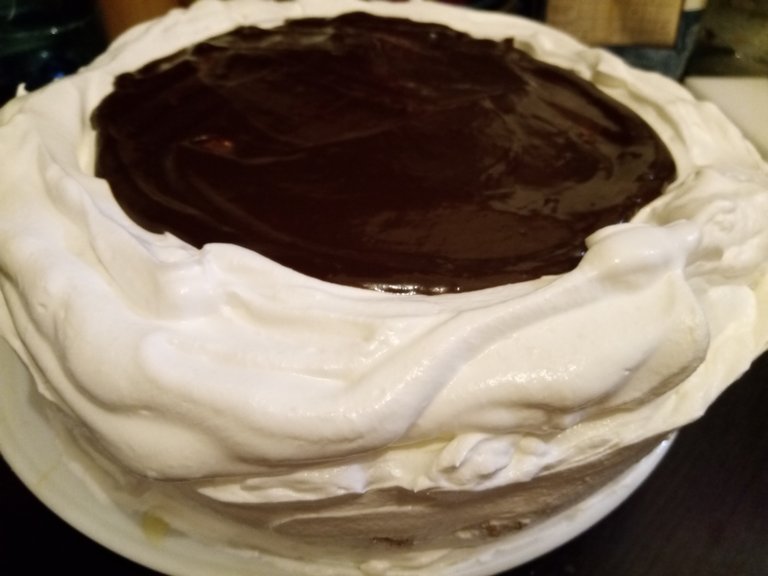
I started spreading the blats liberally with cream. I prepared a sort of pond on top with the idea of filling it with chocolate.
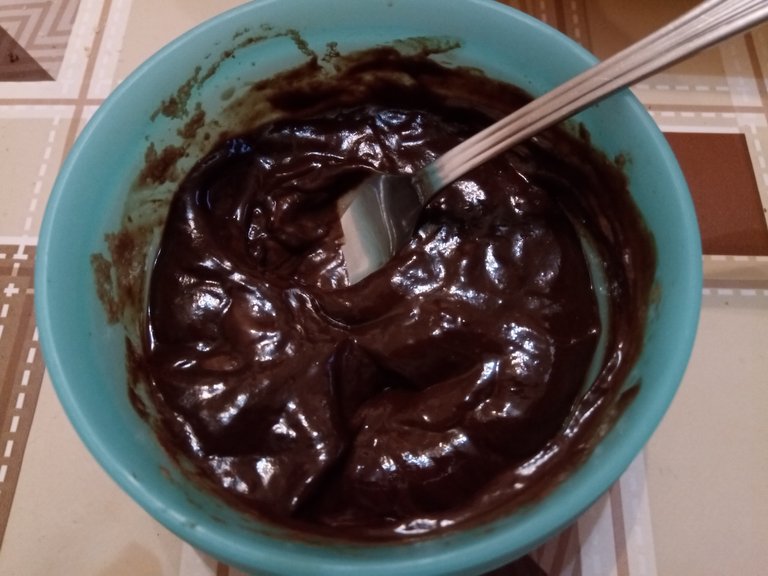
In a microwave-safe bowl, I heated the chocolate with about 3 tablespoons of fresh milk for about 2 minutes. Once the microwave program was finished and the chocolate was soft, I stirred it to check how thick it was. It turned out to be thicker than expected and I added some more fresh milk to make it "runny". I poured the finished liquid chocolate into the cake pond.
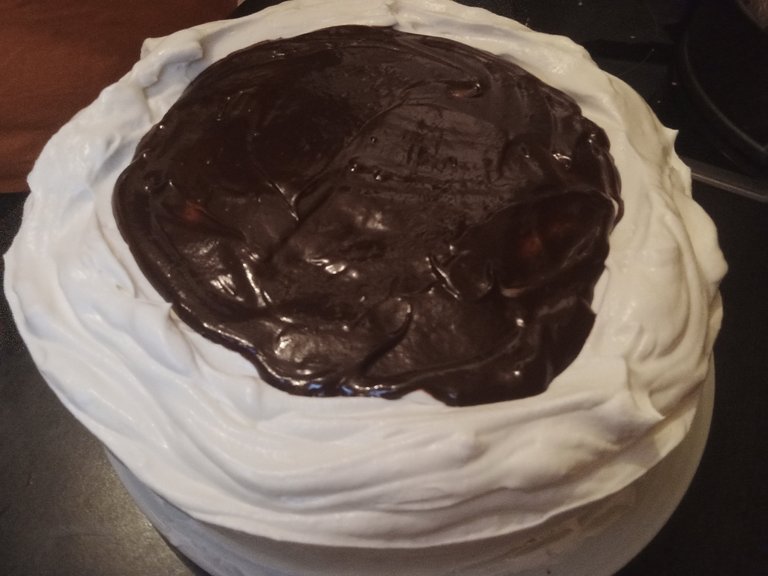
I didn't want it to be another "smooth cake" so I ruffled it a bit.
It turned out a perfect dessert!
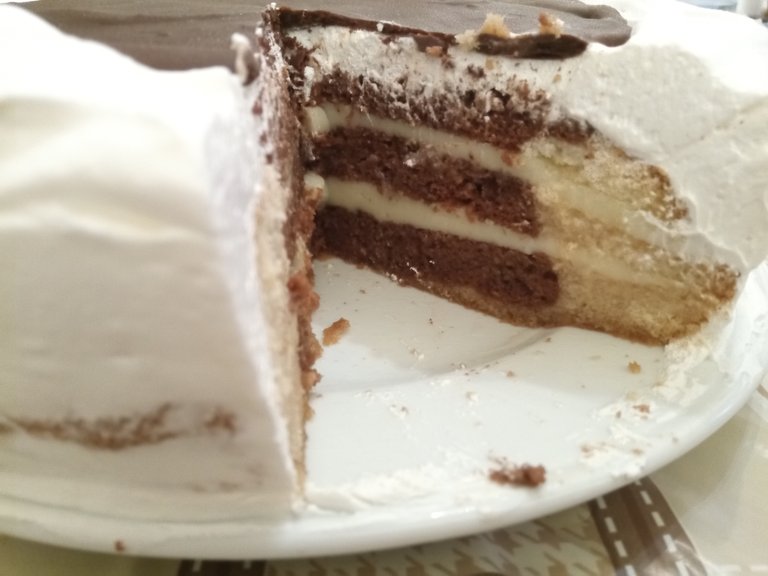
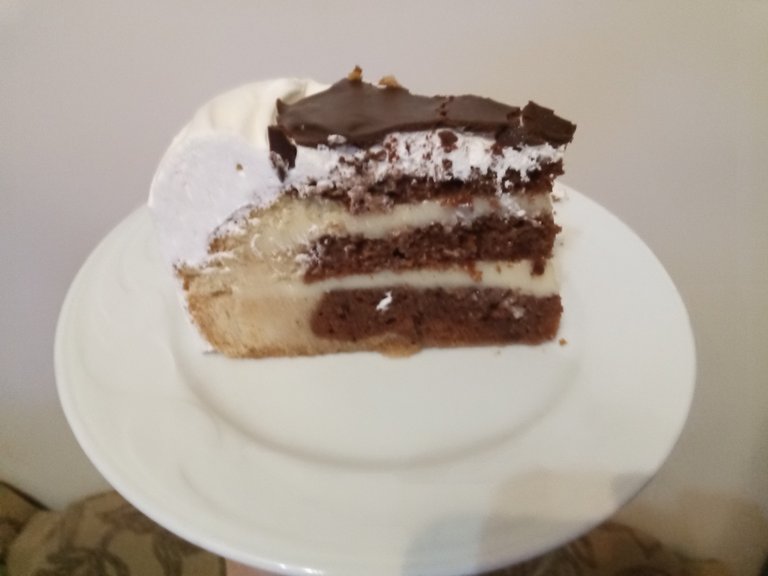
While I was photographing the piece of cake, it decided to escape...

The used images in this article have been created via Canva
All the images or some of them in this article are from this website. All Content on Pixabay is free to use for commercial and non-commercial purposes - Check the license
!LUV
😋 yummy.
The look on the face makes me want to have a taste
It was really good one!
made with !LUV !
<><
@ijohnsen, you've been given LUV from @projectmamabg.
Check the LUV in your H-E wallet. (1/4)
Yum! You have been curated @anggreklestari on behalf of FoodiesUnite.net on #Hive. Thanks for using the #foodie tag. We are a tribe for the Foodie community with a unique approach to content and community and we are here on #Hive.
Join the foodie fun! We've given you a FOODIE boost. Come check it out at @foodiesunite for the latest community updates. Spread your gastronomic delights on and claim your tokens.
Join and Post through the Community and you can earn a FOODIE reward.