[Eng - Esp] Casa Vacacional en 3D | Blender tutorial

avatar

0003.jpg

Hola Hivers, Siempre quise publicar en esta comunidad ya que me llamo la atención de que había muchos diseñadores gráficos que publicaban sus trabajos y el proceso de creación aquí en Hive DIY. En esta oportunidad vengo con un diseño de una casa vacacional realizada en 3D. Llevo poco tiempo aprendiendo a modelar en 3d con blender y cada día me sorprendo más las cosas que se pueden llegar a hacer con este programa ya que es totalmente gratuito, una de las cosas que instale a blender es el benderkit que una herramienta muy buena con un montón de recursos que podemos utilizar en nuestros modelados, estos tienen recursos gratuitos y recursos pagos, pero aun los recursos gratuitos son de gran calidad. Si tienes blender puedes descargar el addon

aquí.

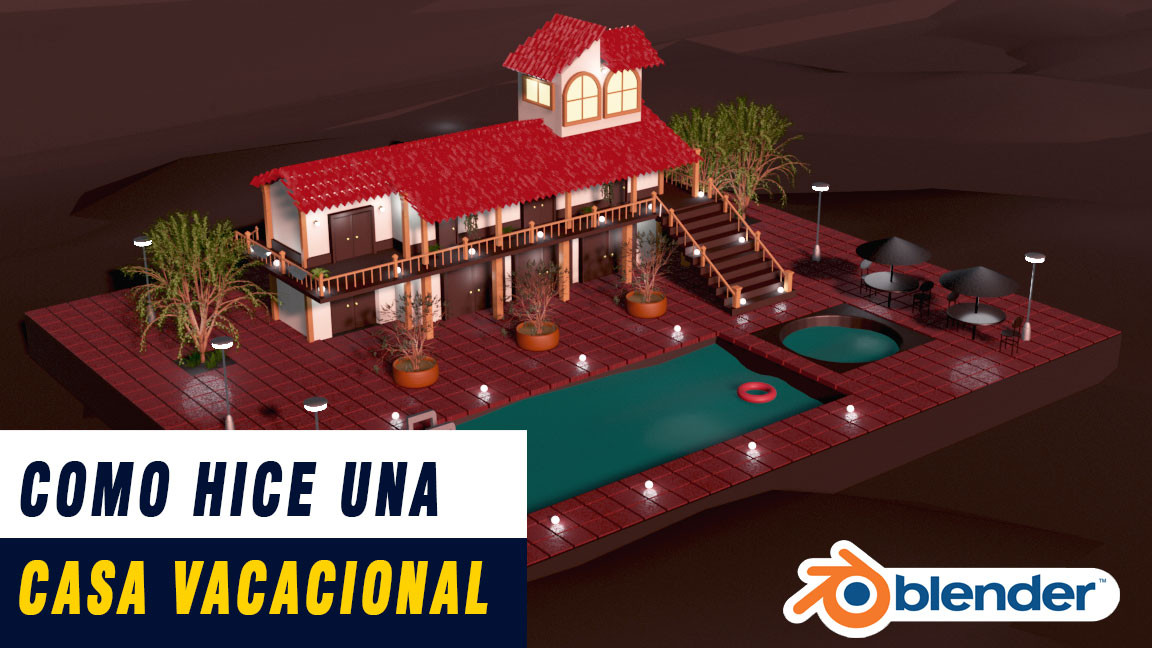
Hello Hivers, I've always wanted to post in this community as it caught my attention that there were so many graphic designers posting their work and creation process here on Hive DIY. This time I come with a design of a vacation home made in 3D. I have been learning to model in 3d with blender for a short time and every day I am more surprised by the things that can be done with this program since it is totally free, one of the things that I installed in blender is the benderkit, which is a very good tool with a lot of resources that we can use in our models, these have free resources and paid resources, but even the free resources are of great quality. If you have blender you can download the addon here.


Pimer paso:

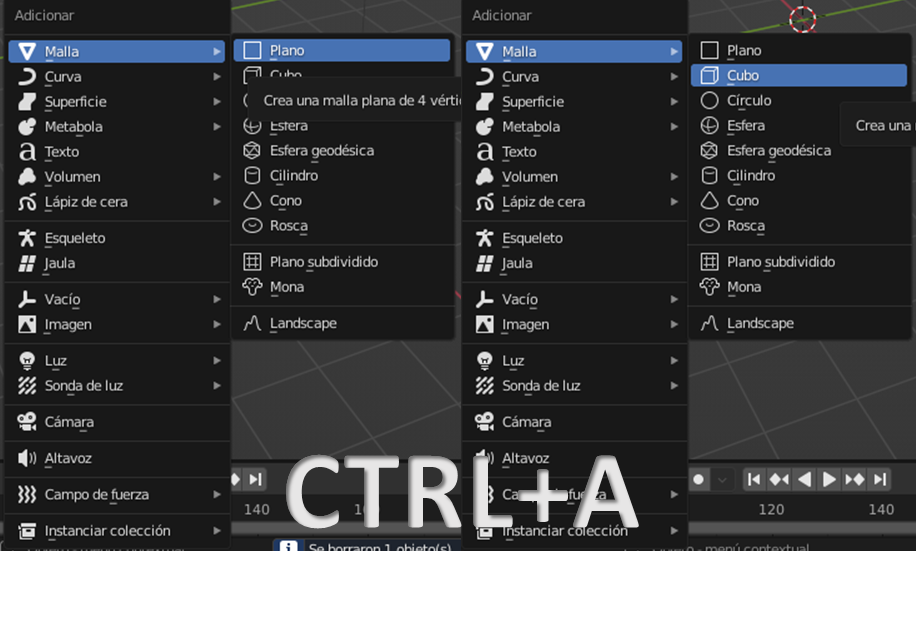
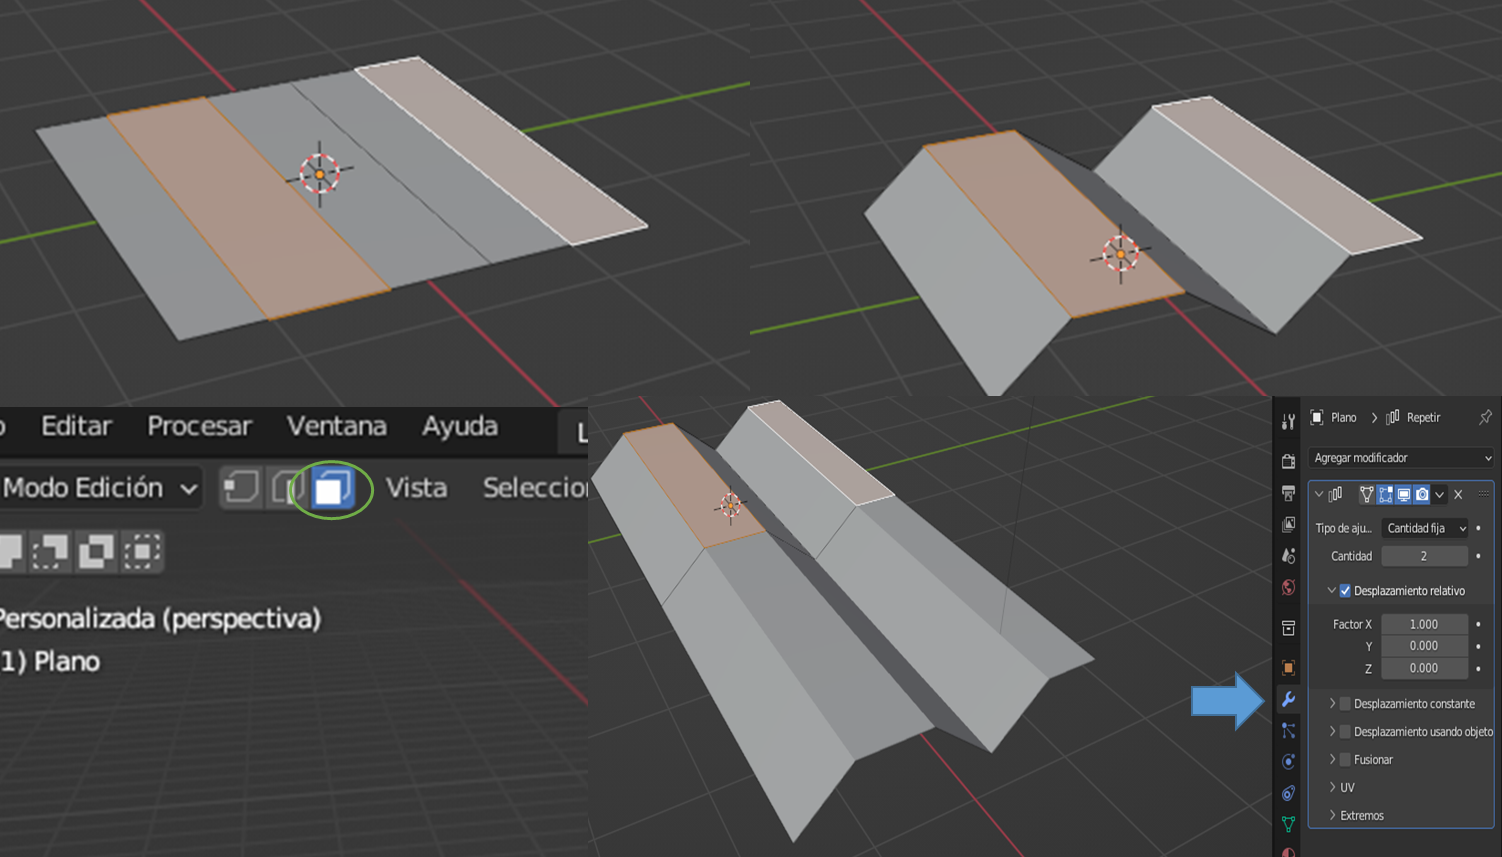
Primero comencé el modelado creando un plano, esto se hace presionando Shift+a y luego malla, para escalar este plano a un tamaño más grande se presiona s y con ayuda del raton se escala más grande o más pequeño, en esta oportunidad lo coloque más grande. Después de esto comencé con el modelado del edificio, presionando de igual manera Shift+a pero en lugar de seleccionar plano, seleccione cubo y lo escale, para escalarlo a lo largo o a lo alto se presión cs+y o s+z a lo ancho también se puede ampliar con el atajo de teclado s+x, así podemos ir dándole la forma que queramos. Para realizar el tejado del techo hice uso del modificador multiplicar ubicado en el panel derecho, primero cree un plano como lo explique anteriormente luego presionando TAB para colocar el modo edición y haciendo ctrl+r sobre el plano agregue divisiones y con s+z las subí para darle forma de tejado y agregue el modificador multiply dos veces para aumentar las repeticiones en lo ancho y en lo largo. Para las columnas agregue un cubo y con e y s fui dandole la forma que quería.

First I started the modeling by creating a plane, this is done by pressing shift+a and then mesh, to scale this plane to a larger size press s and with the help of the mouse it is scaled larger or smaller, this time place it larger. After this I started with the modeling of the building, pressing in the same way shift+a but instead of selecting plane, select cube and scale it, to scale it along or to the height press cs+yo s+za the width is also you can enlarge with the keyboard shortcut s+x, so we can give it the shape we want. To make the roof of the roof I made use of the multiply modifier located in the right panel, first create a plane as explained above then pressing TAB to put the edition mode and doing ctrl+r on the plane add divisions and with s+z I uploaded them to give it a roof shape and add the modifier multiply twice to increase the repetitions in width and length. For the columns I added a cube and with e and s I gave it the shape I wanted.

image.png

image.png
gif4.gif

Segundo paso:

Para realizar a baranda del segundo piso primero cree un plano y con ctrl+r agregue diviones donde irían los travesaños y agregue el modificador estructura. Para la escalera cree los escalones con cubos y agregue un modificador de multiplicar, para los arboles presiones shift+a y agregue una curva sapling tree, luego elegí el árbol que quería en las opciones. Para la piscina seleccione el plano de suelo en modo edición hice click secundario, subdividir para luego seleccionar las caras donde quería que estuviese la piscina y con la tecla i hice un inset y depues s+z y hundi ese espacio. Para el agua de la piscina, cree un plano y agregue subdivisiones al igual que la manera anterior, después agregue el modificador desplazar-nueva fui a texturas y agregue nubes y aumente tamaño para hacerlo más parecido al agua.
To make the railing of the second floor, first create a plane and with ctrl+r add divisions where the crossbars would go and add the structure modifier. For the ladder create the steps with cubes and add a multiply modifier, for the trees press shift+a and add a sapling tree curve, then choose the tree I wanted in the options. For the pool, select the ground plane in edit mode, secondary click, subdivide and then select the faces where I wanted the pool to be and with the i key I did an inset and then s+z and sank that space. For the pool water, create a plane and add subdivisions as above, then add the shift-new modifier and go to textures and add clouds and increase size to make it more water-like.

gif-2.gif

Tercer paso:

Agregue los colores y texturas en shading, algunas texturas las obtuve gracias a blender kit de su biblioteca y fui modificando los colores con los nodos.

Add the colors and textures in shading, I got some textures thanks to blender kit from its library and I was modifying the colors with the nodes.

GIF1.gif

Cuarto paso:

Agregue la cámara en shift+a cámara y luego la tecla n y luego seleccione cámara a la vista. Así puede ajustar la parte que quería que saliera en el render. En propiedades de salida seeccione los parámetros como quería q saliera el fotograma con el formato jpeg. Y por ultimo F12 para renderizar.

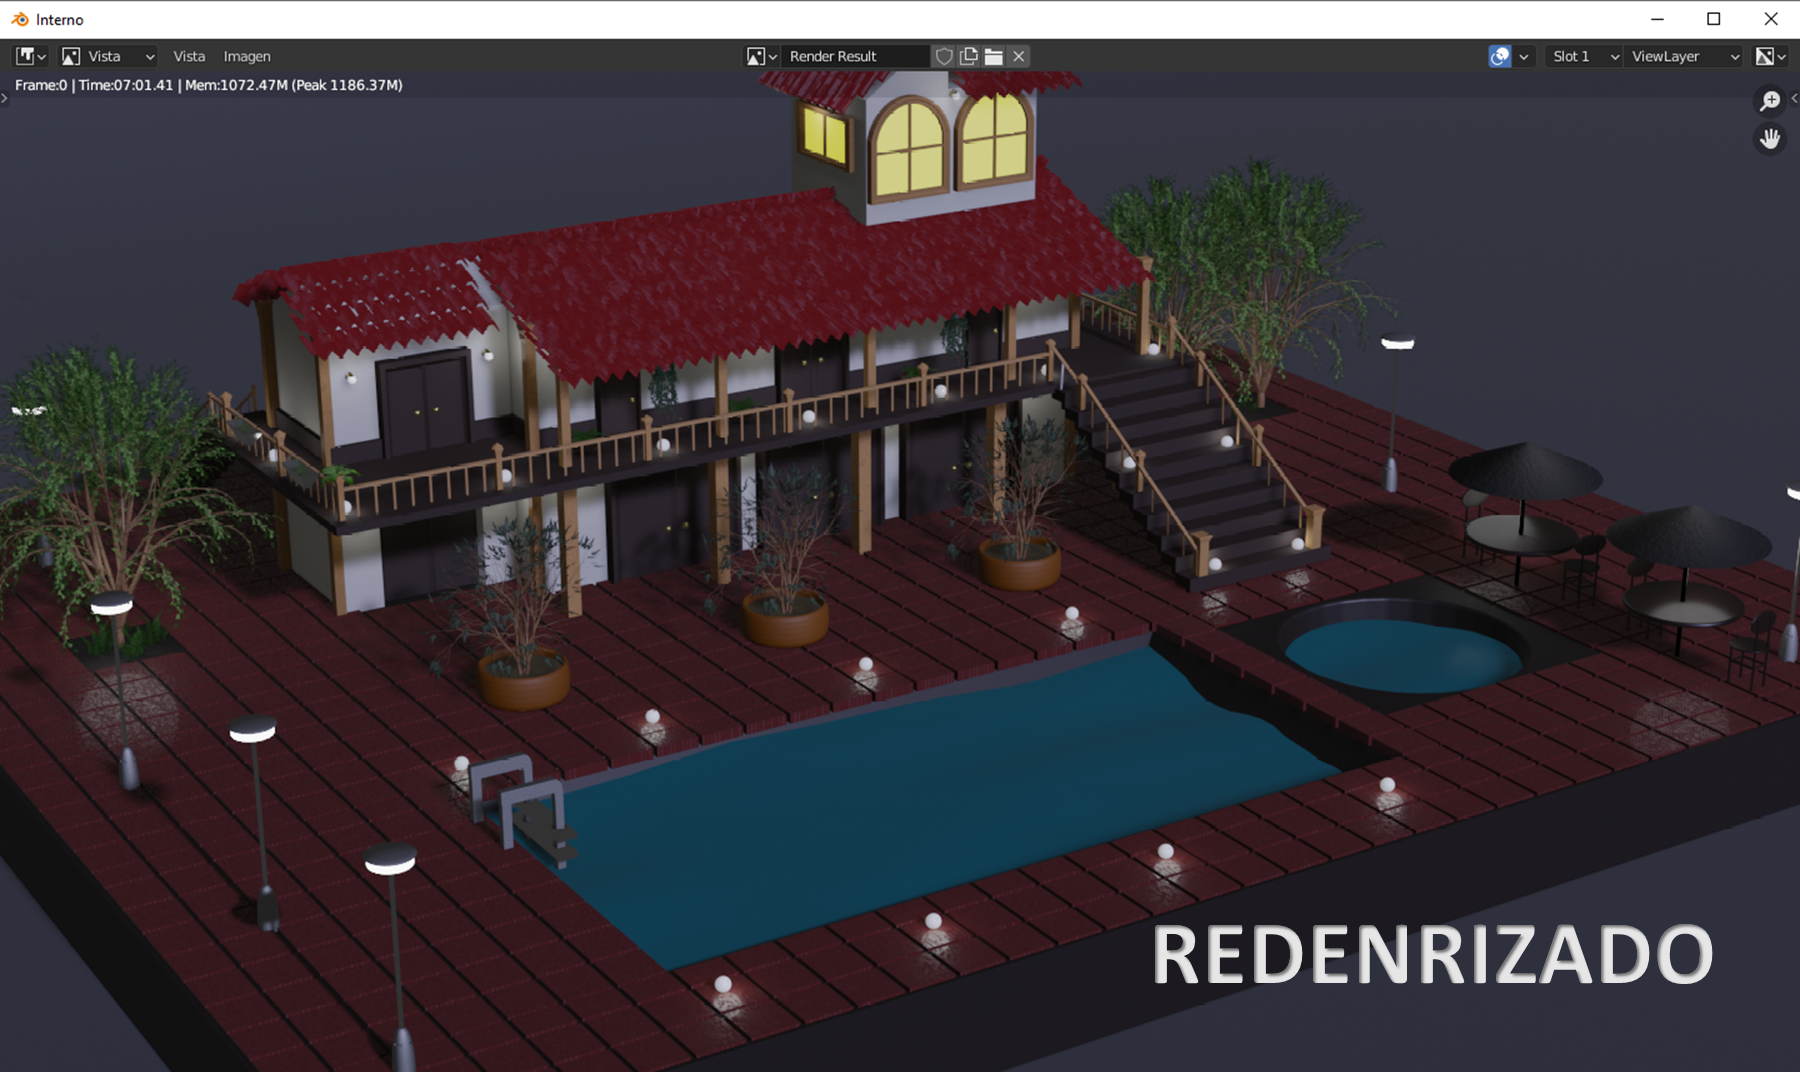
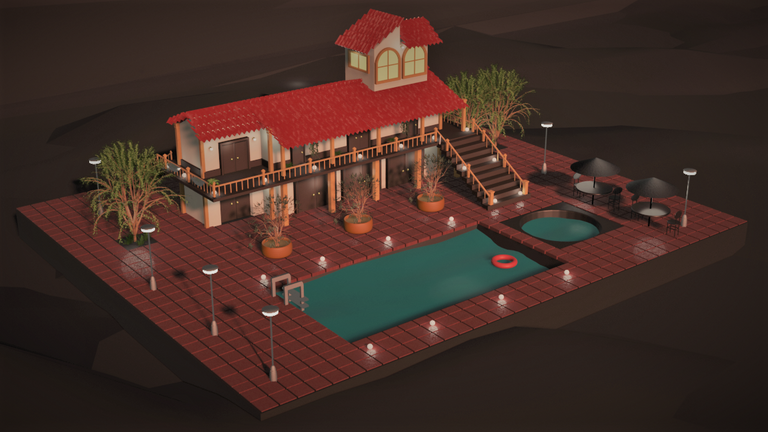
Add the camera in shift+a camera then n key and then select camera to view. This way you can adjust the part that you wanted to appear in the render. In output properties, select the parameters as you wanted the frame to come out in jpeg format. And finally F12 to render.


image.png

image.png

.2.png


0
0
0.000
5 comments
avatar

Yo descargue el programa, estuve dias intentando hacer algo y no pude, jijiji, no es tan fácil. Me gustó mucho tus resultados, gracias por compartir tu tutorial con nosotros.

0
0
0.000
avatar

Gracias si parece complicado la primera y si tiene partes complicadas como el uso de nodos que aun me falta mucho por aprender. Comienza con arquitectura que es lo mas fácil ya que tiende a ser repetitivo. La creación de personajes es lo mas complicado que he visto pero aun sigo aprendiendo espero hacer uno pronto, gracias por leer mi post tratare de superarme en el próximo :D.

0
0
0.000
avatar

Wow manita 😲 te quedo muy genial tu diseño 3D . Tu siempre me impresionas , aprendes algo nuevo y muy rápido lo dominas . Te felicito por tu diseño 🤗.

Saludos y muchas bendiciones para ti.

0
0
0.000
avatar

Gracias amiga :D me gusta aprender con lo que me divierto, así se aprende mas rápido :D

0
0
0.000