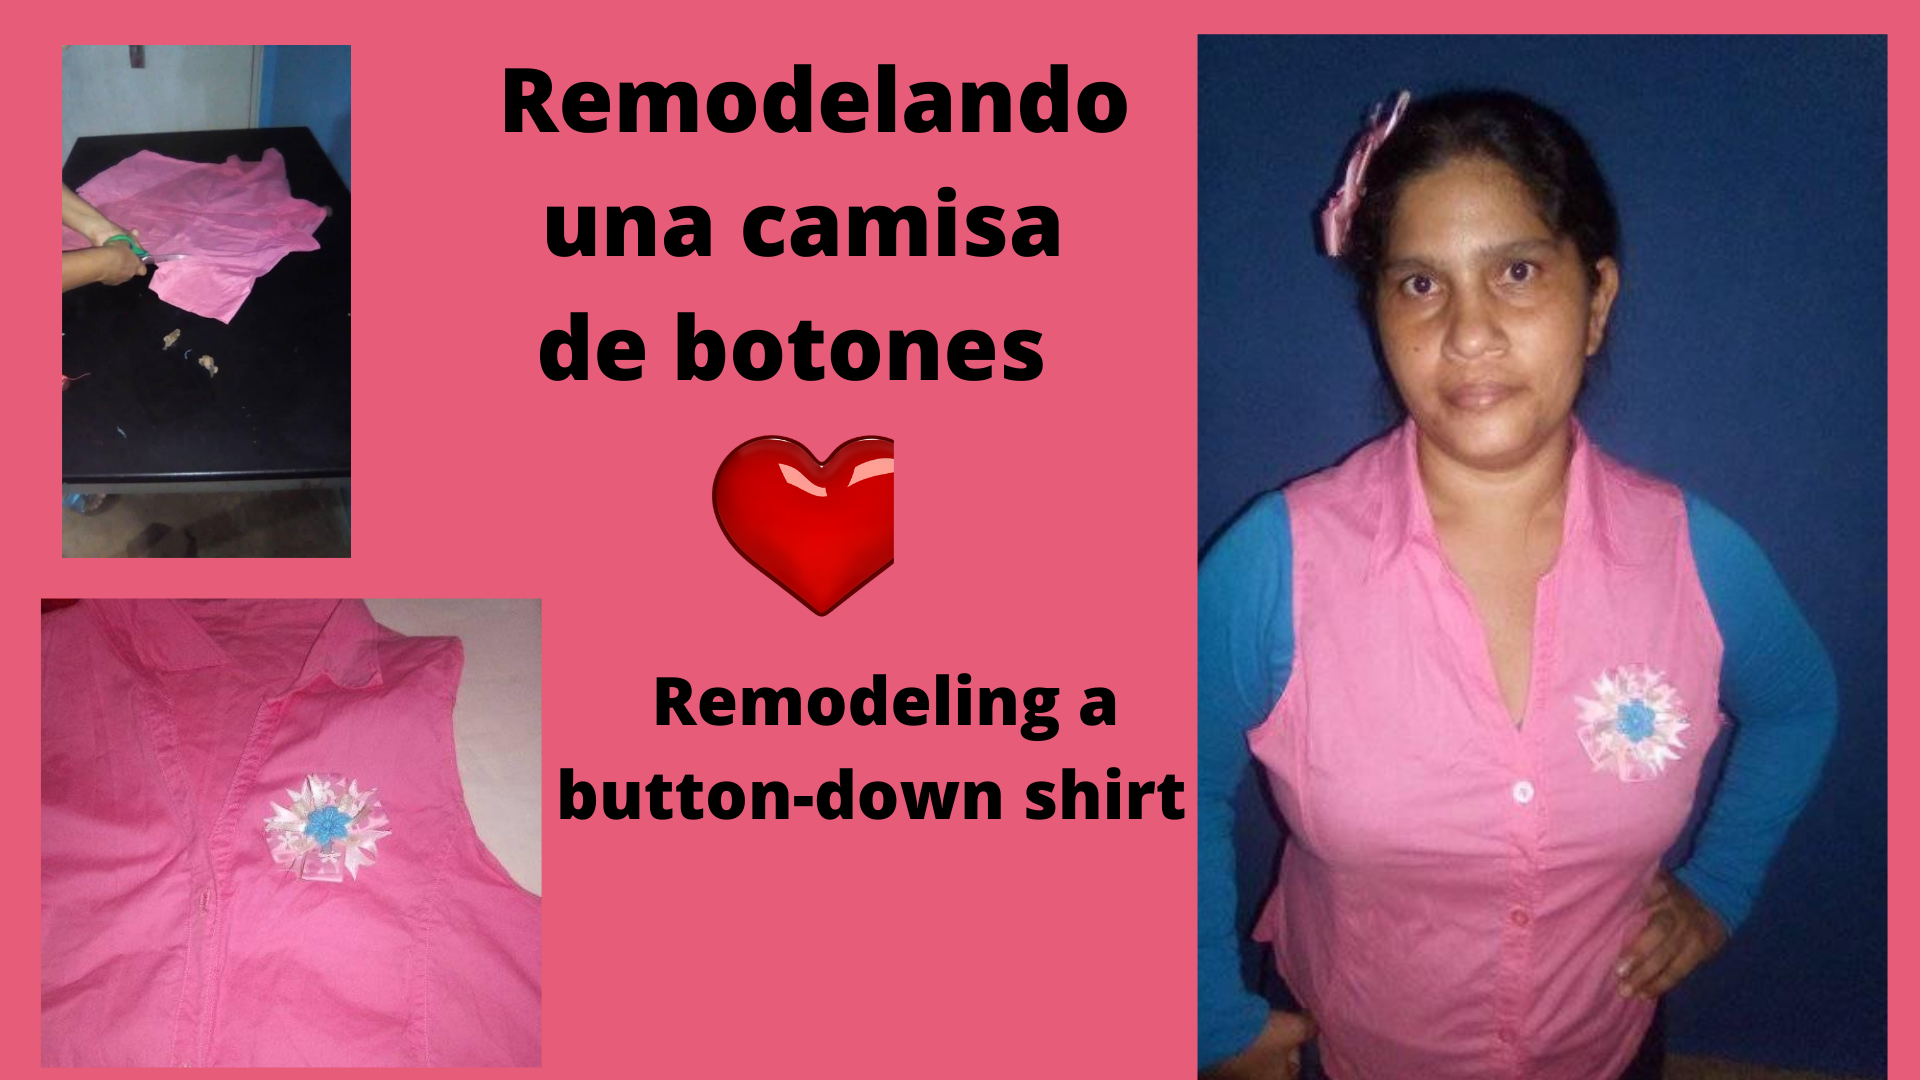
[ESP-ENG] Remodelando una camisa de botones // Remodeling a button-down shirt
Hello dear Hive family, receive many blessings on this day. Going through my closet and among the clothes that I have without wearing it, that I don't like, I got a button down shirt, with short sleeves, which I wanted to remodel to wear it. An idea that seemed to me very good.
.png)
Dando un nuevo uso a esta camisa de botones de color rosado claro,es una alternativa para remodelar tu vestuario y dar un nuevo uso. Antes de ver los pasos para remodelar esta camisa de botones, quiero expresar que desde mi adolescencia aprendí a coser a maquina. A todas estas tuve que pedirle el favor a una amiga para ir a coser a maquina los detalles que le cambie a esta camisa.
Giving a new use to this light pink button down shirt is an alternative to remodel your wardrobe and give it a new use. Before looking at the steps to remodel this button down shirt, I want to express that since I was a teenager I learned to sew by machine. I had to ask a friend to sew by machine the details that I had to change to this shirt.
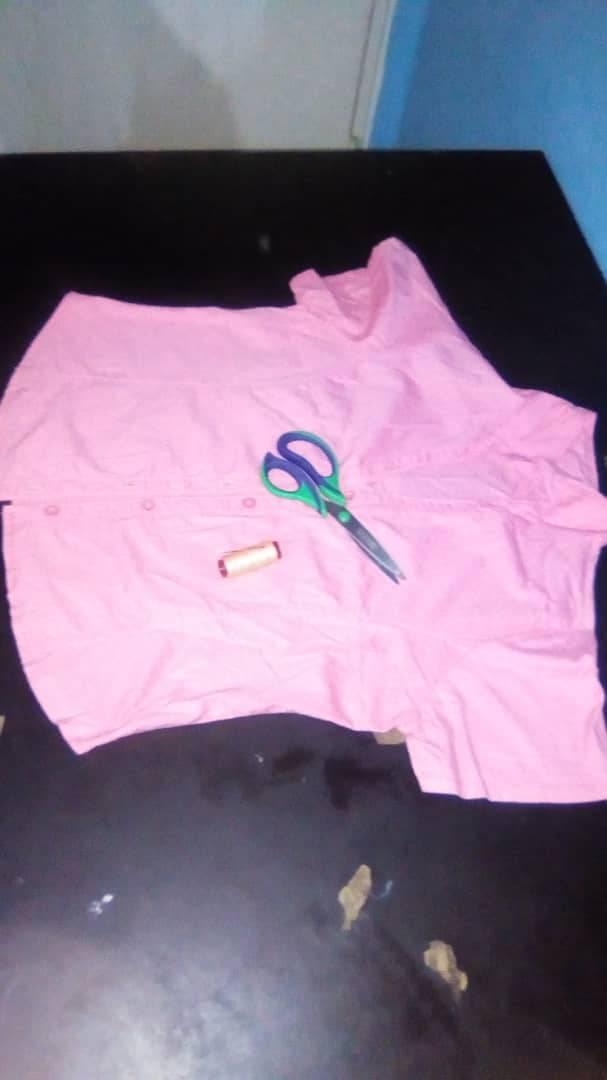
A continuación los materiales a utilizar:
- Camisa de botones color rosada para remodelar.
- Hilo rosado.
- Tijera.
Below are the materials to be used:
- Pink button down shirt to reshape.
- Pink thread.
- Scissors.
.png)
Edición de canva
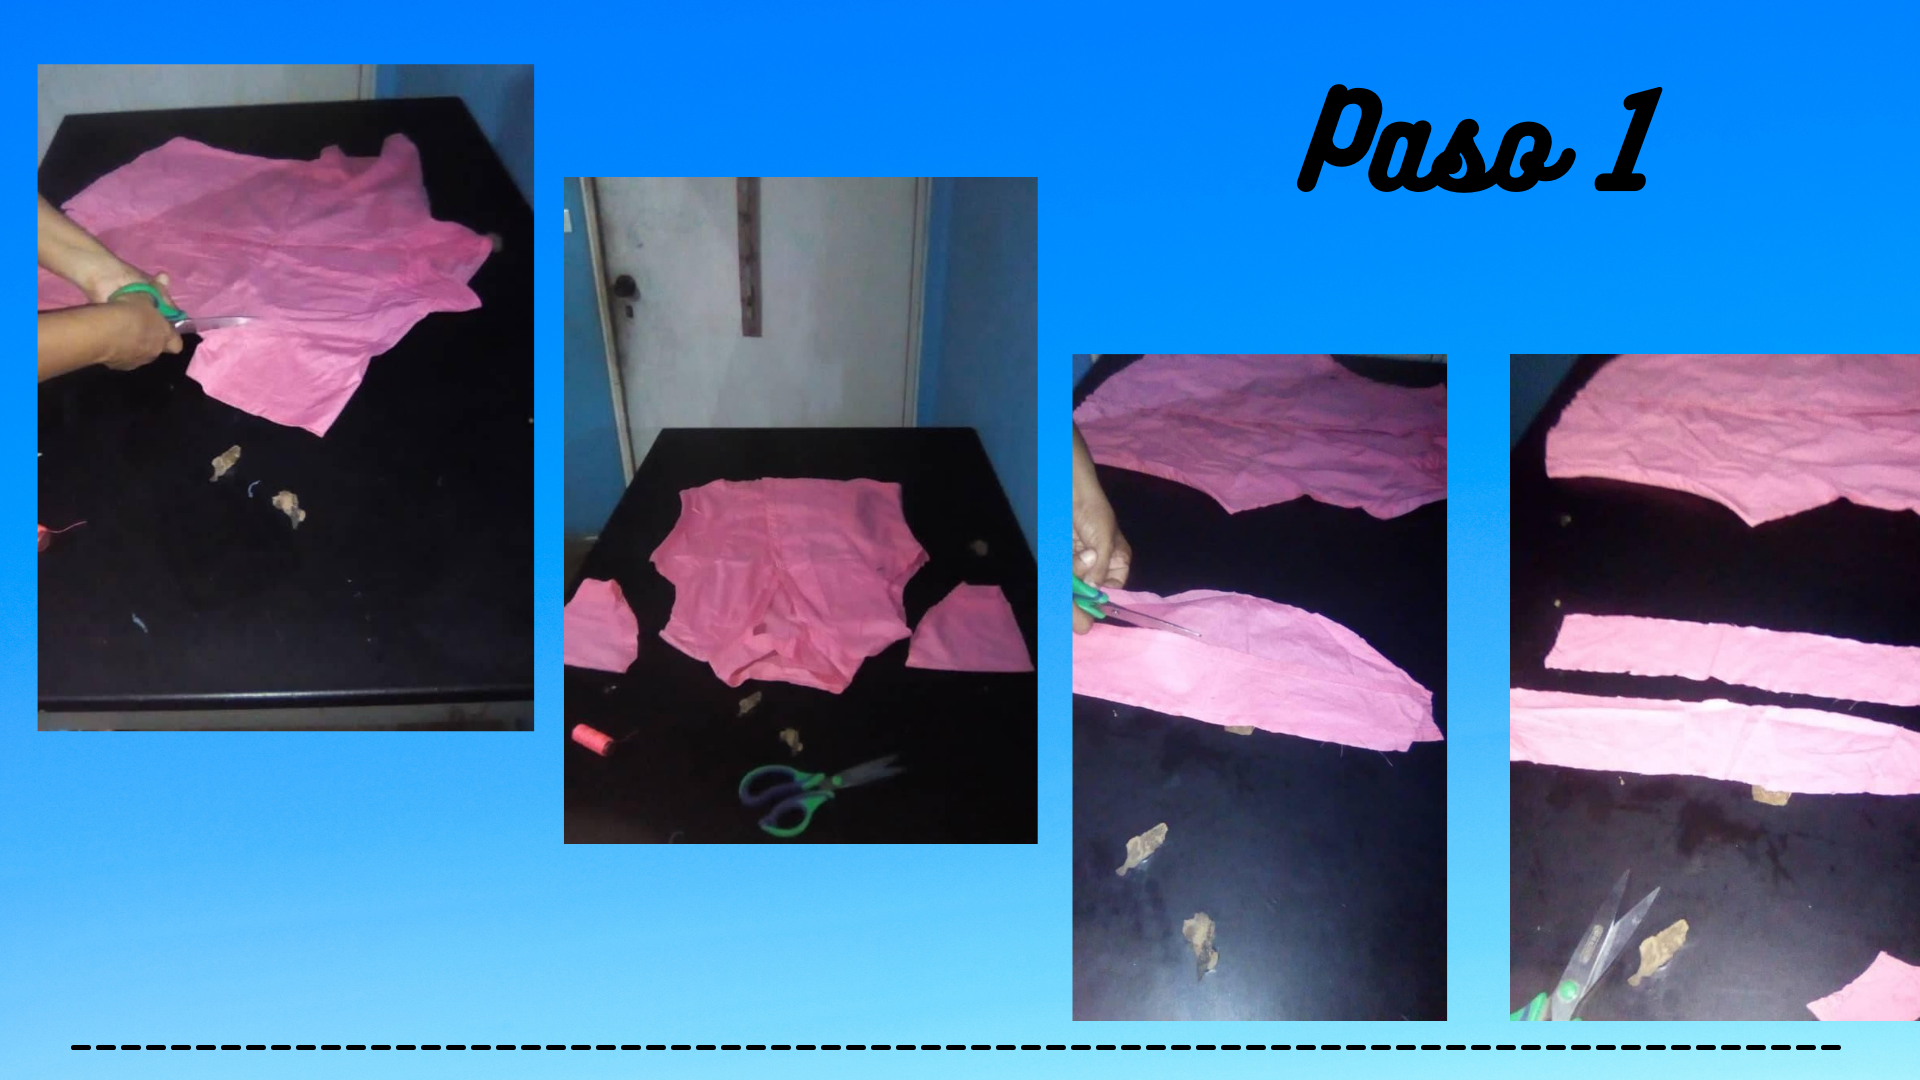
Para empezar a remodelar, cambiar de look, empece a cortar las mangas de la camisa. Después con el retazo de la tela de la manga, corte unas tiras, que sera para la parte de atrás.
To start remodeling, change the look, I started by cutting the sleeves of the shirt. Then with the fabric remnant from the sleeve, cut some strips, which will be for the back.
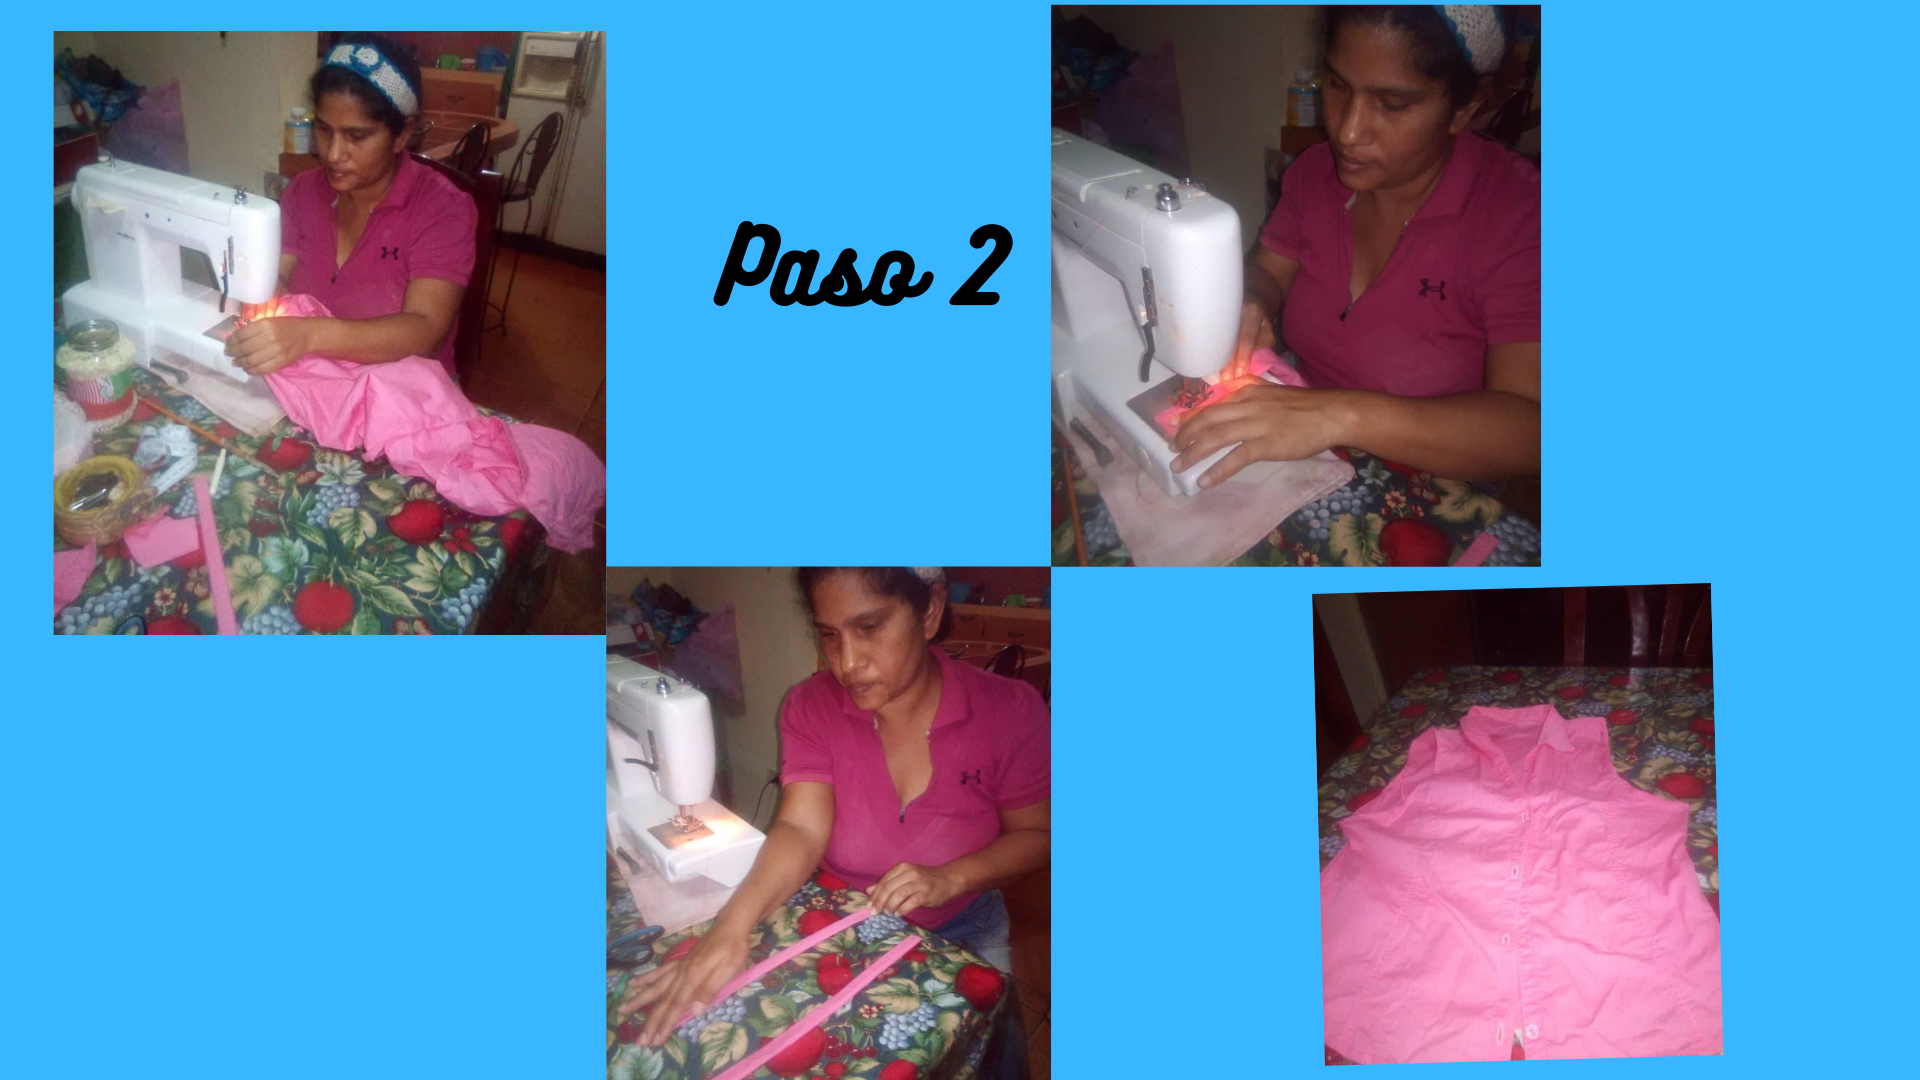
Nos vamos a la maquina de coser, le colocamos el hilo. Y empezamos a coser las mangas, doblando a un medio centímetro dos veces y empezamos a coser poco a poco, dando su remate al final. Luego se cose las dos tiras, por el lado al revés de la tela. Con un palito de pincel, le damos la vuelta a las dos tiras por su lado delantero.
We go to the sewing machine, we place the thread. And we start sewing the sleeves, folding to a half centimeter twice and we start sewing little by little, giving its finishing at the end. Then we sew the two strips, on the wrong side of the fabric. With a brush stick, we turn the two strips on the front side.
.png)
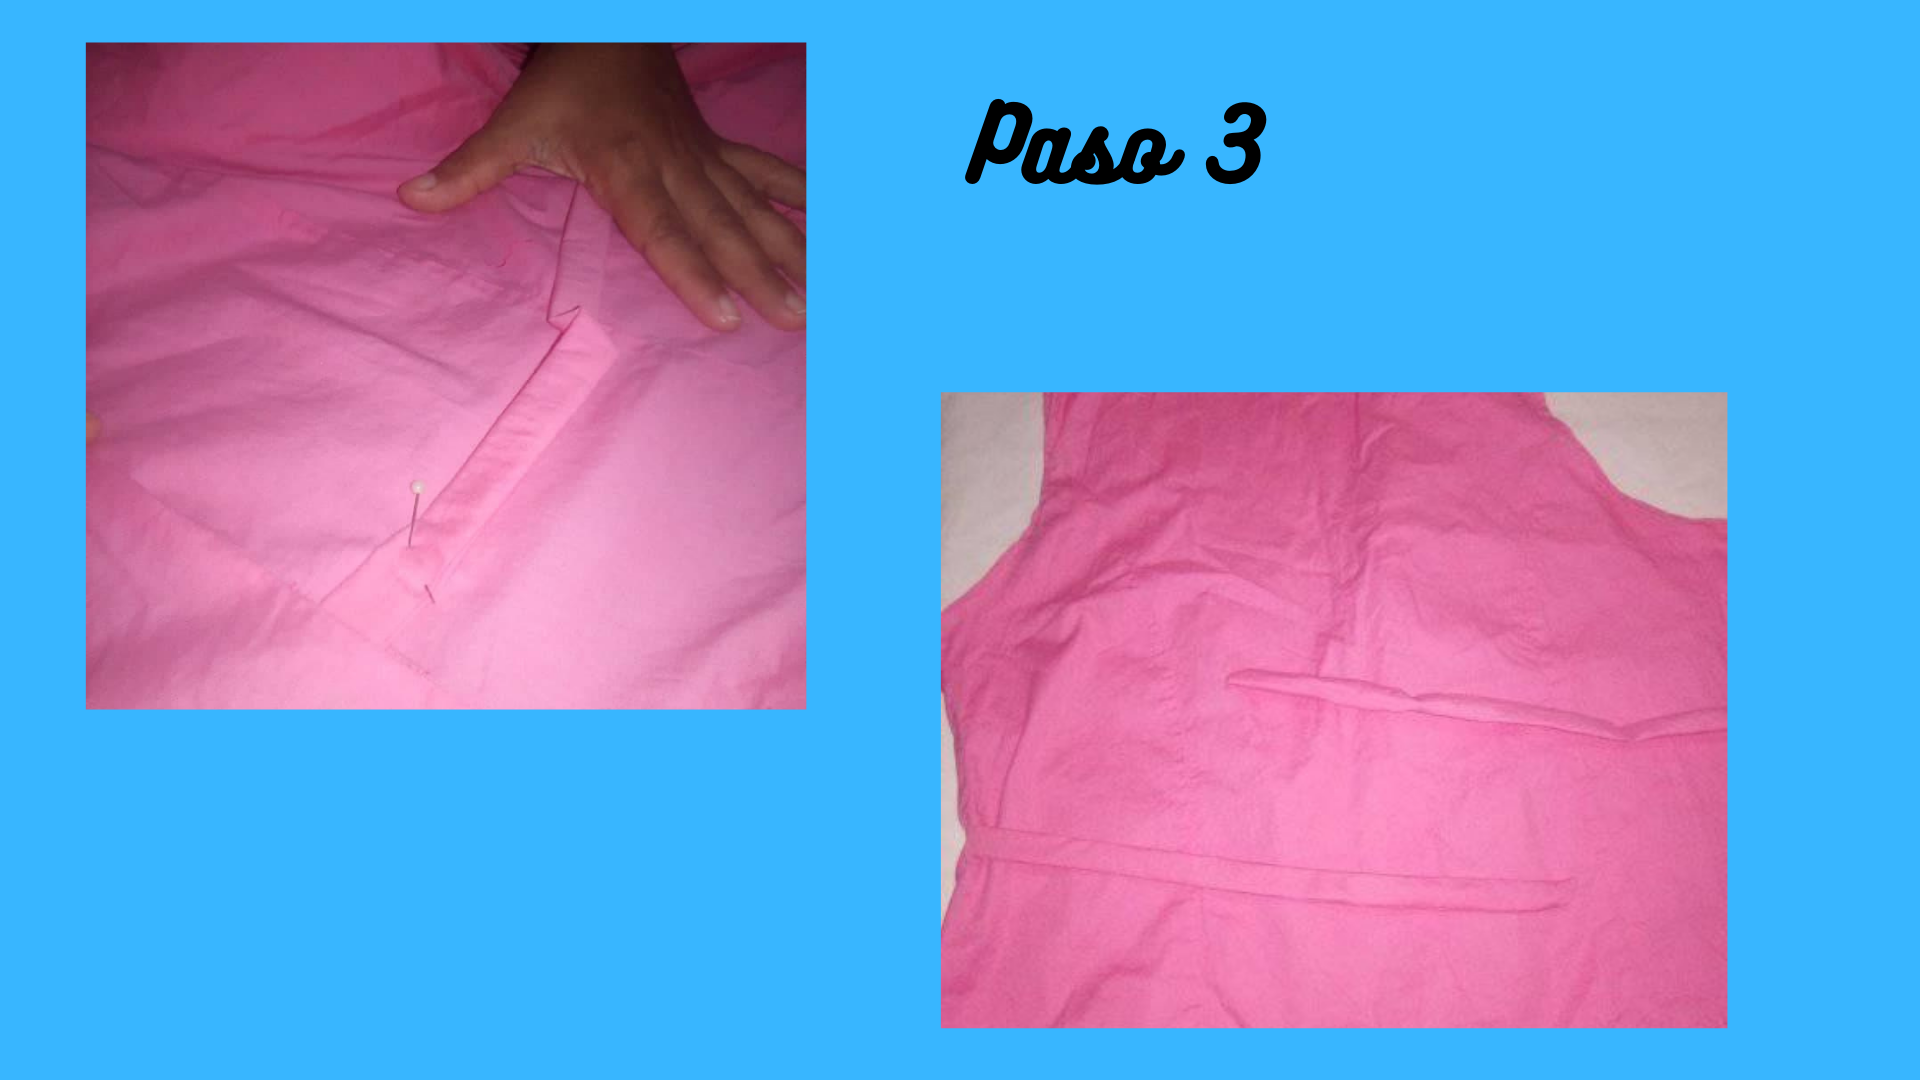
Marcamos en la parte trasera de la camisa a donde vamos a colocar las dos tiras, la cual sera nuestro cinto (que es para definir la cintura), para dar otro toque a la camisa. Ya marcado, descosemos un poco, aproximadamente 2 centímetros y realizamos la costura por el lado al revés. Y así va quedando la camisa.
We mark on the back of the shirt where we are going to place the two strips, which will be our belt (which is to define the waist), to give another touch to the shirt. Once marked, we unpick a little, approximately 2 centimeters and we make the seam on the wrong side. And this is how the shirt will look like.
.png)
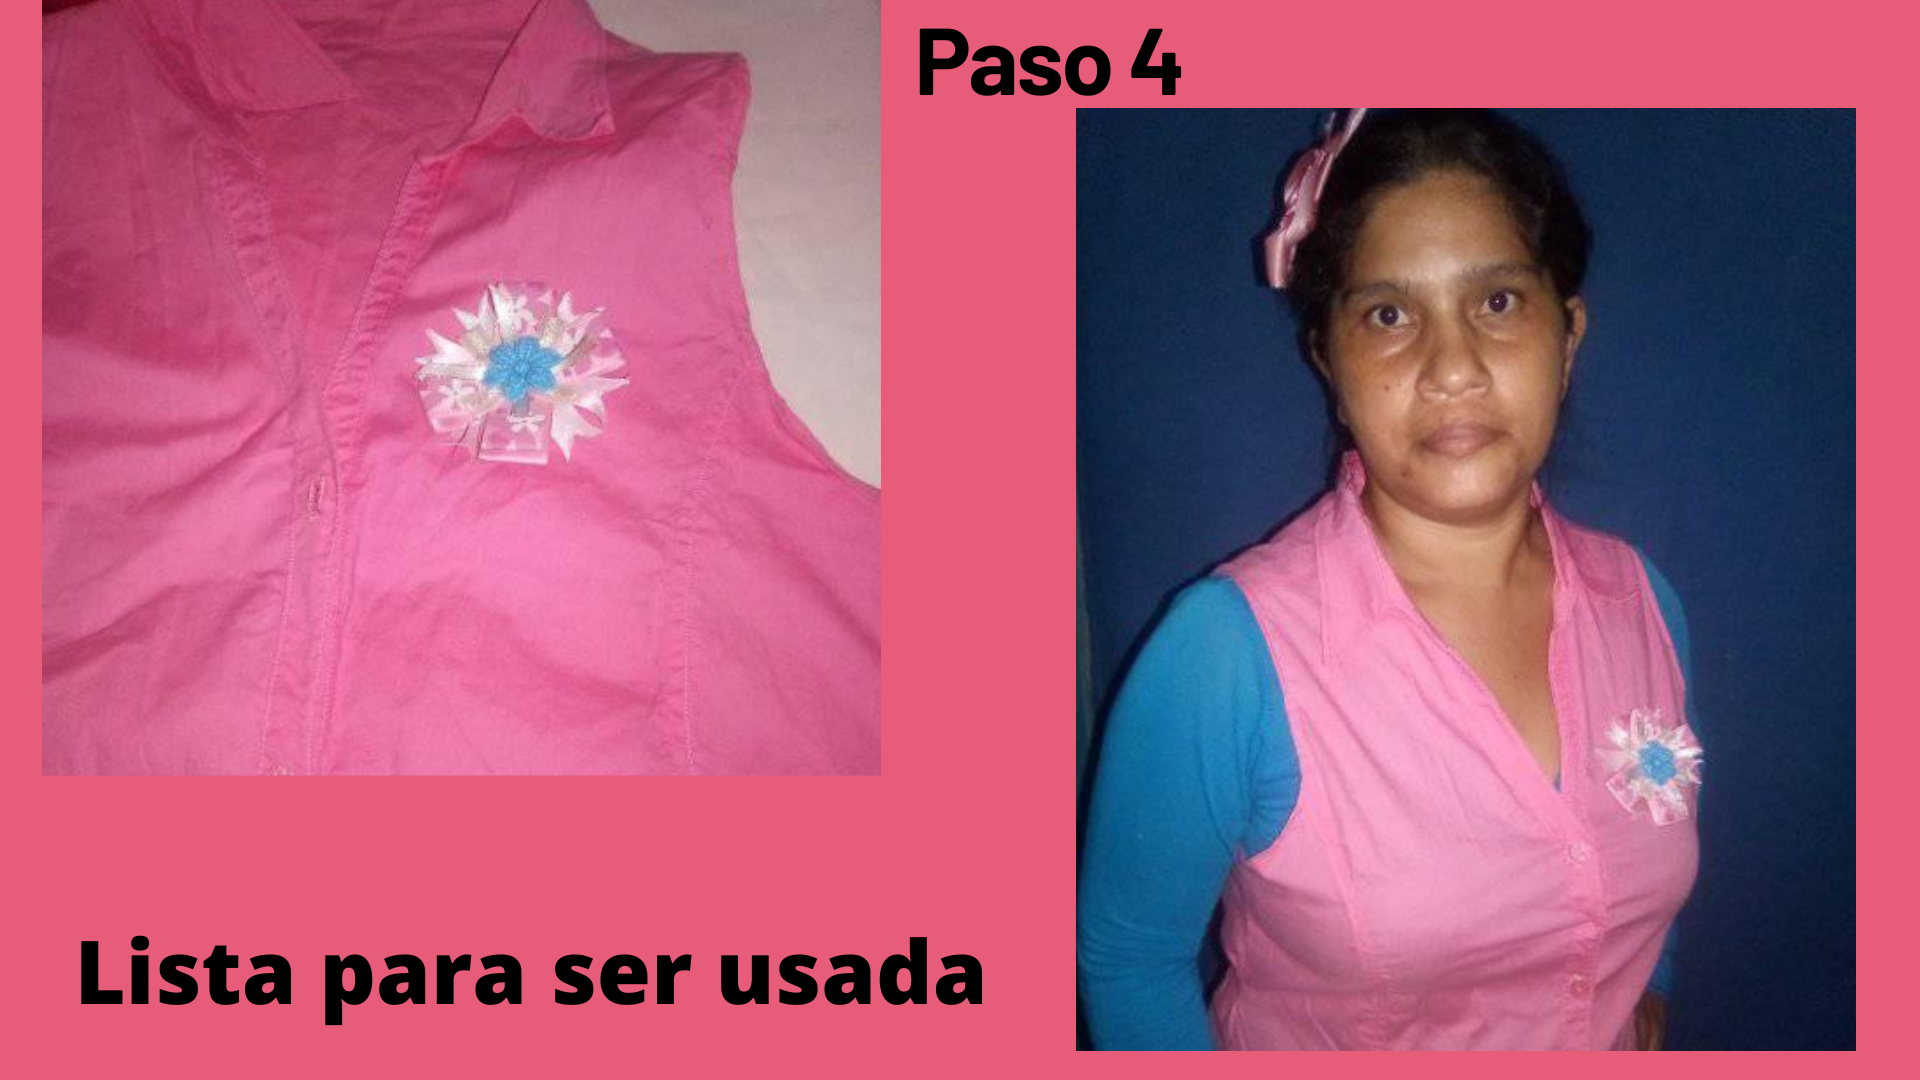
Le coloque un detalle. Y a esta lista para ser usada, que es lo que se quiere. Esperando que sea de su agrado. Siempre tenemos que innovar, cambiar, hacer.
I put a detail on it. And to this ready to be used, which is what you want. Hoping that it is to your liking. We always have to innovate, change, do.
I bid you farewell and thank you for visiting and reading my blog.
All photos are my authorship and canva editing
Electronic-terrorism, voice to skull and neuro monitoring on Hive and Steem. You can ignore this, but your going to wish you didnt soon. This is happening whether you believe it or not. https://ecency.com/fyrstikken/@fairandbalanced/i-am-the-only-motherfucker-on-the-internet-pointing-to-a-direct-source-for-voice-to-skull-electronic-terrorism
Lovely dress @nubra11 thanks for sharing
Hola, muchas gracias por leer. Si me gusta mucho el diseño.
🙏🏽🙏🏽🙏🏽🙏🏽🙏🏽