Hermosa Lampara en Forma de Luna/Beautiful Moon Shaped Lamp [ESP][ENG]
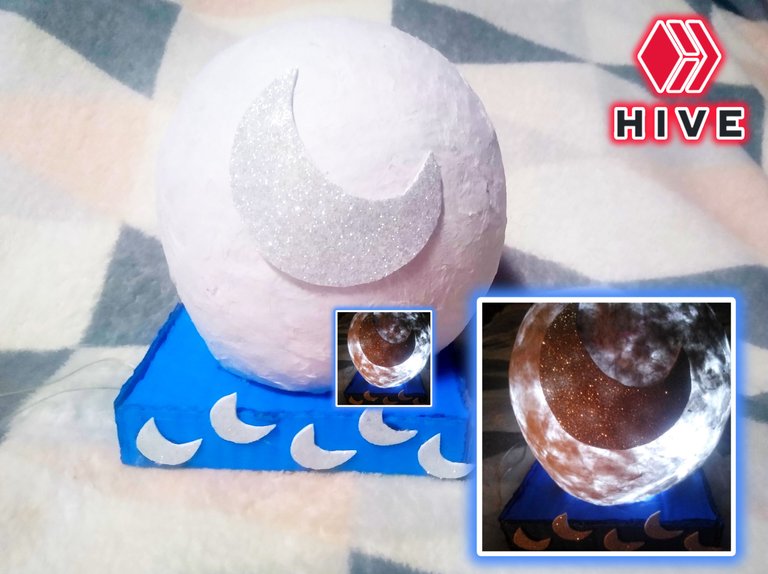
Hola hivers bienvenidos nuevamente para hoy les queremos compartir como hicimos esta lampara de luna participando con esta creación en la iniciativa de esta comunidad @DIYHub con la temática de The Moon y para esto vamos a necesitar
Hello hivers welcome back for today we want to share with you how we made this moon lamp participating with this creation in the initiative of this community @DIYHub with the theme of The Moon and for this we are going to need
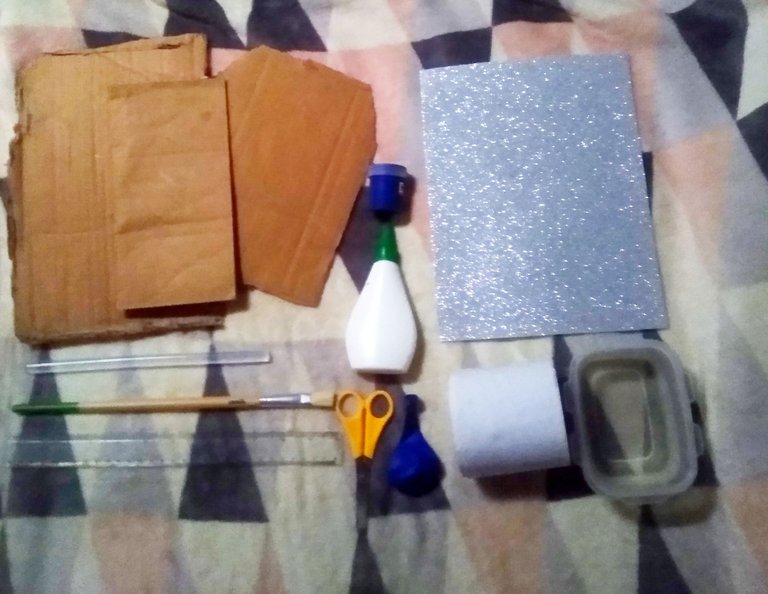
MATERIALES
- Una hoja de fomi con escarcha plateada (o del color de tu preferencia)
- Un globo de cualquier color
- Un pincel
- Una regla
- Cartón
- Pintura azul (o del color de tu preferencia)
- Pegamento blanco
- Papel higiénico o de baño
- Agua
- Tijeras
- Silicon en barra
MATERIALS
- A sheet of fomi with silver frosting (or the color of your choice)
- A balloon of any color
- A paintbrush
- A ruler
- Cardboard
- Blue paint (or the color of your choice)
- White glue
- Toilet paper
- Water
- Scissors
- Silicone stick
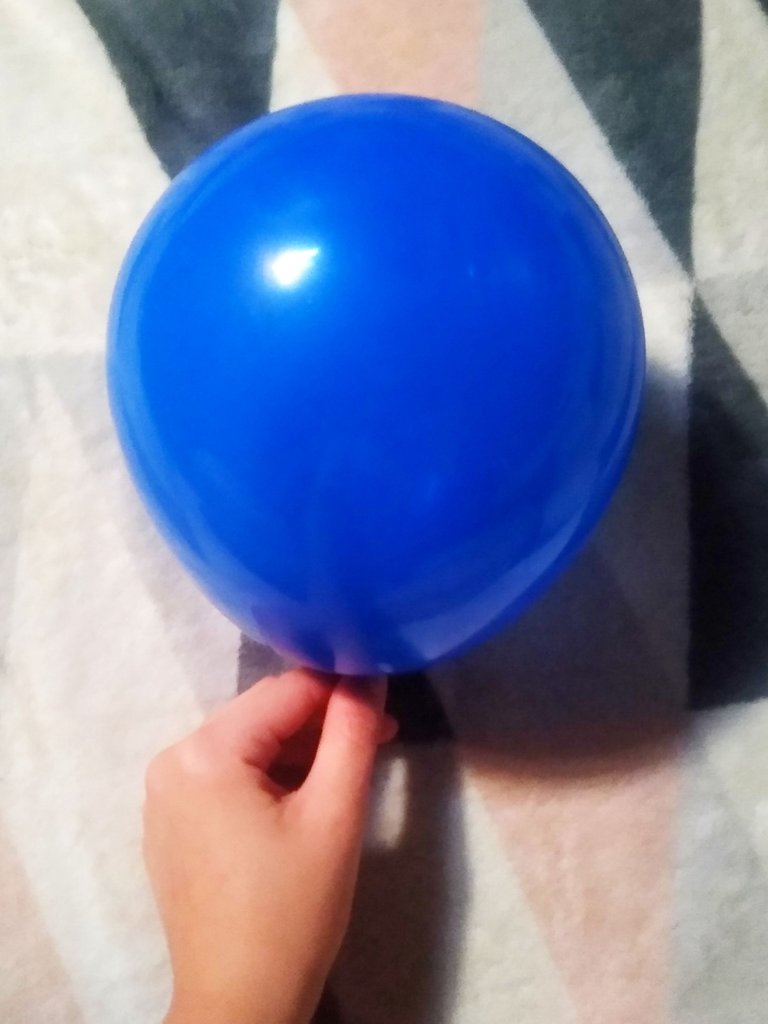
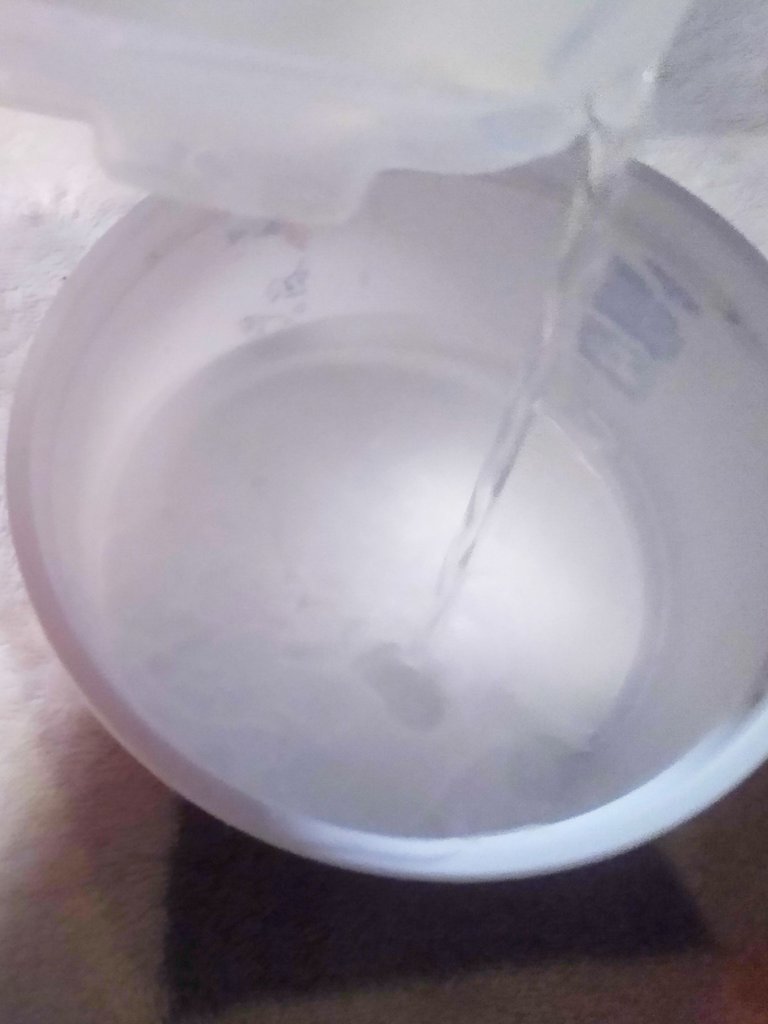
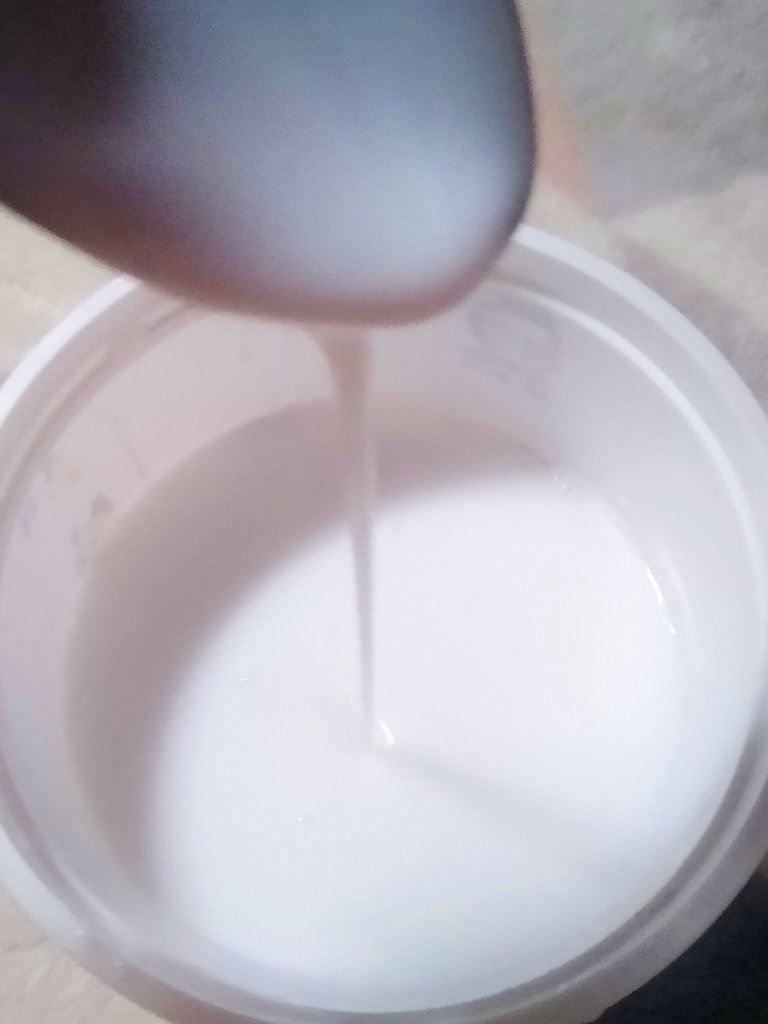
Paso 1
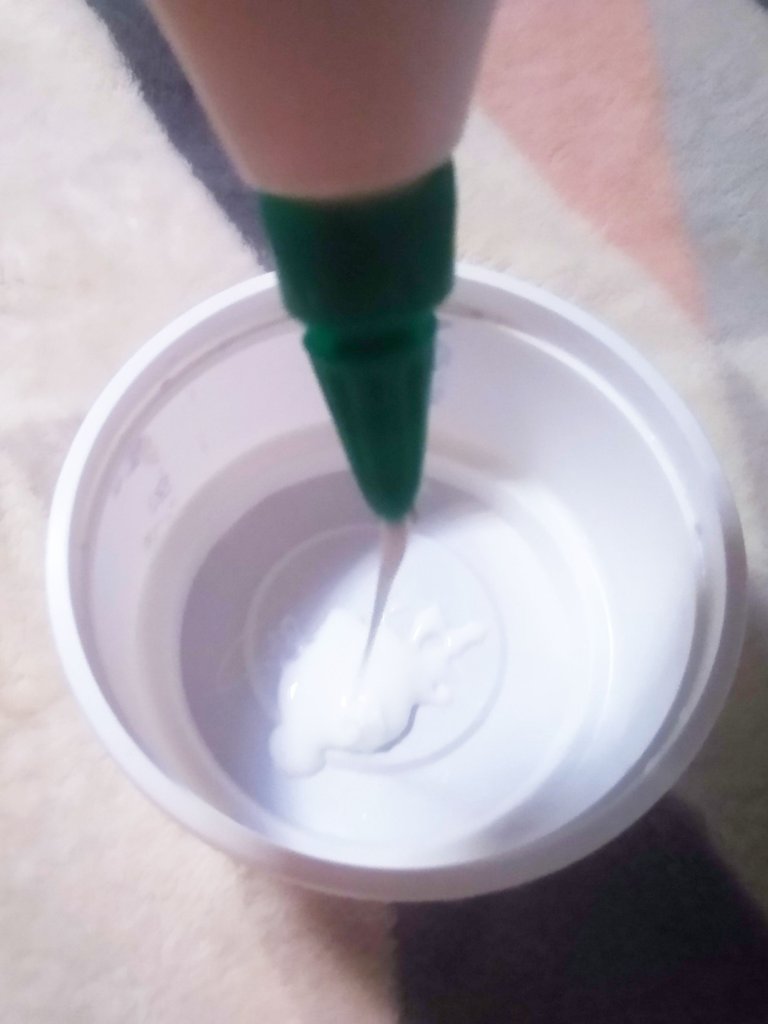
Empezamos inflando un globo hasta obtener el tamaño que queremos para nuestra luna , para realizarla necesitamos una mezcla de pegamento y agua las cantidades de estos dos materiales deben ser las mismas por ejemplo si utilizaste medio vaso de pegamento utilizas medio vaso de agua hacemos esta mezcla en un recipiente y la revolvemos muy bien hasta que todo se integre.
Step 1
We start inflating a balloon until we get the size we want for our moon, to make it we need a mixture of glue and water the amounts of these two materials should be the same for example if you used half a glass of glue you use half a glass of water we make this mixture in a bowl and stir it very well until everything is integrated.
 |  |  |  |
|---|
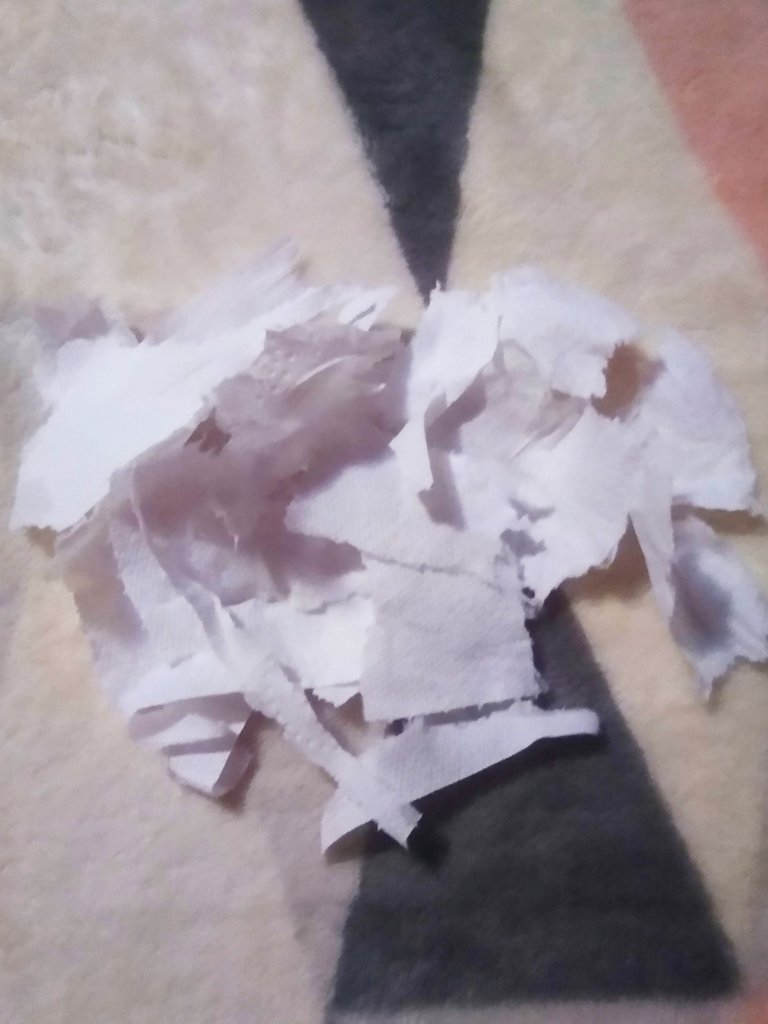
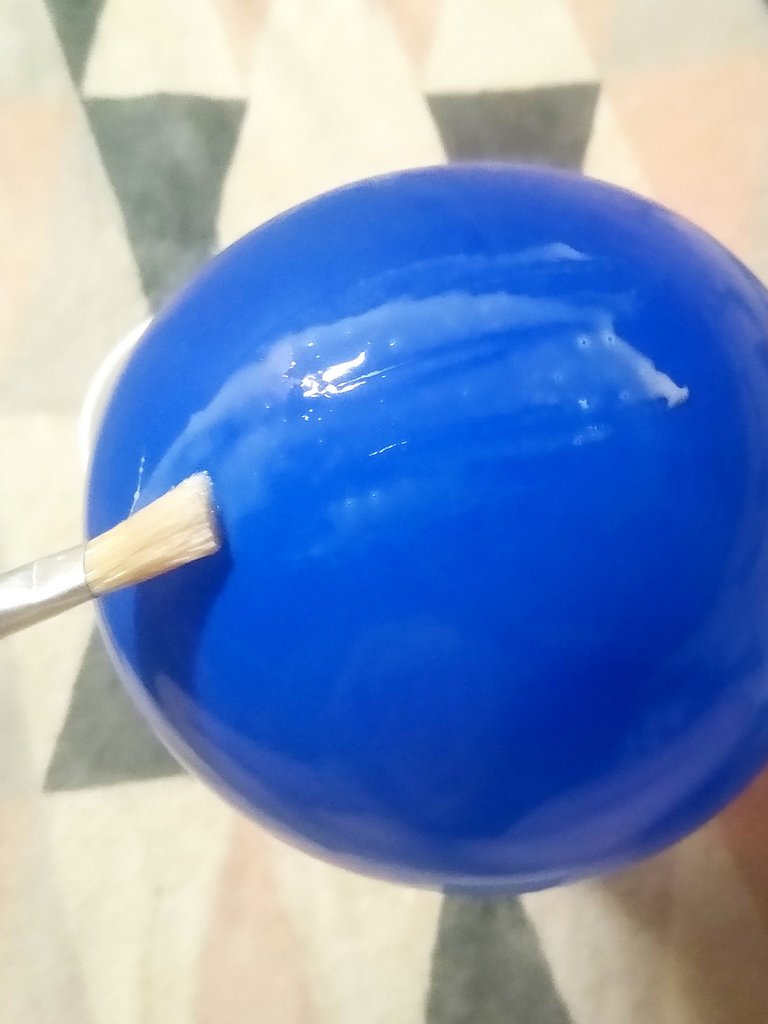
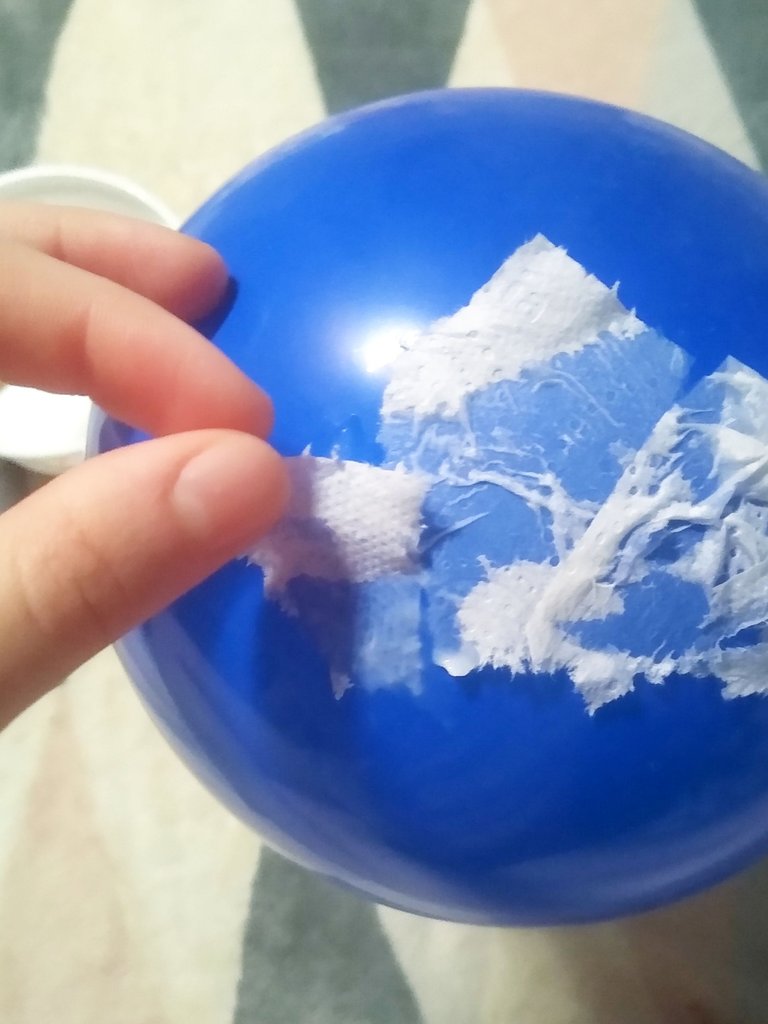
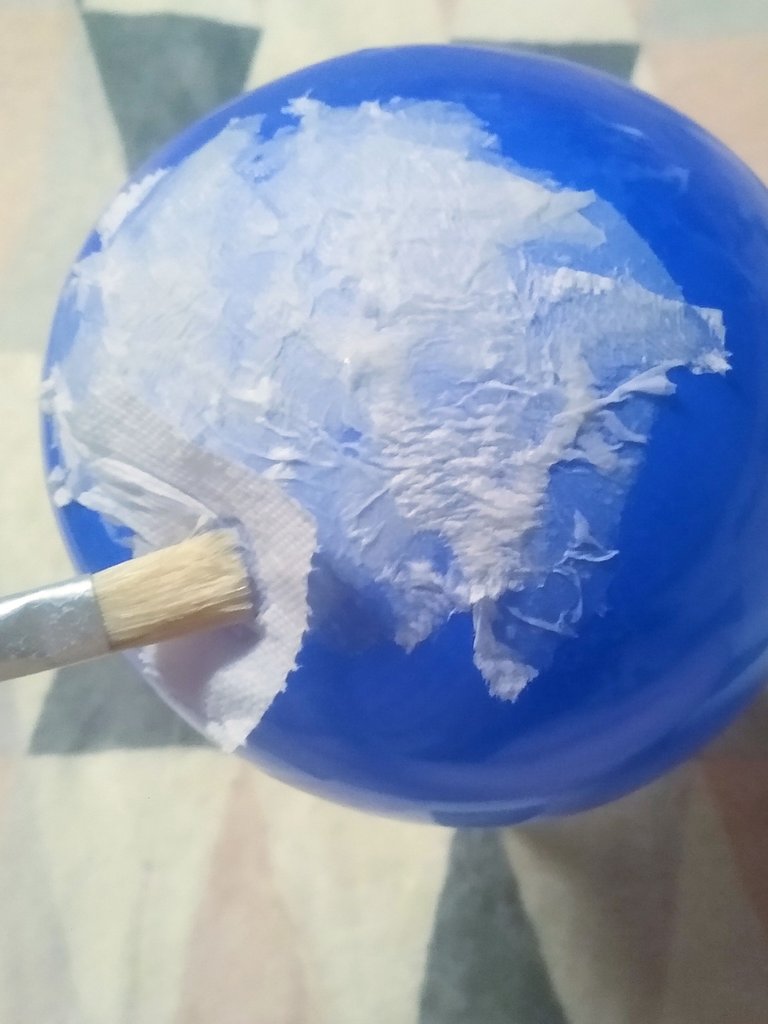
Paso 2
Cortaremos el papel higiénico en pequeños pedazos todos los que necesites después de esto utilizaremos la mezcla que hicimos antes y con el pincel la aplicaremos al globo como si estuviéramos pintando con la mezcla recién aplicada le iremos pegando los pedacitos de papel higiénico unos sobre otros para que quede una capa un poco gruesa yo te sugiero que pegues el papel con el pincel ya que yo empecé a pegarlos con la mano pero como el papel es un poco delgado y la mezcla tenia pegamento era un poco complicado hacerlo así entonces lo hice con el pincel y fue mucho mas fácil y no me tardaba tanto pero tu puedes hacerlo como prefieras debemos hacer este proceso hasta cubrir todo el globo de esto depende que tan firme quede nuestra luna por eso debes hacerlo como mínimo dos capas de papel después de cubrir el globo con la primera capa déjalo secar por completo para ponerle la otra capa yo a mi luna le di cuatro capas y se demoro dos días en secar.
Step 2
We will cut the toilet paper into small pieces as many as you need after this we will use the mixture we made before and with the brush we will apply it to the balloon as if we were painting with the mixture just applied we will paste the pieces of toilet paper on top of each other so that it is a little thick layer I suggest you paste the paper with the brush because I started to paste them by hand but as the paper is a little thin and the mixture had glue it was a little complicated to do so then I did it with the brush and it was much easier and it took me much longer but you can do it as you prefer. it was a little complicated to do so then I did it with the brush and it was much easier and it did not take me so long but you can do it as you prefer we must do this process to cover the entire balloon this depends on how firm our moon is so you must do at least two layers of paper after covering the balloon with the first layer let it dry completely to put the other layer I gave my moon four layers and it took two days to dry.
 |  |  |  |  |
|---|
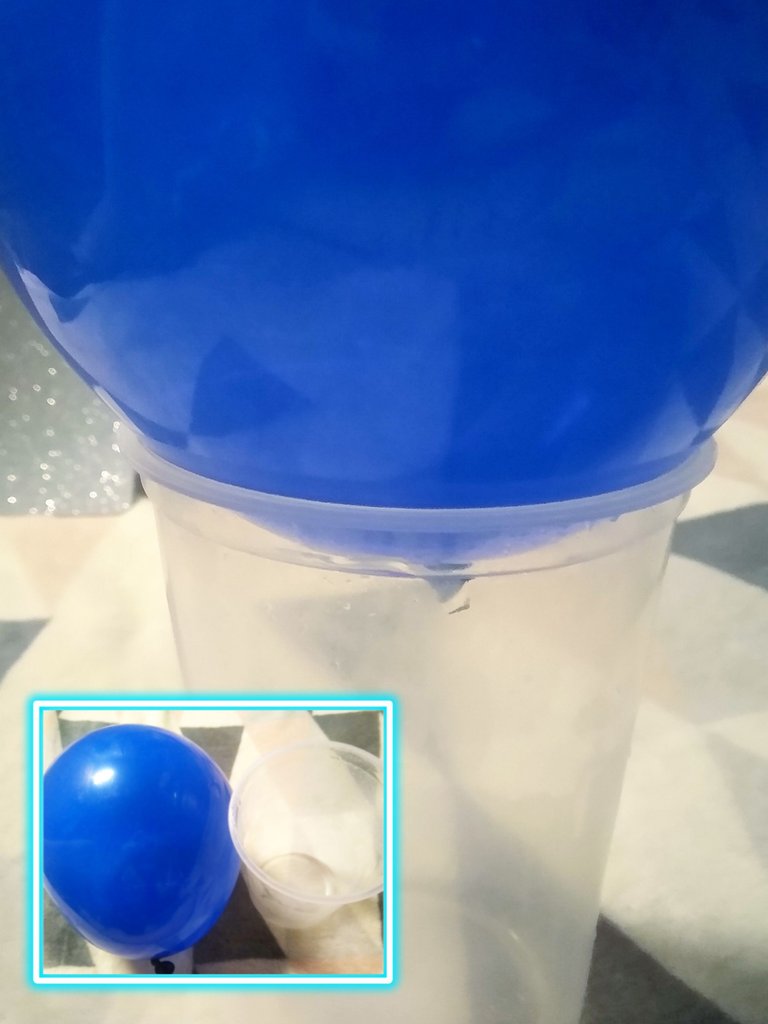
Para poder pegar el papel mas fácil puedes buscar un recipiente un poco mas grande que el globo para que lo sostenga .
To make gluing the paper easier, you can find a container a little larger than the balloon to hold it.
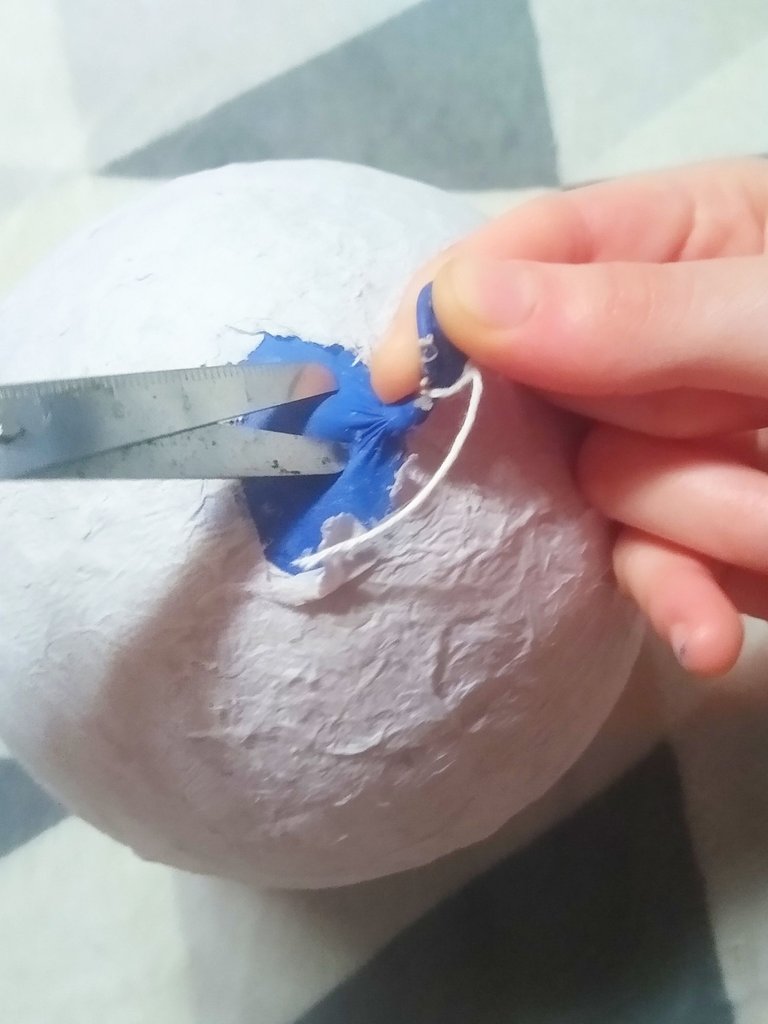
Paso tres
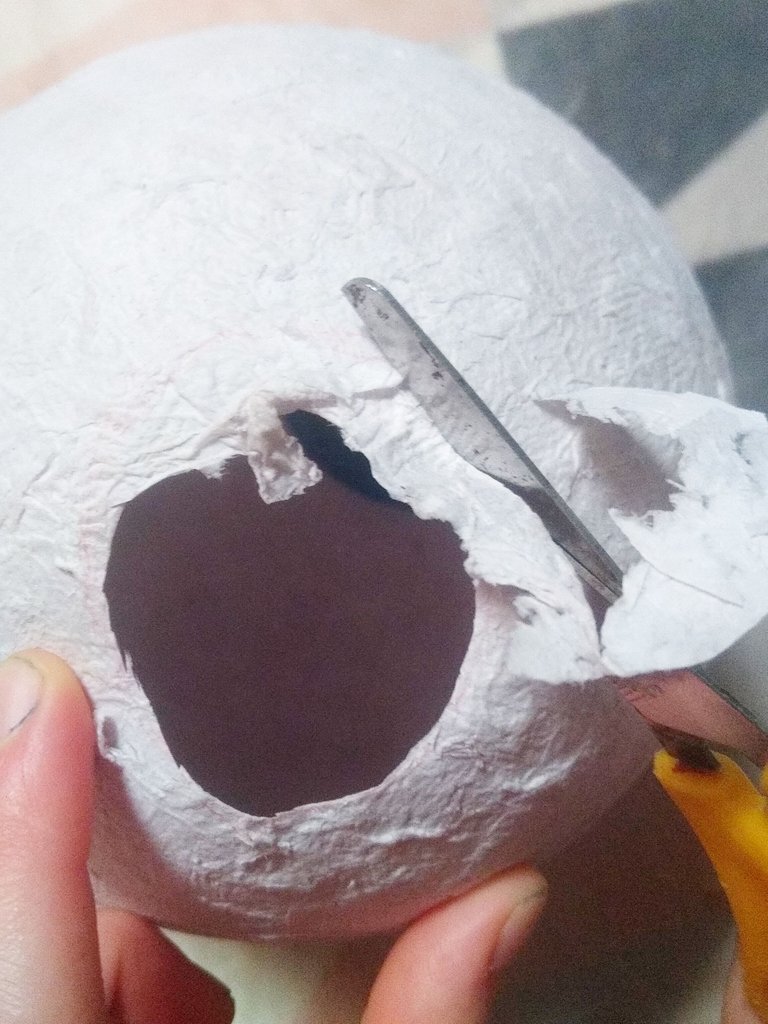
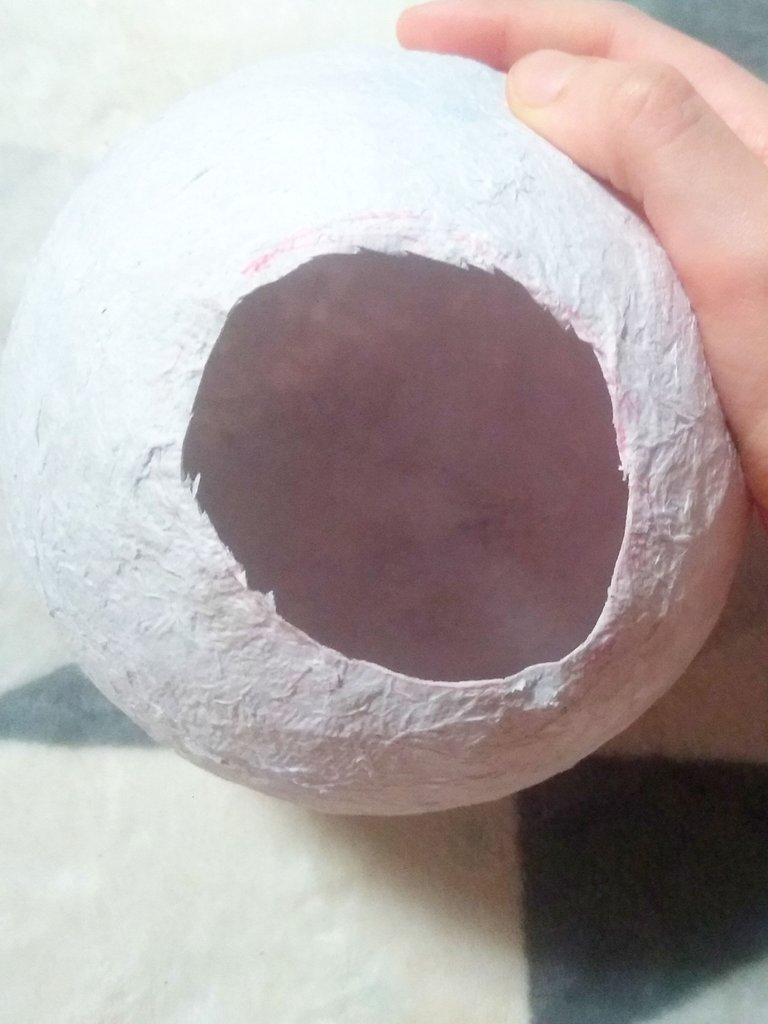
Ya con nuestra luna completamente seca le haremos un pequeño orificio al globo y dejamos que se desinfle por completo después perfeccionaremos y recortaremos el extremo que quedo hueco.
Step three.
Once our moon is completely dry, we will make a small hole in the balloon and let it deflate completely, then we will perfect and trim the hollow end.
 |  |  |
|---|
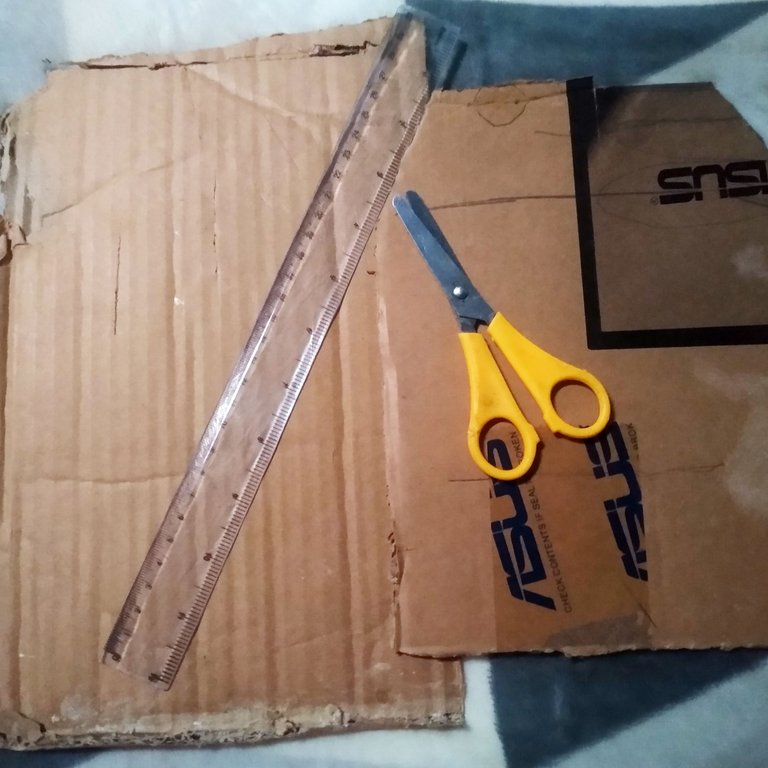
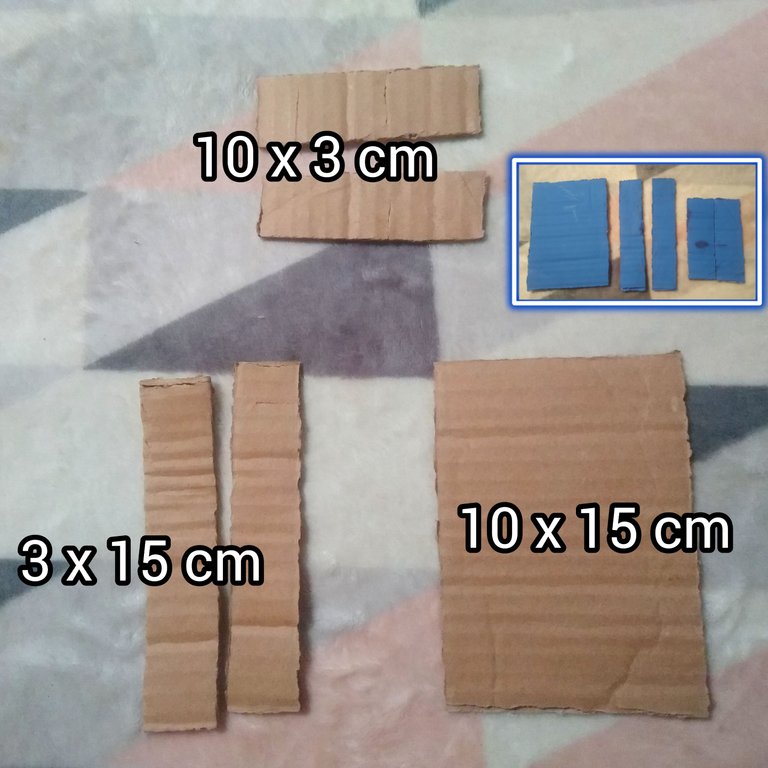
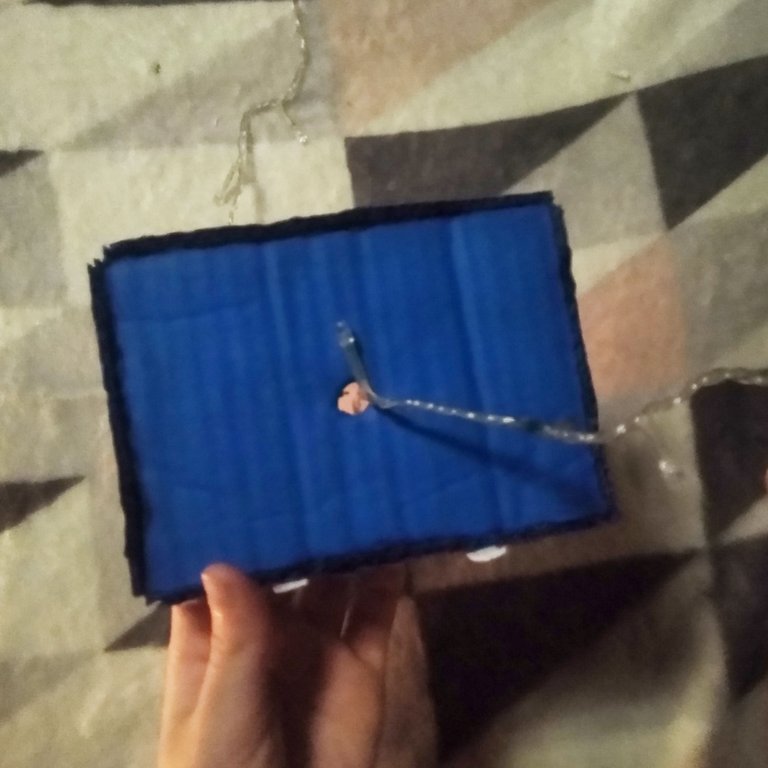
Paso 4
En este paso haremos la base donde ira nuestra luna necesitaremos cartón un poco grueso no importa si esta manchado ya que lo vamos a pintar, la piezas que yo utilice para hacer mi base son dos piezas de 3x10cm dos piezas de 3x15cm y una pieza de 10x15cm puedes utilizar estas medidas o otras que te parezcan mejor ya que la base debe ser mas pequeña que la luna para que se vea mejor pintamos nuestras piezas y las pintamos del color que tu prefieras pegamos todas las piezas, con esto ya hecho haremos un agujero a la base no muy grande y que quede en la mitad o la mas cerca posible antes de perforar la base miramos que nuestra luna cubra el agujero pintamos los bordes que no tengan pintura.
Step 4
In this step we will make the base where our moon will go we will need a little thick cardboard no matter if it is stained because we are going to paint it, the pieces that I used to make my base are two pieces of 3x10cm two pieces of 3x15cm and a piece of 10x15cm you can use these measures or others that seem better because the base should be smaller than the moon to look better we paint our pieces and paint them in the color you prefer we glue all the pieces, with this already done we will make a hole in the base not too big and that is in the middle or as close as possible before drilling the base we see that our moon covers the hole we paint the edges that do not have paint.
 |  |  |
|---|
 |  |  |
|---|
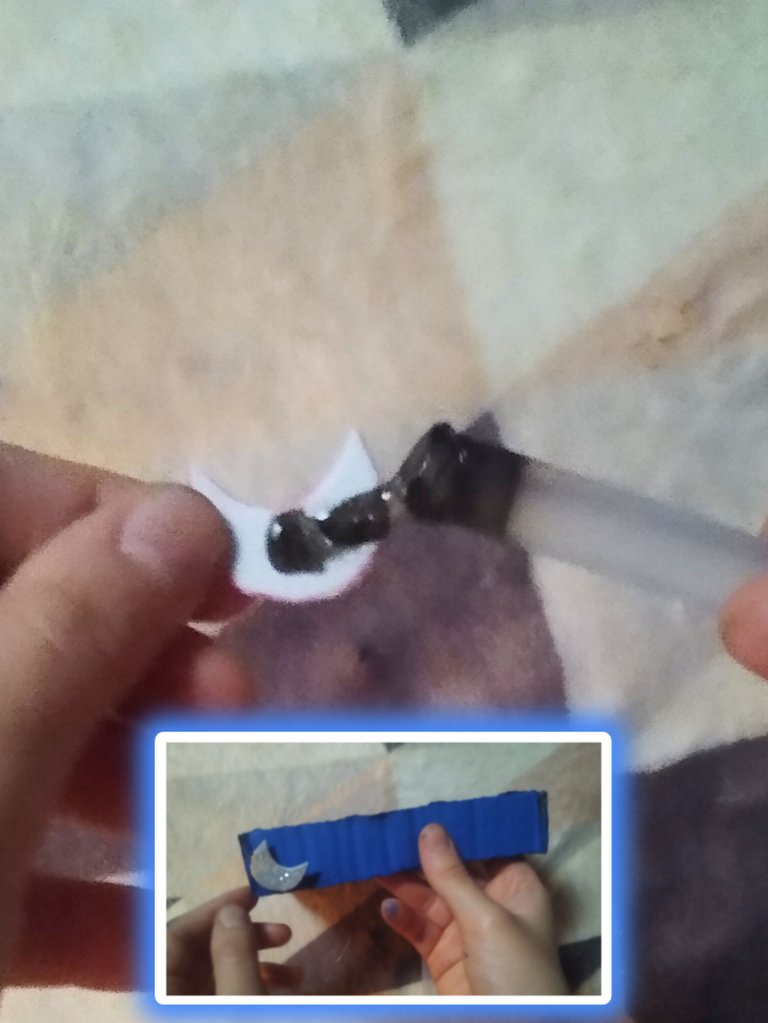
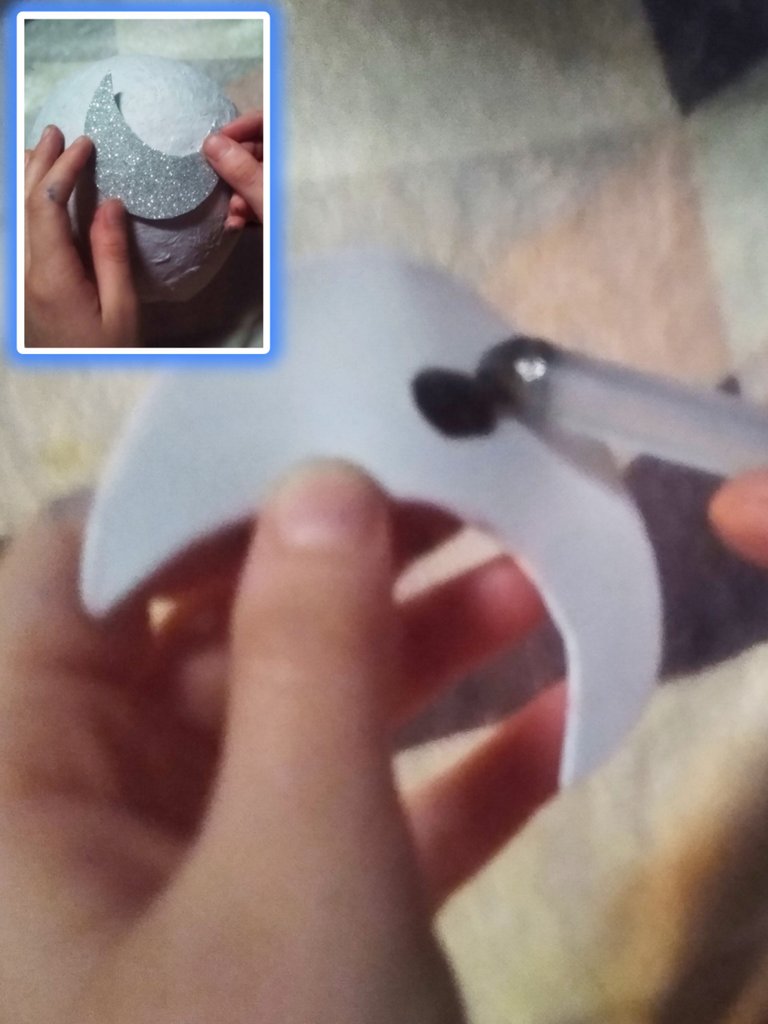
Paso 5
En este paso corte unas medias lunitas para la base y para la luna blanca que hicimos otra igual pero un poco mas grande yo lo quise decorar así ya que va acorde a la temática lunar
Step 5
In this step I cut some half moons for the base and for the white moon we made another one the same but a little bigger, I wanted to decorate it like this because it goes according to the lunar theme.
 |  |  |
|---|
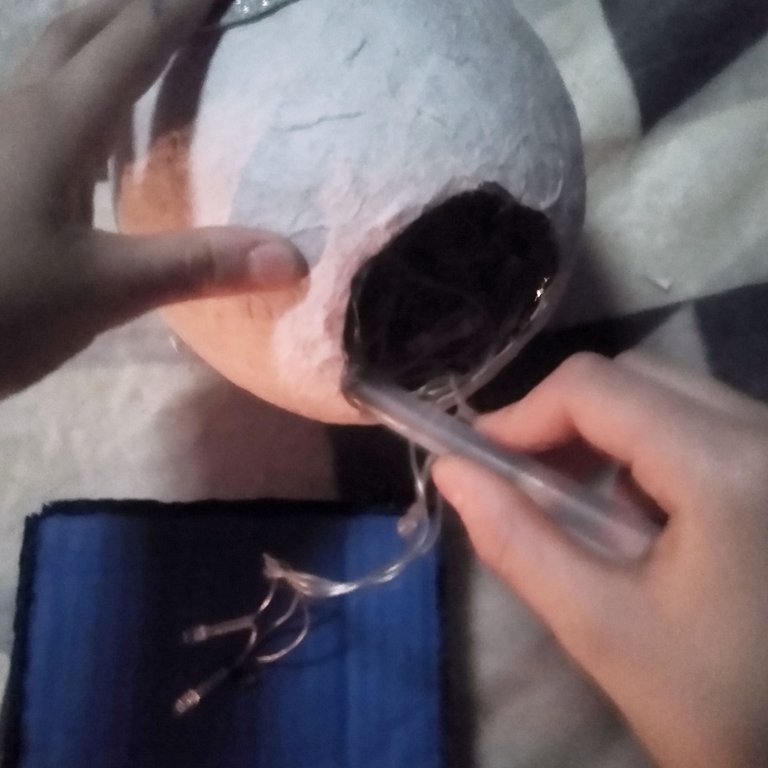
Paso 6
Con unas luces led (yo utilice de color blanco) las pasamos por el agujero y después las depositamos en la luna hacemos esto hasta terminar con toda la tira de luces confirmamos que si enciendan y pegamos con silicona caliente o puedes usar liquida si de tu preferencia dejamos que el control con que se manejan la luces que oculto en la base y así hemos terminado.
Step 6
With some led lights (I used white) we pass them through the hole and then deposit them in the moon we do this until we finish with the entire strip of lights confirm that if they turn on and glue with hot silicone or you can use liquid if you prefer we let the control with which the lights are handled that hidden in the base and so we have finished.
 |  |  |  |
|---|
Gracias por haber llegado hasta aquí y por leer si te gusto no olvides regalarme tu beneficioso like y nos vemos pues.
Thank you for having come this far and for reading if you like it don't forget to give me your beneficial like and see you then.

- Fotos tomadas por mi
- Fotos editadas en Canva}
- Traducido en DeepL
- Photos taken by me
- Photos edited in Canva}
- Translated at DeepL
Congratulations @monipk35! You have completed the following achievement on the Hive blockchain And have been rewarded with New badge(s)
Your next target is to reach 1750 upvotes.
You can view your badges on your board and compare yourself to others in the Ranking
If you no longer want to receive notifications, reply to this comment with the word
STOPTo support your work, I also upvoted your post!
Check out our last posts:
Support the HiveBuzz project. Vote for our proposal!
gracias por venir y apoyar mi trabajo me agrada contar con ustedes
De nada @monipk35.
Por cierto, también necesitamos tu ayuda. ¿Podemos pedirle que apoye nuestra propuesta para que nuestro equipo pueda continuar con su trabajo?
Puedes hacerlo en peakd, ecency, Hive.blog o con HiveSigner.
https://peakd.com/me/proposals/248
¡Muchas gracias! 🌹🌹🌹
Thank you for sharing this post in the DIYHUB Community!
Your content got selected by our fellow curator ashikstd & you just received a little thank you upvote from us for your great work! Your post will be featured in one of our recurring compilations which are aiming to offer you a stage to widen your audience within the DIY scene of Hive. Stay creative & HIVE ON!
Please vote for our hive witness <3
muchisimas gracias por su gran apoyo
Me encanta como te quedó esa lámpara y sobre todo porque me gusta mucho la luna en todas sus representaciones. Que lindo trabajo Mónica!😊❤️
gracias amiga por venir por aca y por apreciar nuestro trabajo que esta hecho con todo el gusto
Son trabajos hechos por una misma y eso cuenta un montón, además de que me encanta!😍
si es cierto trabajo con mis hijas ellas son invitadas especiales en mi espacio aca en hive y tratamos de reciclar lo mas que se pueda para hacer estas manualidades ademas lo disfutamos un monton gracias por estar siempre aqui ellas y yo te apreciamos mucho por que siempre me apoyas y que hijo no se pone feliz de ver que su madre recibe apoyo positivo de los amigos un caluroso abrazo desde colombia amiga
Acá estaré siempre!!! Gracias a vos hermosa!❤️
La lámpara quedó hermosa, una idea muy creativa y original.
gracias por pasarte por aca y brindarme tu apoyo me agrada que te guste la manualidad
https://twitter.com/1580194402965901317/status/1627785246899855360
The rewards earned on this comment will go directly to the people( @samuell12 ) sharing the post on Twitter as long as they are registered with @poshtoken. Sign up at https://hiveposh.com.
Que maravillosa Luna muchachona, a mi no creo que me salga tan bonita, soy pesimo en cosas así de manualidades pero verlas eso si me agrada. Increible el maquetado y como hiciste algo parecido a un gif al final, esas cosas espero algun dia aprenderlas jaja, me gusto mucho la estructura todo ordenado y GIF la cereza del pastel. Saludos :D
Gracias amigo por pasarte y apoyarme en realidad la que marquetea es una de mis hijas que algo de eso entiende y es la que me ha estado enseñando pero a mí se me dificulta un poco la verdad ellas son mi total apoyo en todo este proceso de aprendizaje 👍
Que creatividad haz hecho algo doblemente brillante, primero la lampara generalmente se utilizan de noche o cuando no hay luz y la luna de igual manera sale de noche y cuando quiere brilla como una lampará. Genial!... te deseo la mejor de las suertes en esta edición del concurso de la comunidad. Saludos cordiales desde Venezuela.
gracias me da mucho gusto que aprecies mi trabajo y tu apoyo es importante para mi
Esto me trae recuerdos de cuando iba al colegio y hacia estas manualidades, me encanta!! 😍
gracias buhito por venir y apoyarme que bueno que te traiga recuerdos
Muy bonita esta tu luna, fue una labor minuciosa, se ve espectacular la luna en su espacio blanco!!! Felicidades 🎉
gracias por venir y por el apoyo que genial que te haya gustado
unfortunately this entry is not valid for the contest :(
you forgot to send the link as comment under the contest post.
Much luck next moonth ;)