A cover for my mom [ENG-ESP]
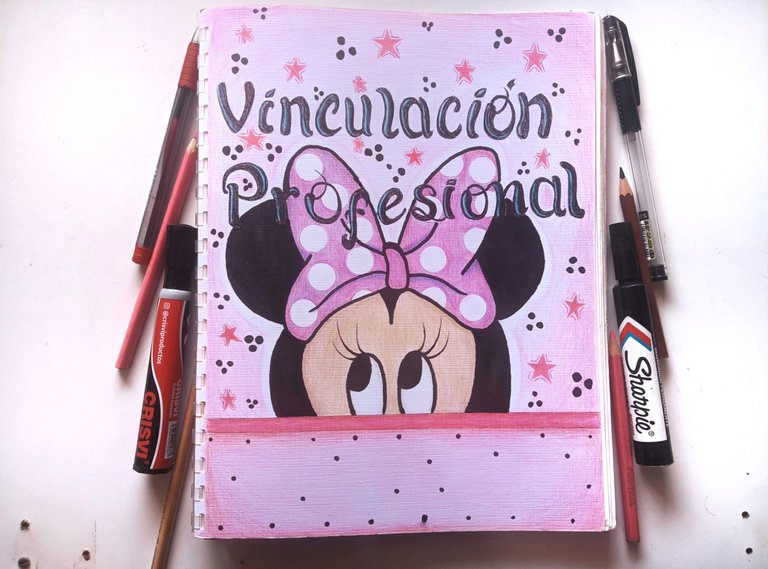
Hello Hive friends, I hope you are having a great time. I am happy to share with all of you the news that my mom is fulfilling one of her goals which is to be a teacher. At 42 years old, my mother is about to finish her degree so that she can later be a primary school teacher, and one of the requests they made was to make a linking book, which she finished and asked me to draw something for her to see better. I drew Mini Mouse for him because he is one of his favorite cartoon characters.
First I wrote “professional connection” and filled it in with a pen since it was what she asked when she started, but then I saw it as a bit simple and decided to do the drawing a bit quickly because it was for the next day.
Hola amigos de Hive espero que se encuentren de maravilla. alegremente me complace compartirles a todos ustedes la noticia de que mi mama esta cumpliendo una de sus metas la cual es ser profesora. Con 42 años de edad mi mamá esta a punto de terminar su carrera para luego poder ser maestra de primaria y uno de los pedidos que le hicieron fue hacer un libro de vinculación, el cual termino y me pidió que le dibujara algo para que se viera mejor. Le dibuje a Mini Mouse porque es uno de sus personajes favoritos de las caricaturas.
Primero le escribí “vinculación profesional” y lo rellene con un bolígrafo ya que fue lo que ella pidió al iniciar, pero luego lo vi un poco simple y decidí hacer el dibujo un poco rápido porque era para el día siguiente.
1 Sketch
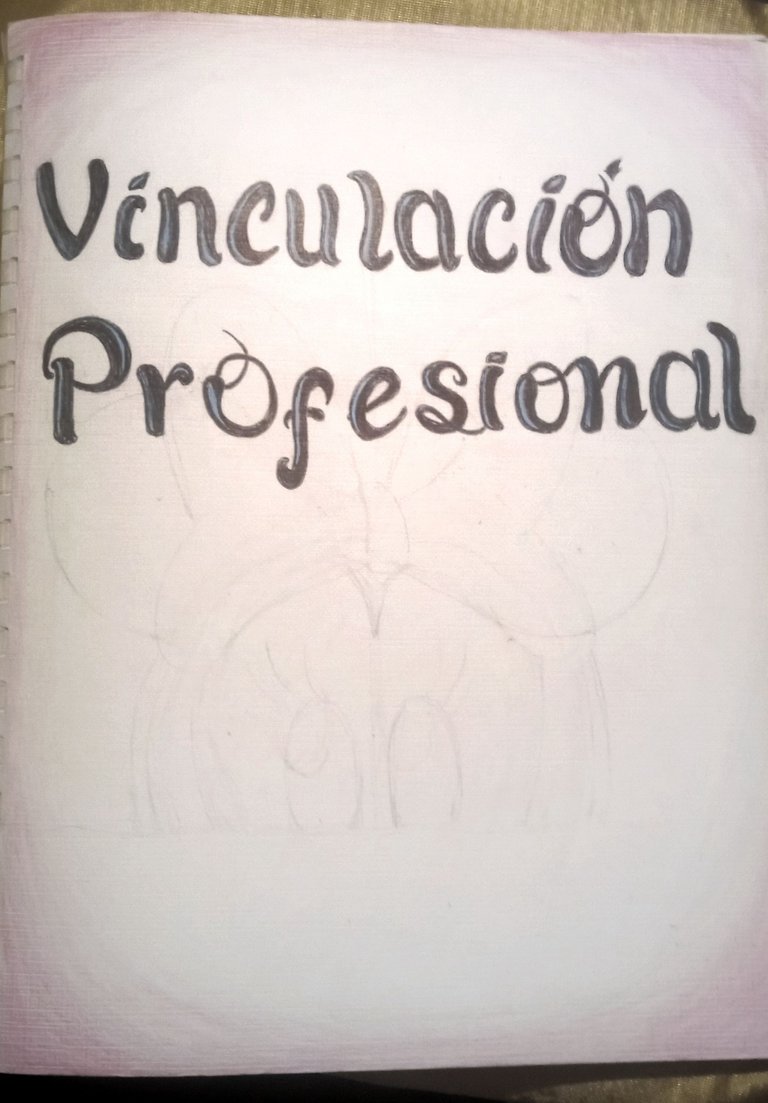
Start with a simple sketch, which you can see with a bit of effort in this photo.
I did it starting with a large circle and then two small ones for the ears, draw a line in the middle and then measure the distance between the eyes and the black edges.
1 Boceto
Inicie con un boceto simple, el cual pueden apreciar con un poco de esfuerzo en esta foto.
lo hice iniciando con un circulo grande y luego dos pequeños para las orejas, trace una línea en medio para luego medir la distancia entre los ojos y los bordes negros.
2 edges
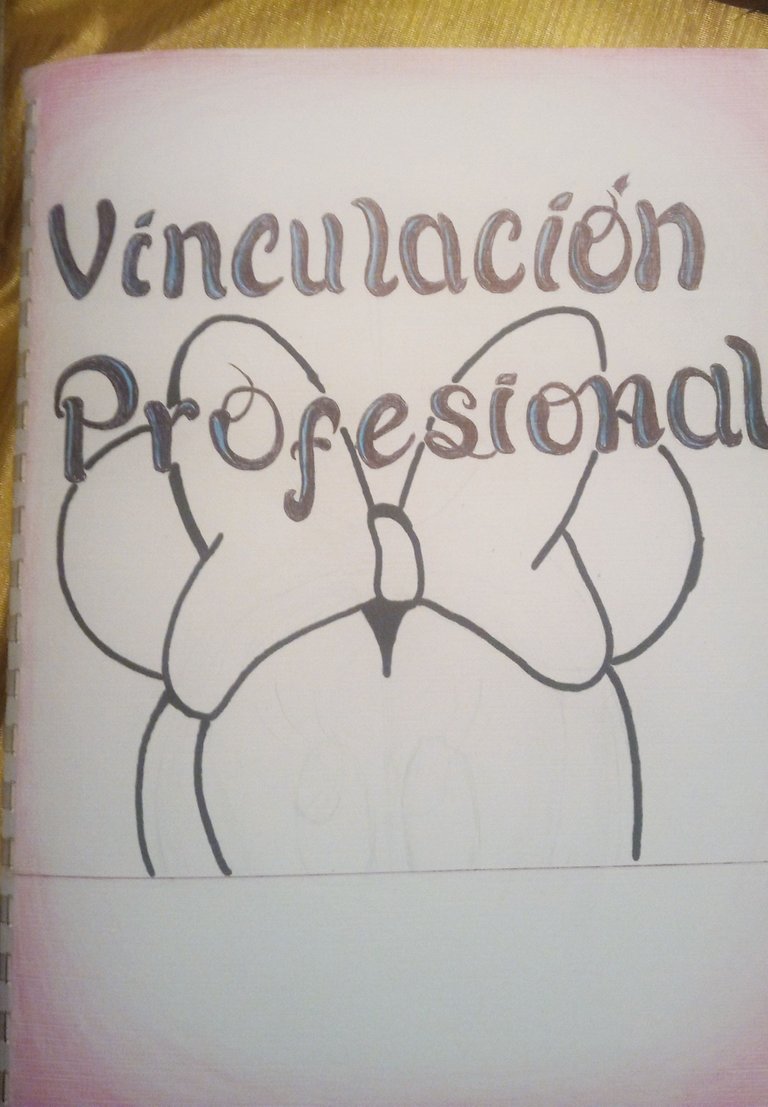
I then made guidelines with the marker to secure the edges as I like to do this when it's an area that needs to be filled in.
2 Bordes
Luego hice líneas guías con el marcador para asegurar los bordes ya que me gusta hacer esto cuando es una zona que hay que rellenar.
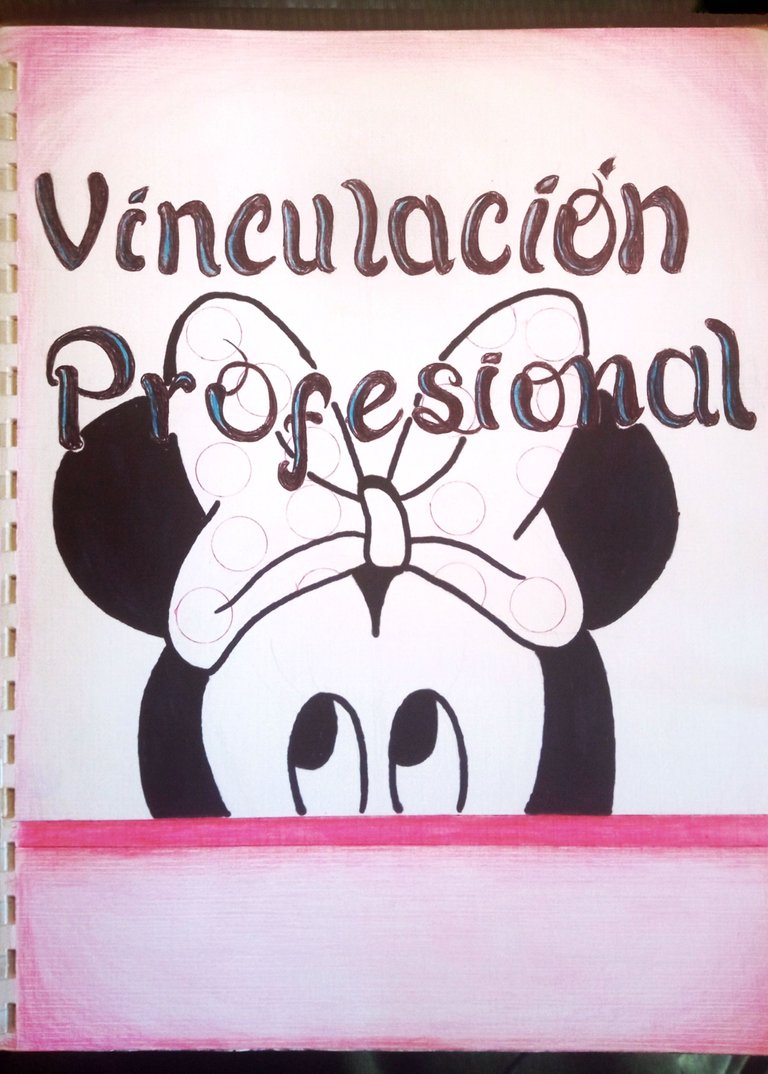
3 Fill and circles
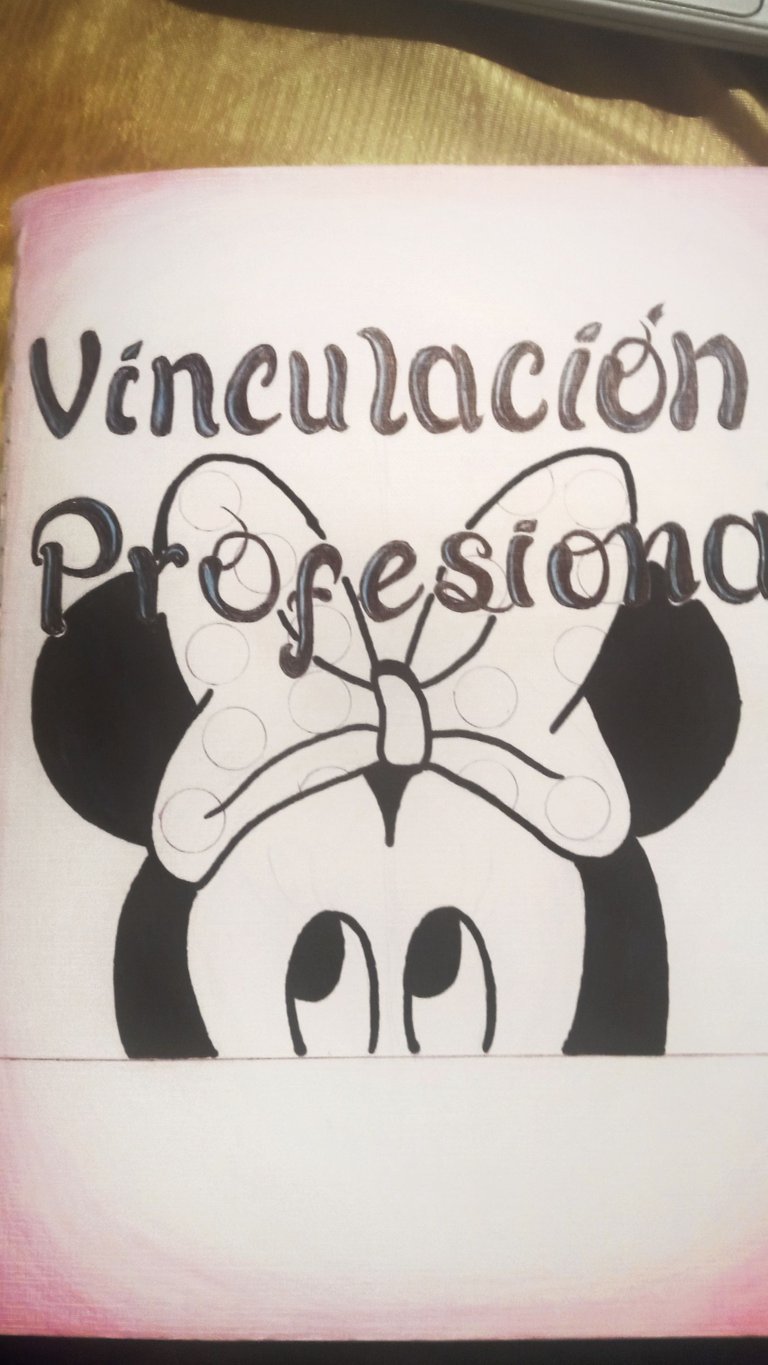
later I filled in the black areas completely using the black marker and on the edges that were not well defined I highlighted them with a black color since it is more precise and I also made the circles of the mini bow with a red pen.
3 Relleno y circulos
posteriormente rellene las zonas negras completamente usando el marcador negro y en los bordes que no estaban bien definidos los remarque con un color negro ya que es mas preciso y también hice los círculos de el lazo de mini con un bolígrafo rojo.
4 lower stripe
the band that is below the character is designed so that he will place his name in the lower right part where he leaves a space without points (since he adds points at the end).
I made it with a gradient of colors, starting with a red color, on top of it a pink color and to finish with a lilac color.
4 franja inferior
la banda que esta debajo del personaje esta diseñada para que colocara su nombre en la parte inferior derecha donde deje un espacio sin puntos(ya que al final agregue puntos).
La hice con un degradado de colores, iniciando con color rojo, sobre este un color rosa y para finalizar el color lila.
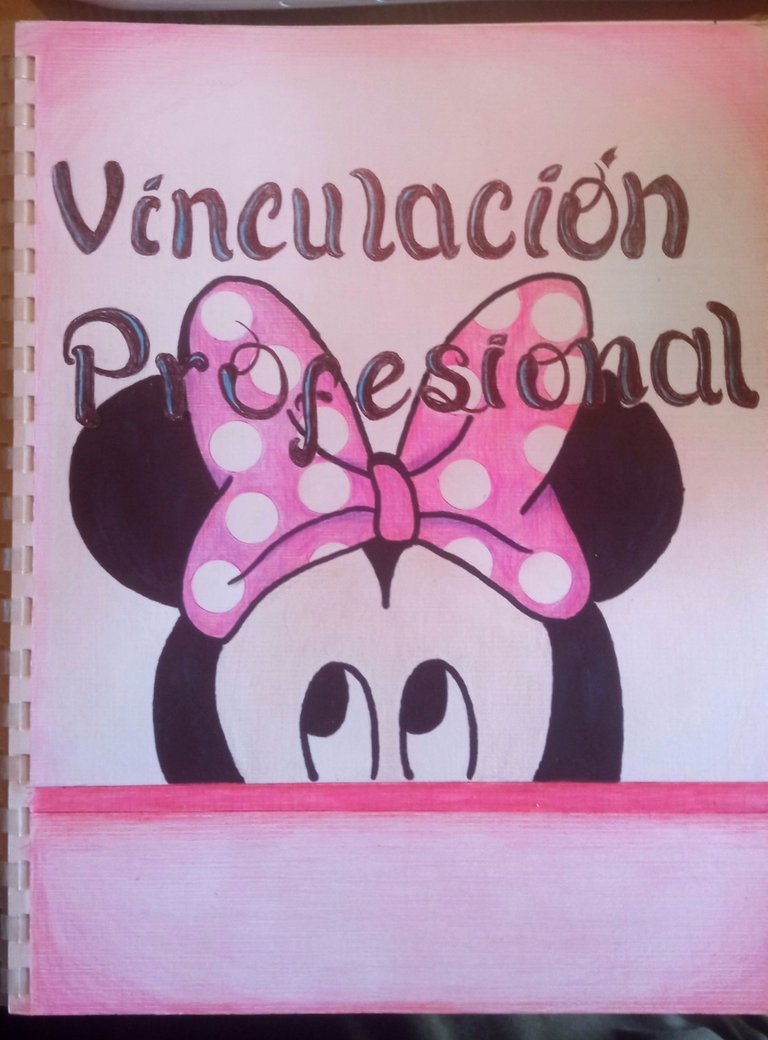
5 lasso
I did it starting with a purple color on the edges of the bow and the edges of the circles, on this I applied a pink color and on both a lilac color to unify.
5 Lazo
Lo hice iniciando con un color purpura en los bordes del lazo y los bordes de los círculos, sobre este aplique un color rosa y sobre ambos un color lila para unificar.
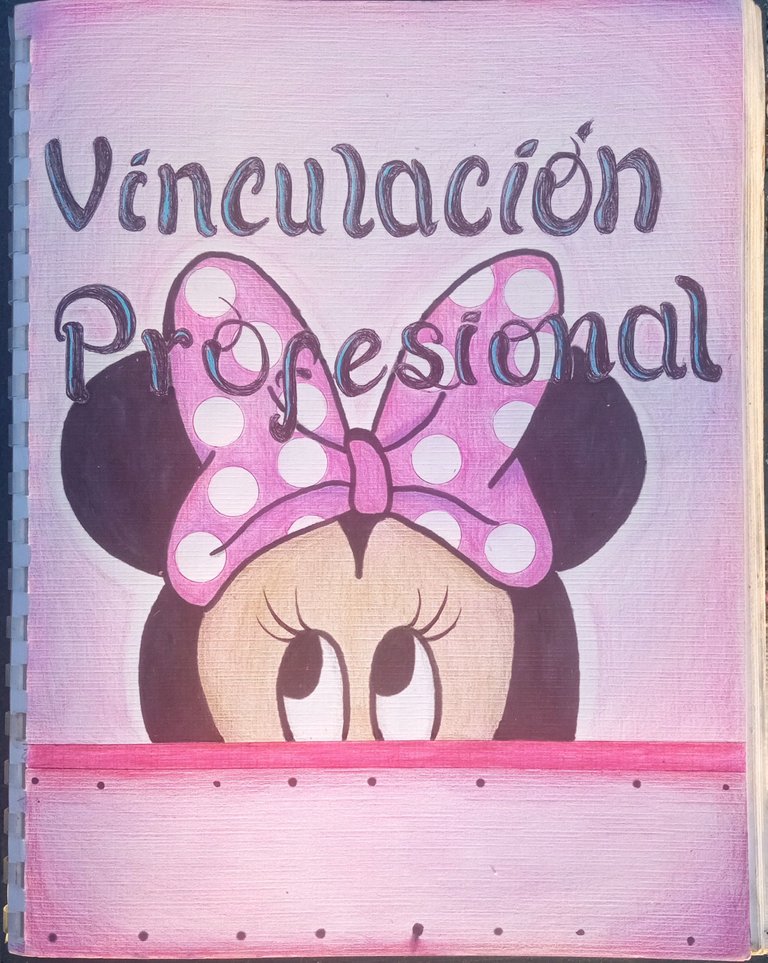
6 face
It doesn't show much since this photo was taken inside the house, but here I applied color to mini's face using a gradient of two colors, which were Layered Brown, and then Peach on top of it.
6 Rostro
No se da a notar mucho ya que esta foto la tome dentro de la casa, pero aquí aplique color al rostro de mini utilizando un degradado de dos colores, los cuales fueron Café aplicado en capas, y luego durazno sobre este,
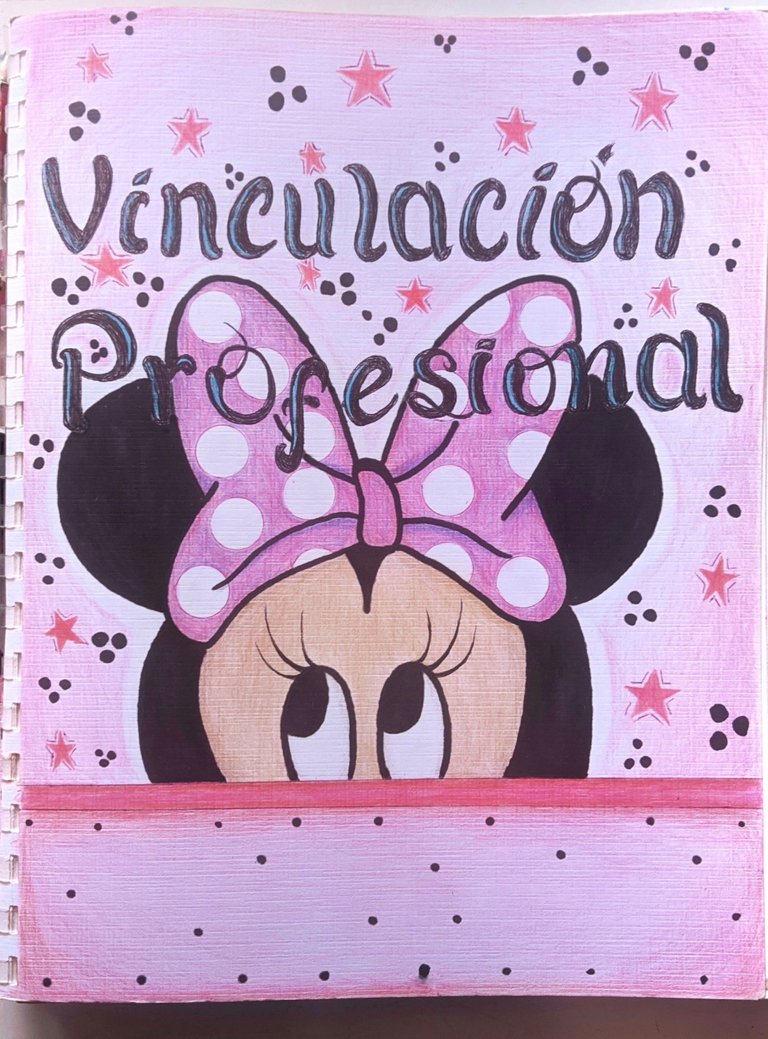
7 Background and details
We are already in the final stage. Here I started to make a background to make it stand out more, which is made up of dots and stars.
In addition to this, I also added dots to the stripe below the mini to give it contrast (my mom was the one who gave me that idea <3).
7 Fondo y detalles
Ya estamos en la etapa final. Aquí empece a hacer un fondo para que resalte mas, el cual esta conformado por puntos y estrellas.
Además de esto también agregue puntos a la franja debajo de mini para darle contraste (mi mama fue quien me dio esa idea <3).
And this was the whole process friends, in my profile you can see other little things that I did and in the comments you can ask how I did something that you want to learn or ask for tutorials if you like.
Y este fue todo el proceso amigos, en mi perfil pueden ver otras cositas que hice y en los comentarios pueden preguntar como hice algo que quieran aprender o pedir tutoriales si gustan.