✨Hermoso Portaretrato Hecho con Materiales Reciclados/✨Beautiful Portrait Holder Made from Recycled Materials✨
Hoy les estaré presentando cómo hacer un lindo cuadro reciclado con revistas para nuestra foto un portarretrato muy lindo y lleno de creatividad y reciclaje.
Los materiales utilizados en la elaboración del portarretrato fueron los siguientes:
tijera
lápiz
cartón
hilo
revista
silicón
yesquero
bolsa reciclada de chocolate
A continuación les estaremos presentando el paso a paso de cómo hacer nuestro porta retrato reciclado:
Paso 1
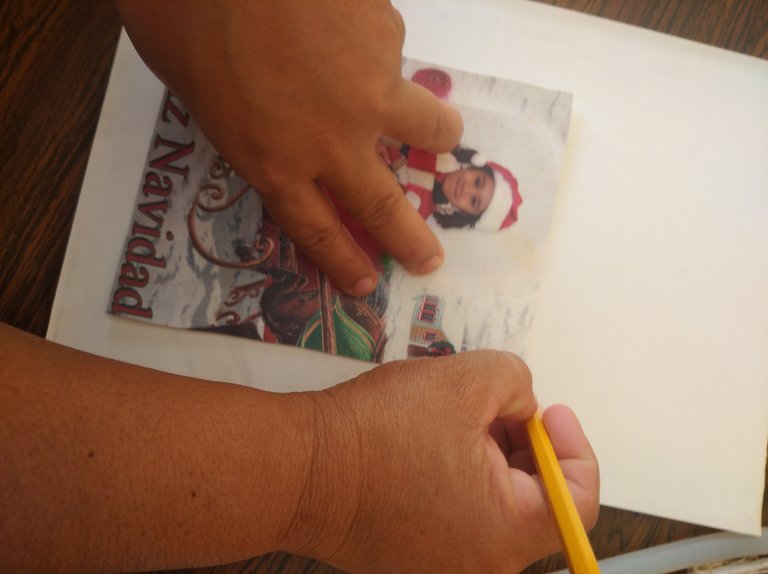
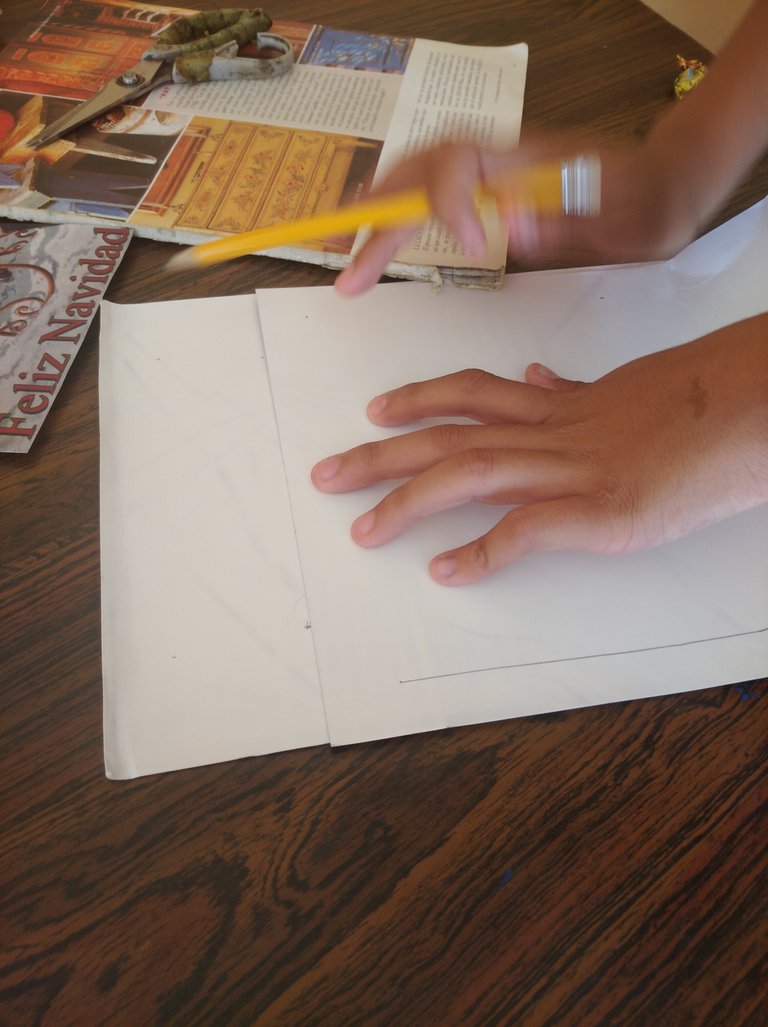
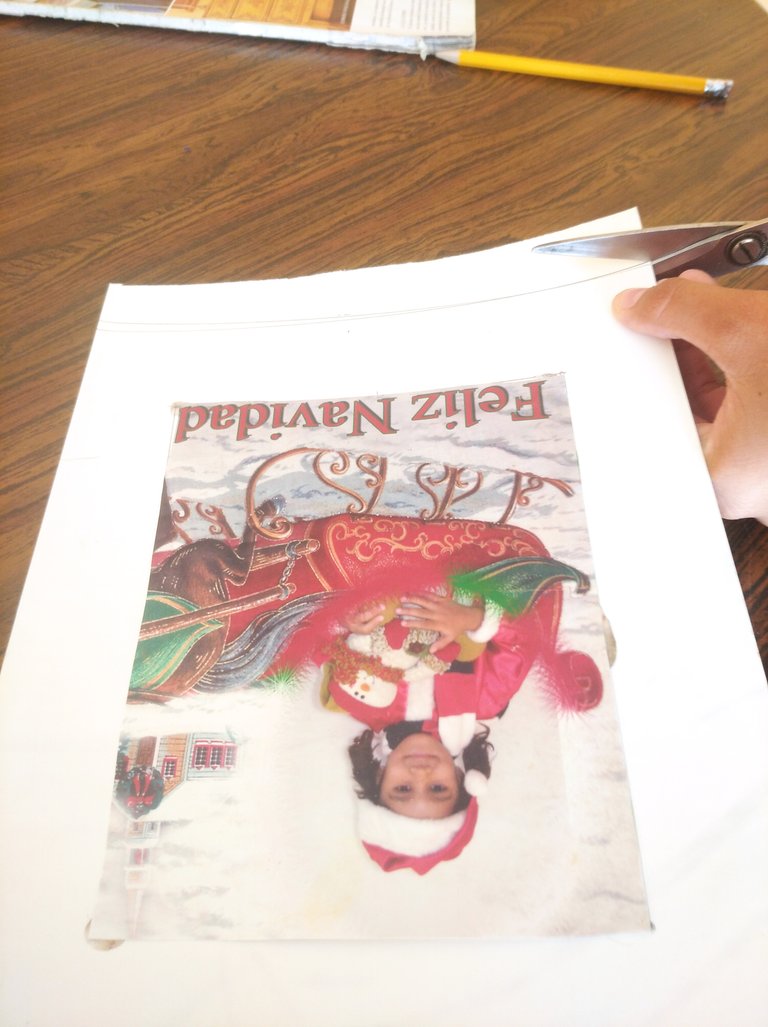
Lo primero que vamos a hacer es tomar un cartón ya sea de cualquier tipo blanco o marrón en este caso yo utilicé un cartón estilo cartulina y en él con un lapicero me di la foto verdad y luego tenía el soporte para pegarla después.

Paso 2
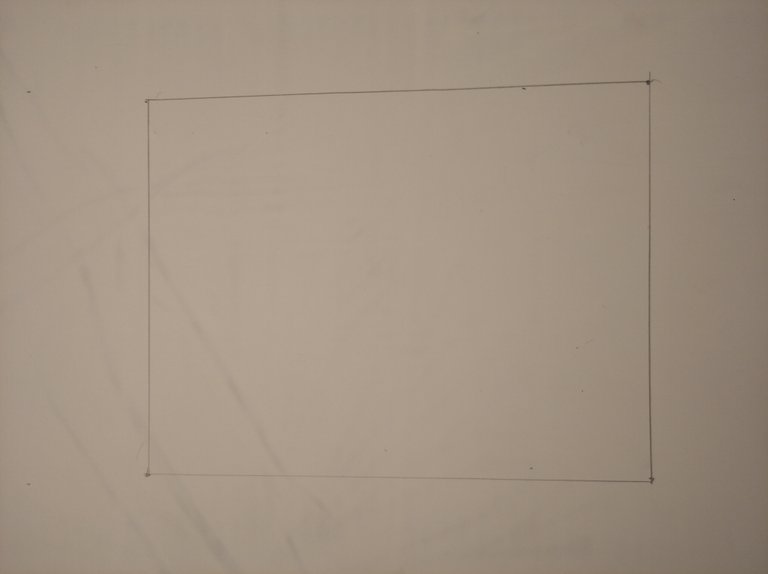
Luego después de haber marcado la foto en el cuadro solamente nos encargaremos de tomar la tijera y recortar esto es para que quede estable la foto y no sobre las otras partes del cartón de este estilo irá quedando.
Paso 3
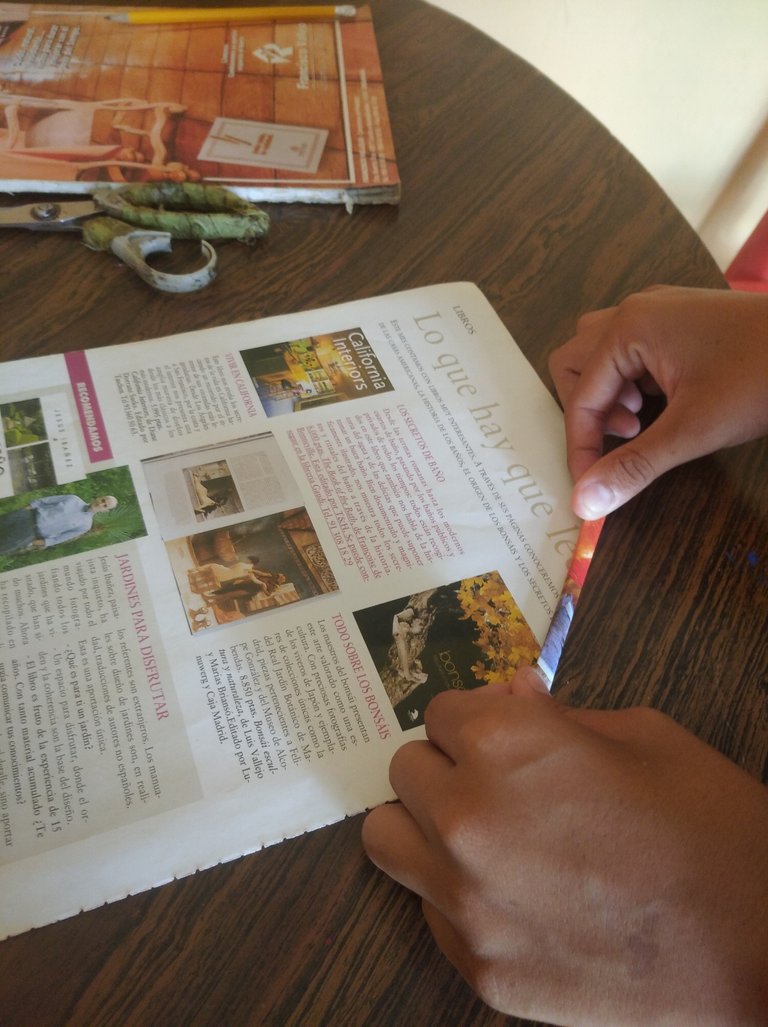
Ahora lo que vamos a hacer es tomar una hoja de nuestra revista de forma que con esta iremos haciendo los palitos para nuestro porta retrato esta es una manera de trabajar con cosas reciclada de manera que es para usarla como provecho ya que me encanta trabajar con materiales de este tipo.
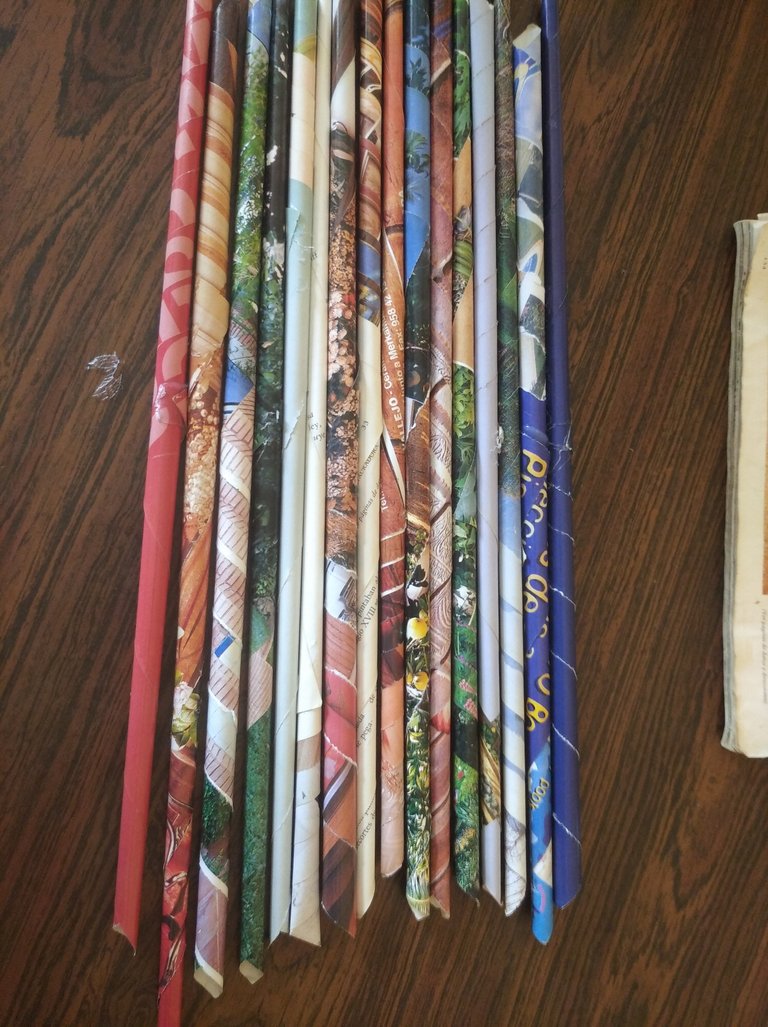
Paso 4
Luego de ya terminar los palitos de revista nos encargaremos de que con el silicón caliente le vamos a agregar varios puntos para que así quede pegado y estable de esta manera vamos a hacer varios palitos que serán para alrededor de nuestro portarretrato.

Paso 5
De estos palitos de hoja de revista vamos a hacer 12 estos son para ponérselos tanto en la parte de arriba y debajo y de la parte de los laterales tanto del lado derecho como del lado izquierdo.
Paso 6
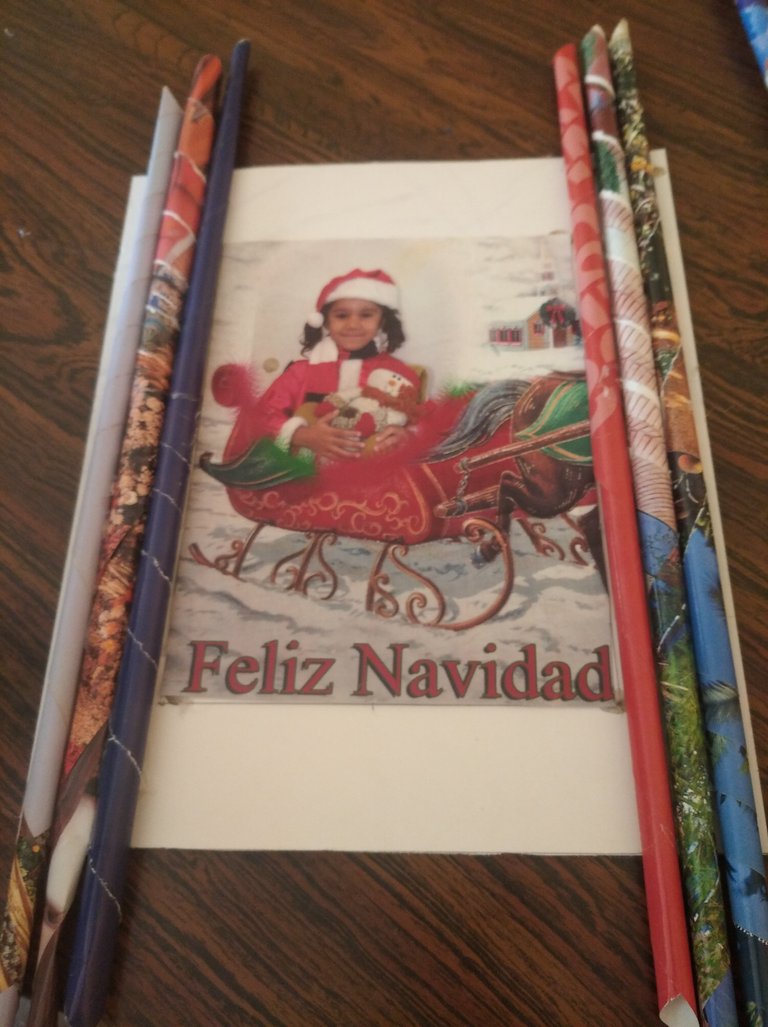
Una vez ya listos nuestros palitos nos encargaremos de alrededor del cuadro pegar varios puntos de silicón y con este le vamos a ir pegando tres palitos uno arriba uno en el medio y uno por último así de esta manera.
Luego después con la tijera nos encargaremos de recortar los espacios sobrantes de los palitos cuando lo hice no los medí solamente los tenía ya hechos y una vez al pegarlo me encargaría de recortar de esta manera.

Paso 7
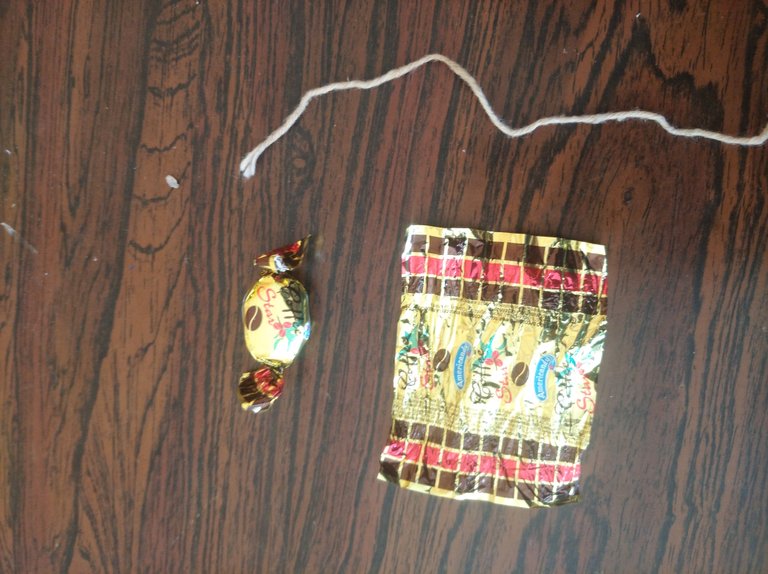
Ahora con el papel de los chocolates nos vamos a encargar de hacer unos lazos de cuál manera de la siguiente vamos a ponerlo todo uniformemente así con un pabilo en la parte del medio lo vamos a amarrar un nudo muy fácil de hacer en forma de lazo y luego al apretarlo solamente se formará el lazo es muy fácil de hacer ya que con estos papeles se pueden hacer lindos lazos reciclados pero delicadamente no lo vamos a utilizar por la parte delante sino por la parte de atrás que quedará en un fondo plateado o bienmente sea dorado.

Paso 8
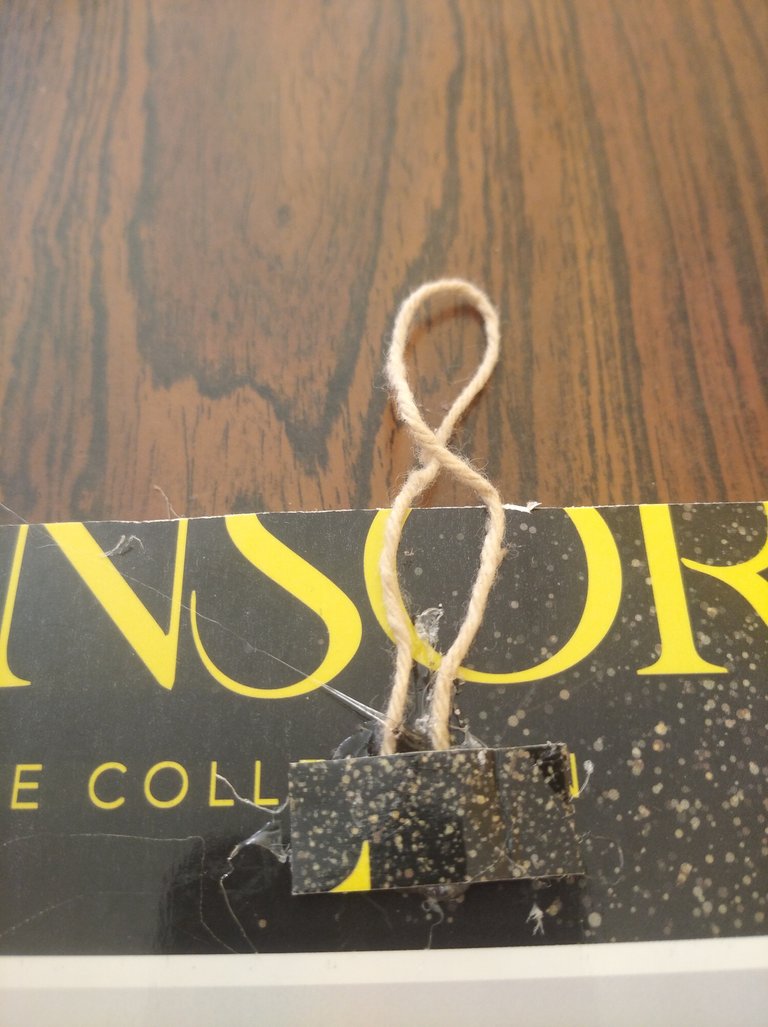
Ahora solamente lo que vamos a hacer es con una cuerdita del mismo pabilo hacer un lazo de esta forma para pegarlo en la parte de atrás y así hacer el colgante para nuestro portarretrato.

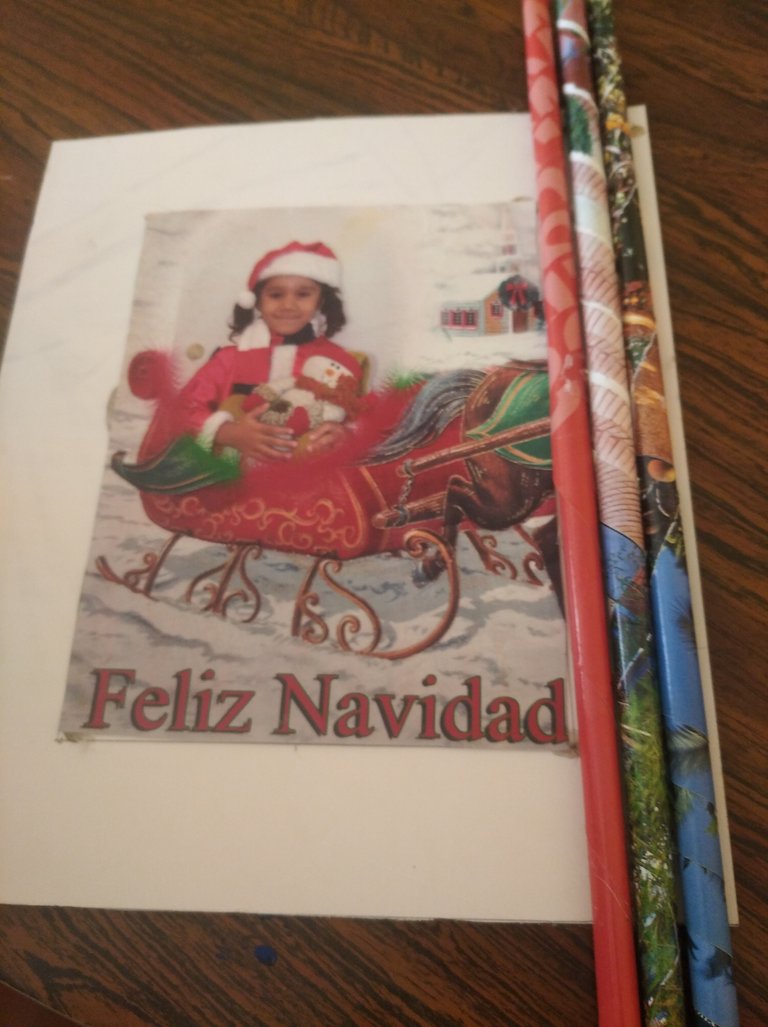
Resultado Final!
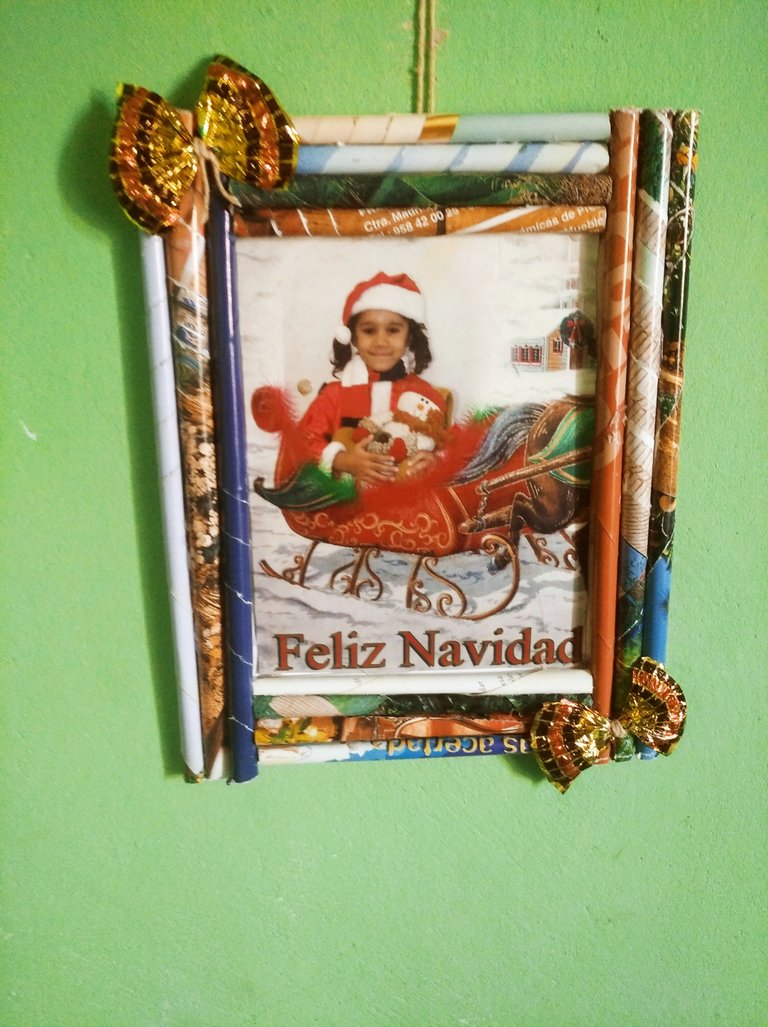
De esta manera me quedo mi lindo portaretrato hecho con materiales reciclados, espero que les guste mucho y se motiven a realizar lindas ideas como estas.
Que Dios los bendiga siempre amigos saludos y bendicione!
Las imágenes son de mi autoría y fueron tomadas por mi teléfono redmi 8 A.
Traductor utilizado:Deepl.
Las imágenes son editadas mediante la aplicación editor de fotos canva.
Today I will be presenting you how to make a nice recycled picture with magazines for our photo a very nice and full of creativity and recycling picture frame.
The materials used to make the picture frame were the following:
scissors
pencil
cardboard
string
magazine
silicone
plaster
recycled chocolate bag
Below we will be presenting the step by step instructions on how to make our recycled portrait holder.
Step 1
The first thing we are going to do is to take a cardboard either white or brown in this case I used a cardboard style cardboard and on it with a pencil I gave me the real photo and then I had the support to paste it later.
Step 2
After marking the photo on the frame, we will only take the scissors and cut it out so that the photo is stable and not on the other parts of the cardboard. This way it will look like this.
Step 3
Now what we are going to do is to take a sheet of our magazine so that with this we will be making the sticks for our portrait holder. This is a way to work with recycled things so that it is to use it as a profit since I love to work with materials of this type.
Step 4
After finishing the magazine sticks, we are going to use hot silicone to add several dots so that it will be glued and stable. This way we are going to make several sticks that will be used around our portrait frame.
Step 5
We are going to make 12 sticks out of these sticks. These are to be placed on the top and bottom and on the sides on both the right and left sides.
Step 6
Once our sticks are ready, we will glue several dots of silicone around the frame and with this we will glue three sticks, one in the top, one in the middle and one in the end, like this.
Then with the scissors we will take care of trimming the excess spaces of the sticks when I did it I didn't measure them I just had them already made and once I glued it I would take care of trimming in this way.
Step 7
Now with the paper of the chocolates we are going to make some bows in the following way we are going to put it all uniformly with a wick in the middle part we are going to tie a knot very easy to make in the form of a bow and then when tightening it only the bow will be formed. It is very easy to make because with these papers you can make beautiful recycled bows but delicately we are not going to use it on the front part but on the back part that will be on a silver or gold background.
Step 8
Now all we are going to do is to make a loop with a string of the same wick to glue it on the back and thus make the pendant for our picture frame.
Final Result!
This is how I got my nice picture frame made with recycled materials, I hope you like it a lot and get motivated to make nice ideas like these
May God bless you always friends greetings and blessings!
The images are authored by me and were taken by my redmi 8 A phone.
Translator used:Deepl.
The images are edited using canva photo editor application.
Buen trabajo bastante creativo, me gustó la idea de utilizar la bolsa del caramelo en forma de lazo 🎀
Muchas gracias amiga aveces de las pequeñas cosas que pensamos que no pueden servir, son de dónde sacamos provecho que gusto que te halla gustado 😸
The final result is impressive. It is so beautiful. Great job! Keep it up!
Congratulations @mendoliliana! You have completed the following achievement on the Hive blockchain And have been rewarded with New badge(s)
Your next target is to reach 100 upvotes.
You can view your badges on your board and compare yourself to others in the Ranking
If you no longer want to receive notifications, reply to this comment with the word
STOPCheck out our last posts: