Fashion Design with Adobe Illustrator: The Smokey Mistress.
Hello friends.
How are you today?
Since I joined this platform, I've been sharing hand-drawn drawings that included fashion designing, normal drawings and drawings for the contest of splinterlands. I've been telling you all that I'm actually doing a course on fashion design. I was learning to draw these drawings on both paper and on PC at that time. As I was able to draw before that, I was able to learn the process of drawing on paper easily. But, I'm kind of unfamiliar with tech so it took me a long time to learn about drawing in illustrator. That's why I haven't been able to share my digital illustrations with you till now. I've recently finished my course and now I can draw easily with adobe illustrator. It's true that I need more practice to harness my skills to a professional level. But, for now, I think I'm getting the hang of it from time to time.
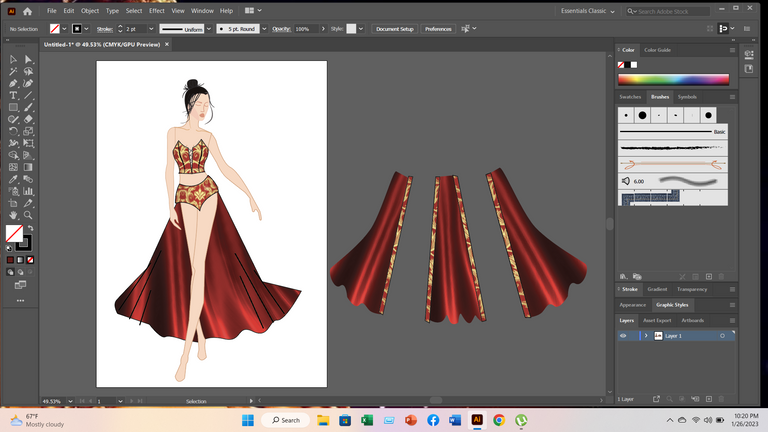
I've done a dress design on my laptop using adobe illustrator and I'll share how I did it with you today. I'll try to show you how I did it and I hope you can learn how to do it by following the steps.
Tools:
The tools are quite simple. You just need a PC or laptop and the adobe illustrator software installed. If you're on a laptop, I'd suggest you buy a mouse. Because using the pen tool with your touchpad is really hard and it's almost impossible for me to draw using my touchpad. So, what you actually need is:
- 1. PC/Laptop
- 2. Adobe Illustrator
- 3. Mouse (if using a laptop)
And you need to have some idea of using the pen tool of the adobe illustrator software. It's not a hard task. You can just watch a 2min youtube tutorial and learn how it works.
Drawing Steps
First Step:
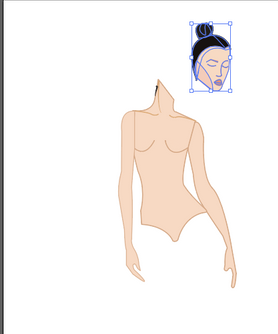
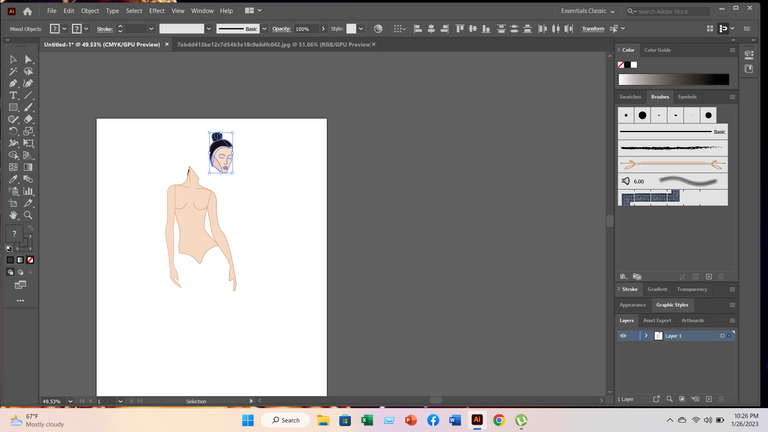
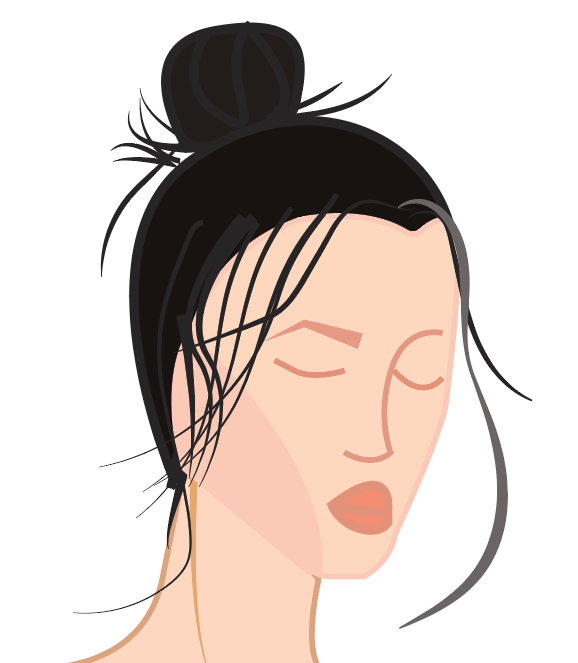
The first step for every artwork is the structure. The quality of your final result will always depend on how you draw your structure. Otherwise, you'll never get a perfect result. So, First of all, choose the pen tool and draw a basic life for your drawing. It will be your borderline. It's better if you draw them one by one. The life you can see in the image below. I've drawn the body and worked on the head. Here, I've drawn the main body first and then added the hands. Then I drew the lines to visualize her chest and neck curves. Remember to draw the main borderline first. Then I started working on her head. For that, I drew something like an egg and then put a small one on top of it. Then I step by step turned it into a head with hair by drawing the facial curves and colouring the hair.
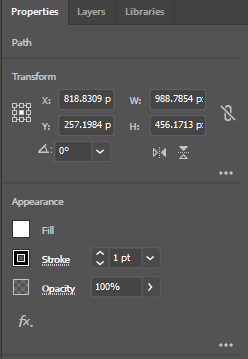
- Now, while doing this, you may see that your lines are automatically getting filled instead of showing like a line. In that case, you need to change the colour-filling mode from the toolbar showing on the left side of the screen. It's the icon shown below.

You can also change the thickness of your lines from the stroke option from your properties section or from the strokes option showing on the top of my screen.
Second Step:
After completing the structure, it's time to get her dressed up. You need to then open a new separate tab and do these things there. The pen tool is enough to do the designs. That's why I'm not adding pictures of those steps. Because it's already going to be a lot of images and the process is the same. You need to draw the shape of the dress first. Then draw lines according to the design you want to make. And if you're not an expert on drawing on PC. I can suggest you a little trick. I used to do it as a beginner.
- First draw the design or drawing in your drawing notebook or any paper. Then scan it or take a photo. Open that picture on your PC and start tracing those lines using the pen tool in a new layer. After finishing, delete the layer with the picture and you have your drawing.
Third Step:
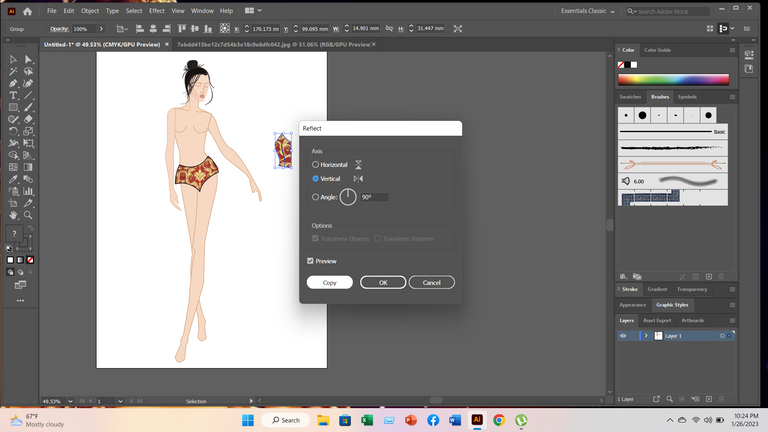
Then you need to attach those clothes to her body, In this step, you need to be serious about the measurement. Otherwise, they won't fit correctly. And, if you see that there are some slight gaps in the clothes, you can always use the brush tool to give a soft touch.
- And to colour the shiny and darker parts of the dress, you just need the brush tool. You can choose various modes of a single colour from the colour panel. There are hundreds of options there. Just click on the colour panel and choose whatever you want.
- Her hair can be a great example here. You'll notice that I only drew the main hair part in the first step. But, then I added some lines using the brush tool to make it look more real.
Final Step:
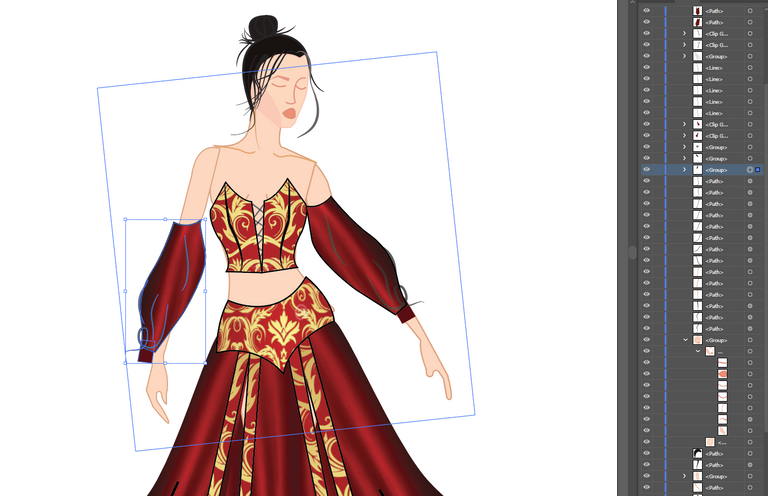
This is your revision step. Here you need to see if there are even any slight mistakes that need to be edited. If you notice my draWING, You'll see that there's a problem with her hand. It's not visible. It was an intentional mistake to show you how to fix it.

- And before that, an important piece of advice. Please manage your layers carefully.
- Because, if you have everything done in separate layers and manage them correctly. It'll be easy for you to correct any mistakes after the drawing is done. Now, to solve this problem, I didn't need to redo the whole drawing. I just ungrouped the layers and then fixed those two layers.
Final Drawing
The Smokey Mistress.
- In this part I added a background to make it look beautiful. You can make one or don't use any background if you want to.
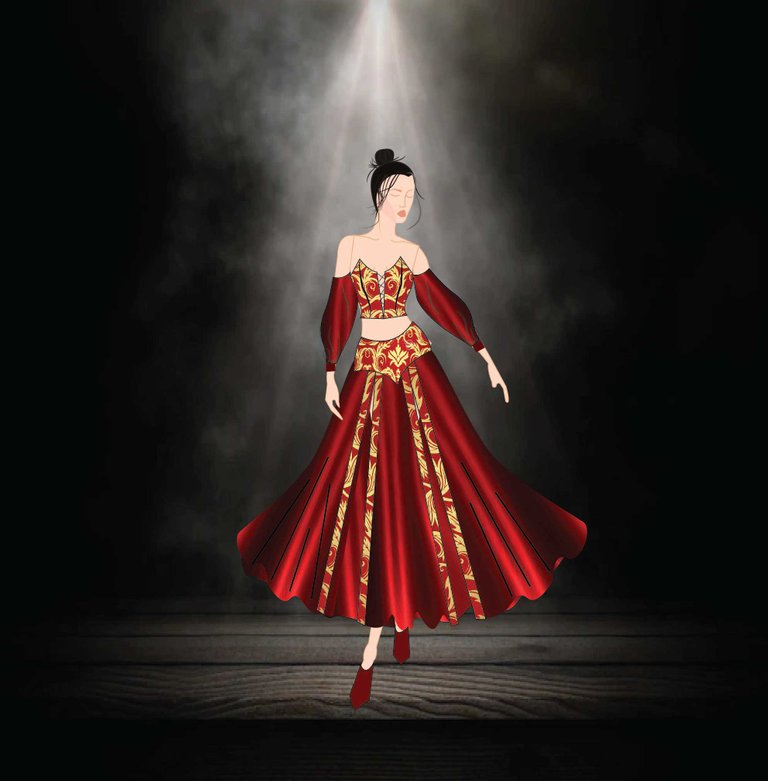
I collected this copyright-free background image from https://www.freepik.com
This was my very first attempt to write a tutorial-type post to show others how to do the drawings. I was only sharing my steps and how I did it till now. But, not like this. I'm hoping it was good. if not, please tell me in the comment section about how can I improve them. Explaining these processes through writing is quite tough. But, I'll try to improve further.
Congratulations @martina-sigulin! You have completed the following achievement on the Hive blockchain And have been rewarded with New badge(s)
Your next target is to reach 100 upvotes.
You can view your badges on your board and compare yourself to others in the Ranking
If you no longer want to receive notifications, reply to this comment with the word
STOPTo support your work, I also upvoted your post!
Check out our last posts:
Support the HiveBuzz project. Vote for our proposal!
Thank you for sharing this post in the DIYHUB Community!
Your content got selected by our fellow curator sharminmim & you just received a little thank you upvote from us for your great work! Your post will be featured in one of our recurring compilations which are aiming to offer you a stage to widen your audience within the DIY scene of Hive. Stay creative & HIVE ON!
Please vote for our hive witness <3
@tipu curate 6
Upvoted 👌 (Mana: 0/50) Liquid rewards.