[ENG/ESP] Splinterlands Art Contest Week 210- My version of QUEEN MYCELIA

A big hello to all of you users of the #Blockchain community of #Splinterlands. It's been a while, but this time I want to share my entry for this week's #210 art contest, so I'll be showing you a bit of the procedure I went through to make this illustration. The character I chose for the contest is called QUEEN MYCELIA, a character corresponding to the Earth element. This time I wanted to vary a little the style that I have been working before, so I dared to make the character as a kind of Chibi and Kawaii at the same time and I really took this as a challenge for me. I had the idea of making it mainly in traditional mode, but once I had the sketch ready I decided to capture the idea digitally as I have been doing before. So without further ado, let's start.
Un gran saludo para todos ustedes usuarios de la comunidad #Blockchain de #Splinterlands. Ha pasado algo de tiempo, pero en esta oportunidad quiero compartir mi entrada para el concurso de arte #210 correspondiente a esta semana, por lo que les estaré mostrando un poco el procedimiento que lleve a cabo para realizar esta ilustración. El personaje que elegí para el concurso es la llamada QUEEN MYCELIA, personaje correspondiente al elemento Tierra. Esta vez quise variar un poco el estilo que he venido trabajando anteriormente, por lo que me atreví a realizar al personaje como una especie de Chibi a la vez Kawaii y realmente tome esto como un reto para mí. Tenía la idea de realizarlo principalmente en modo tradicional, pero una vez tenía el boceto listo decidí plasmar dicha idea de manera digital como he venido haciéndolo antes. Así que sin más preámbulos comencemos.
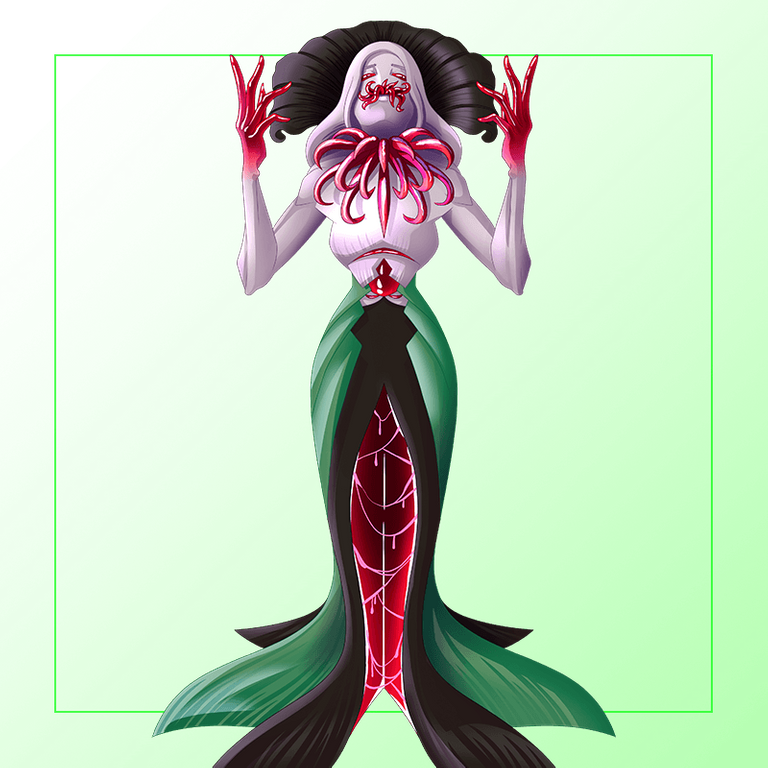
REFERENCE

Process | Procedimiento
- Step #1:
I started by making a sketch of the character in a traditional way, to guide me when drawing the main lines. I used the character as a reference and also some techniques to simplify and deform in order to give the desired shape to the character. Once the sketch was finished the next thing was to add the main lines to form the final lineart of the character in which I added some lines of details so that it didn't look so simple and so to finish it.
- Paso #1:
Comencé realizando un boceto del personaje de manera tradicional, para guiarme a la hora de trazar las líneas principales. Para el mismo utilice como referencia al personaje y también algunas técnicas para simplificar y deformar con la finalidad de ir dándole la forma deseada al personaje. Una vez terminado el boceto lo siguiente fue agregar las principales líneas hasta formar así el lineart final del personaje en el que agregue algunas líneas de detalles para que no se viera tan simple y así finalizar el mismo.
- Step #2:
Once I finished the lineart of the character with all the details added, the next thing I did was to add the base colours to the character, in which I used the most predominant tones of the reference character.
- Paso #2:
Culminado el lineart del personaje con todos sus detalles agregados, lo siguiente que hice fue ir colocando los colores base al personaje, en el cual utilice los tonos más predominantes del personaje de referencia.
- Step #3:
Once I assigned the base colours, the next thing was to place the shadows, although usually this type or style of drawing is not so detailed, I wanted to dare to give it a little more depth with these shadows. Doing this was a bit easier due to the style of the character, so I was playing with the pre-established colours making them darker and darker.
- Paso #3:
Una vez asigne los colores bases, lo siguiente fue colocar las sombras, aunque por lo general este tipo o estilo de dibujo no se le colocan tantos detalles, quise atreverme a darle un poco más de profundidad con dichas sombras. Hacer esto fue un poco más sencillo debido al estilo del personaje, por lo que fuí jugando con los colores ya preestablecidos haciéndolos cada vez más oscuros.
- Step #4:
Once the shadows of the character were finished, the next thing I did was to place some white lines to give a little light so that the character could stand out a little more, so little by little I placed them. As a final touch I decided to add a circle as a background so as not to saturate the illustration so much.
- Paso #4:
Finalizadas las sombras del personaje, lo siguiente que hice fue colocar unas líneas de color blanco para dar un poco de luz, para que el personaje pudiera destacar un poco más, por lo que poco a poco fui colocando las mismas. Como toque final, decidí agregar un círculo como fondo para no saturar tanto la ilustración.
And that's the end of this illustration for the contest. I'm very happy with the final result, even though I haven't completely mastered the style I think I'm on the right way and I'm also very happy to share it with all of you. I hope you liked it, if you want you can support me and/or leave me a comment with some advice or something like that, it would be very helpful for me. Thank you very much for watching to the end and see you in a future contest!
Y así doy por culminada está ilustración para el concurso. Estoy muy contento con el resultado final, a pesar de no dominar completamente el estilo creo que voy por buen camino y también me da mucho gusto compartirlo con todos ustedes. Espero que haya sido de tu agrado, si deseas puedes apoyarme y/o dejarme un comentario con algún consejo o algo así, seria de mucha ayuda para mí. Muchas gracias por ver hasta el final y nos vemos en un próximo concurso!
Tools Used | Herramientas Utilizadas:
- Medibang Paint Pro PC version 64 bits
- Huion H610 PRO V2

Translated with DeepL (free version)
Nice cute version of mycelia. 😊
Keep it up.
!1UP
Thank you friend!! 🙏
You're very much welcome. 😊
You have received a 1UP from @thecuriousfool!
@monster-curator, @oneup-curator, @ccc-curator, @neoxag-curator, @pal-curator
And they will bring !PIZZA 🍕.
Learn more about our delegation service to earn daily rewards. Join the Cartel on Discord.
PIZZA Holders sent $PIZZA tips in this post's comments:
@curation-cartel(13/20) tipped @mario02 (x1)
You can now send $PIZZA tips in Discord via tip.cc!
Awesome
Thanks for sharing! - castleberry#6859
