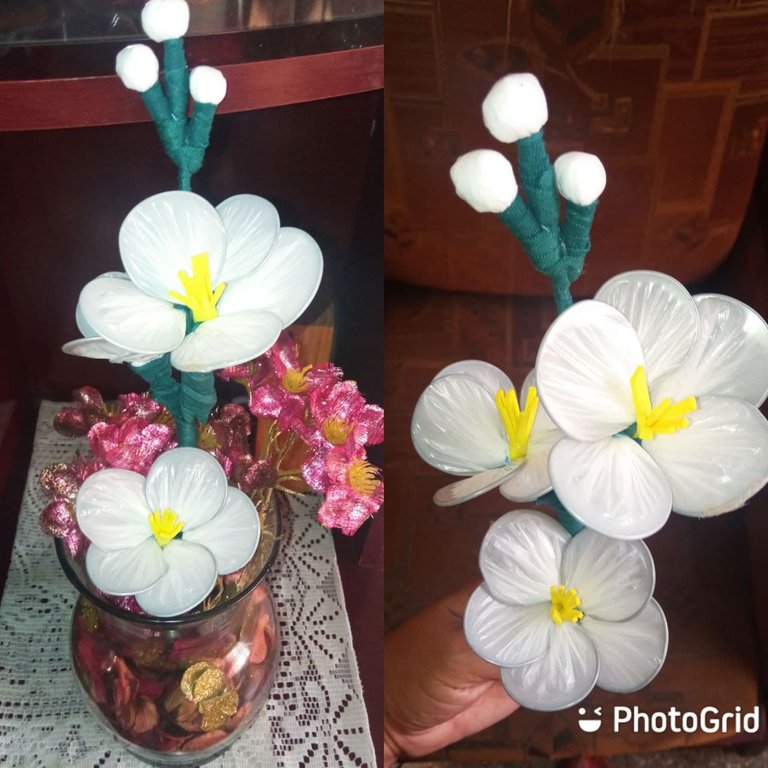
Feliz domingo amigos de HiveDiy, el día de hoy les traigo el tutorial de un lindo ramo de flores elaborado con alambre y bolsas plásticas que tenía en des uso y con ello doy mi entrada al concurso Wire World de esta semana en esta creatividad comunidad.
Estas flores las vi hace muchísimo tiempo y desde ese momento me dio curiosidad por hacerla ya que quería comprobar su calidad visual y estetitisismo ya que los materiales no son de altura y les cuento que son una verdadera belleza y confirma que todo tiene una segunda oportunidad cuando la creatividad y la disposición están presenten y de la mano.
No tenía los materiales adecuados así que tuve que improvisar, pero al ver los resultados ya quiero cambiar mi arreglo floral de la sala por uno creado con esta manualidad, así que pronto me haré de los materiales correctos para mejorar la apariencia que aunque no quedó mal siempre es bueno mejorar la calidad de los productos.
Happy Sunday friends of HiveDiy, today I bring you the tutorial of a nice bouquet of flowers made with wire and plastic bags that I had in disuse and with it I give my entry to the Wire World contest this week in this creative community.
I saw these flowers a long time ago and from that moment I was curious to make it because I wanted to check their visual quality and aestheticism since the materials are not high and I tell you that they are a real beauty and confirms that everything has a second chance when creativity and willingness are present and hand in hand.
I did not have the right materials so I had to improvise, but seeing the results I already want to change my living room floral arrangement for one created with this craft, so soon I will get the right materials to improve the appearance that although it was not bad it is always good to improve the quality of the products.
Los materiales utilizados son:
The materials used are:
- Bolsas plásticas del color de preferencia.
- Alambre de construcción.
- Tijeras.
- Pinza de albañilería.
- Floraté. Este material no lo tenía así que lo suplante por tiras de tela de color verde para forrar el alambre.
- Tapa plástica pequeña.
- Hilo de coser.
- Pistilos. No tenía, así que Los elaboré en foami.
- Plastic bags of the color of preference.
- Construction wire.
- Scissors.
- Masonry pliers.
- Floraté. I didn't have this material so I replaced it with strips of green fabric to line the wire.
- Small plastic cap.
- Sewing thread.
- Pistils. I didn't have them, so I made them in foami.

Paso a Paso / Step by step
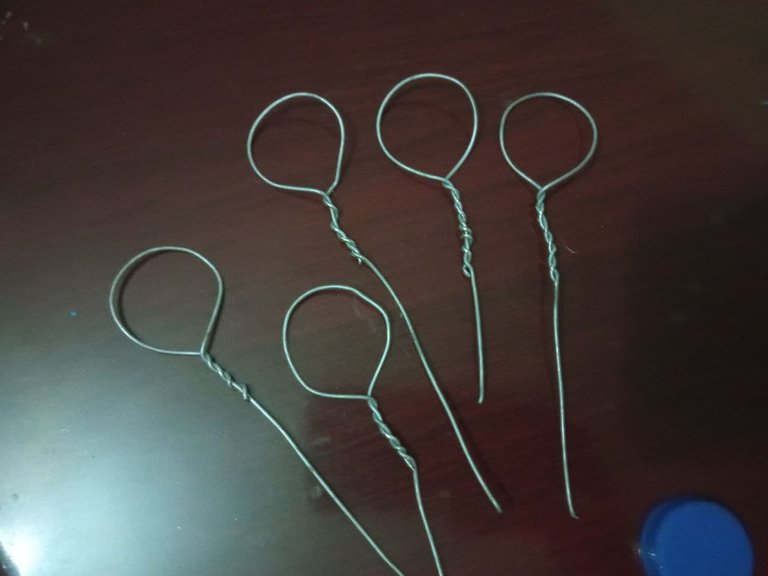
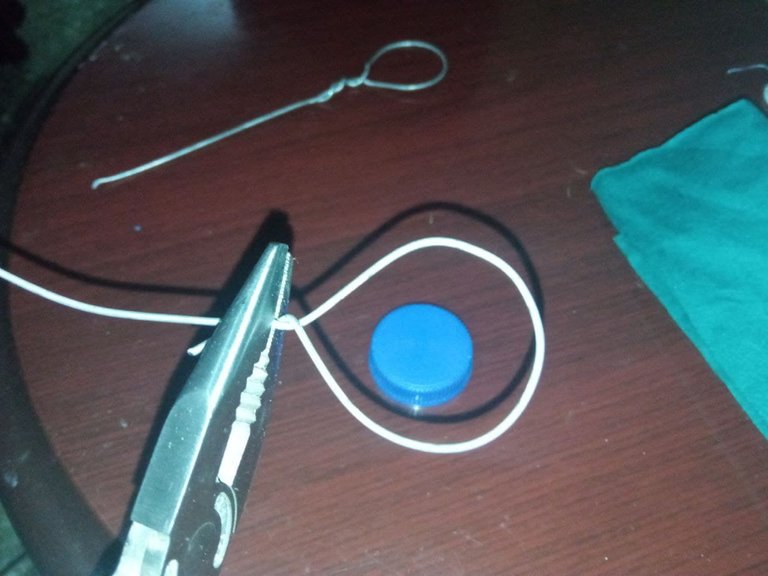
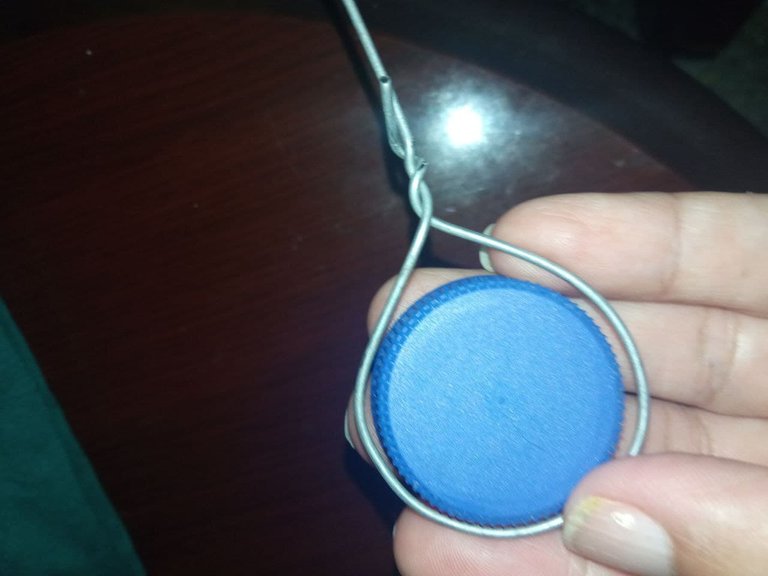
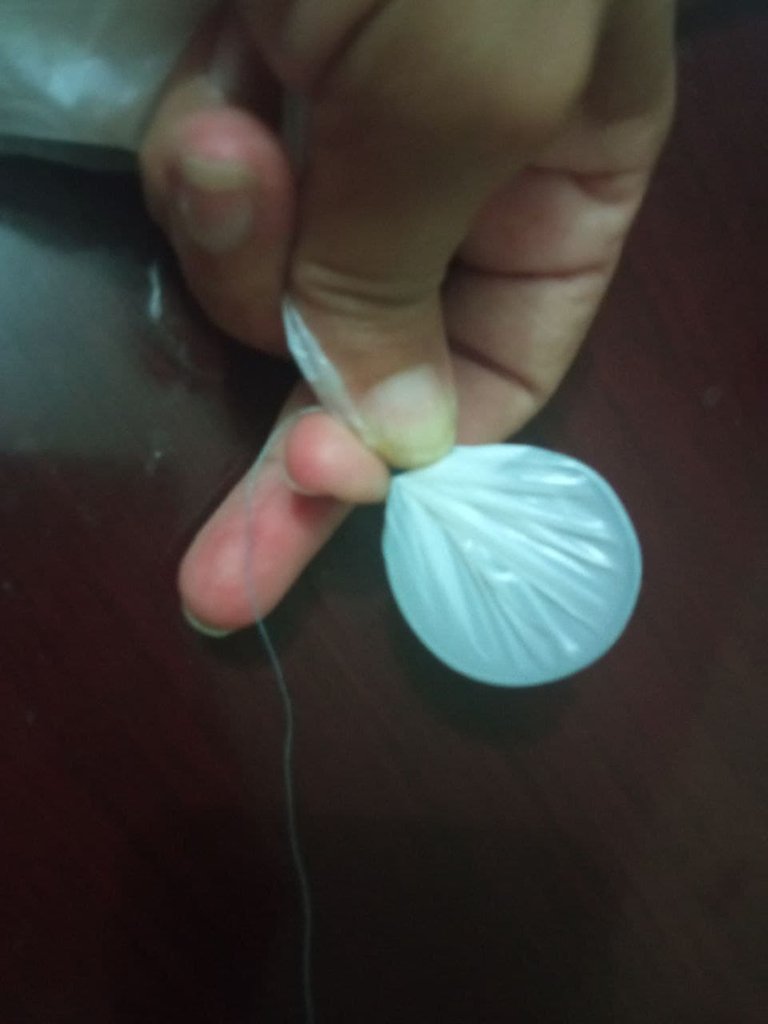
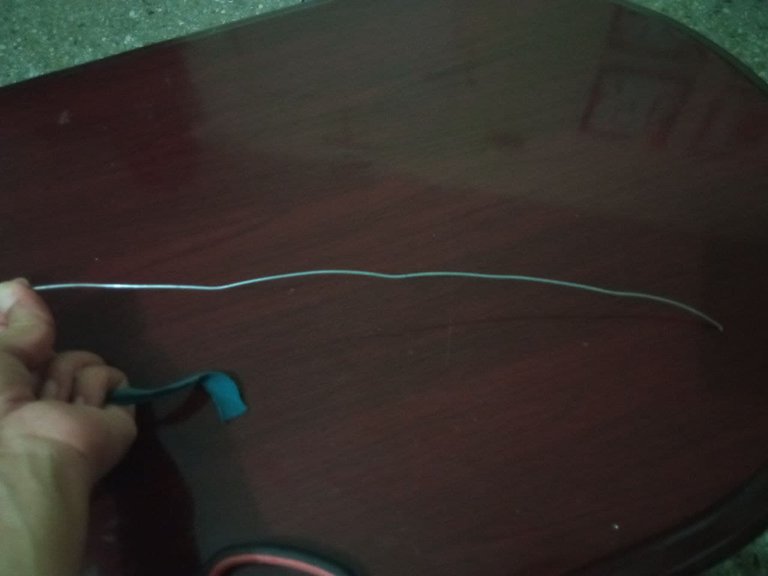
1.- Cortamos trozos de alambre de unos 12 cm. Serán cinco por cada flor que deseemos hacer. Con cada alambre vamos formar un círculo en uno de sus extremos, del tamaño de la tapa, para ello nos ayudaremos con la pinza.
1.- We cut pieces of wire about 12 cm long. There will be five for each flower we want to make. With each wire we are going to form a circle in one of its ends, the size of the lid, for this we will help us with the tweezers.
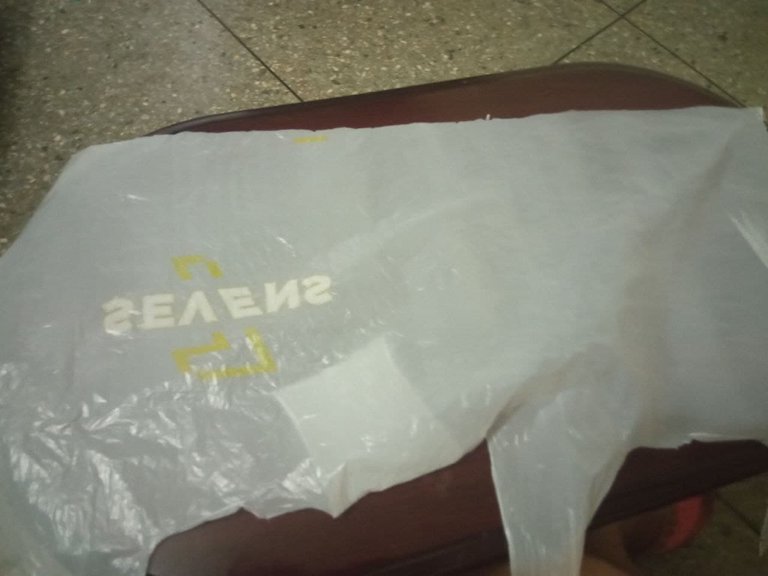
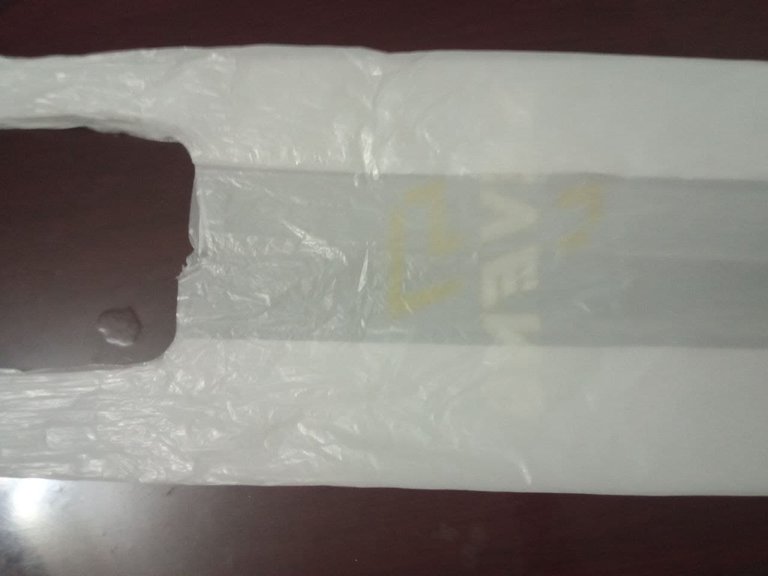
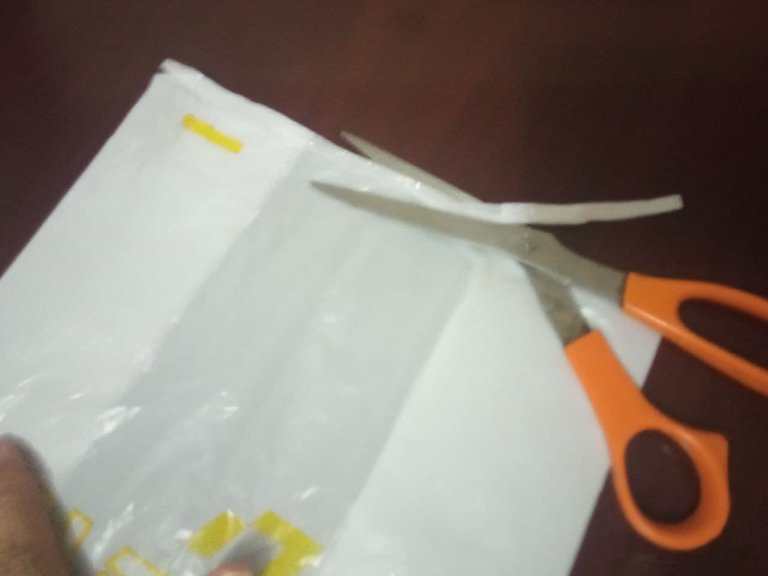
2.- Tomamos la bolsa y cortamos sus uniones para que nos quede tipo pliego.
2.- We take the bag and cut its joints so that it is like a fold.
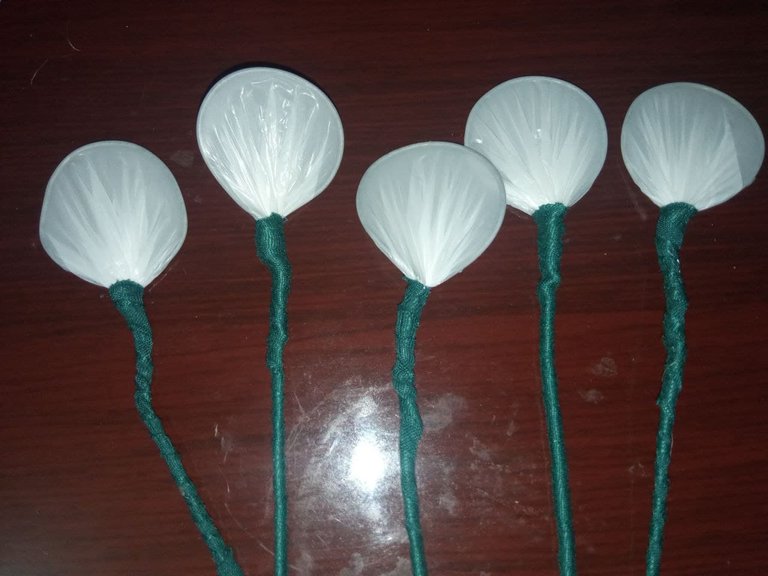
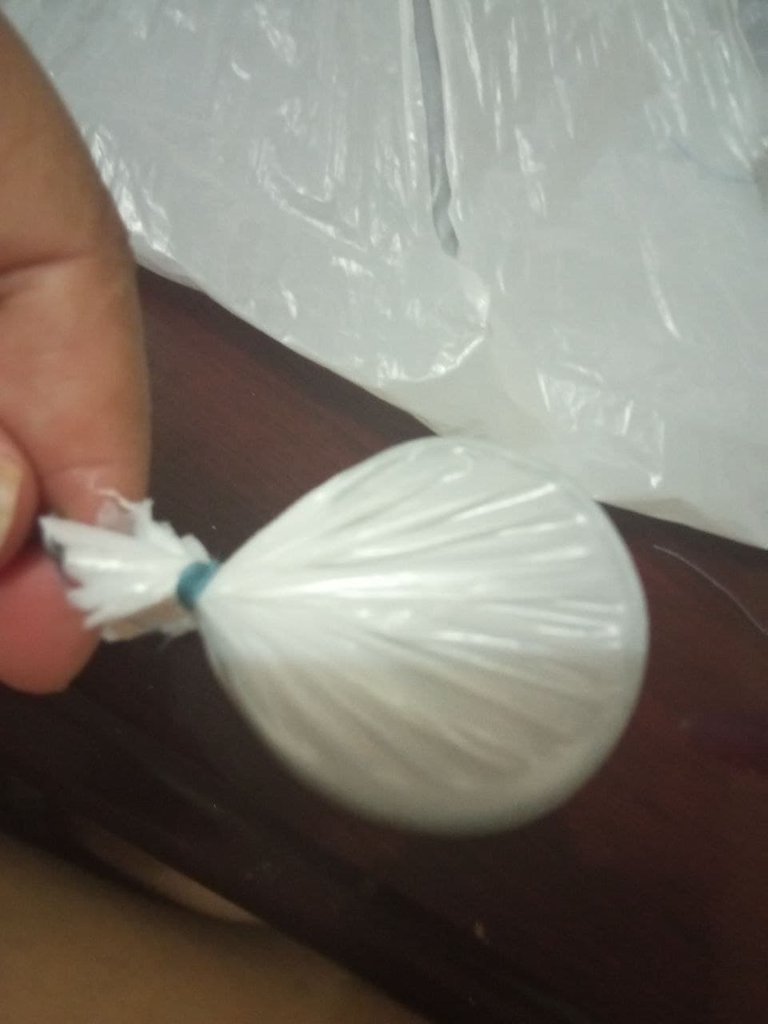
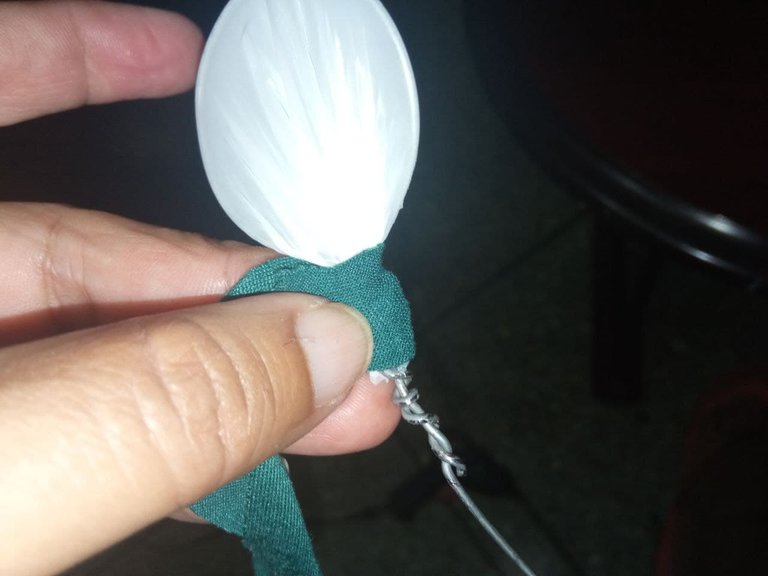
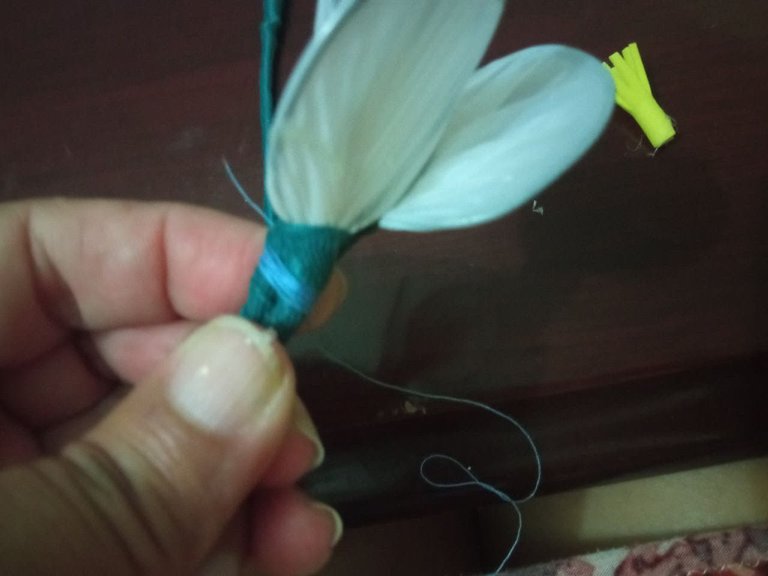
4.- Tomamos cada alambre trabajado y vamos uno a uno a forrar su círculo, con la bolsa plástica; con ayuda del hilo de coser fijamos la bolsa al círculo. Luego con la tela verde forramos el tallo del pétalo y hemos formado así los pétalos de la flor.
4.- We take each wire we have worked on and one by one we cover its circle with the plastic bag; with the help of the sewing thread we fix the bag to the circle. Then with the green fabric we cover the stem of the petal and we have formed the petals of the flower.
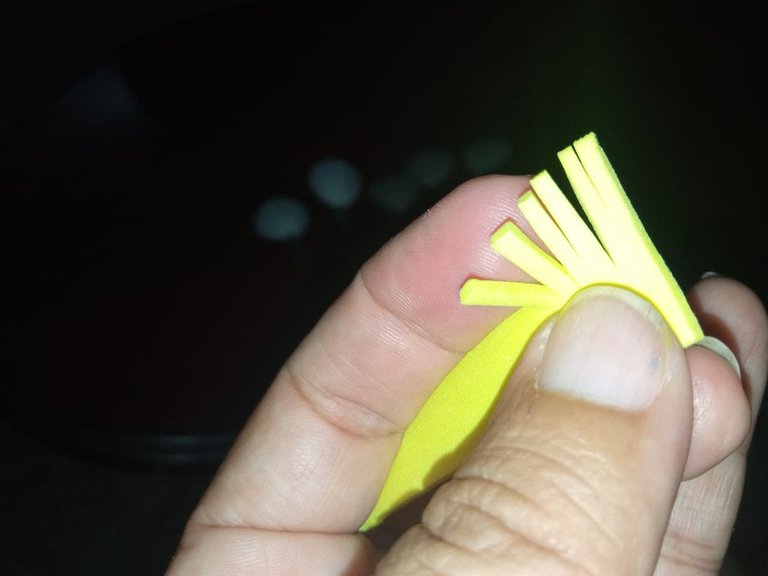
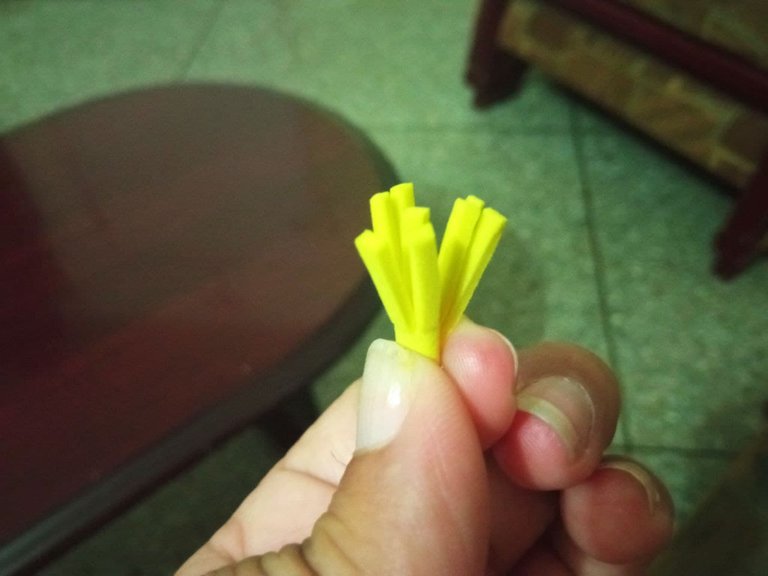
5.- Para recrear los pistilos, corté un trozo de foami amarillo y le hice cortes muy delgados uno al lado del otro sin cortar totalmente el foami, luego lo enrolle y le coloque un punto de silicón para fijar.
5.- To recreate the pistils, I cut a piece of yellow foami and made very thin cuts side by side without cutting the foami completely, then I rolled it and put a silicone dot to fix it.
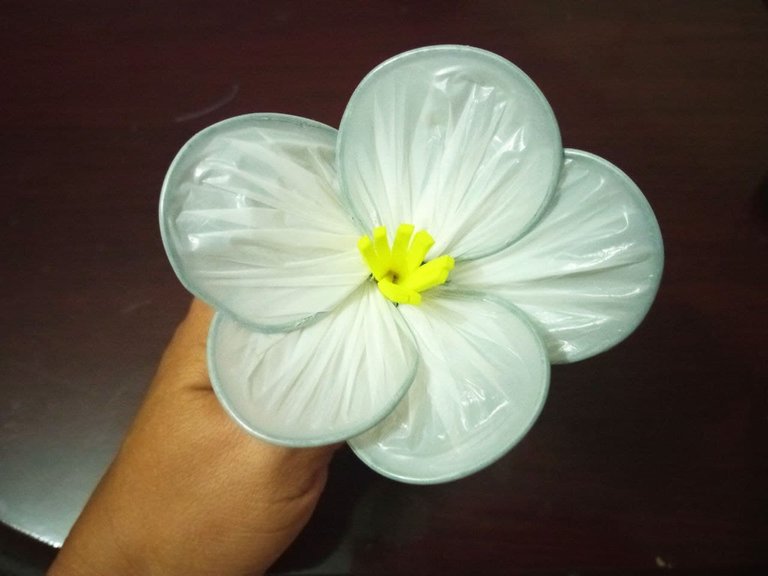
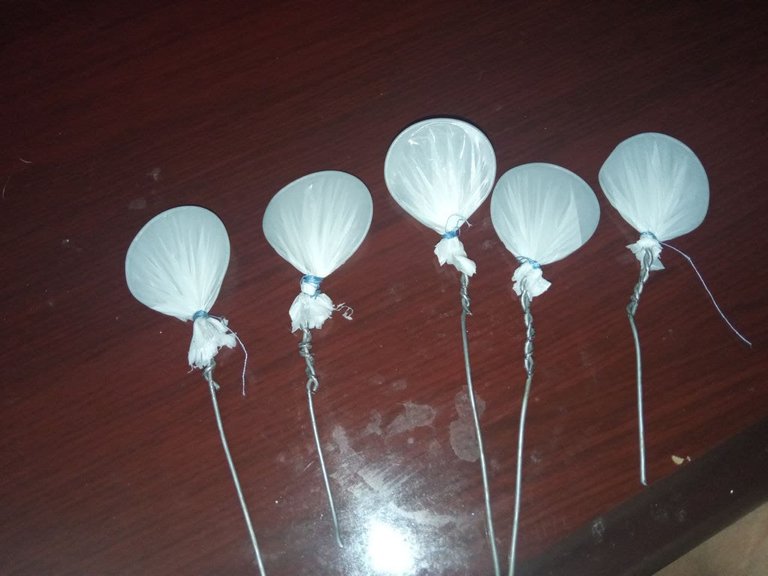
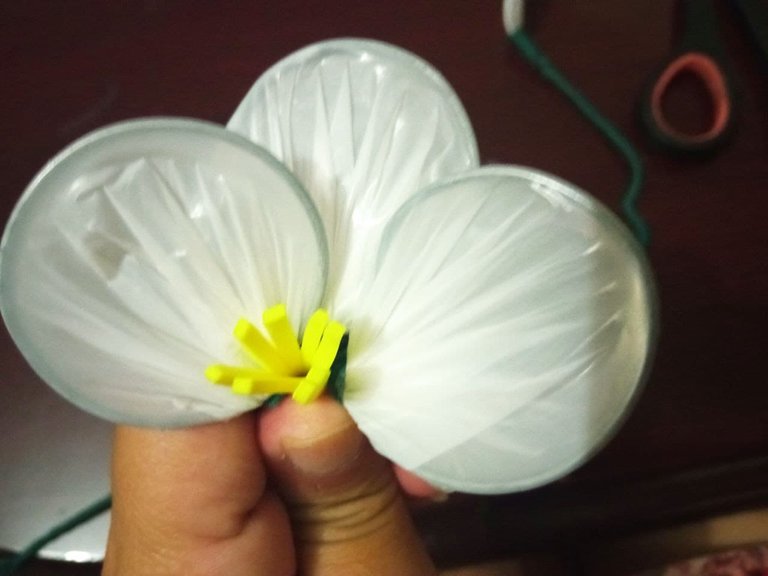
6.- Para armar la flor, fijé el pistilo a uno de los pétalos colocando un punto de silicón, luego fui colocando uno a uno los pétalos y los iba amarrando con el hilo de coser. Por último coloqué la tela verde enrollando por todo el largo del tallo de la flor. Así vamos a crear todas las flores que necesitamos.
6.- To assemble the flower, I attached the pistil to one of the petals by placing a silicone stitch, then I placed the petals one by one and tied them with the sewing thread. Finally, I placed the green fabric rolling it along the entire length of the stem of the flower. This is how we are going to create all the flowers we need.
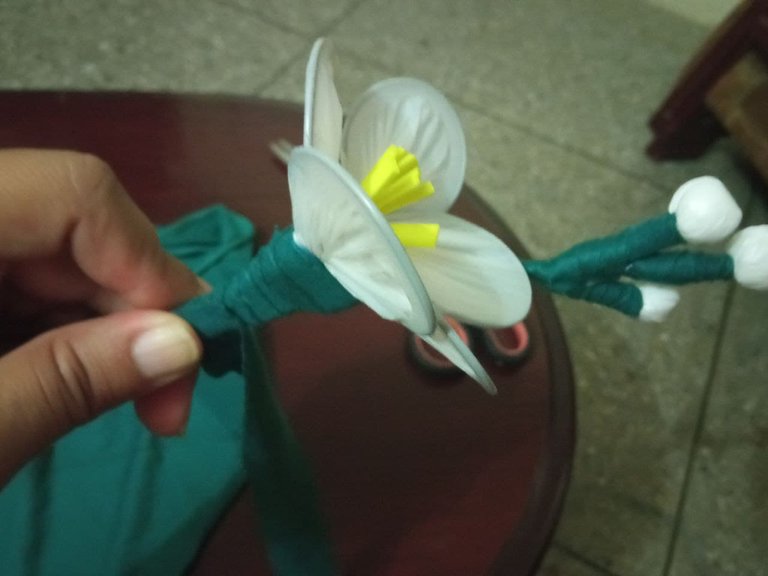
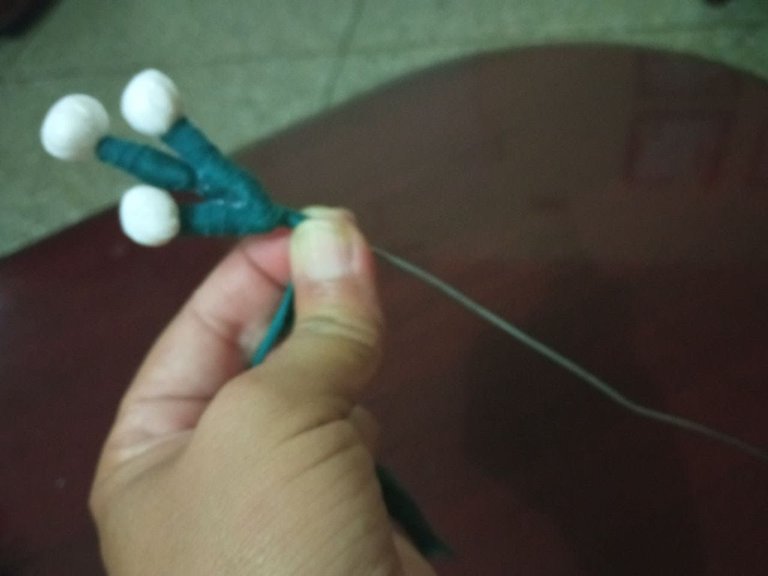
7.- Cortamos un trozo de alambre como de 50 cm para formar nuestro ramo. Comenzamos colocando algún detalle, en mi caso hice unas bolitas que asemejan unos capullos redondos, vamos forrando el alambre con la tela y vamos colocando las flores según nuestro gusto a medida que forramos el alambre hasta el final.
7.- We cut a piece of wire about 50 cm long to form our bouquet. We start placing some details, in my case I made some little balls that resemble round buds, we are lining the wire with the fabric and we are placing the flowers according to our taste as we cover the wire until the end.
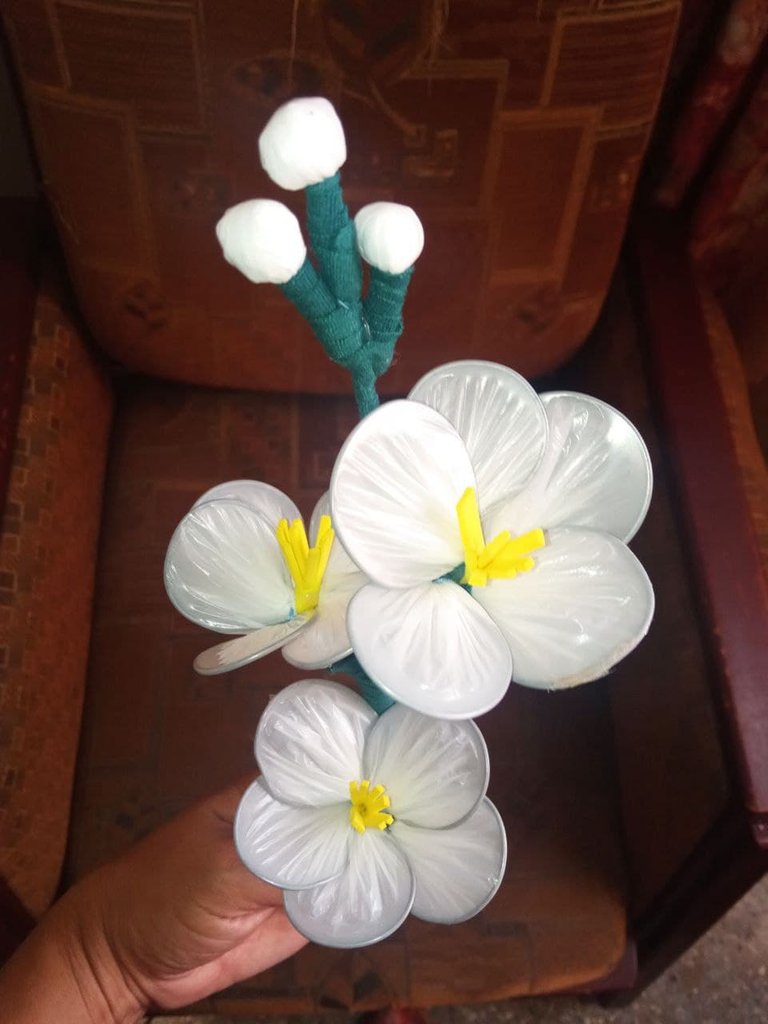
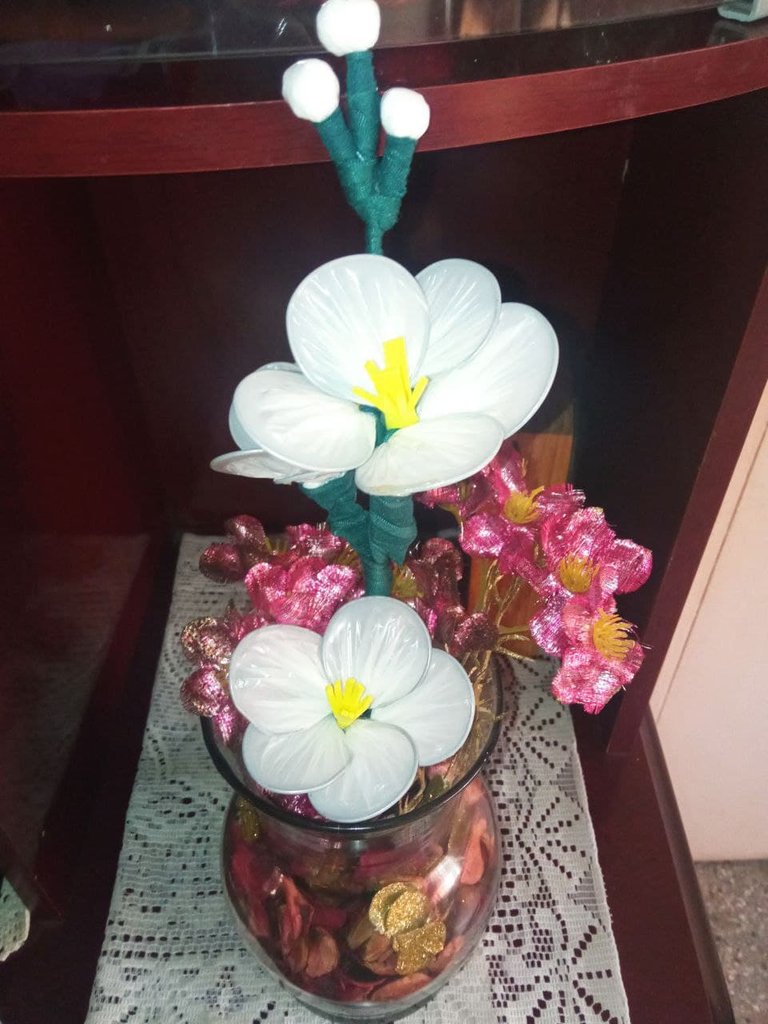
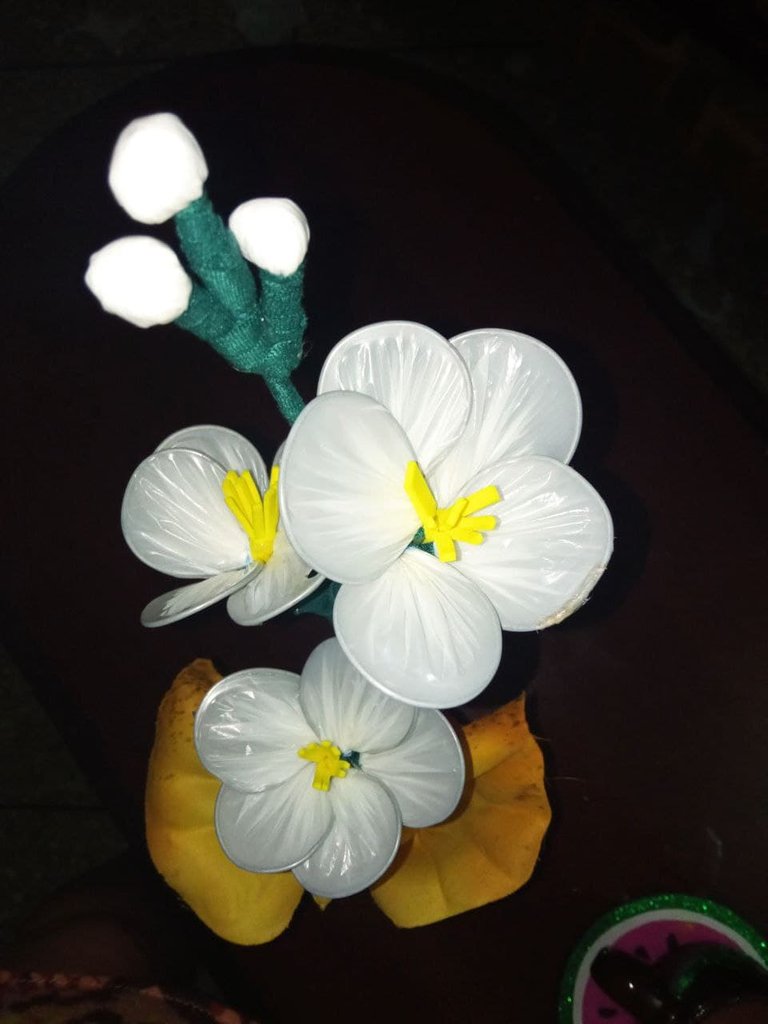
Como pueden observar este a sido el resultado de un reciclaje perfecto y hermoso que seguro nos servirá pata adornar nuestra sala ya que quedan muy delicadas.
As you can see this has been the result of a perfect and beautiful recycling that will surely serve us to decorate our living room as they are very delicate.
El alambre utilizado es bastante fuerte y me dio trabajo doblarlo aunque tenía la ayuda de la pinza pero me permitió mantener la forma del pétalo cuando lo forraba con la bolsa. Mis manos quedaron un poco adoloridas pero yo feliz con el resultado y dispuesta a crear varios ramos para realizar el arreglo floral de mi sala.
Espero les haya gustado mi post y les sirva de idea para realizar sus flores encasa. Invito a @jineska a sorprendernos con su gran creatividad en este maravilloso concurso. saludos.
The wire used is quite strong and I had a hard time bending it even though I had the help of the pliers but it allowed me to keep the shape of the petal when I lined it with the bag. My hands were a little sore but I was happy with the result and ready to create several bouquets to make the floral arrangement of my living room.
I hope you liked my post and that it will serve as an idea to make your flowers at home. I invite @jineska to surprise us with her great creativity in this wonderful contest. greetings.


Electronic-terrorism, voice to skull and neuro monitoring on Hive and Steem. You can ignore this, but your going to wish you didnt soon. This is happening whether you believe it or not. https://ecency.com/fyrstikken/@fairandbalanced/i-am-the-only-motherfucker-on-the-internet-pointing-to-a-direct-source-for-voice-to-skull-electronic-terrorism
Electronic-terrorism, voice to skull and neuro monitoring on Hive and Steem. You can ignore this, but your going to wish you didnt soon. This is happening whether you believe it or not. https://ecency.com/fyrstikken/@fairandbalanced/i-am-the-only-motherfucker-on-the-internet-pointing-to-a-direct-source-for-voice-to-skull-electronic-terrorism
@mariela-b te diré que se ven muy lindas las flores. Excelente trabajo! saludos