Confeccionando un Pantalón Stresh muy Fácil👖
🌸Hola Comunidad HIVE🌸
Hello HIVE Community
Además de que su confección es una de las mas fáciles y rápida, cuando tenemos la práctica, porque cuando hice mi primer basta con tener un patrón para cortar las piezas que solo son tres 3 y su armado es sin gran complejidad.
Sin mas pasamos a detallar los materiales y el tutorial para realizar esta practica pieza.
In addition to its preparation is one of the easiest and fastest, when we have the practice, because when I made my first just have a pattern to cut the pieces that are only three 3 and its assembly is without great complexity.
Without further ado we detail the materials and the tutorial to make this practical piece.
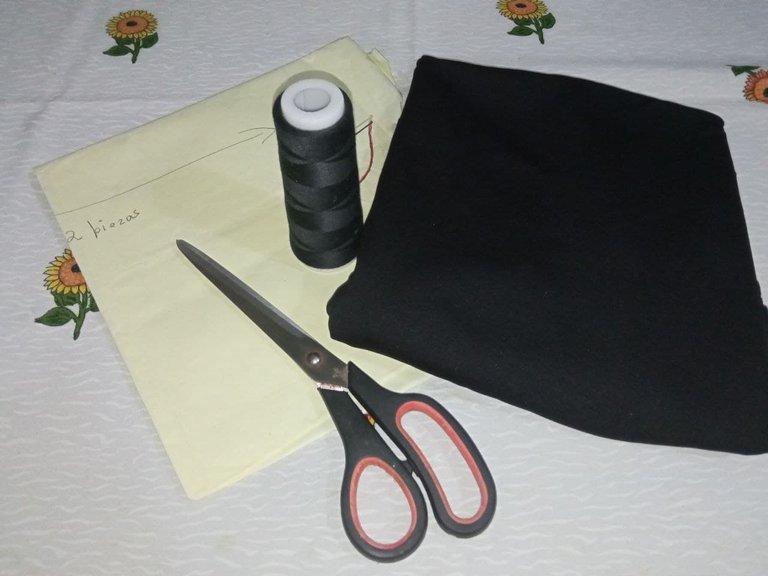
- Tela streh.
- Patrón.
- Hilo, Tijeras.
- Máquina de coser.
- Tela streh.
- Patrón.
- Hilo, Tijeras.
- Máquina de coser.
Paso a Paso / Step by step
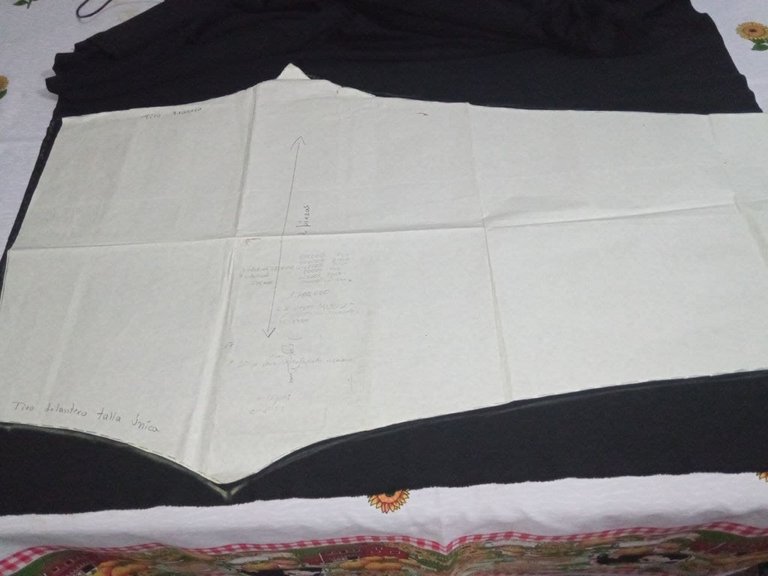
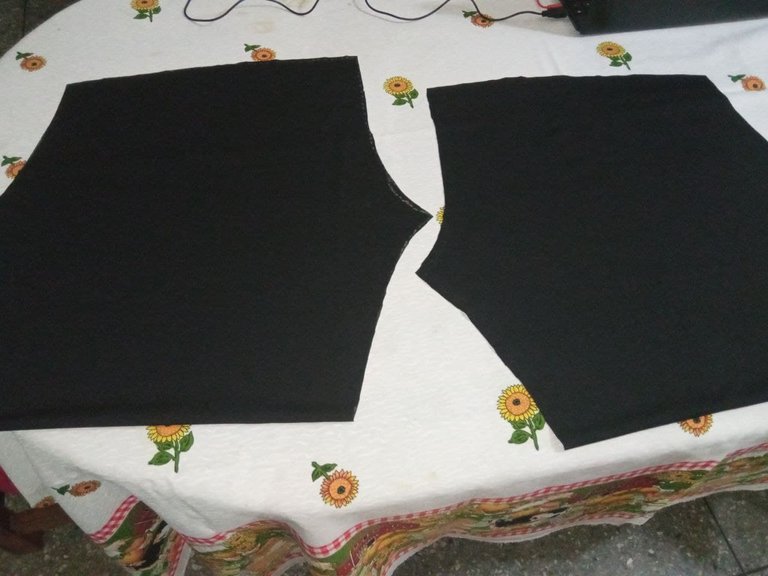
1.- Cortamos dos piezas del patrón exactamente iguales, que corresponden a cada pierna del pantalón, ya que este modelo no tiene costura a los lados.
Aquí hay un tips, para las que no somos costureras, que lo aprendí cuando corté mi primer leggins ya que dañé la tela y es que debemos cortar una pieza o pierna y para cortar la otra debemos hacerlo colocando la pieza cortada encima fijándonos bien de enfrentar derecho con derecho o revés con revés de la tela y cortar. Es mas fácil cuando la tela es estampada, en las unicolores cuesta un poco definir los derechos, dependiendo el tipo de tela.
1.- We cut two pieces of the pattern exactly the same, corresponding to each leg of the pants, since this model has no seam on the sides.Here is a tip, for those of us who are not seamstresses, that I learned when I cut my first leggings because I damaged the fabric and that is that we must cut one piece or leg and to cut the other we must do it by placing the cut piece on top of it, making sure to face right to right or back to back of the fabric and cut. It is easier when the fabric is printed, in the unicolored ones it costs a little to define the rights, depending on the type of fabric.
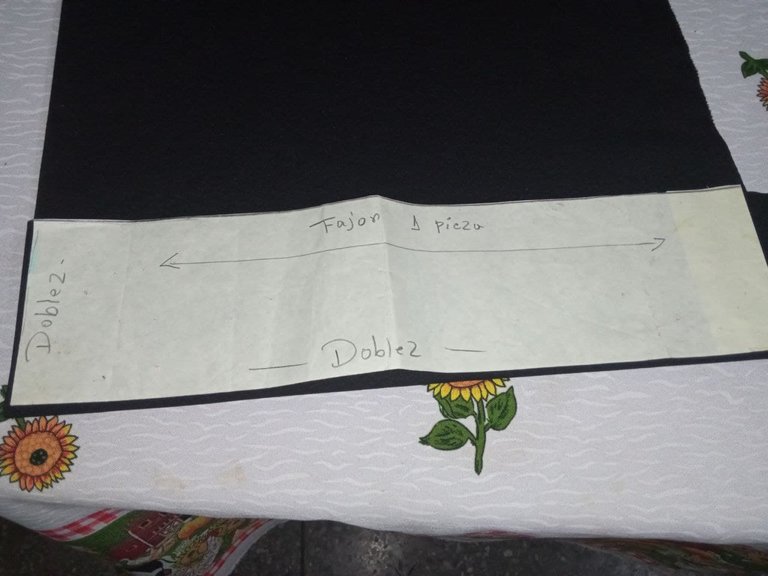
2.- Superado el paso anterior, Cortamos el fajín o cintura del pantalón.
2.- Once the previous step is over, we cut the sash or waistband of the pants.
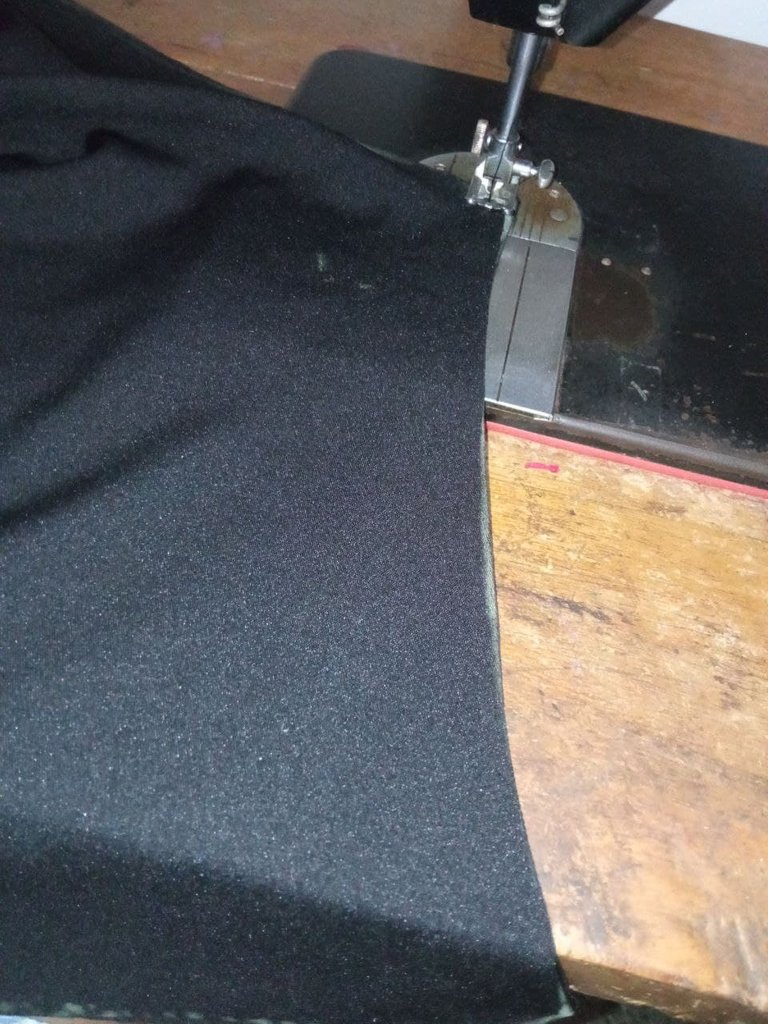
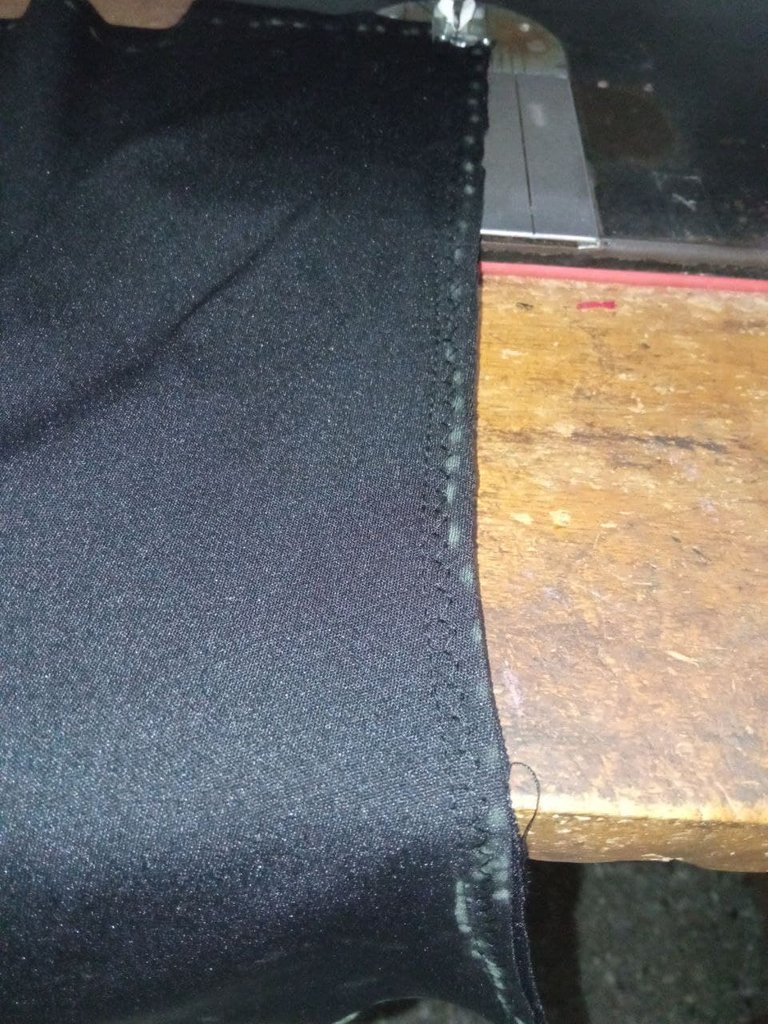
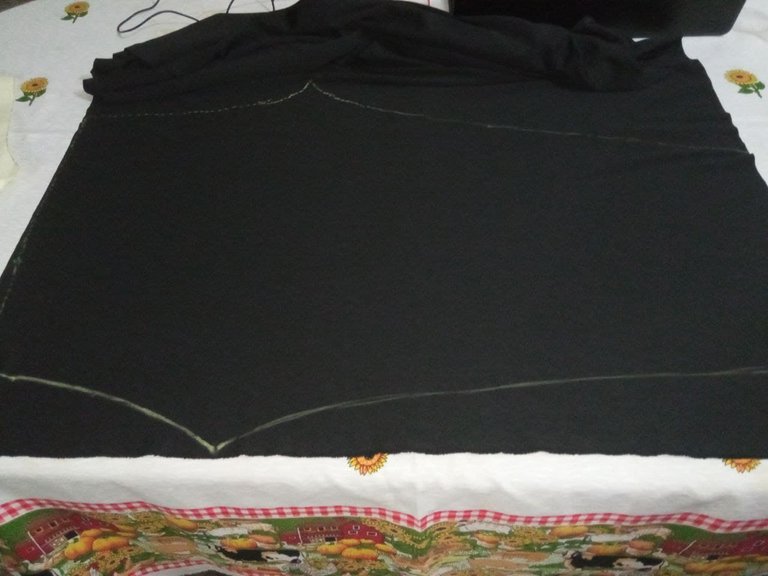
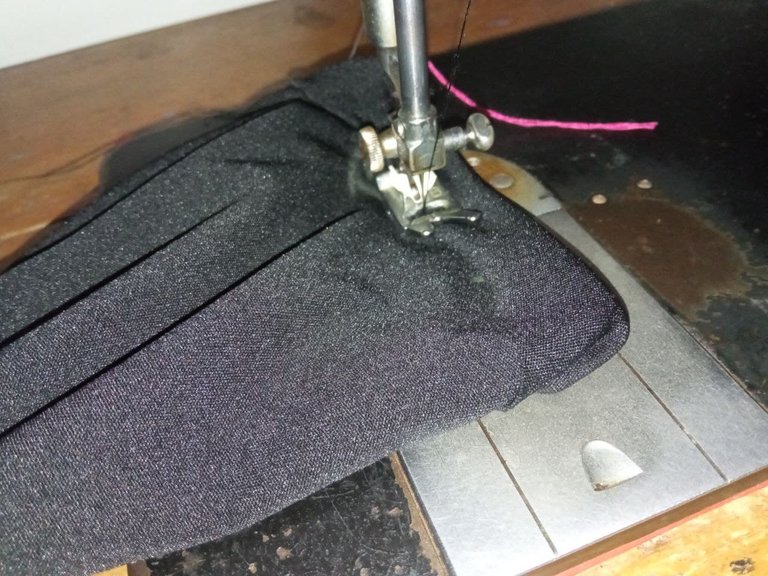
3.- Iniciamos el proceso de ensamblado enfrentando los derechos de las piezas de las piernas y luego pasamos costura por la parte central delantera e igualmente lo hacemos en la parte central trasera.
3.- We start the assembly process facing the rights of the leg pieces and then we sew through the front central part and we do the same in the back central part.
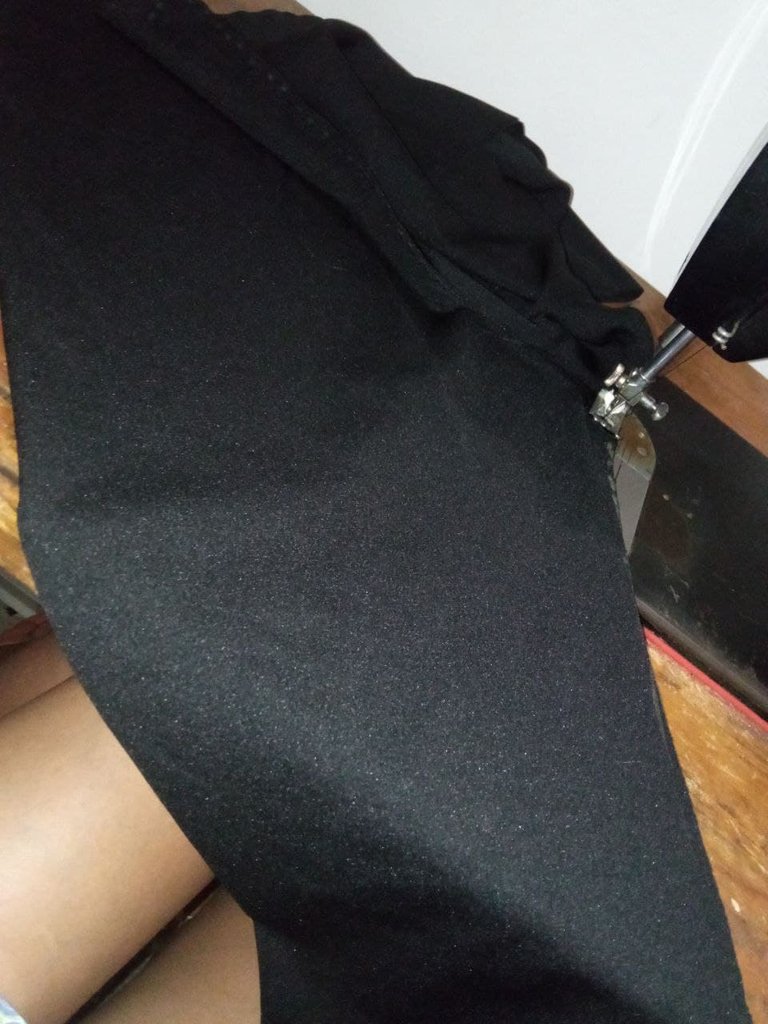
4.- A continuación cocemos la parte de la entrepierna hasta el final de piernas.
4.- Next we sew the crotch part until the end of the legs.

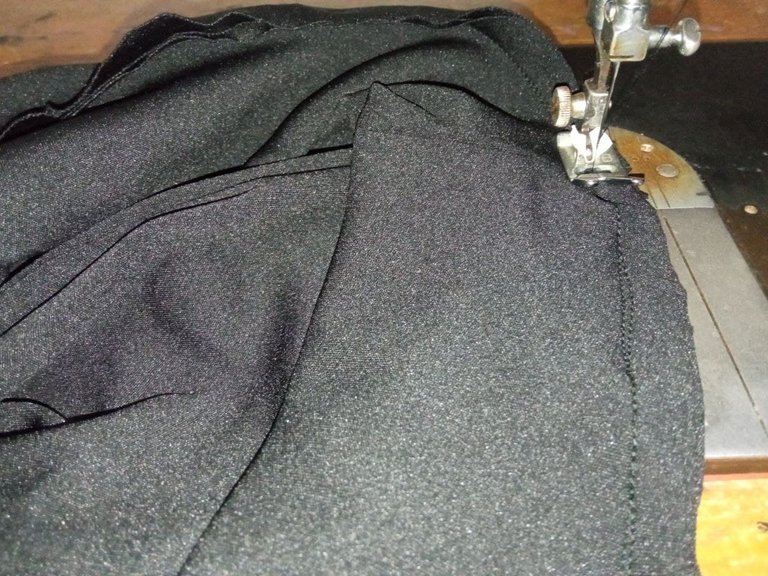
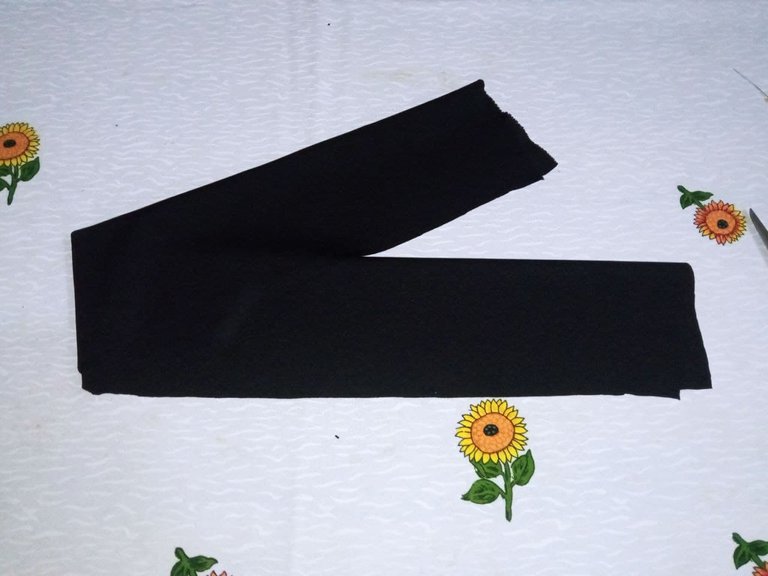
5.- Tomamos la pieza del fajín y unimos la pieza pasando una costura por sus extremos. Luego pegamos la pieza a la cintura o pretina del pantalón.
5.- We take the piece of the sash and we join the piece passing a seam through its ends. Then we glue the piece to the waistband or waistband of the pants.
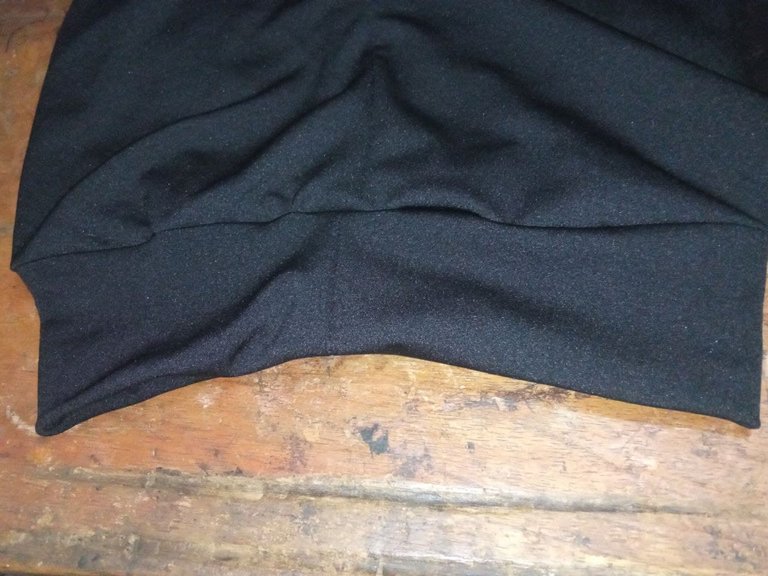
6.- Realizamos el ruedo para finalizar la confección de esta prenda. 6.- We make the hem to finish the making of this garment.
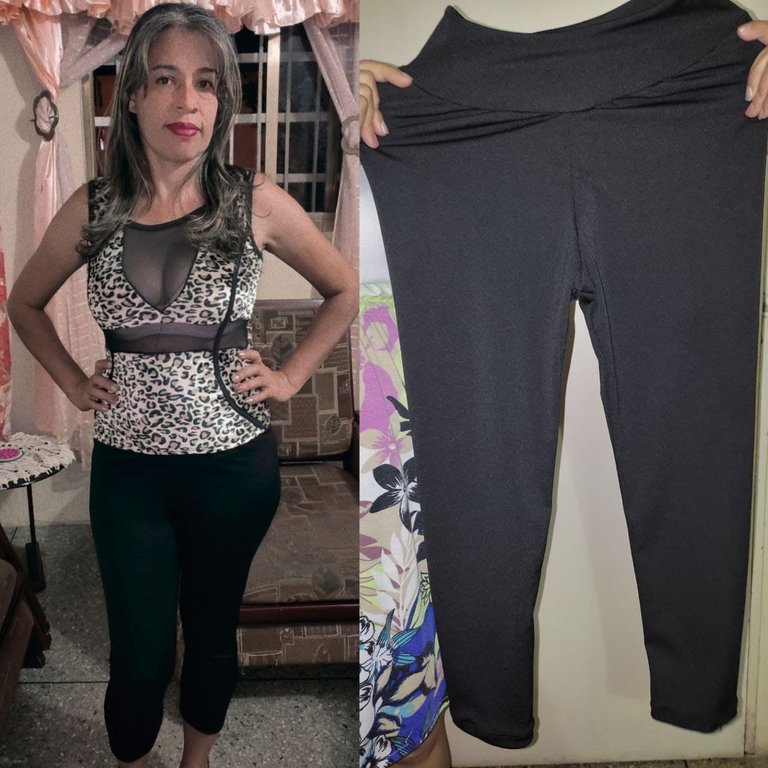
Quedándonos un fácil y práctico pantalón stresh muy cómodo, sin costuras a los lados y muy versátil a la hora de salir a cualquier actividad o compromiso social sólo escogiendo una blusa acorde a la ocasión ya que el pantalón en sí no necesita más que un buen criterio al elegir la parte superior a usar.
We are left with an easy and practical stresh pants very comfortable, without seams on the sides and very versatile when going out to any activity or social engagement just choosing a blouse according to the occasion since the pants itself does not need more than a good criterion when choosing the top to use.
Con esto me despido esperando haberme hecho entender y les pueda servir este tutorial para una ocasión en que necesiten la confección de este tipo de prenda.
With this I say goodbye hoping that I have made myself understood and that this tutorial can be useful for an occasion when you need to make this type of garment.
Photos of my Property, taken with a Redmi 9

te quedo fino amiga, yo quiero que me hagas uno jajaj
Lovely thanks for sharing