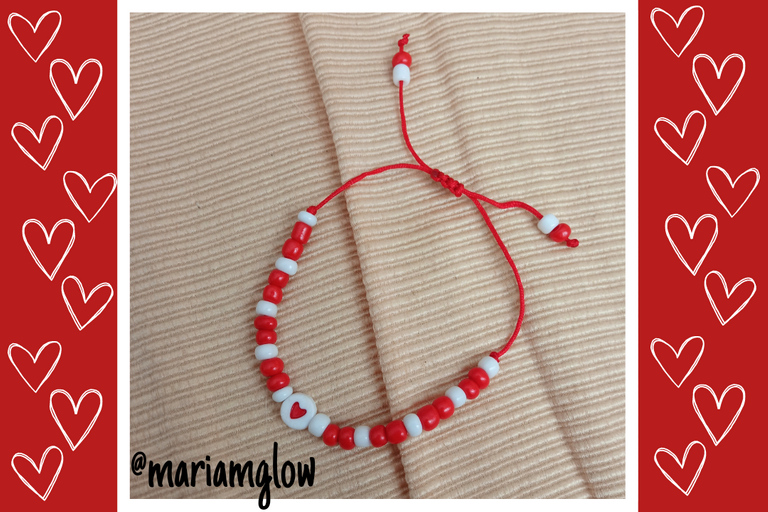
[ESP|ENG] Red thread bracelet with heart and beads. || Pulsera de hilo rojo con corazón y mostacillas. ❤️
Espero que estén pasando un lindo jueves!!❣️ Estoy muy contenta porque nuevamente estoy por aquí para compartirles uno de mis posts en esta bonita comunidad, para esta ocasión les presentaré el paso a paso de cómo hacer esta linda pulsera de hilo rojo con un dije de corazón y mostacillas. Espero que este post les guste mucho chicos, sin más nada que mencionar, a continuación les indicaré los materiales y cómo la hice:
I hope you are having a nice Thursday!!❣️ I am very happy because again I am here to share with you one of my posts in this nice community, for this occasion I will present you the step by step of how to make this cute red thread bracelet with a heart charm and beads. I hope you guys like this post a lot, without anything else to mention, next I will tell you the materials and how I made it:
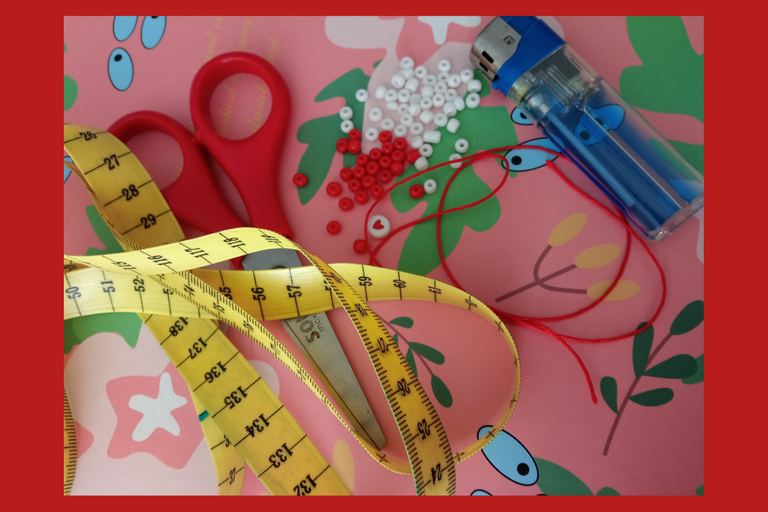
📌 Materiales:
- Hilo chino o macramé, color rojo.
- Dije acrílico de corazón.
- Mostacillas, colores: blanco y rojo.
- Cinta métrica.
- Tijera.
- Encendedor.
📌 Materials:
- Chinese thread or macramé, red color.
- Acrylic heart charm.
- Beads, colors: white and red.
- Measuring tape.
- Scissors.
- Lighter.
📌 Paso a paso:
📌 Step by step:
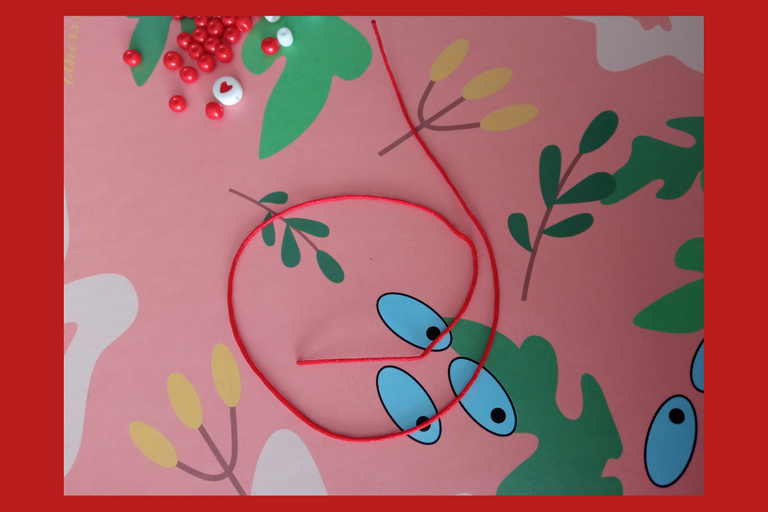
Primero cortamos 40 centímetros de hilo.
First we cut 40 centimeters of thread.
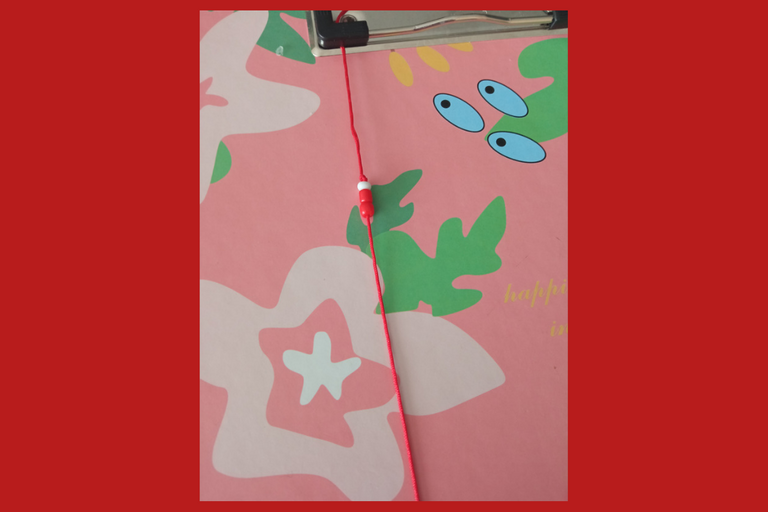
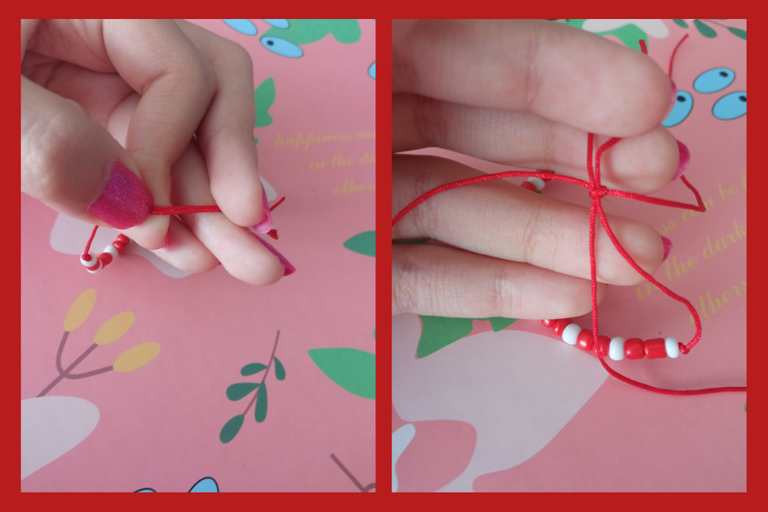
Dejamos un largo considerable de hilo para poder luego hacer el nudo que nos permita ajustarnos la pulsera, y formamos un nudo simple, ajustamos muy bien.
We leave a considerable length of thread to be able to then make the knot that allows us to adjust the bracelet, and form a simple knot, we adjust very well.

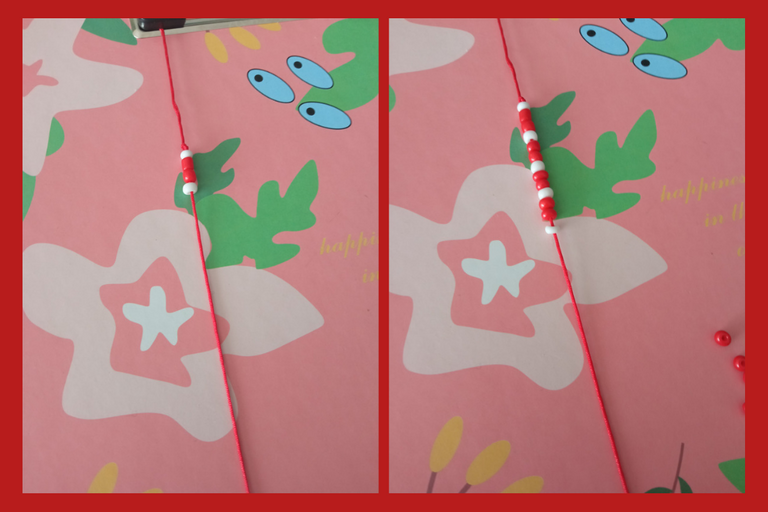
Yo coloqué el hilo en la base porque se me hace mucho más fácil y me siento cómoda así pero no es necesario. Entonces, primero introducimos una mostacilla blanca y luego dos mostacillas rojas.
I put the thread at the base because it is much easier and I feel comfortable this way but it is not necessary. Then, first we insert a white bead and then two red beads.
Después introducimos una mostacilla blanca y dos mostacillas rojas, y así sucesivamente hasta obtener 13 mostacillas.
Then we insert a white bead and two red beads, and so on until we have 13 beads.
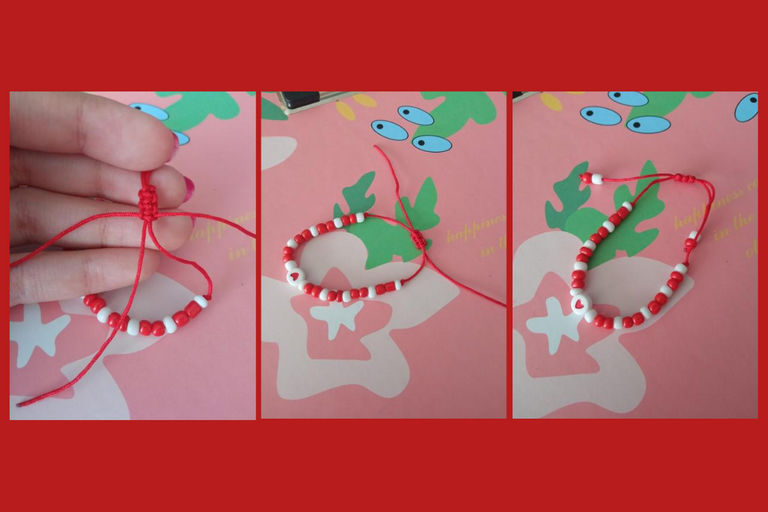
Luego introducimos el dije de corazón, e insertamos las mostacillas con el mismo orden y la misma cantidad que del otro extremo.
Then we insert the heart pendant, and we insert the beads in the same order and the same quantity as at the other end.
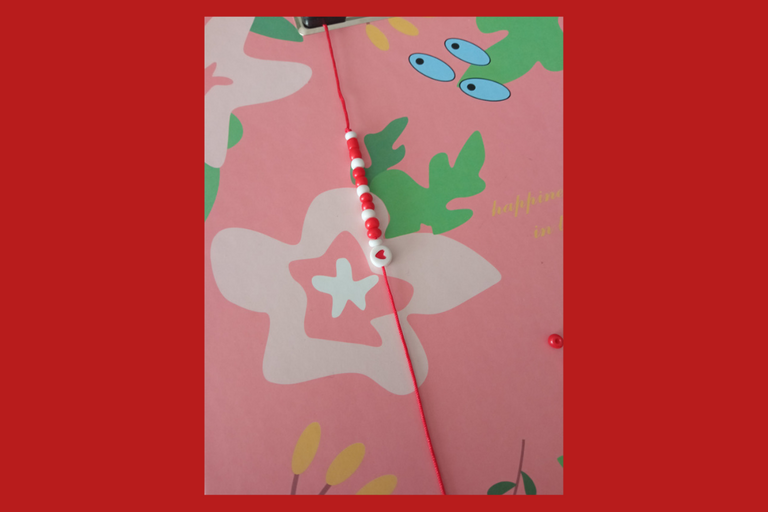
Hacemos un nudo simple que quede bien ajustado.
We make a simple knot that fits tightly.
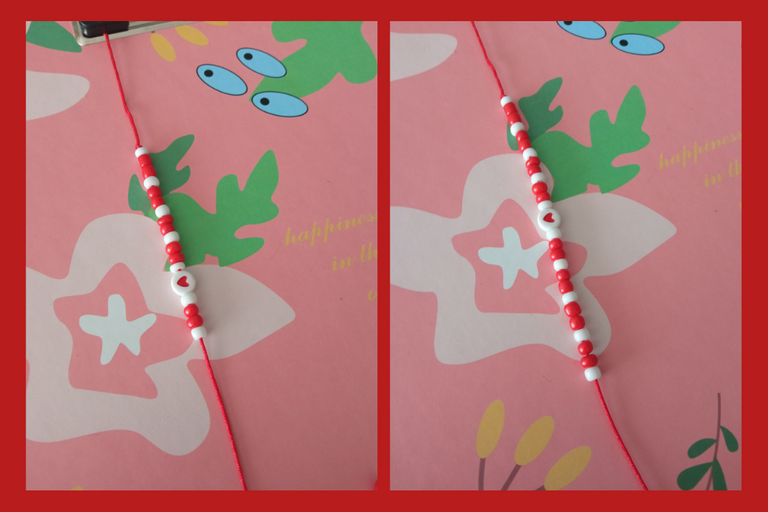
Y procedemos a realizar el nudo plano para poder ajustarnos como queramos nuestra pulsera, para eso necesitamos un trozo de hilo de 25 o 30 centímetros aproximadamente. Unimos los dos extremos de la pulsera y comenzamos a tejer, colocamos el trozo de hilo por debajo, y en el lado derecho formamos una "D" y pasamos el otro extremo del hilo por debajo y lo sacamos por el centro de la "D", luego formamos la "D" en la izquierda, y así vamos tejiendo, he hecho varios posts explicando detalladamente como se teje este nudo por si no me has entendido del todo.
And we proceed to make the flat knot to be able to adjust as we want our bracelet, for that we need a piece of thread of 25 or 30 centimeters approximately. We join the two ends of the bracelet and begin to weave, we place the piece of thread underneath, and on the right side we form a "D" and pass the other end of the thread underneath and take it out through the center of the "D", then form the "D" on the left, and so we weave, I have made several posts explaining in detail how to weave this knot if you have not fully understood me.
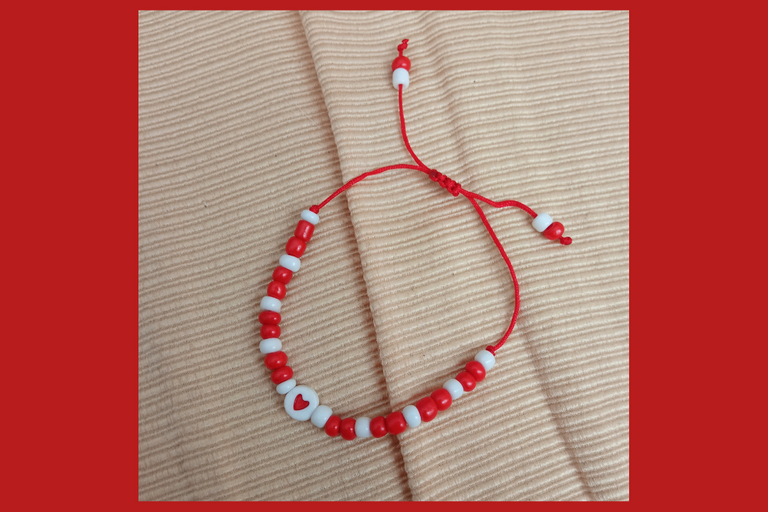
Luego de haber hecho varios nudos cortamos lo que sobra de hilo y quemamos para sellar. En los hilos que cuelgan introducimos dos mostacillas una de color blanco y otra de color rojo, hacemos un nudo simple y sellamos con ayuda del encendedor.
After we have made several knots, we cut the leftover yarn and burn to seal. In the threads that hang we introduce two beads, one white and one red, we make a simple knot and seal with the help of the lighter.
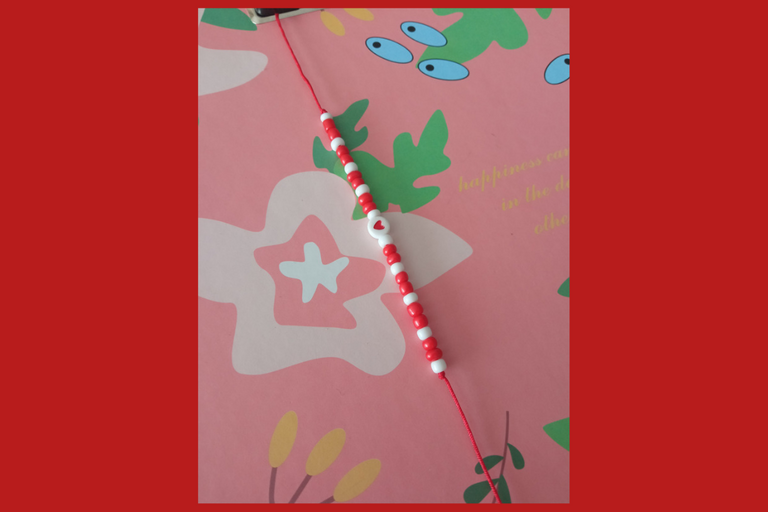
Y este ha sido el resultado!!❣️ Al final me pareció perfecta para obsequiar en San Valentín. 📌Podemos realizarla con otro color de hilo, el de tu preferencia o el que tengas en casa, usar otros colores de mostacillas, o utilizar cristales swarovski, estas son las ideas que les comparto en mis posts, de como también pueden elaborar mi proyecto del día, para que si en alguna ocasión quieren hacerlo y no quieran recrearlo igual, pues yo les comparto algunas alternativas para que no tengan que hacer exactamente lo mismo que yo. Chicos, espero que les haya gustado tanto como a mí esta pulsera, muchas gracias por leer, hasta una próxima oportunidad!!
And this has been the result!!!❣️ In the end I found it perfect for Valentine's Day gifts. 📌We can make it with another color of thread, the one of your preference or the one you have at home, use other colors of beads, or use swarovski crystals, these are the ideas that I share with you in my posts, how you can also make my project of the day, so that if you ever want to do it and do not want to recreate it the same, well I share some alternatives so you do not have to do exactly the same as me. Guys, I hope you liked this bracelet as much as I did, thank you very much for reading, until next time!!!
Todas las imágenes son de mi autoría @mariamglow, tomadas con mi teléfono Redmi 9, editadas en Canva, texto traducido en DeepL. Contenido Exclusivo para Hive.
All images authored by me @mariamglow, taken with my Redmi 9 phone, edited in Canva, text translated at DeepL. Exclusive Content for Hive.
0
0
0.000
Que linda te a quedado adoro esos colores! Saludos 🤗💖
Graciaas, me alegro que te haya gustado, saludos!!❣️
Una pulsera muy sencilla, pero muy bonita, para regalar o simplemente de uso diario, un lindo paso a paso amiga 😉
Graciaaas por leer mi post!!❣️❣️❣️
Your content has been voted as a part of Encouragement program. Keep up the good work!
Use Ecency daily to boost your growth on platform!
Support Ecency
Vote for new Proposal
Delegate HP and earn more
❤️❤️
Un excelente tutorial, quedó muy bonita la pulsera.
Muchísimas gracias por leer y comentar mi post!!❤️❤️❤️
Has sido curado por @visualblock / You've been curated by @visualblock
Bienvenidas delegaciones / Delegations welcome
Encuentra nuestra comunidad aquí / Find our community here
Trail de Curación / Curation Trail
Sencilla pero bonita tu pulsera @mariamglow; me gustó, saluditos.
Graciaas, me alegra que te haya gustado. Feliz día!!❤️