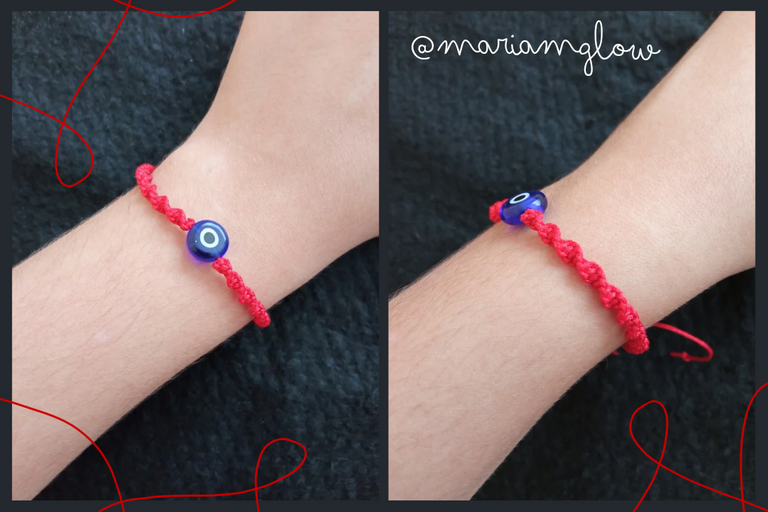
[ESP|ENG] Red macrame bracelet with spiral knot. || Pulsera roja en macramé con nudo espiral.
Espero que estén pasando un lindo jueves!! En esta oportunidad estaré compartiendo con ustedes el paso a paso de cómo realizar esta linda pulsera en macramé elaborando el nudo espiral. Este tipo de pulseras es muy fácil de hacer, no tiene nada de complicaciones, este nudo es demasiado lindo y lo quise hacer rojo para que resaltará el ojo turco que le coloqué como complemento, este diseño lo quería elaborar desde hace tiempo porque me gusta mucho este color en accesorios así. Espero que les guste mucho este post, a continuación les indicaré los materiales y cómo la realicé:
I hope you are having a nice Thursday! This time I will be sharing with you the step by step of how to make this beautiful macrame bracelet using the spiral knot. This type of bracelets is very easy to make, it has nothing complicated, this knot is too cute and I wanted to make it red to highlight the Turkish eye that I put as a complement, I wanted to make this design for a long time because I really like this color in accessories like this. I hope you like this post a lot, next I will tell you the materials and how I made it:
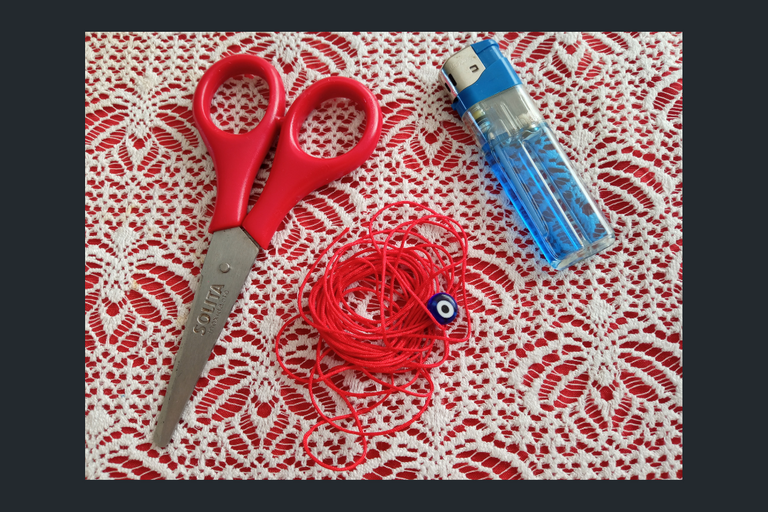
Materiales:
- Hilo chino o macramé, color rojo.
- Tijera.
- Encendedor.
- Ojo turco.
- Cinta métrica.
Materials:
- Chinese thread or macramé, red color.
- Scissors.
- Lighter.
- Turkish eye.
- Measuring tape.
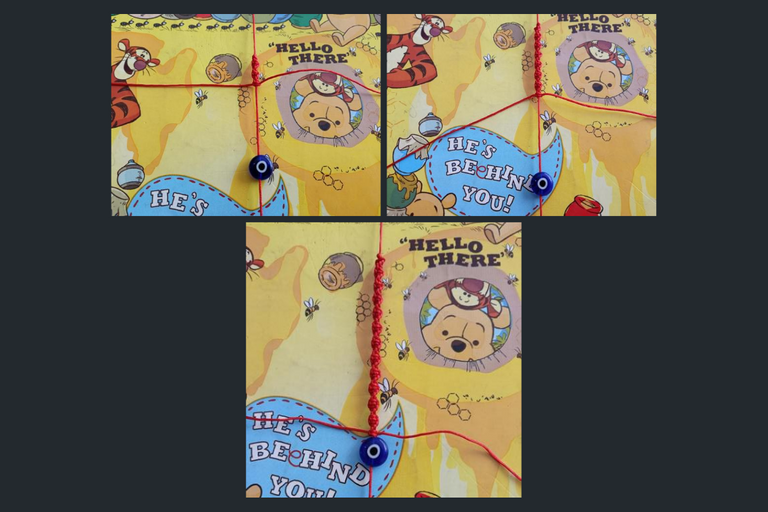
Primero cortamos un trozo de hilo de 30 centímetros.
First we cut a piece of thread of 30 centimeters.
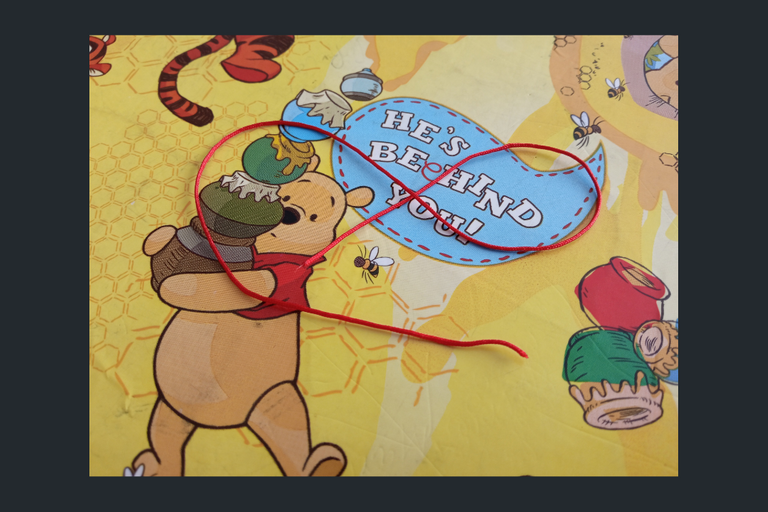
Luego, cortamos dos trozos de 75 centímetros cada uno.
Then, we cut two pieces of 75 centimeters each.
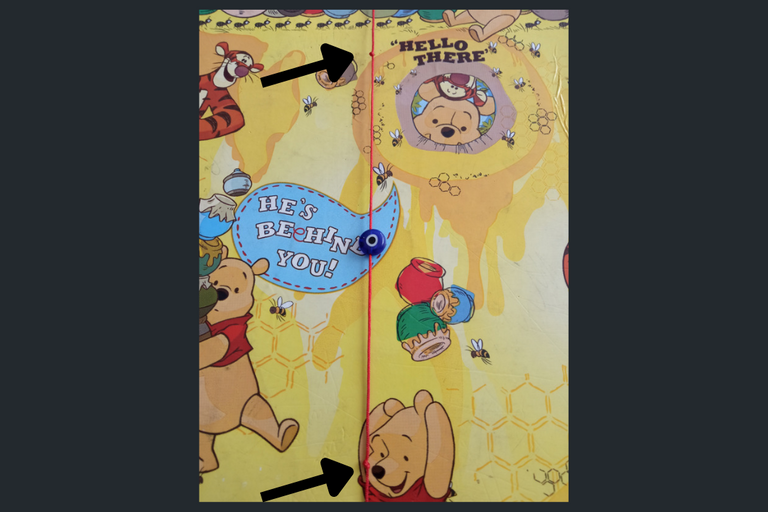
Colocamos el trozo de hilo más pequeño en nuestra base para hacer las pulseras e insertamos el ojito turco y lo ponemos en el medio, hacemos dos nudos simples uno en cada esquina en donde queremos que termine nuestro tejido.
We place the smaller piece of thread in our base to make the bracelets and insert the Turkish eye and put it in the middle, we make two simple knots one in each corner where we want our weaving to end.
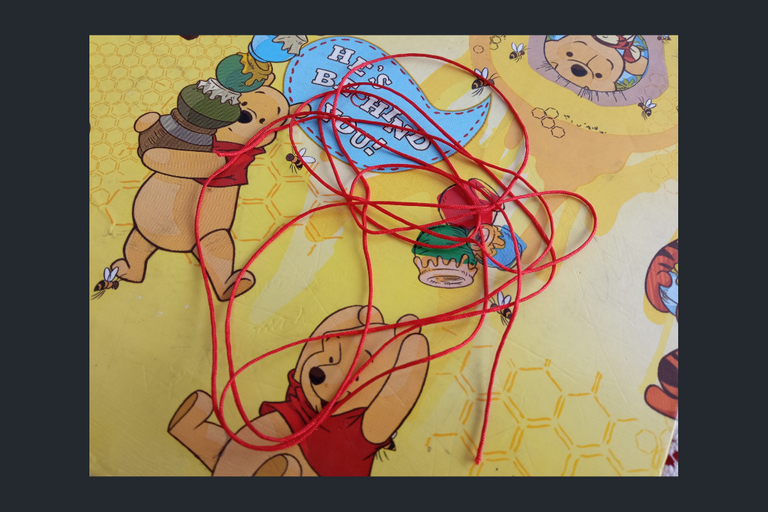
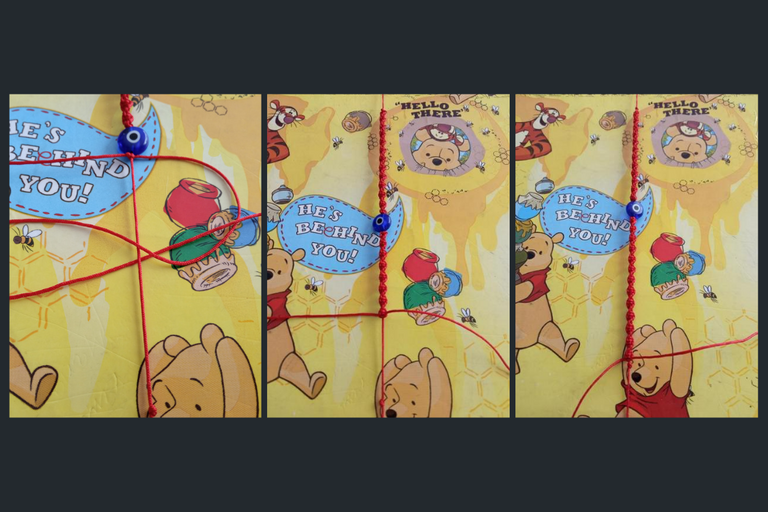
Primero tomamos un trozo de hilo de los que cortamos anteriormente y lo pasamos por debajo del hilo que está sujeto a la carpeta que uso como base plana, y formamos una "D" hacia la derecha.
First we take a piece of thread from the ones we cut earlier and pass it under the thread that is attached to the folder that I use as a flat base, and form a "D" to the right.
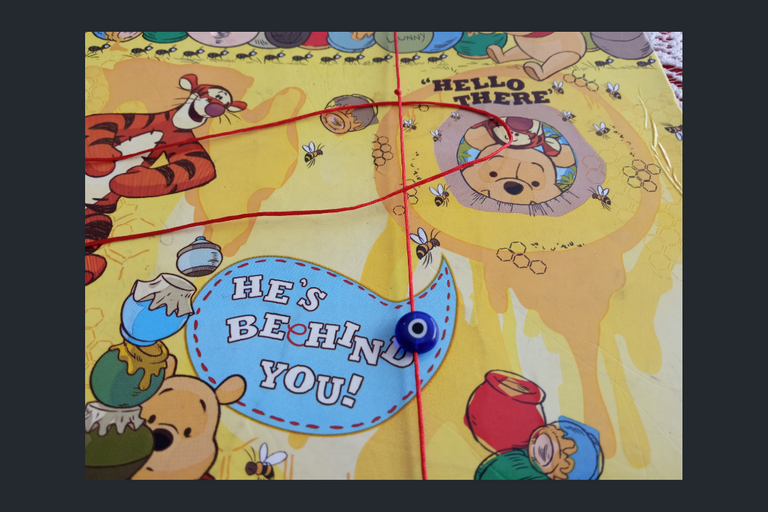
Y pasamos el otro extremo del hilo por debajo y lo sacamos por el centro de la "D".
And we pass the other end of the thread underneath and pull it out through the center of the "D".
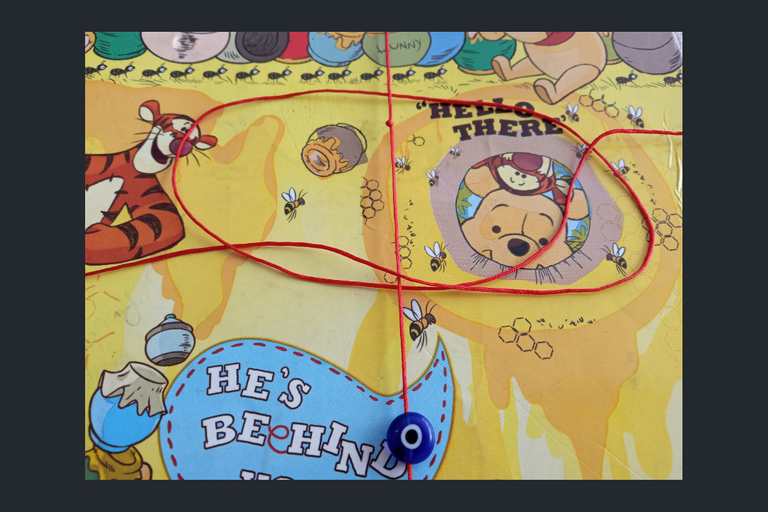
Volvemos a repetir el procedimiento, formamos una "D" hacia la derecha, y pasamos el otro extremo del hilo por debajo y sacamos por el centro de la "D".
We repeat the procedure again, form a "D" to the right, and pass the other end of the thread underneath and pull it through the center of the "D".
Tomen en cuenta que el procedimiento siempre será así, hasta llegar al ojito turco, entonces cortamos lo que sobra de hilo y quemamos las puntas.
Keep in mind that the procedure will always be like this, until we reach the Turkish eye, then we cut the remaining yarn and burn the ends.
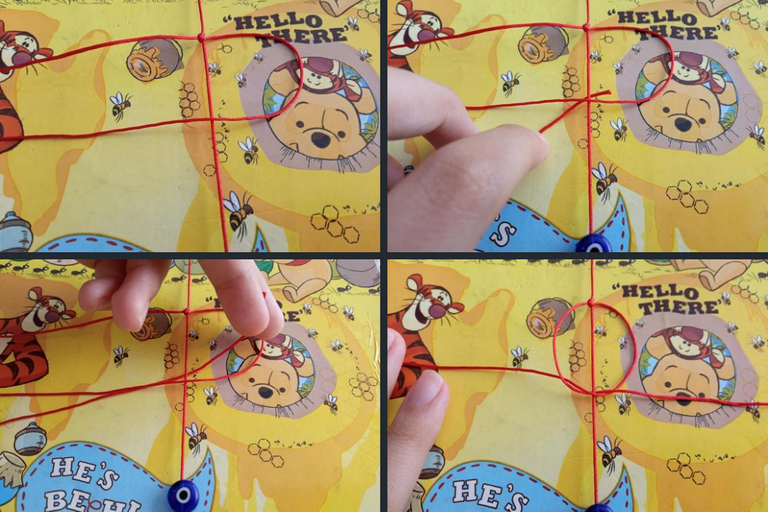
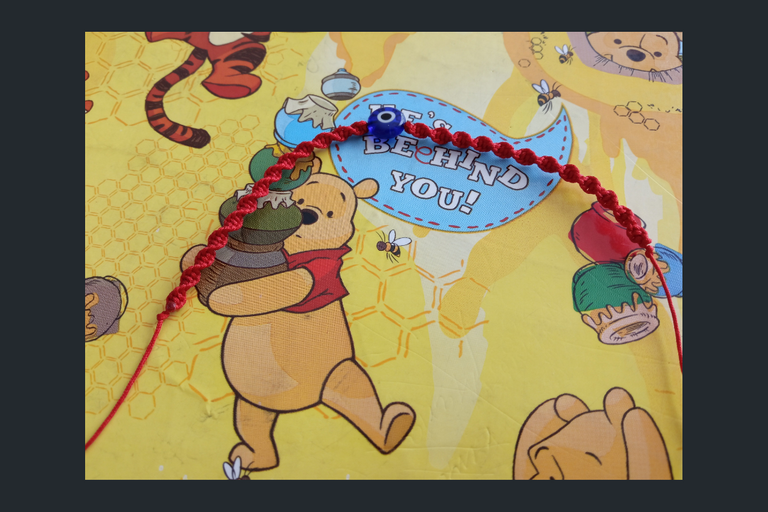
Empezamos a tejer nuevamente de la misma forma desde el lugar en el que está el ojo turco hasta el nudo simple que hicimos al principio.
We start weaving again in the same way from the place where the turkish eye is to the simple knot we made at the beginning.
Cuando lleguemos al nudo simple cortamos el exceso de hilo y quemamos para sellar.
When we reach the simple knot we cut the excess yarn and burn to seal.
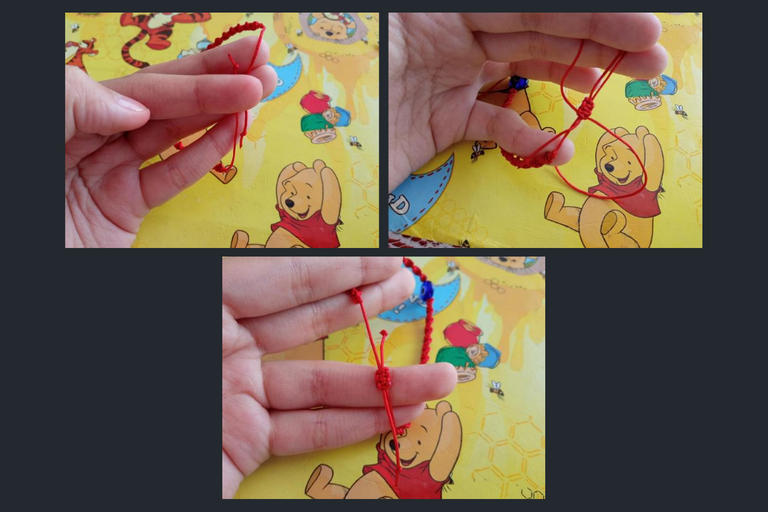
Ahora haremos un nudo plano, unimos los dos extremos de la pulsera y comenzamos a tejer de la siguiente manera: formamos una "D" hacia la izquierda y pasamos el otro extremo por debajo y sacamos por el centro de la "D" y así sucesivamente posicionando la "D" una vez para la derecha y otra vez para la izquierda y así, como les mostré en mi post anterior. Cuando tengamos nuestro nudo quemamos los excesos para sellar y listo.
Now we will make a flat knot, join the two ends of the bracelet and start weaving as follows: we form a "D" to the left and pass the other end underneath and pull through the center of the "D" and so on positioning the "D" once to the right and again to the left and so on, as I showed you in my previous post. When we have our knot we burn the excess to seal and that's it.
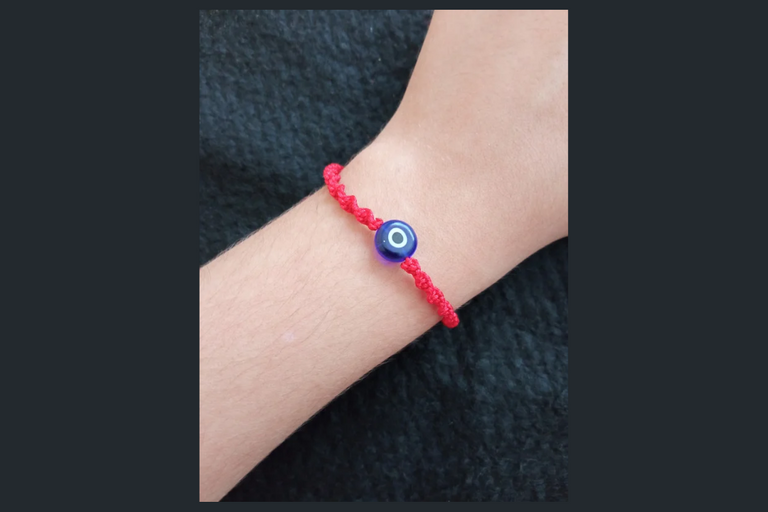
Este fue el resultado de la pulsera que realicé, me encanta como quedó, este es uno de mis colores favoritos para este tipo de accesorios y además el ojito turco me gusta bastante, ya tengo otros proyectos terminados que muy pronto les mostraré, esto me agrada y emociona mucho, volver a tejer nuevamente para ustedes es un placer 🥺. Espero que les haya gustado mucho este post. Gracias por leer amigos. Hasta una próxima oportunidad!!❤️🧿
This was the result of the bracelet I made, I love how it turned out, this is one of my favorite colors for this type of accessories and also the Turkish eye I like a lot, I already have other finished projects that very soon I will show you, this pleases me and excites me a lot, to come back to weave again for you is a pleasure 🥺. I hope you liked this post very much. Thanks for reading friends. Until a next opportunity!!!❤️🧿
Todas las imágenes son de mi autoría @mariamglow, tomadas con mi teléfono Redmi 9, editadas en Canva, texto traducido en DeepL.
All images authored by me @mariamglow, taken with my Redmi 9 phone, edited in Canva, text translated at DeepL.

0
0
0.000
Te quedó muy bonita la pulsera. Gracias por compartir 😊
Aaaww, graciaas por leer y comentar mi post!!❤️
Esta bellísima, @mariamglow me encanta las pulseras de ojitos
Graciasss, a mí también me encantan!!❤️❤️❤️
Hermoso diseño de Macramé el cual está muy de moda, gracias por traerlo amiga, felicidades 👏
Gracias por comentar mi post!! Saludos!!❤️❤️
Congratulations @mariamglow! You have completed the following achievement on the Hive blockchain and have been rewarded with new badge(s):
Your next target is to reach 500 posts.
You can view your badges on your board and compare yourself to others in the Ranking
If you no longer want to receive notifications, reply to this comment with the word
STOPTo support your work, I also upvoted your post!
Support the HiveBuzz project. Vote for our proposal!
❤️❤️❤️
Perfecto!