Making a Pearl and Rose Ring
💕 Hello Hive Community! 💕
Muchas veces les he mencionado que soy una amante de los anillos, mi parte favorita de arreglarme es escoger cuáles anillos voy a utilizar y últimamente he estado enganchada con un par de anillos que ha realizado en mi blog, concretamente el Anillo de Espiral y uno de perlas que aún no les he mostrado, esos dos anillos me los pongo en mi mano derecha y estaba pensando en hacer un complemento para mi mano izquierda, me hace falta, así que uní las dos cosas que más me gustan, las perlas y las flores, para formar un anillo haciendo una técnica de alambrismo muy fácil que ya les he mostrado antes, los dejo con este tutorial.
Many times I have mentioned to you that I am a ring lover, my favorite part of getting dressed up is choosing which rings I am going to wear and lately I have been hooked on a couple of the rings that you have made on my blog, specifically the Spiral Ring and a pearl ring that I haven't shown you yet, those two rings I wear on my right hand and I was thinking of making a complement for my left hand, I need it, so I joined the two things I like the most, pearls and flowers, to form a ring making a very easy wire wrap technique that I have already shown you before, I leave you with this tutorial.
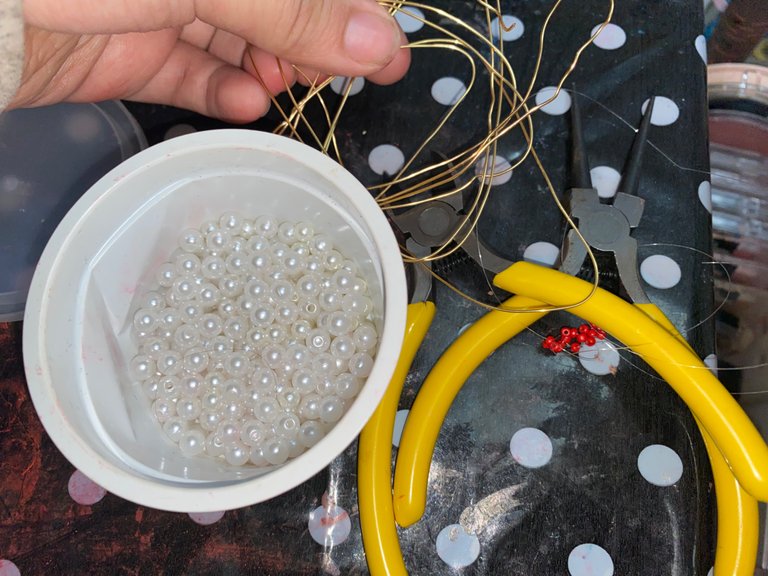
Para hacer este Anillo necesitaremos 4 cosas. Para comenzar, un alambre, en mi caso dorado, grueso de 0.8 mm, grueso para que tenga forma y fuerza pero lo suficientemente moldeable para poder hacer la rosa. Perlas para poder colocarlas en todo el borde del anillo, creo que con mostacillas puede quedar bien, pero en mi caso me gustaron mucho más las perlas y en el tema de combinación, era lo ideal. También necesitaremos las pinzas y piquetas, para poder moldear el anillo y también cortar el alambre.
To make this ring we will need 4 things. To start, a wire, in my case golden, 0.8 mm thick, thick enough to have shape and strength but moldable enough to be able to make the rose. Beads to be able to place them all around the edge of the ring, I think that with beads can be fine, but in my case I liked pearls much more and in the theme of combination, it was ideal. We will also need the tweezers and picks, to be able to mold the ring and also cut the wire.
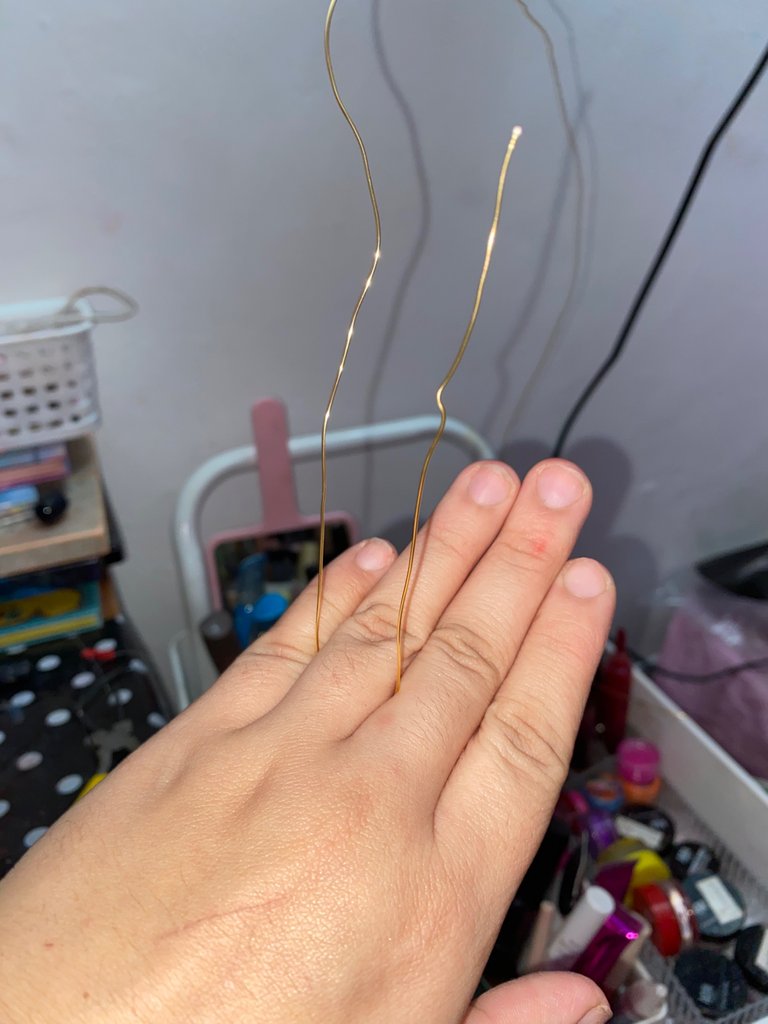
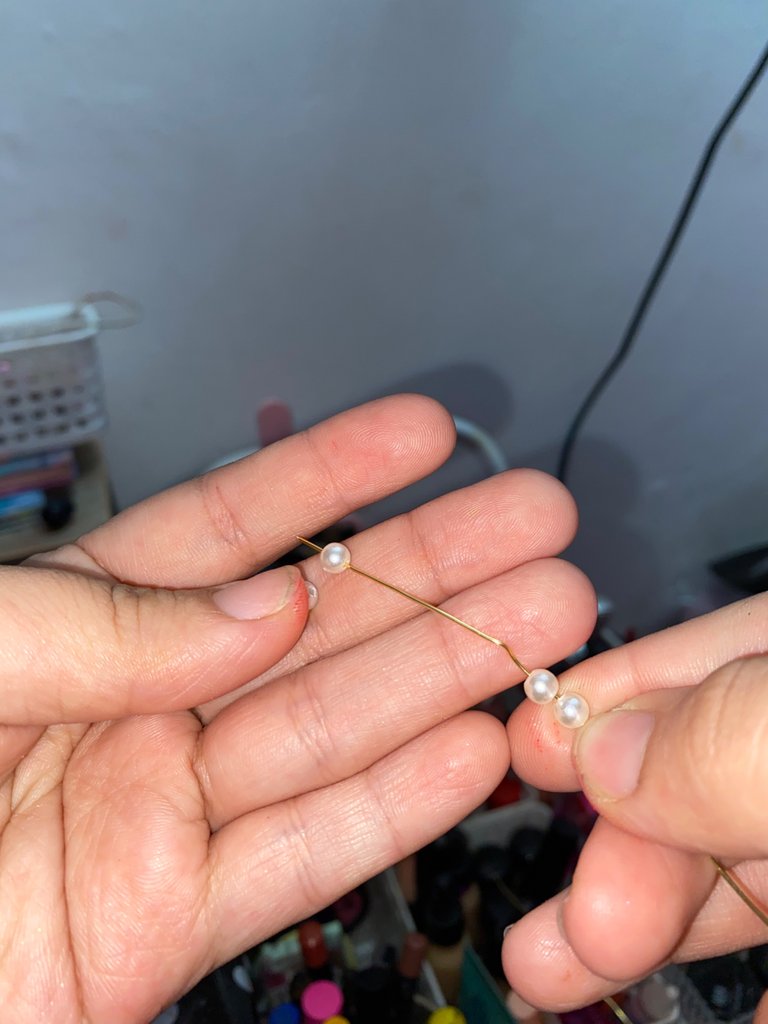
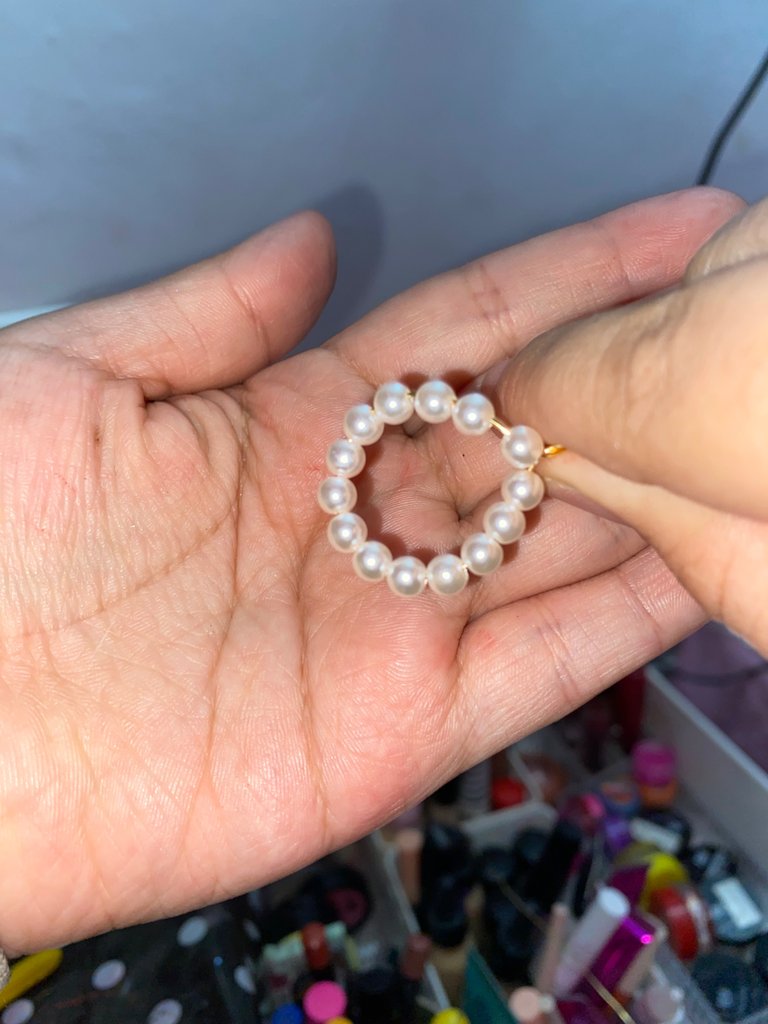
Lo primero que vamos a estar haciendo es la base del anillo, la forma circular. Para ello primero podemos medir el tamaño del anillo, a mí me gusta hacerlo con una cinta métrica, dejando un extremo sobrante para poder hacer la rosa. Una vez tengamos la medida vamos a cortar el alambre dorado y podemos ir introduciendo las perlas, vamos midiendo para que solo este lleno de perlas la base redonda del anillo y cuando estemos listos juntamos y giramos los alambres parar cerrar.
The first thing we are going to be doing is the base of the ring, the circular shape. To do this we can first measure the size of the ring, I like to do it with a tape measure, leaving an extra end to make the rose. Once we have the measure we are going to cut the golden wire and we can introduce the pearls, we are measuring so that only the round base of the ring is full of pearls and when we are ready we join and turn the wires to close.
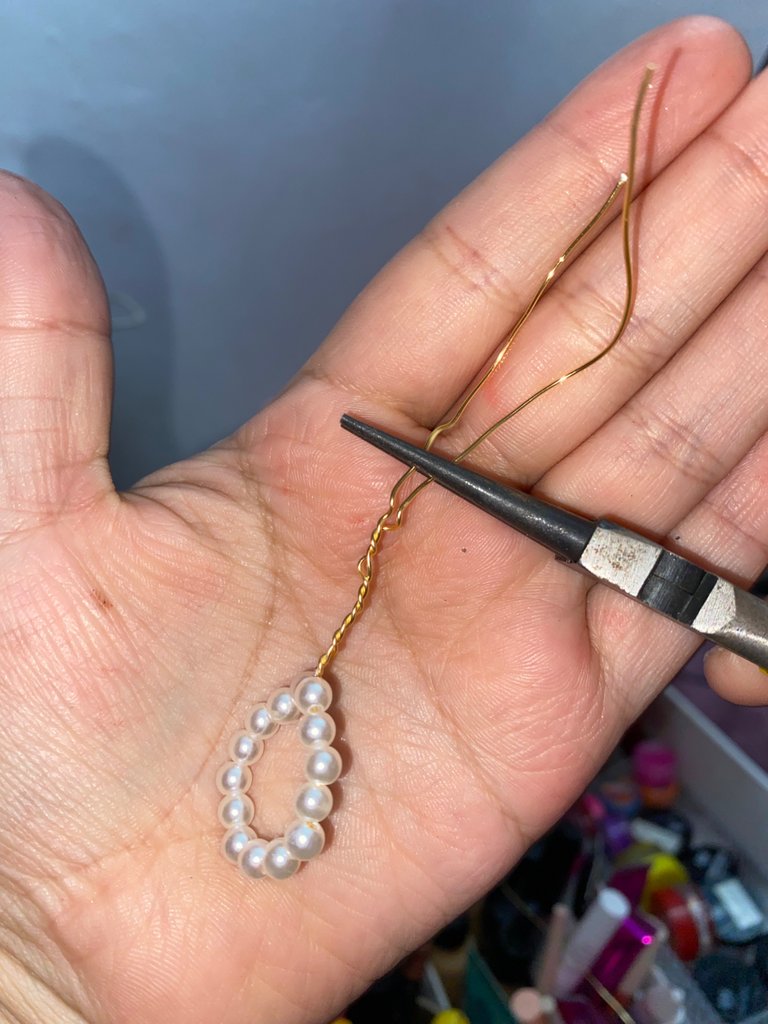
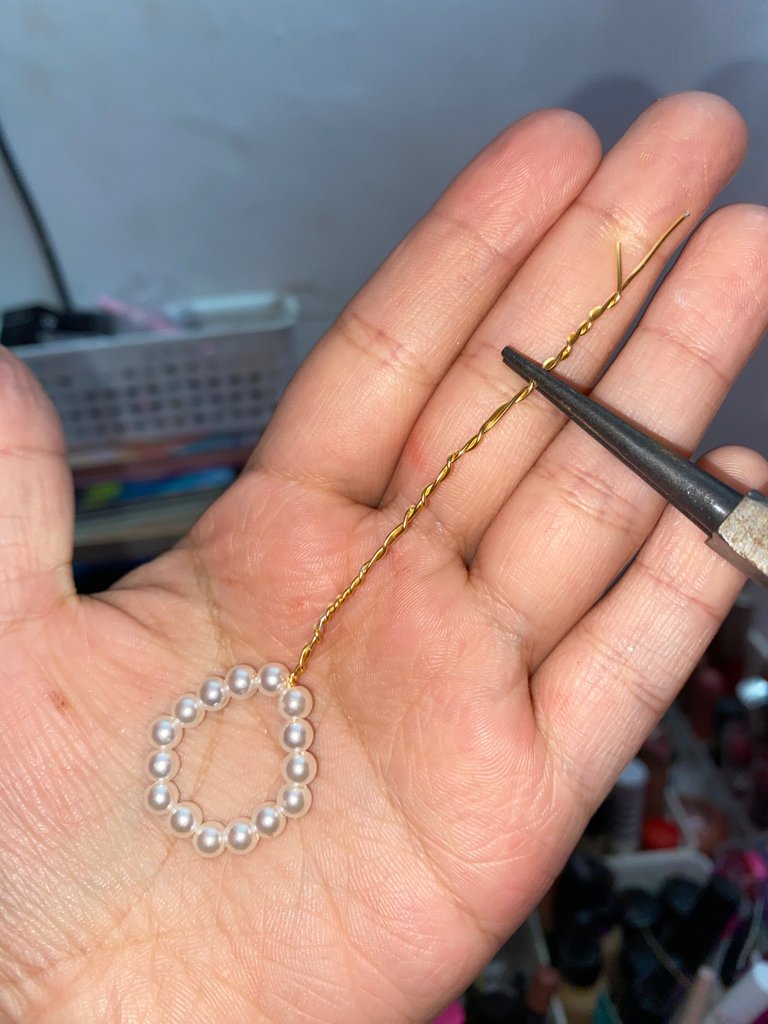
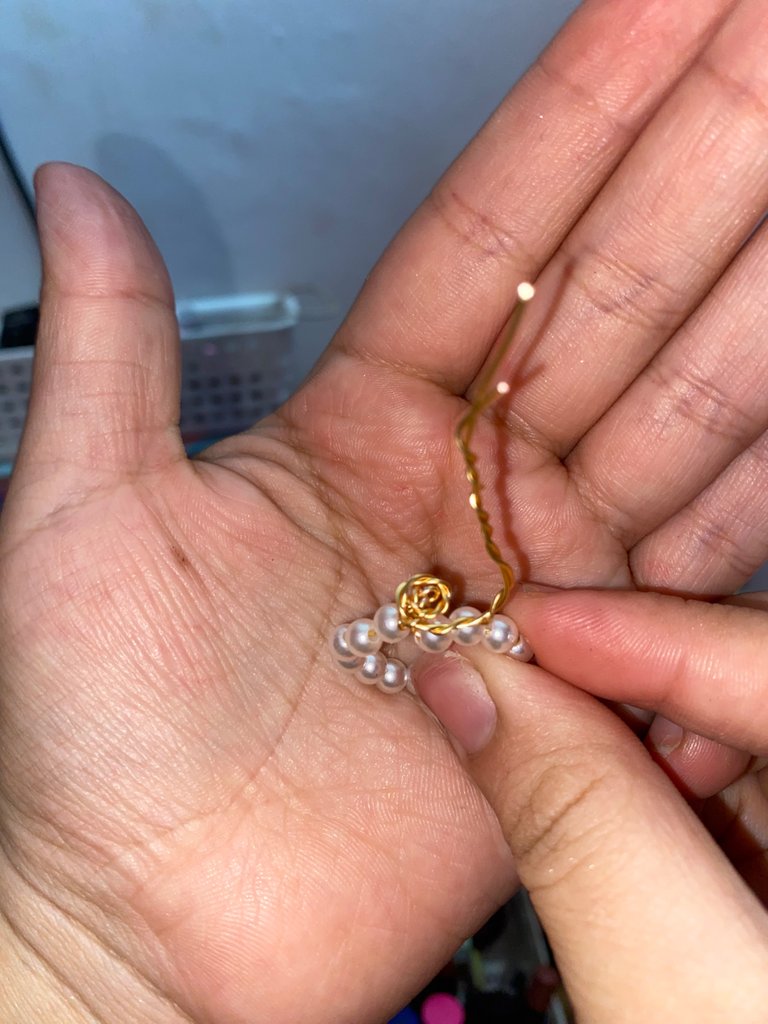

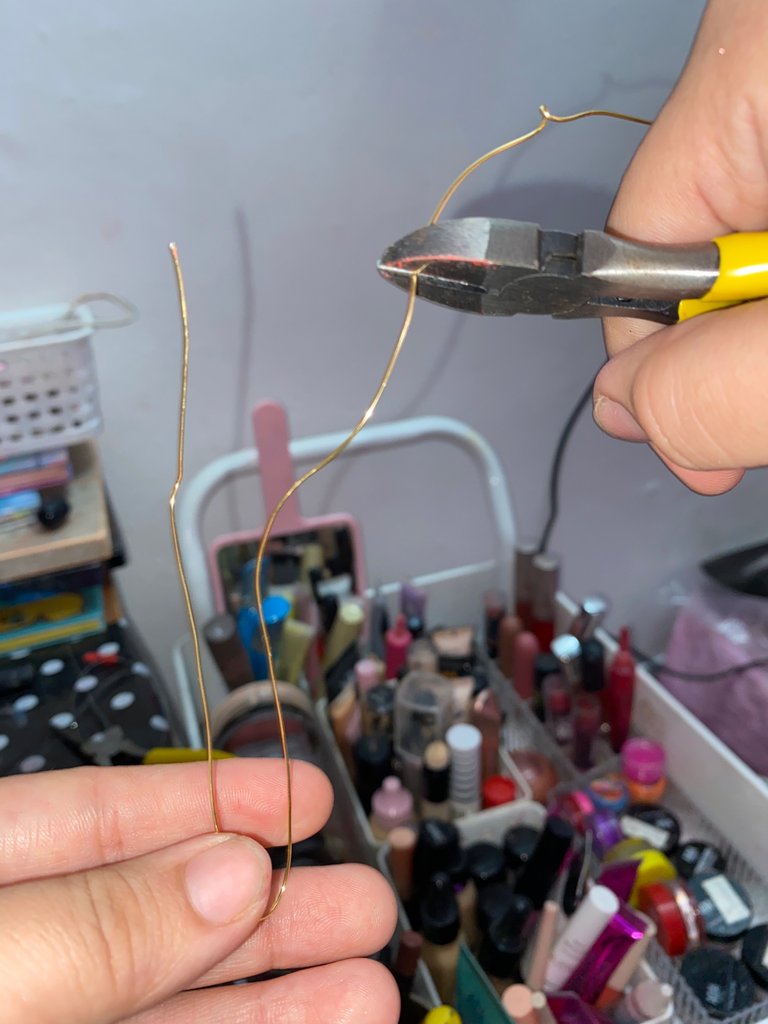
Después nos toca hacer la flor, aquí vamos a tomar con nuestras pinzas el alambre sobrante y vamos a entorchar, o trenzar, el alambre hacia arriba. Una vez tengamos todo el alambre trenzado, vamos a hacer movimientos circulares para formar un espiral y cuando hayamos dado unas 3 vueltas podemos observar que se forma nuestra rosa. Terminamos de darle vueltas, hasta acabar, o tener el tamaño deseado, y podemos cerrar el anillo, empujando los extremos del alambre hacia adentro de la rosa.
Then we have to make the flower, here we are going to take with our tweezers the excess wire and we are going to twist, or braid, the wire upwards. Once we have all the wire braided, we will make circular movements to form a spiral and when we have given about 3 turns we can see that our rose is formed. We finish twirling it, until we finish, or have the desired size, and we can close the ring, pushing the ends of the wire into the rose.
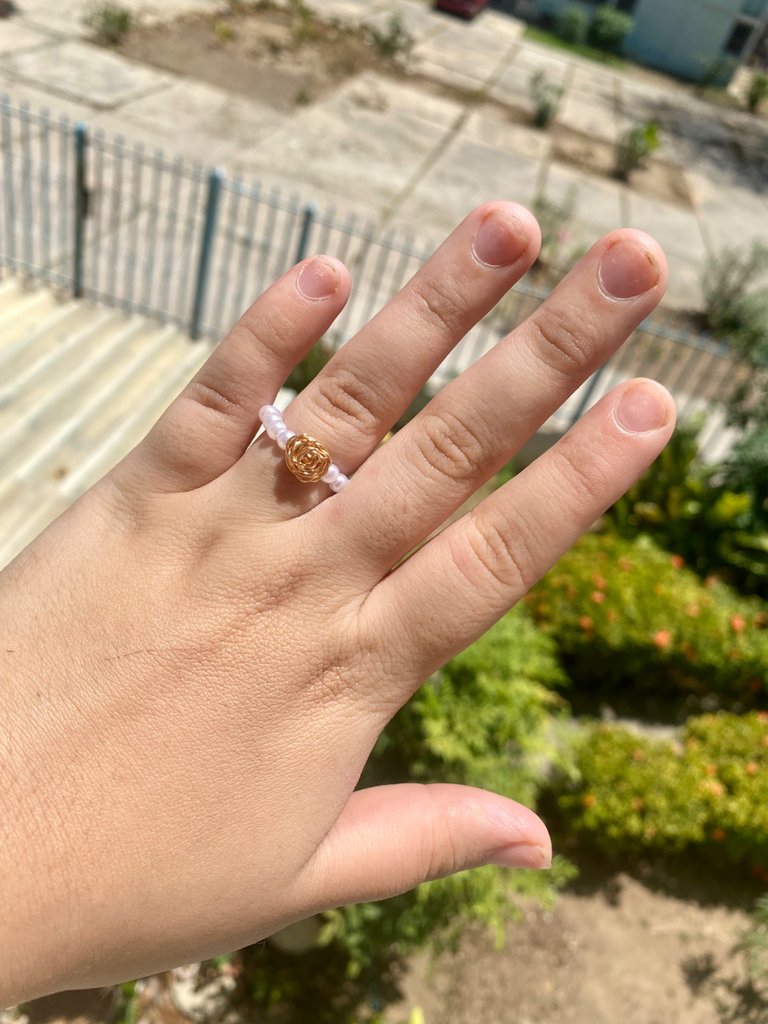
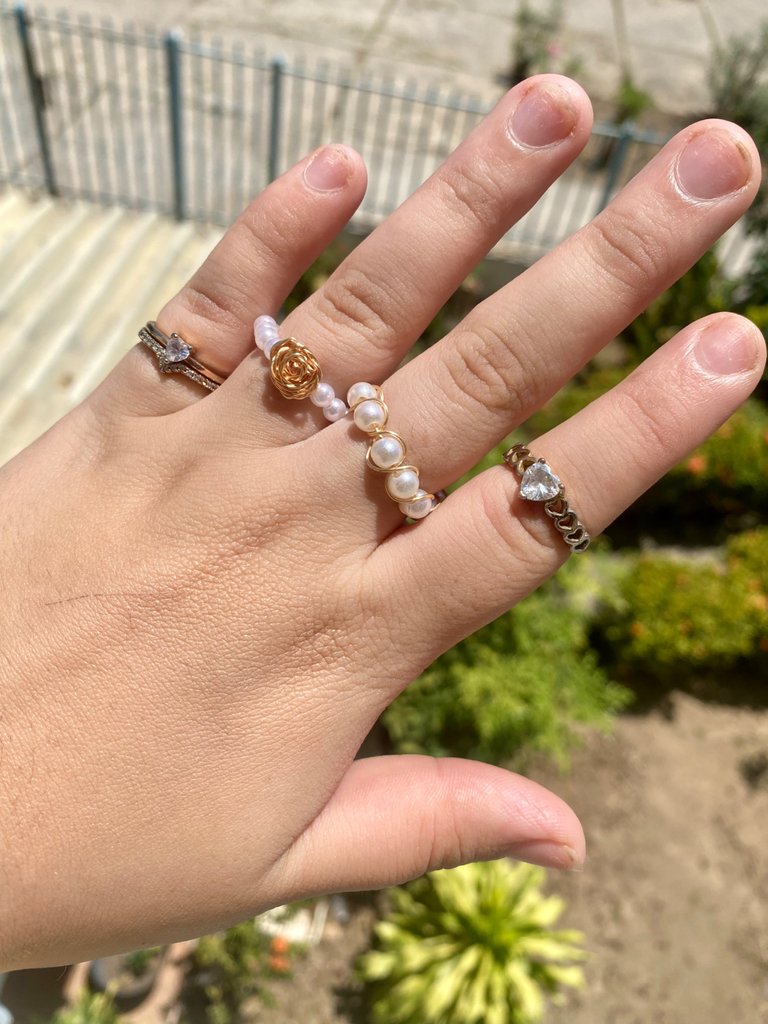
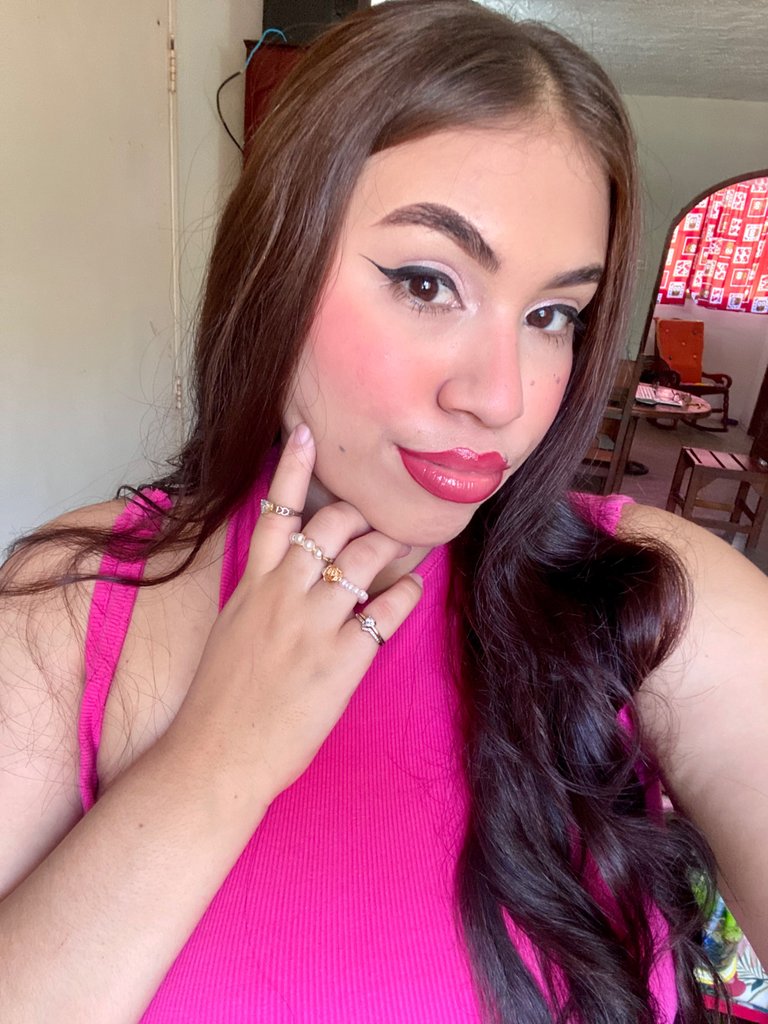
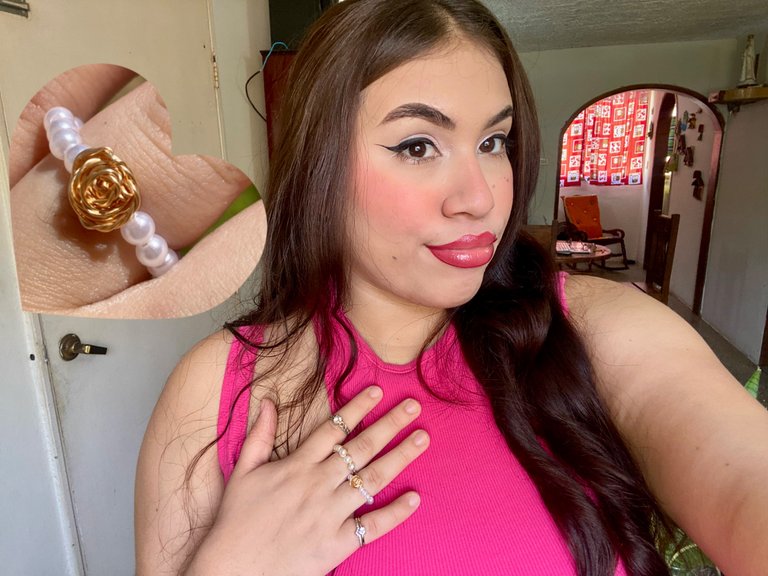
Honestamente, este fácil es uno de mis anillos favoritos, estoy súper encantada con el resultado final. Hacerlo me tomo poco tiempo, calculo unos 10 minutos de proceso y 5 minutos perfeccionándolo para que quedara muy bien. Creo que ha sido uno de mis mejores trabajos, aunque es bastante sencillo, creo que el toque de la rosa puede hacer que resalte muchísimo, me gusta demasiado eso. Y como pueden ver en las fotos, combine este anillo con los demás que tenía, me encantó como se ve junto a mis accesorios y esta muy fácil de hacer, incluso para regalarlo. Espero que les haya encantado ver el proceso de este Anillo de Perlas con una Rosa, nos leemos pronto!
Honestly, this easy one is one of my favorite rings, I am very happy with the final result. It took me very little time to make it, I estimate about 10 minutes of process and 5 minutes perfecting it to make it look great. I think it has been one of my best works, although it is quite simple, I think the touch of the rose can make it stand out a lot, I like that too much. And as you can see in the pictures, I combined this ring with the others I had, I loved how it looks next to my accessories and it is very easy to make, even to give it as a gift. I hope you loved seeing the process of this Pearl Ring with a Rose, see you soon!
Pictures of my property.
Exclusive Content for HIVE.
Camera: Apple iPhone 11.
If you like makeup, the world of beauty or making art on your skin I invite you to the Makeup Power Community and the Makeup Power Telegram
Scan the QR and follow me!
| Telegram | TikTok | 3speak | ||
|---|---|---|---|---|

|

|

|
|

|

This is a beautiful ring you made on your own. That part where you worked on the metal gets the most credit.
https://twitter.com/1382505912980635660/status/1636506871128289281
The rewards earned on this comment will go directly to the people sharing the post on Twitter as long as they are registered with @poshtoken. Sign up at https://hiveposh.com.
Un anillo hermoso y delicado sin duda alguna amiga @lucianav nos encanta el contraste de las perlas con el alambre, muchas felicidades 👏
Muchas gracias! Es un lindo anillo, que bueno que les haya gustado🫶🏻
Muy lindo! @lucianav Es sencillo y luce muy bien
Gracias, la verdad es que si🥰
Holis Luciana! Me he fijado que no estás registrada en @poshtoken, por lo tanto no eres apta para la curación del mismo, si quieres ganar Posh con tus publicaciones de Twitter, registrate en hiveposh.com
Es fácil y rápido!
Holii, la verdad si estoy registrada en Poshtoken, casualmente hace dos estaba revisando 🤔
Pues me aparece que no, hace cuánto lo hiciste?
Me registre hace bastante tiempo, y hace dos dias revise porque me llego una notificacion de poshtoken que me habian enviado posh, hoy todo normal 🤔🤔
Mmmm, bueno, está bien tal vez fue una falsa alarma! Gracias por contestar ☺️