[ESP-ENG] Como crear paso a paso este hermoso muñeco de nieve ☃️❄️. // How to create step by step this beautiful snowman ☃️❄️.
Hola a toda la comunidad de Hive!! Espero se encuentren estupendamente bien y esten disfrutando estos hermosos días. Como ya saben, estamos en cuenta regresiva para la Navidad. Así que considero, es la fecha idónea, para mostrarles como realicé este muñequito de nieve, con el objetivo de adornar la mesita de noche de mi habitación, la cual comparto con mi pareja, dándole un toque hermoso a nuestra Navidad.
Hello to all the Hive community! I hope you are doing great and enjoying these beautiful days. As you know, we are counting down to Christmas. So I think it is the ideal time to show you how I made this snowman, with the aim of decorating the bedside table in my room, which I share with my partner, giving a beautiful touch to our Christmas.

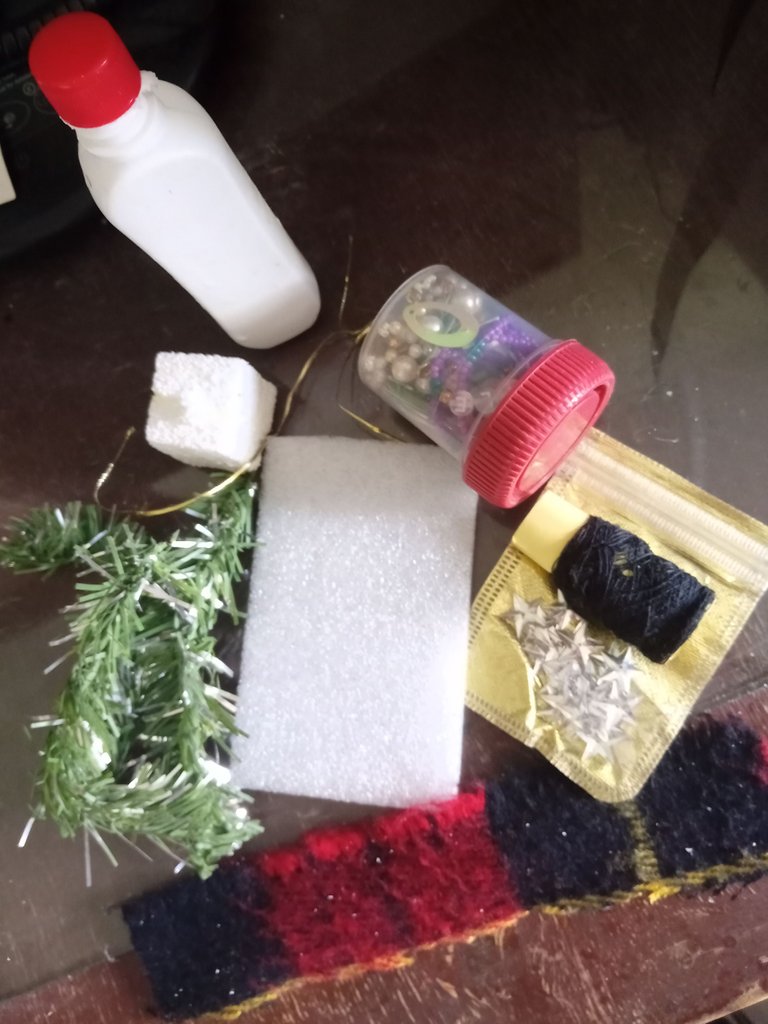
☃️Los materiales básicos☃️
- Poliespuma
- Cartulina
- Marcador
- Tela(preferiblemente color rojo)
- Pegamento blanco
- Hilo de coser y aguja
☃️Basic materials☃️
- Polyfoam
- Cardboard
- Marker
- Cloth(preferably red color)
- White glue
- Sewing thread and needle
☃️Para adornar☃️
Unas pocas hojitas artificiales de las que traen los arbolitos.
Cuentas para poner los detalles de nuestro muñeco( las de estrellitas que salen en la foto al final no las usé para que no quedara cargado).
Y de forma opcional unas pequeñas ramitas secas( yo arranqué dos de una de las plantas de mi patio🤫)
☃️For decoration☃️
A few artificial leaves that come with the trees.
Beads to put the details of our doll (the little stars that appear in the photo in the end I did not use them so that it would not be loaded).
And optionally some small dry twigs (I plucked two from one of the plants in my yard🤫).
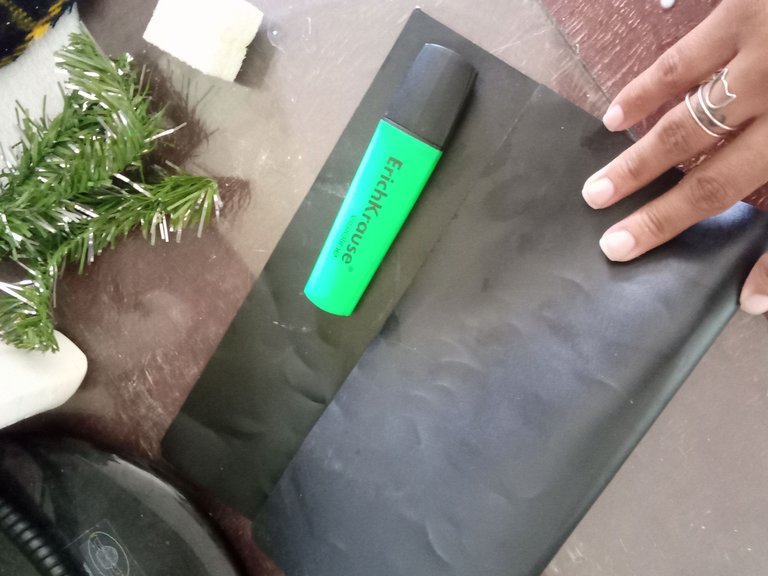
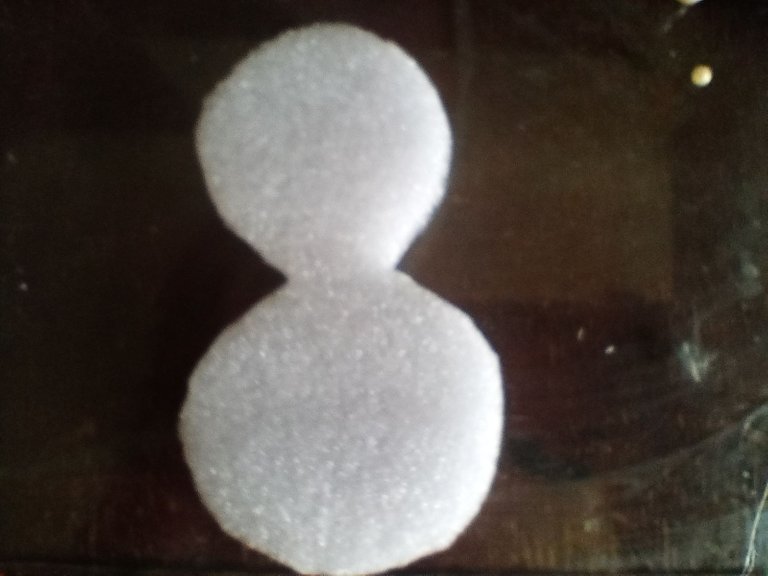
Para comenzar tomamos la cartulina y realizamos dos circunferencias unidas por uno de sus extremos( yo para esto utilicé la tapa de un desodorante y para la de la cabeza otro frasco redondo un poquito mas pequeño😅😅) y marque con la ayuda del marcador, de forma bastante clara para que luego no se viera.
To begin, we took the cardboard and made two circles joined at one end (I used the lid of a deodorant for this and another round bottle a little smaller for the head😅😅) and marked with the help of the marker, quite clearly so that it would not be seen later.
Una vez hecho esto pasé a recortar, sin cortar la parte donde traté que las circunferencias quedarán unidas. Acá pueden ver el resultado.
Once this was done, I went on to cut out the part where I tried to join the circumferences. Here you can see the result.
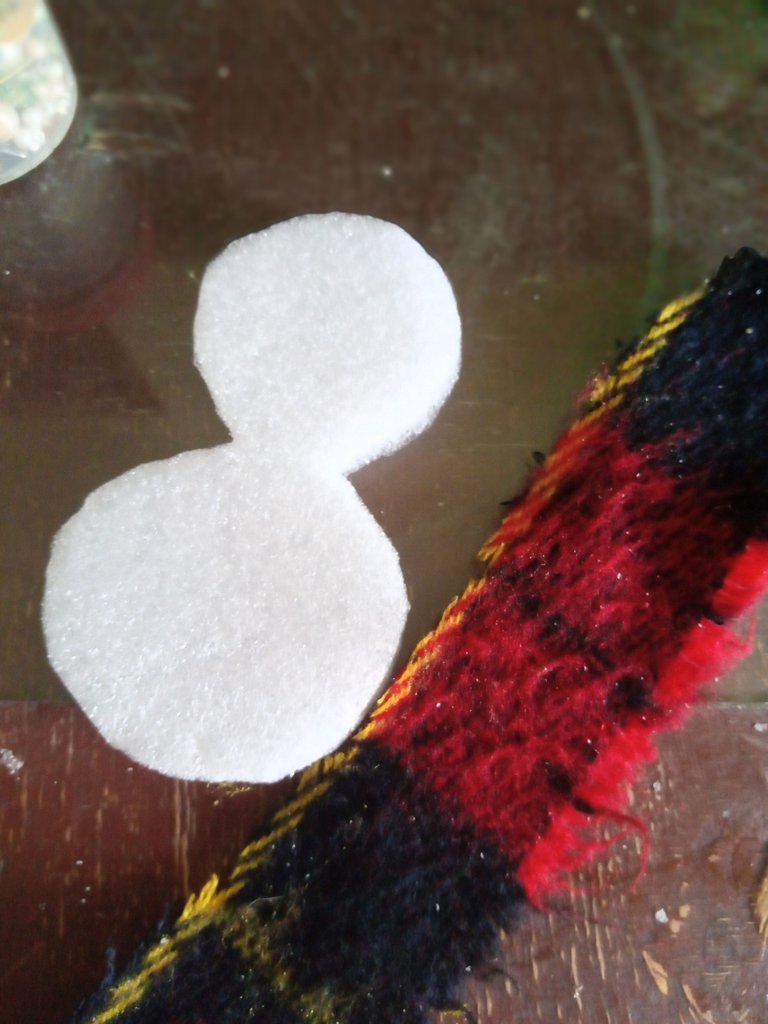
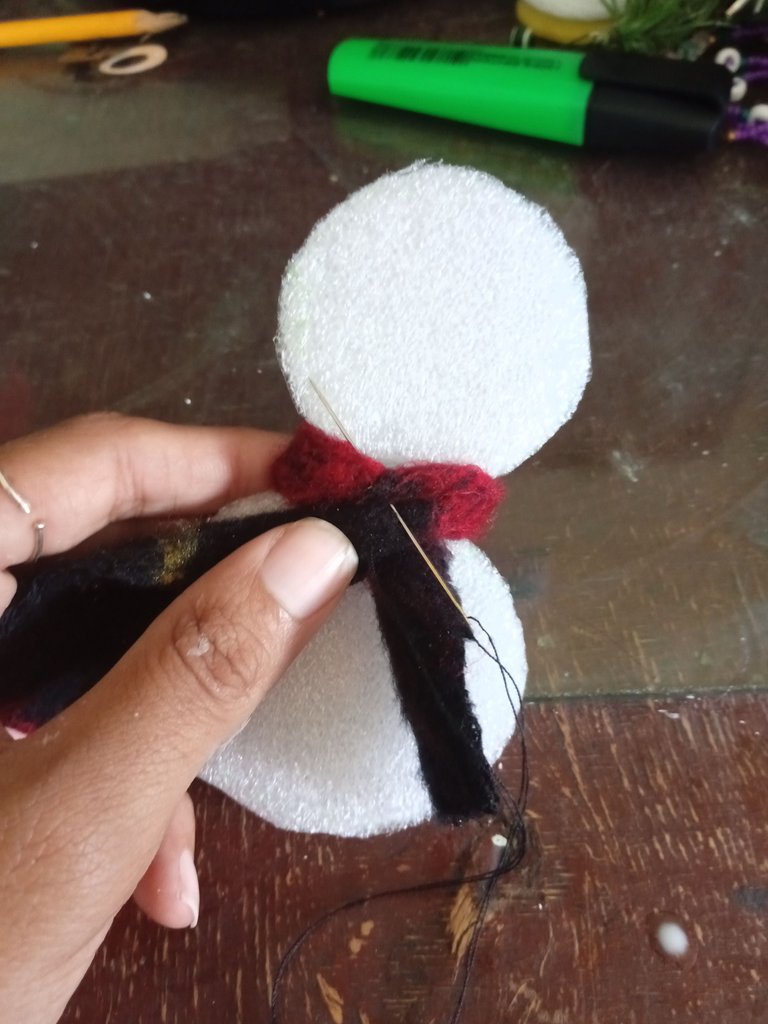
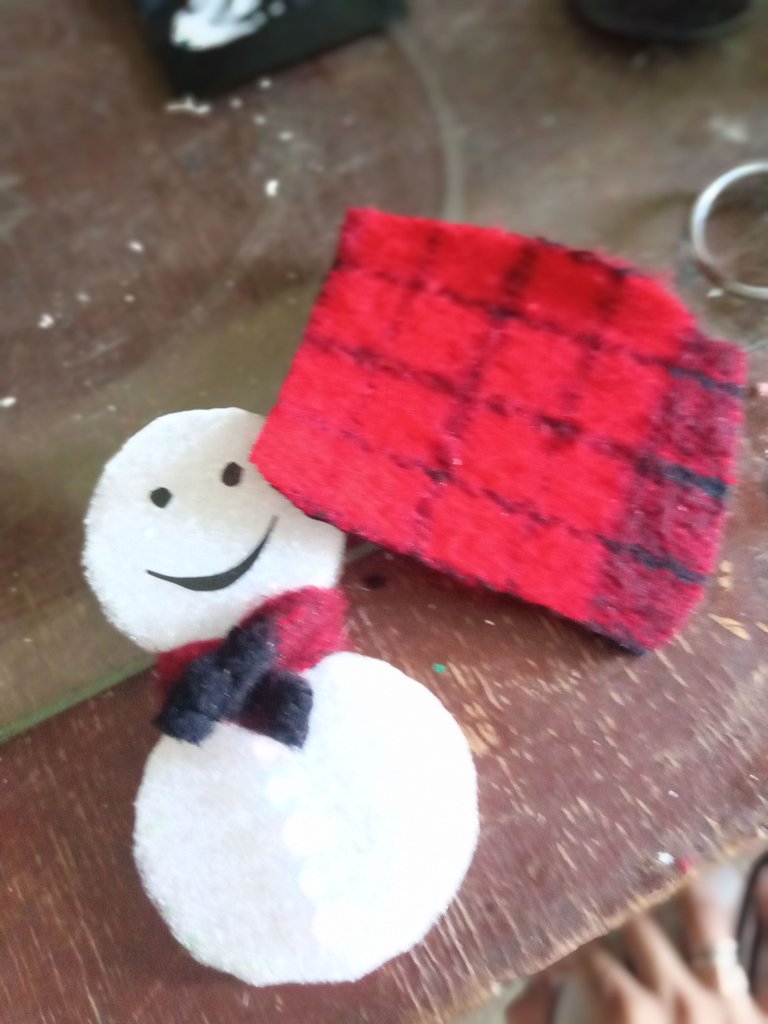
Luego, corté un pedazo de tela a lo largo, para la bufanda (Como pueden ver en la foto, un parte de la tela era negra así que luego la cambié, porque rojo queda mejor😄). Para poner la bufanda cruzando la tela delante le di unas pequeñas puntadas con el hilo y la aguja, para mantenerla en su lugar.
Then, I cut a piece of fabric lengthwise, for the scarf (As you can see in the picture, a part of the fabric was black so I changed it later, because red looks better😄). To put the scarf crossing the fabric in front I gave it a few small stitches with the thread and needle, to keep it in place.
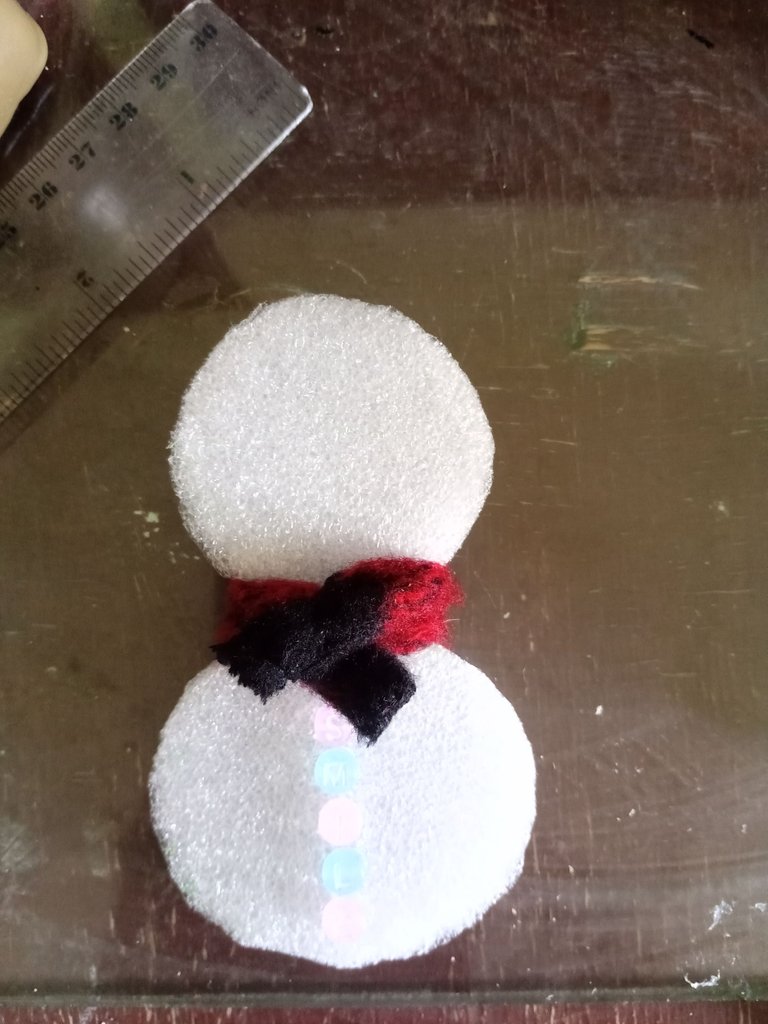
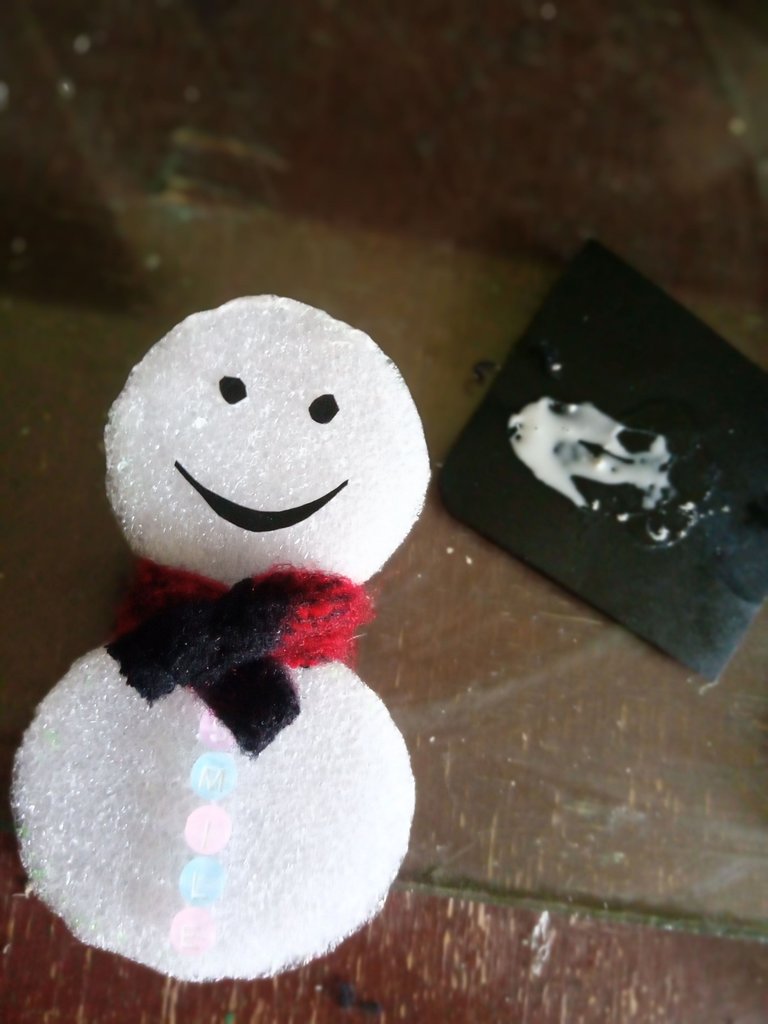
Al finalizar aquello, le puse los botones que van el cuerpo, para esto utilicé cuentas y las pegué con el pegamento blanco, yo hice uso de muchas, sin embargo ustedes pueden poner la cantidad y el color que deseen. También los detalles de la cara, para los ojos cree unos pequeños círculos de cartulina negra( no es necesario que queden tan parejos) este mismo tipo de cartulina negra fue la que me sirvió para crear la forma de la boca, imitando una sonrisa. Y para la nariz cartulina naranja, la cual hice en forma de triángulo, doblandola un poco hacia arriba, con mucho cuidado y una vez pegada, con el objetivo de hacerla más visible. Lo dejé reposar más o menos por una hora, así secaba un poco y podía luego seguir confeccionándolo con facilidad. (Aproveché este tiempo para hacer otras cositas en la casa 🤭).
When I finished that, I put the buttons that go on the body, for this I used beads and glued them with white glue, I used a lot of them, however you can put the amount and color you want. Also the details of the face, for the eyes I created some small circles of black cardboard (it is not necessary that they are so even) this same type of black cardboard was the one I used to create the shape of the mouth, imitating a smile. And for the nose, orange cardboard, which I made in the shape of a triangle, folding it up a little, very carefully and once glued, in order to make it more visible. I let it rest for about an hour, so it could dry a little and then I could continue making it easily. (I took advantage of this time to do other little things around the house 🤭).
Terminado ya el cuerpo del muñeco y la cara con sus detalles. Pasé a crear el gorro, para esto usé la misma tela de la bufanda. Pero la corté de forma más cuadrada. La cosí alrededor de la cabeza, dándole unas pequeñas puntadas de la parte de detrás de la misma cabeza. Lo más pequeñas posibles para que no se vieran. Y el extremo superior lo fui cosiendo a una pelotita de tela negra. Quedando de esta forma:
Finished the body of the doll and the face with its details. I went on to create the hat, for this I used the same fabric as the scarf. But I cut it in a more square shape. I sewed it around the head, giving it a few small stitches from the back of the head. As small as possible so that they were not visible. And I sewed the upper end to a little ball of black fabric. Looking like this:

En un pedazo un poco más grande de cartulina negra, recortando las puntas para redondear y darle un aspecto más elaborado, pegué el muñeco, para ello me auxilié de un soporte de poliespuma cuadrada que pegué al muñeco por detrás y luego a la base de cartulina ( ustedes pueden utilizar el soporte que deseen) y una vez más, dejé por un rato, secar el pegamento.
On a slightly larger piece of black cardboard, trimming the ends to round and give it a more elaborate look, I glued the doll, for this I used a square polyfoam support that
I glued to the doll from behind and then to the cardboard base (you can use the support you want) and once again, I let the glue dry for a while. On a slightly larger piece of black cardboard, trimming the ends to round it and give it a more elaborate look, I glued the doll, for this I used a square polyfoam support that I glued to the doll from behind and then to the cardboard base (you can use the support of your choice) and once again, I let the glue dry for a while.
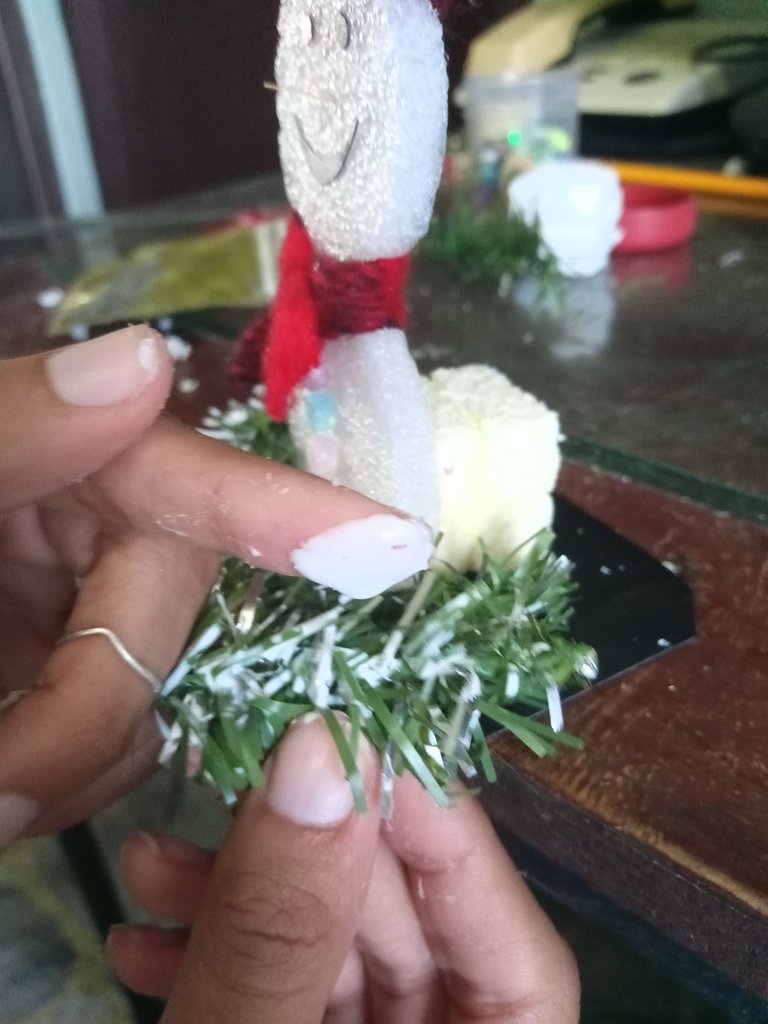
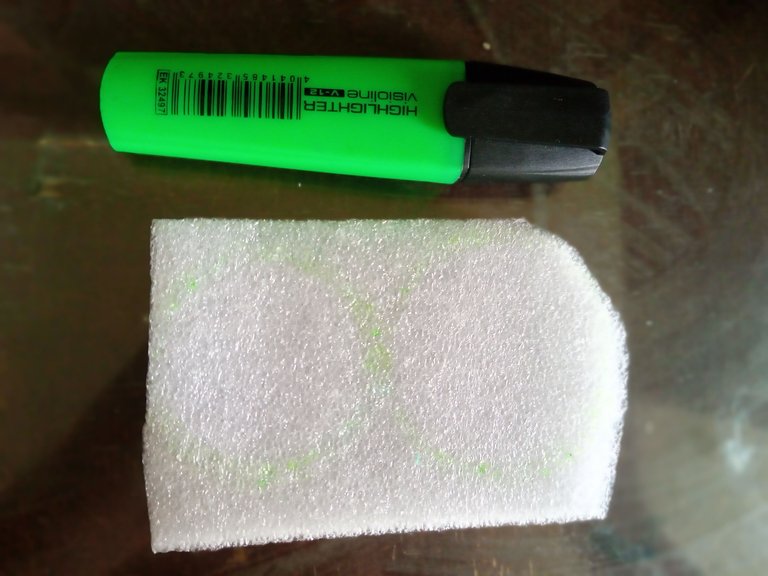
Como decoración a la cartulina fui pegando, para rellenar y embellecer, los pedazos de ramas de árbol artificial, mezclé además pegamento con trocitos de poliespuma, los cuales le esparcí por encima, para simular nieve( ustedes pueden agregarle mucha más y se verá más hermoso).
To decorate the cardboard I glued pieces of artificial tree branches to fill in and embellish the cardboard, I also mixed glue with small pieces of polyfoam, which I sprinkled on top to simulate snow (you can add much more and it will look more beautiful).
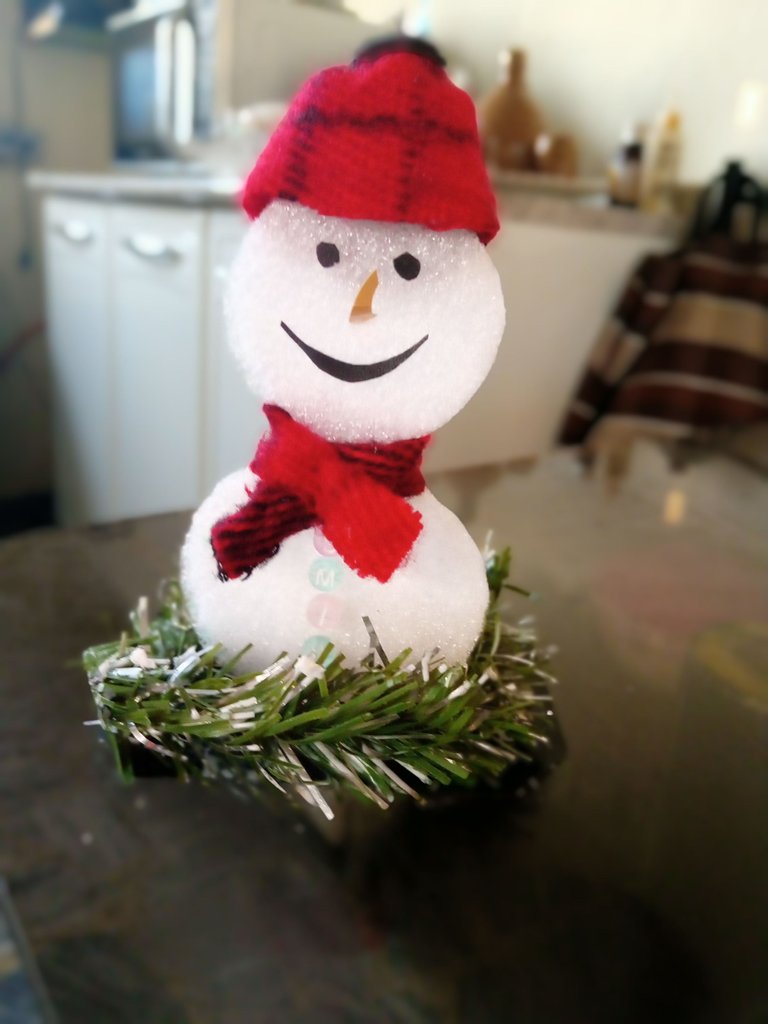
Ya casi estaba terminado mi muñeco. Solo le faltaba un detalle. Así que usé las dos ramitas de mi jardín, con las cuales atravesé un poco cada lado del cuerpo, para simular las manos.
My doll was almost finished. Only one detail was missing. So I used the two twigs from my garden, with which I crossed a little on each side of the body, to simulate the hands.
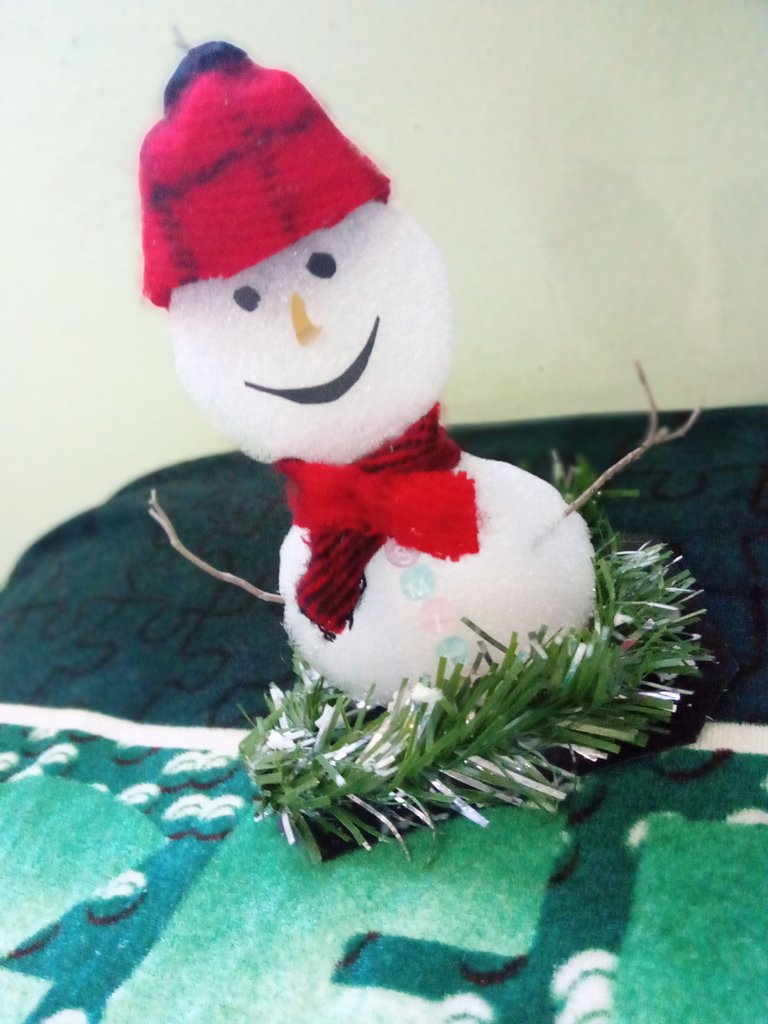
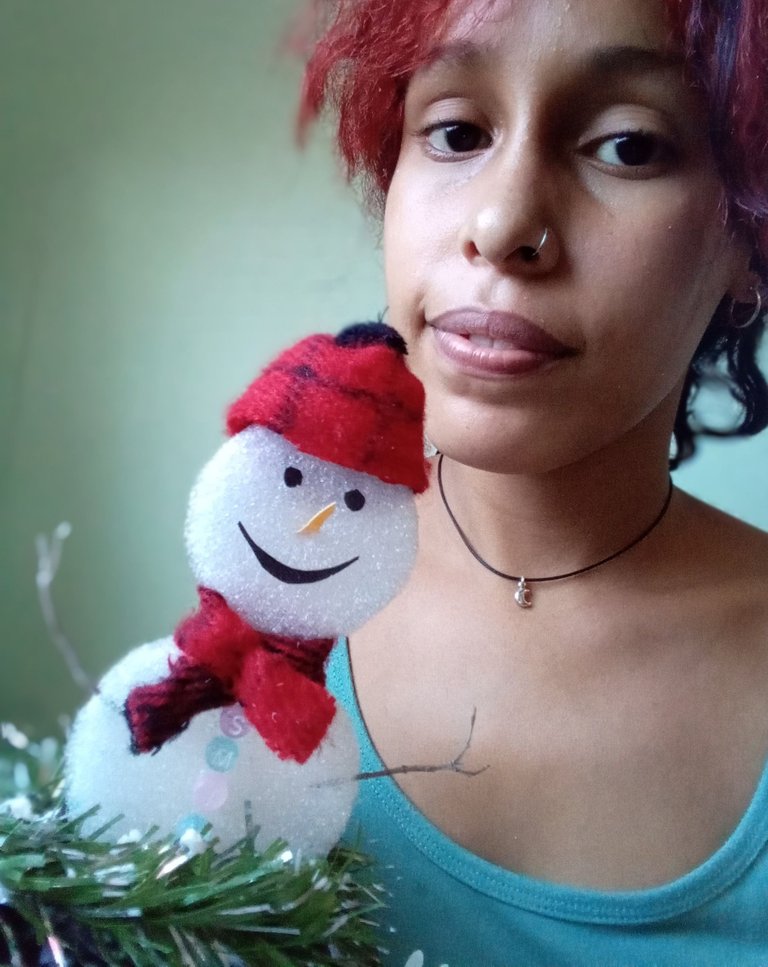
Y listo!! Quedé la verdad muy complacida con el trabajo. Acá pueden ver a mis hermoso muñequito, adornando la mesita de mi habitación. ❤️❤️
And that's it! I was really pleased with the work. Here you can see my beautiful little doll, adorning the table in my room. ❤️❤️

TODAS LAS FOTOS SON DE MI AUTORÍA // ALL THE PHOTOS ARE MY OWN
🙌
Congratulations @lorenaolivera! You have completed the following achievement on the Hive blockchain and have been rewarded with new badge(s):
Your next target is to reach 30 posts.
You can view your badges on your board and compare yourself to others in the Ranking
If you no longer want to receive notifications, reply to this comment with the word
STOPTo support your work, I also upvoted your post!
Check out the last post from @hivebuzz:
Support the HiveBuzz project. Vote for our proposal!
Thank you for sharing this amazing post on HIVE!
Your content got selected by our fellow curator @rezoanulvibes & you just received a little thank you via an upvote from our non-profit curation initiative!
You will be featured in one of our recurring curation compilations and on our pinterest boards! Both are aiming to offer you a stage to widen your audience within and outside of the DIY scene of hive.
Join the official DIYHub community on HIVE and show us more of your amazing work and feel free to connect with us and other DIYers via our discord server: https://discord.gg/mY5uCfQ !
If you want to support our goal to motivate other DIY/art/music/homesteading/... creators just delegate to us and earn 100% of your curation rewards!
Stay creative & hive on!
Muchas gracias por el apoyo. 🙌🙌