How to make a Christmas garland with a plastic party plate- Tutorial // ESP-ENG
Materials
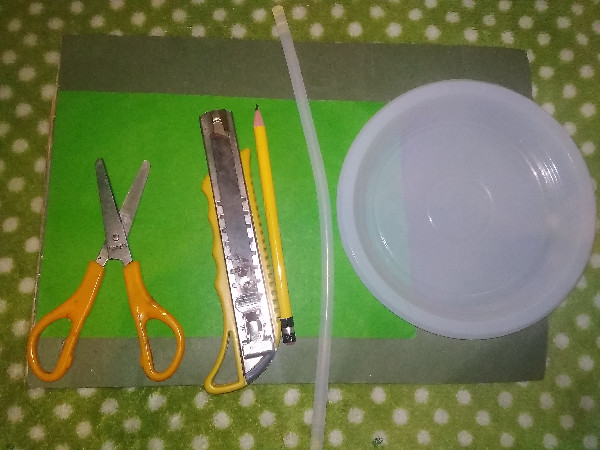
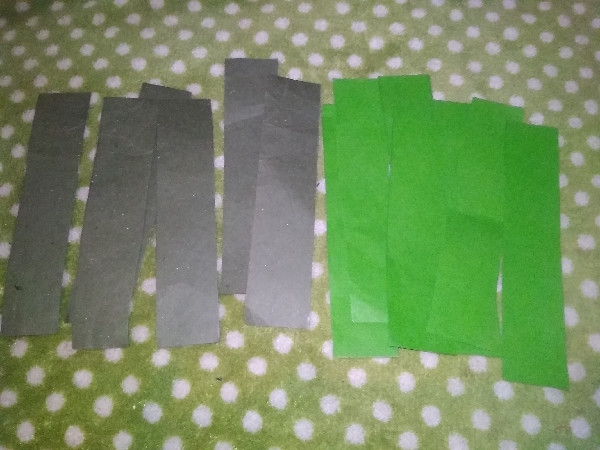
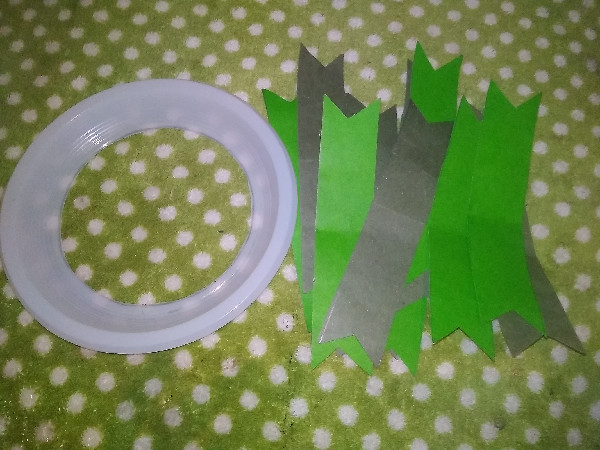
Leaf Green and Dark Green Construction Cardstock
Scissor
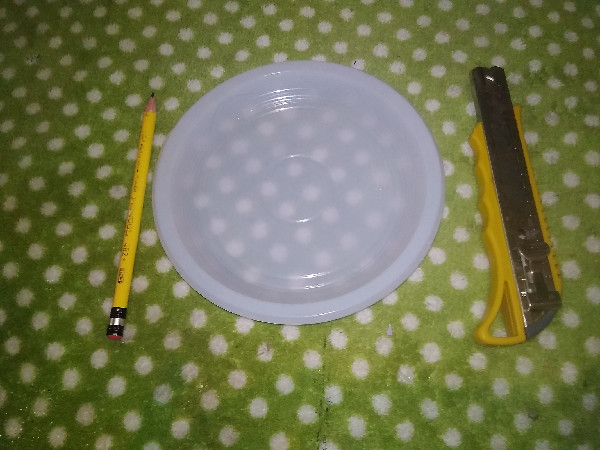
Small plastic plate
Silicon
Pencil
Exactly.
Rule
Step by Step
- The first thing I did was take the ruler and trace the strips of paper that you would need to decorate the garland. Within the measurements are 14.5cm long and 3cm wide.
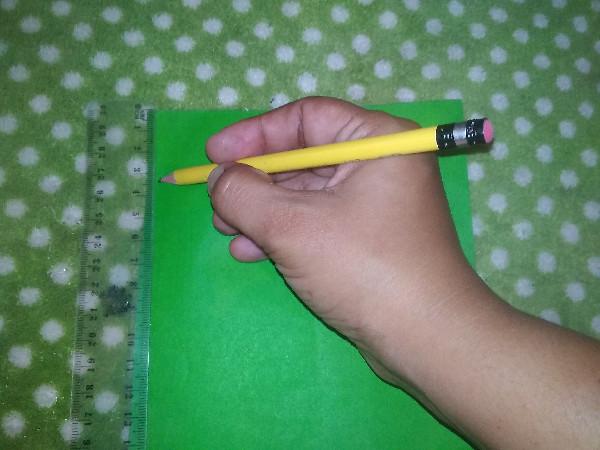
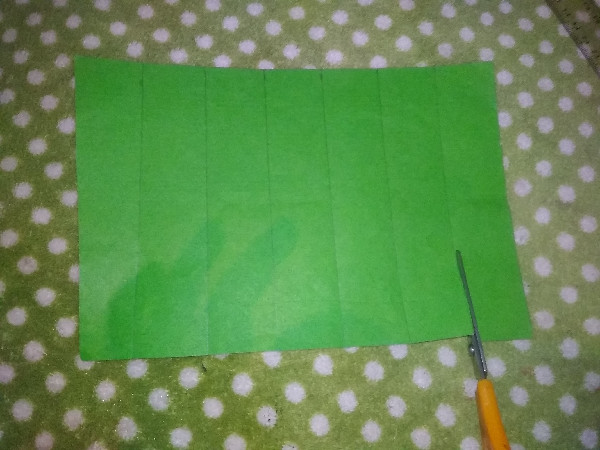
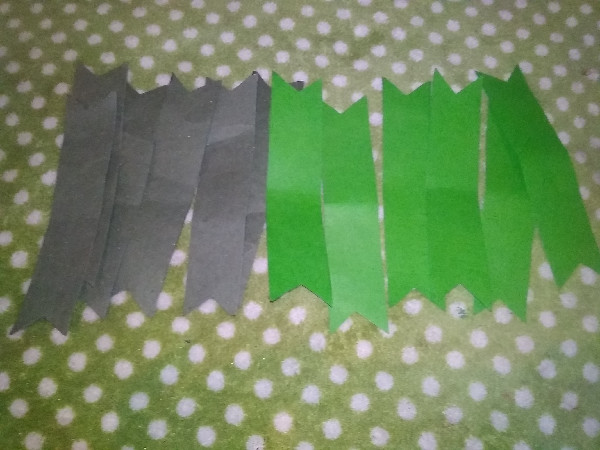
- This procedure is done with both cards.
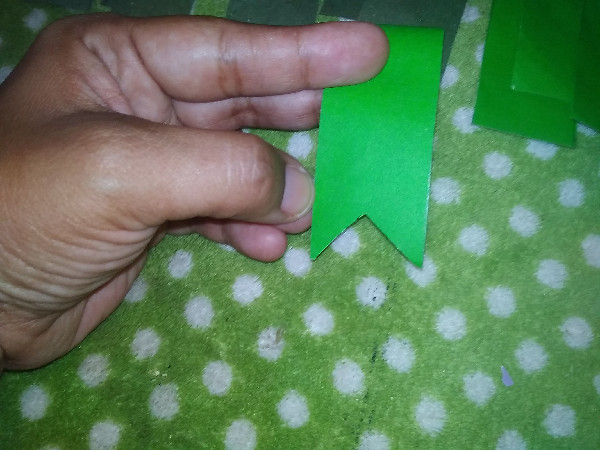
- Then take one of the strips, fold it and make a cut as you see in the photograph
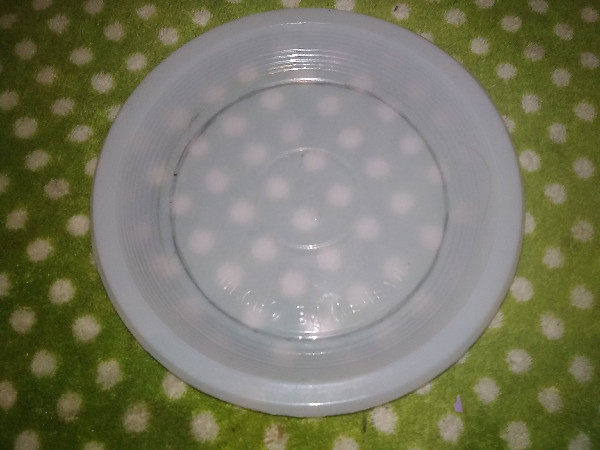
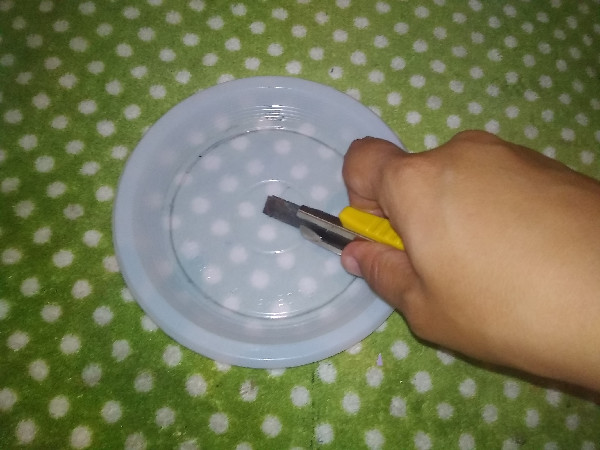
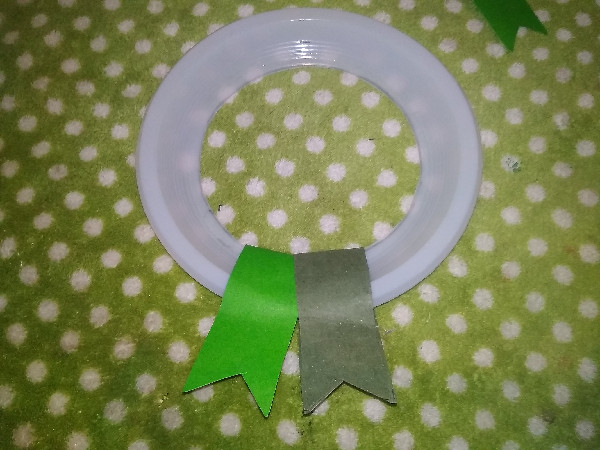
- Now I take the plate, the pencil and the exact one to proceed to mark the circle inside the avocado and with the exact cut.
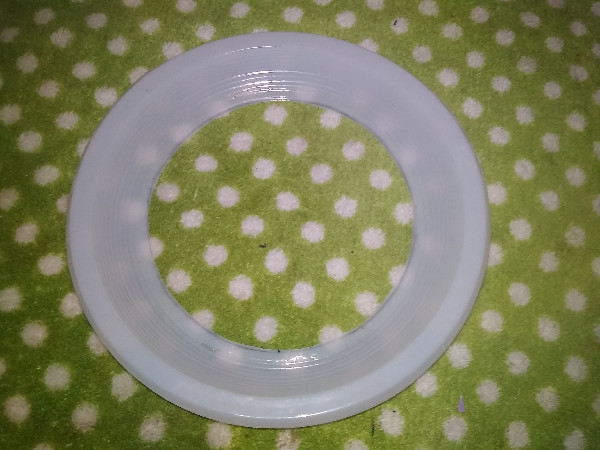
- Here we have the plate ready to be decorated and transformed into a garland
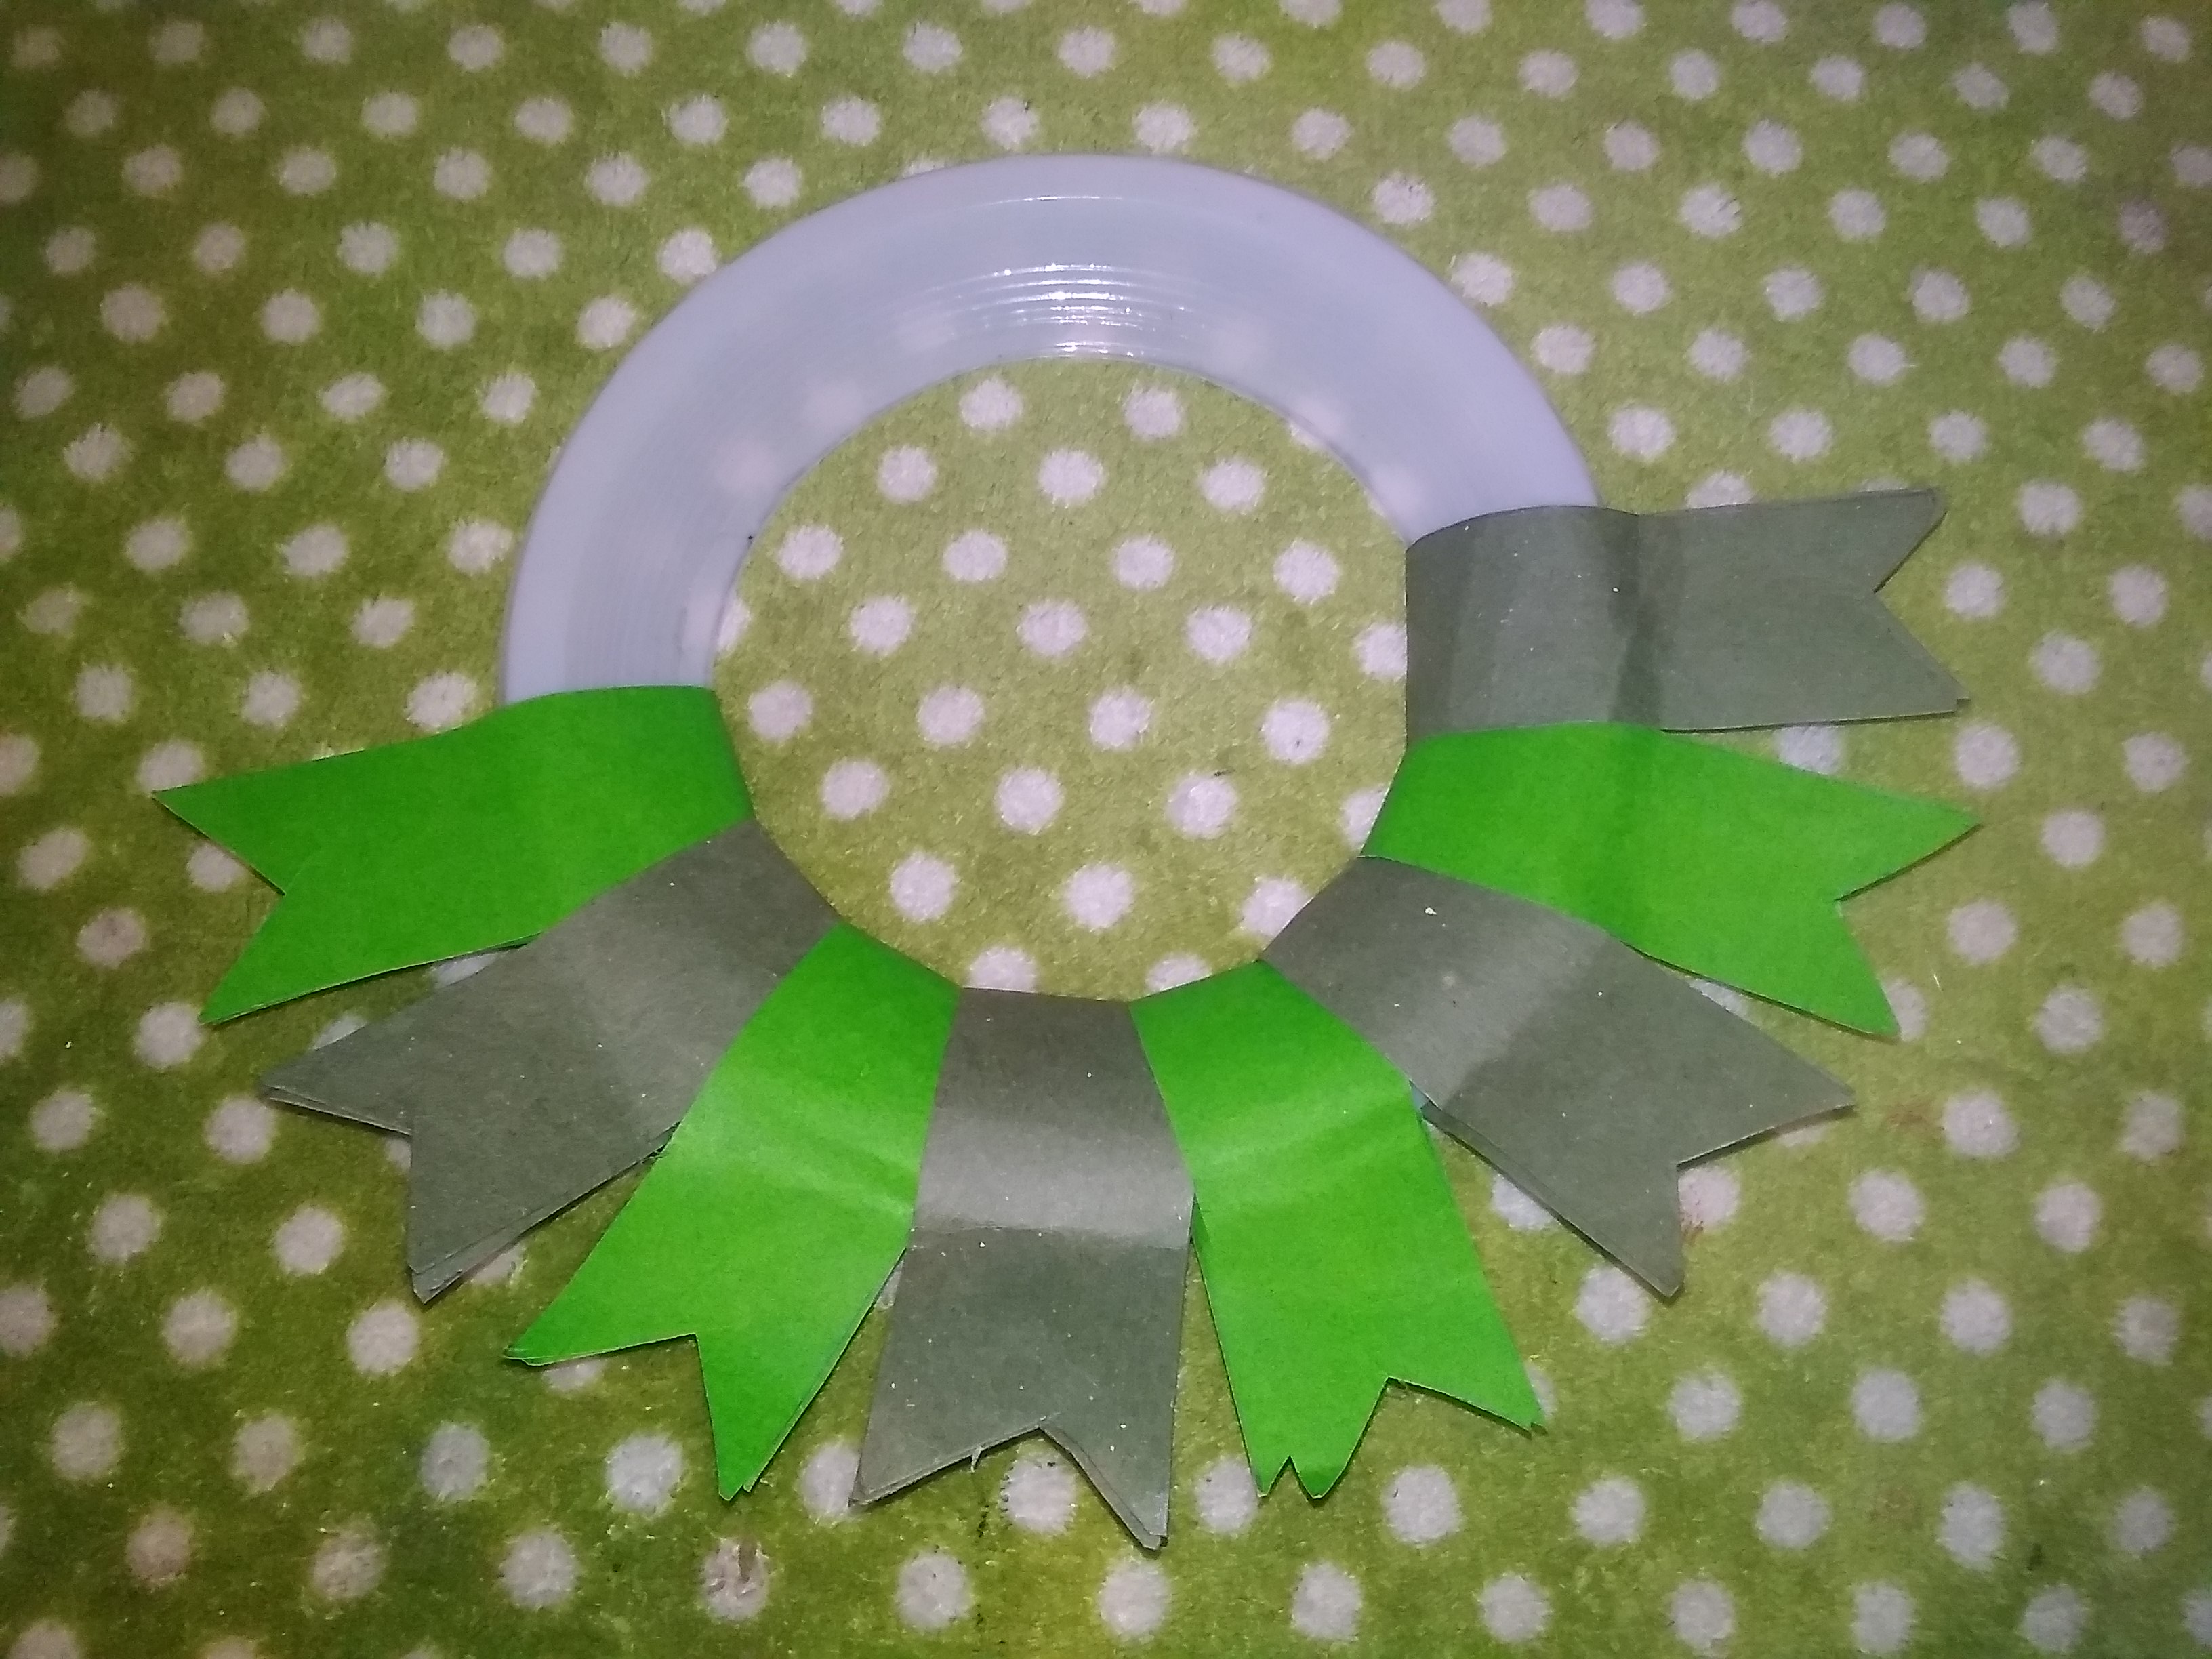
- As you can see in the photograph, we take the strip of paper and begin to glue each one with hot silicone

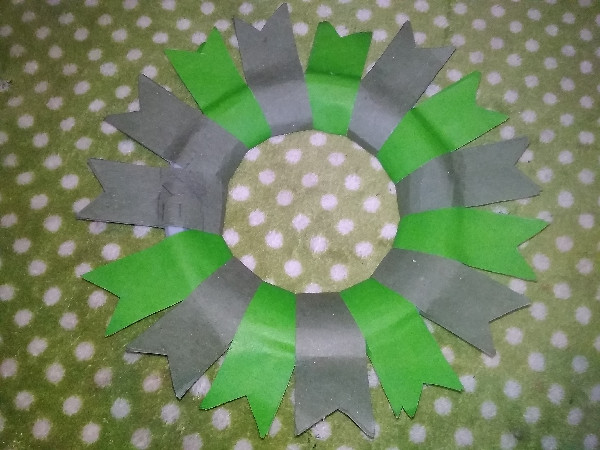
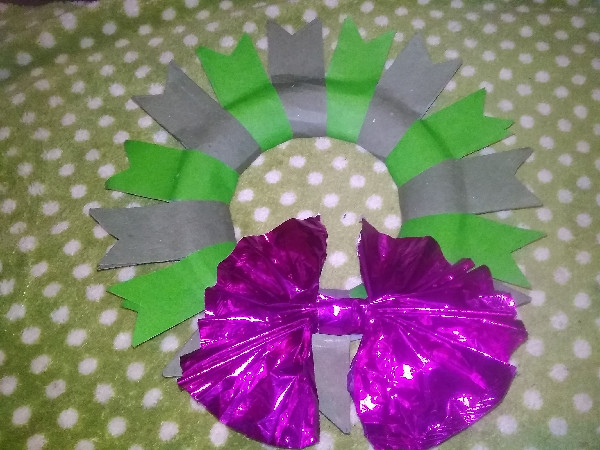
- This procedure is carried out until the entire avocado is covered, remaining as follows
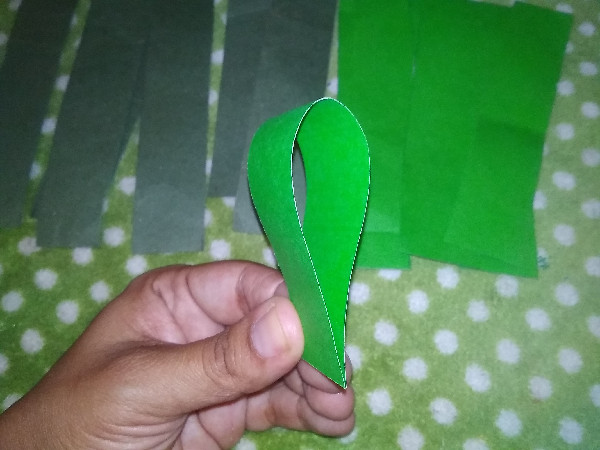
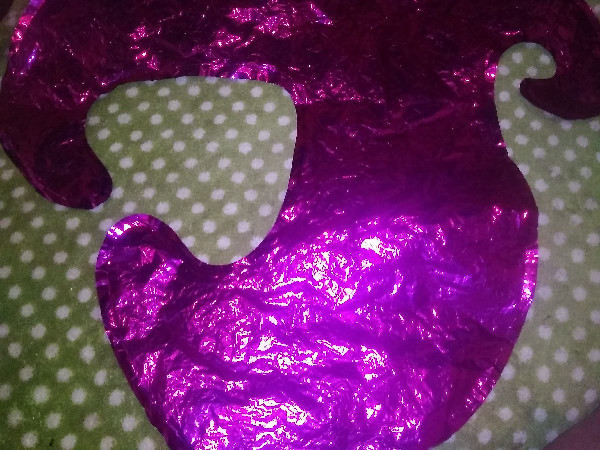
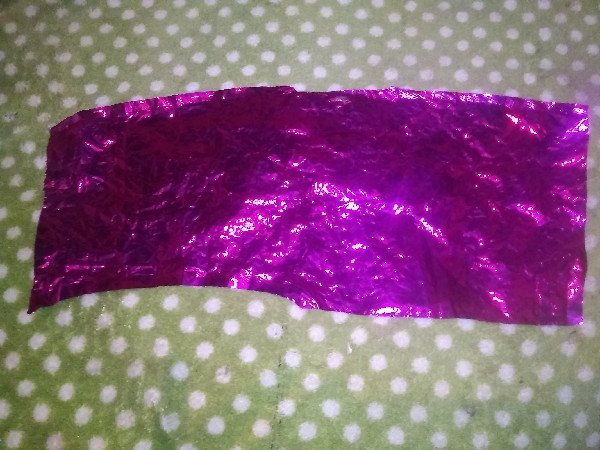
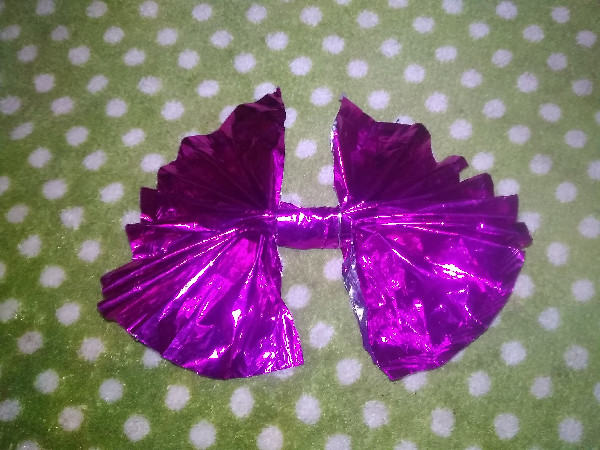
- Now I wanted to continue decorating, since that way it did not look pretty, so in my bag of supplies I had a metallic balloon that was damaged and it occurred to me to decorate with that. Cut a piece to make a loop.
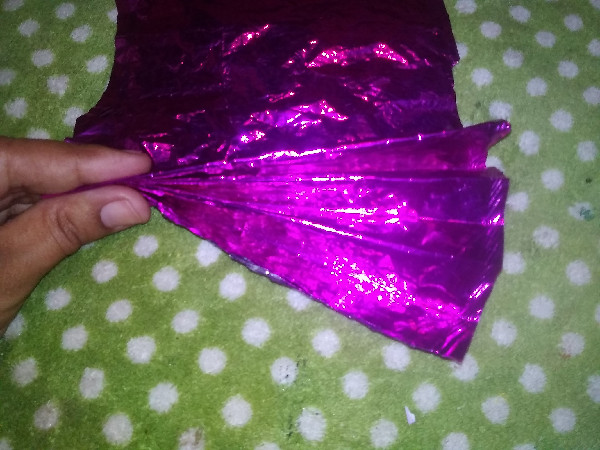
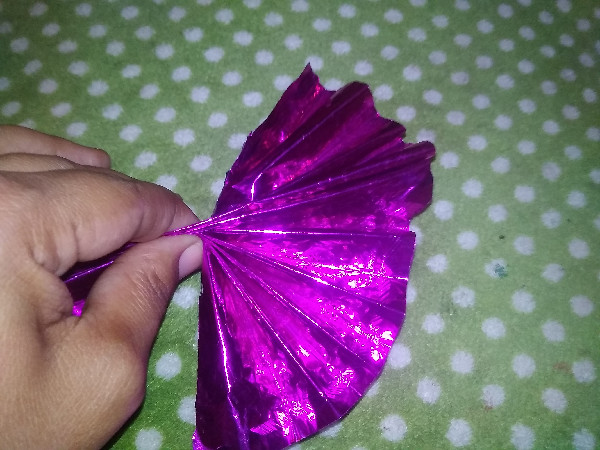
- Make a zigzag and then join and glue in the middle, managing to get the loop.
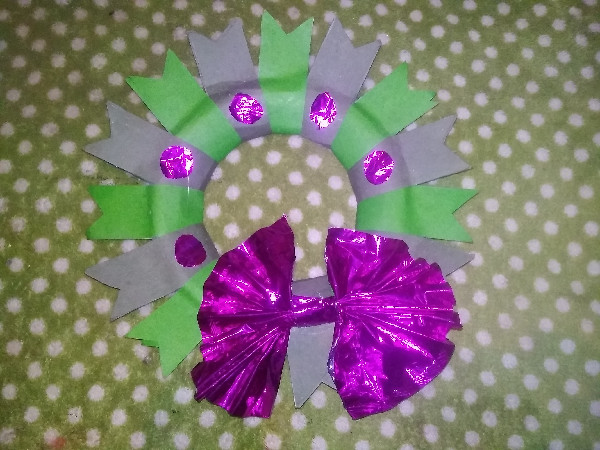
- Now glue on the garland and place a few interspersed circles.
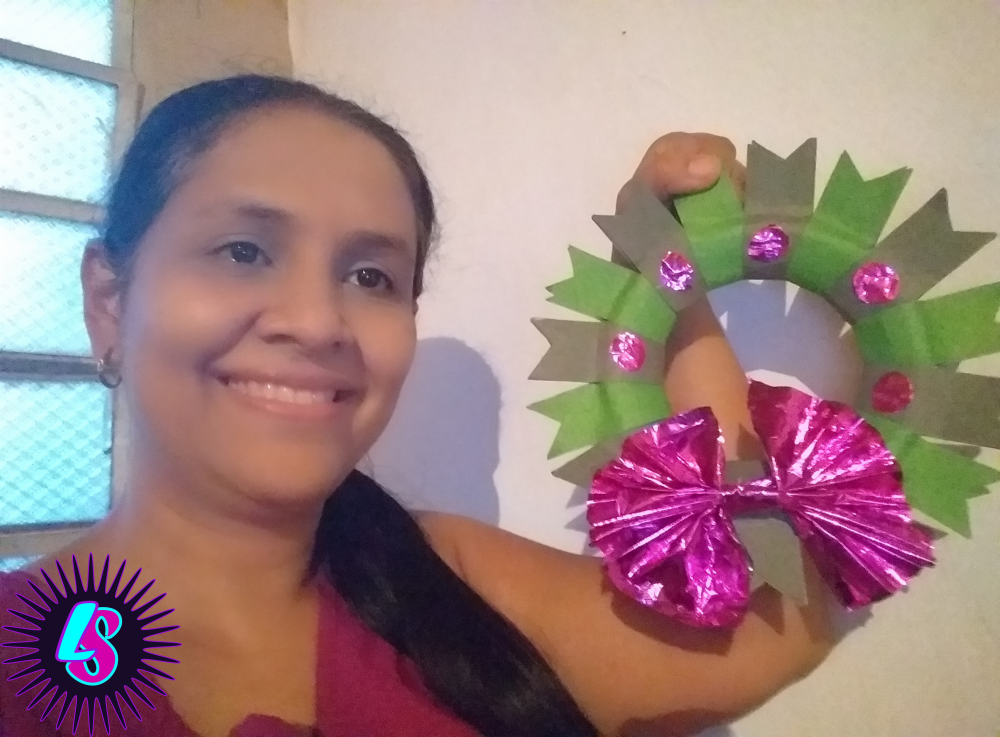
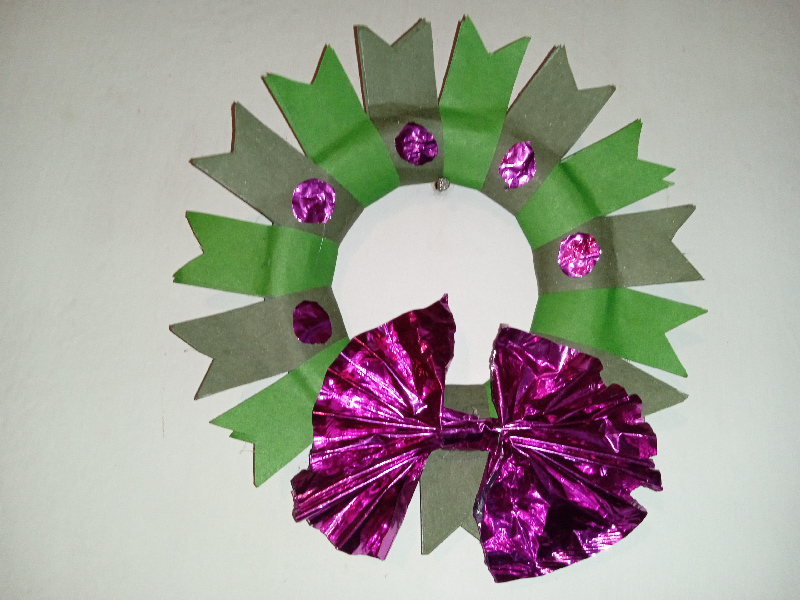
- The final result is as follows
- I hope you like it and put it into practice to decorate your homes
I say goodbye and see you in a next post
Photos taken from my redmiGo phone
Thanks for reading me

Versión Español
Saludos amigos de hive, espero estén súper bien. Se acerca una fecha muy bonita como es la navidad, ya muchos nos estamos preparando para adornar nuestros hogares con hermosos arreglos con motivo al mes más bello del año, Siempre en mi hogar comenzamos a realizar adornitos. En esta oportunidad les traigo un tutorial de cómo realizar una guirnalda con plato platico de fiesta. Buscando en la web conseguí varias ideas y la adapte a los materiales que poseía. Aquí les mostrare el paso a paso de esta práctica y hermosa guirnalda navideña.
Materiales
Cartulina de construcción verde hoja y verde oscuro
Tijera
Plato plástico pequeño
Silicón
Lápiz
Exacto.
Regla
Paso a paso
- Lo primero que realice fue tomar la regla y trazar las tiras de papel que necesitaría para decorar la guirnalda. Dentro de las medidas están en 14.5cm de largo y 3cm de ancho.
- Este procedimiento lo realice con ambas cartulinas.
- Luego tome una de las tiras, la doblamos y realizamos un corte como lo ven en la fotografía
- Ahora tomo el plato, el lápiz y el exacto para proceder a marcar el círculo de adentro del palto y con el exacto cortar.
- Ya aquí tenemos el plato listo para ser decorado y transformado en guirnalda
- Como ven en la fotografía tomamos la tira de papel y empezamos a pegar cada una con silicón caliente
- Este procedimiento lo realice hasta cubrir todo el palto, quedando de la siguiente manera
- Ahora quería seguir adornando, ya que así no se veía bonita, entonces en mi bolsa de materiales tenía un globo metalizado que estaba dañado y se me ocurrió adornar con eso. Corte un trozo para realizar un lazo.
- Realice un zigzag y luego uni y pegue en el medio, logrando obtener el lazo.
- Ahora pegue en la guirnalda y coloque unos círculos intercalados.
- Quedando el resultado final de la siguiente manera
- Espero les guste y lo pongan en práctica para decorar sus hogares
Me despido y nos vemos en un próximo post
Fotografías tomadas desde mi teléfono redmiGo
Gracias por Leerme
Electronic-terrorism, voice to skull and neuro monitoring on Hive and Steem. You can ignore this, but your going to wish you didnt soon. This is happening whether you believe it or not. https://ecency.com/fyrstikken/@fairandbalanced/i-am-the-only-motherfucker-on-the-internet-pointing-to-a-direct-source-for-voice-to-skull-electronic-terrorism
https://twitter.com/lisbeth6jas/status/1448083278964084740
The rewards earned on this comment will go directly to the person sharing the post on Twitter as long as they are registered with @poshtoken. Sign up at https://hiveposh.com.
Hola @lisbethseijas te quedo bello la guirnalda excelente para adornar en la època de navidad, gracias por compartir tu tutorial.
Que bueno te gusto, gracias por pasar por mi blog @cetb2008