(ENG/ESP) Session #3: A Spartan Gamer in Photoshop | Basic Tutorial - Logo Galaxy - Photoshop Cs5


Hello colleagues!
Welcome once again to another content of my authorship. Today I will be sharing with you a basic tutorial for Photoshop Cs5, which is about how to make a "Galaxy Logo".
And without further ado, let's get started.

¡Que tal colegas!
Sean Bienvenidos una vez más a otro contenido de mi autoría. El día de hoy les voy a estar compartiendo un tutorial básico para Photoshop Cs5, el cual trata de cómo realizar un “Logo Galaxy”.
Y sin dar más preámbulo empecemos.
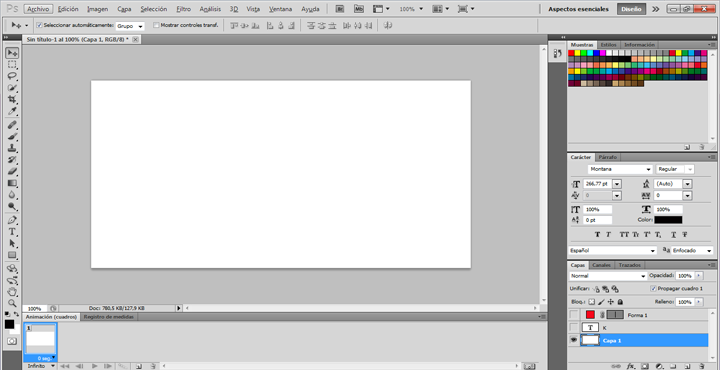
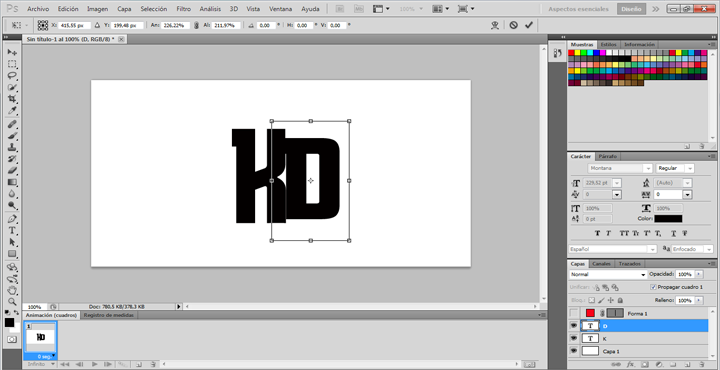
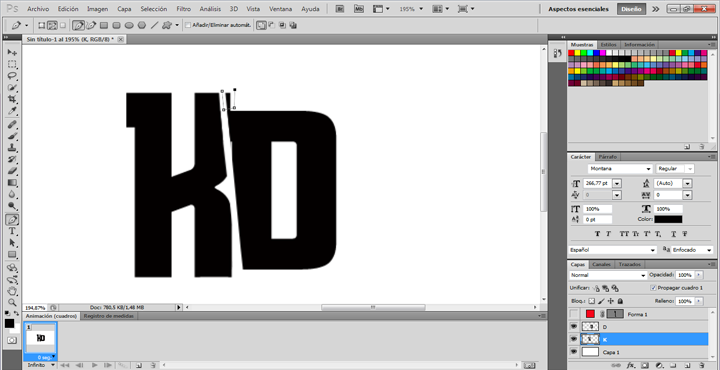
To start we will create a canvas, the size can be of your preference, in my case I will be using dimensions of 720*370. Once we have it ready we will proceed to place the letters we will use for the logo, in my case I have used a font called "Montana", I like this font very much but you can choose the font you like the most.
Para empezar crearemos un lienzo, el tamaño puede ser de su preferencia, yo en mi caso estaré usando dimensiones de 720*370. Una vez lo tengamos listo procederemos a colocar las letras que usaremos para el logo, en mi caso he usado una fuente de letra llamada “Montana”, este tipo de letra me gusta mucho pero ustedes pueden escoger el tipo de letra que más les guste.
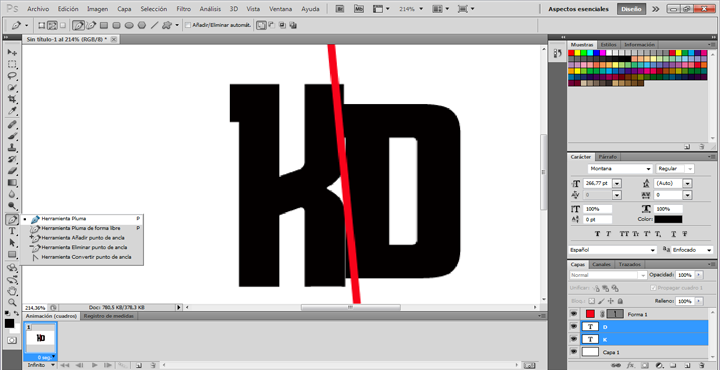
For the letters I used which are the K and D, I made a slight cut to give a better shape to the logo, for this cut I used the shape tool and I made a rectangle that passes diagonally through both letters, this rectangle I have adjusted it to the size I was looking for to make a clean cut. Once the cut was finished I proceeded to remove with the eraser tool all the details that were left after the cut.
Para las letras que use que son la K y la D, les he hecho un leve recorte para darle una mejor forma al logo, para este recorte he usado la herramienta de forma y he hecho un rectángulo que pasa diagonalmente por ambas letras, este rectángulo lo he ajustado al tamaño que buscaba para hacer un corte limpio. Una vez finalizado el corte procedí a quitar con la herramienta de borrado todos los detalles que quedaron después del recorte.
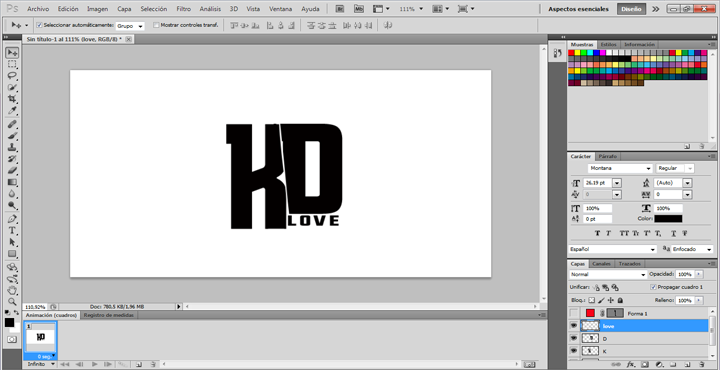
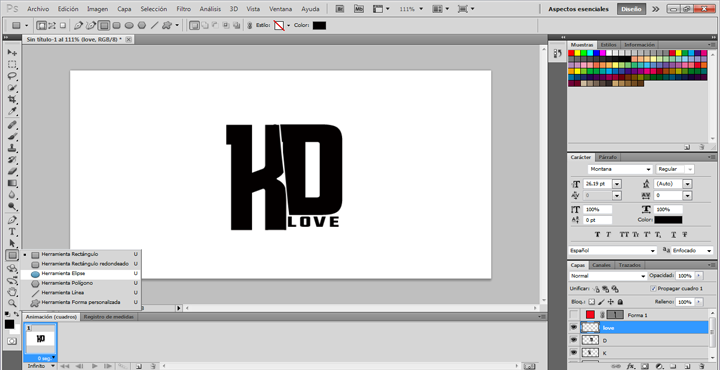
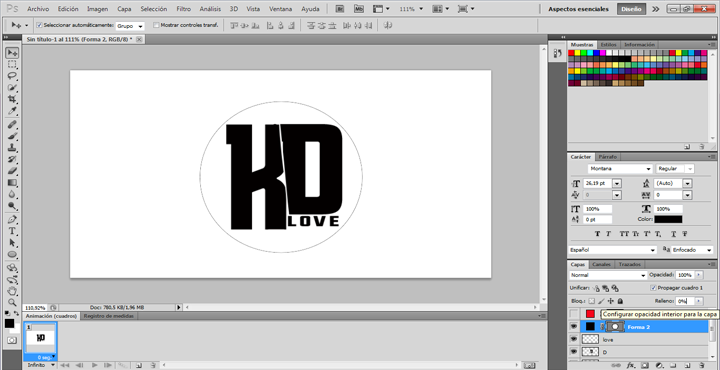
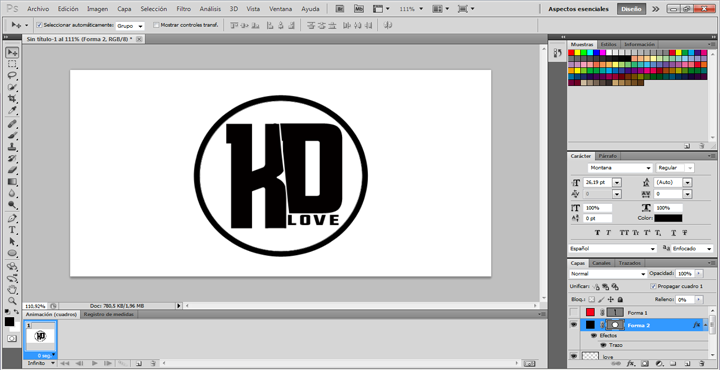
The word "LOVE" has been improvised, since at that moment I thought of passing the logo to someone who is special to me. I managed to adjust it well and I liked the way it turned out. At this point we have our letters ready for the logo, now we have to make the circle which will be the one that will give the final touch to the logo as such. To make the circle we will select the Ellipse tool and we will start expanding the circle to the point we want, once this step is ready we will proceed to place ourselves in the layer of our circle and we will lower the fill to zero, then we will open the blending options and we will place ourselves in the Stroke tool and we will give it a size to our liking. At the end of these steps you should get a result as in the image below.
La palabra “LOVE” ha sido improvisada, ya que en ese momento pensé en pasarle el logo a alguien que es especial para mí. He logrado ajustarlo bien y me ha gustado como ha quedado. En este punto ya tenemos listo nuestras letras para el logo, ahora tocara hacer el circulo el cual será el que le dará el toque final al logo como tal. Para hacer el círculo vamos a seleccionar la herramienta de Elipse y empezaremos expandir el círculo hasta el punto que queramos, una vez listo ese paso procederemos a ubicarnos en la capa de nuestro círculo y le bajaremos el relleno a cero, luego abriremos las opciones de fusión y nos ubicaremos en la herramienta de Trazo y le daremos un tamaño a nuestro gusto. Al finalizar con estos pasos se debe obtener un resultado como en la imagen a continuación.
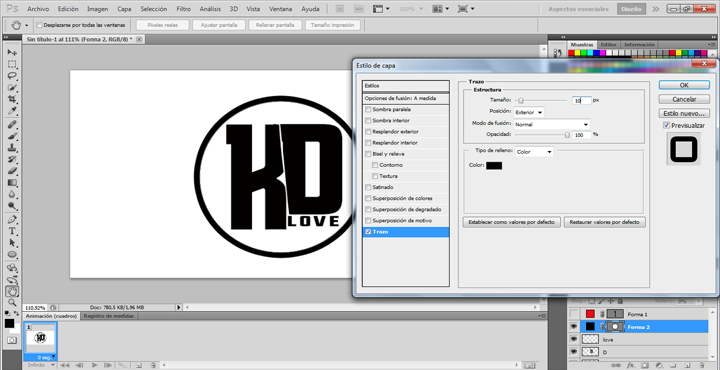
Note: It is very important to combine all the layers at this point to convert it into a single image. In this way the effect that I will explain below will come out without any problems.
Nota: Es de suma importancia combinar todas las capas en este punto para convertirla en una sola imagen. De esta manera el efecto que explicaré a continuación saldrá sin ningún tipo de problemas.
Up to this point our Logo is 90% done, we only need to give it that galaxy touch to make it completely ready.
Hasta este punto nuestro Logo ya esta hecho en un 90%, solo nos faltaría darle ese toque galaxy para que quede totalmente listo.
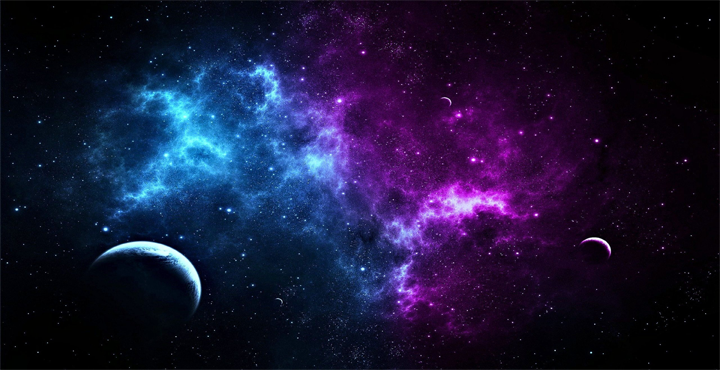
To achieve that galaxy effect you can look for any image on the web that has to do with the universe, you can choose the one you like the most. In my case I will use the one you can see in the following image.
Para lograr ese efecto galaxy pueden buscar cualquier imagen por la web que tengan que ver con el universo, pueden escoger la que más les guste. Yo en mi caso usaré la que podrán ver a continuación.
Now, let's go! Our image of the universe we are going to place it above our logo, we must be aware that the layer of this image is above the layer of the logo to take effect. Once we have the image ready and placed above the logo we will proceed to press the "Alt" key and we will place the mouse pointer over the logo layer and we will "Click". If for some reason this does not work, you can also go to the layer of the image of the universe, with the second click open the layer options and select clipping mask, that way you can get the following result.
¡Ahora bien! Nuestra imagen del universo la vamos ubicar por encima de nuestro logo, debemos estar pendiente que la capa de esta imagen este por encima de la capa del logo para que surta efecto. Une vez tengamos la imagen lista y colocada por encima del logo procederemos a presionar la tecla “Alt” y ubicaremos el puntero del mouse sobre la capa del logo y hacemos “Click”. Si por alguna razón esto no le resulta, también pueden ubicarse en la capa de la imagen del universo, con el segundo click abren las opciones de capa y van a seleccionar mascara de recorte, de esa manera podrán obtener el siguiente resultado.
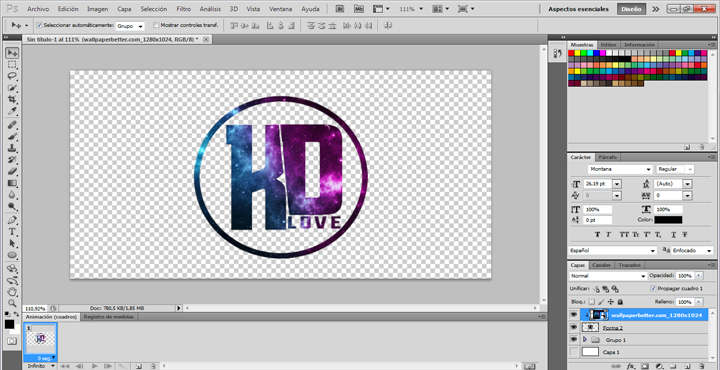
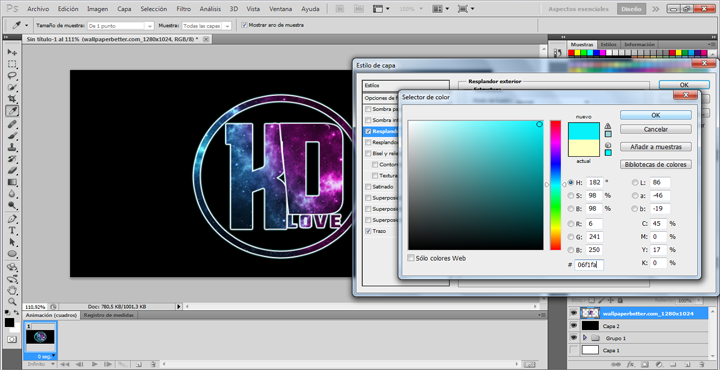
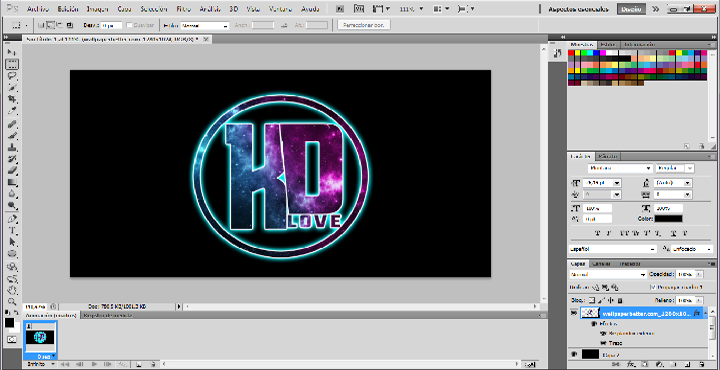
With this we can say that our logo is finished, now from this point any other detail that can be added is to the taste of each one. For my part I have combined all the layers making the image become one, then I went to the blending options where I added a minimal stroke of white color, then I added an outer glow with turquoise color to achieve a luminous and/or Neon effect.
Con esto se puede decir que nuestro logo está finalizado, ahora desde este punto cualquier otro detalle que se le pueda agregar es al gusto de cada quien. Por mi parte he combinado todas las capas haciendo que la imagen se convirtiera en una, luego me ido a las opciones de fusión donde he agregado un mínimo trazo de color blanco, luego he agregado un resplandor exterior con color turquesa para lograr un efecto de luminoso y/o Neon.


This way I finish my content for today... I hope you liked this basic Photoshop tutorial =)
De esta manera doy por terminado mi contenido de hoy… Espero que este tutorial básico de Photoshop les haya gustado =)
The image of the universe that I have used for the tutorial and cover I have taken from the web, by clicking on it you can be redirected to its link page. All the other images are of my authorship. Thanks for visiting and reading my content, see you soon!
La imagen del universo que he usado para el tutorial y portada la he tomado de la web, haciendo click sobre ella podrán ser redirigidos a su página de enlace. Todas las demás imágenes son de mi autoría. Gracias por visitar y leer mi contenido, hasta pronto!
 |  |  |
0
0
0.000
https://twitter.com/GoljLeonidas/status/1525756101953785856
The rewards earned on this comment will go directly to the person sharing the post on Twitter as long as they are registered with @poshtoken. Sign up at https://hiveposh.com.