Making a shoe rack// furniture design
Hi all lovers of design architecture!!!! how are you today? I hope you are always healthy....
The days go by as if we were in this year for a while but it turns out that we are already at the end of the year and soon maybe in two weeks we will welcome the new year and are we satisfied with our achievements this year????
Even though we haven't achieved everything yet, we have tried our best to get the best...
Today I am back again, a woodworker who spends time every day in the workshop making various kinds of furniture and of course for me this is not just a job but more a part of my life that I really love.
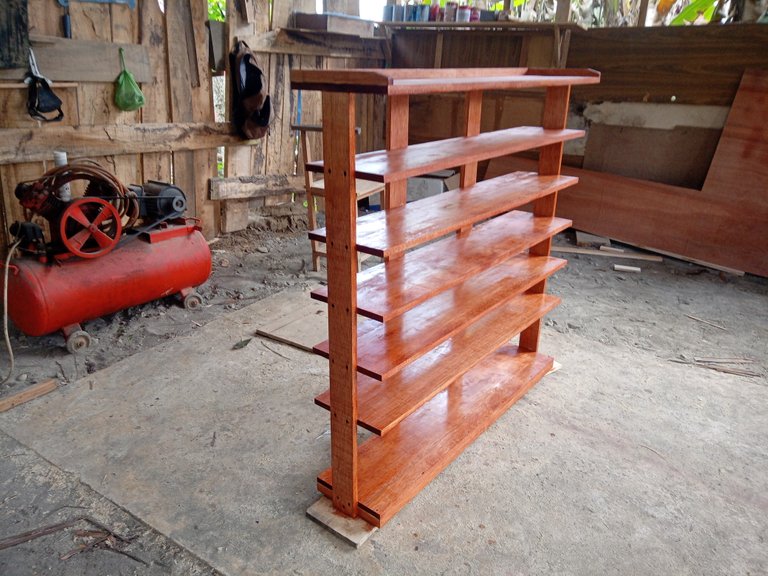
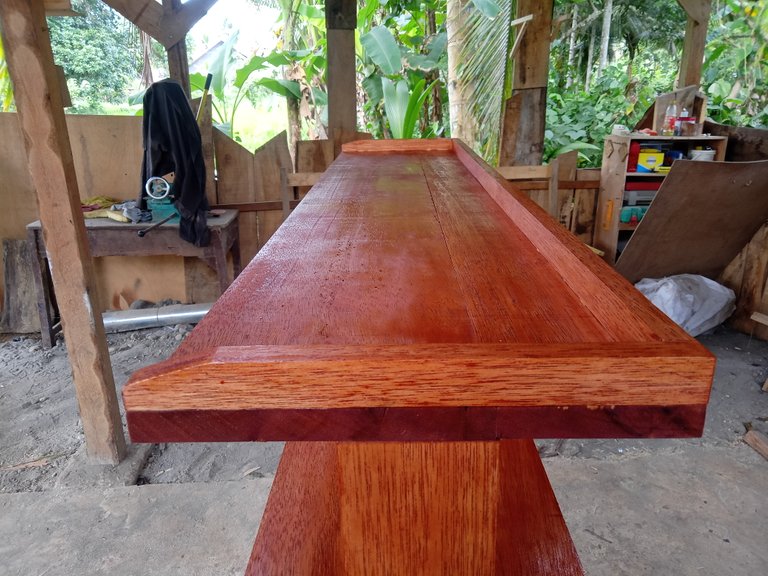
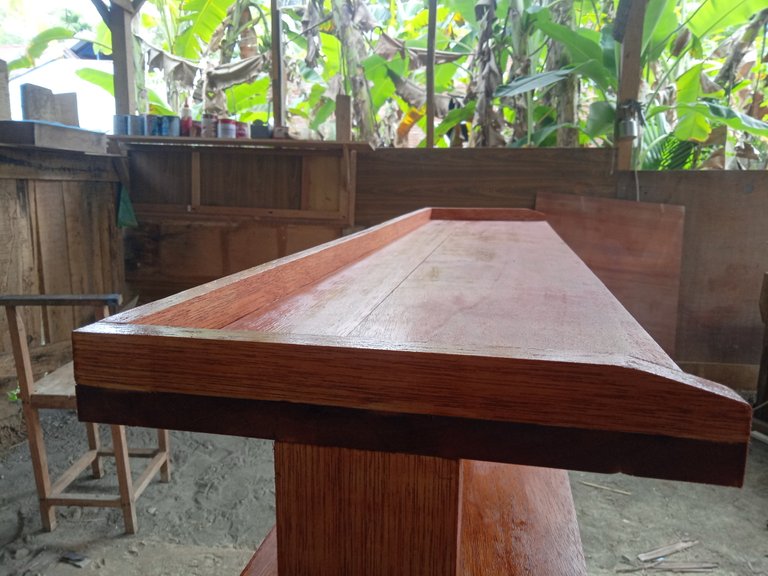
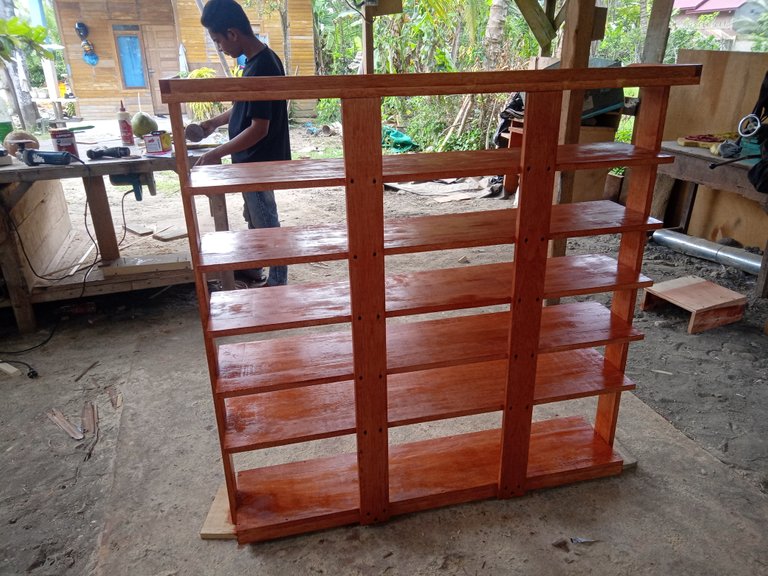
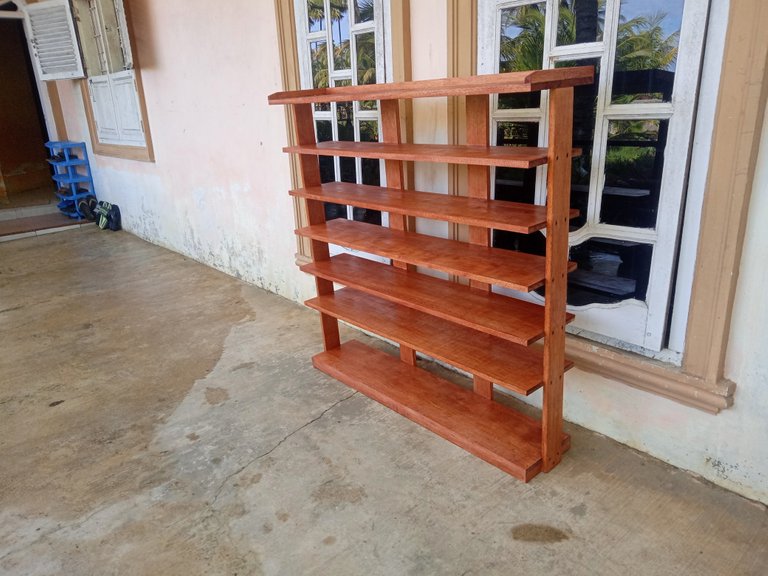
In this post, I want to show the results of my work this week and this is an order from my regular customer, namely a simple shoe rack, he ordered a shoe rack that can fit all of his children's shoes and sandals because he has 5 children who still under his responsibility and also he asked that I make a wider part of the top of this shelf to put a helmet on.


Shoe racks are generally placed on the terrace of the house, but many also place them in the house close to the front door
all of that according to individual tastes, there are lots of shoe rack models and the materials used are also different, for now many use processed wood materials such as plywood and so on which are covered with laminated sheets and it looks more luxurious and of course the price is higher expensive compared to wood plank materials which are finished with a paint or varnish system but for durability they are just as strong as long as they are placed and used according to their function.
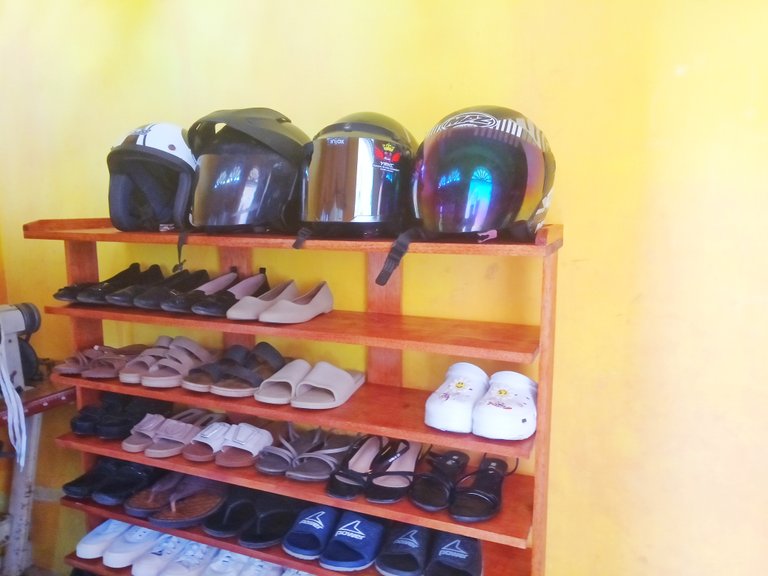
For the shoe rack that I made using wood planks and finishing it using varnish, to make a shoe rack like this is not too complicated and also doesn't require a lot of techniques so the processing time is fast, I only need a day and a half to make this shoe rack So, let's take a look at the process of making this simple shelf.
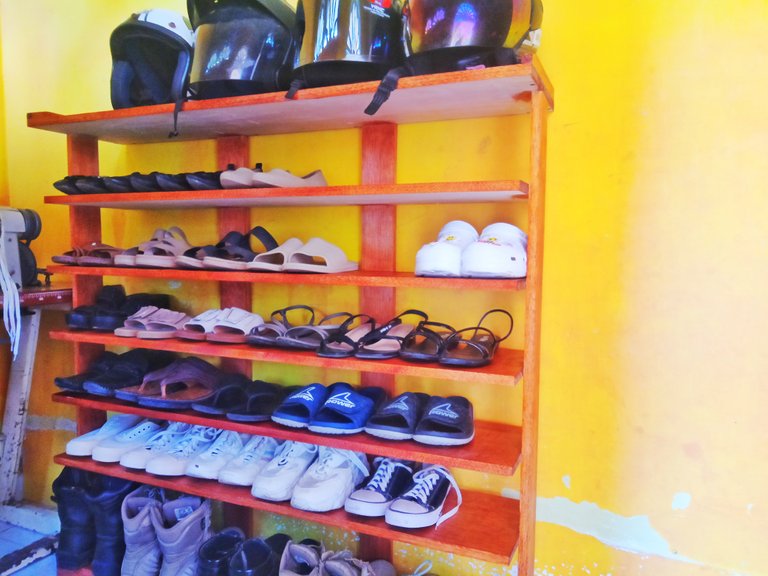

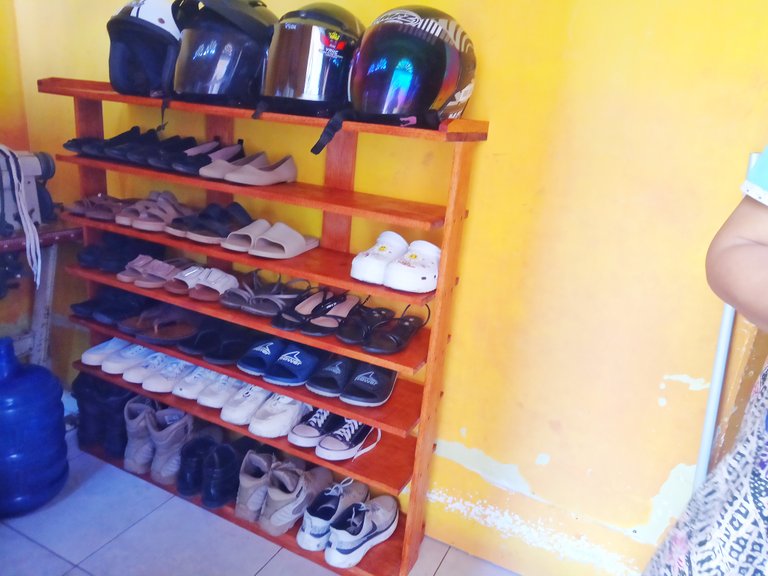

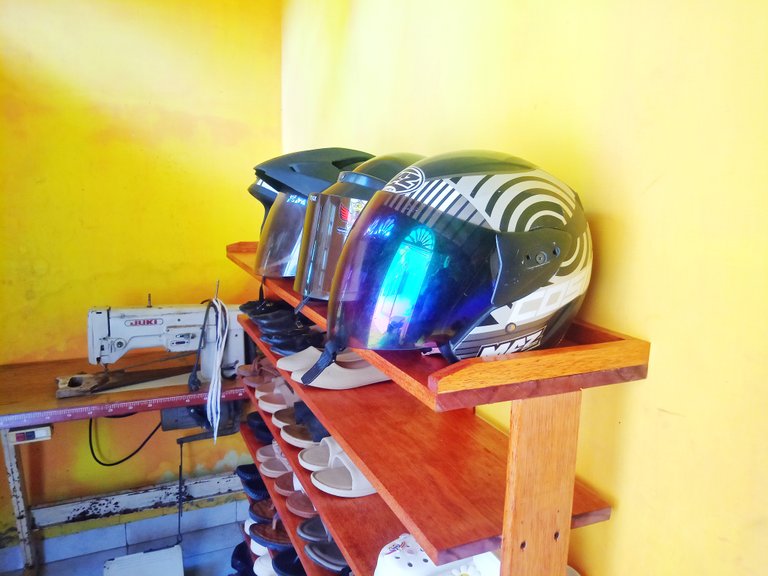
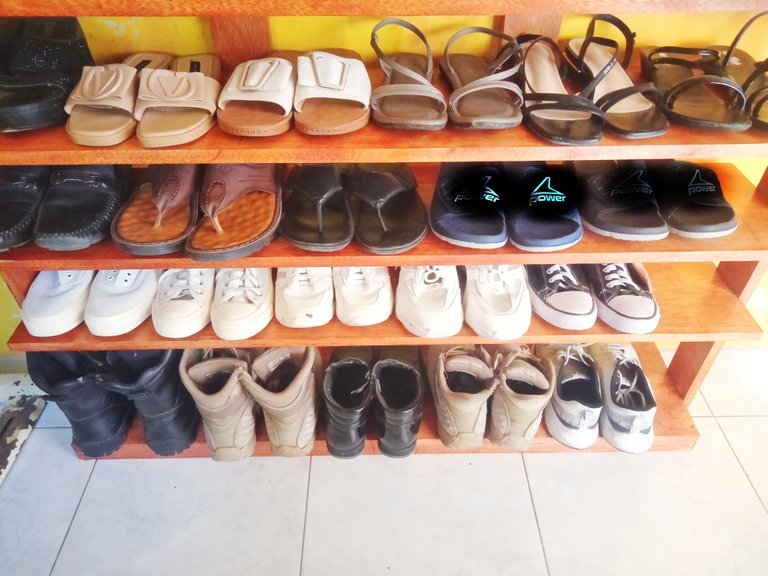
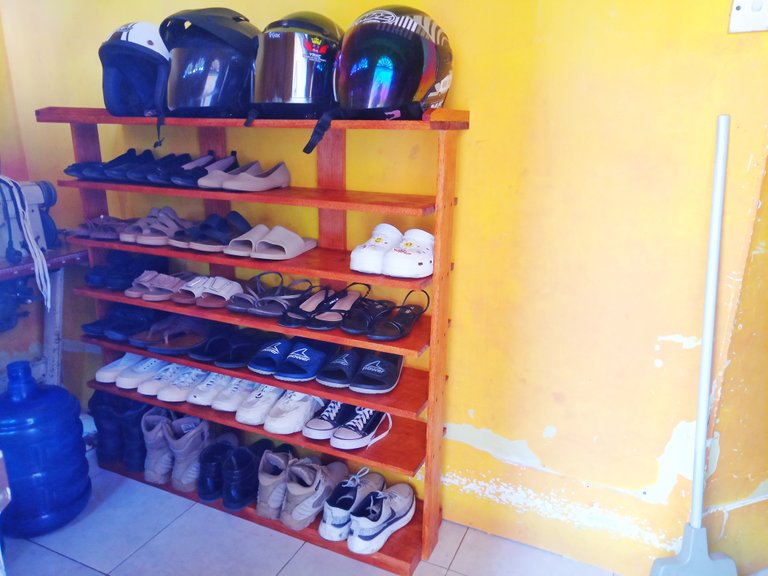

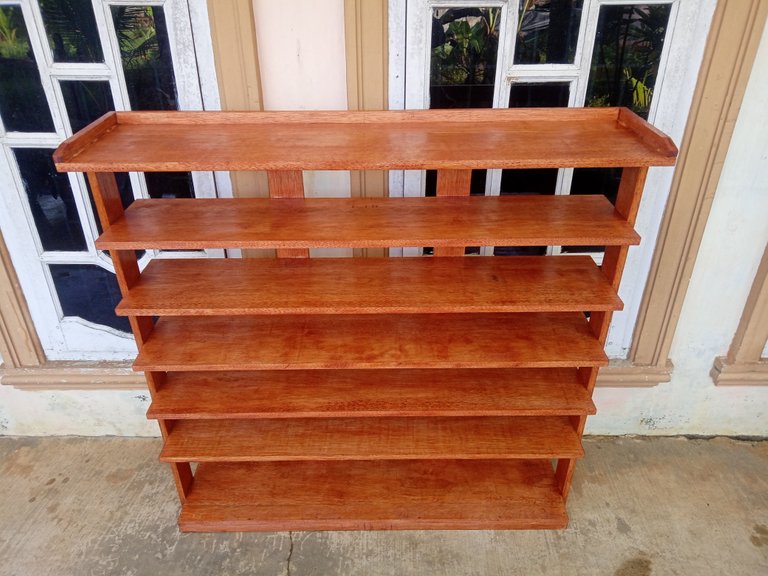
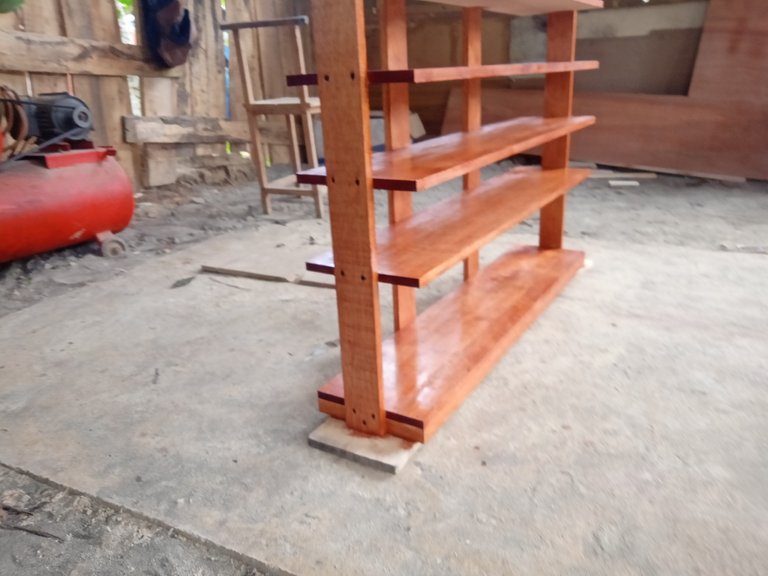
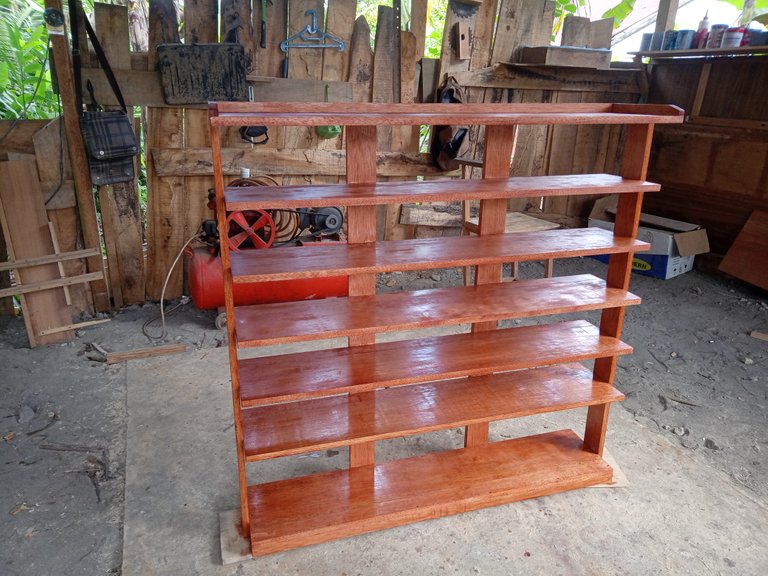
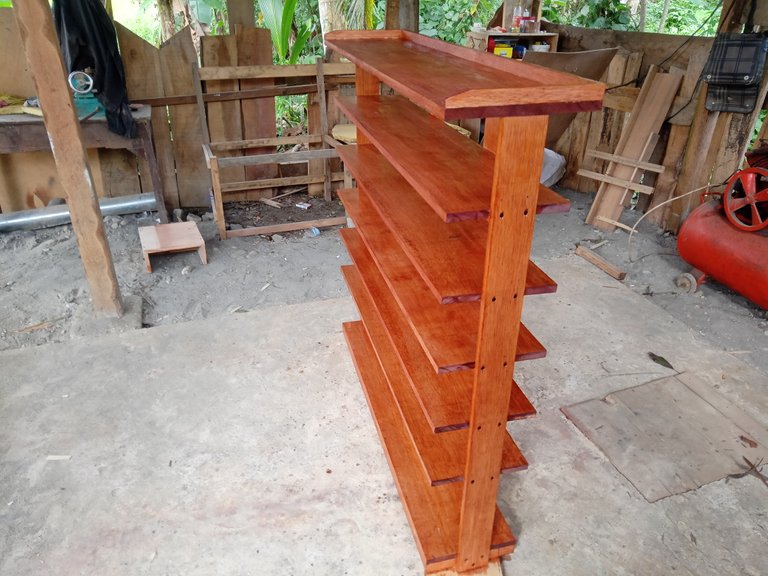
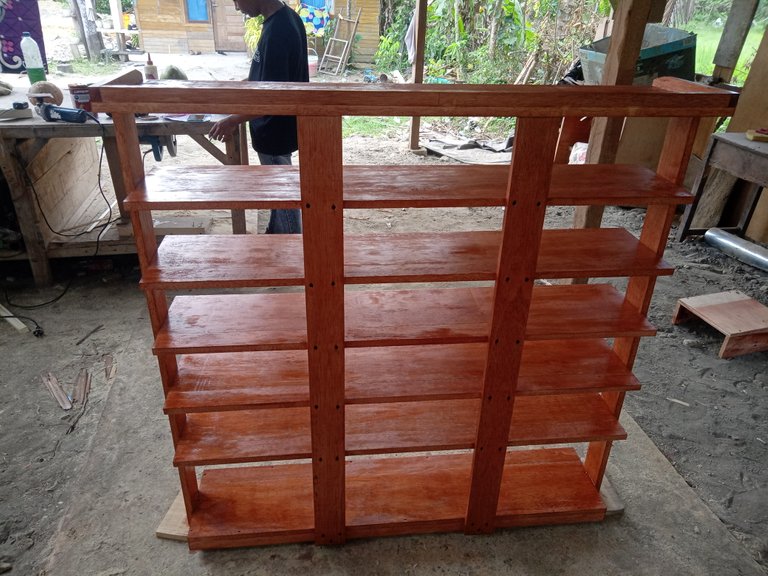
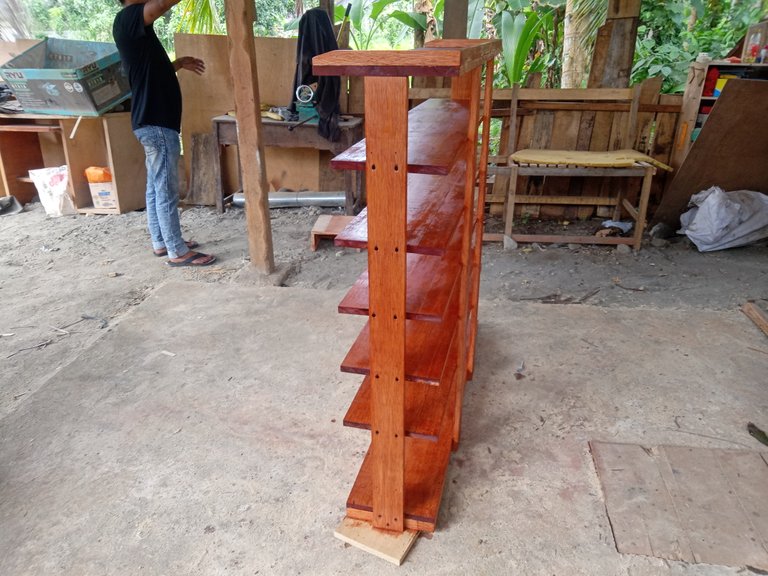
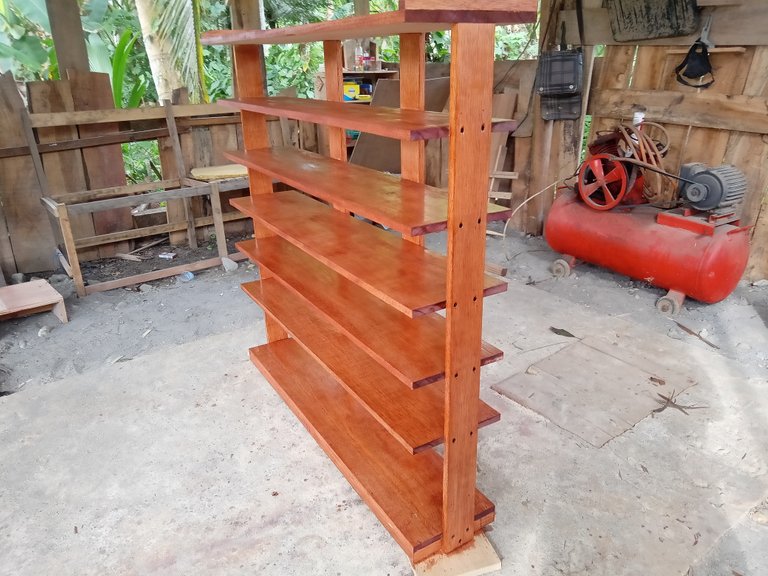
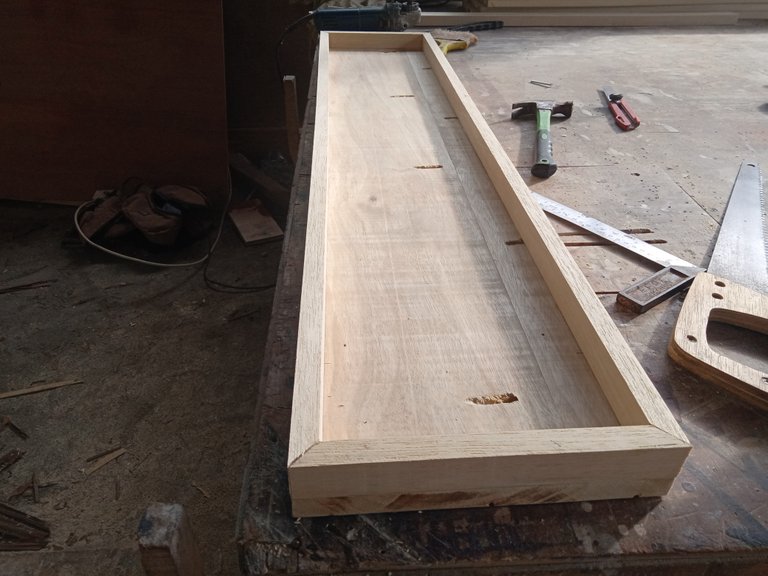
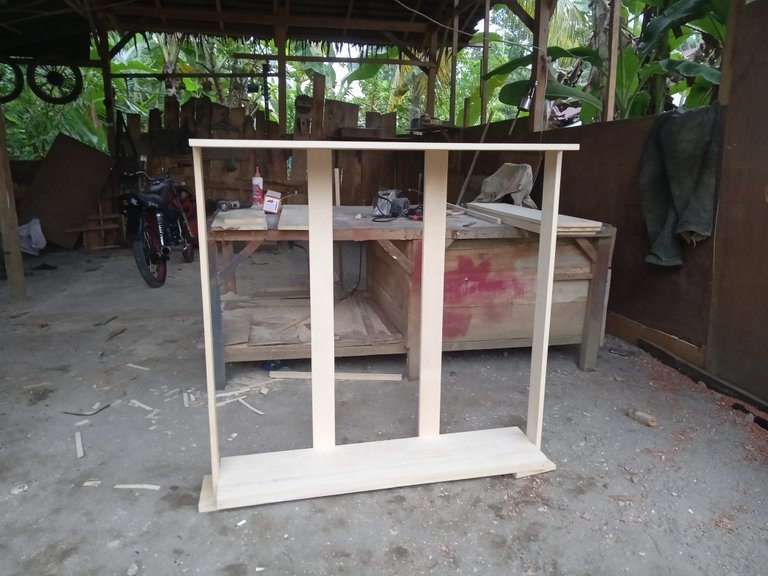
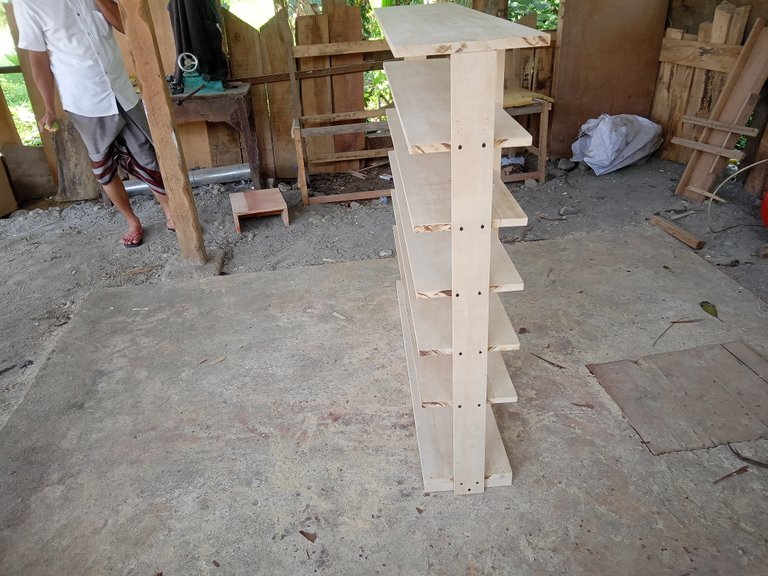
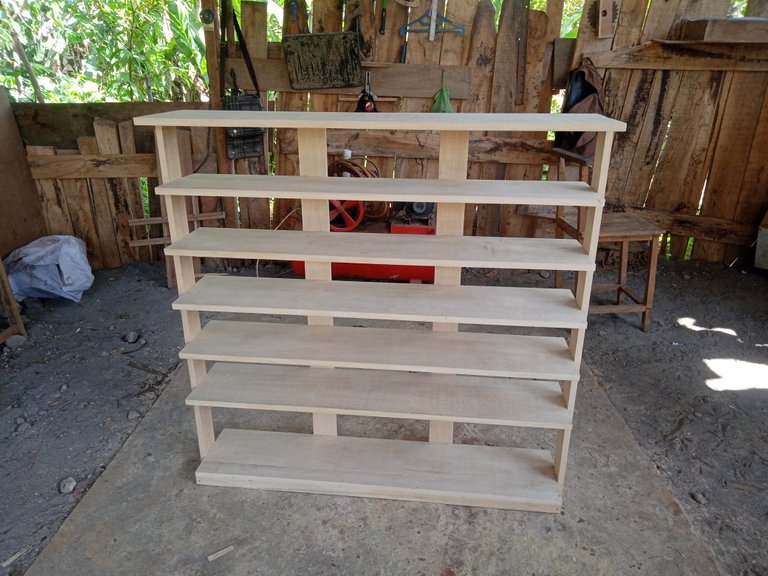
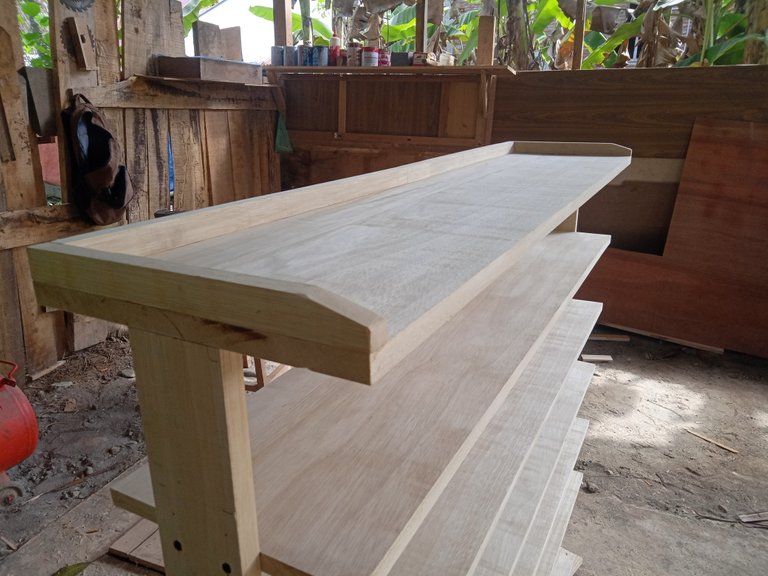
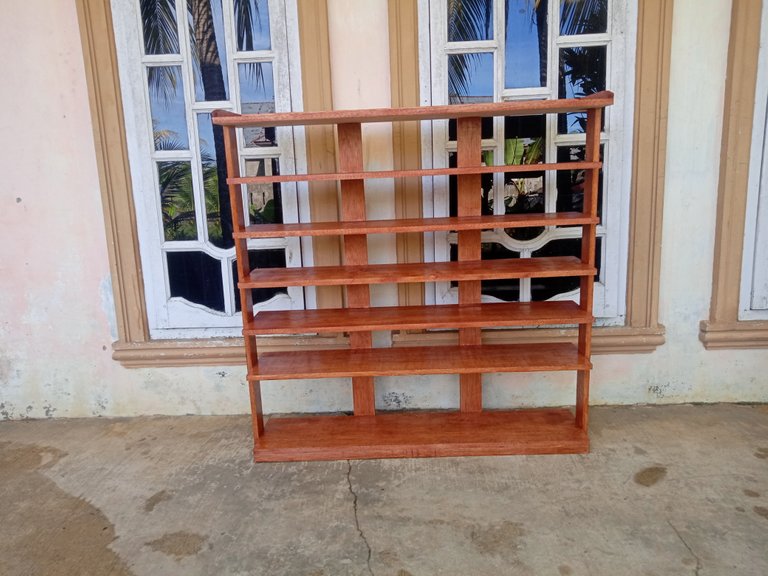
This shoe rack consists of 7 tiers, 6 tiers for shoes and sandals and the top level for helmets,
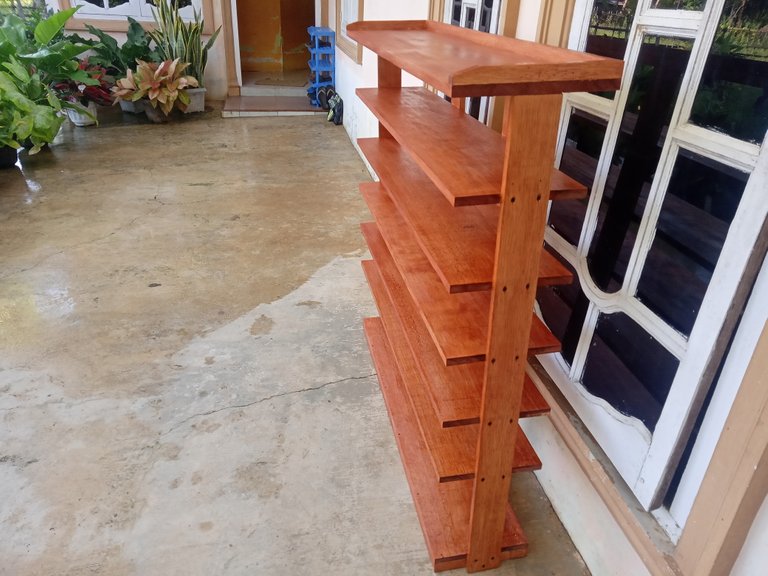
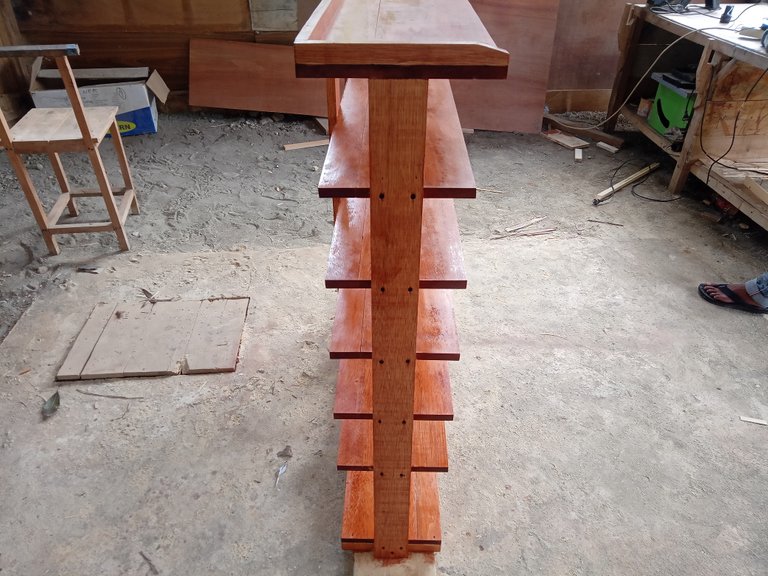
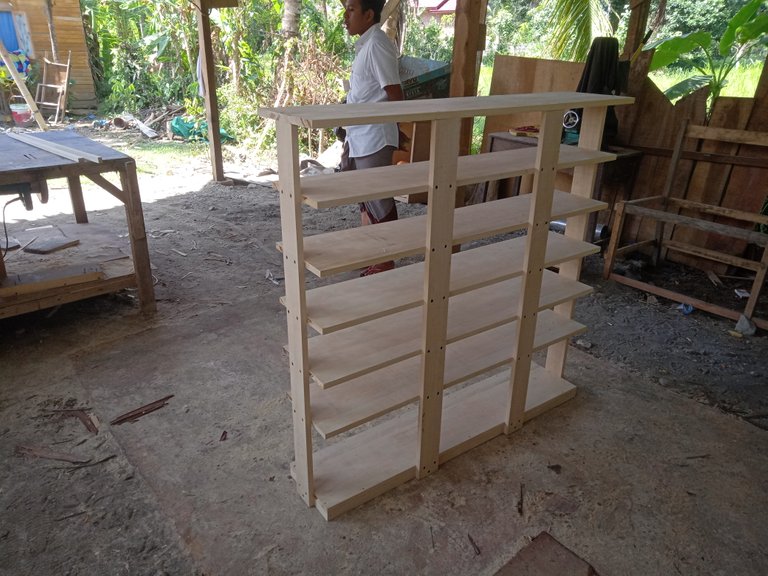
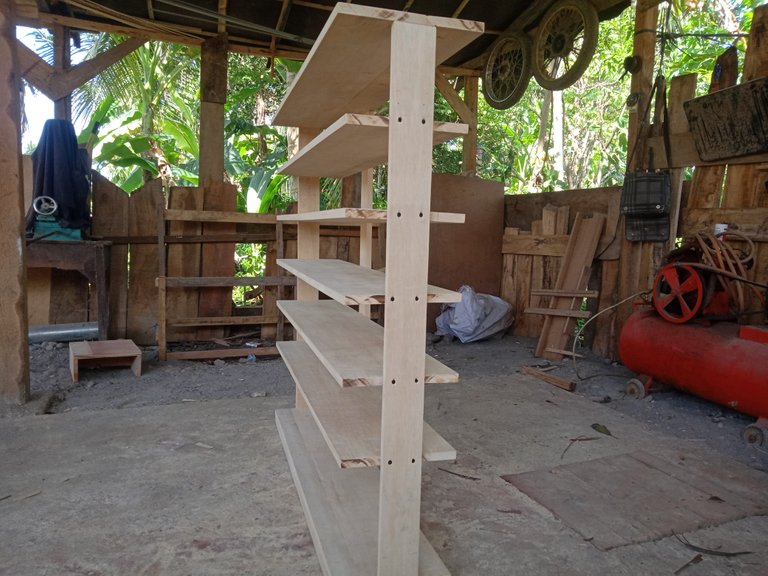
Each level of this shelf is 120 cm long and 24 cm wide and the top level for helmets is 28 cm wide and the distance between the first and second levels is 25 cm. This level is specifically for placing boots and the distance between the second and third levels and so on is 15 cm each level is supported by one support on the left and right and two supports on the back and the height of this shoe rack is 115 cm.
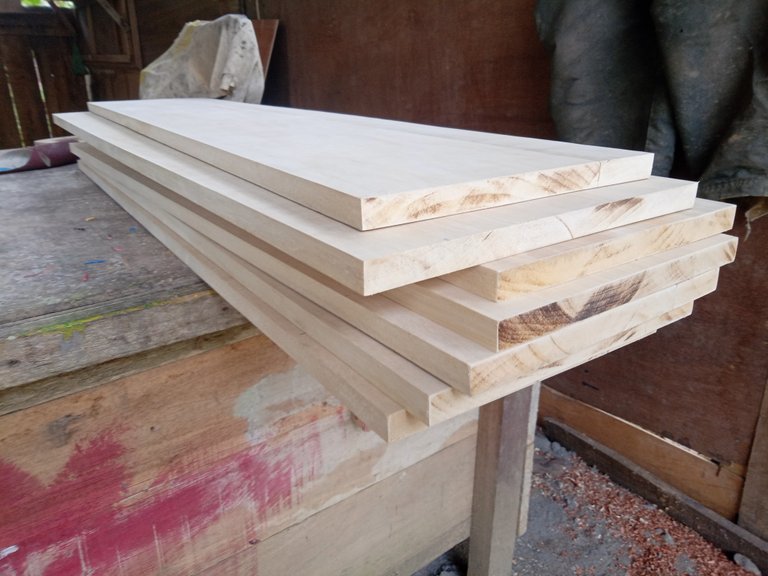
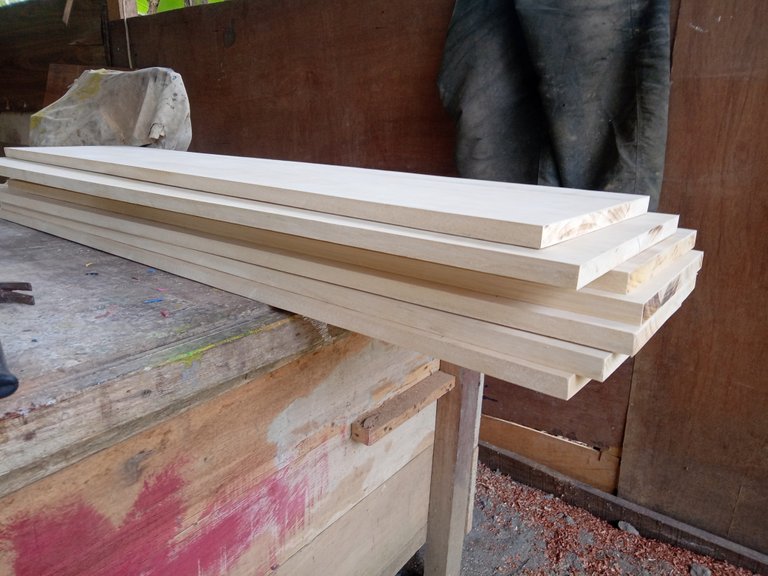
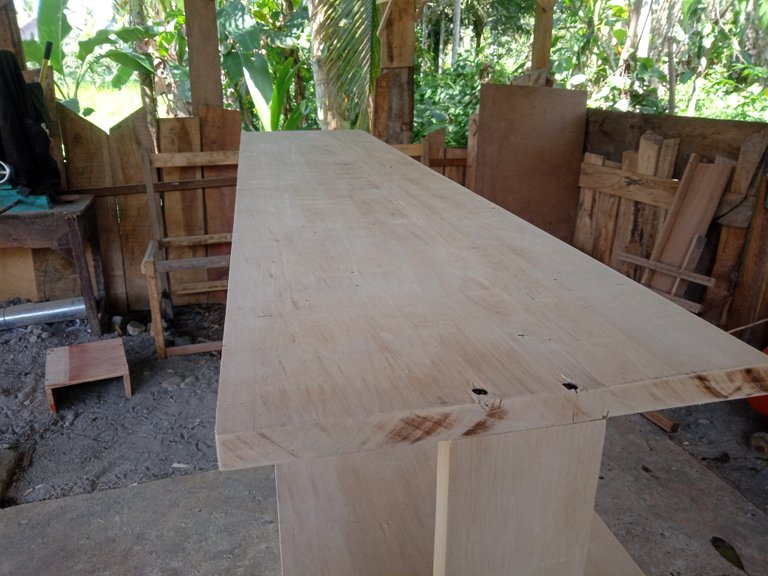
The first stage I did was cut a board with a length of 120 cm and a width of 19 cm for 7 sheets and 120 cm x 6 cm for 6 sheets and 120 cm x 10 cm for a sheet, and 115 cm x 8 cm for 4 sheets for the support.
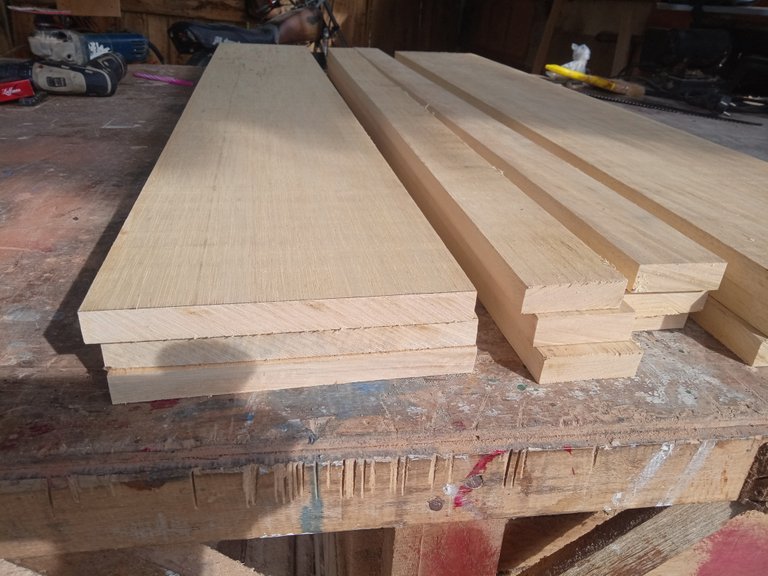
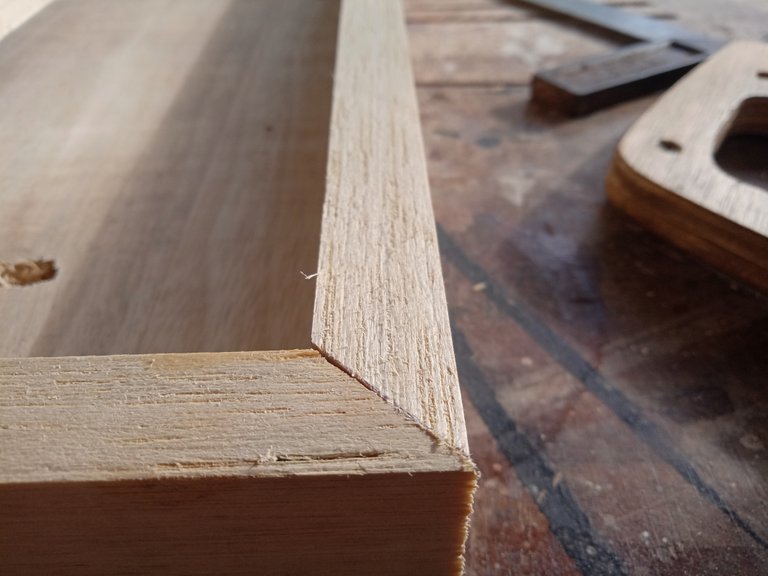
Then I put the boards together by gluing and screwing them (width 19 cm + 6 cm) so that the end result is 25 cm wide, why did I do this because there are no boards sold in wood shops that are more than 19 cm wide and if I want the size is more than that, I have to come directly to the place of splitting large trees and it is very far from where I am.


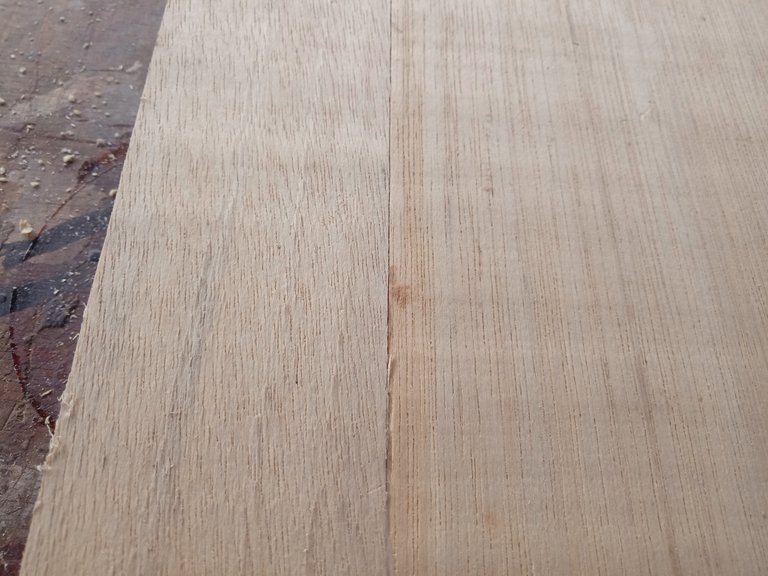
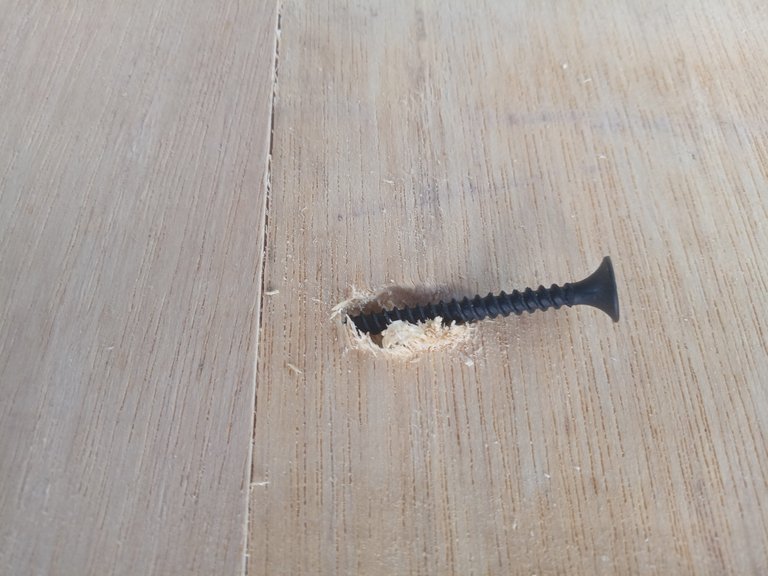

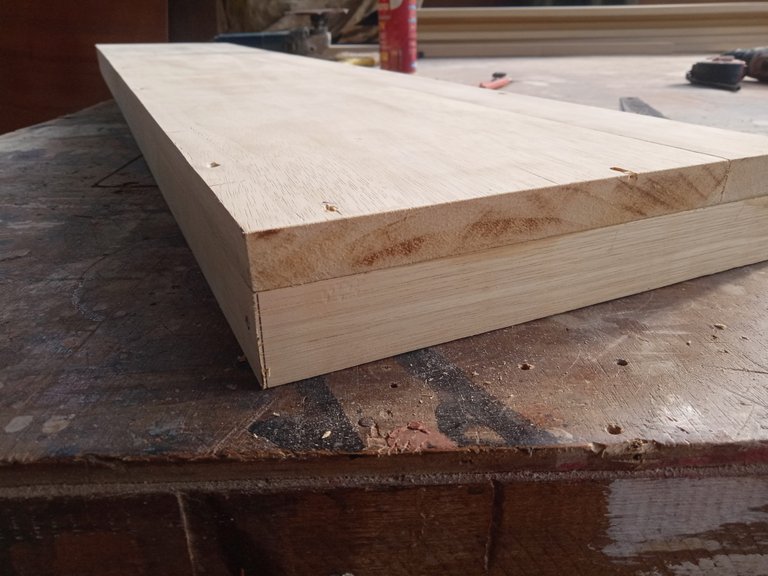
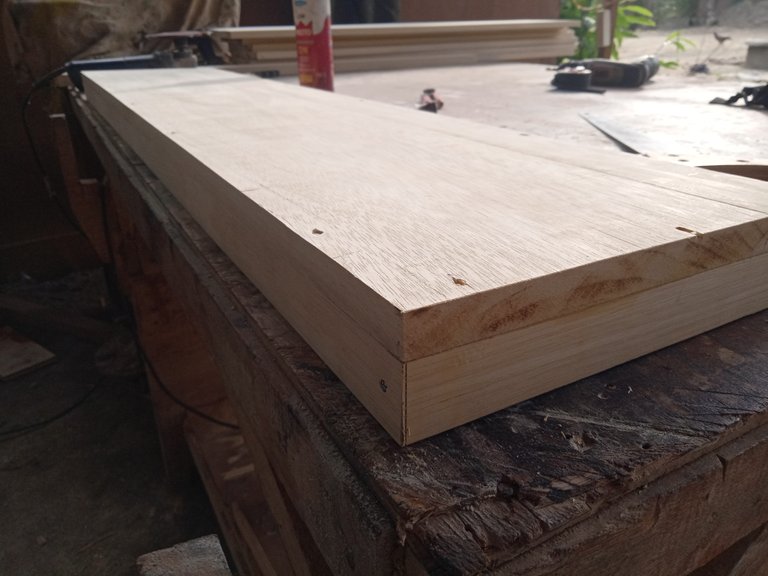
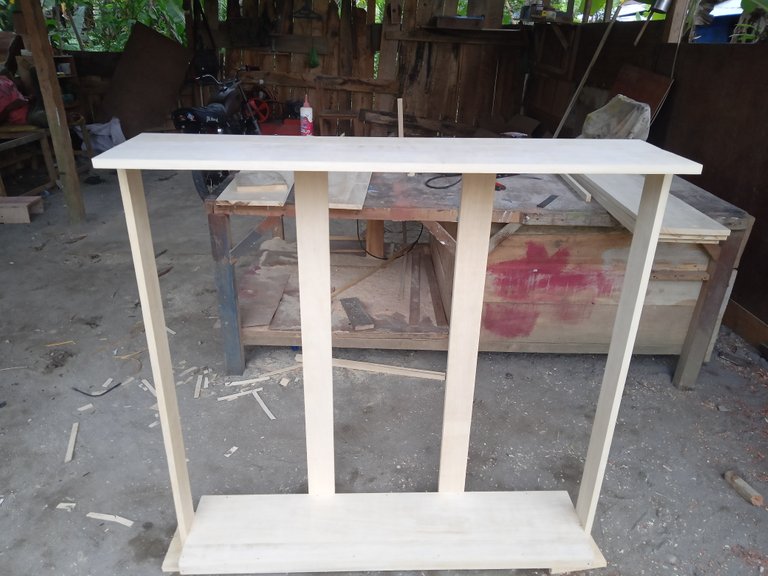
After I finished putting it all together and the glue dried I started sanding all the boards until they were smooth and at this stage I used sandpaper number 150 and then 240 so I had to sand it twice.
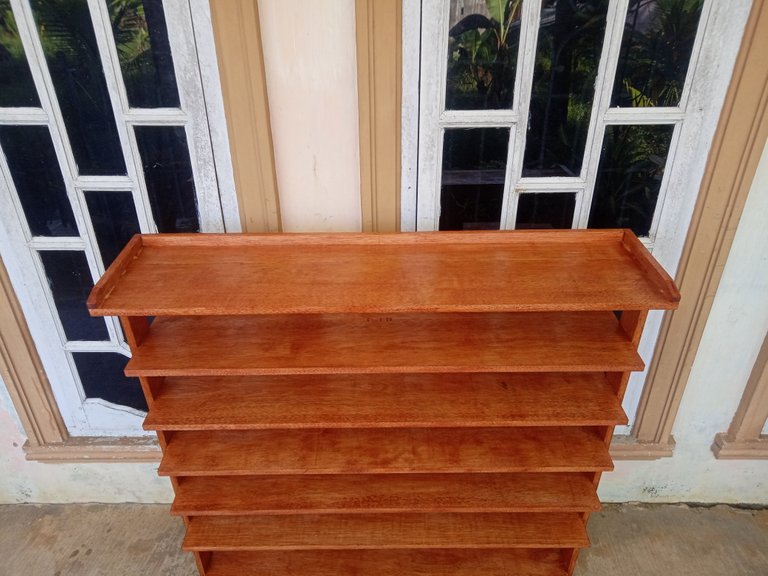
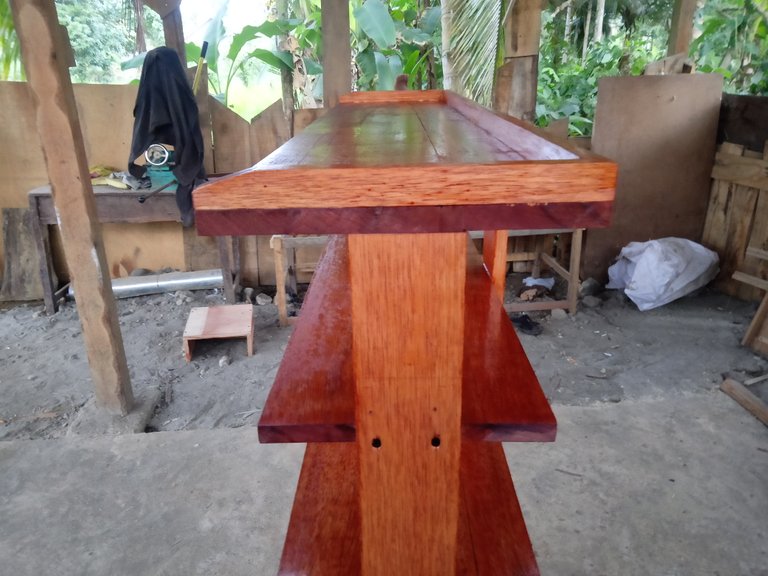
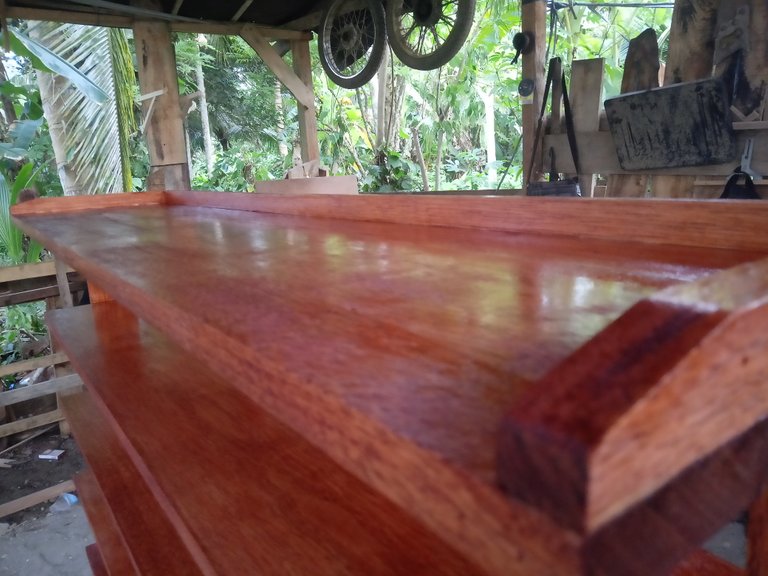
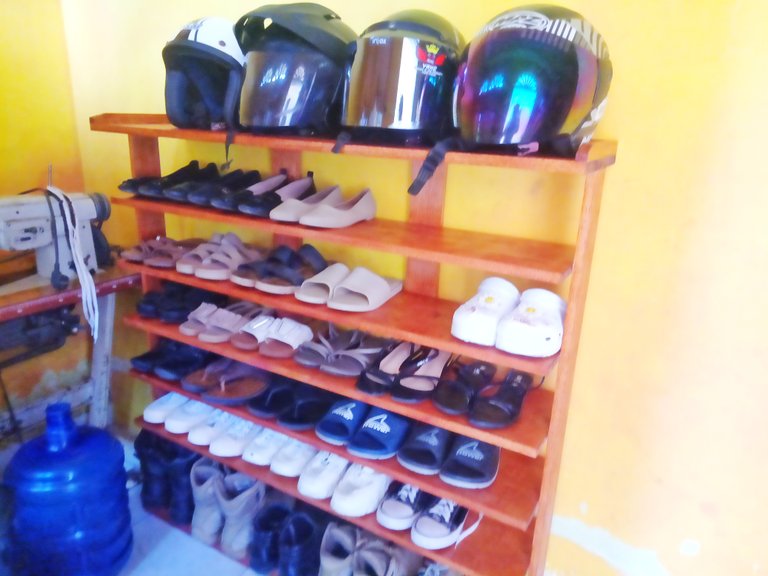
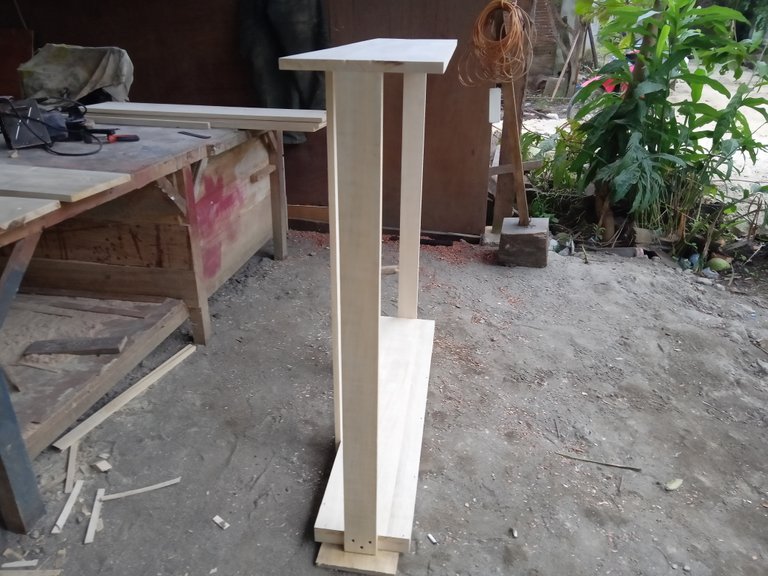
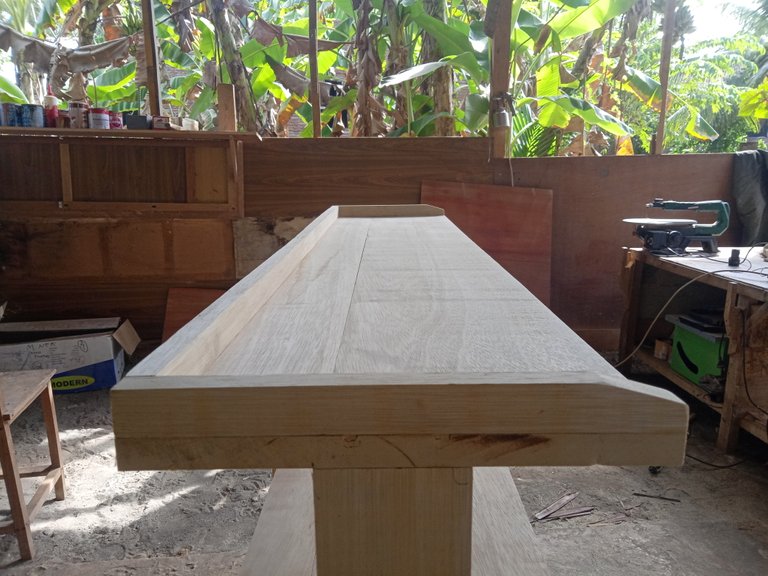
After I finished sanding everything, then I added 3 cm thick wood on one board as the lowest level or you could say it was the ledge of the shelf, then I started assembling the levels of the shelves one by one, starting from the bottom, then the top and followed by the other levels until finished by gluing and screwing it on the sides and back, then I also added 2 cm thick wood on the top level on the left and right and back but not on the front to add a bit of appearance.


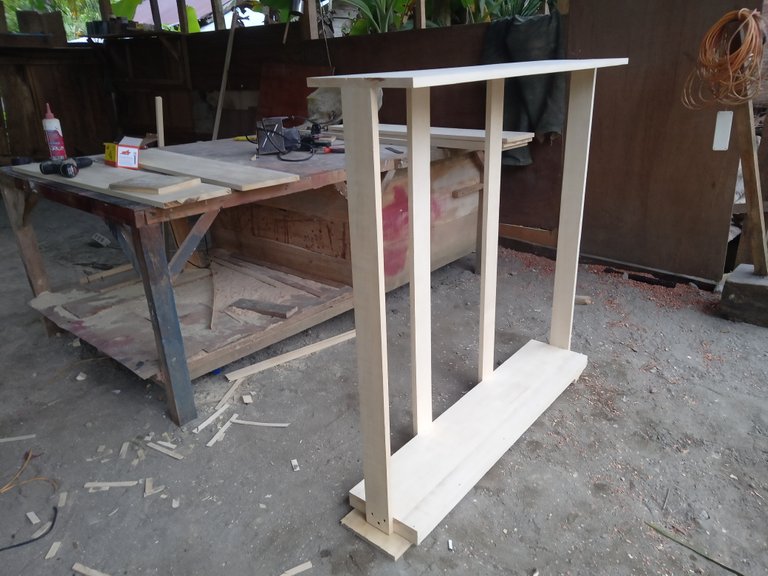
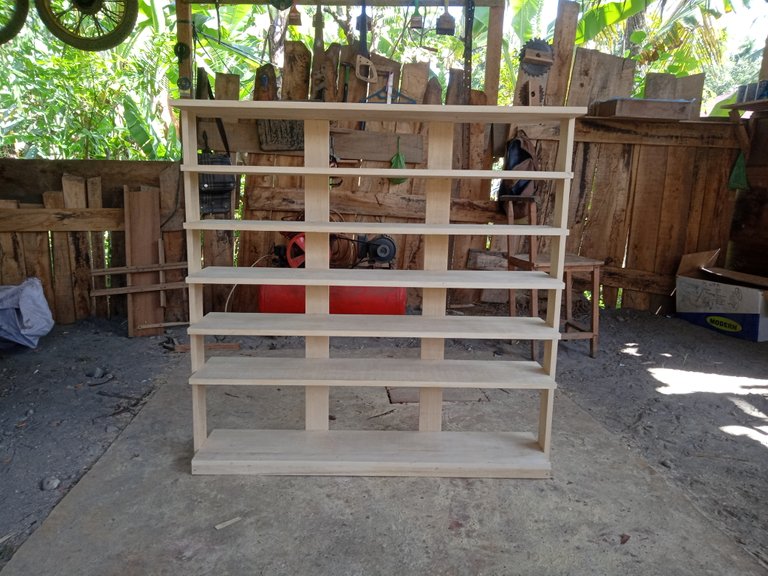
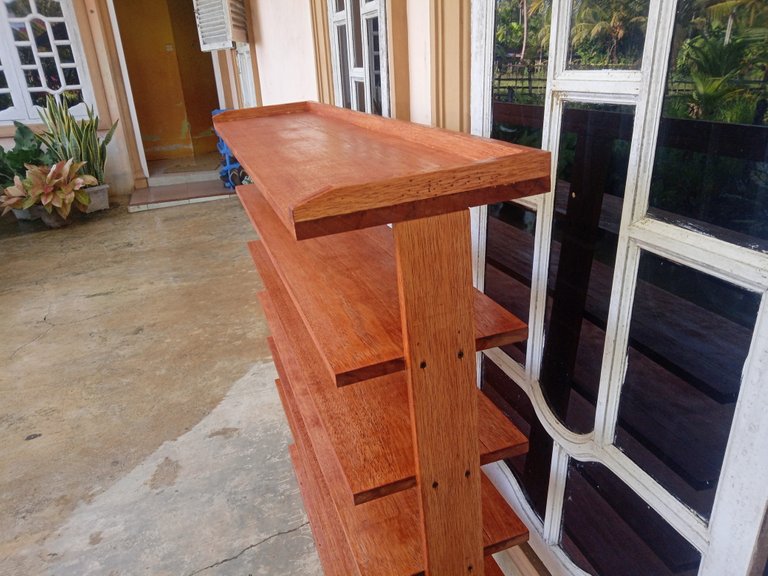
And finally I finished this shelf by varnishing it in three layers to make it shiny and waiting for it to dry until finally I took it to my customer's house.
And that's a little explanation about the work on the shoe rack in my post this time I hope you can understand it through the words and pictures that I show and also hope you like it ,,
Thank you very much to everyone who always reads my post and always gives support and see you in the next post ,,,,
have a nice day....😊
Congratulations @lancang! You have completed the following achievement on the Hive blockchain And have been rewarded with New badge(s)
Your next target is to reach 150 posts.
Your next target is to reach 900 upvotes.
You can view your badges on your board and compare yourself to others in the Ranking
If you no longer want to receive notifications, reply to this comment with the word
STOPTo support your work, I also upvoted your post!
Check out the last post from @hivebuzz:
does this processed wood also include arbitrary wood?
Wow @lancang it is a very nice piece, I like the finishes. I thank you for the explanation. Regards
You are wellcome @sorprendente ,i am glad to hear you like it.
Congratulations @lancang! We are delighted to inform you that your outstanding publication was specially selected to be part of our Curated Content Catalog and was awarded RUNNER-UP in Architecture Anthology™ 6. More power!
Thank you for subscribing to Architecture+Design, an OCD incubated community on the Hive Blockchain.
Thanks so much for the support...🙏
With great pleasure always @lancang. Keep sharing awesome posts! 😀
Hello @lancang,such an interesting piece of furniture indeed! 😊 I wonder whether that shoe rack could still maintain its stability and not topple down when filled with all sorts of stuff like shoes and motorbike helmets. Do you usually install them as freestanding units or do you bolt them on the walls and/or floors in case its structural framework is compromised?
for this shoe rack I attach it to the wall so that it is stable because it is quite high, but if the shoe rack is below 70 cm high I don't attach it to the wall because it is still stable if it only stands alone, thank you very much for the question...
That's right @lancang. The structural stability of shoe racks is extremely crucial especially if they exceed the height of 70 cm. They really need to be fastened securely as we don't want important stuff to be damaged due to this failure. Thank you for the confirmation! 😊
Click on the badge to view your board. Click here to check your ranking.
Thank you to our sponsors. Please consider supporting them.
Check out our last posts:
Click on the badge to view your board. Click here to check your ranking.
Thank you to our sponsors. Please consider supporting them.
Check out our last posts: