How to Make Your Own Dividers Using Figma (for free!)
Have you always wondered how people create spiffy-looking dividers for their Hive posts? Look no further, because I'll teach you how you can make your own unique dividers for each post for free! Instead of Photoshop, I like to use a tool commonly used for UI/UX designing: Figma. It's easy to use, fast to put things together, and I don't have to fiddle with a thousand menus to do what I want. Let's get started!

Let's first take a look at two of the custom dividers that I made for my posts some time ago.


I put them together in probably less than 10 minutes each, and I think they help to make the posts just a little more visually appealing. It's a great way to differentiate your posts from the rest and show your creativity and uniqueness in the process.
Tutorial
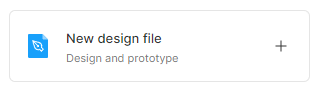
1 . First, you gotta sign up for Figma and create a new design file.
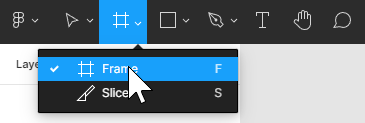
2 . Then, create a frame by clicking on the second button from the left on the menu bar.
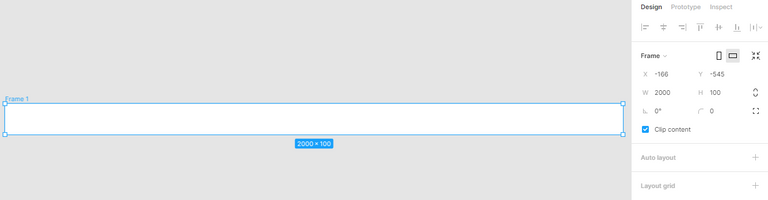
3 . Drag over the grey background to create the frame. You'll see something like this. At the same time, ensure that you're on the "Design" tab on the sidebar.
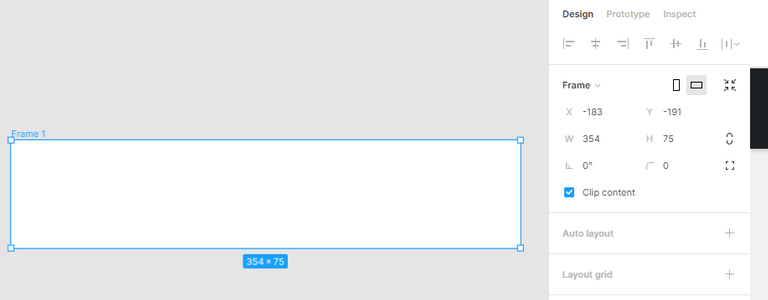
4 . Depending on how tall or wide you want your divider to be, you can set the W(idth) and H(eight) parameters on the sidebar. For the sake of this example, let's make the width 2000 and the height 100. You should see the size of the white frame expand to those dimensions.
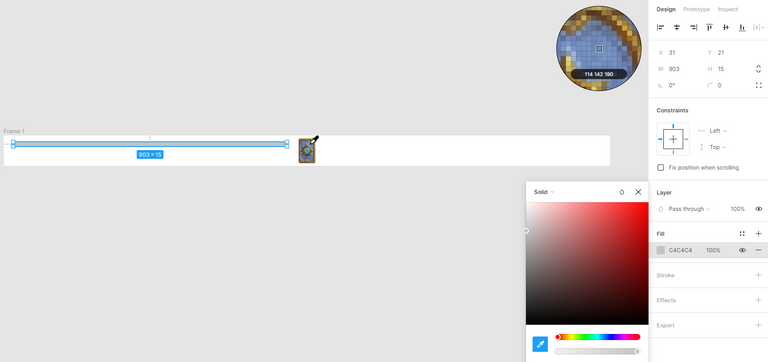
5 . Find the main graphic for your image. Let's say, for example, you want to use one of Hearthstone's card backs (from HearthPwn) as the main graphic. Paste the image in the frame and resize it to fit.

6 . Now, you can think of how you want to design your divider. Let's just go with a three-line divider with equal height. Using the Rectangle shape tool, create one rectangle. Resize it to approximately one-fifth of the frame size.

7 . Pick a color for the rectangle. Usually, I like to use the eyedropper tool and match colors with the main graphic.
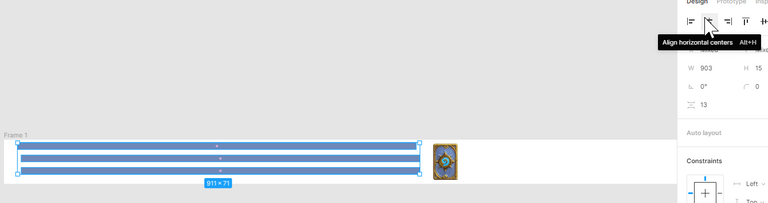
8 . Copy the rectangle twice and put them below. It doesn't matter that they aren't aligned yet - we will make them aligned soon!

9 . Select all three rectangles together and "Align Horizontal Centers" and "Distribute Vertical Spacing". This will make their centers aligned and ensure that they are evenly spaced apart.

10 . While the three rectangles are still selected, group them by keying "Ctrl + G". Then, with the group selected, "Align Vertical Centers". This will make the rectangles aligned to the center of the frame. Do some minor adjustments to the size to make sure the rectangles fill up nicely.

11 . If you're feeling a little creative, you could adjust the rectangle sizes, widths, and colors to your liking. Remember to use the align tools to ensure that your rectangles are well-aligned!

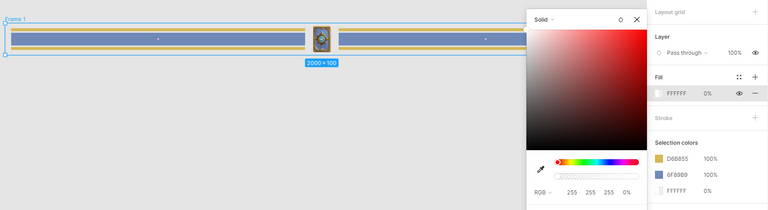
12 . Finally, copy the group of rectangles and place them on the opposite side. Ensure that the vertical spacing is consistent by using the "Distribute Horizontal Spacing" alignment tool. Group everything in the frame together and align its horizontal and vertical centers to ensure a centered divider.

13 . Lastly, select the frame and reduce its background opacity to 0% so that your divider has a transparent background.
14 . With the frame still selected, all you have left to do is to export it!
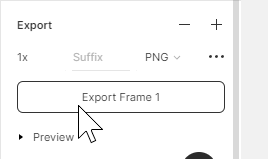
And we have ourselves a spiffy-looking unique divider.

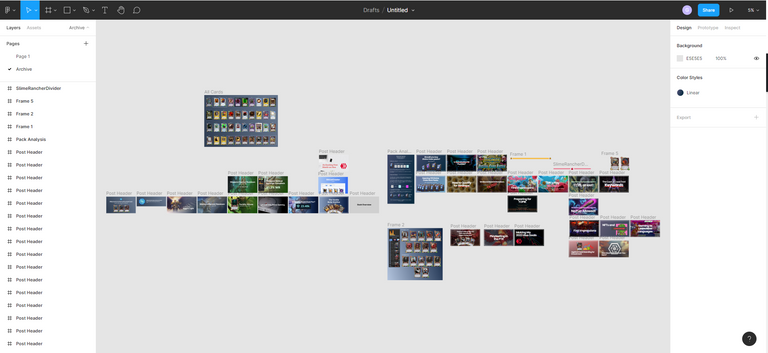
The reason why I prefer Figma over something like Canva or Photoshop is that it's free and performant all while being a web application - no downloads required! There are virtually no limits to what can be done; you can have every single graphic in the same place. Just take a look at what the canvas that houses all my graphics looks like. Despite having a ton of stuff on the screen, Figma never lags.
I hope you enjoyed this little tutorial, and I look forward to seeing your creations!
Image Sources
- Post Header Image: Unsplash
- Digimon Pixel Art: Pinterest
- Slime Rancher Art: Slime Rancher Wiki
- Hearthstone Card Backs: HearthPwn
Electronic-terrorism, voice to skull and neuro monitoring on Hive and Steem. You can ignore this, but your going to wish you didnt soon. This is happening whether you believe it or not. https://ecency.com/fyrstikken/@fairandbalanced/i-am-the-only-motherfucker-on-the-internet-pointing-to-a-direct-source-for-voice-to-skull-electronic-terrorism
This is excellent and I need to create some of these and to generate a template for my posts
Nice guide this will be really useful for me since I am having a hard time using Photoshop and I need to pay Canva to have some features that I like to use.
Thanks for sharing!
!1UP
Thank you, and glad it helped! 😄
You have received a 1UP from @ivarbjorn!
@bee-curator, @neoxag-curator, @pal-curator, @pob-curator, @vyb-curatorAnd they will bring !PIZZA 🍕
Learn more about our delegation service to earn daily rewards. Join the family on Discord.