[Esp-Eng] Decoración pequeña, sencilla y hermosa… SONIC en el pastel de Angel. // Small, simple and beautiful decoration... SONIC on Angel Cake.
Español
Hola mis estimados lectores,
Después de tantos días de ausencia por malestares propios del COVID-19, si, malvado virus llegó a mi vida, hoy vuelvo a mis rutinas de publicaciones para mostrarles los trabajos que fueron realizados tiempo atrás y que aún no les he mostrado.
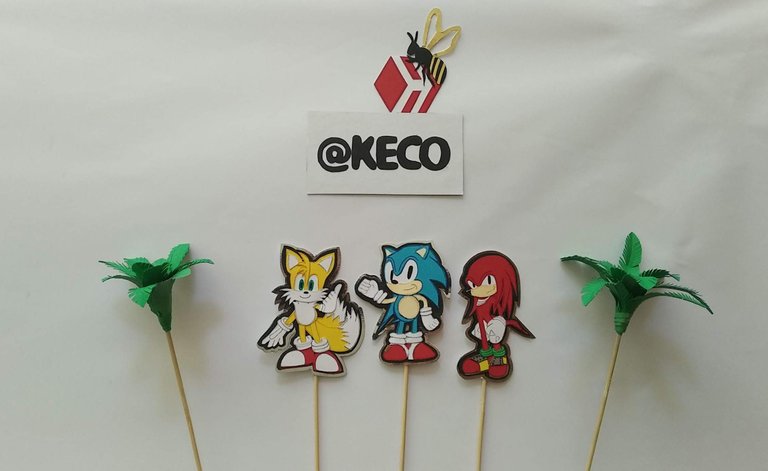
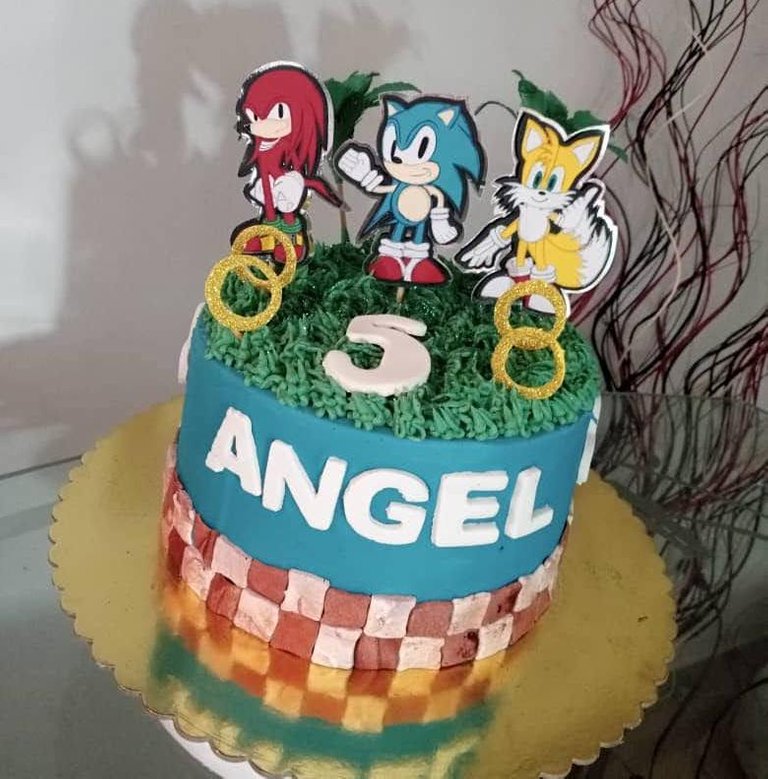
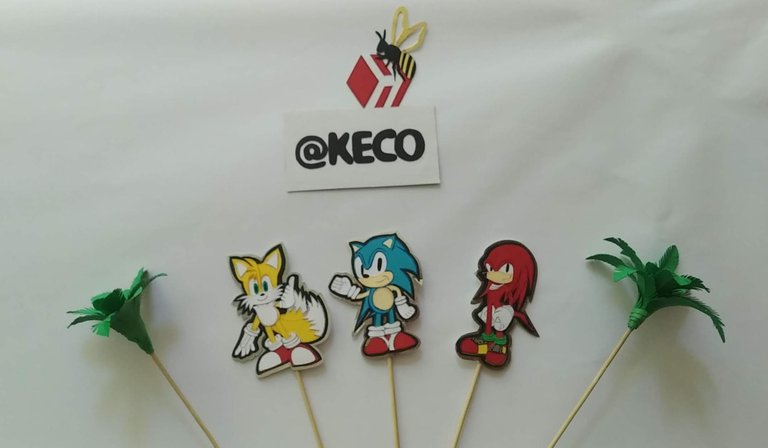
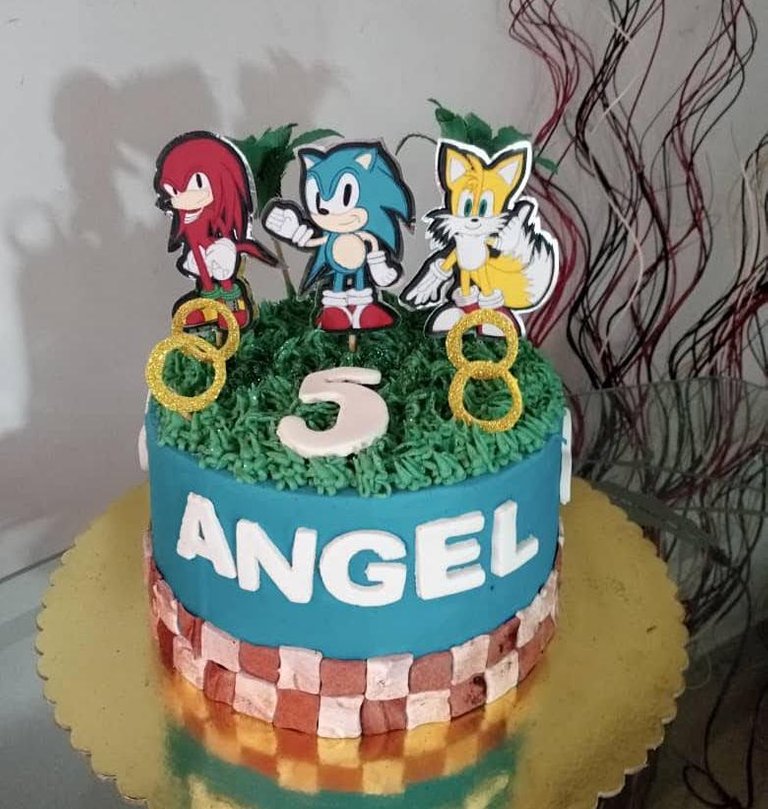
Por lo general trato de ir cargando mis publicaciones en el mismo orden en que las voy realizando, así evito un caos y me aseguro de no olvidar alguno, je, je, je. Luego de la bandera (publicación anterior) me surgió la oportunidad de realizar un topper miniatura con motivo de “SONIC” para un hermoso y divino pastel realizado por mi súper pastelera favorita Mayda
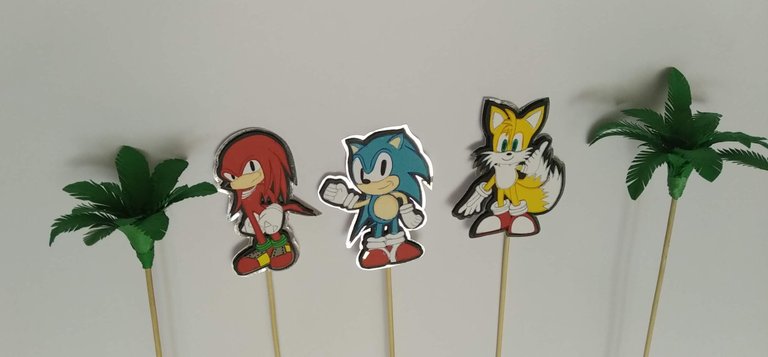
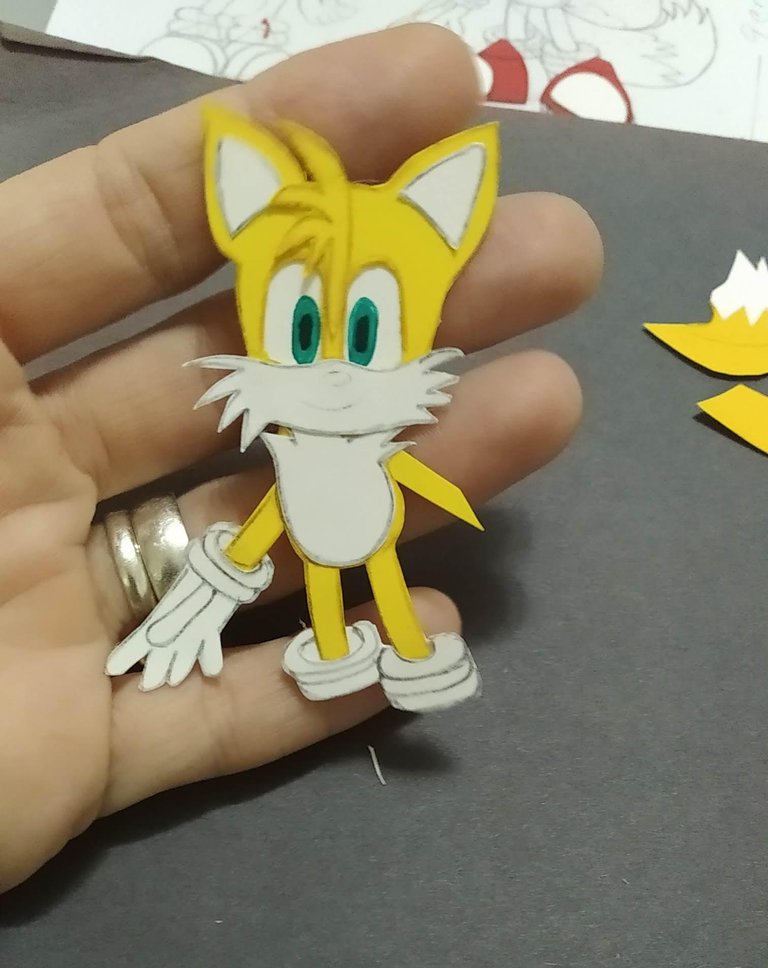
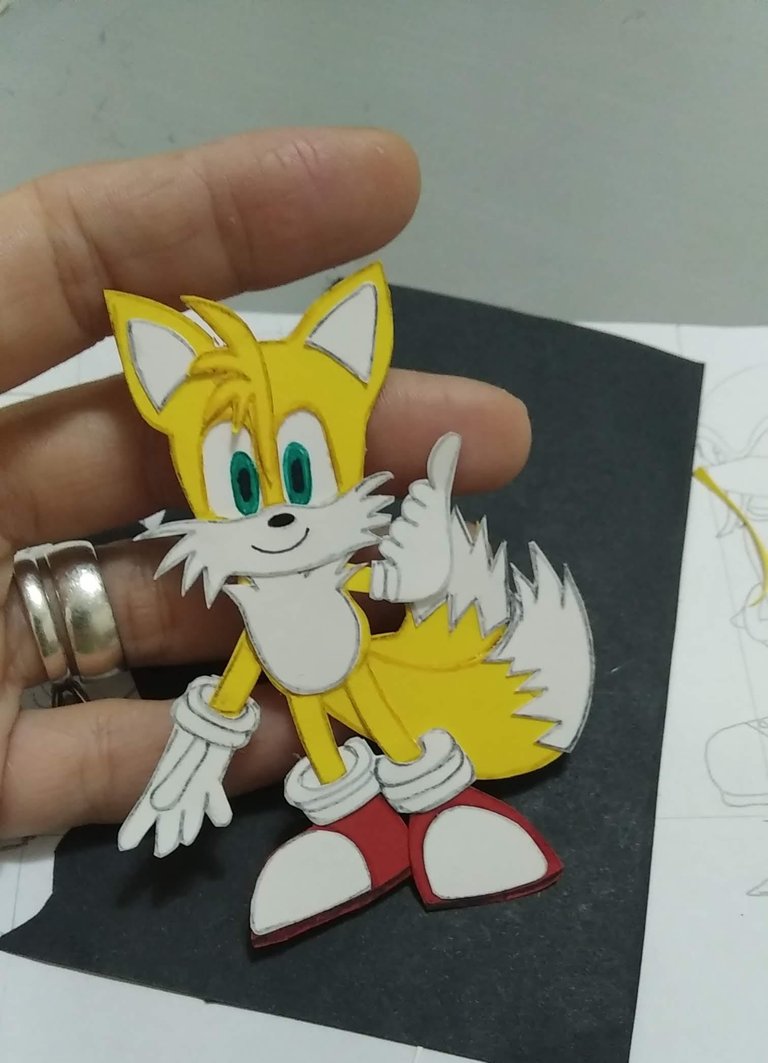
Cuando comencé, por lo pequeño, pensé sería práctico hacer una impresión a color y hacerle decoraciones en capas, sin embargo, me dije: “¡No!, debes hacerlo en cartulina, ensamblando sus piezas”. Para algunos dirán sería lo mismo, pero para mi que hoy algo detallista, se muy bien no es lo mismo porque al verlo no se ven iguales. Crear las piezas en cartulinas le da a cada creación un realismo y color que las distinguen de algo común, haciéndolas muy originales y llamativas.
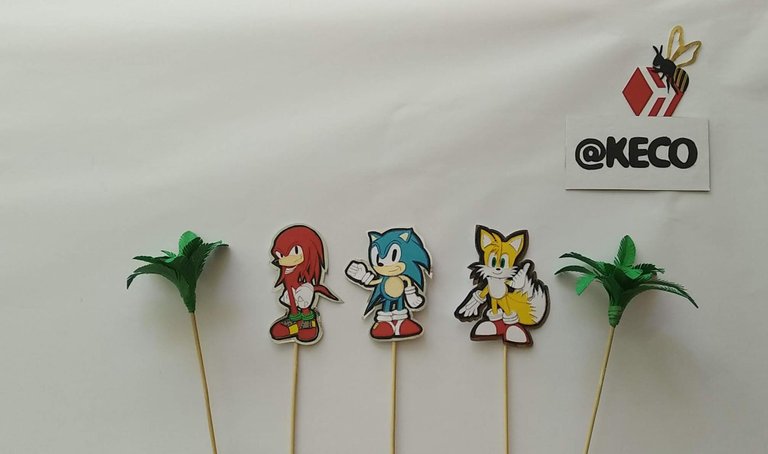
Espero puedan apreciar este lindo y pequeño topper, y puedan decirme en los comentarios que les pareció. Sin más y esperando disfruten del trabajo realizado con amor, les dejo los materiales utilizados, el proceso y las imágenes del trabajo.
- Cartulina de colores de acuerdo a cada personaje (azul, roja, amarilla, blanca, crema, verde, plateada y negra).
- Foami plano negro
- Palitos de madera
- Silicón Caliente.
- Hoja blanca
- Silicón Frío.
- Cutter.
- Tijera.
- Lápiz.
PERSONAJES:
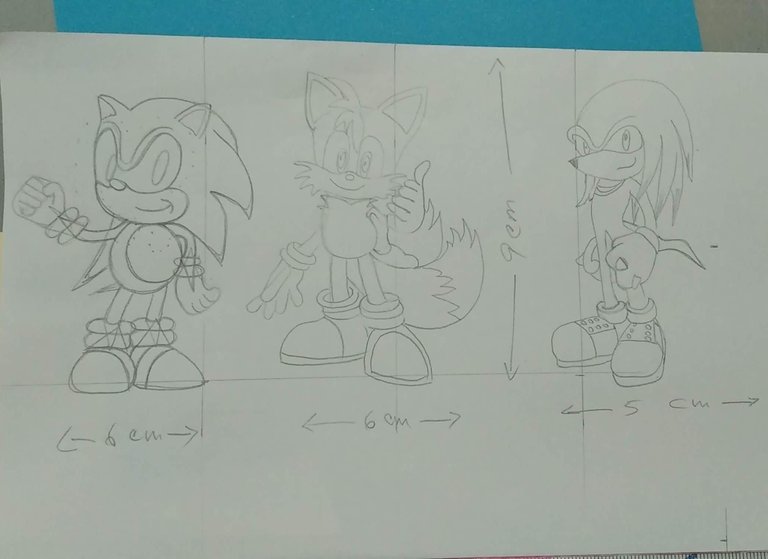
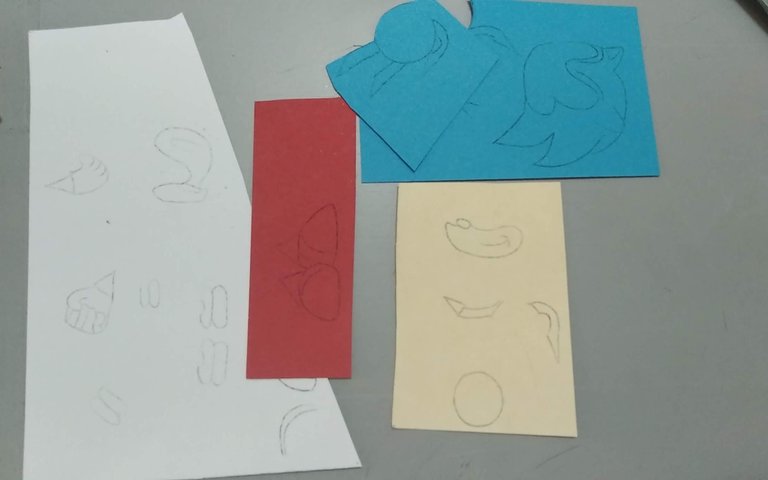
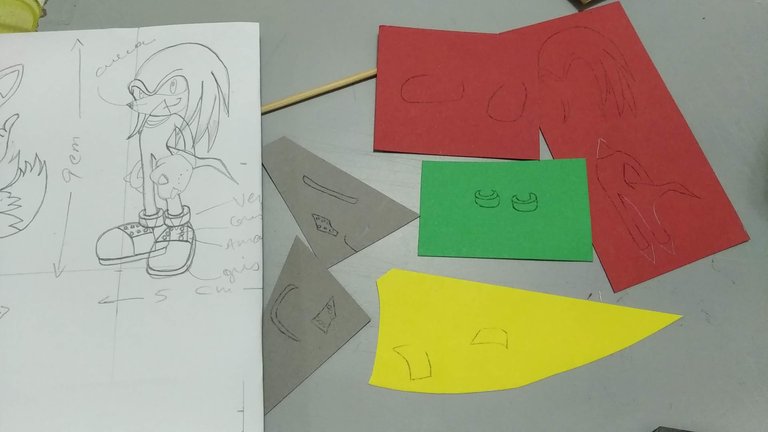
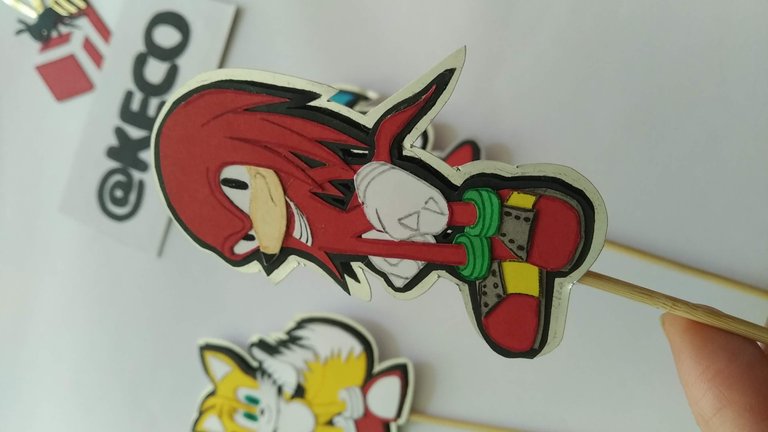
- Diseñar en la hoja blanca las imágenes a realizar, el tamaño dependerá del diámetro que tendrá el pastel. En este caso las tres piezas de personajes tienen una altura de 9 cm, en cuanto al ancho, el personaje azul y amarillo miden 6 cm y el personaje rojo mide 5 cm.
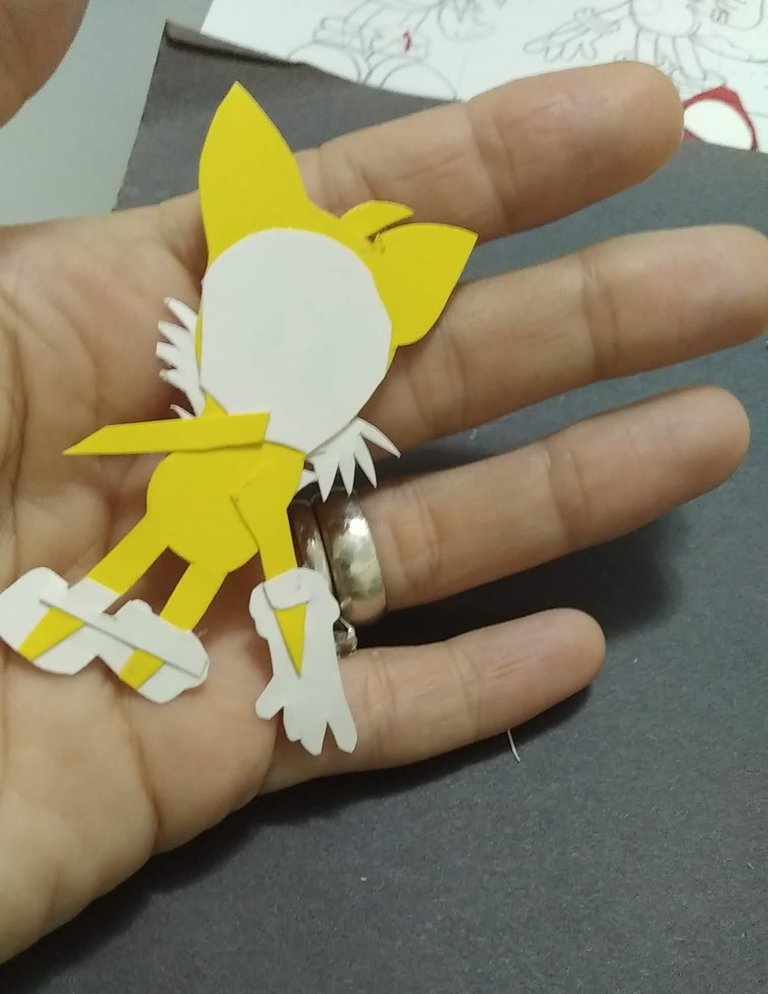
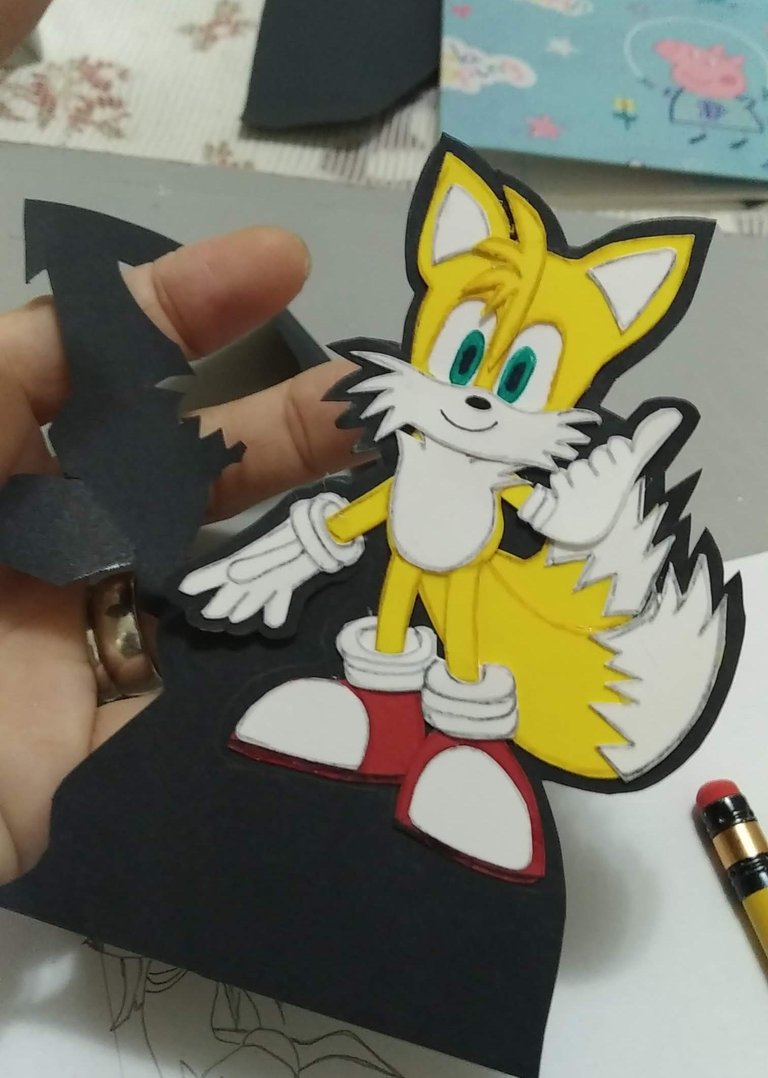
- De acuerdo a cada personaje, marcar las piezas en la cartulina de color correspondiente y recortar cada pieza, cuidando de dejar los pequeños bordes para el ensamblado.
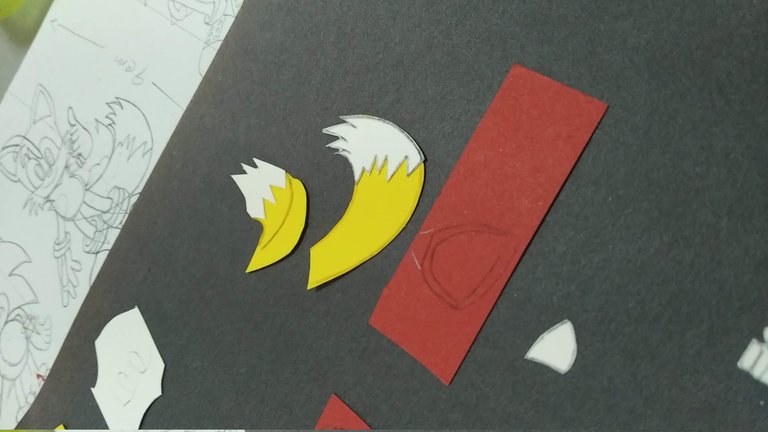
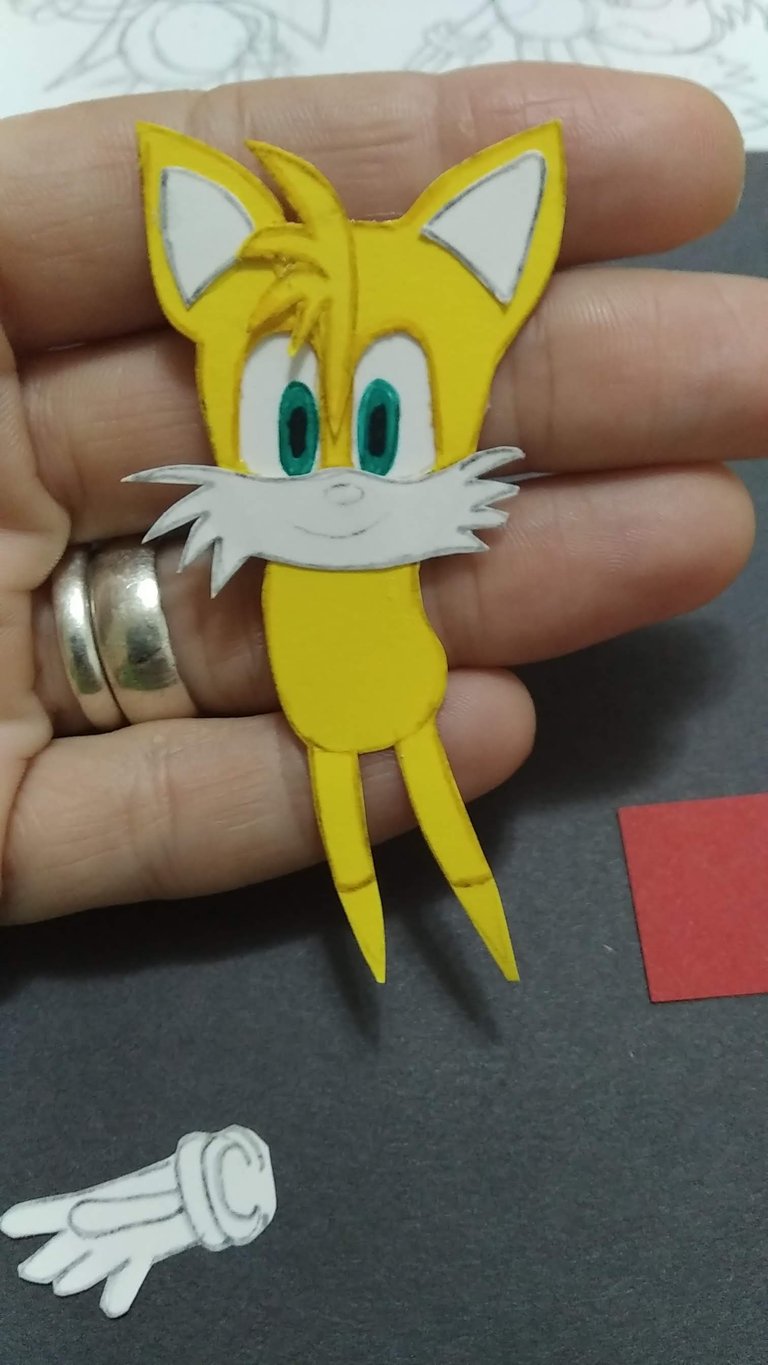
- Ensamblar las piezas de acuerdo al diseño cuidando de no utilizar demasiado silicón líquido al momento de pegar (pueden utilizar pega en barra si lo desean).
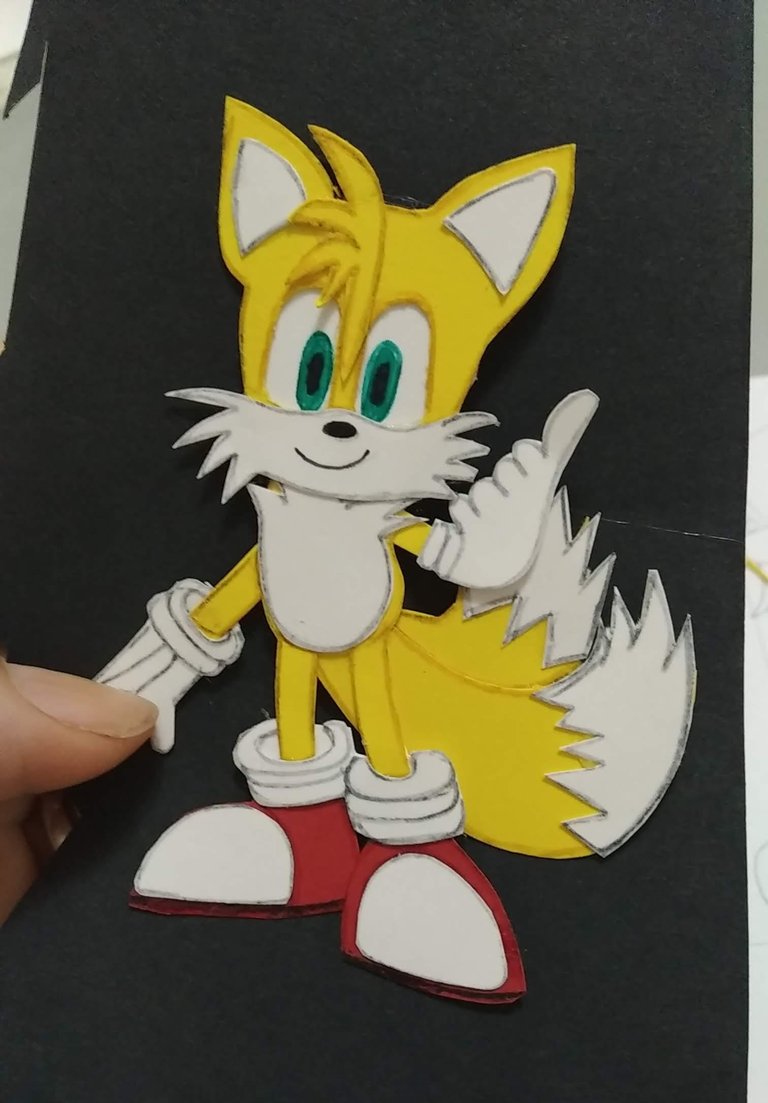
- Una vez ensambladas las piezas pegarlas directamente sobre cartulina negra, al momento de recortar dejar un pequeño borde simétrico que sobresalga por sus lados.
- Tomar la pieza con borde negro y siguiendo su silueta recortar la cartulina plateada cuidando de dejar un pequeño borde simétrico que sobresalga por sus lados.
- En la parte posterior de la pieza con borde negro, pegar pequeños trozos de foami negro y luego pegar esta a la cartulina plateada, esto hará un pequeño efecto en capas que tanta vistosidad otorga a las piezas.
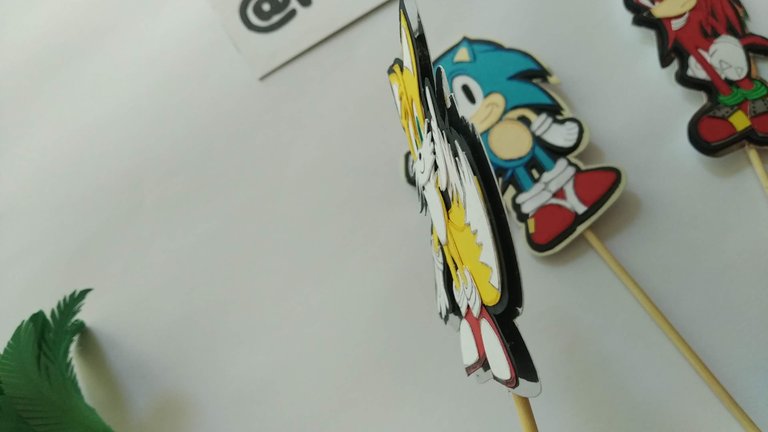
- Pegar a la parte posterior de cada pieza (sobre la cartulina plateada) el palito de madera con silicón caliente.
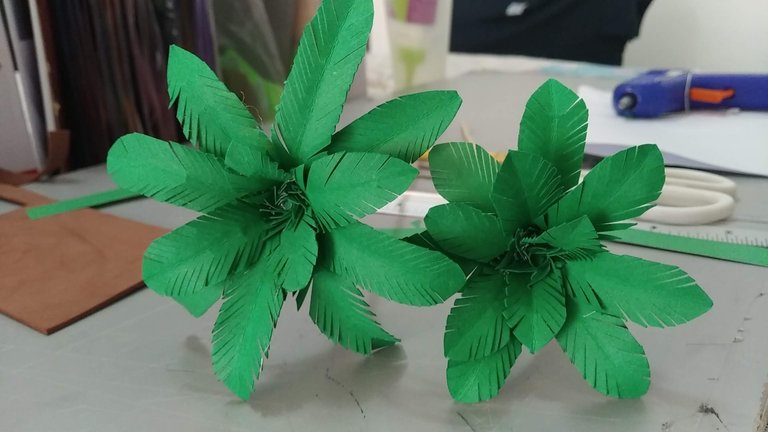
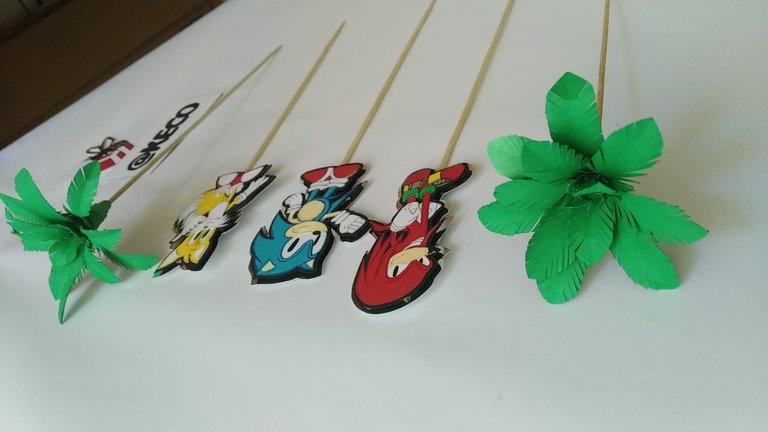
PALMERAS:
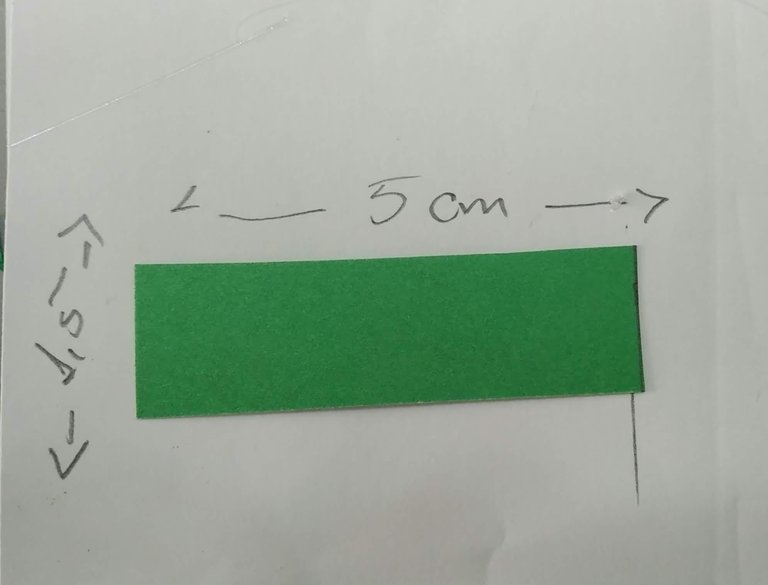
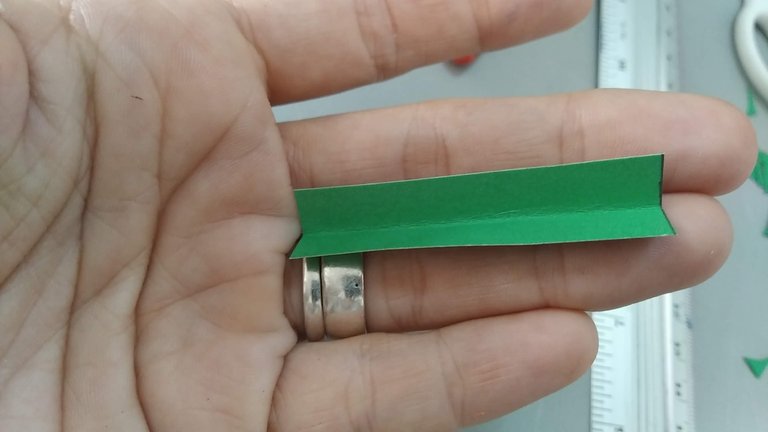
- Marcar y recortar en la cartulina verde, rectángulos de 5 cm de largo por 1,5 de ancho (30 rectángulos aproximadamente, 15 para cada palmera)
- Doblar los 30 rectángulos a la mitad
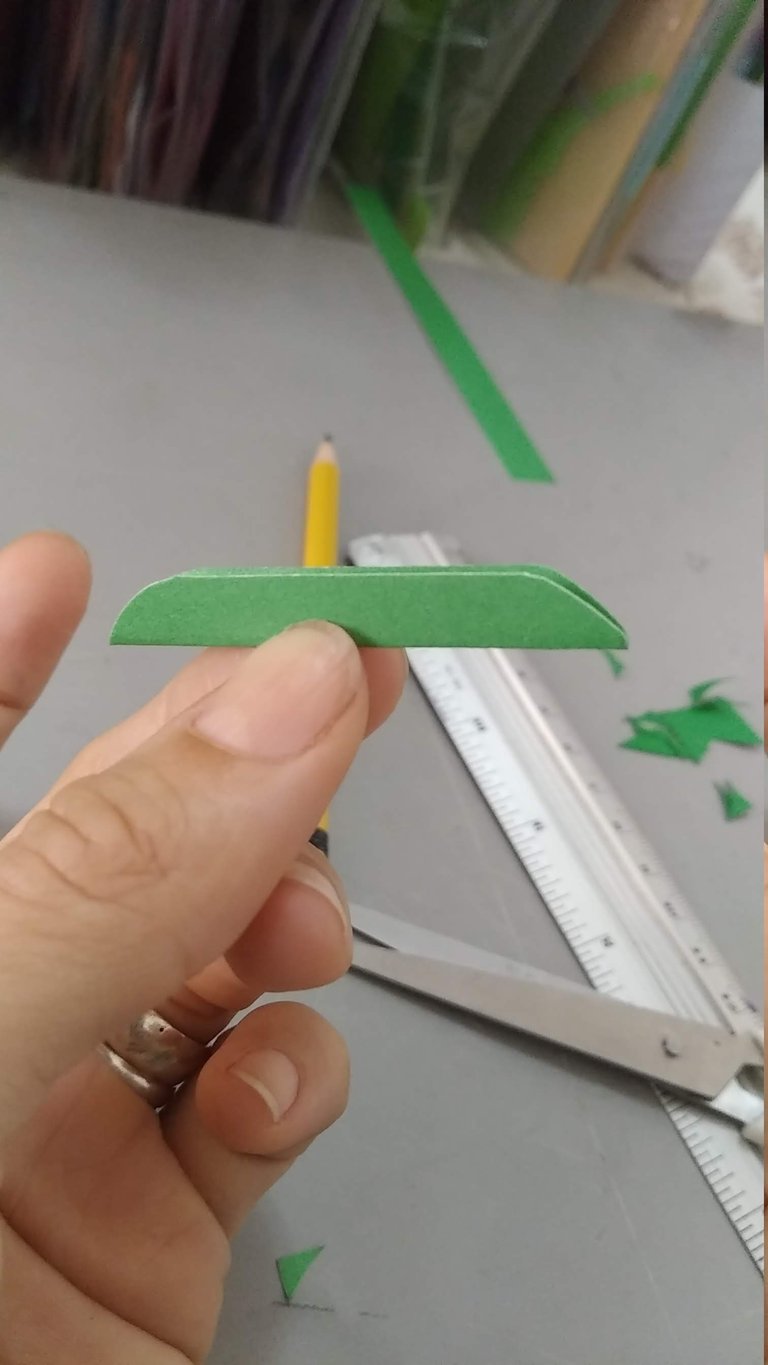
- Cortar las esquinas de forma que queden curvas.
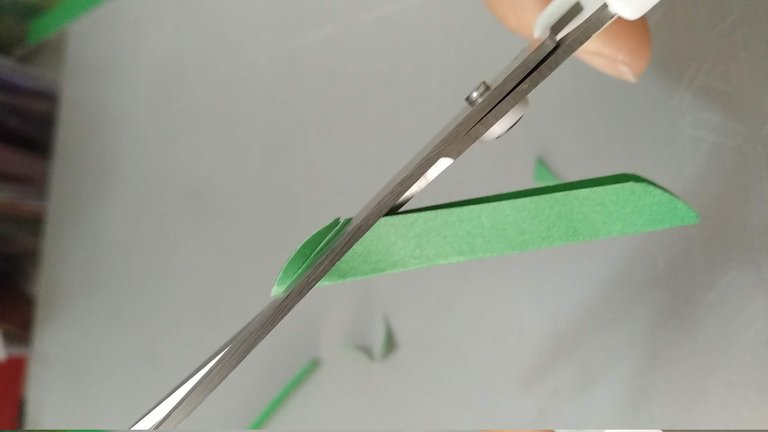
- Con la tijera hacer pequeños cortes diagonales cuidando de no cortar el doblé de la cartulina, sino se daña la pieza.
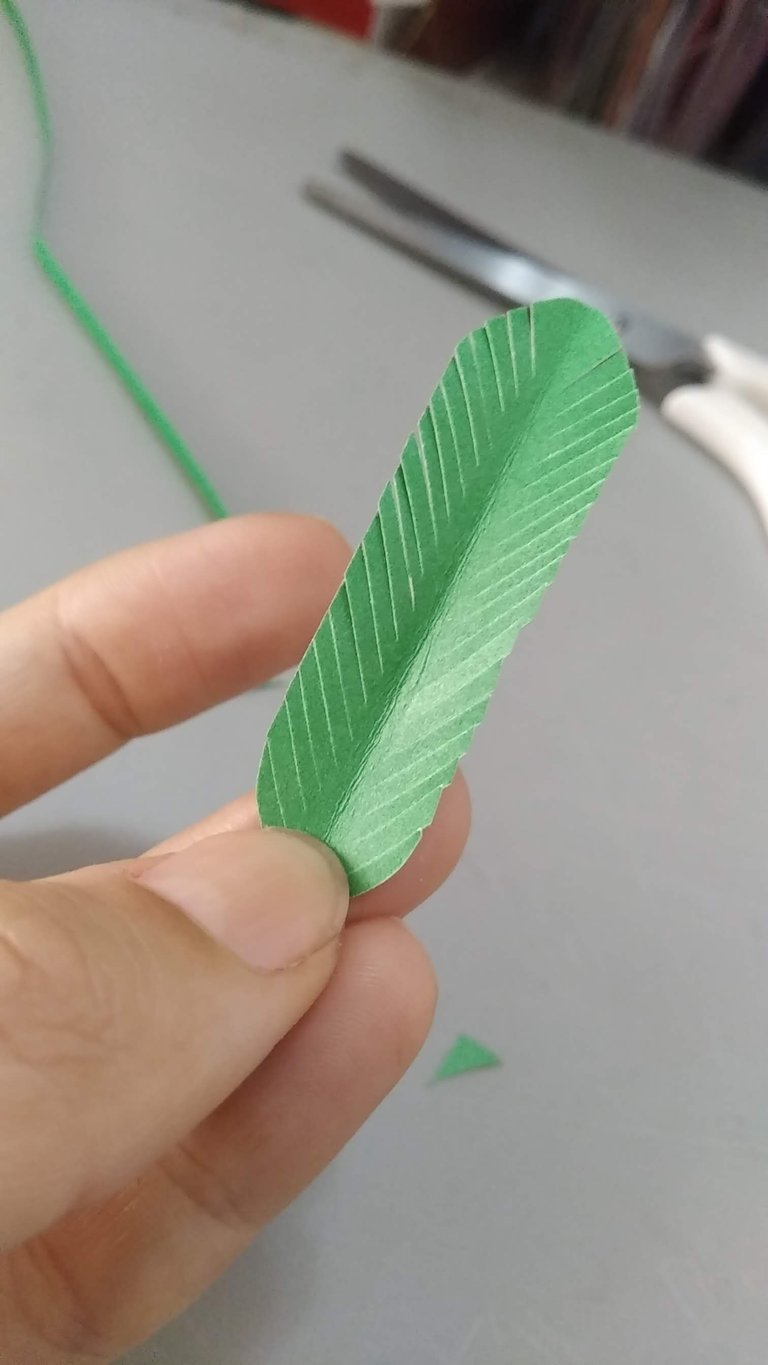
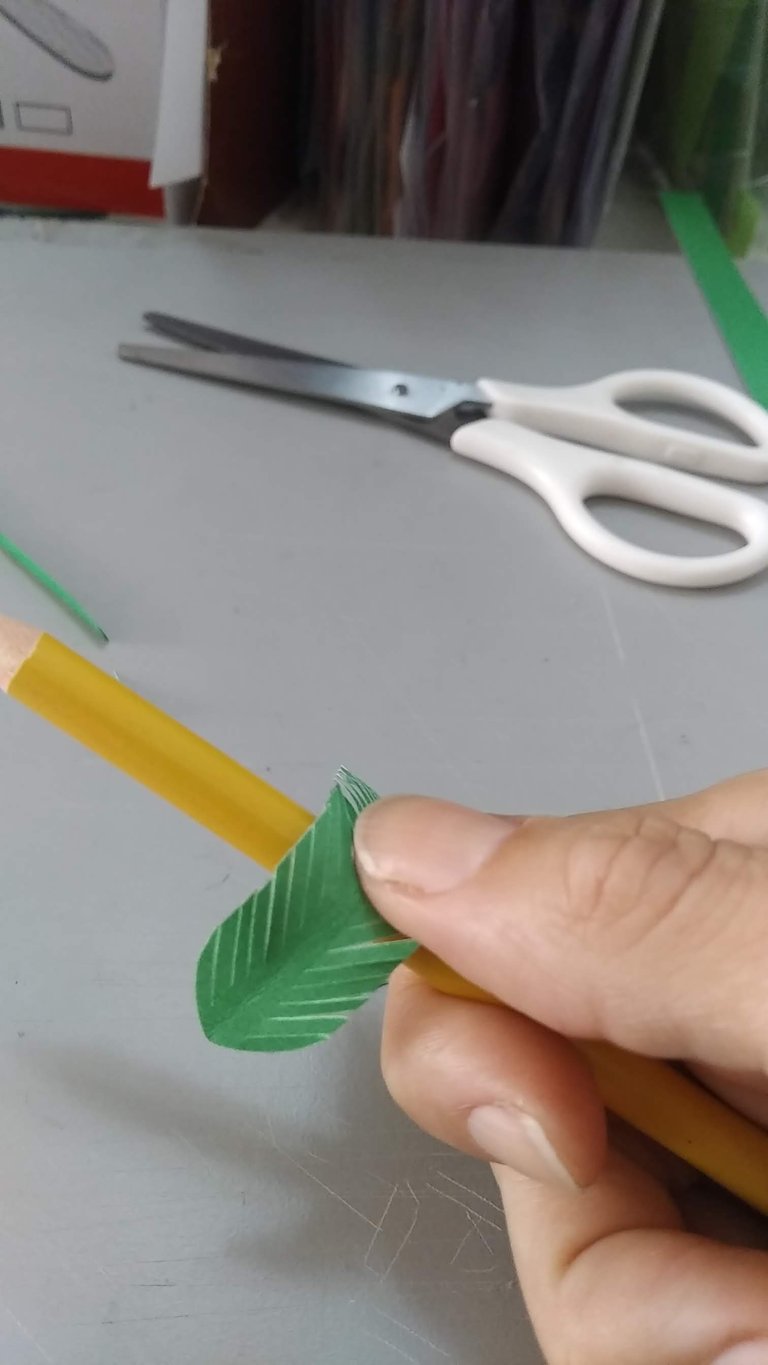
- Abrir las piezas con cuidado y con la ayuda de un lápiz curvar su forma suavemente, para que parezca una hoja de palmera real.13. Tomar un palito de altura y comenzar a pegar las hojas, para esto se deberá aplicar silicón caliente en uno de los extremos de las hojas y pegar el palito de madera. Se van pegando en forma circular y unas sobre otras hasta crear la forma deseada.
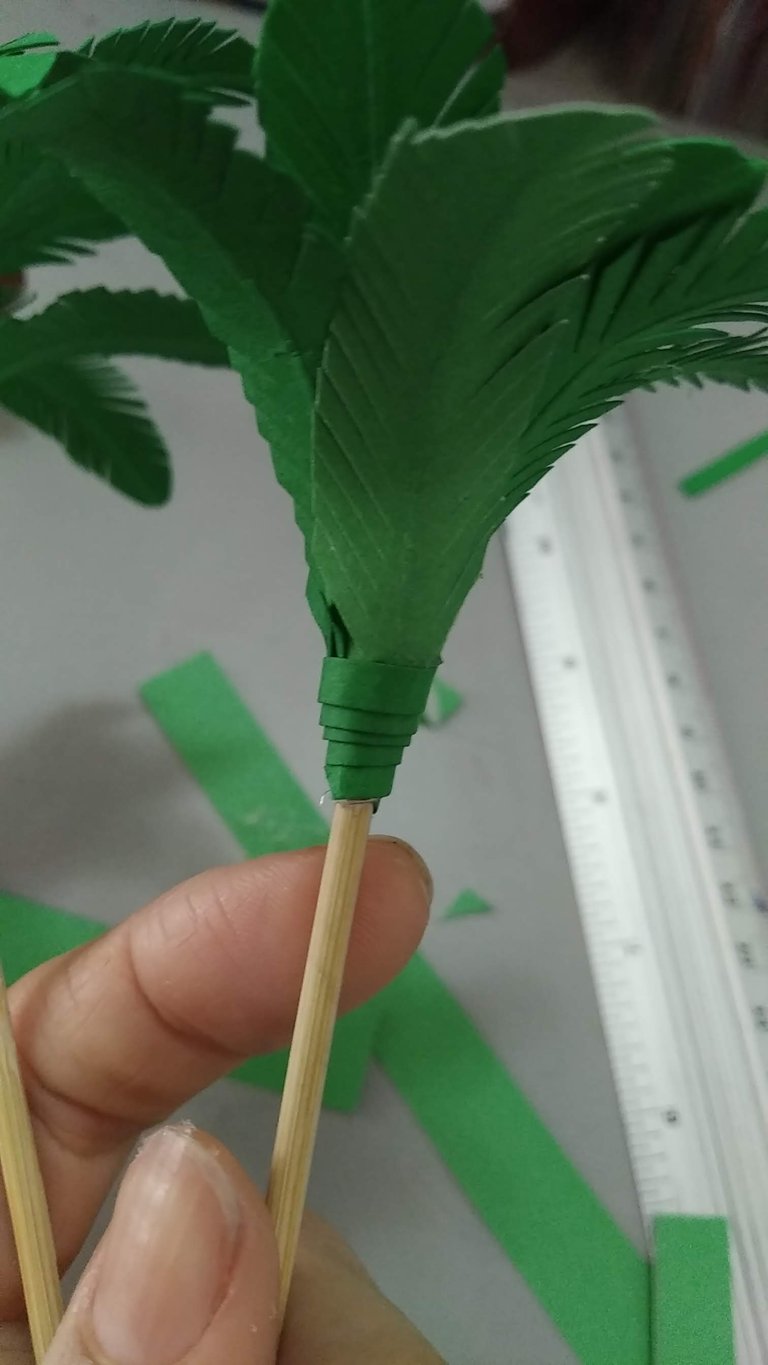
- En la base donde se unen todas las hojas, al terminar, se deberá pegar una pequeña tira (de la misma cartulina) a fin de que estéticamente se vea mejor.
¡listo!, a disfrutar de la magia de lo creado con amor…
English
Hello my dear readers,
After so many days of absence due to COVID-19, yes, evil virus came into my life, today I return to my routines of publications to show you the works that were made some time ago and that I have not shown you yet.
I usually try to upload my publications in the same order as I do them, this way I avoid chaos and I make sure I don't forget any of them, heh, heh, heh. After the flag (previous post) I had the opportunity to make a miniature topper with a "SONIC" motif for a beautiful and divine cake made by my favorite super cake baker Mayda.
When I started, because it was so small, I thought it would be practical to make a color print and make it layered decorations, however, I said to myself: "No, you must do it on cardboard, assembling its pieces". For some would say it would be the same, but for me, who today is a bit of a detail person, I know very well it is not the same because when I see it they do not look the same. Creating the pieces in cardboard gives each creation a realism and color that distinguish them from something common, making them very original and striking.
I hope you can appreciate this cute little topper, and you can tell me in the comments what you thought of it. Without further ado and hoping you enjoy the work done with love, I leave you the materials used, the process and the images of the work.
- Color cardboard according to each character (blue, red, yellow, white, cream, green, silver and black).
- Flat black Foami
- Wooden sticks
- Hot Silicone.
- White sheet
- Cold Silicone.
- Cutter.
- Scissors.
- Pencil.
CHARACTERS:
- Design on the white sheet the images to be made, the size will depend on the diameter that the cake will have. In this case the three pieces of characters have a height of 9 cm, as for the width, the blue and yellow character measure 6 cm and the red character measures 5 cm.
- According to each character, mark the pieces on the corresponding color cardboard and cut out each piece, taking care to leave the small edges for assembly.
- Assemble the pieces according to the design, taking care not to use too much liquid silicone when gluing (you can use glue sticks if you wish).
- Once the pieces are assembled, glue them directly on black cardboard. When cutting out, leave a small symmetrical border that protrudes from the sides.
- Take the piece with the black border and following its silhouette cut out the silver cardboard, taking care to leave a small symmetrical border that protrudes from its sides.
- On the back of the piece with black border, glue small pieces of black foami and then glue this to the silver cardboard, this will make a small layered effect that gives so much showiness to the pieces.
- Glue the wooden stick to the back of each piece (on the silver cardboard) with hot silicone.
PALMERAS:
- Mark and cut out rectangles of 5 cm long by 1.5 cm wide on the green cardboard (30 rectangles approximately, 15 for each palm tree).
- Fold the 30 rectangles in half.
- Cut the corners so that they are curved.
- With the scissors make small diagonal cuts taking care not to cut the fold of the cardboard, otherwise the piece will be damaged.
- Open the pieces carefully and with the help of a pencil curve its shape gently, so that it looks like a real palm leaf. 13. Take a stick of height and start gluing the leaves, for this you must apply hot silicone on one end of the leaves and glue the wooden stick. Glue them in a circular shape and one on top of the other until the desired shape is created.
- At the base where all the leaves are joined, at the end, a small strip (of the same cardboard) should be glued so that it looks aesthetically better.
Ready, enjoy the magic of what has been created with love...
Translated with www.DeepL.com/Translator (free version)
IMÁGENES / IMAGES


PALMERAS:


Fuente
SALUDOS / REGARDS
Todas las Fotos fueron tomadas con mi teléfono Redmi 7A.
Contenido original de @keco (fotos y texto) - Todos los derechos reservados Publicado en HIVE así como en mi instagram : http://instagram.com/carton_pintura_algo_mas
All Photos were taken with my Redmi 7A phone.
Original content from @keco (photos and text) - All rights reserved Posted on HIVE as well as on my instagram: http://instagram.com/carton_pintura_algo_mas
Te felicito amiga. Los personajes quedaron geniales.
Gracias @elsan.artes un fuerte abrazo
Se ve muy bien, un trabajo muy delicado. La explicación está clara. Excelente. Felicitaciones. Que te mejores pronto, el COVID a veces deja mucho malestar.
Tenia dias sin saber de usted amiga mia. Y como siempre aparece con una super obra muy creativa de sus manos.. Siempre se aprende a hacer cosas nuevas observando por aqui, Saaludos!
Congratulations @keco! You have completed the following achievement on the Hive blockchain and have been rewarded with new badge(s) :
Your next target is to reach 7000 upvotes.
You can view your badges on your board and compare yourself to others in the Ranking
If you no longer want to receive notifications, reply to this comment with the word
STOPCheck out the last post from @hivebuzz:
Me gustó mucho tu trabajo, felicidades. Saludos.