[Esp-Eng] “Blanca Nieve” va a la escuela. // "Snow White" goes to school.
Español
Feliz y bendecido último día del mes de enero 2022.
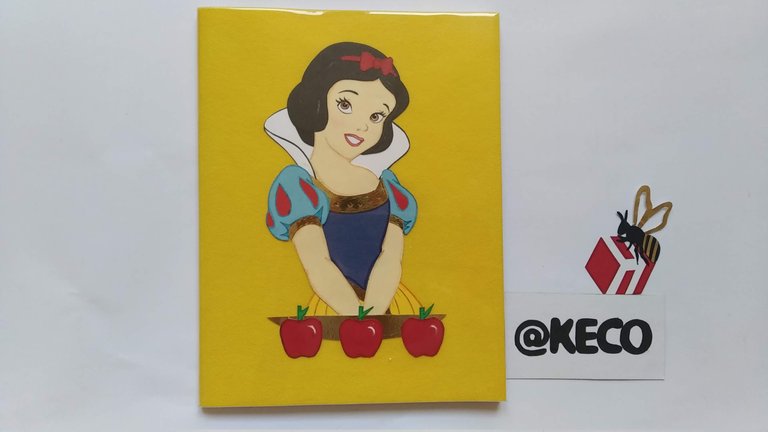
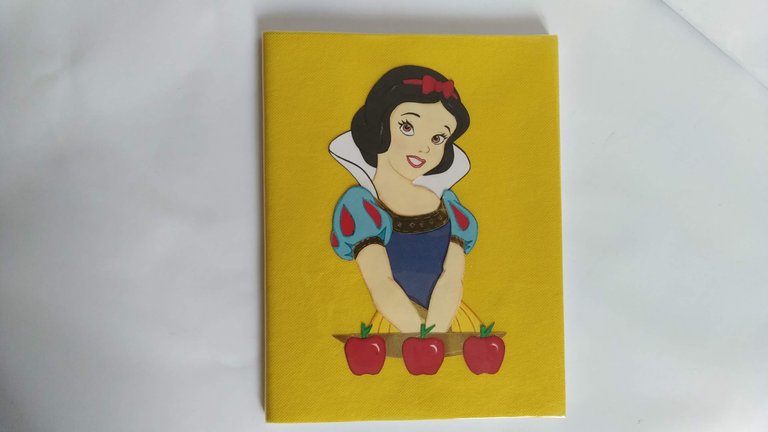
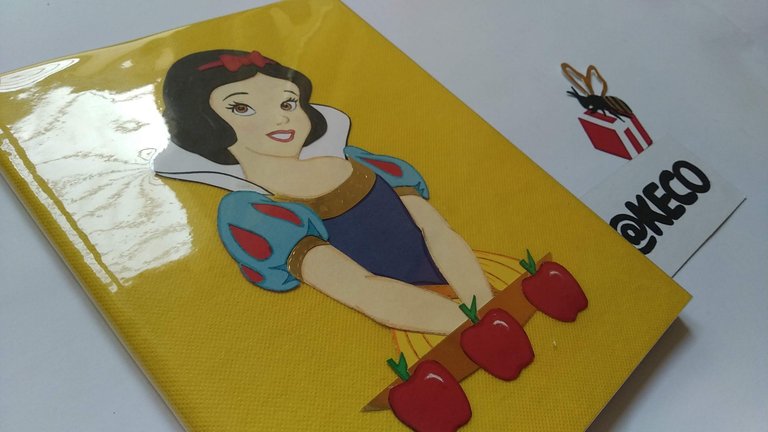
Hoy les mostraré la decoración realizada a una libreta de 100 hojas, inspirada en la princesa de Disney llamada “Blanca Nieve”, para llenar de Motivación y magia el arte de aprender. Nada mas lindo que ir a la escuela emocionada por tener cuadernos lindos, personalizados y muy originales que harán distinguirse del resto de los cuadernos de clase.
Sin más, y esperando disfruten del trabajo realizado les dejo los materiales utilizados, el proceso y las imágenes del trabajo.
- Libreta de 100 hojas.
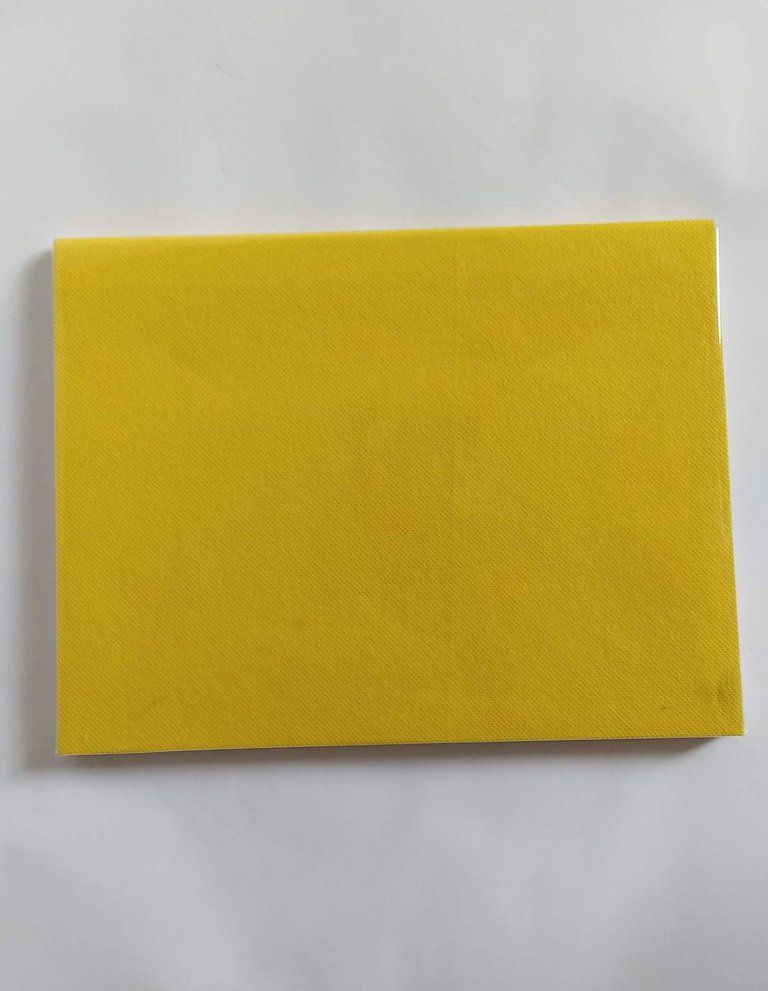
- Tela POP Amarilla.
- PlastiCristal (Hule cristal) para la protección.
- Cartulina de colores (de acuerdo a los colores del personaje).
- Cartulina Dorada.
- Colores.
- Marcadores de Colores.
- Silicón Frío.
- Cutter.
- Tijera.
- Lápiz.
English
Happy and blessed last day of January 2022.
Today I will show you the decoration made to a 100 sheets notebook, inspired by the Disney princess called "Snow White", to fill with Motivation and magic the art of learning. Nothing nicer than going to school excited to have cute, personalized and very original notebooks that will distinguish them from the rest of the class notebooks.
Without further ado, and hoping you enjoy the work done, I leave you the materials used, the process and the images of the work.
- 100-sheet notebook.
- Yellow POP cloth.
- PlastiCristal (Crystal rubber) for protection.
- Colored cardboard (according to the colors of the character).
- Golden cardboard.
- Colors.
- Color markers.
- Cold Silicone.
- Cutter.
- Scissors.
- Pencil.
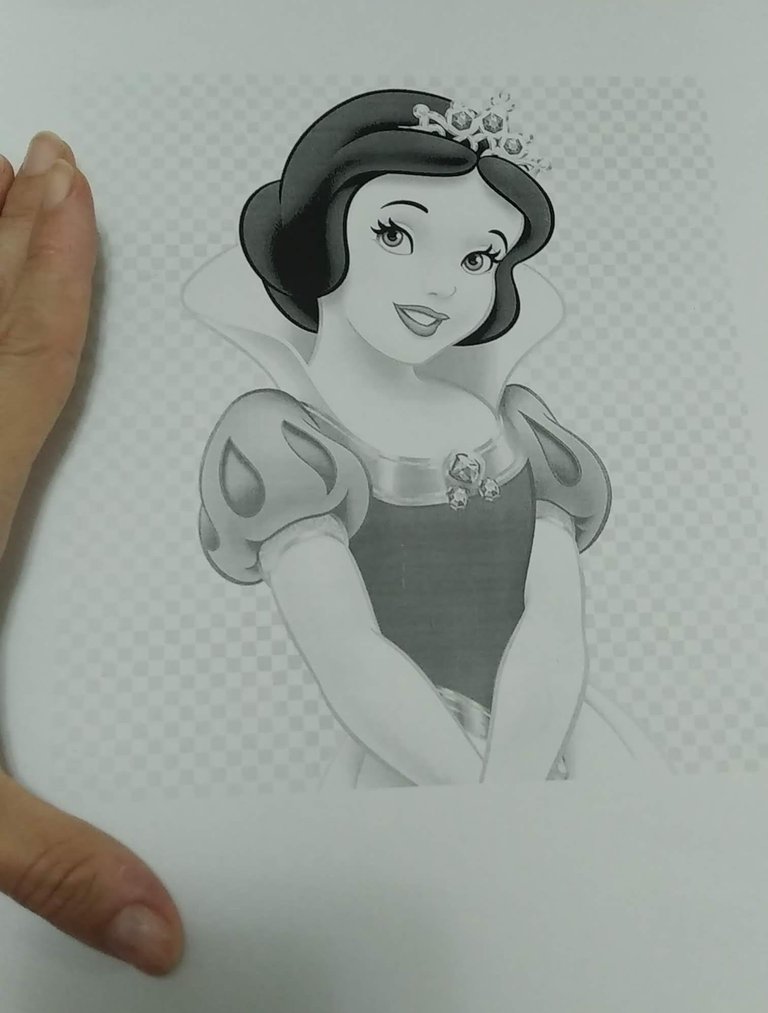
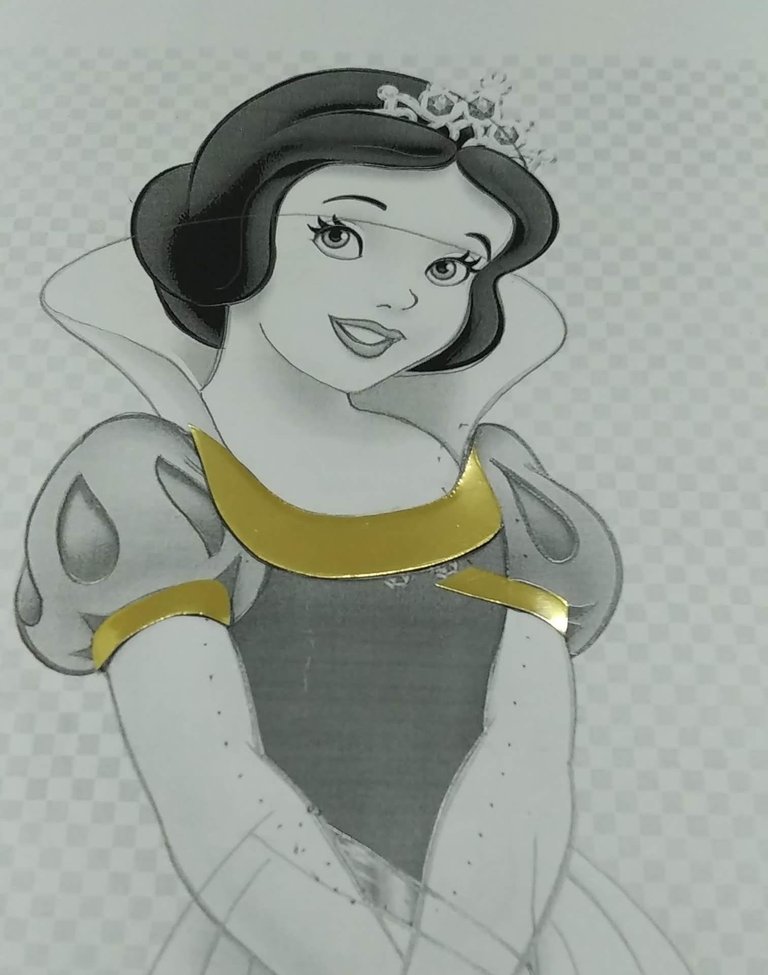
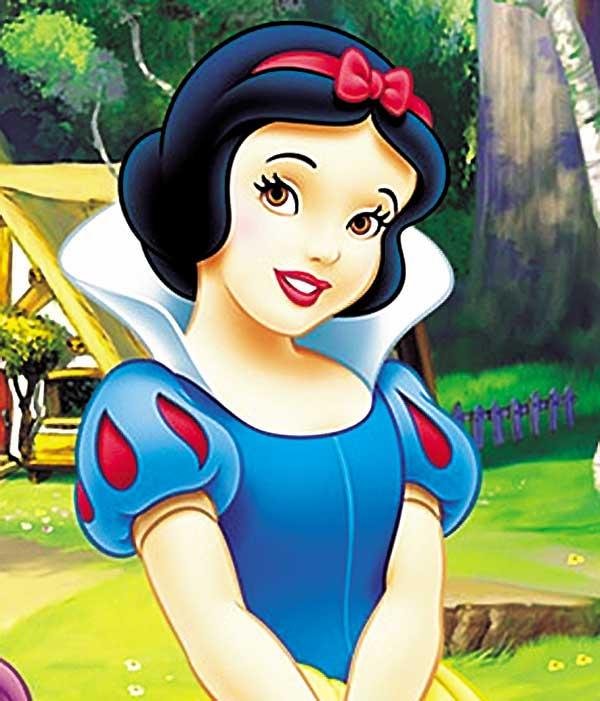
1.- Imprimir el personaje en el tamaño deseado, tomando en consideración las medidas del cuaderno. Esta impresión será la guía para cortar las piezas del personaje.
1.- Print the character in the desired size, taking into consideration the measurements of the notebook. This print will be the guide to cut the pieces of the character.
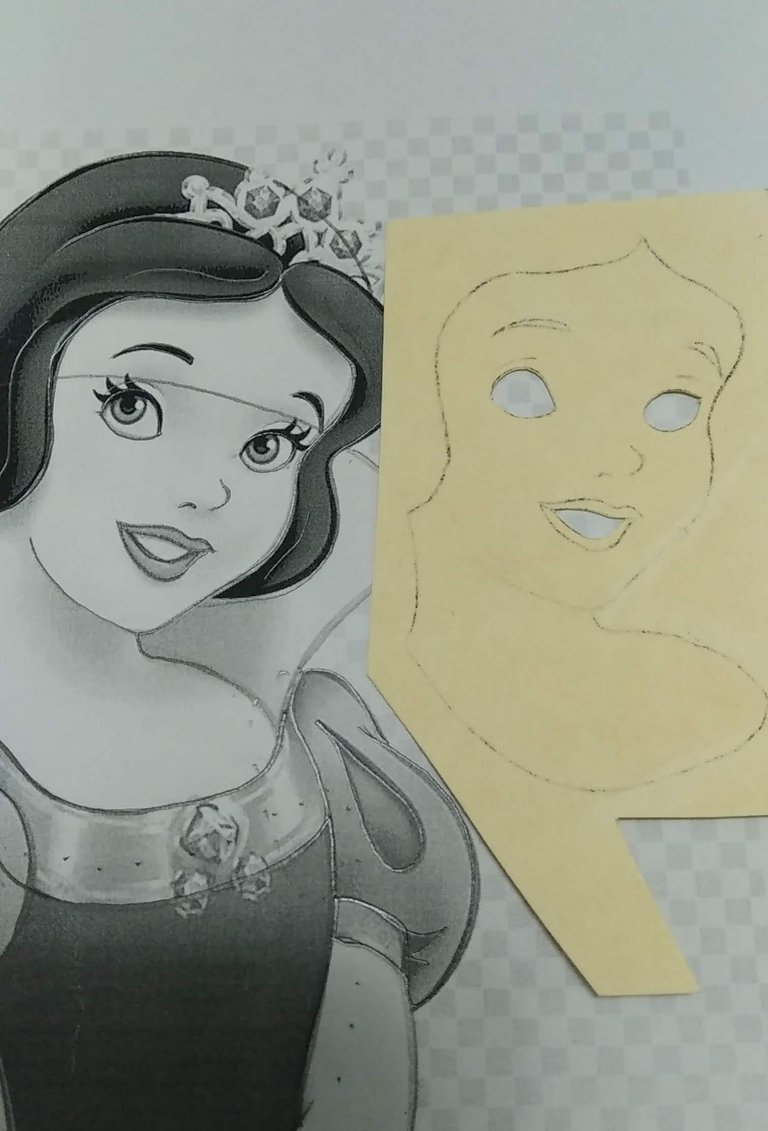
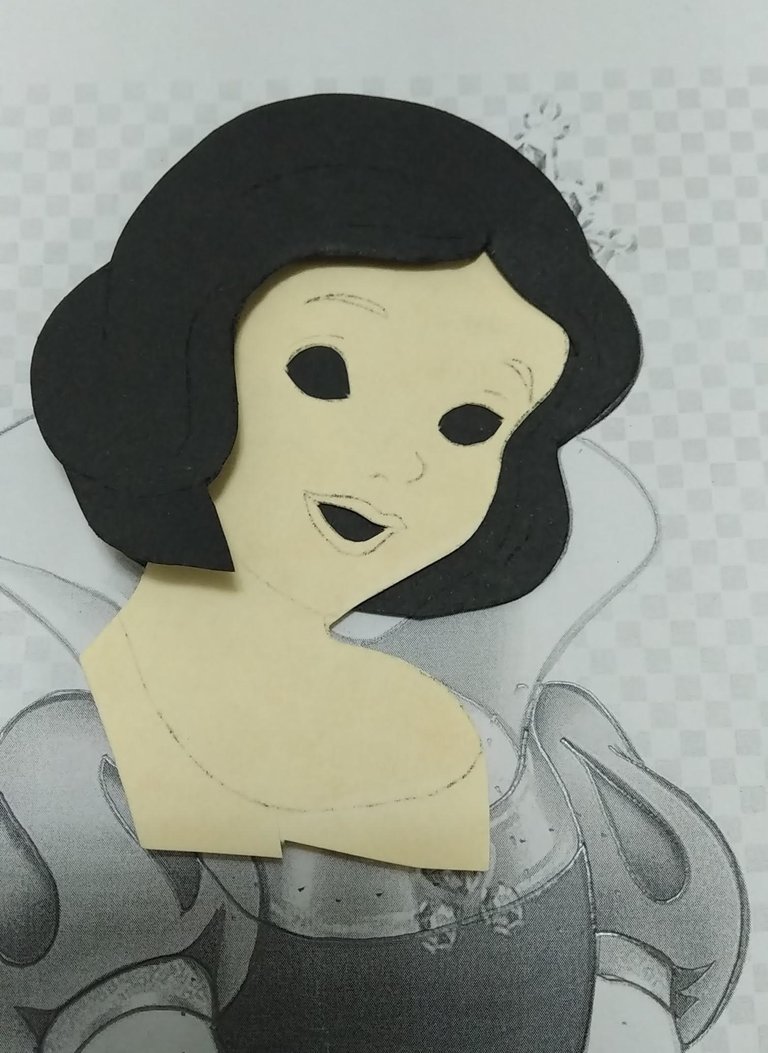
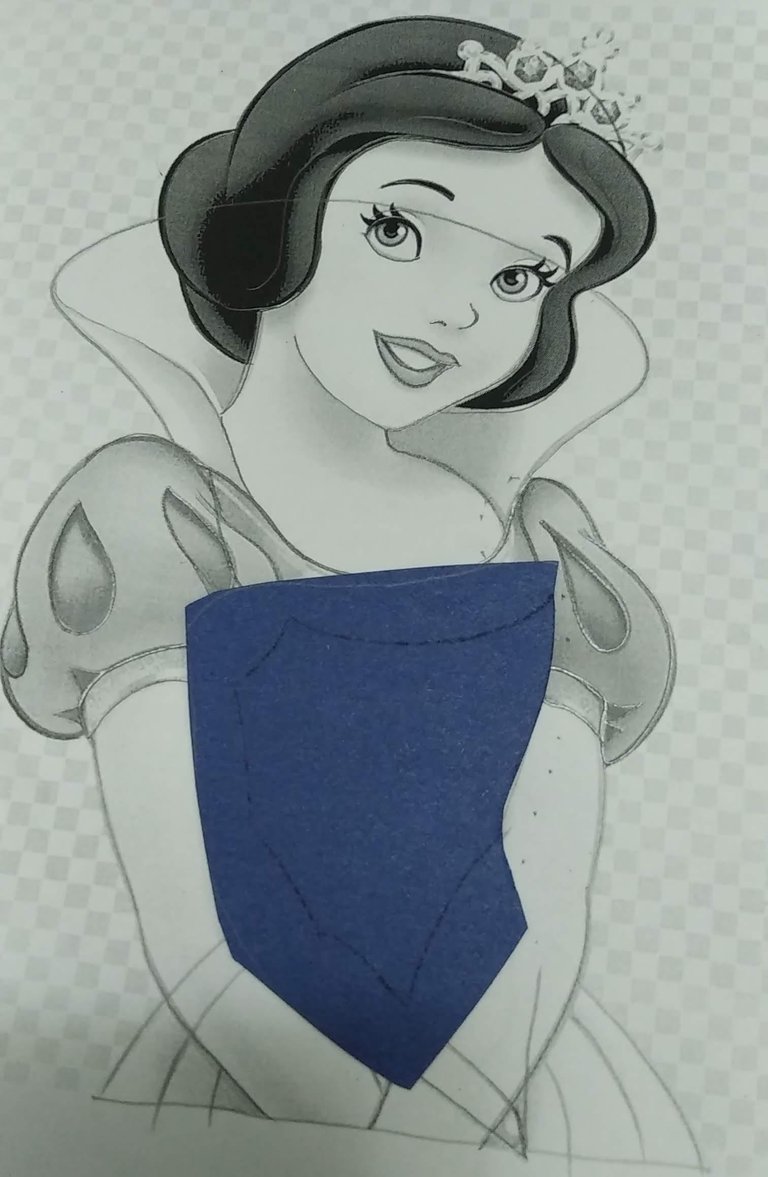
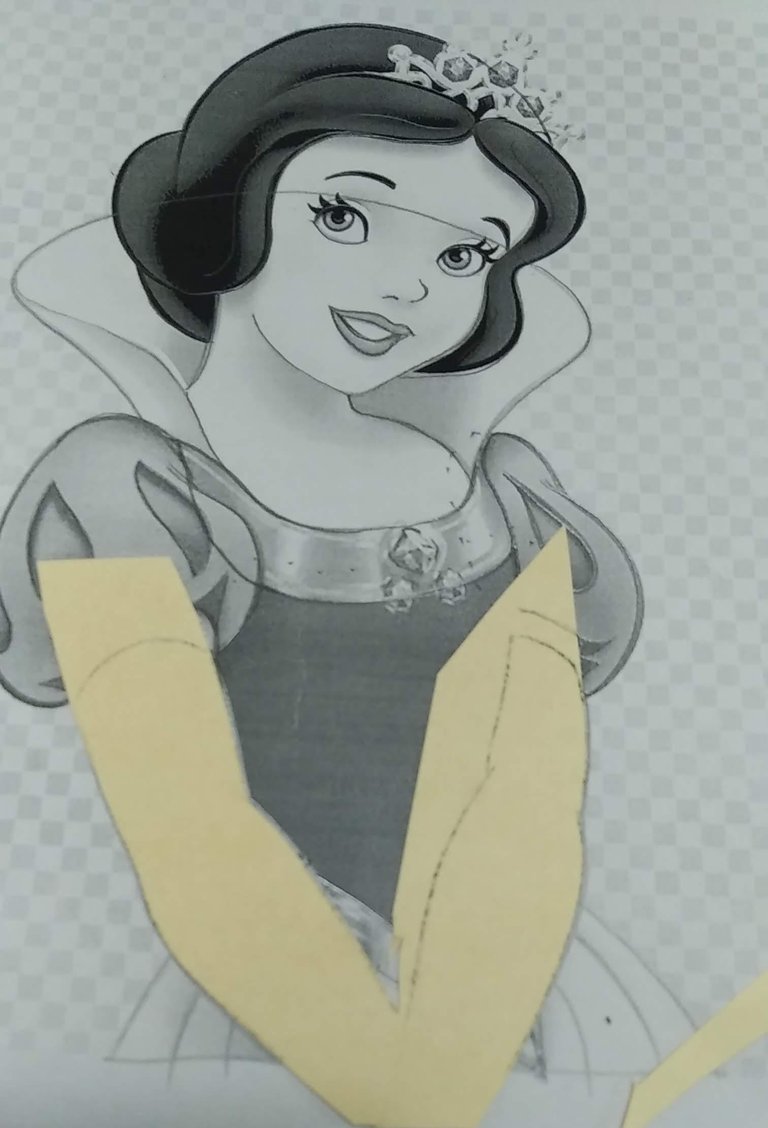
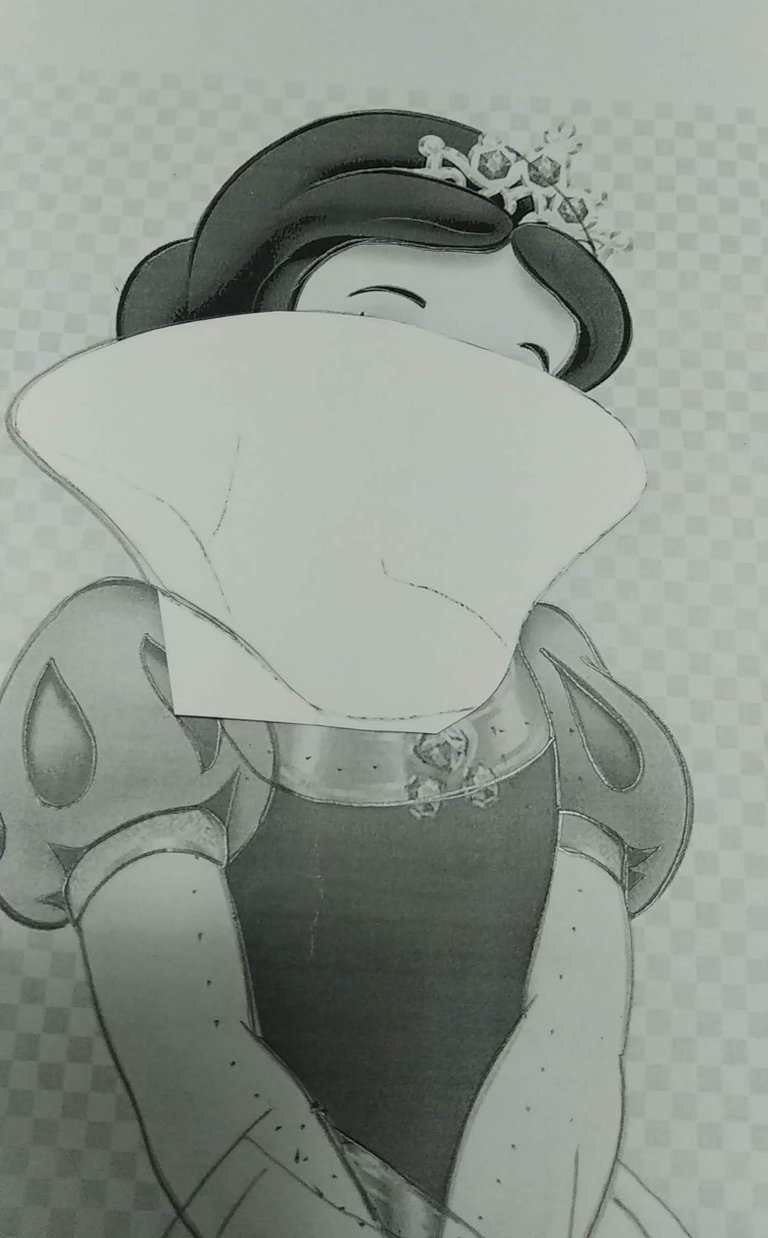
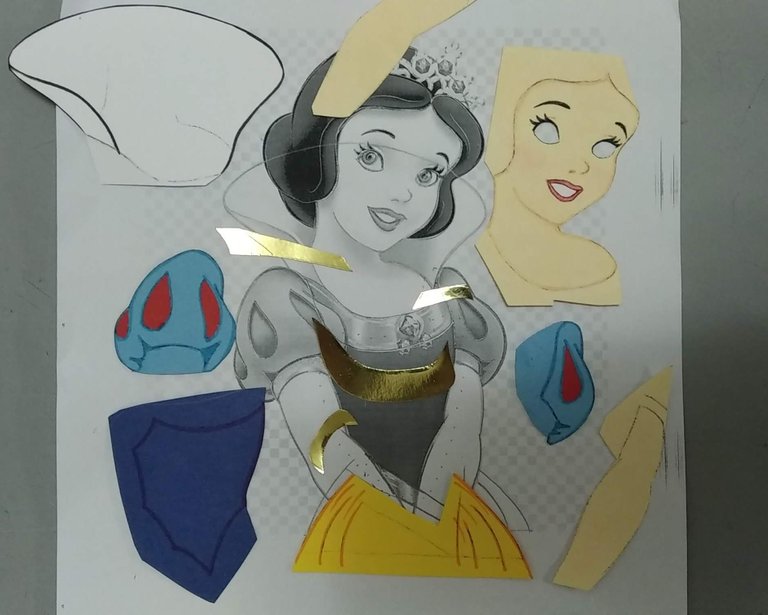
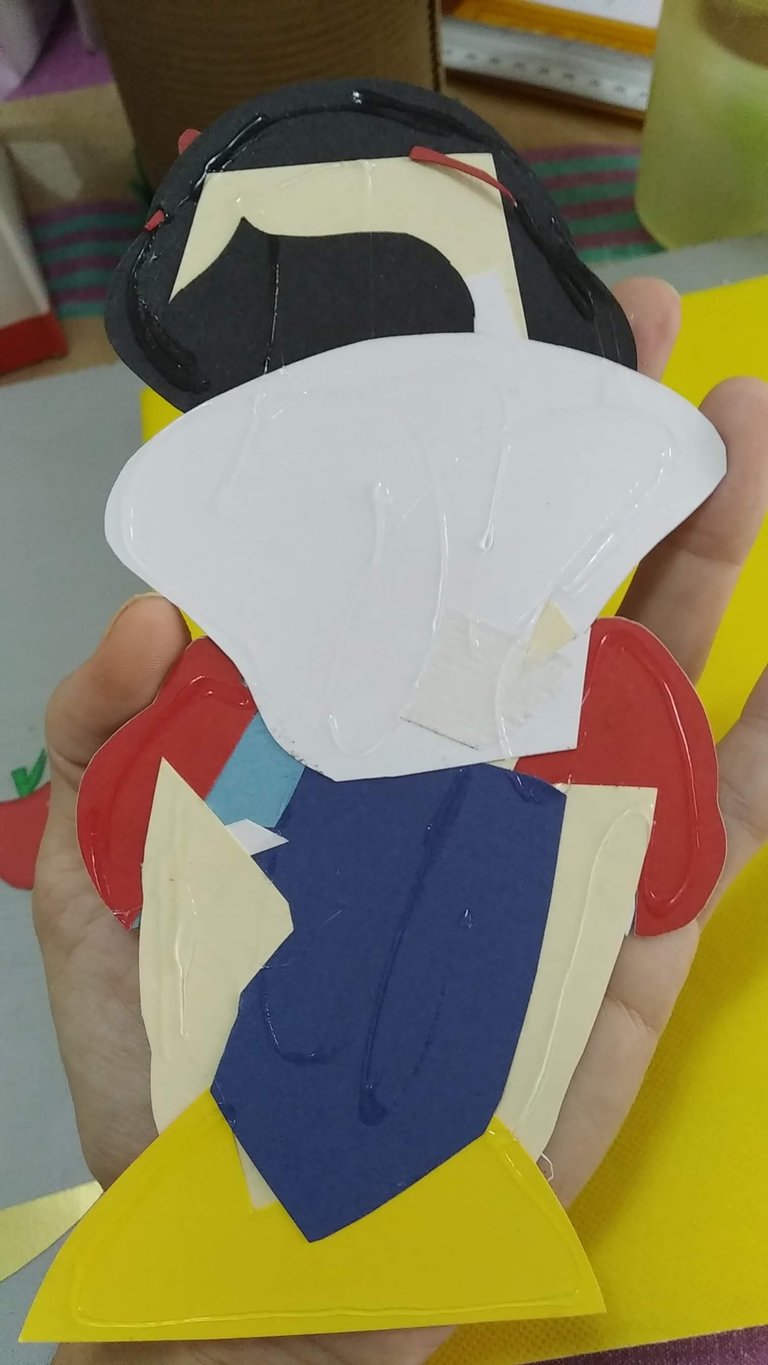
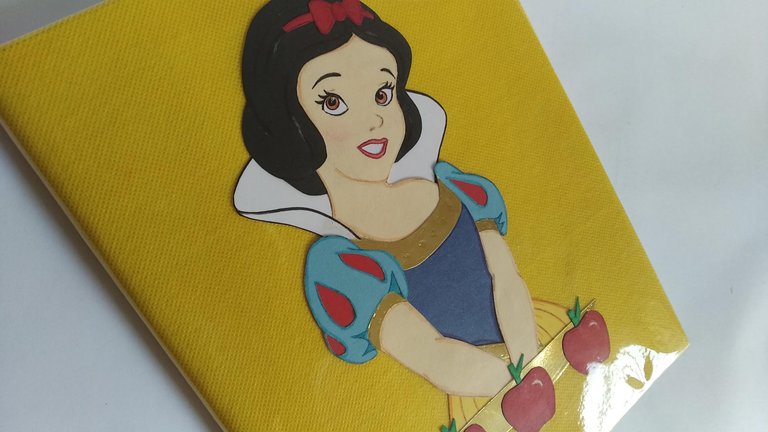
2.- Marcar y recortar las piezas que conforman el personaje, diseñando, pintando en las cartulinas de colores correspondientes; a las piezas se le deben dejar pequeñas áreas que permitan luego en ensamblado de las mismas. La pieza correspondiente al rostro debe trabajarse aparte y el área correspondiente a los ojos, debe recortarse con el cutter para un mejor efecto. El resto del rostro pintarlo con colores correspondientes utilizando colores y marcadores.
2.- Mark and cut out the pieces that make up the character, designing, painting on the corresponding colored cardboard; the pieces should be left with small areas that will allow them to be assembled later. The piece corresponding to the face should be worked separately and the area corresponding to the eyes should be cut with the cutter for a better effect. The rest of the face should be painted with corresponding colors using colors and markers.
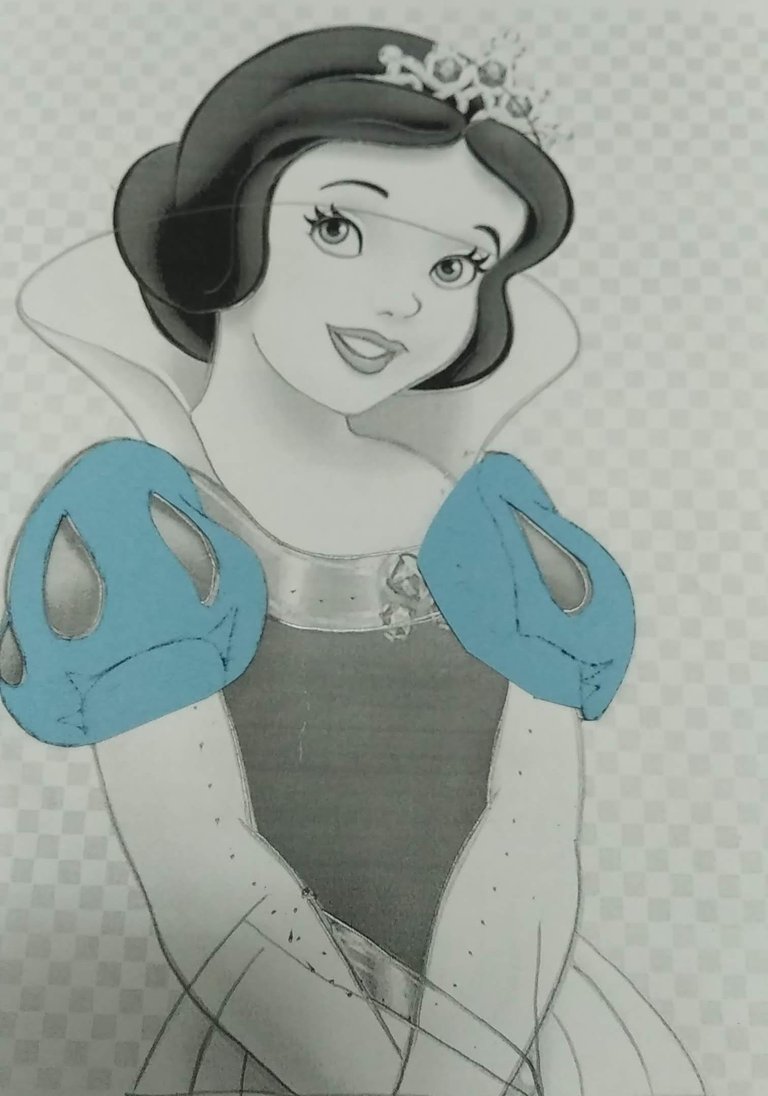
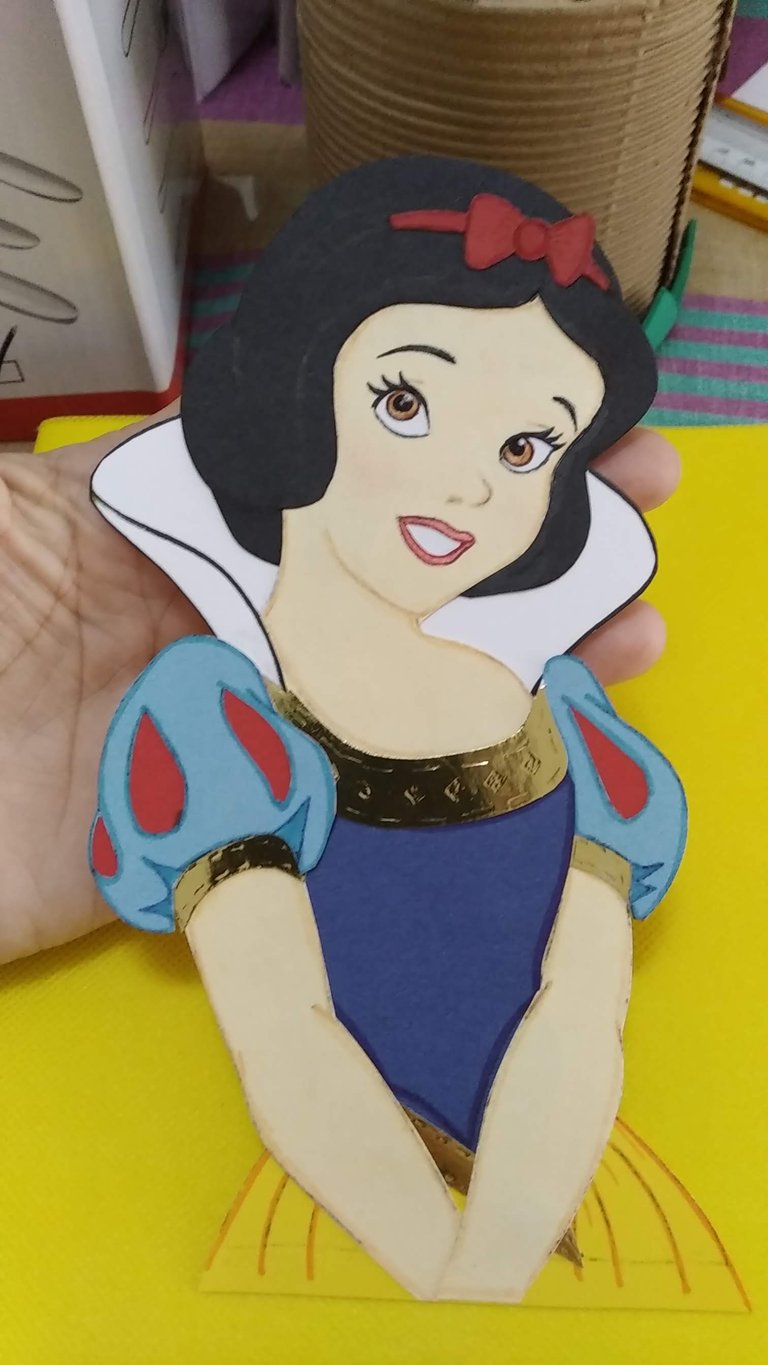
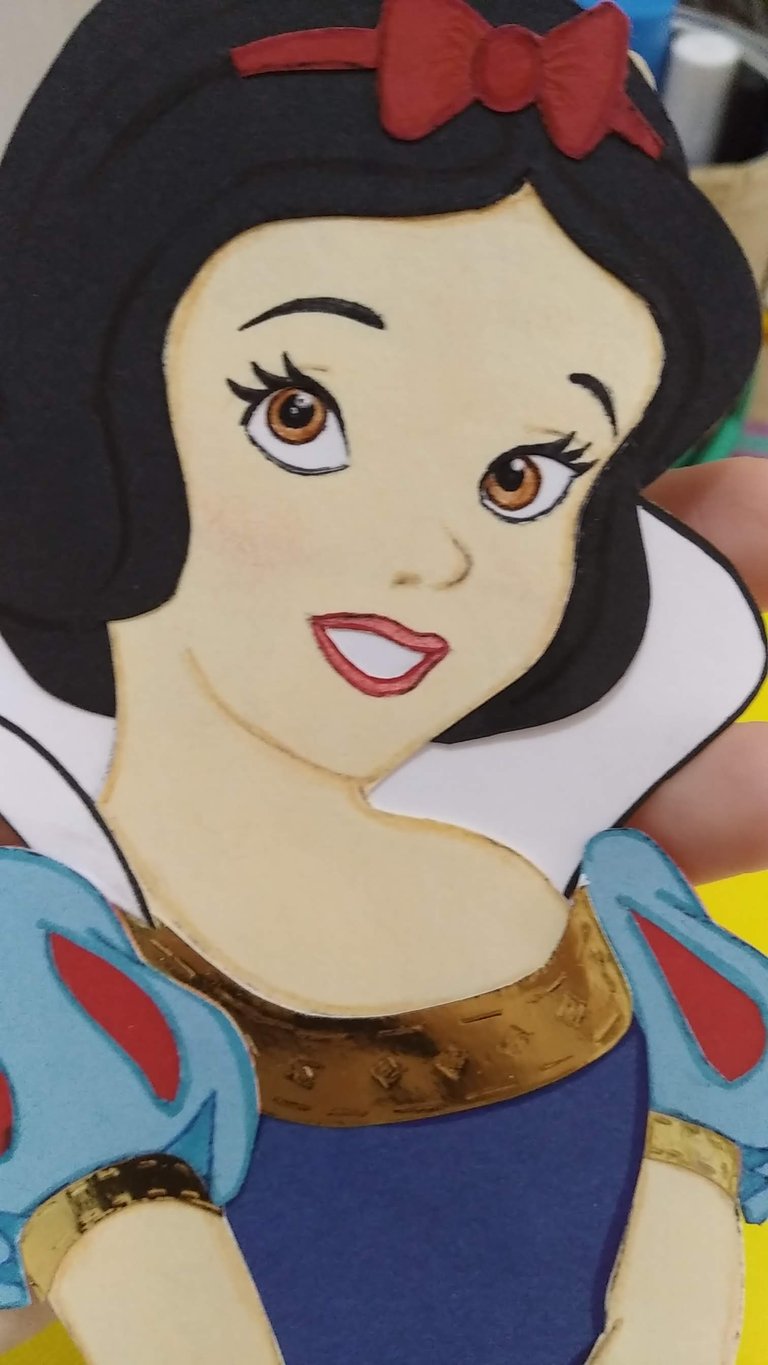
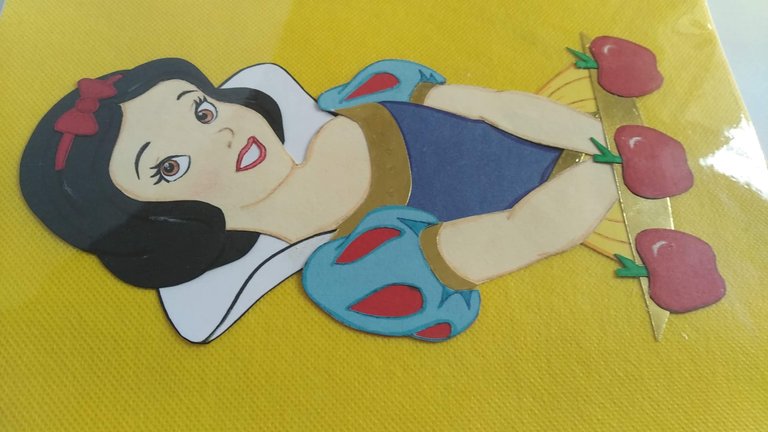
3.- Ensamblar las piezas de rostro y cuerpo, y decorar con accesorios y detalles correspondientes.
3.- Assemble the face and body parts, and decorate with accessories and details as appropriate.
4.- Forrar la libreta con la tela POP amarilla, para ello aplicar silicón frío por toda la caratula (delantera y trasera) y recortar el sobrante de tela al ras de la libreta con ayuda del cutter.
4.- Cover the notebook with the yellow POP fabric, apply cold silicone all over the cover (front and back) and cut the excess fabric flush with the notebook with the help of the cutter.
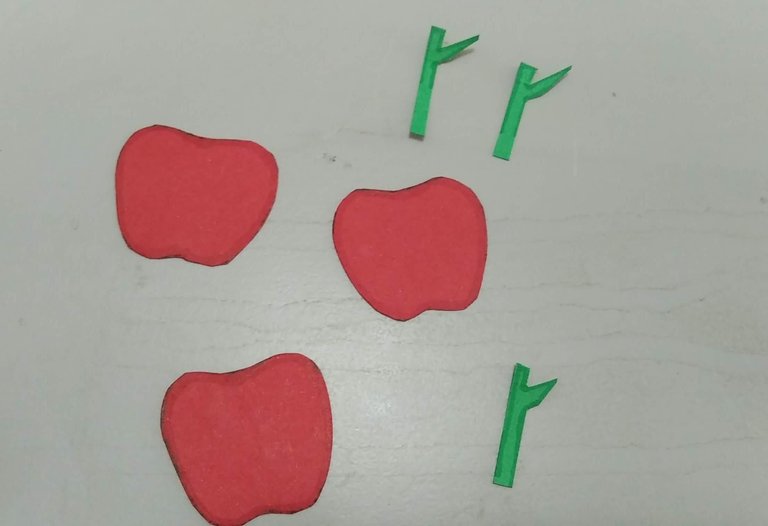
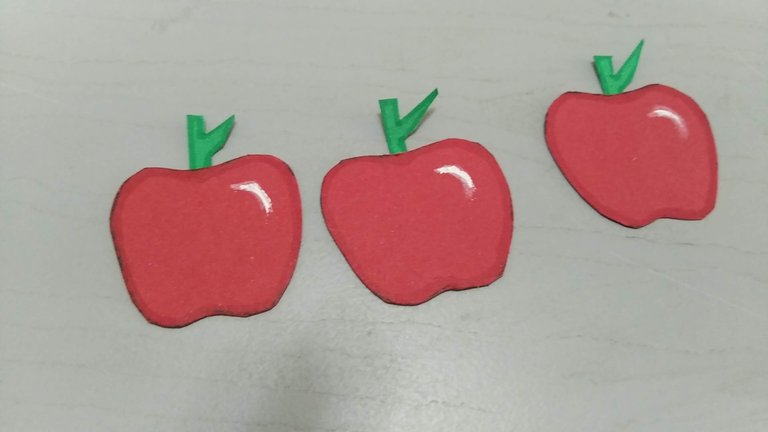
5.- Marcar, recortar y decorar tres (3) manzanas rojas para decoración adicional en la portada.
5.- Mark, cut out and decorate three (3) red apples for additional decoration on the cover.
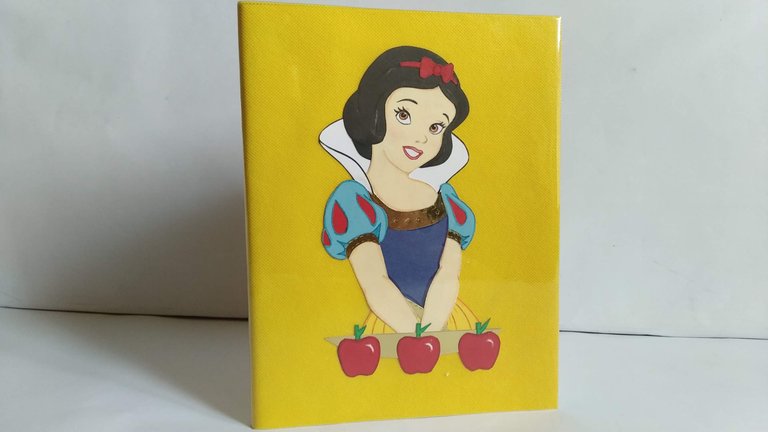
6.- Pegar de forma centrada la princesa al cuaderno forrado, para ello utilizar silicón frío. Y luego pegarle en la parte inferior del personajes las tres manzanas creadas.
6.- Center glue the princess to the lined notebook using cold silicone. Then glue the three created apples to the bottom of the characters.
7.- Forrar con el hule cristal, cuidando de dejar hacia adentro de las caratulas, pequeñas pestañas de hule para ser sujetas con cinta adhesiva transparente.
7.- Line with the glass rubber, taking care to leave small rubber tabs inside the covers to be fastened with transparent adhesive tape.
8.- ¡listo!, a disfrutar de la magia de lo creado con amor…
8.- Ready, to enjoy the magic of what is created with love...
Espero les haya gustado y sobre todo se entusiasmen a crear algo parecido para sorprender a familiares y amigos.
I hope you liked it and, above all, I hope you get excited to create something similar to surprise your family and friends.
Fuente
SALUDOS / REGARDS
Todas las Fotos fueron tomadas con mi teléfono Redmi 7A.
Contenido original de @keco (fotos y texto) - Todos los derechos reservados Publicado en HIVE así como en mi instagram : http://instagram.com/carton_pintura_algo_mas
All Photos were taken with my Redmi 7A phone.
Original content from @keco (photos and text) - All rights reserved Posted on HIVE as well as on my instagram: http://instagram.com/carton_pintura_algo_mas
Me gusta. Sé que me etiquetaste en otro post pero no recuerdo qué estaba haciendo que olvidé dejar un respectivo comentario. Es genial, usaste imágenes para ilustrar lo que describes en los pasos, es un trabajo genial.
Aquí un consejo sobre las etiquetas, nuevamente lo digo con las mejores intenciones 😁 las primeras cinco etiquetas deben ser sobre lo que trata nuestra publicación; por ejemplo: diy, spanish (si es contenido en español debe estar entre las cinco), crafts, handmade, tutorial, manualidades; entre otras...
En las otras cinco etiquetas, si aún no las has ocupado en otras etiquetas relacionadas con tu publicación, puedes usar etiquetas que otorguen tokens, como creativecoin, archon, neoxian...
Las etiquetas de ballenas no son necesarias. Las ballenas votan por sus curadores, no por esas etiquetas; algo para que lo tengas en cuenta.
Un muy buen trabajo! Saludos cordiales.
Gracias @gaboamc2393, me encanta escuchar consejos, así que en este proceso constante de aprendizaje siempre es bueno atender a este tipo de orientaciones, muchas gracias por tu apoyo y valoración.
Un fuerte abrazo.
Saludos, bendiciones y éxitos.
Hola querida, atenta a lo que dice nuestro querido Gabo, son geniales sus consejos..
Nos ha encantado tu proyecto, diste vida y aspecto 3D a un objeto plano a través de las capas.
Te invito a unirte a nuestro Discord y estar pendiente de las buenas nuevas.
https://discord.gg/tYENgKmTHA
Gracias @equipodelta ustedes son sin duda mi comunidad favorita. Y si, estoy siempre súper atenta las orientaciones dadas por nuestro compañero @gaboamc2393.
Saludos, bendiciones y éxitos.
Congratulations @keco! You received a personal badge!
Wait until the end of Power Up Day to find out the size of your Power-Bee.
May the Hive Power be with you!
You can view your badges on your board and compare yourself to others in the Ranking
Check out the last post from @hivebuzz:
hurra, gracias @hivebuzz un fuerte abrazo.