Cómo reemplazar el cuadrante de la licuadora y el mantenimiento a su vez. || How to replace the blender dial and maintenance in turn. [ESP ENG]
Hola amigos, espero que todos los hivers se encuentren bien, es un placer para mí estar nuevamente por acá después de mucho tiempo de ausencia, así que les digo bienvenidos nuevamente a mi blog.
Hello friends, I hope that all hivers are well, it is a pleasure for me to be here again after a long time of absence, so I say welcome back to my blog.
En esta ocasión les mostraré como reemplazar un cuadrante de licuadora y a su vez hacerle mantenimiento.
This time I will show you how to replace a blender quadrant and at the same time maintain it.
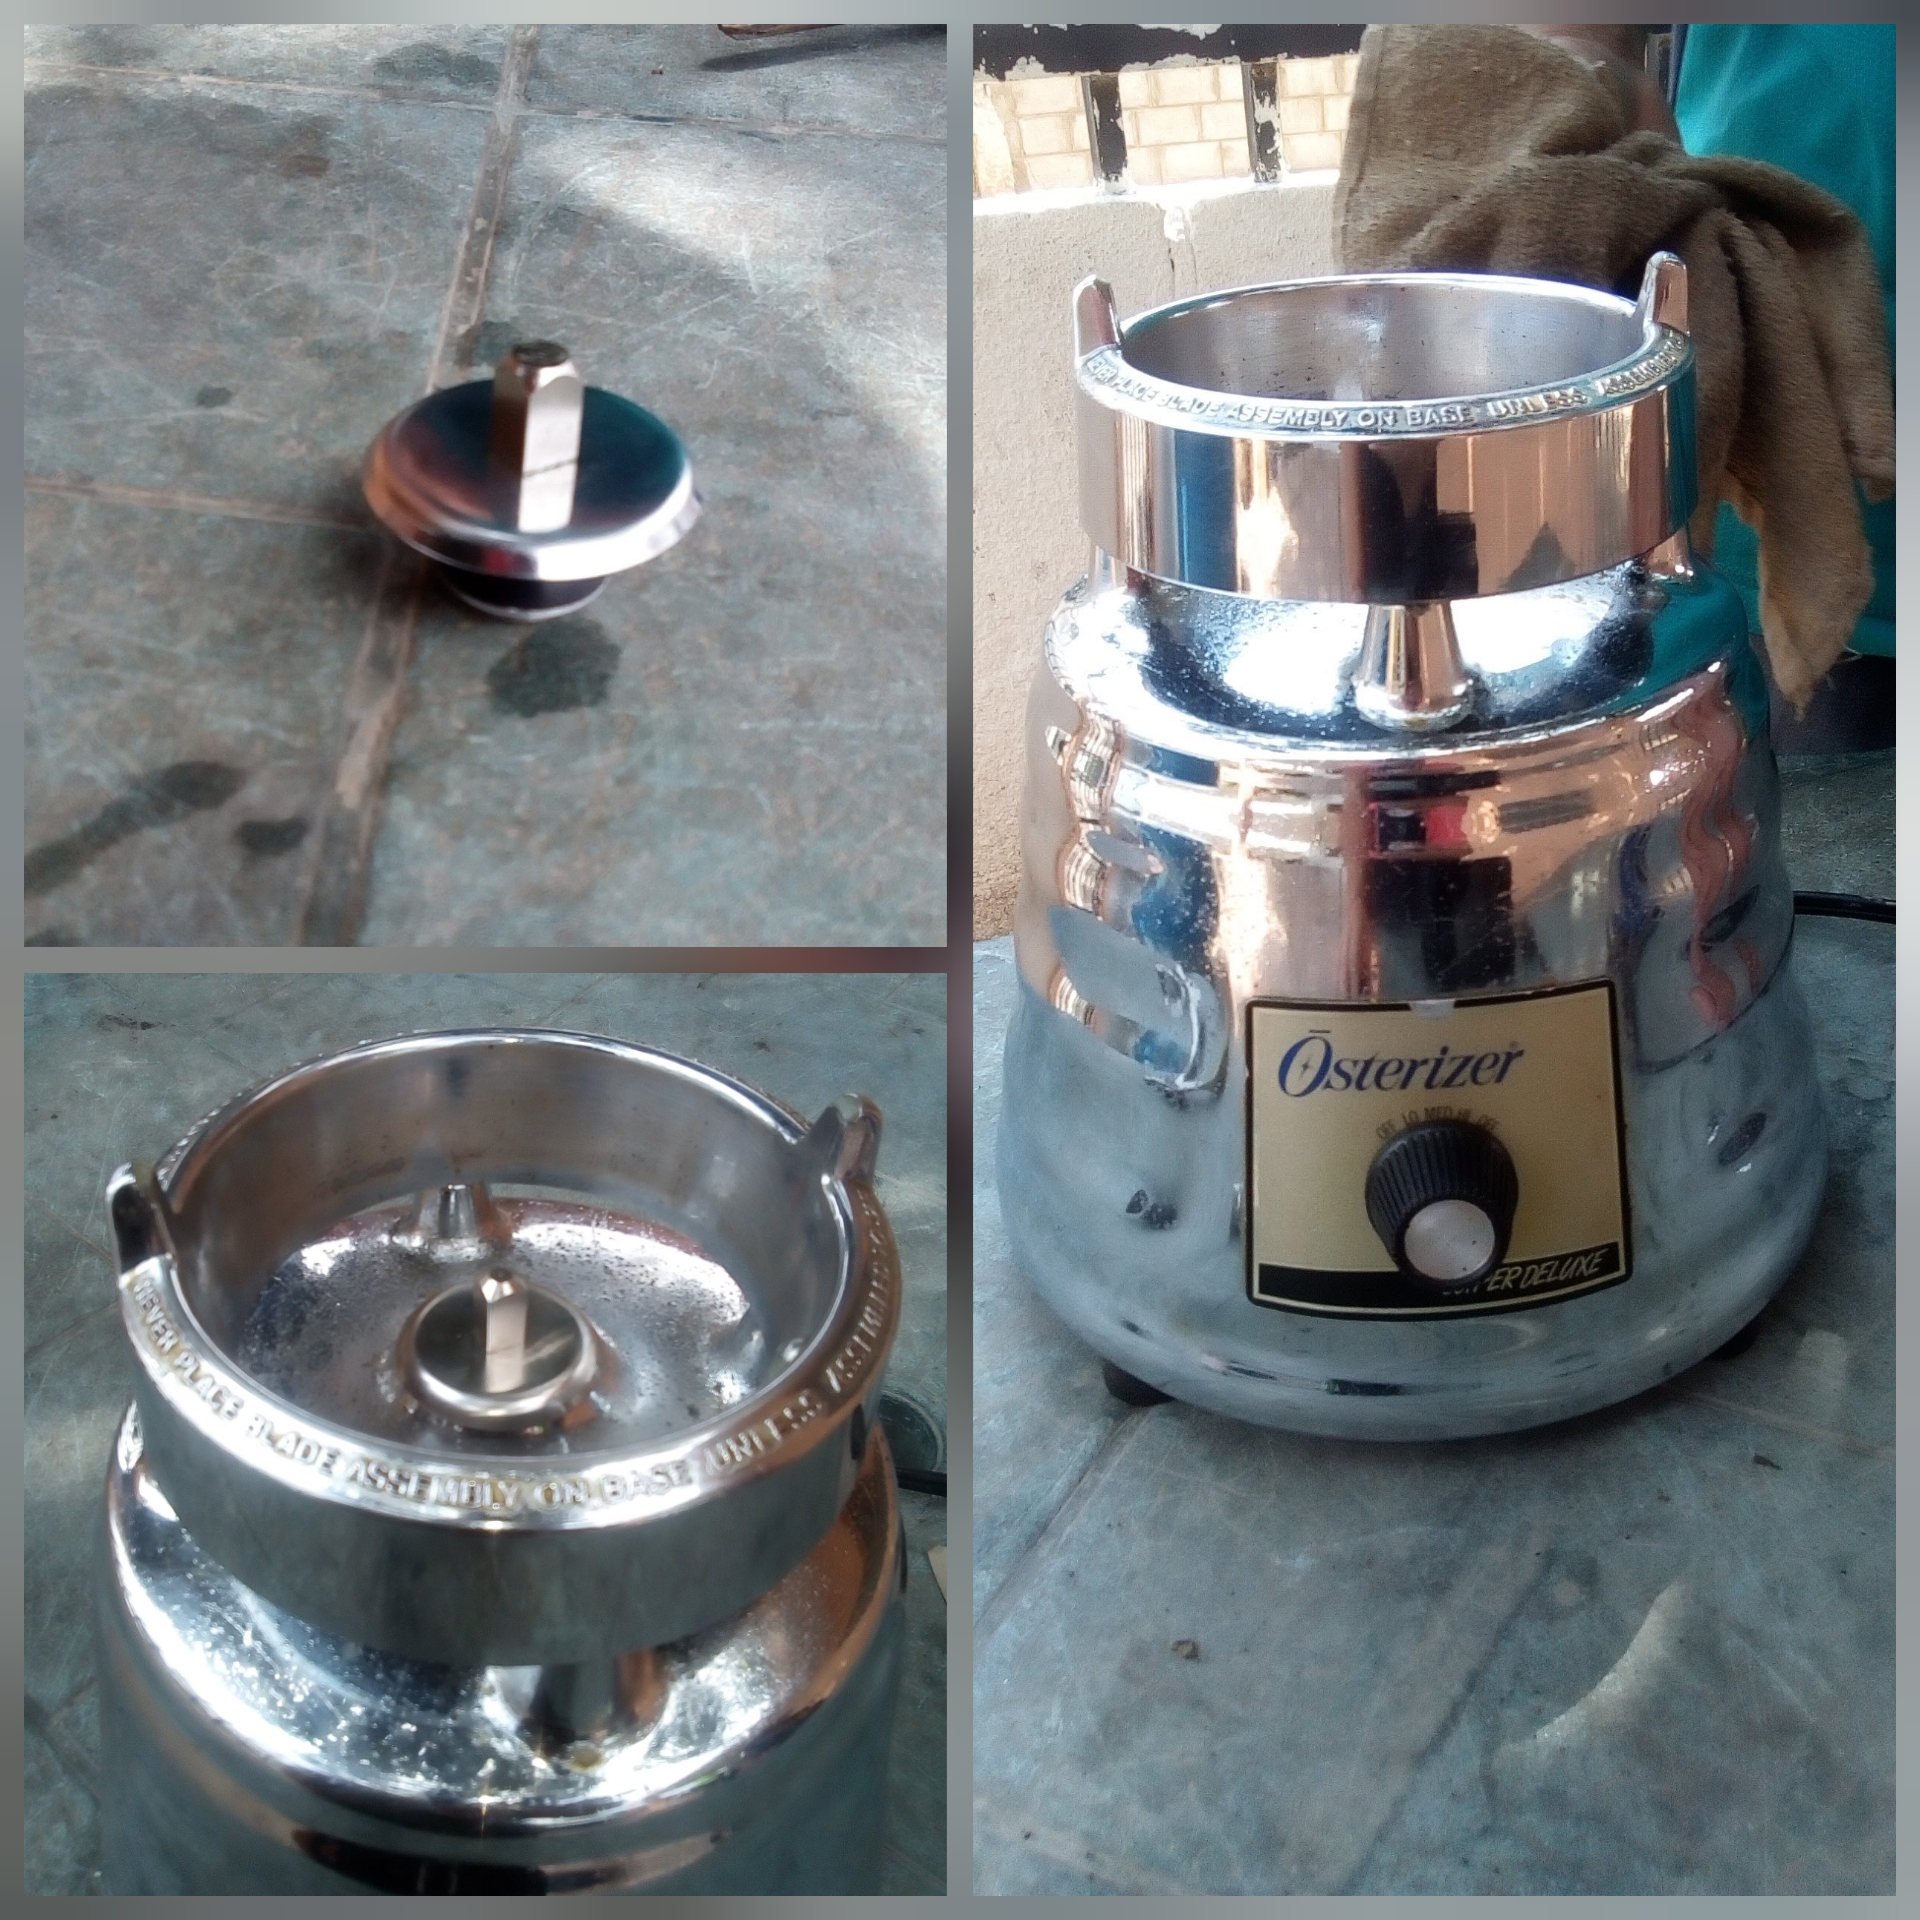
Primero les explicaré los motivos por los que hay que cambiar el cuadrante del motor de la licuadora, porque se desgasta y pierden su vida útil o se parte, en esta oportunidad el remplazo es porque se partió.
First I will explain the reasons why you have to change the dial of the blender motor, because it wears out and loses its useful life or breaks, in this opportunity the replacement is because it broke.
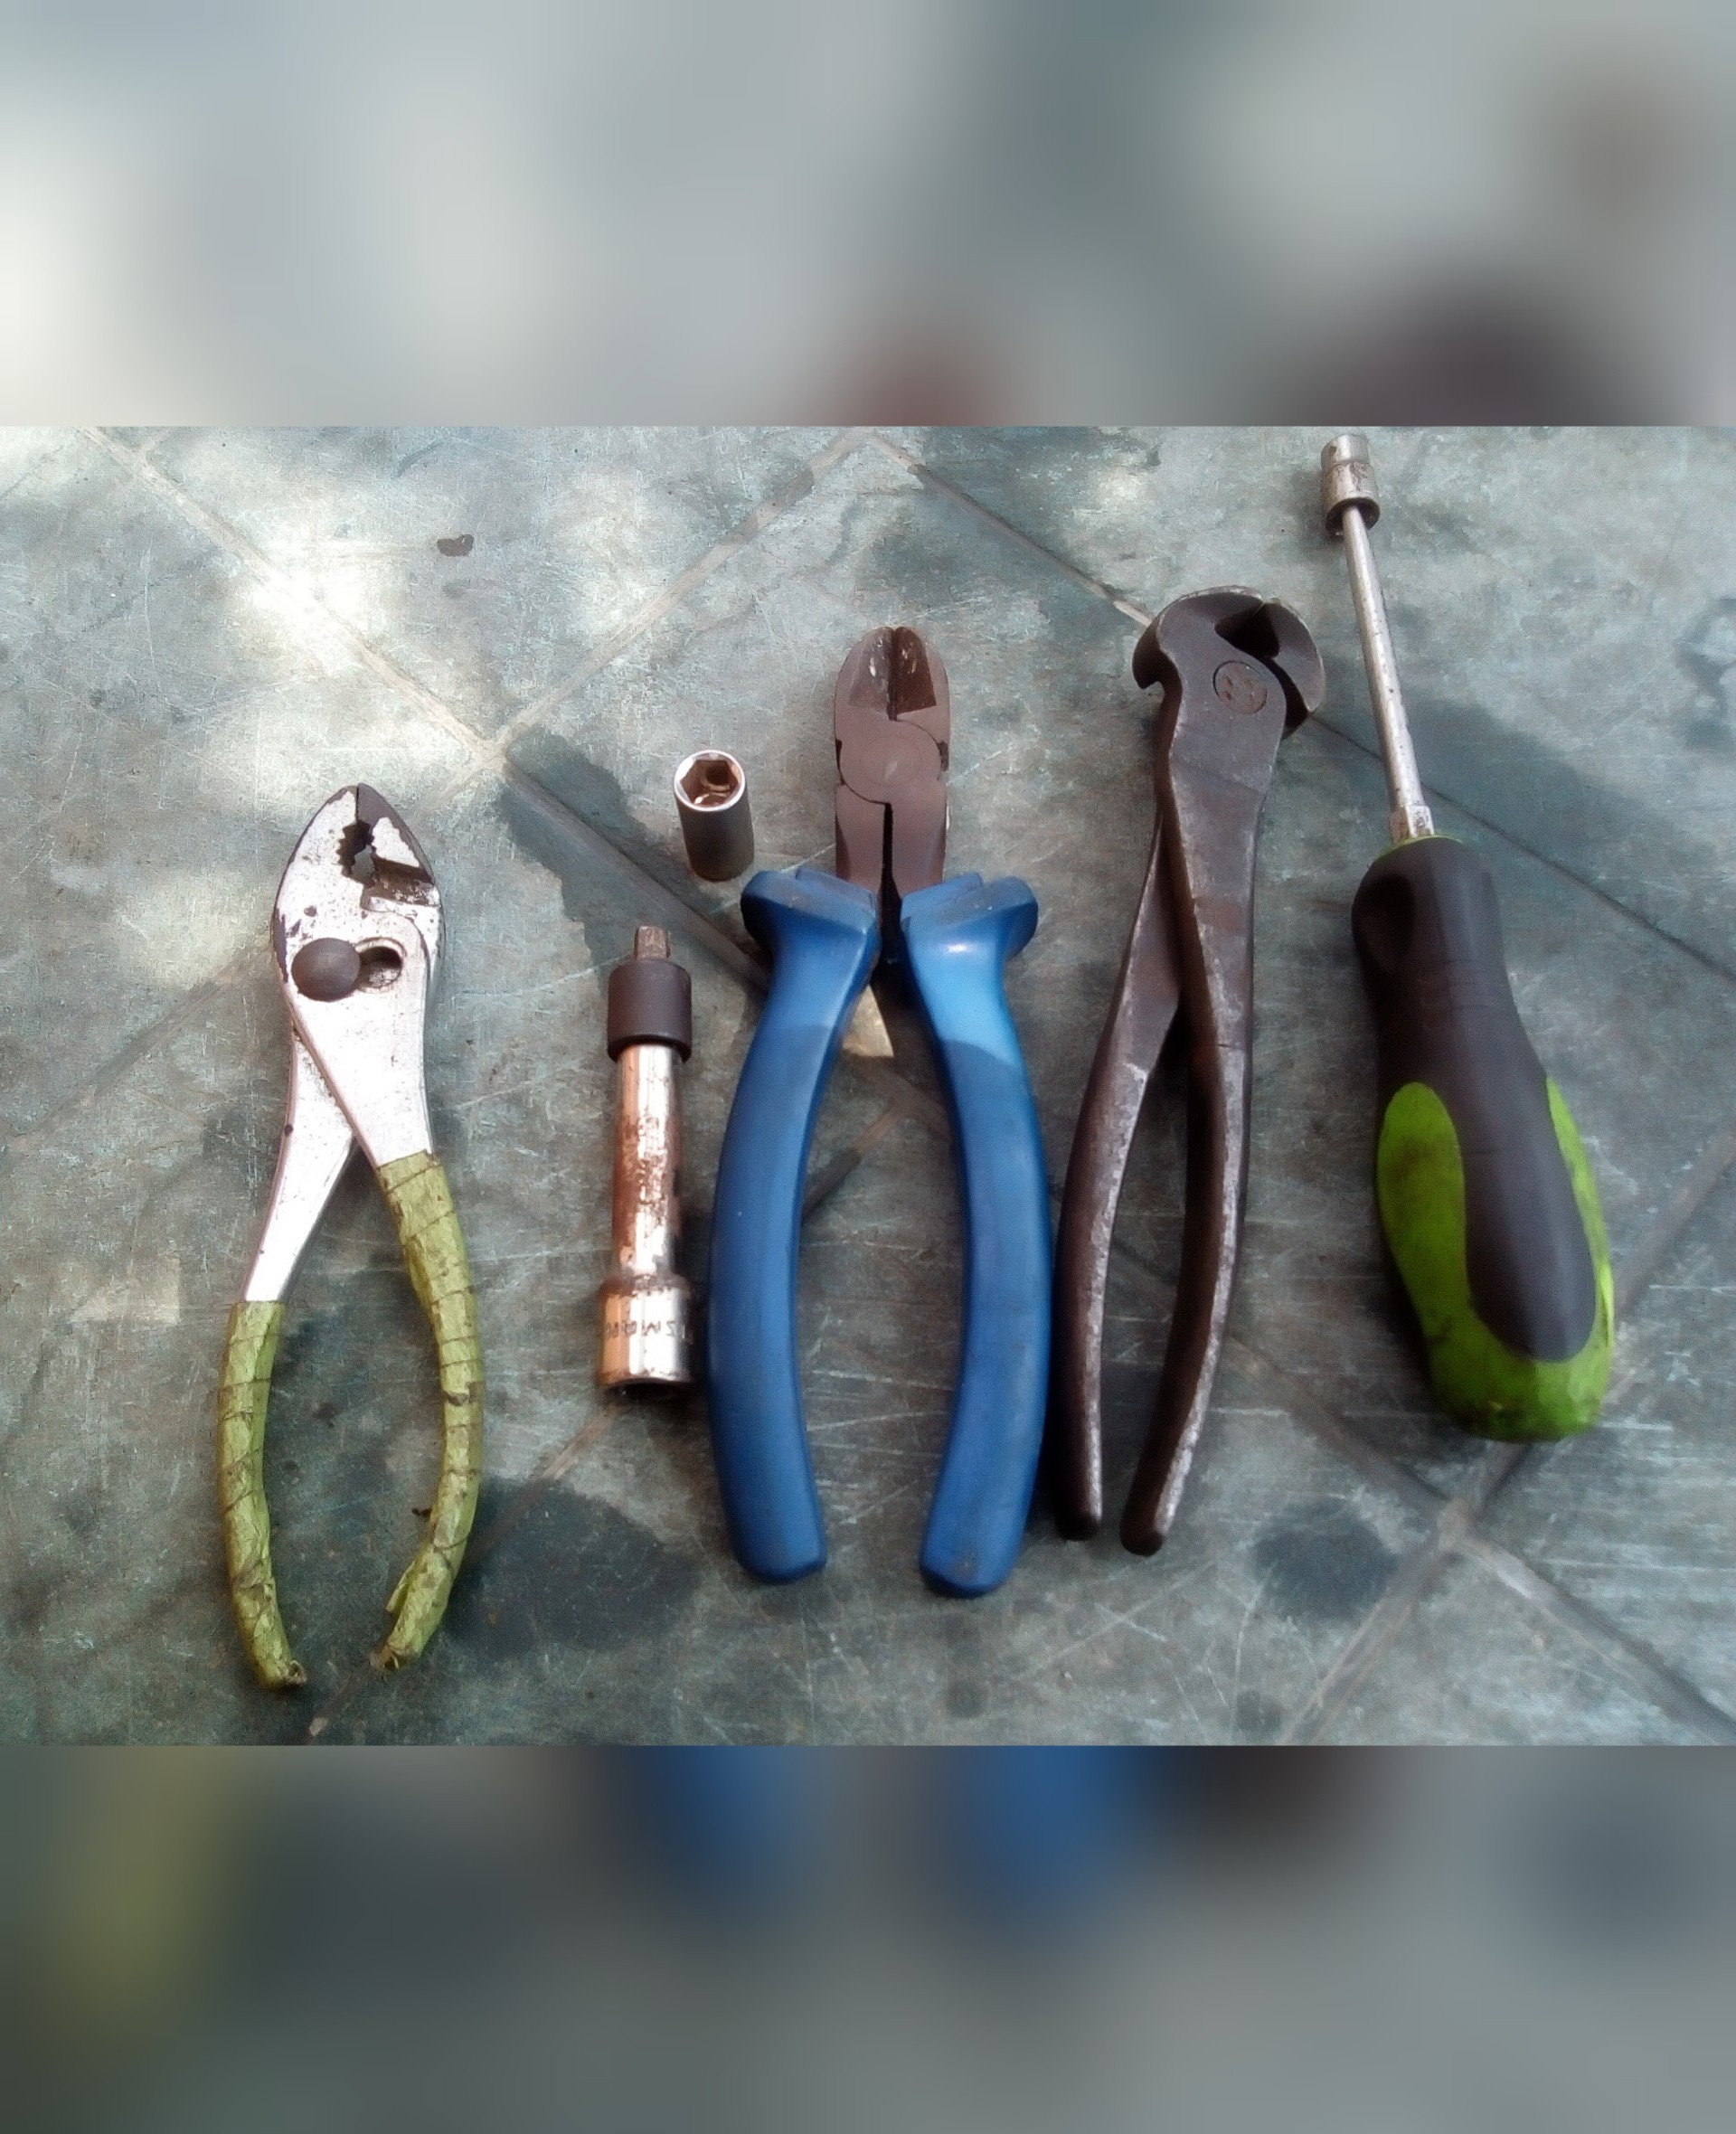
Esta vez voy a trabajar con las siguientes herramientas pinza de suspensión, destornillador, alicate, dado y extensión.
This time I am going to work with the following tools: suspension clamp, screwdriver, pliers, socket and extension.
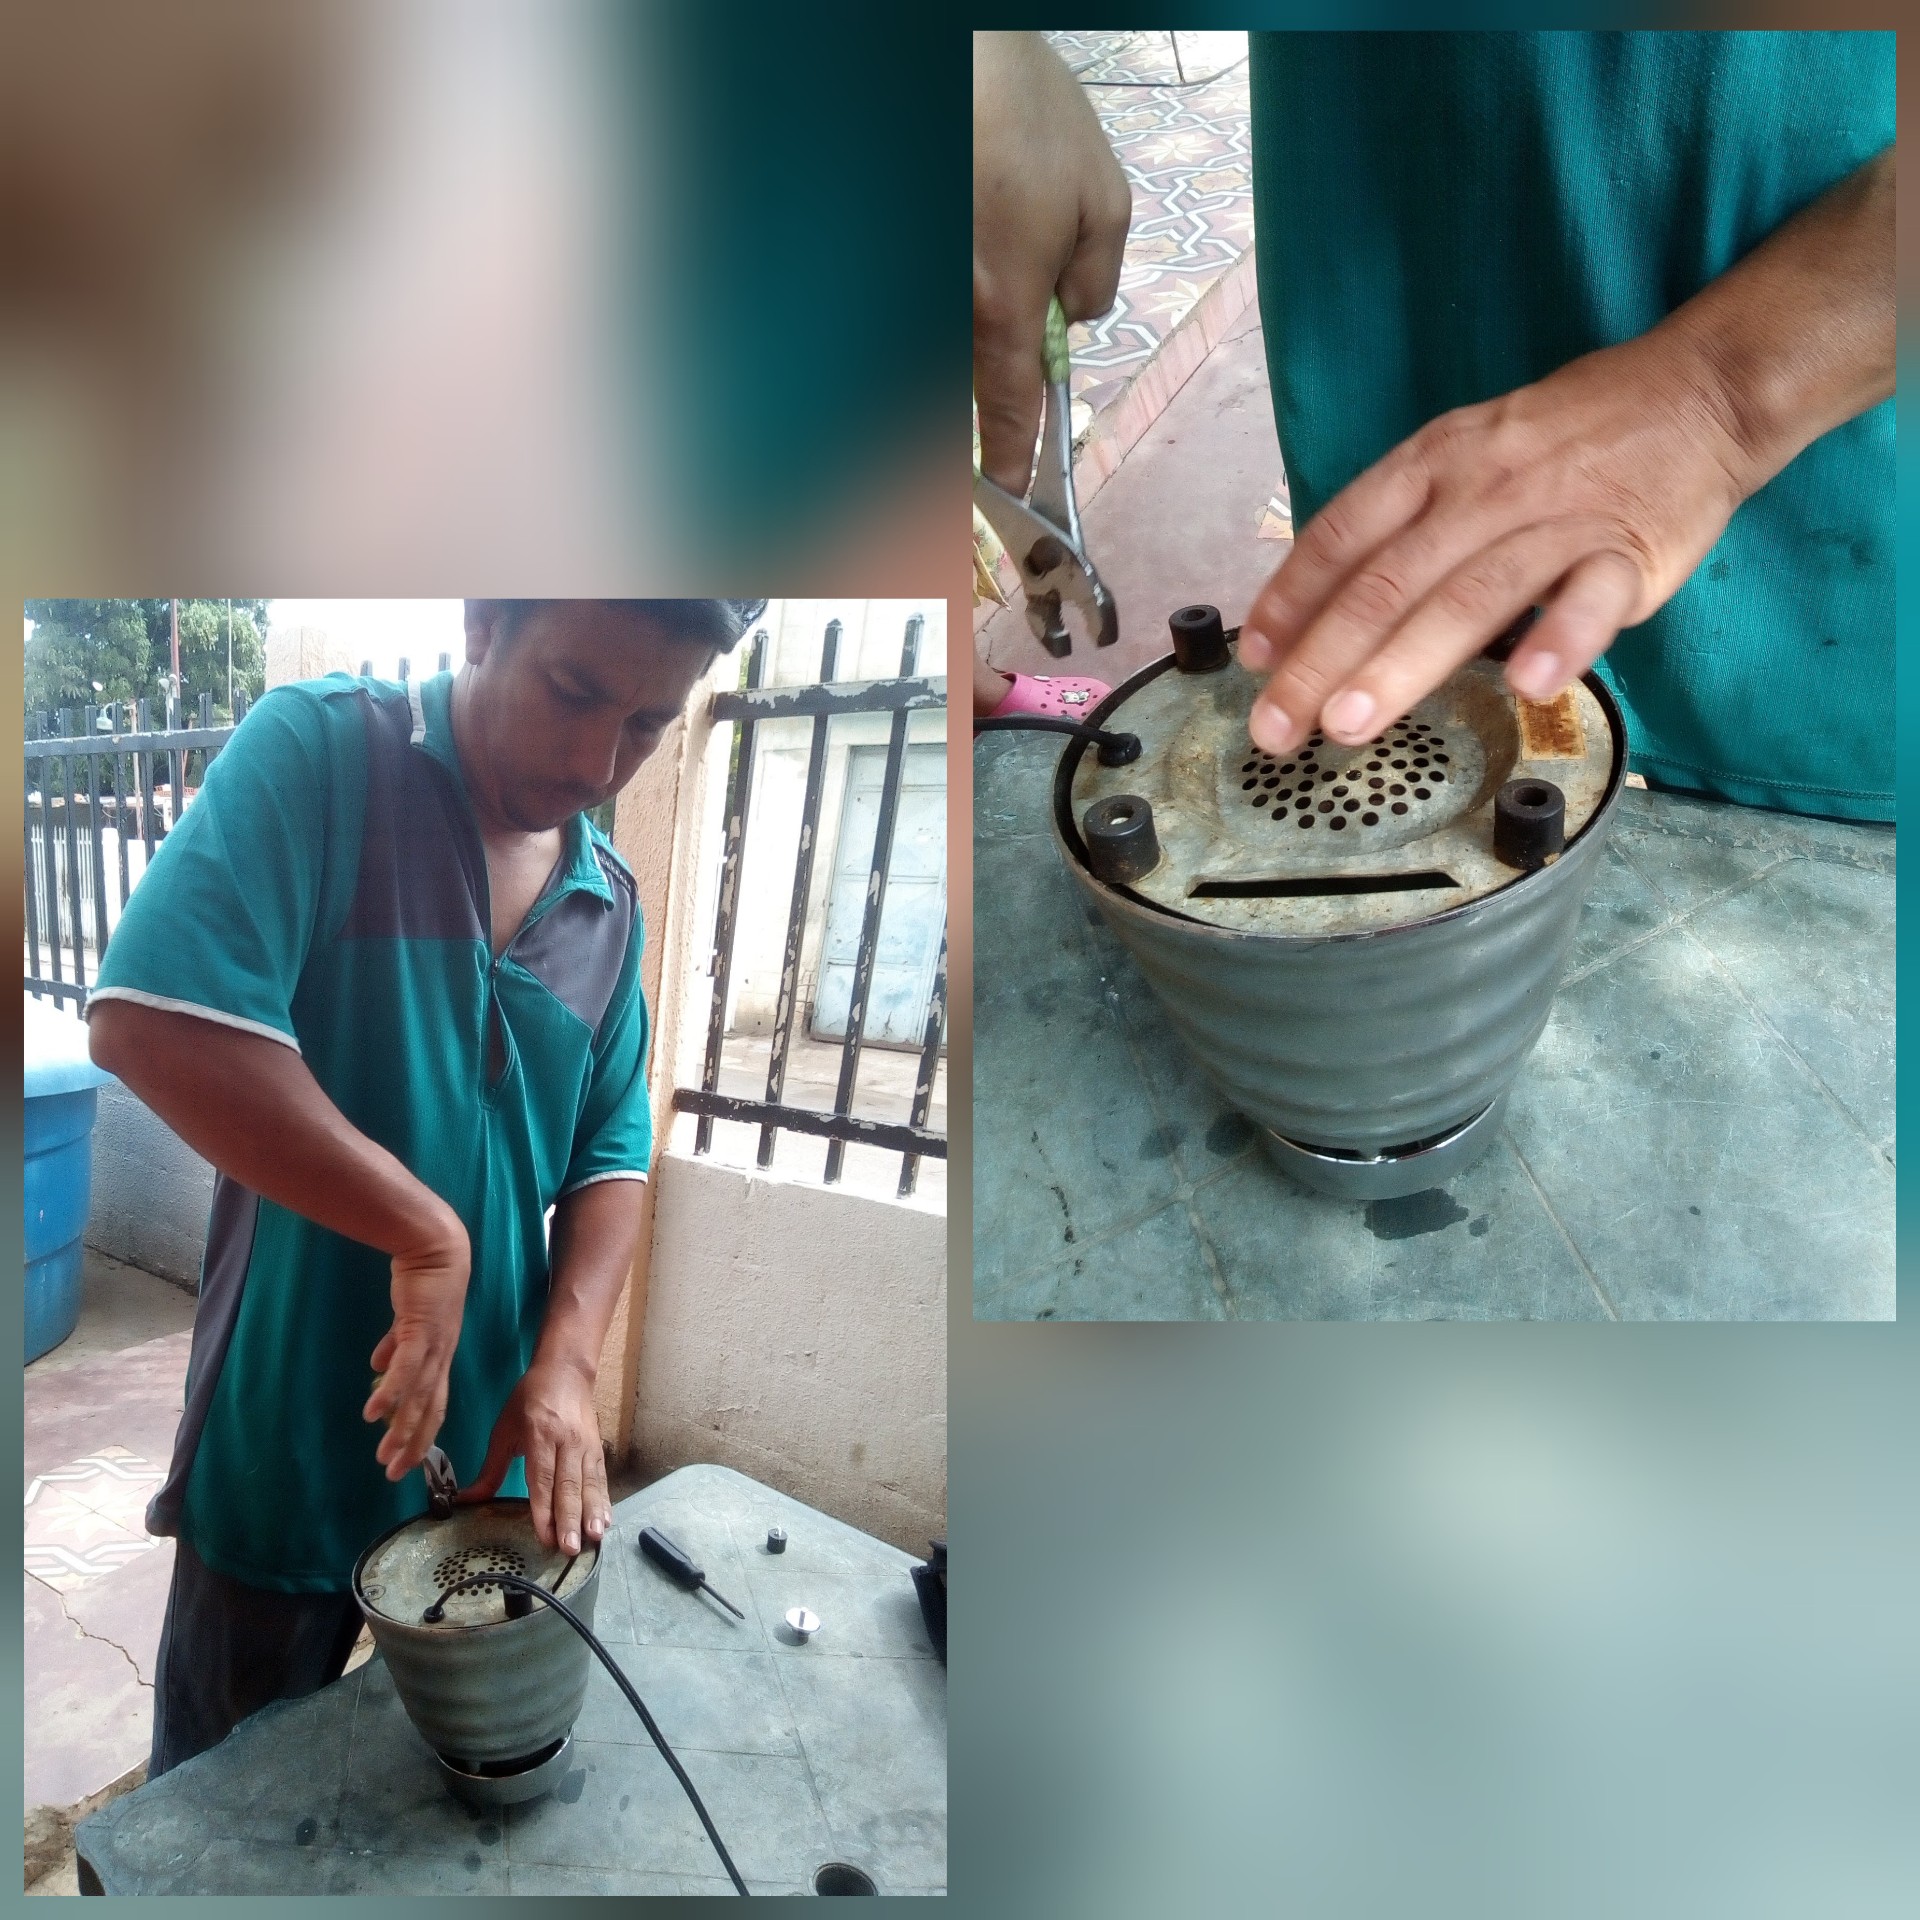
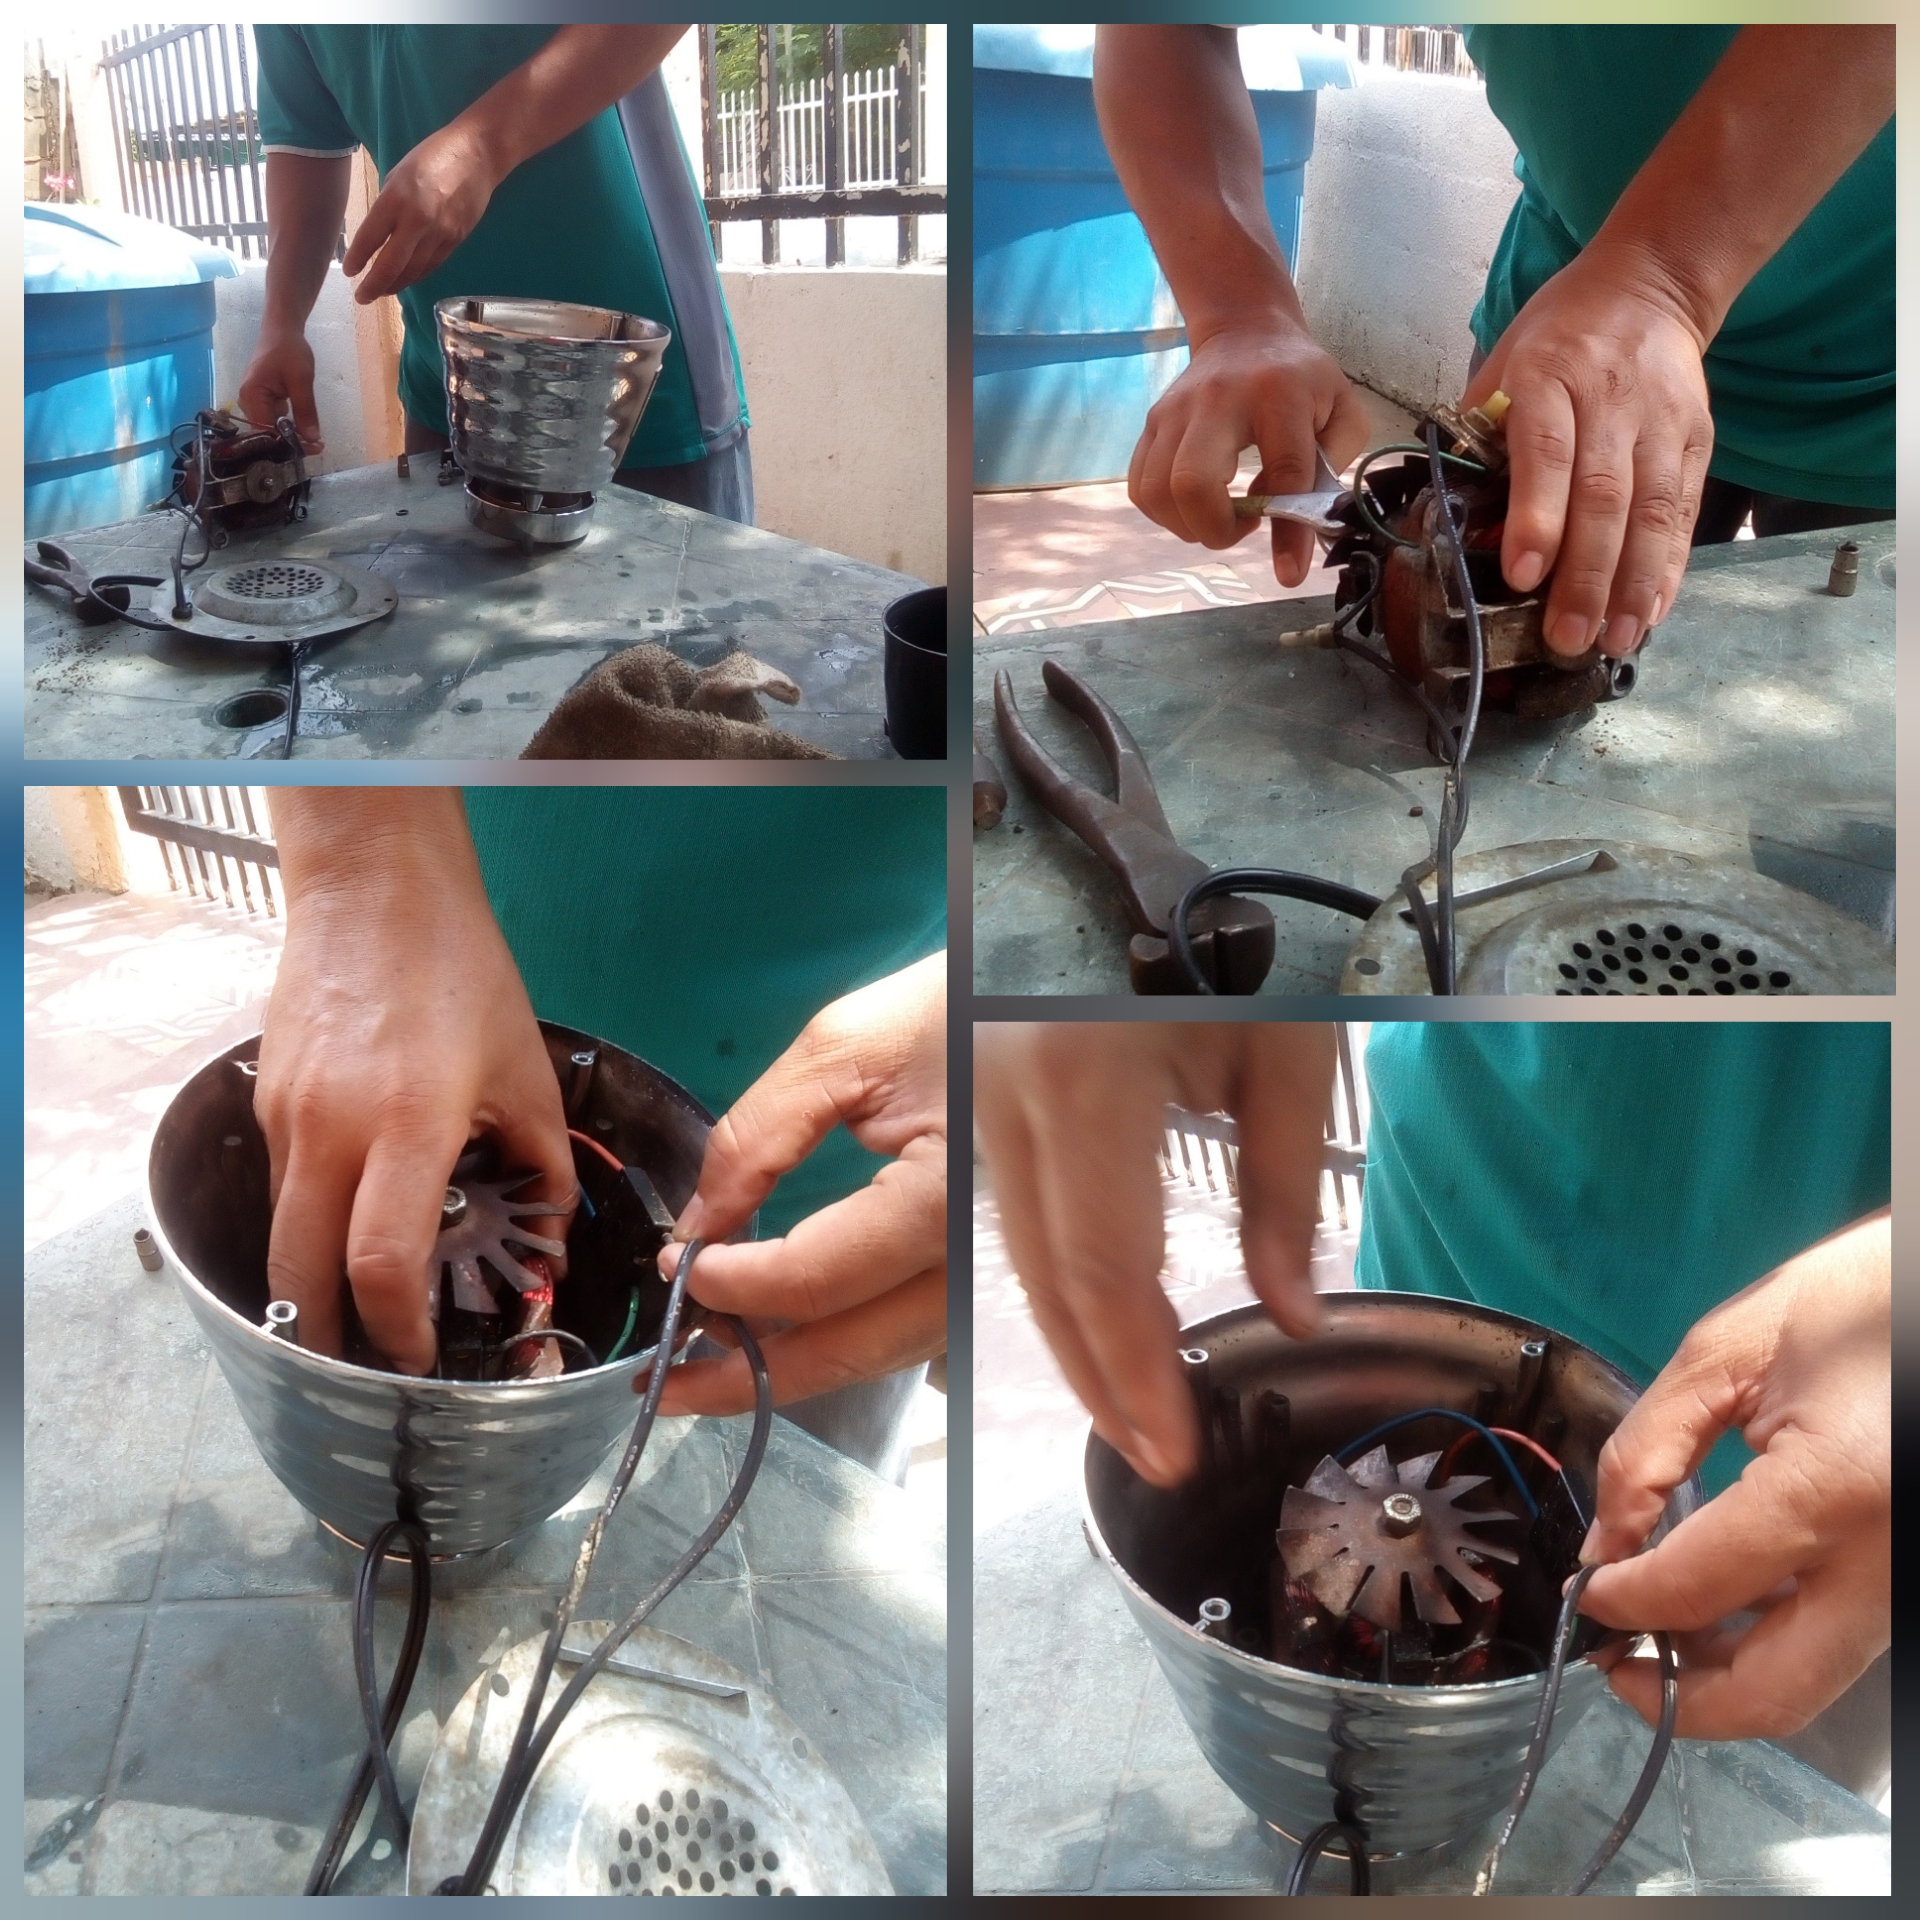
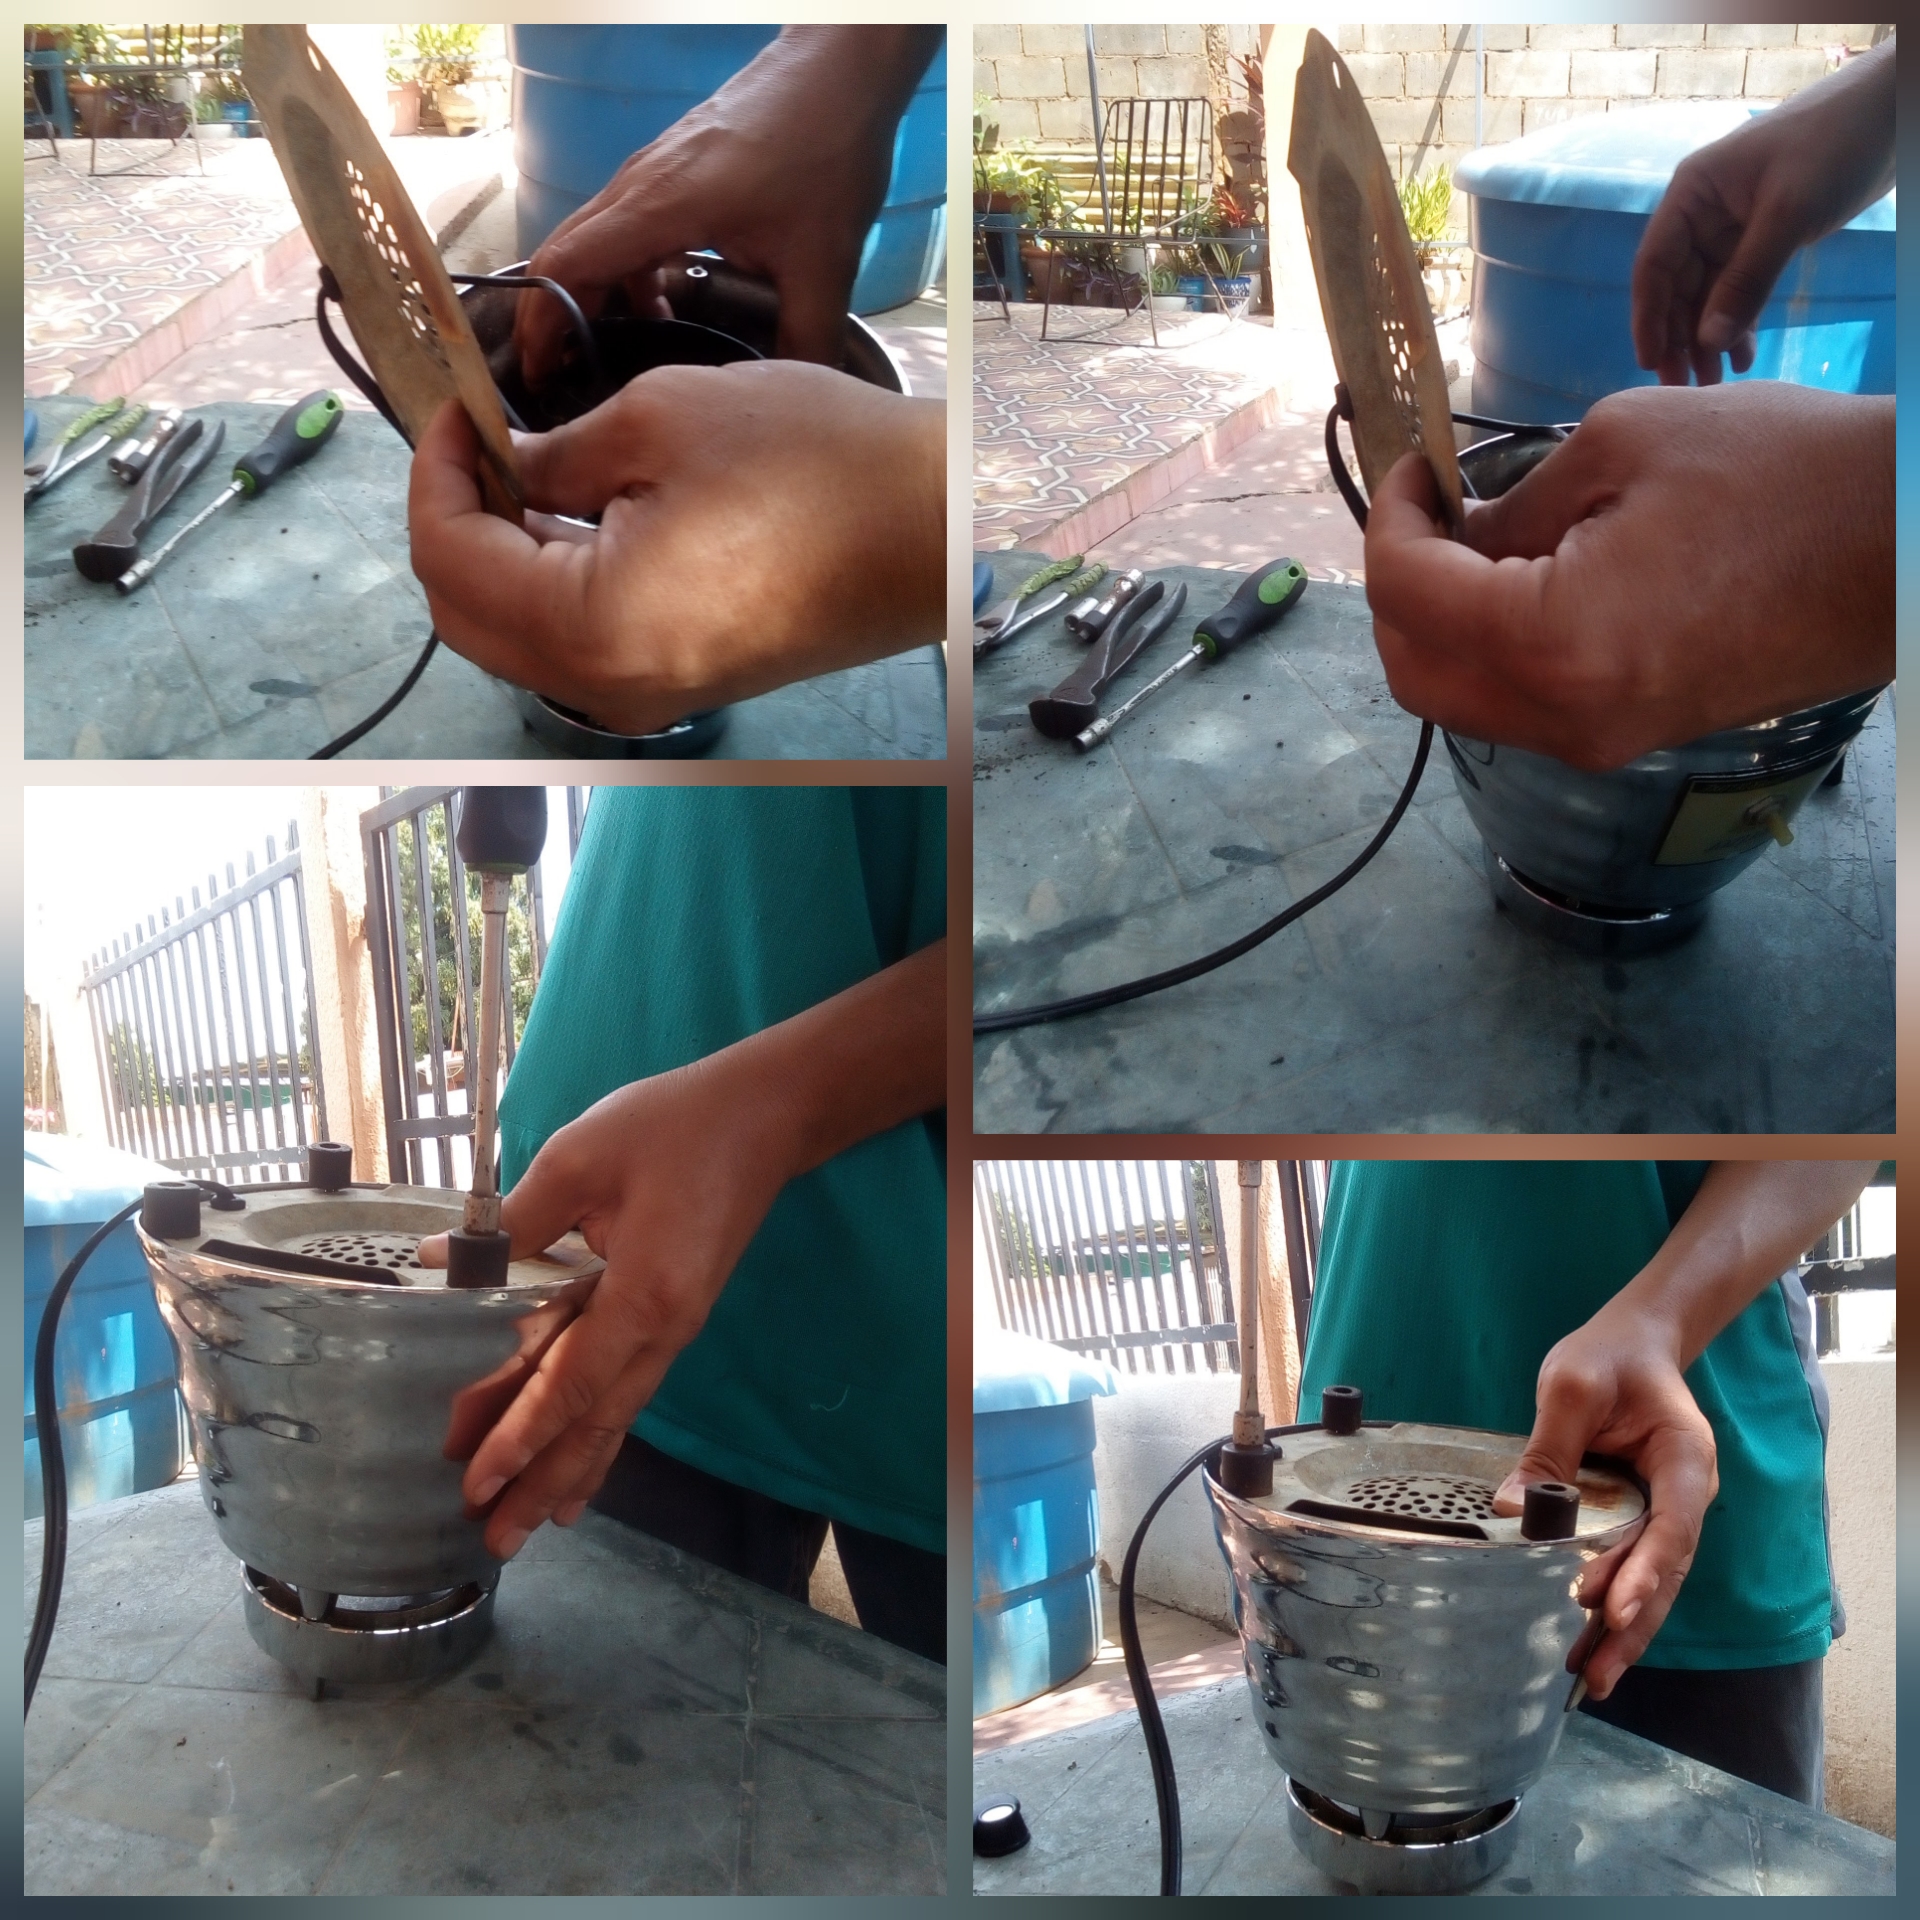
Lo primero que debemos hacer es colocar el motor boca abajo ya que por la parte de abajo lleva cuatro tornillos de un cuarto los cuales quité con un dado de un cuarto, también con la ayuda de un alicate quite las gomas.
The first thing we must do is place the motor upside down since on the bottom it has four one-quarter screws which I removed with a one-quarter die, also with the help of pliers remove the rubbers.
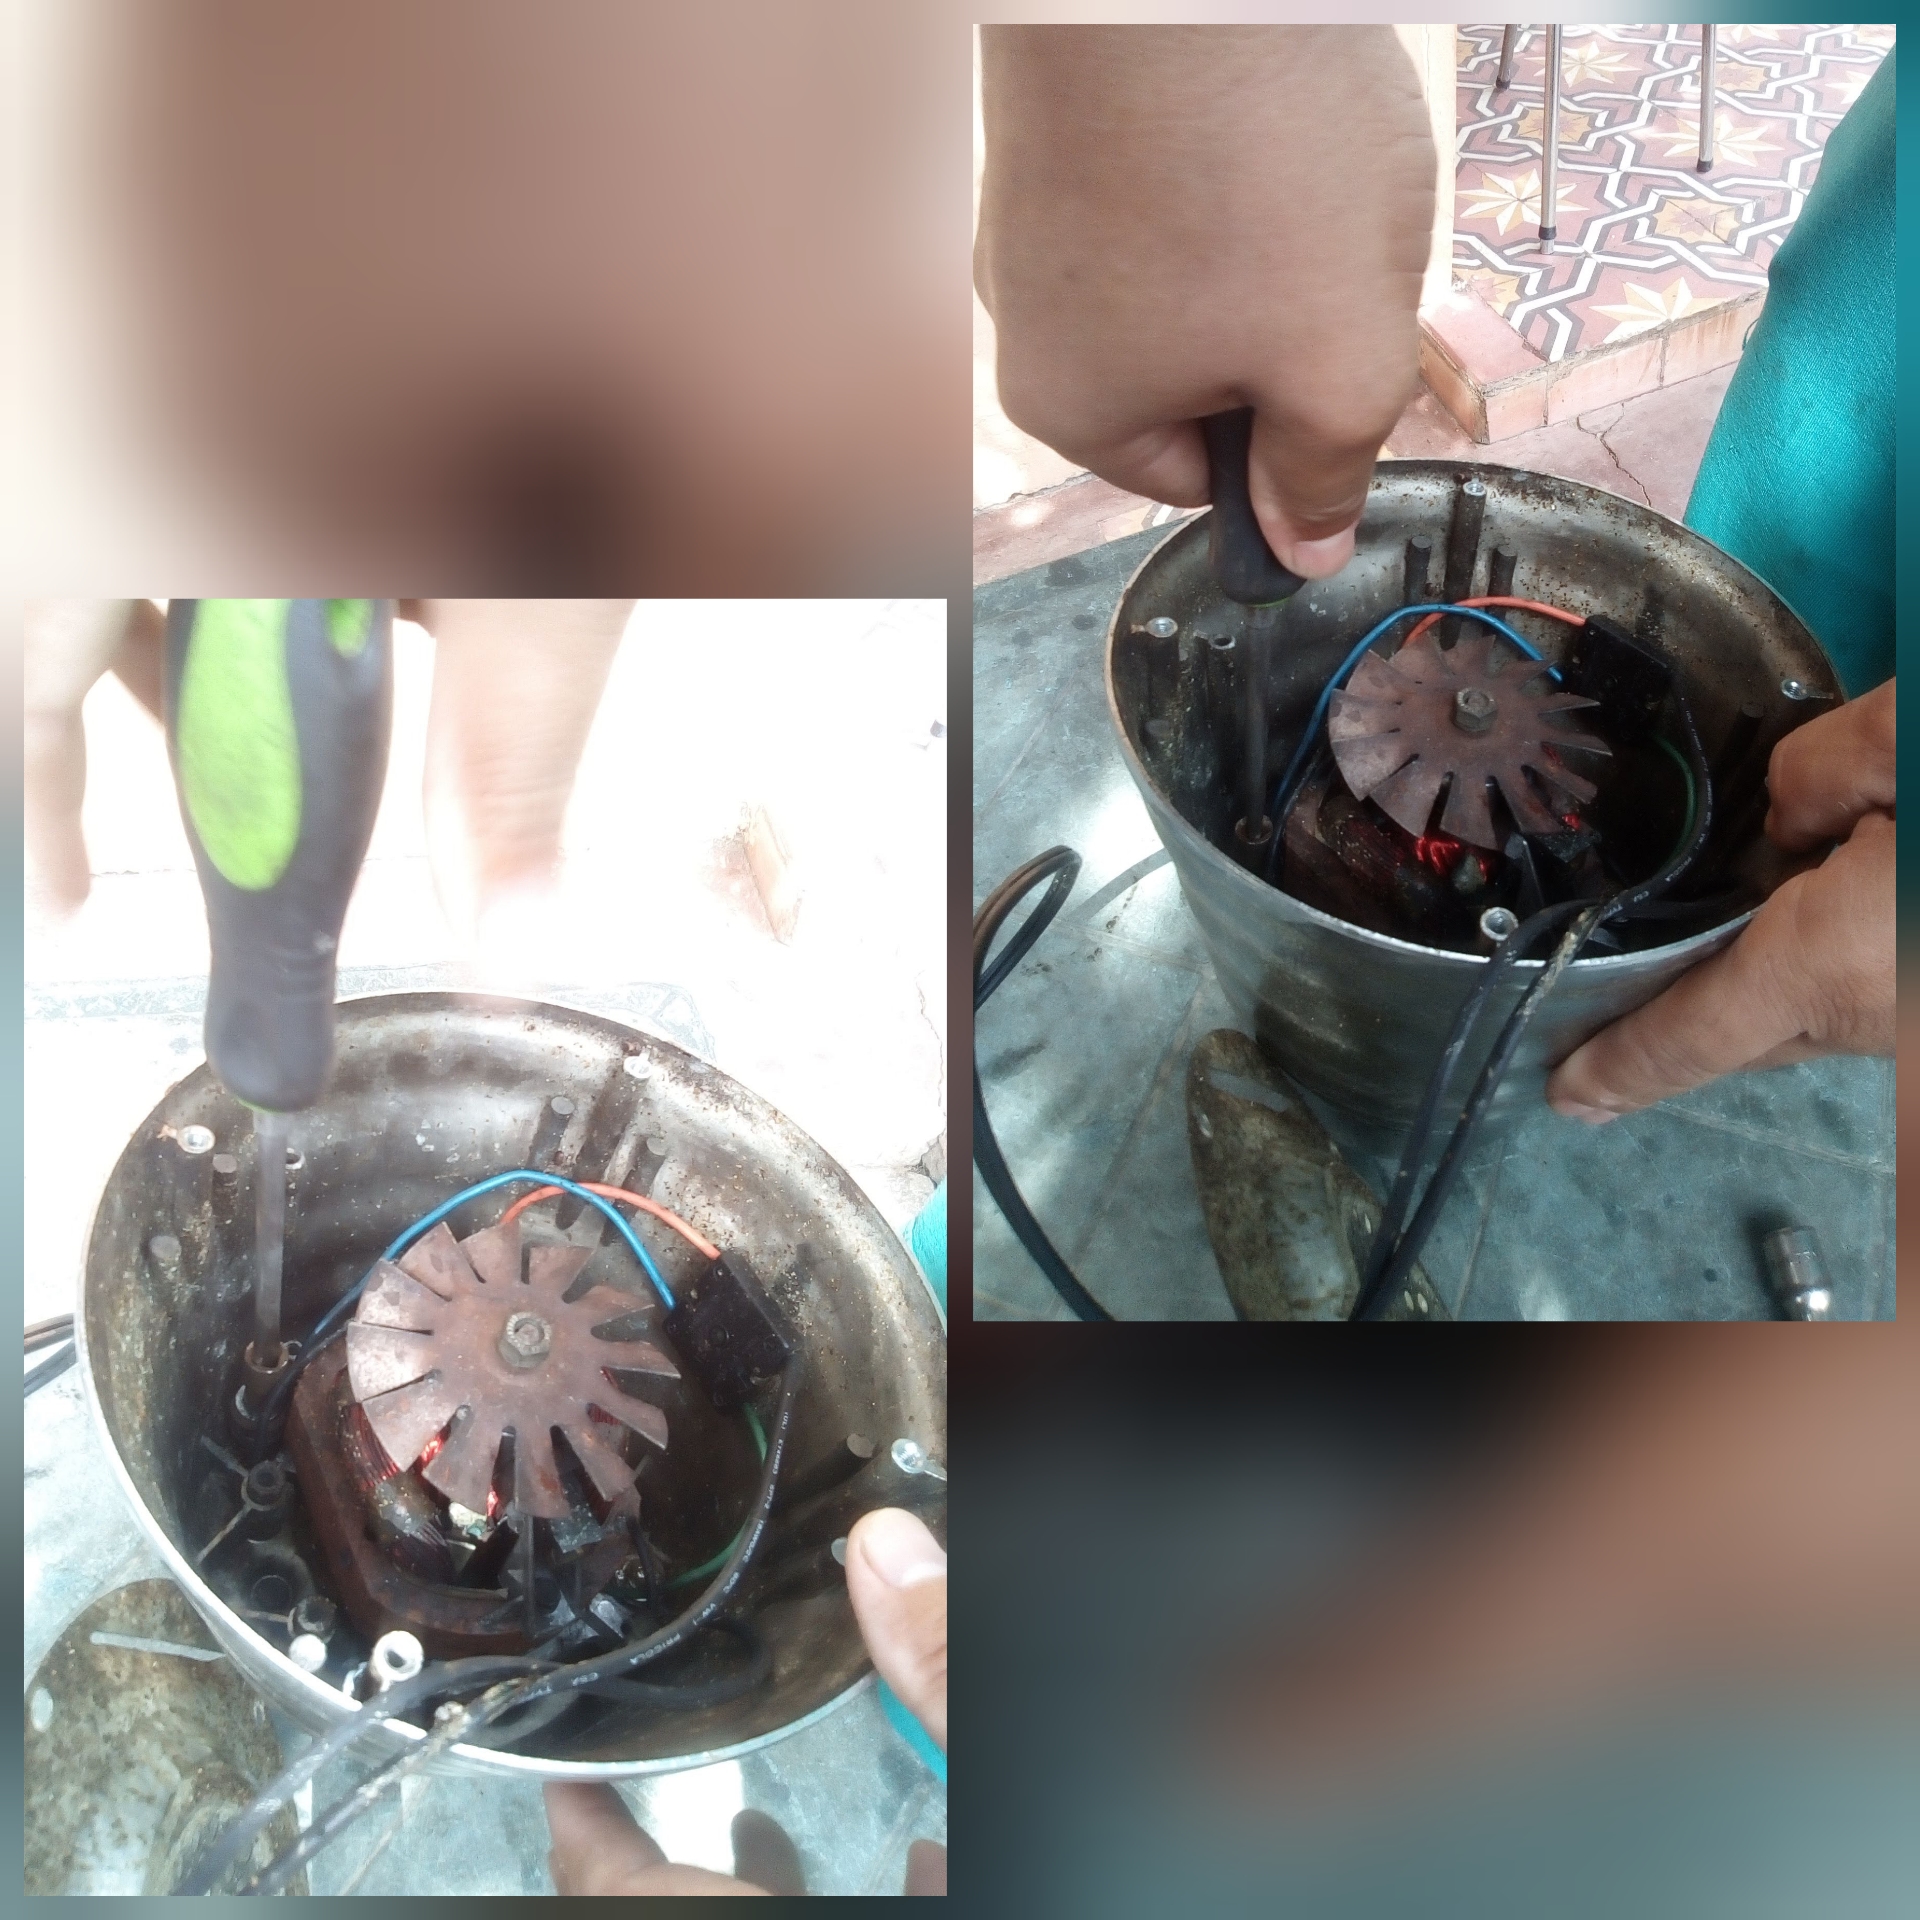
Luego retiré el protector plástico que lleva en el inducido afloje la velocidades con el alicate que lleva por el lado de afuera y por dentro afloje la tuerca y quite los inducido de todo el motor con el mismo dado de un cuarto.
Then remove the plastic protector that is on the armature, loosen the gears with the pliers that are on the outside and on the inside, loosen the nut and remove the armature from the entire motor with the same one-quarter die.


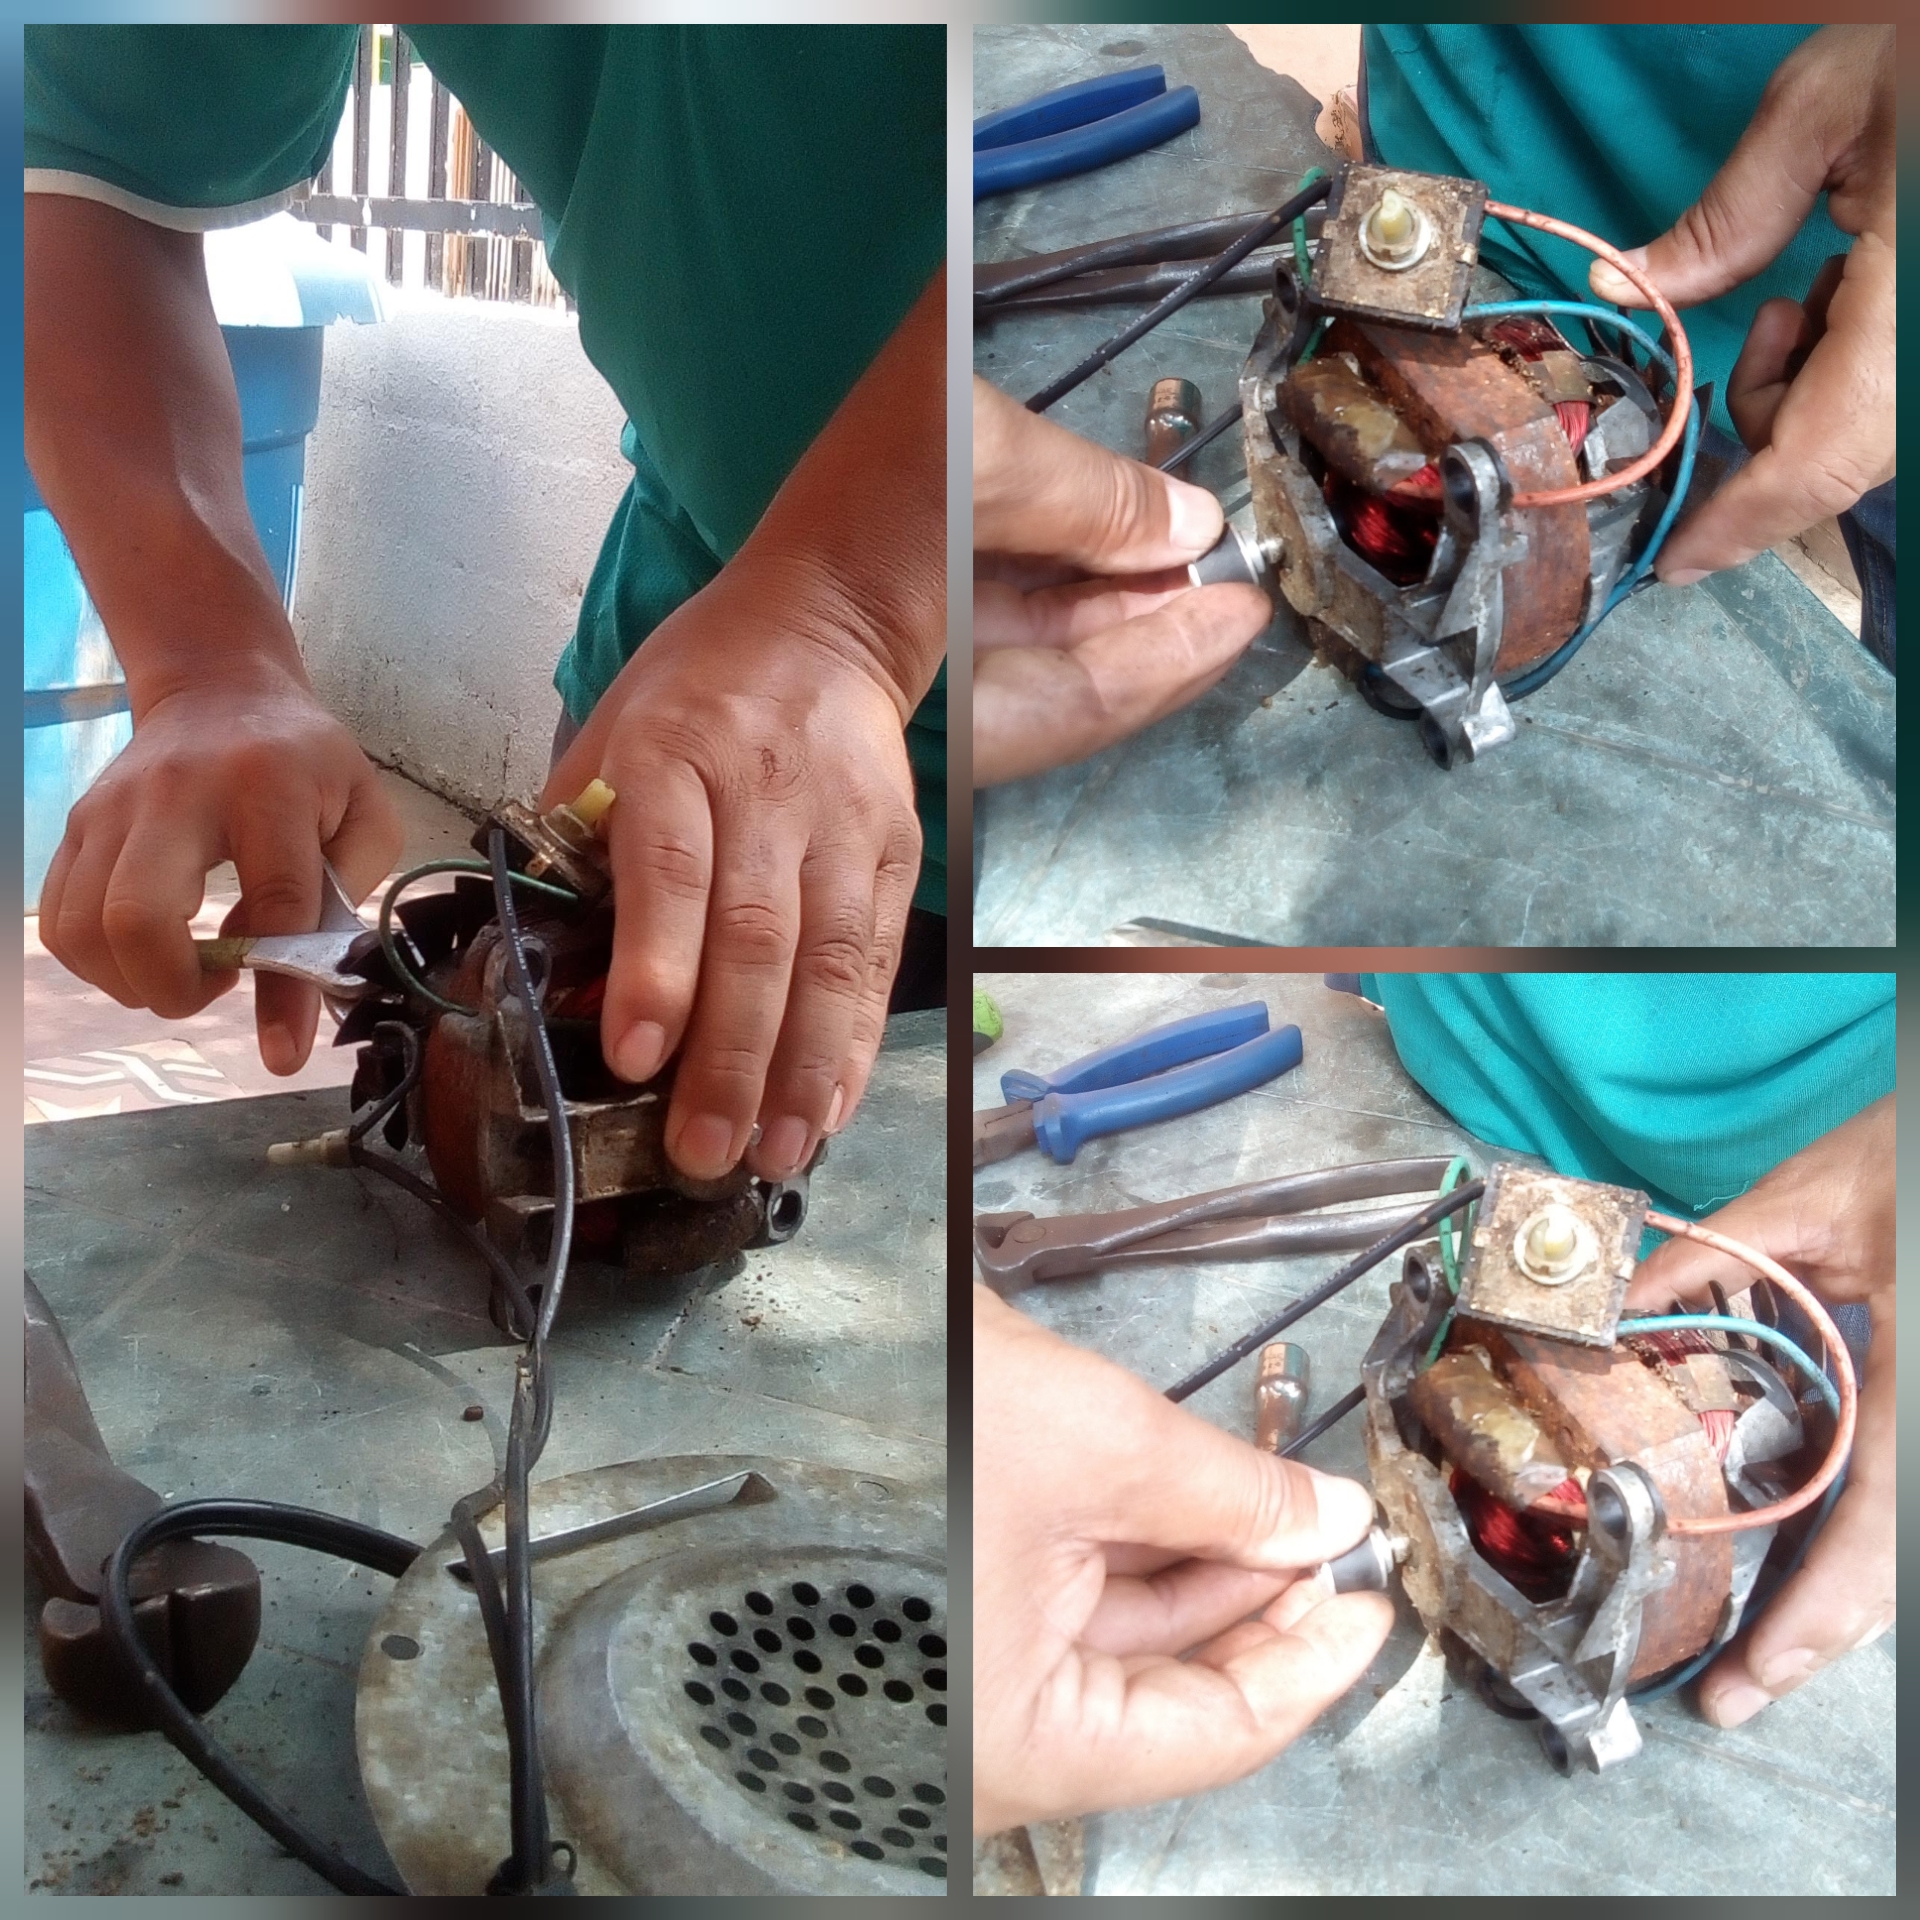
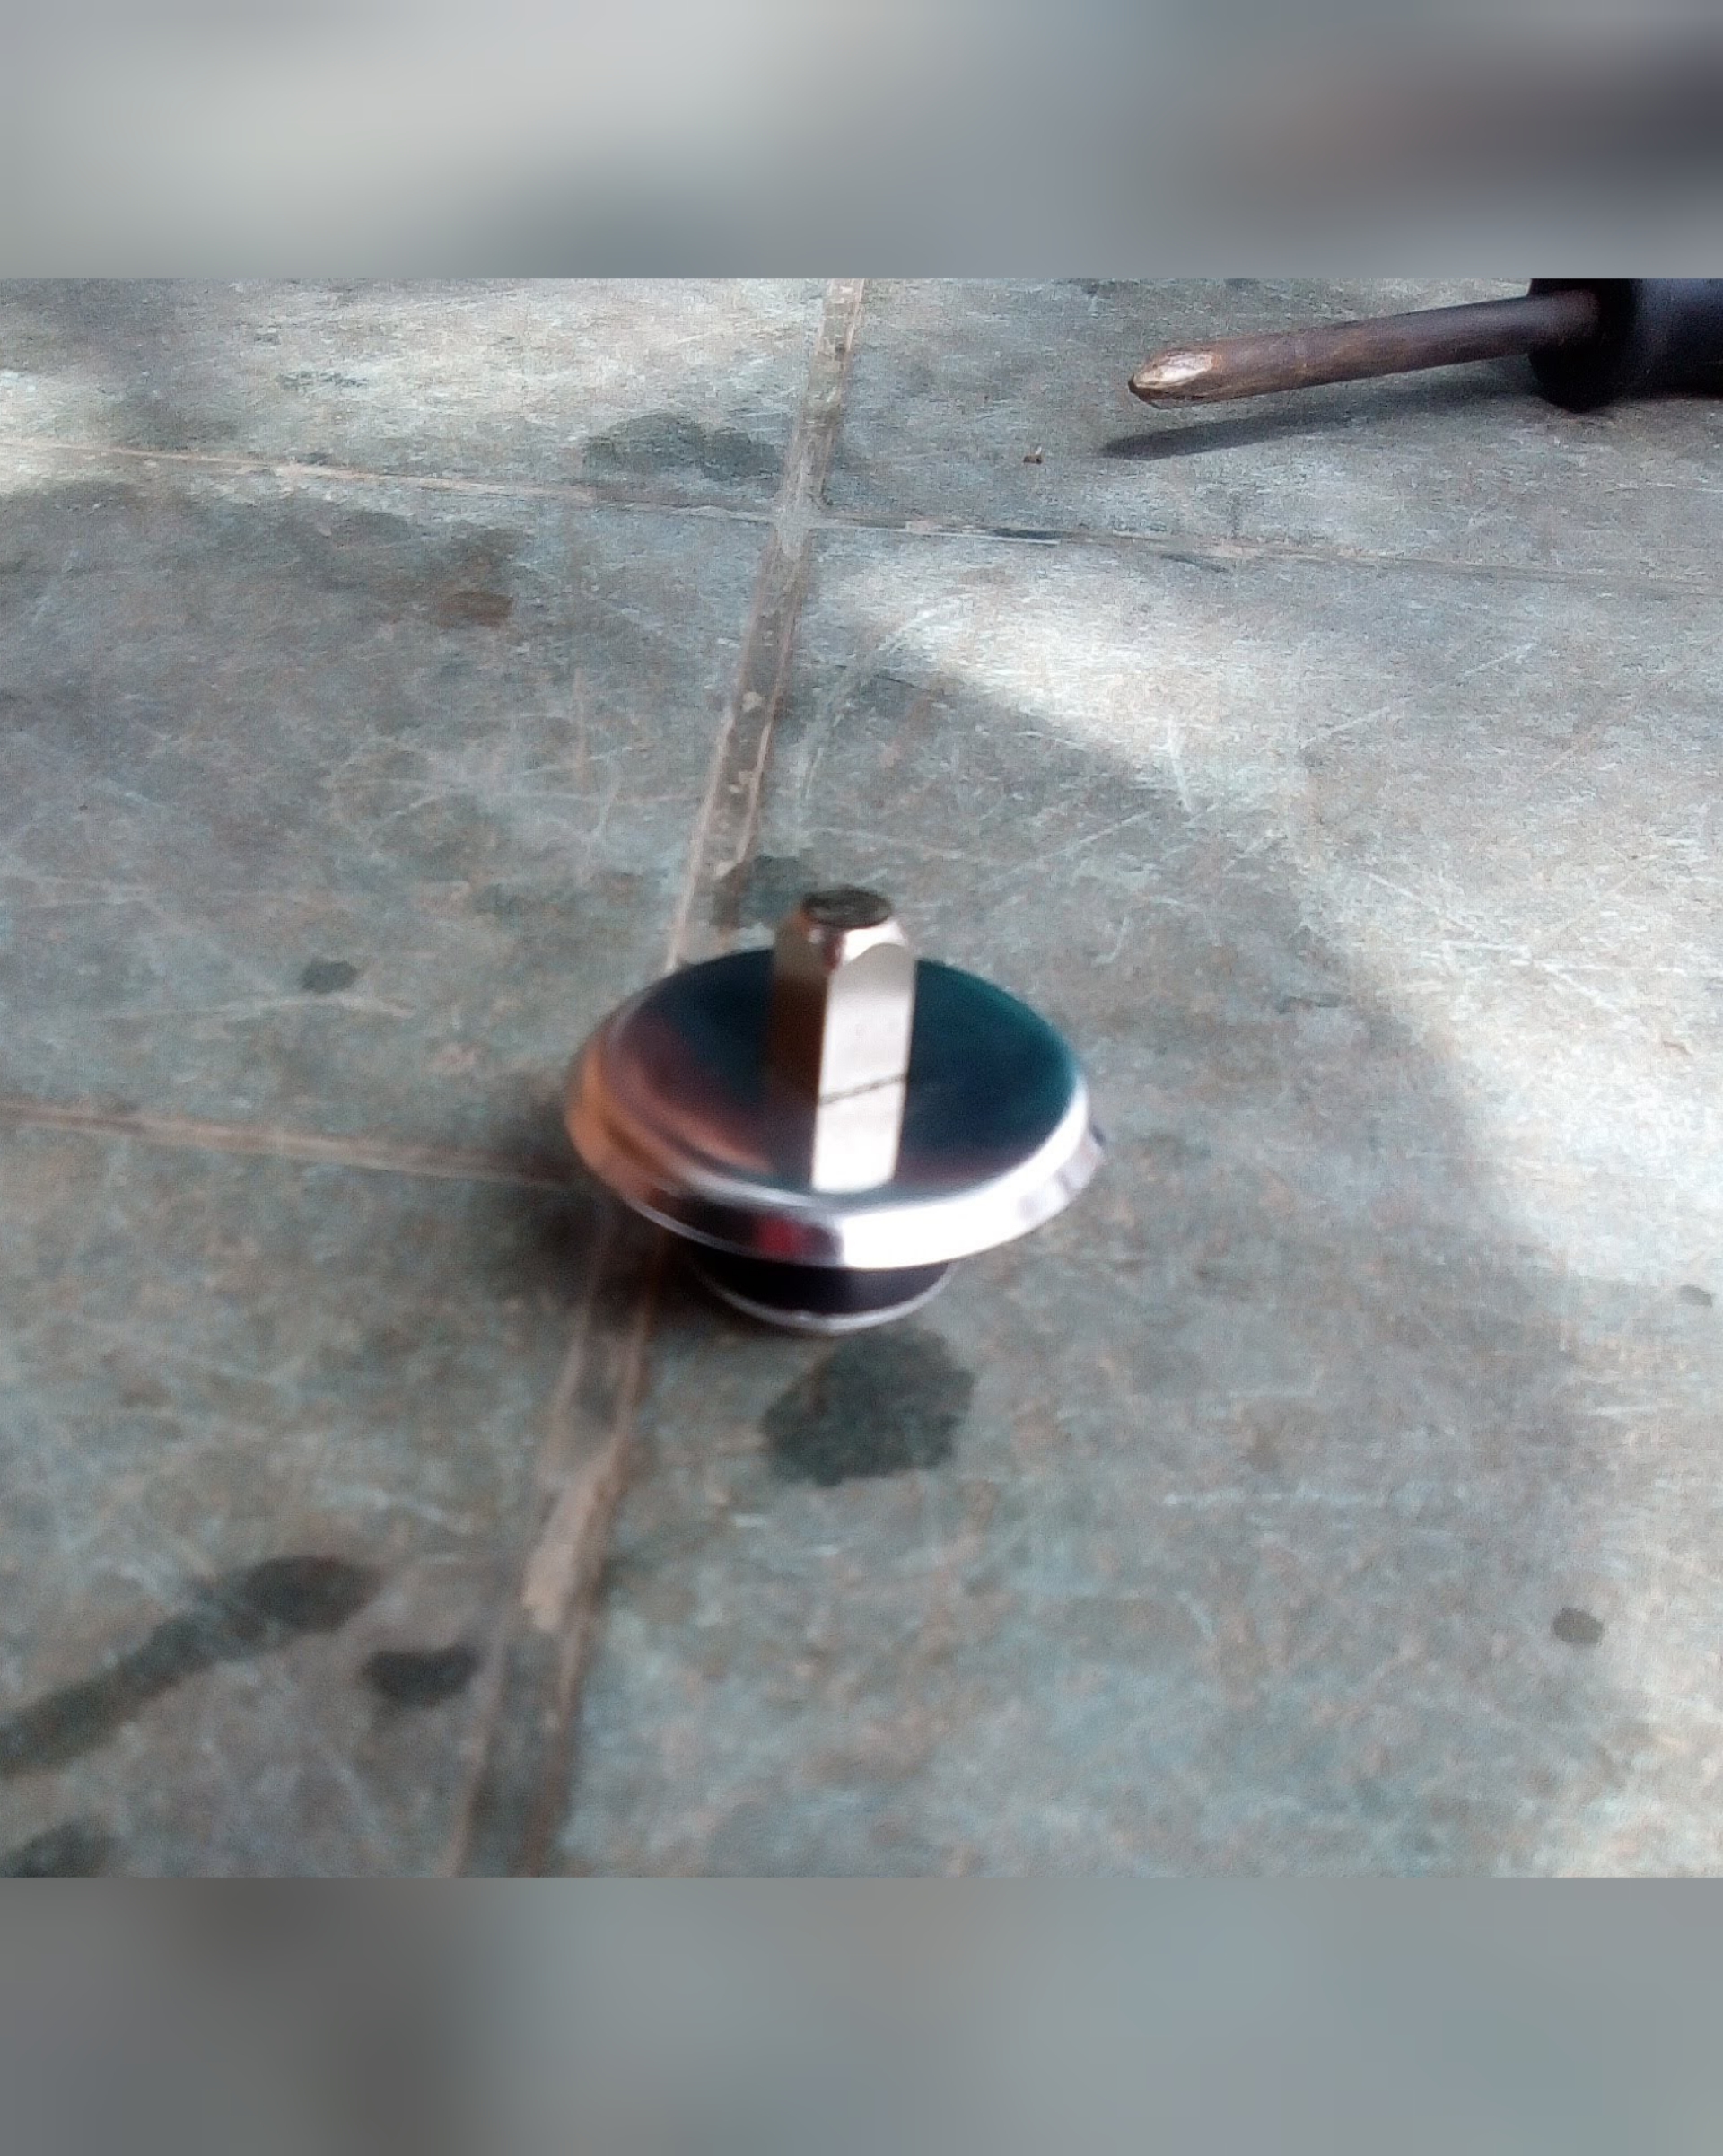
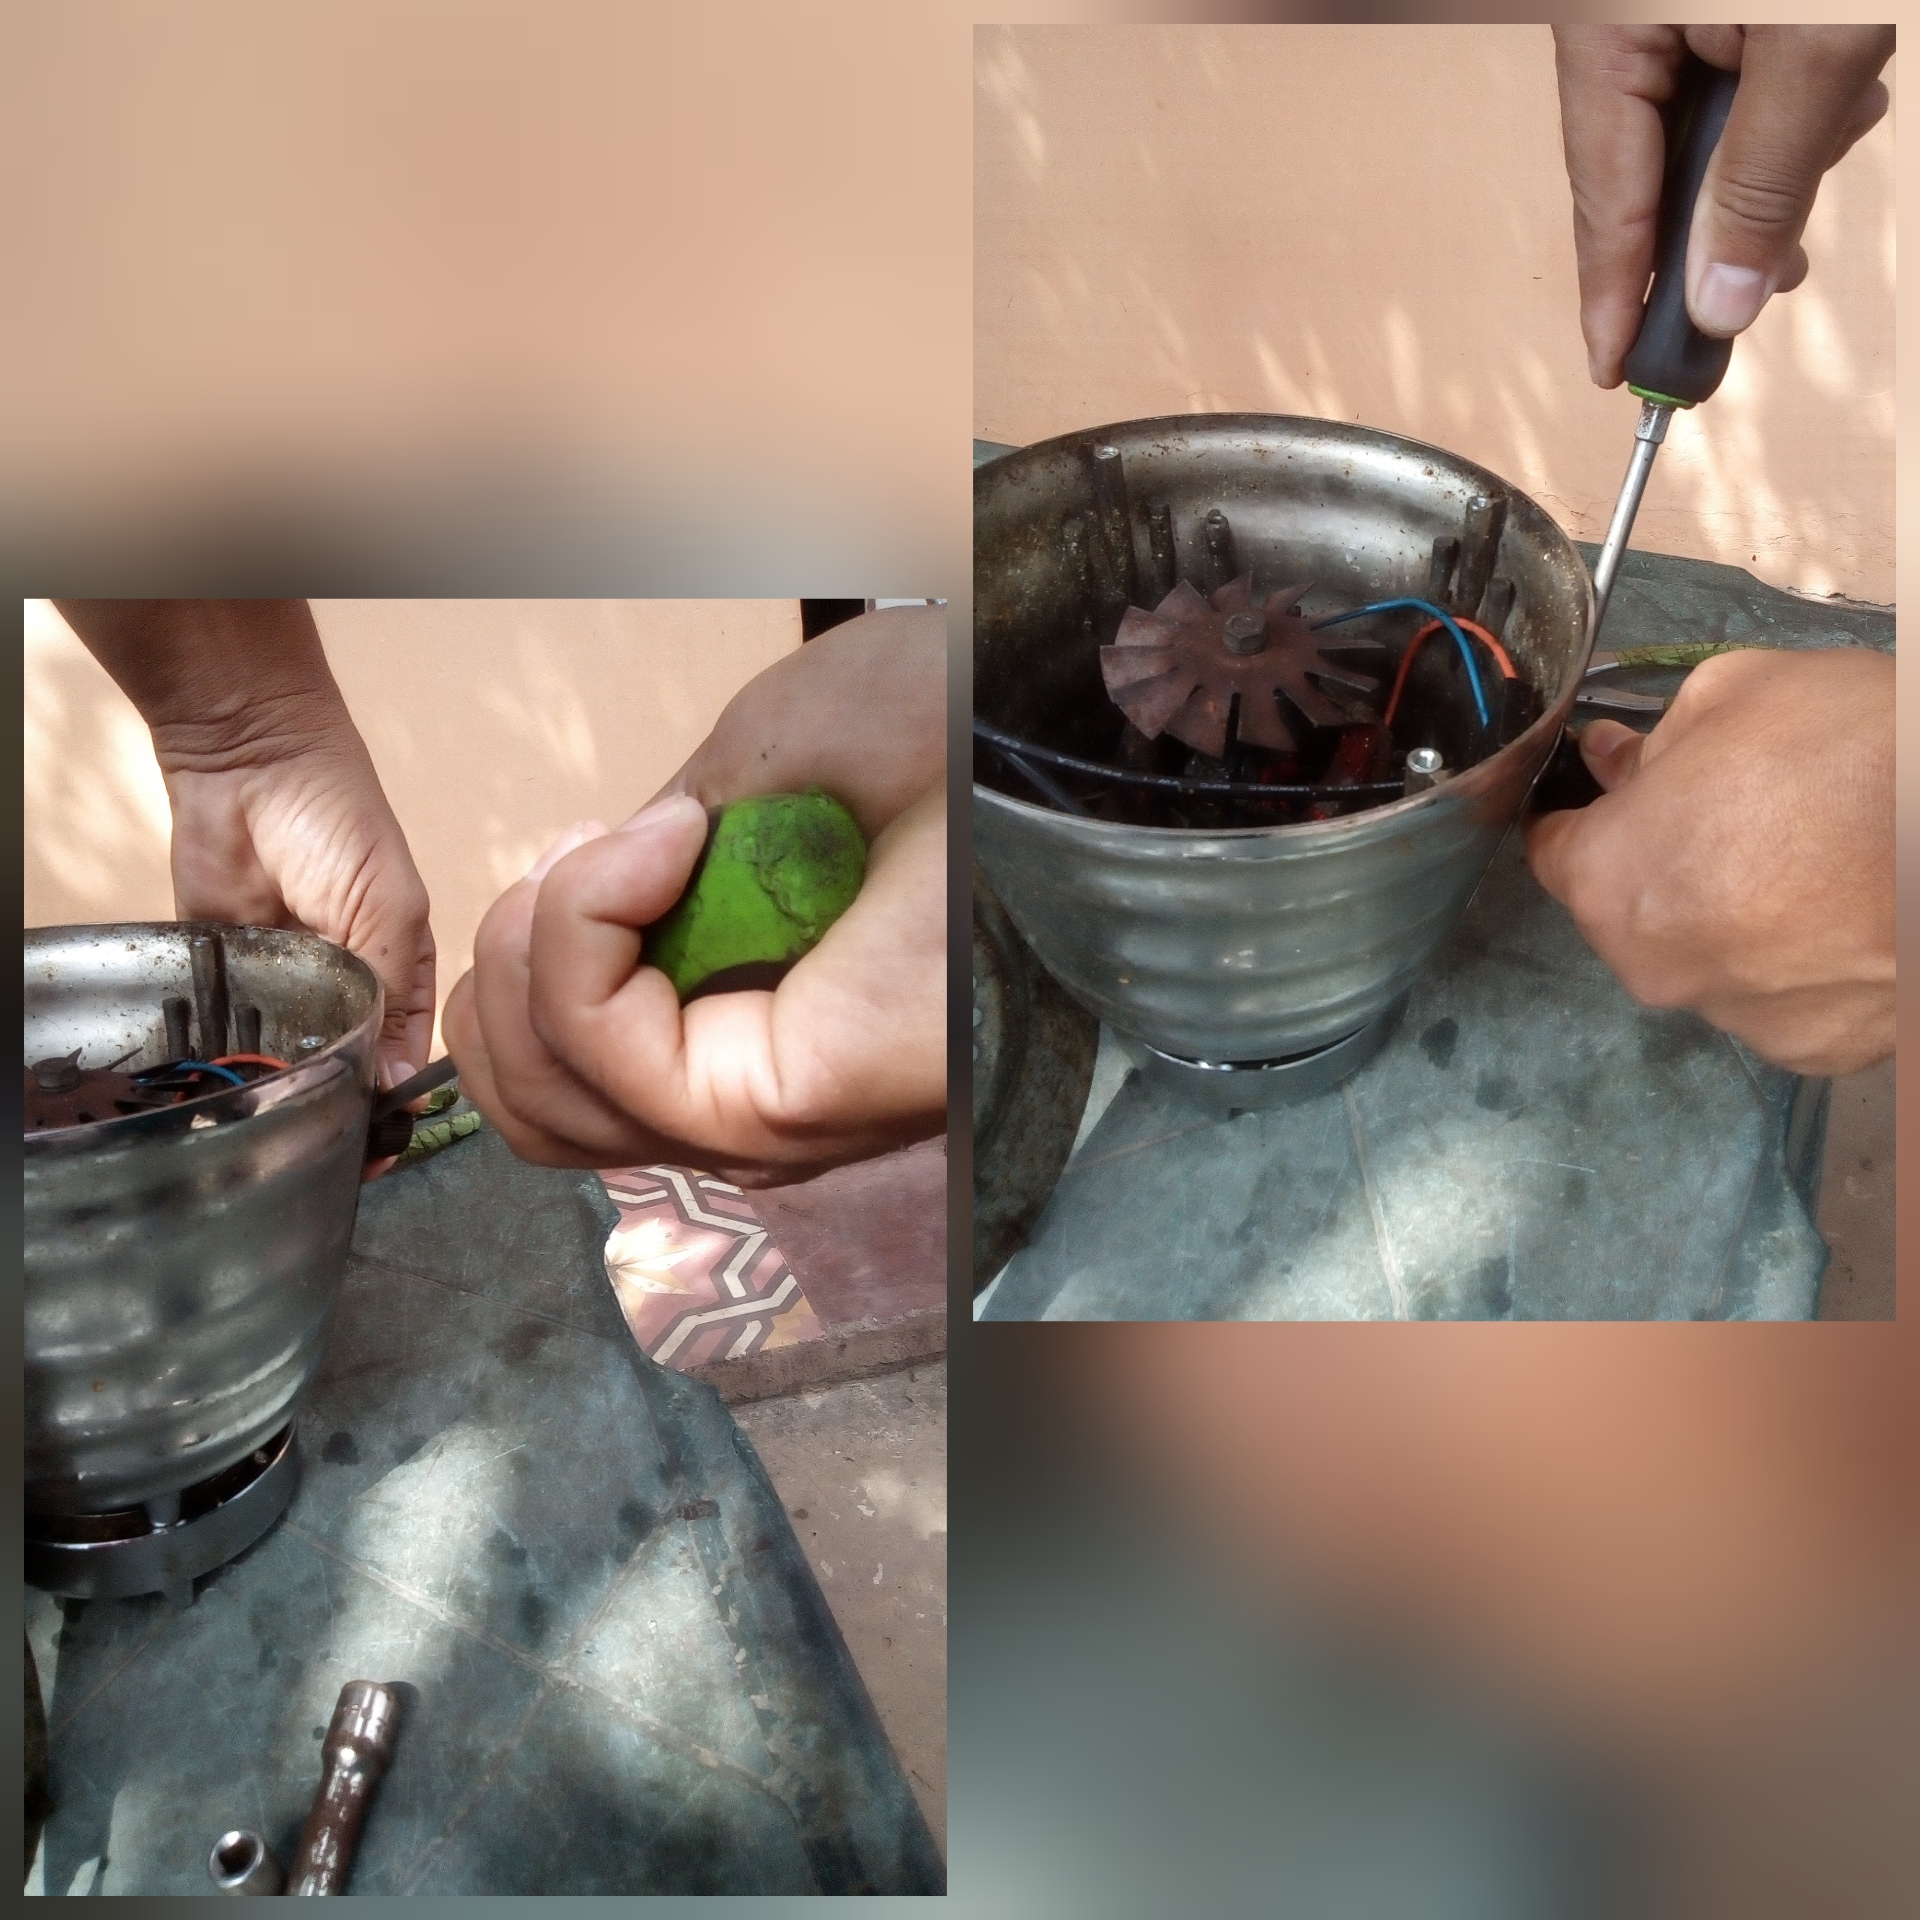
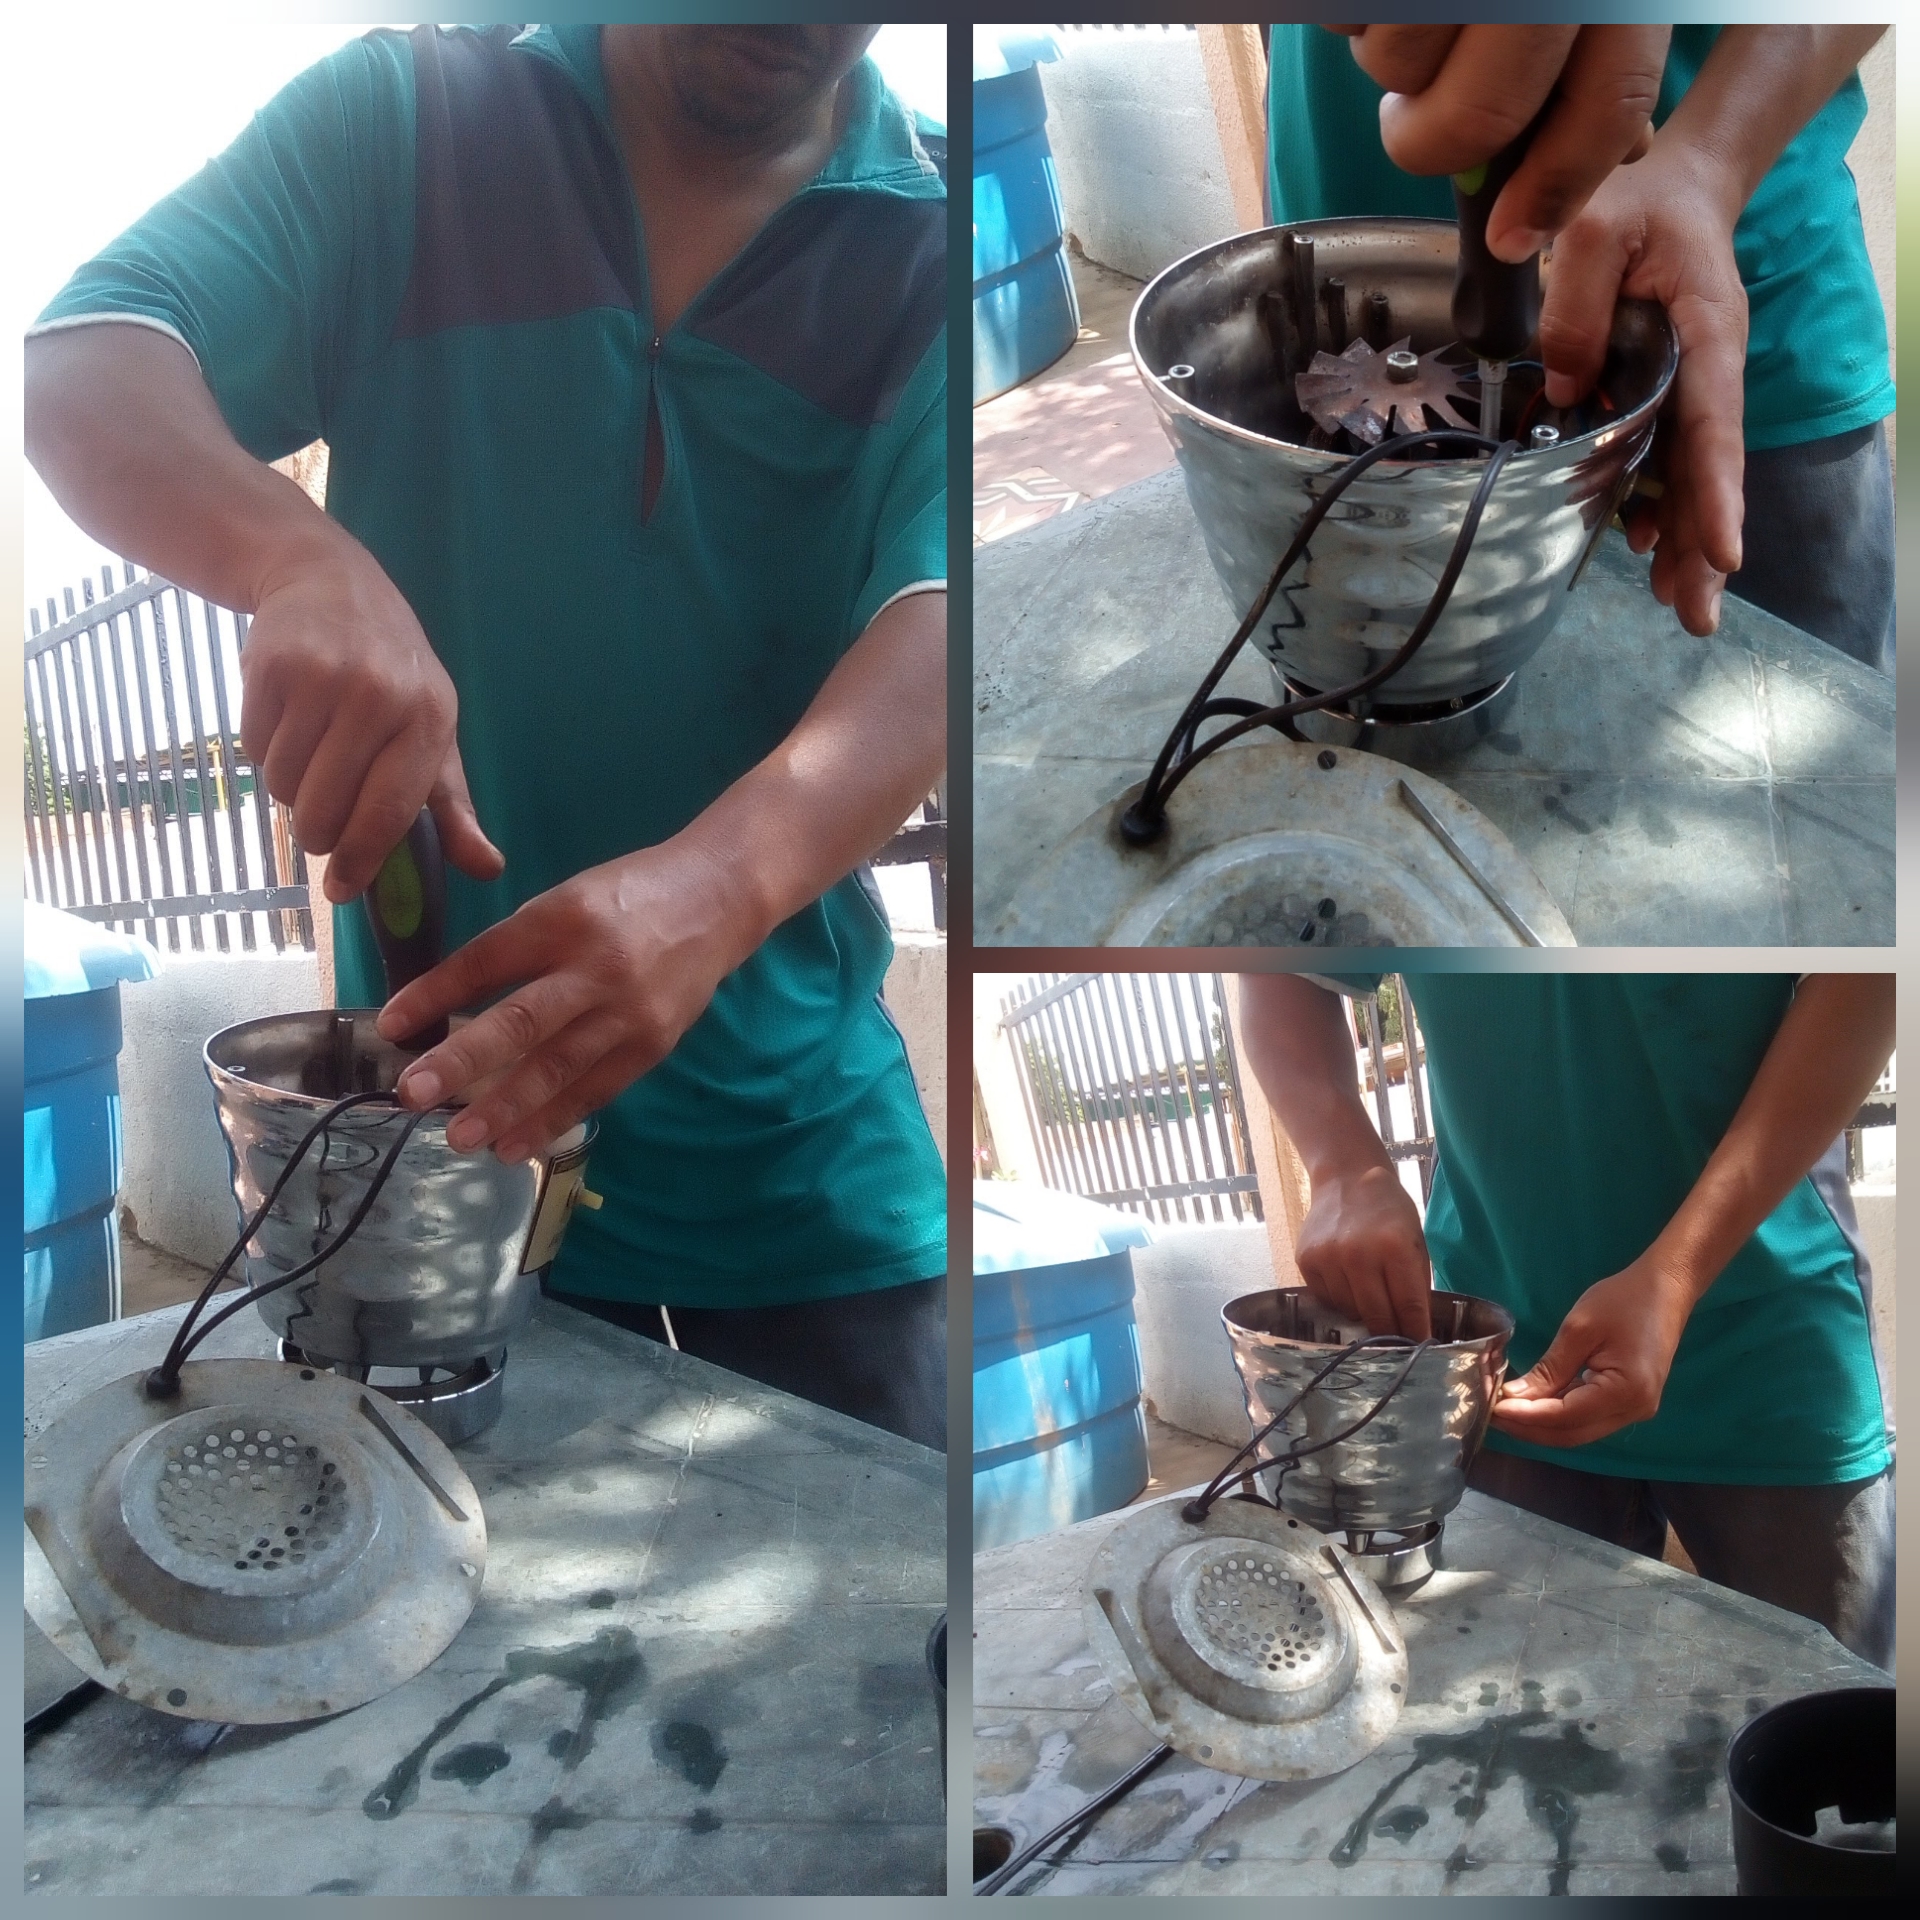
Luego trabajé con el motor afuera y con el alicate sostuvo el eje de un lado para poder aflojar la goma del cuadrante, la quite y coloque de nuevo la goma nueva.
Then I worked with the motor outside and with the pliers I held the shaft on one side to be able to loosen the rubber from the quadrant, I removed it and put the new rubber back on.
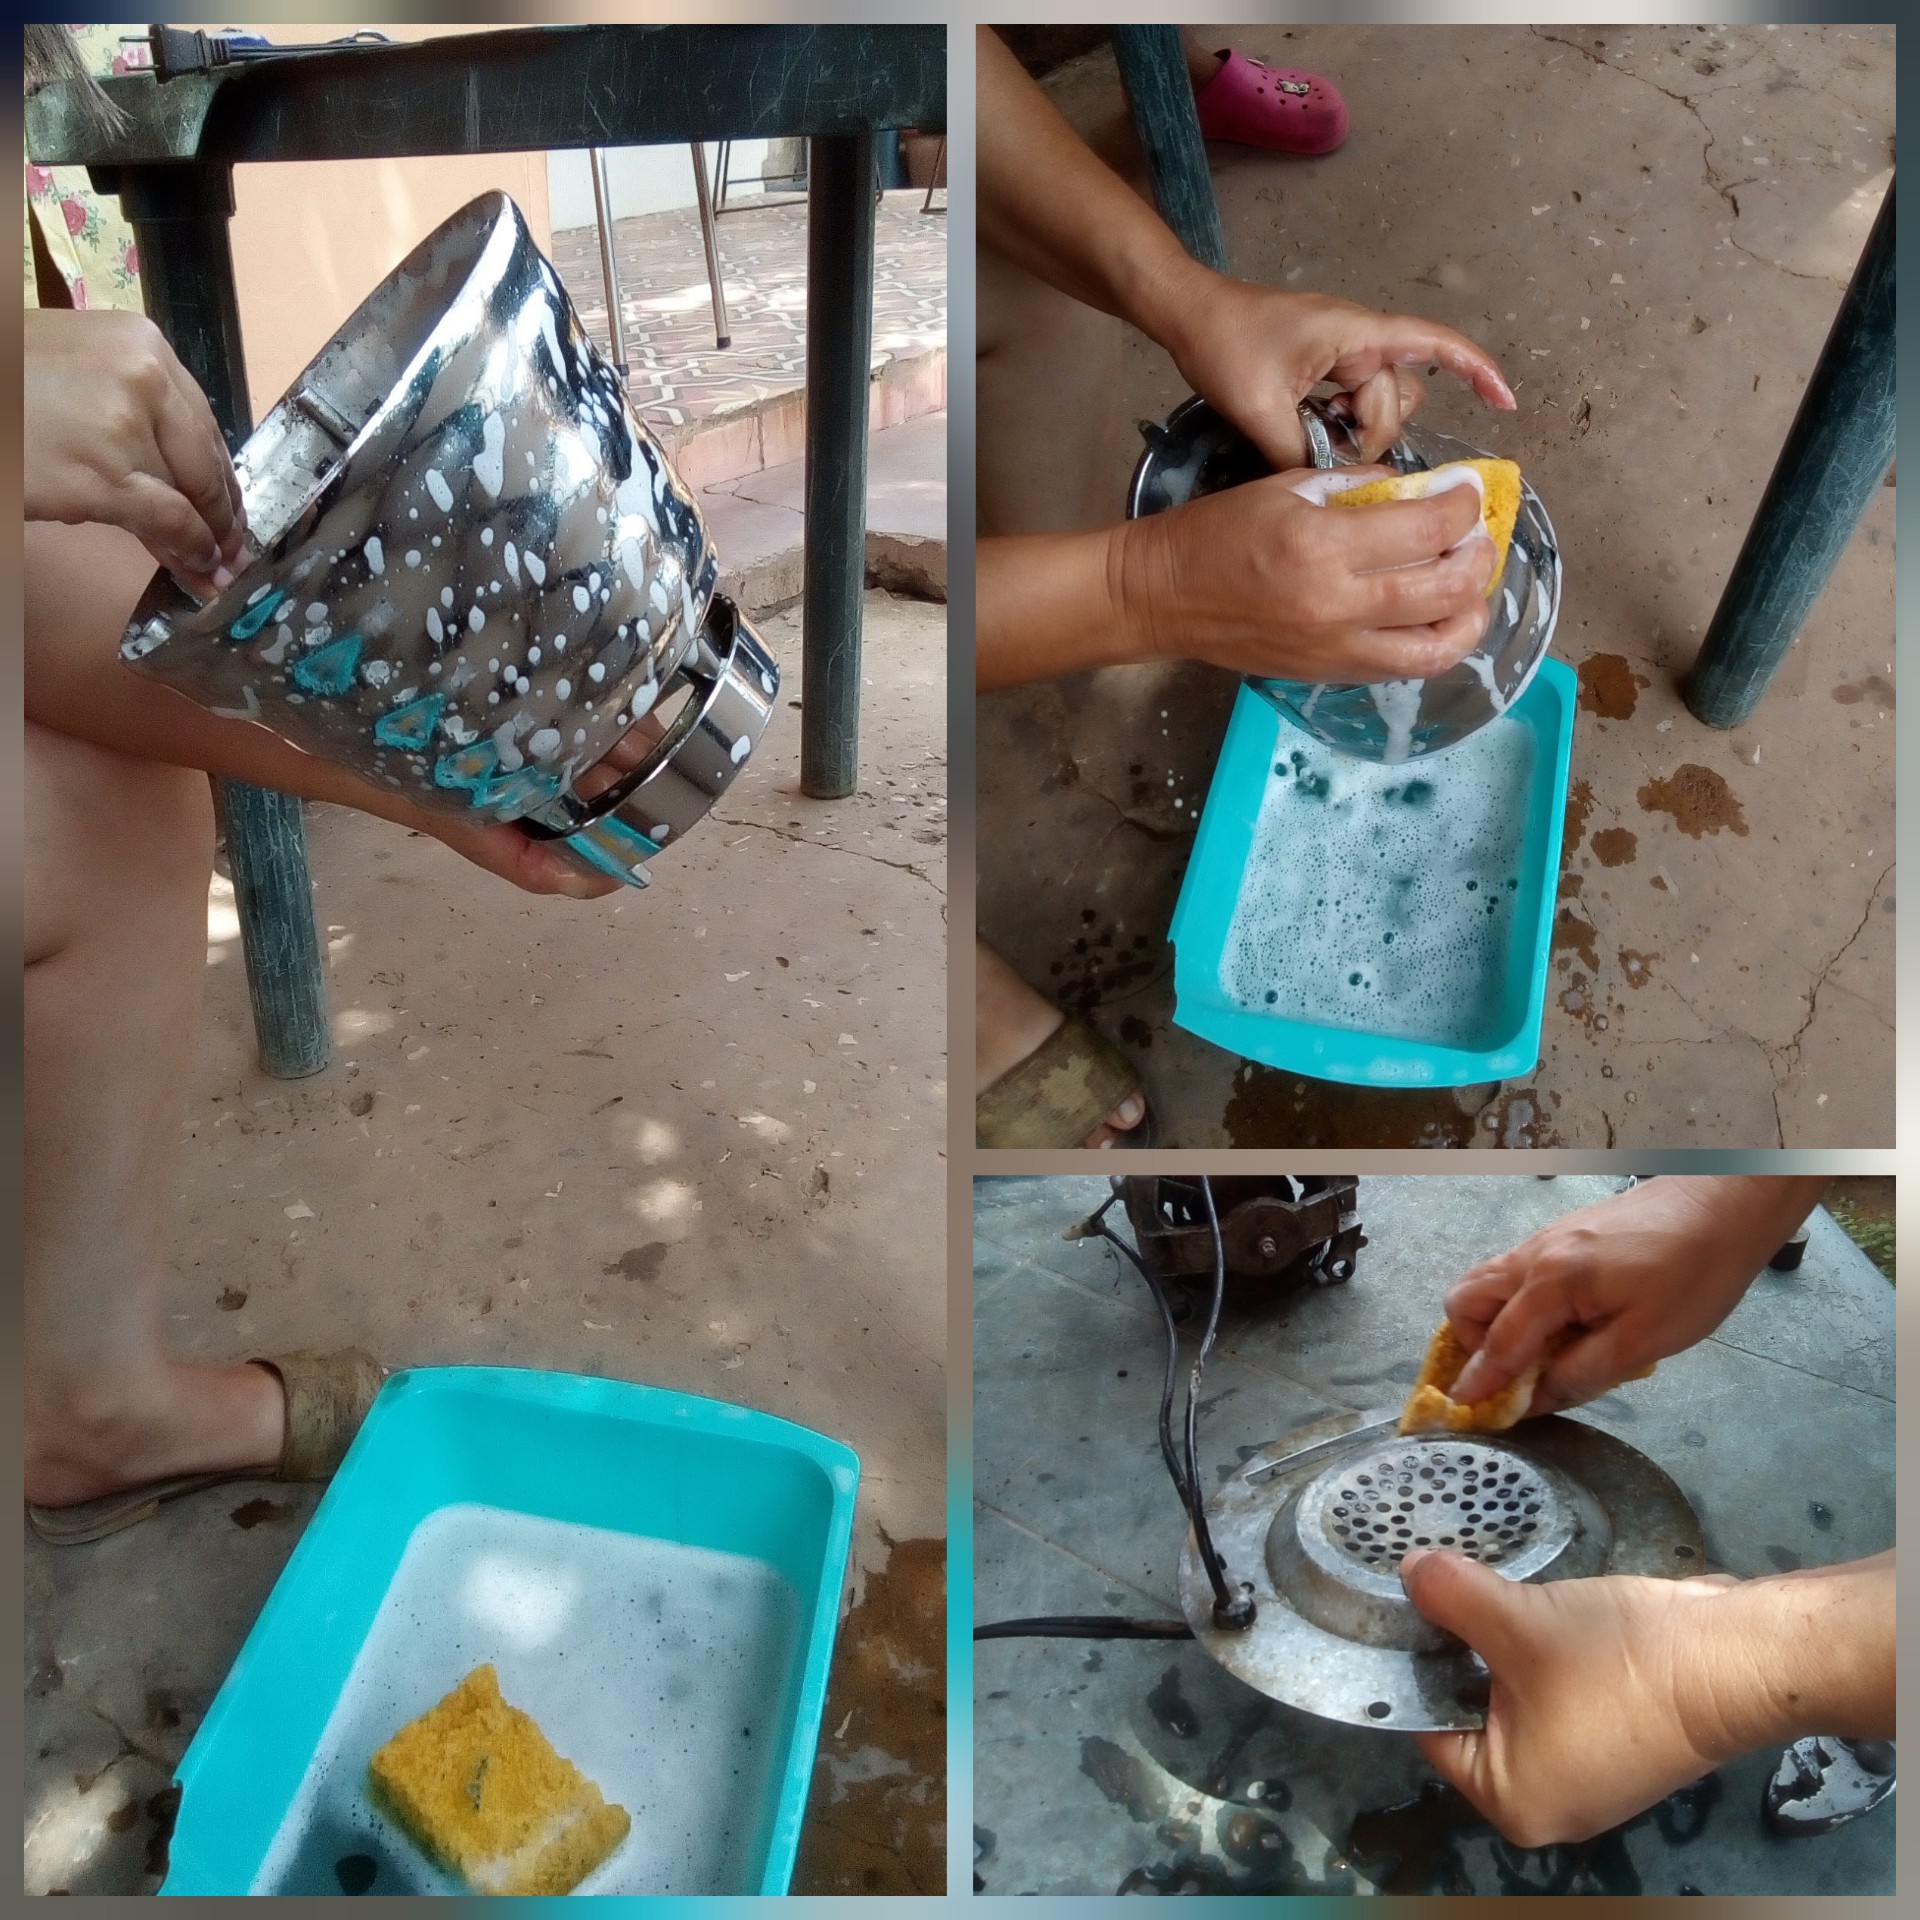
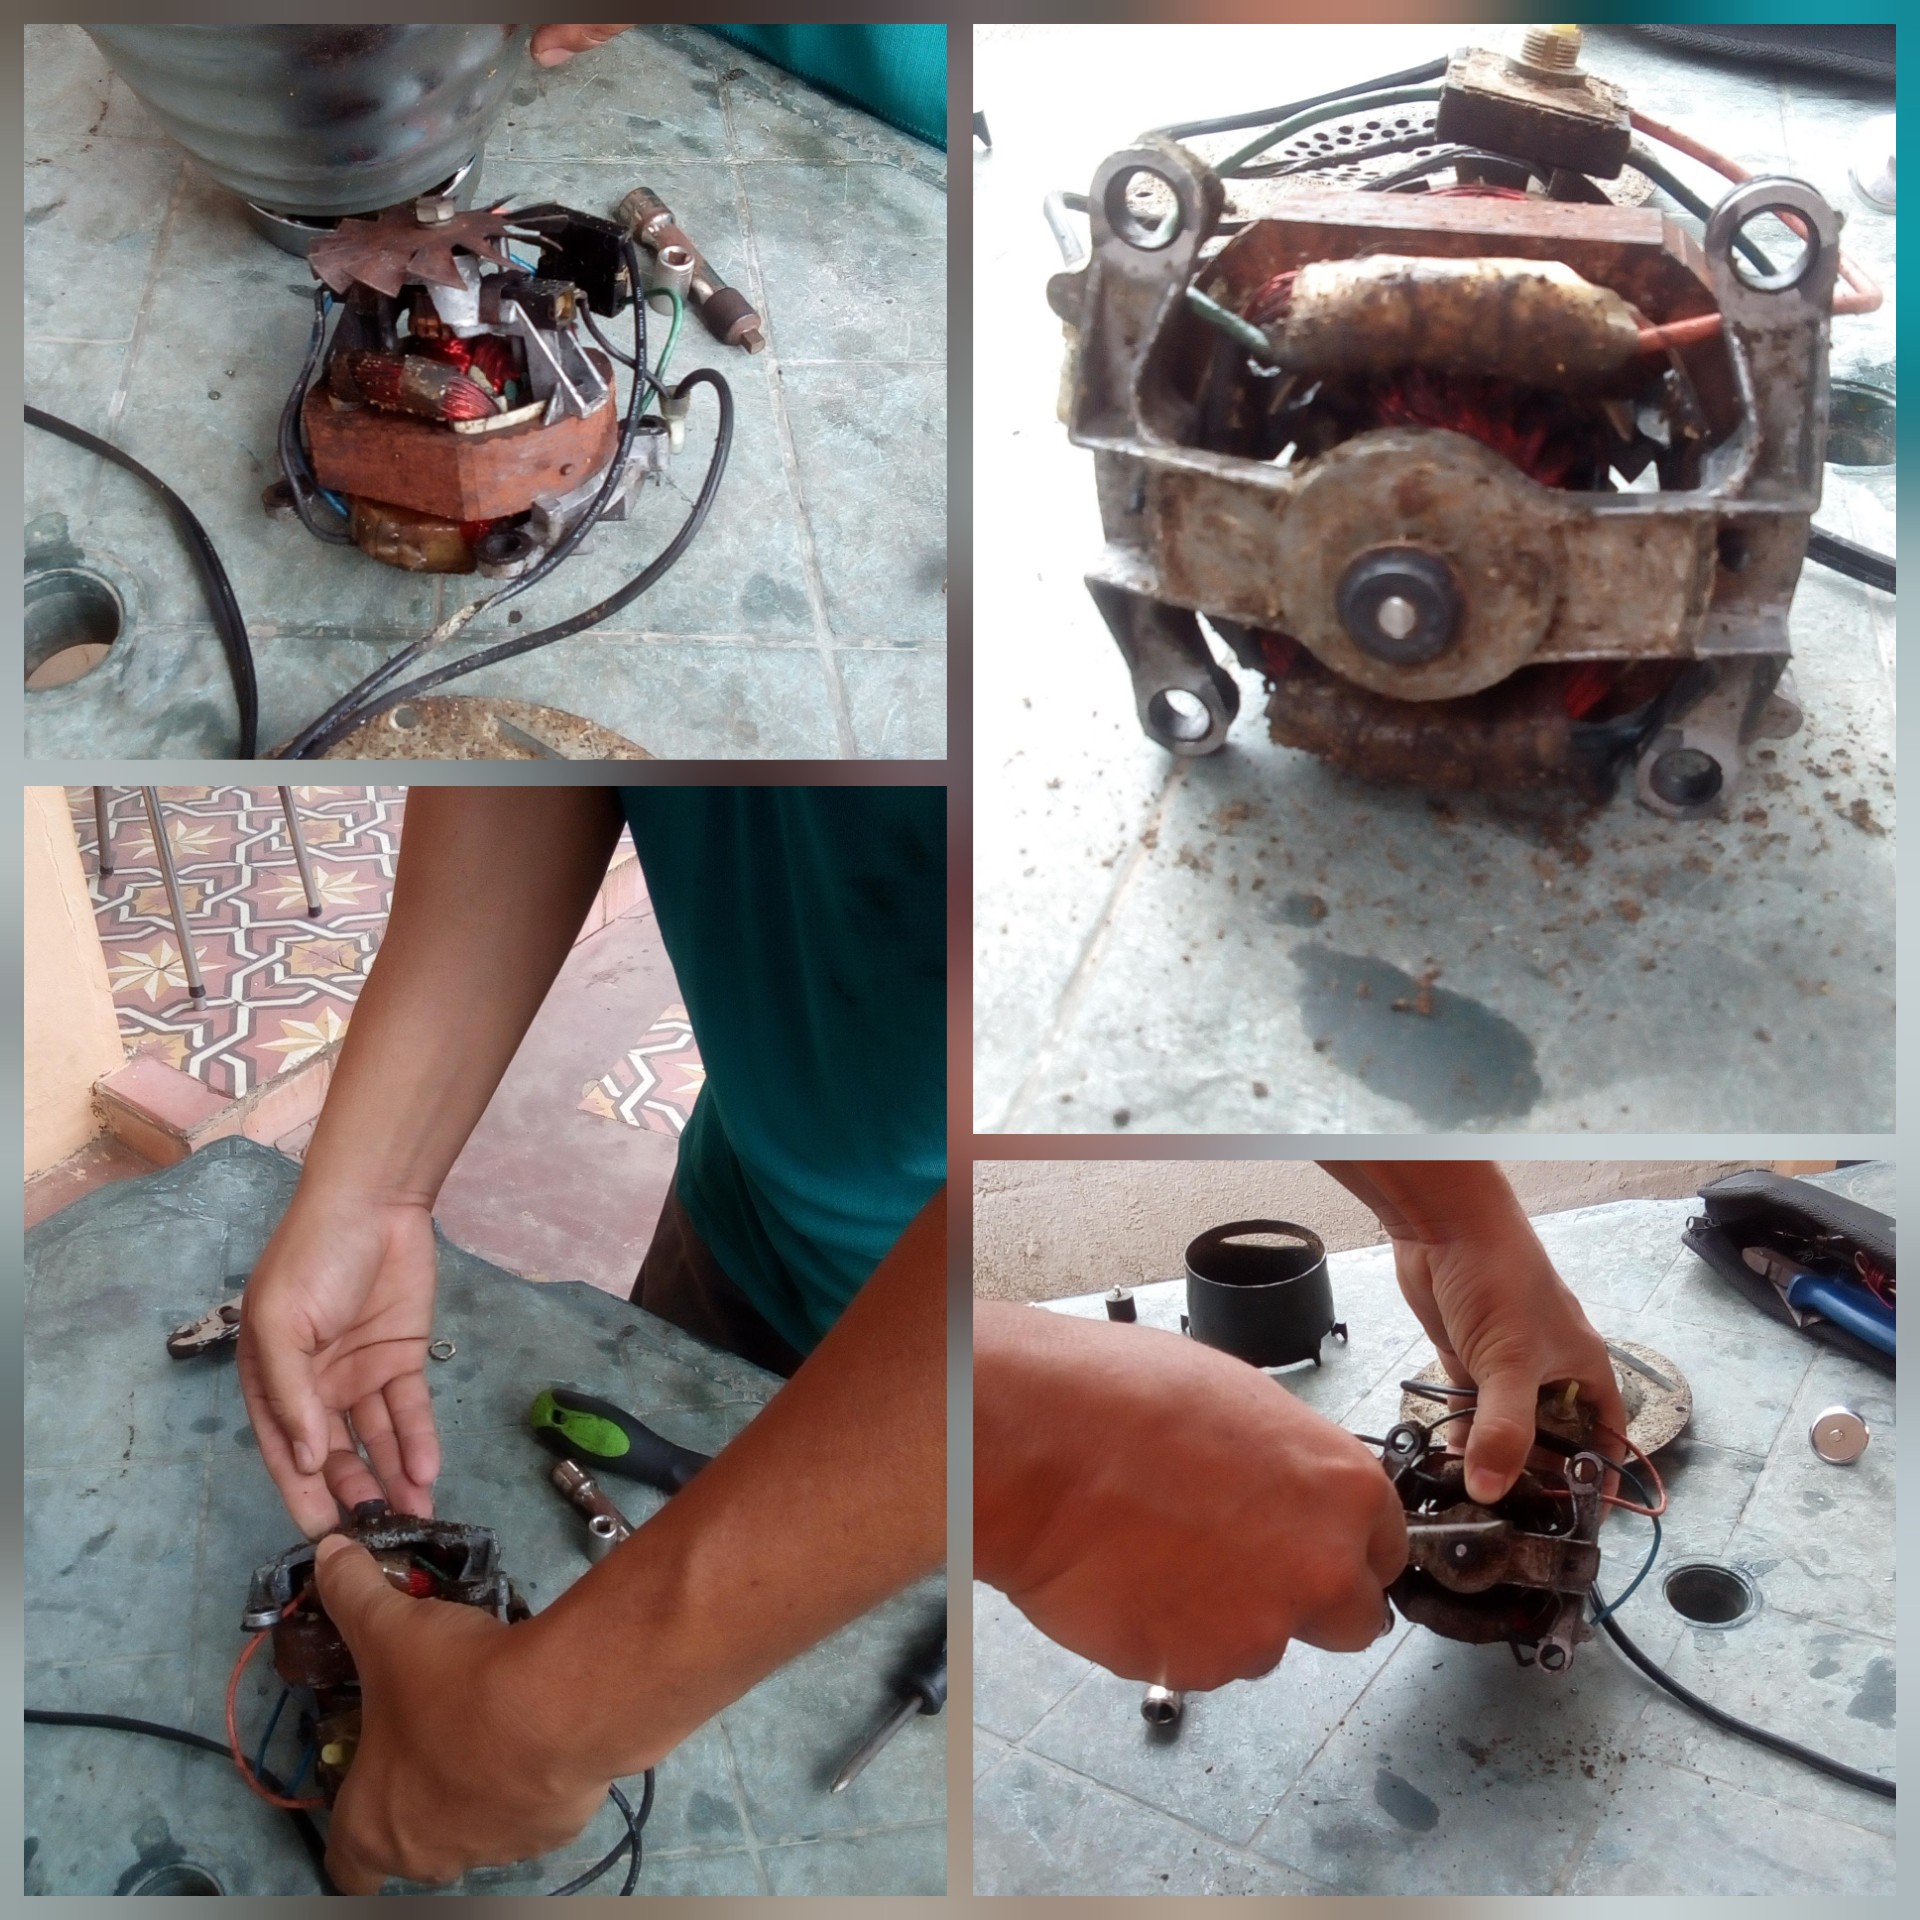
Procedí a darle mantenimiento lavando la base y el cable con agua de jabónosa y desengrasante, dejandola nuevamente brillante.
I proceeded to maintain it by washing the base and the cable with soapy water and degreaser, leaving it shiny again.
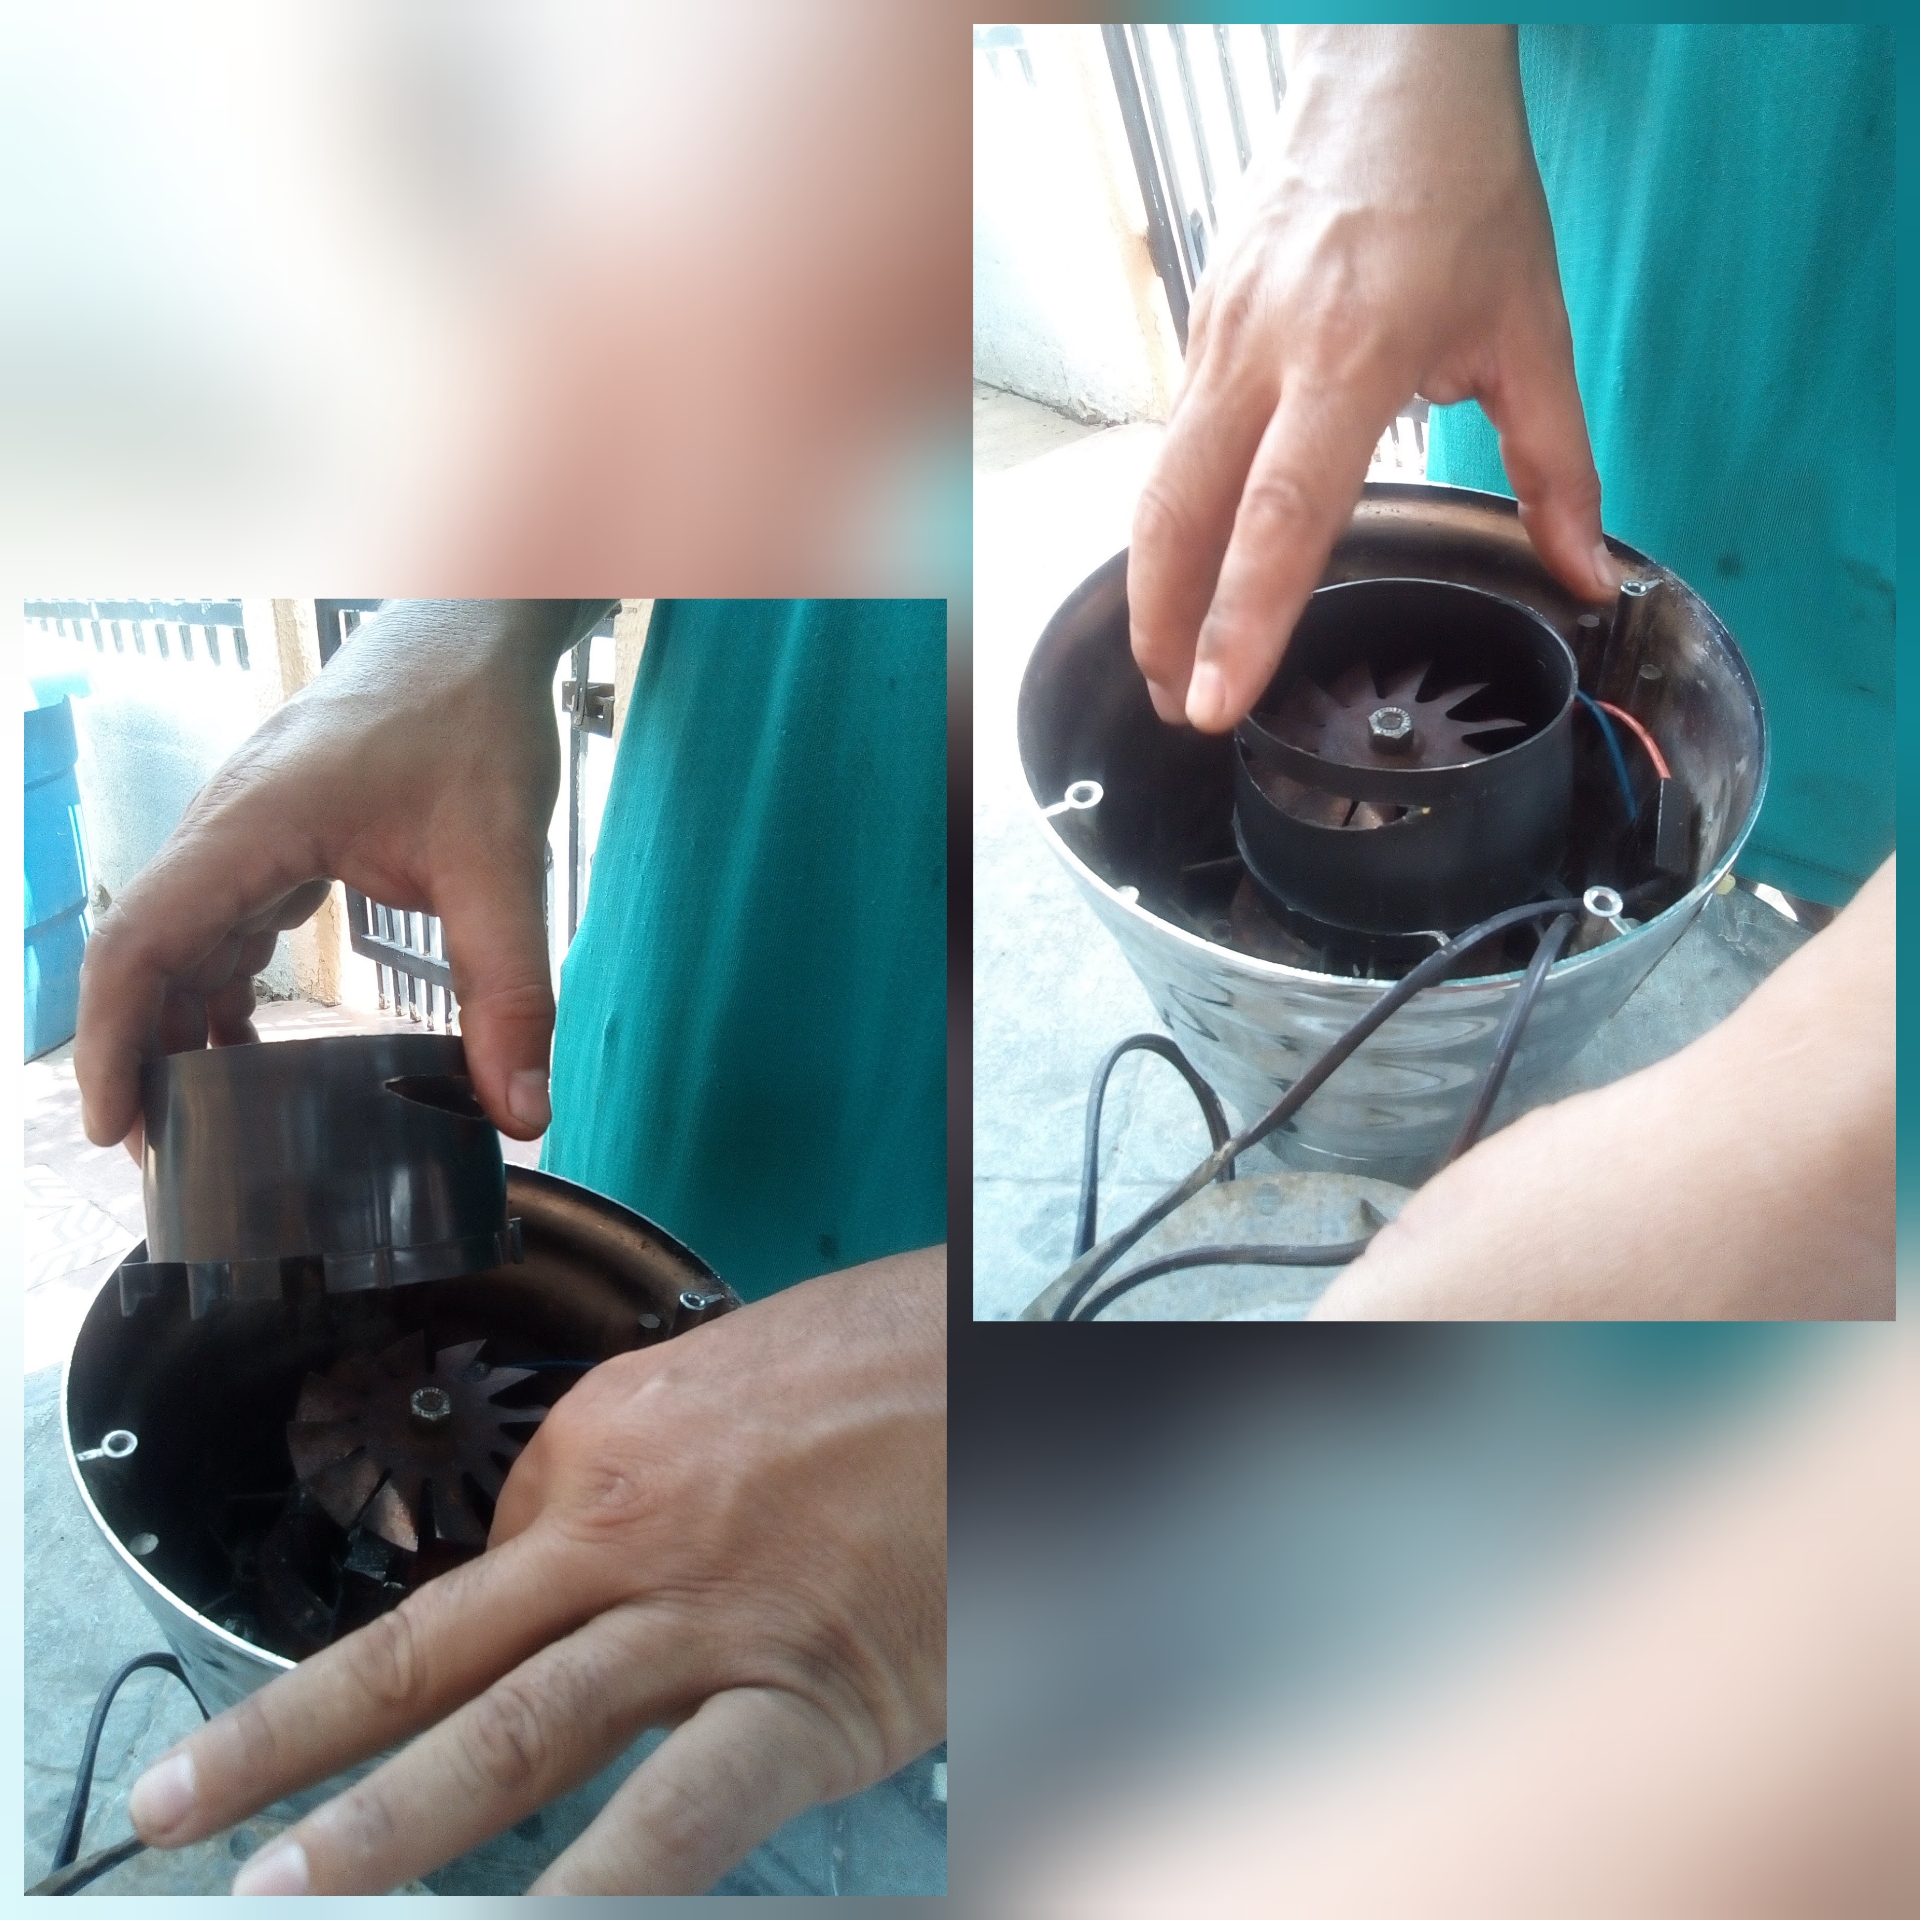
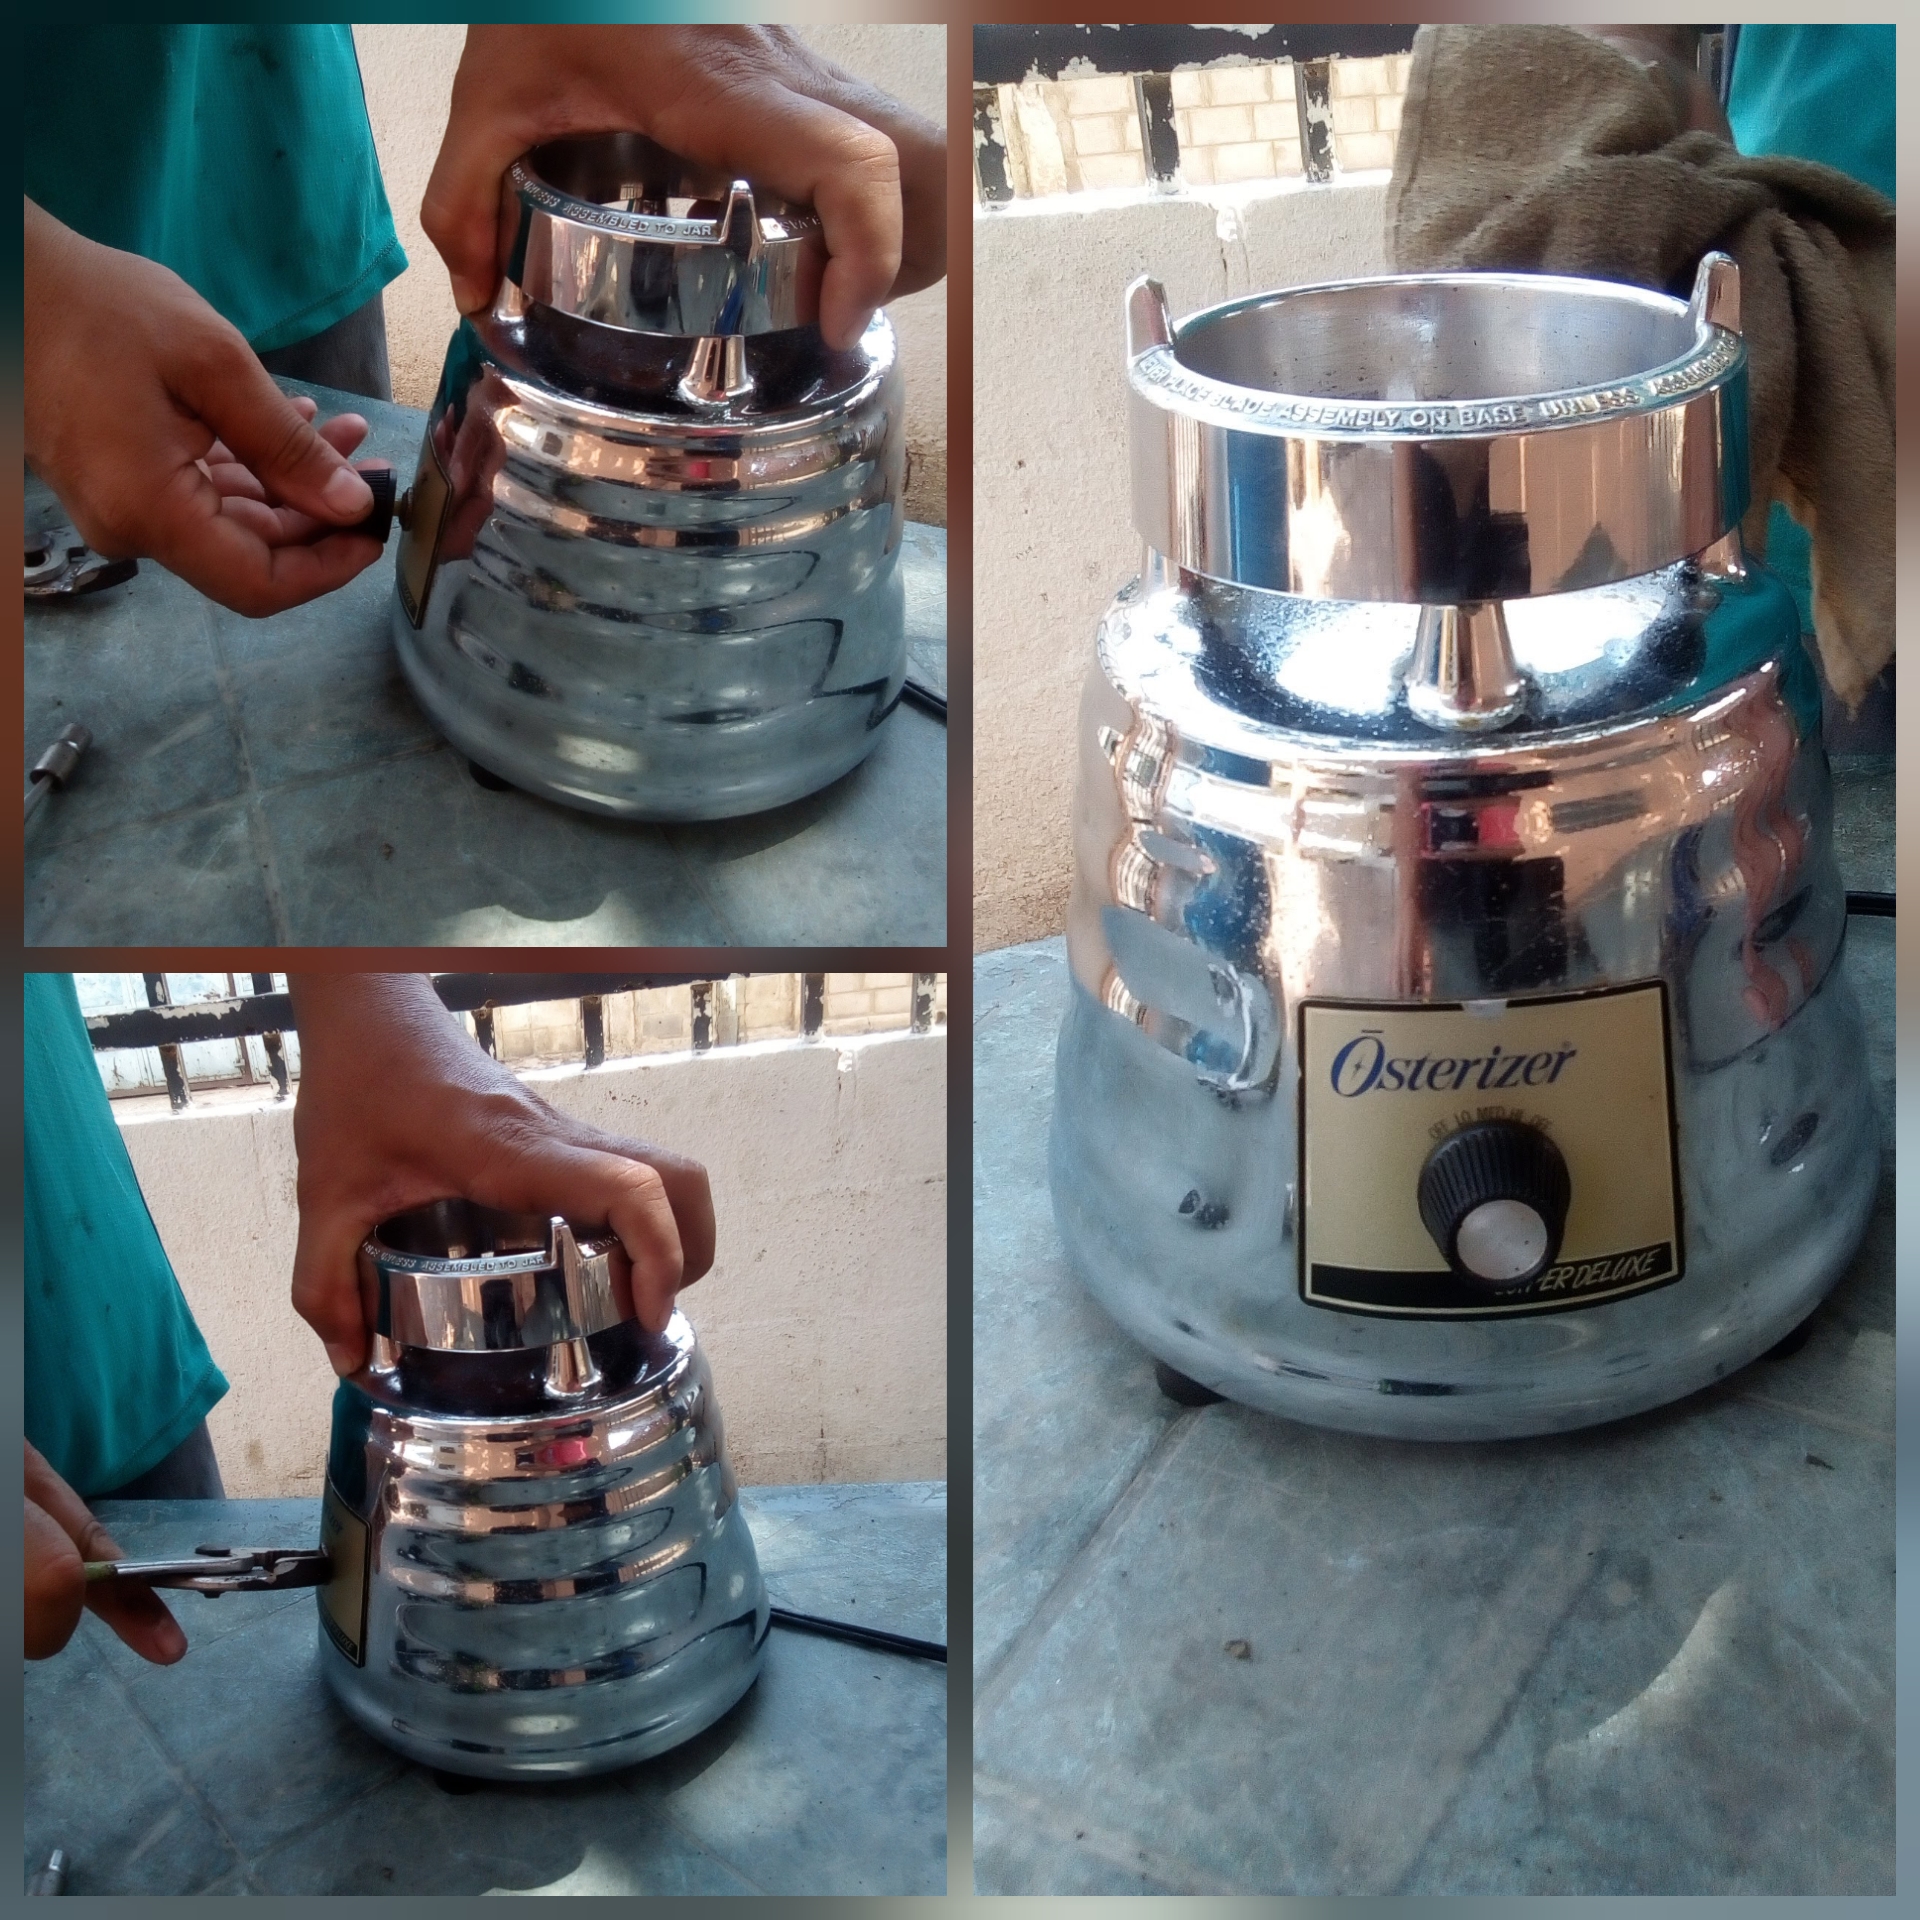
Para finalizar la volví a armar, coloque los cuatro tornillos del motor con el dado de un cuarto otra vez, coloque el botón de las velocidades lo apreté con la tuerca de un lado y del otro lo apreté con el alicate, coloque el protector plástico del motor y el motor los ajuste con los tornillos y coloque la tapa inferior, puse los cuatro tornillos nuevamente de un cuarto, que llevaba abajo. Después que ya estaba todo ensamblado coloque el cuadrante y quedó listo, como nueva.
To finish I put it back together, place the four motor screws with the quarter socket again, place the gear button, I tightened it with the nut on one side and on the other I tightened it with pliers, place the plastic protector on the motor and the motor adjust them with the screws and place the lower cover, I put the four screws again of a quarter, which led below. After everything was assembled I put the dial and it was ready, like new.

Es todo por hoy. Espero que este Tutorial pueda ayudarles en algo, hasta la próxima.
Is all for today. I hope this Tutorial can help you in something, until next time.
Gracias por visitar mi blog. @Juanqui05
Thanks for visiting my blog. @Juanqui05
Imágenes de mi propiedad tomadas con mi teléfono Samsung galaxy, contenido original de @Juanqui05, traducido con google traductor.
Images of my property taken with my Samsung galaxy phone, original content by @Juanqui05, translated with google translator.
Congratulations @juanqui05! You have completed the following achievement on the Hive blockchain And have been rewarded with New badge(s)
Your next target is to reach 70 posts.
You can view your badges on your board and compare yourself to others in the Ranking
If you no longer want to receive notifications, reply to this comment with the word
STOPTo support your work, I also upvoted your post!
Check out our last posts:
Yo lo he cambiado pero sin sacar el motor, claro en tu caso le hiciste mantenimiento completo. Saludos
Hola amigo yo también pero en esta ocasión se había partido y era necesario sacar el motor y como dices también le realice el mantenimiento completo.
Gracias por pasar y comentar.