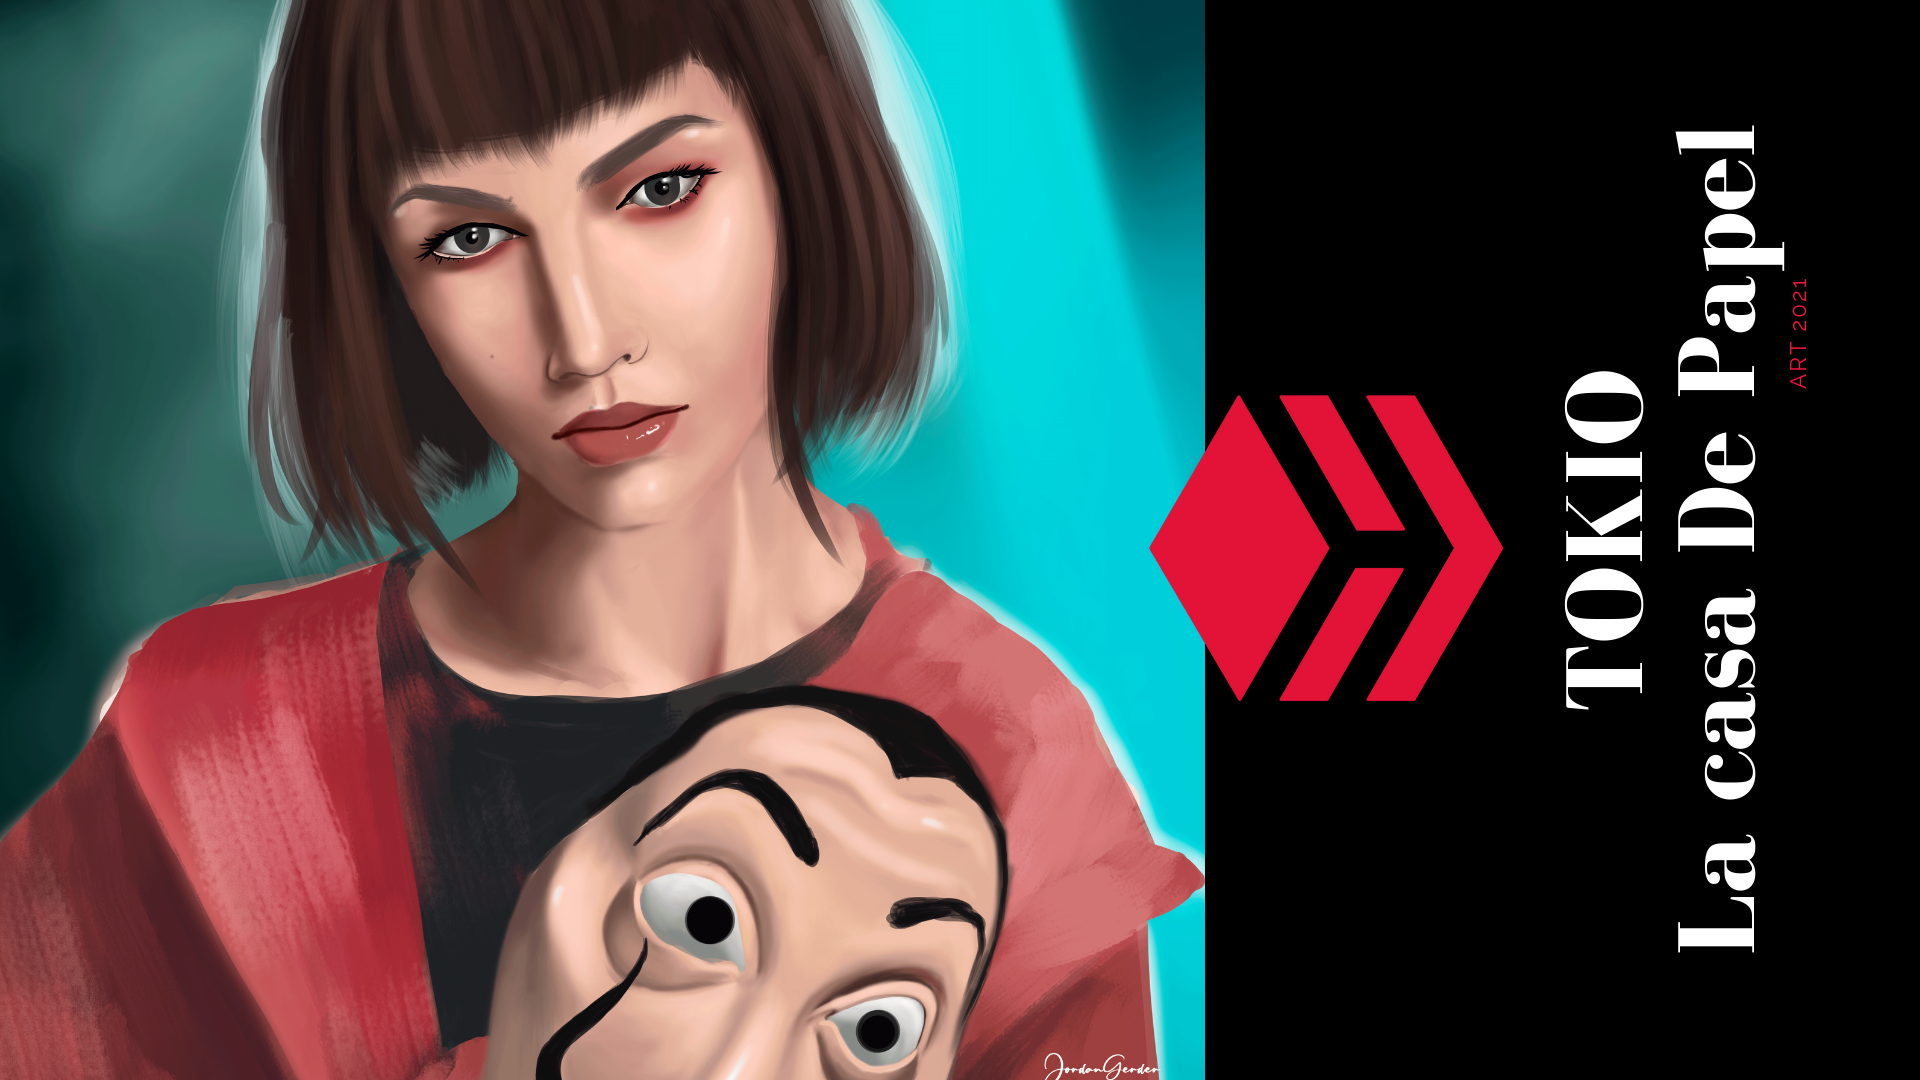
Portrait: TOKIO / La Casa De Papel
Arte Digital | Digital Art
Saludos querida comunidad, les presento un nuevo retrato digital, Quien no conoce esta diosa de nexflix, yo quede enamorado y con ganas de dibujar a todos los personajes de la casa de papel, empecé por este hermoso rostro que me enamoré en su partida, un personaje encantador y con mucha adrenalina...
Greetings dear community, I present a new digital portrait, Who does not know this goddess of nexflix, I fell in love and wanted to draw all the characters of the paper house, I started with this beautiful face that I fell in love with when he left, a charming character with a lot of adrenaline...
¡Espero te guste! | I hope you like!
Presentación del diseño | Desing presentación
.png)
Una mattina mi sono alzato
O bella ciao, bella ciao, bella ciao, ciao, ciao
Una mattina mi sono azalto
E ho trovato l'invasor
Materiales | Materials
- Mini laptop
- Tableta Huion H950P
- Programa Adobe Photoshop 2019
- Mini laptop
- Huion H950P tablet
- Adobe Photoshop 2019 program

Proceso | Process
Primer paso: El boceto, es donde creamos la mayor parte de lo que queremos, despues tener lineas entendibles, continuamos al segundo paso:
First step: The sketch is where we create most of what we want, after having understandable lines, we continue to the second step:
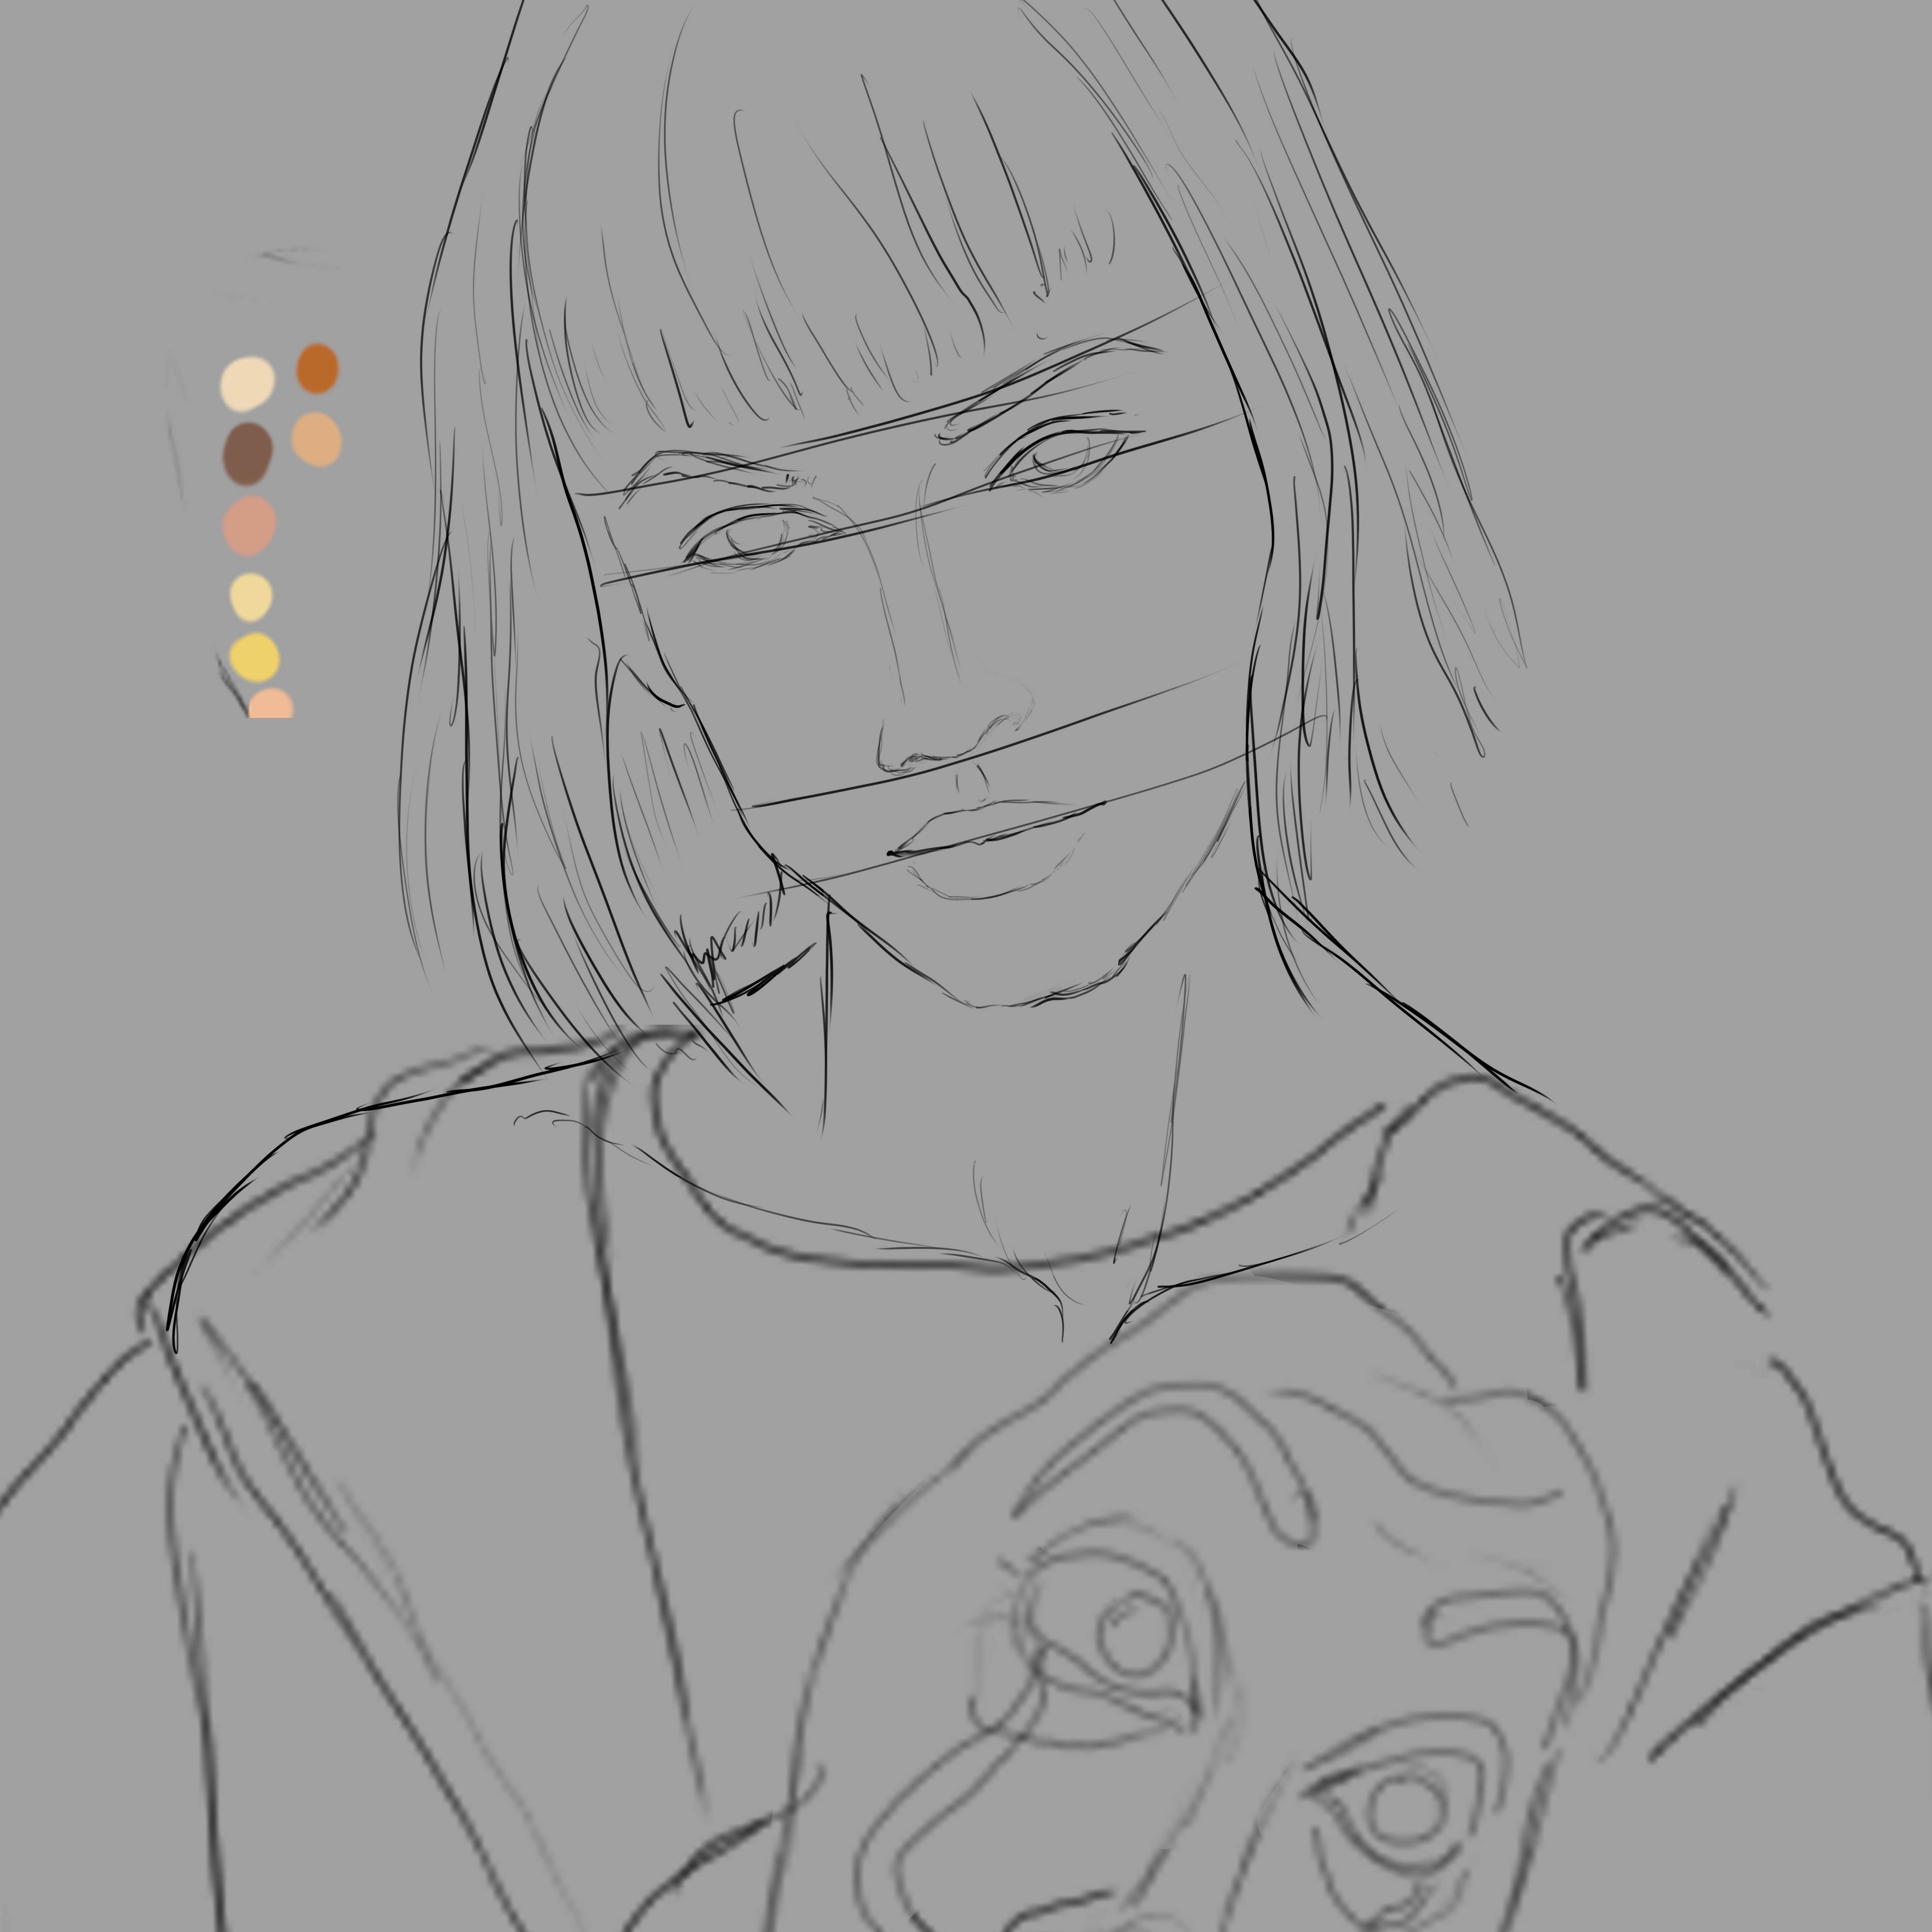
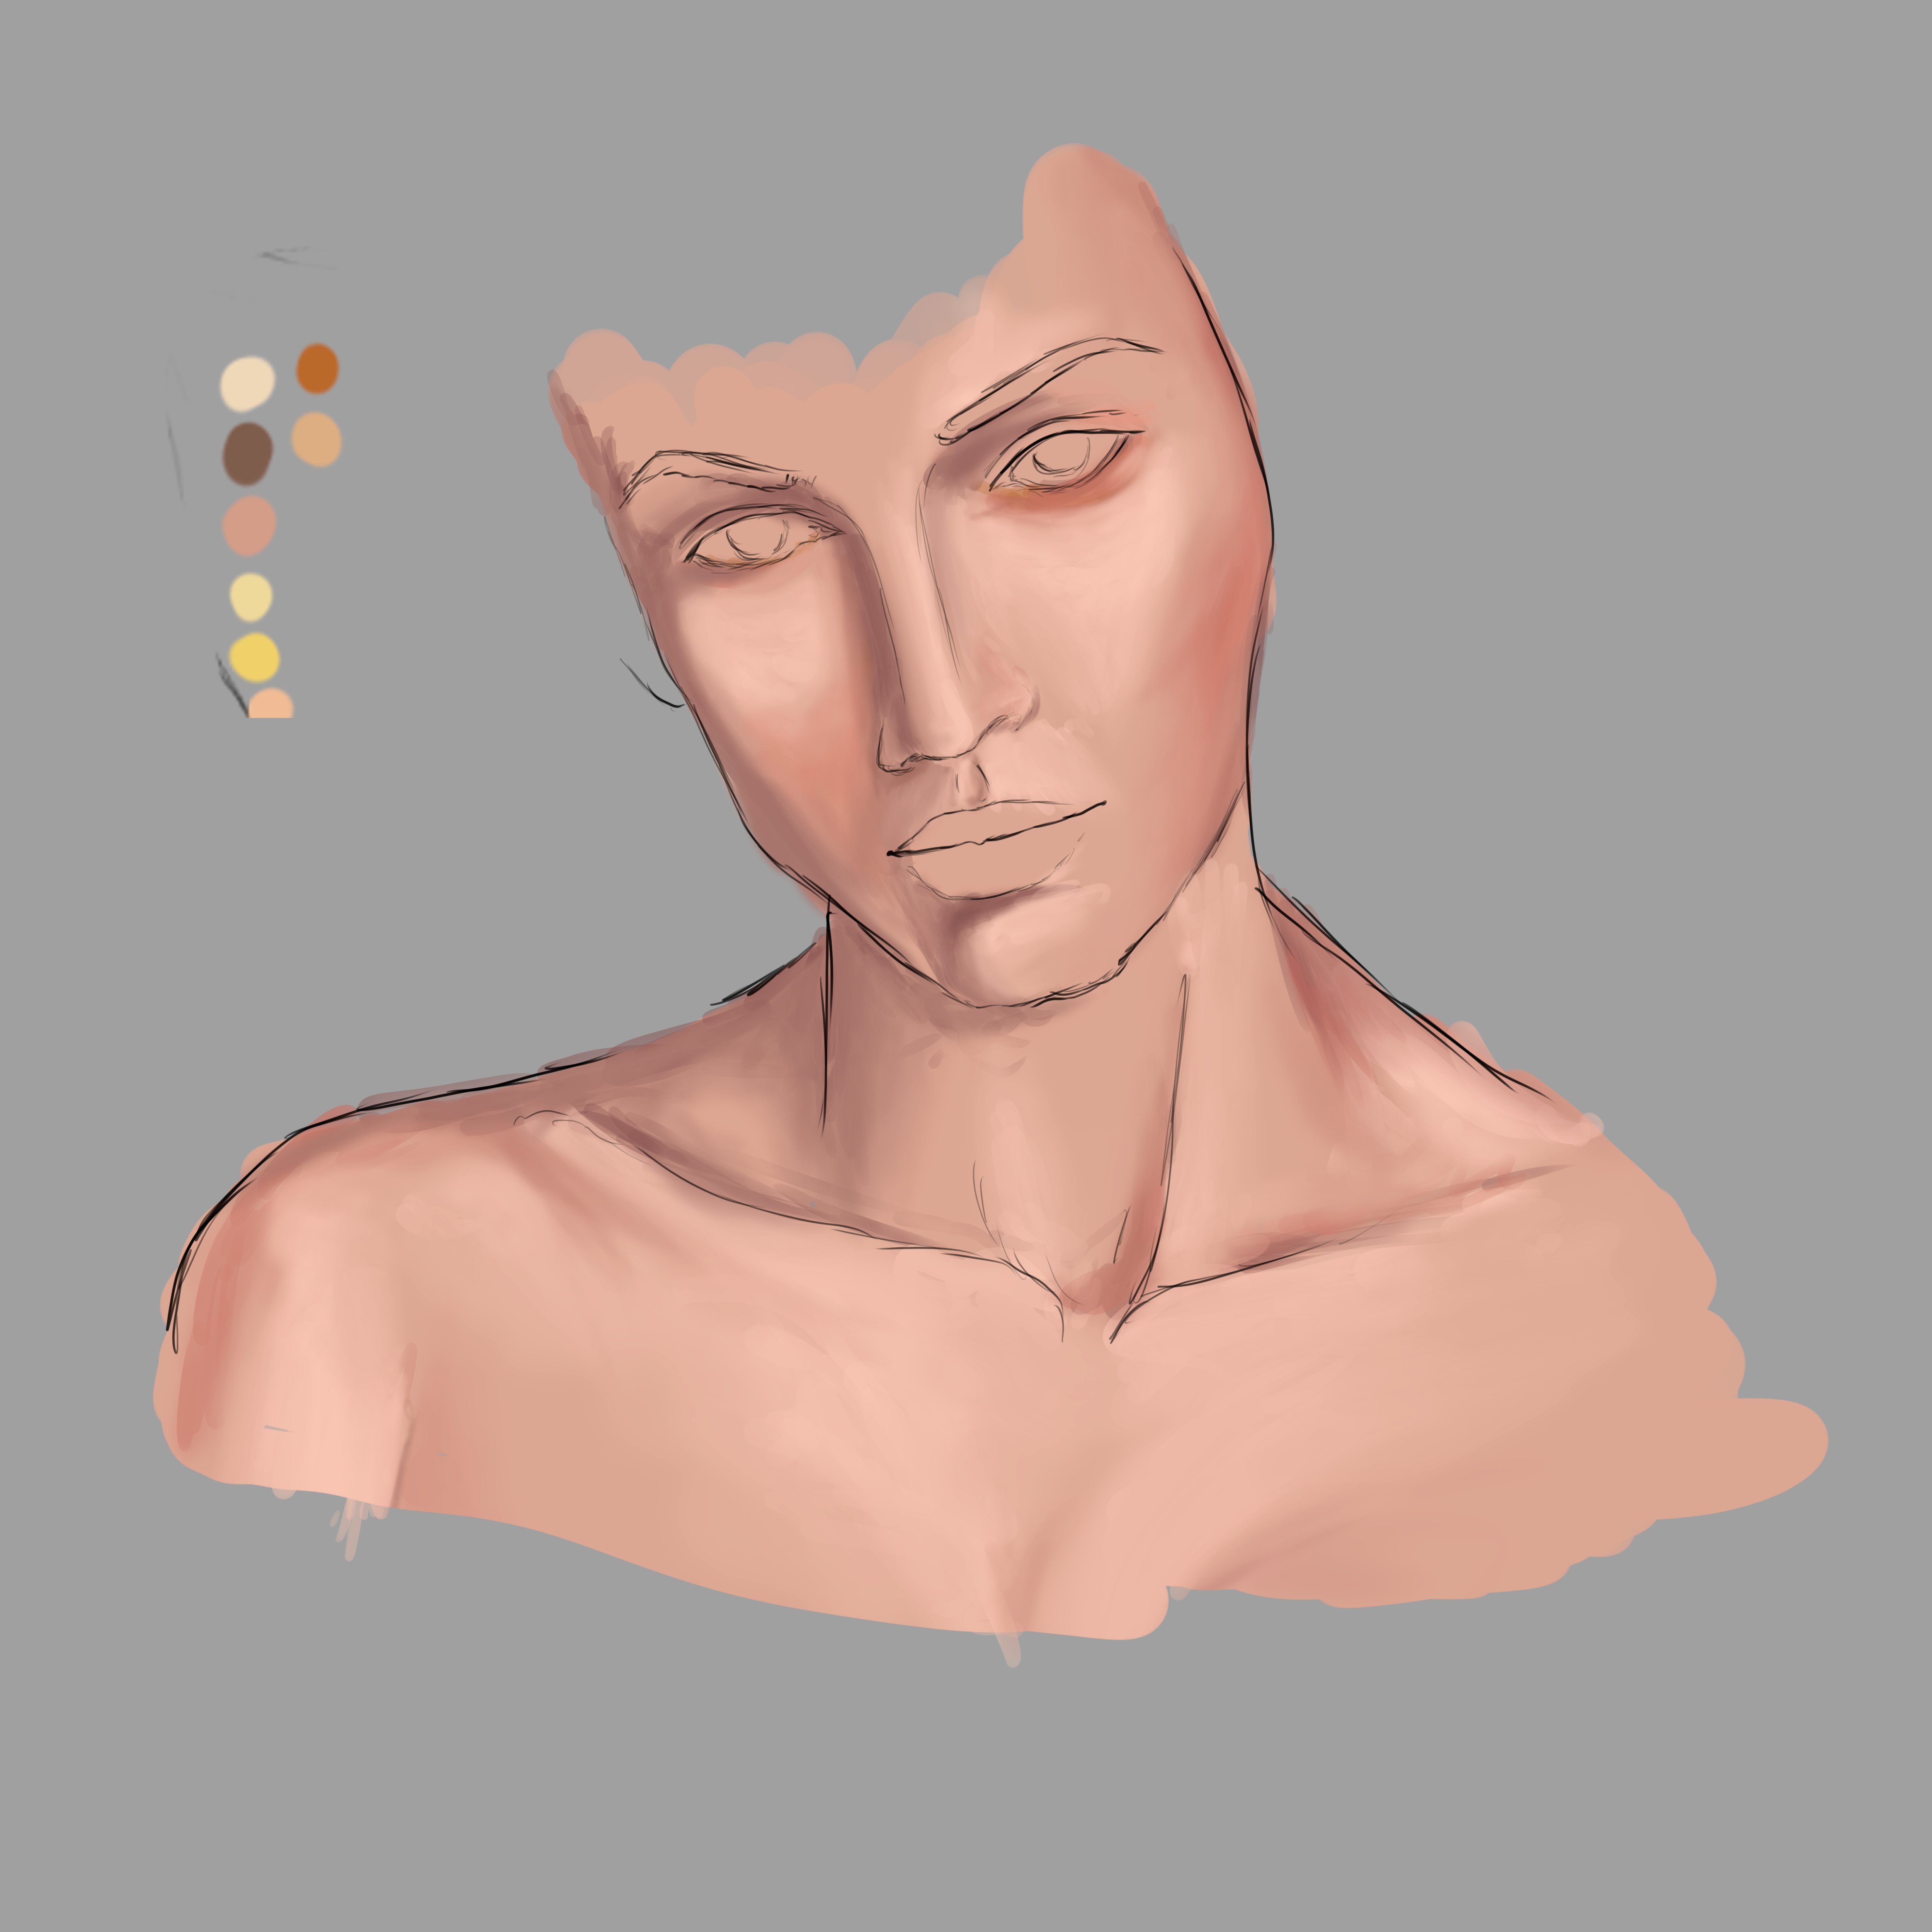
Segundo paso: colores base, Selecionamos algunas tonalidades un tono medio y adicional a este uno oscuro partiendo de la base y un claro partiendo de la misma base escogida anteriormente, y una tonalidad saturada para que sea mejor trabajada al piel al momento de mezclar las tonalidades.
Para este paso uso un pincel difuso, resulta mejor al momento de mezclar el color:
Second step: base colors, we select some shades a medium tone and in addition to this a dark one starting from the base and a light one starting from the same base chosen previously, and a saturated shade so that it is better worked to the skin when mixing the shades .
For this step I use a diffuse brush, it is better when mixing the color:

Tercer paso: una vez mezclamos todo el color de la piel es momento de detallar las otras partes de la ilustracion:
Third step: once we mix all the skin color, it is time to detail the other parts of the illustration:
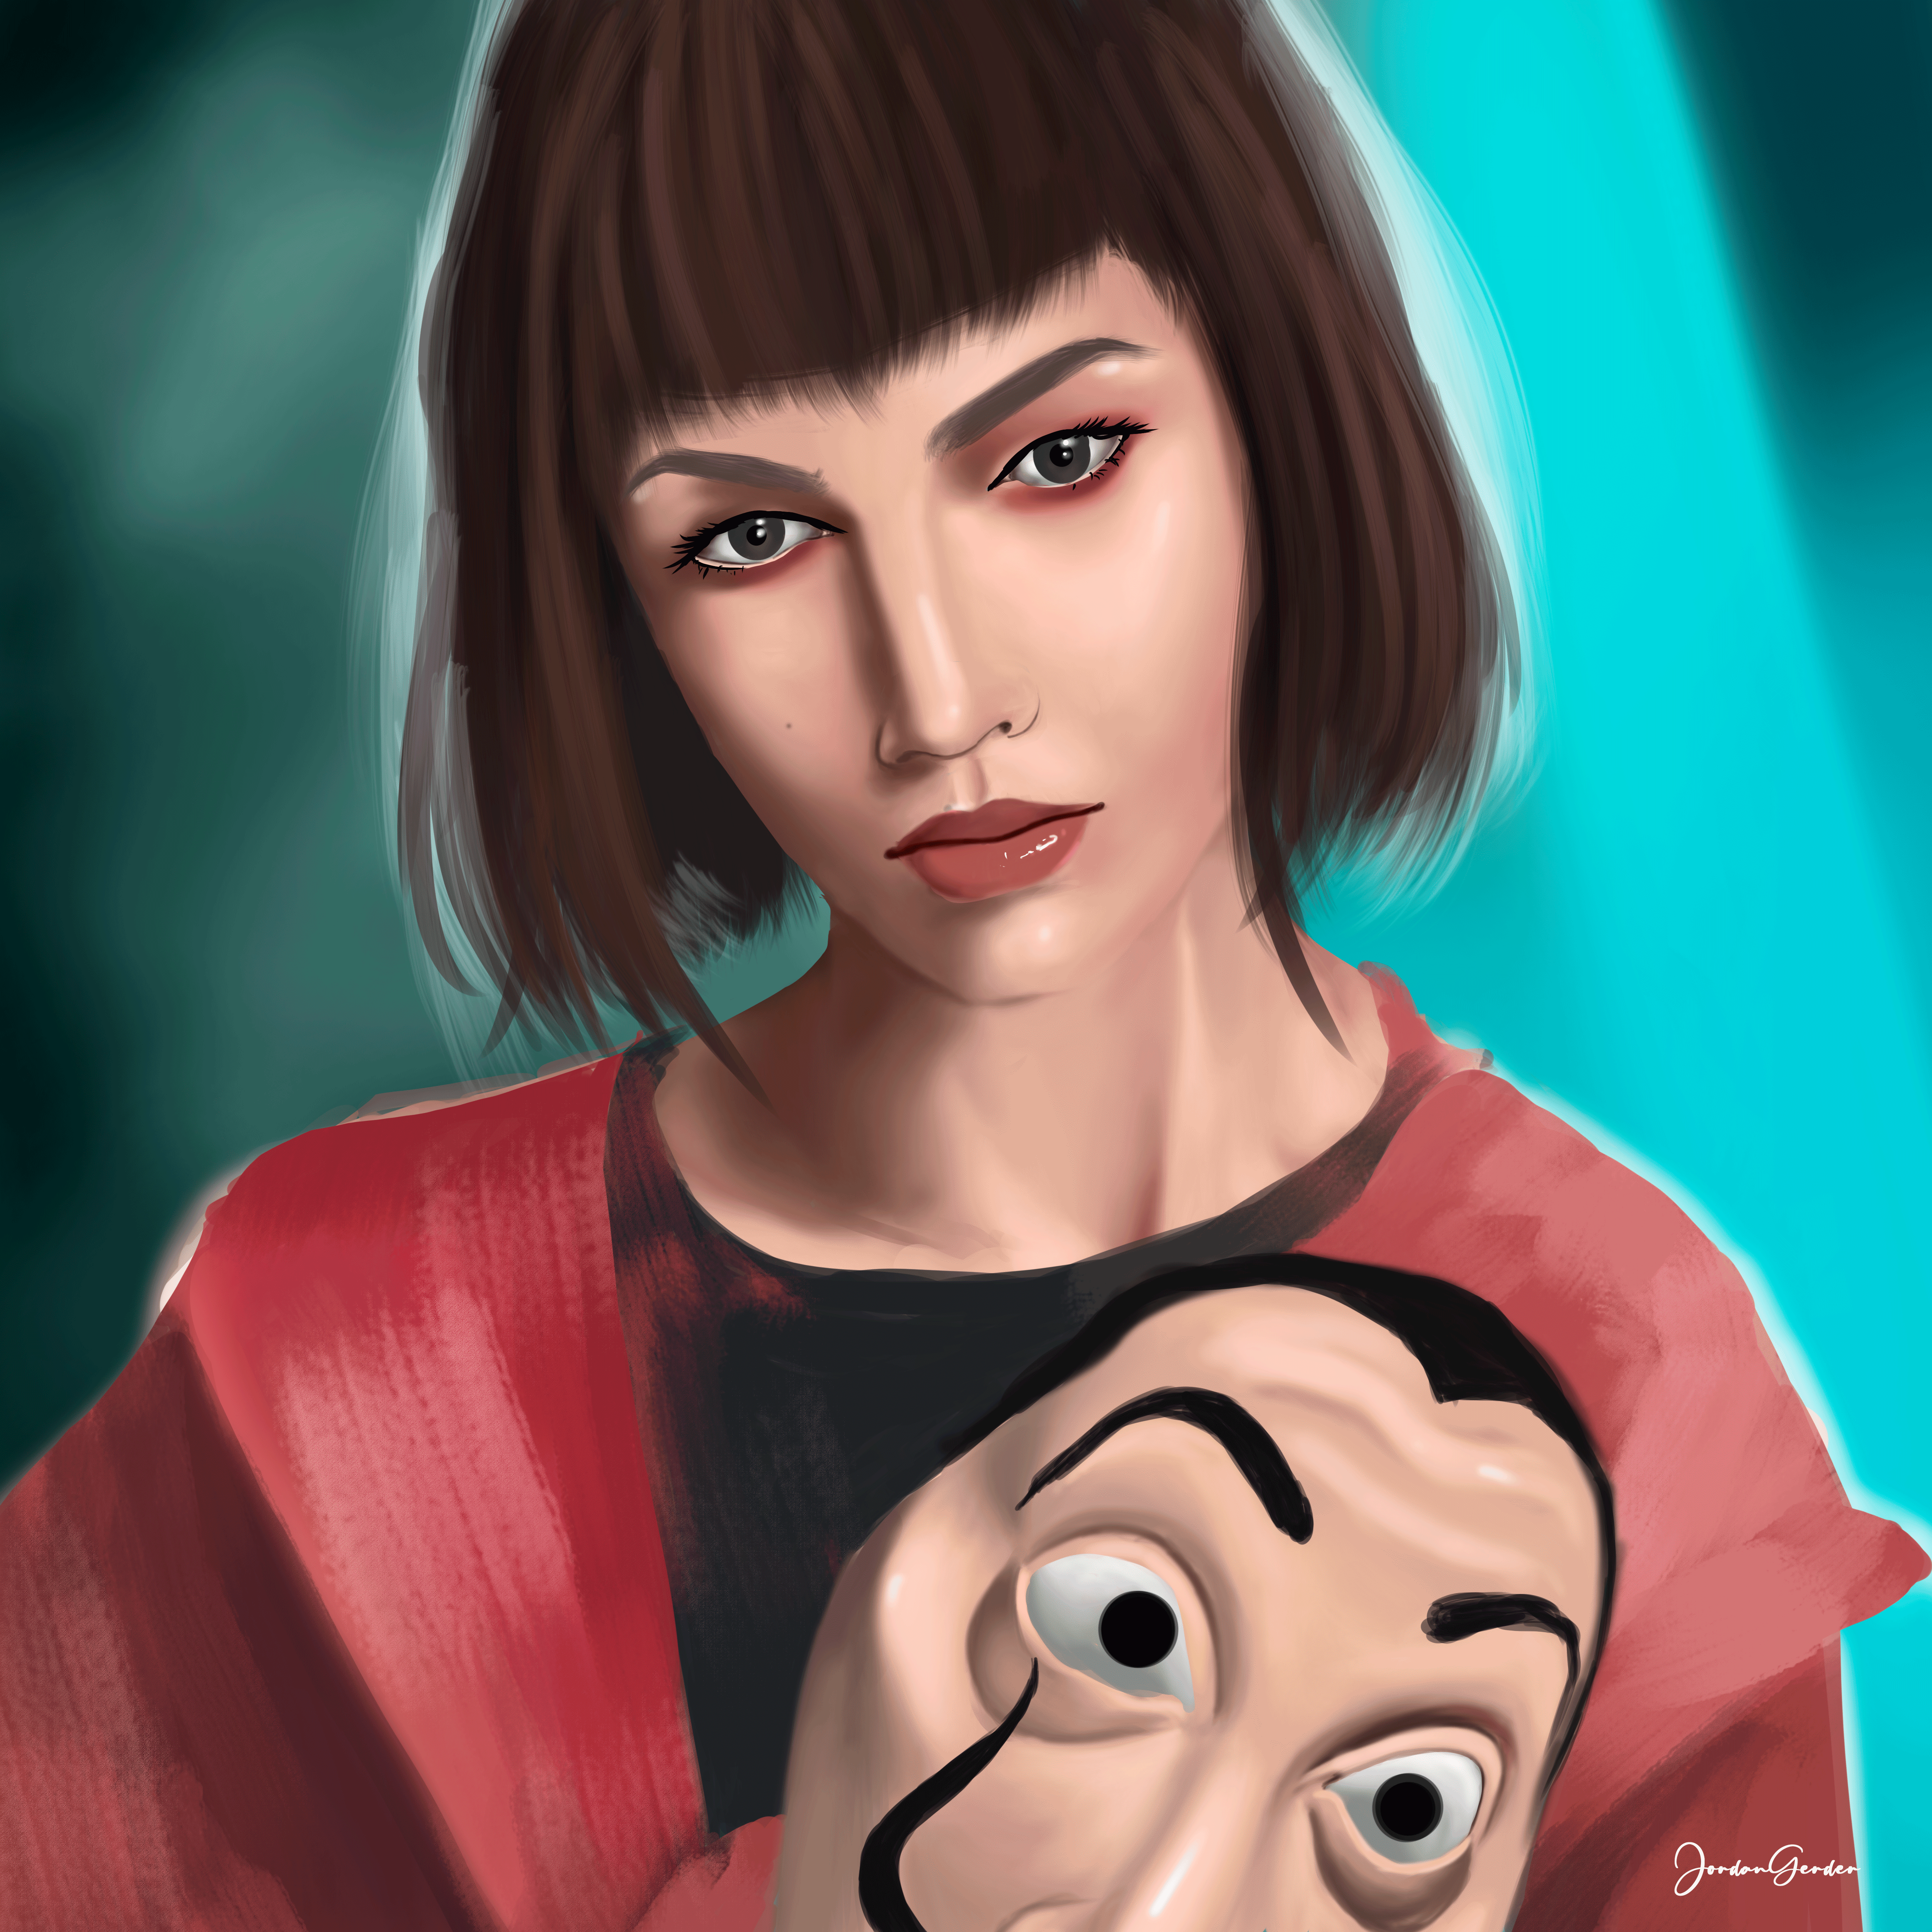
Cuarto paso: Agregamos los demás detalles restantes que contiene el retrato, su ropa no quise detallarlo mucho si no que tenía pinceles texturizados y que se entienda la forma del mismo, continúe detallando todas las partes de la característica máscara de la serie:
Fourth step: We add the other remaining details that the portrait contains, his clothes I did not want to detail it much if not that he had textured brushes and that the shape of the same is understood, continue to complete all the parts of the characteristic mask of the series:

Ajusté detalles finales y así obtuve el fino resultado:
I adjusted final details and that was how I obtained the fine result
Espero te haya gustado lo he elaborado con cariño para ustedes, nos vemos en la próxima 😍
I hope you liked it, I have elaborated it with love for you, see you next time 😍
¿Cómo pintar la piel en Photoshop? (piel difusa) | How to paint skin in Photoshop? (fuzzy skin)

</center
Presentación del diseño | Desing presentación
Una mattina mi sono alzato
O bella ciao, bella ciao, bella ciao, ciao, ciao
Una mattina mi sono azalto
E ho trovato l'invasor
Materiales | Materials
- Mini laptop
- Tableta Huion H950P
- Programa Adobe Photoshop 2019
- Mini laptop
- Huion H950P tablet
- Adobe Photoshop 2019 program
Proceso | Process
Primer paso: El boceto, es donde creamos la mayor parte de lo que queremos, despues tener lineas entendibles, continuamos al segundo paso:
First step: The sketch is where we create most of what we want, after having understandable lines, we continue to the second step:
Segundo paso: colores base, Selecionamos algunas tonalidades un tono medio y adicional a este uno oscuro partiendo de la base y un claro partiendo de la misma base escogida anteriormente, y una tonalidad saturada para que sea mejor trabajada al piel al momento de mezclar las tonalidades.
Para este paso uso un pincel difuso, resulta mejor al momento de mezclar el color:
Second step: base colors, we select some shades a medium tone and in addition to this a dark one starting from the base and a light one starting from the same base chosen previously, and a saturated shade so that it is better worked to the skin when mixing the shades .
For this step I use a diffuse brush, it is better when mixing the color:
Tercer paso: una vez mezclamos todo el color de la piel es momento de detallar las otras partes de la ilustracion:
Third step: once we mix all the skin color, it is time to detail the other parts of the illustration:
Cuarto paso: Agregamos los demás detalles restantes que contiene el retrato, su ropa no quise detallarlo mucho si no que tenía pinceles texturizados y que se entienda la forma del mismo, continúe detallando todas las partes de la característica máscara de la serie:
Fourth step: We add the other remaining details that the portrait contains, his clothes I did not want to detail it much if not that he had textured brushes and that the shape of the same is understood, continue to complete all the parts of the characteristic mask of the series:
Ajusté detalles finales y así obtuve el fino resultado:
I adjusted final details and that was how I obtained the fine result
Espero te haya gustado lo he elaborado con cariño para ustedes, nos vemos en la próxima 😍
I hope you liked it, I have elaborated it with love for you, see you next time 😍
¿Cómo pintar la piel en Photoshop? (piel difusa) | How to paint skin in Photoshop? (fuzzy skin)
</center
0
0
0.000
very nice)
Thank you ✨
Está super lindo. Felicidades
Gracias ❤️