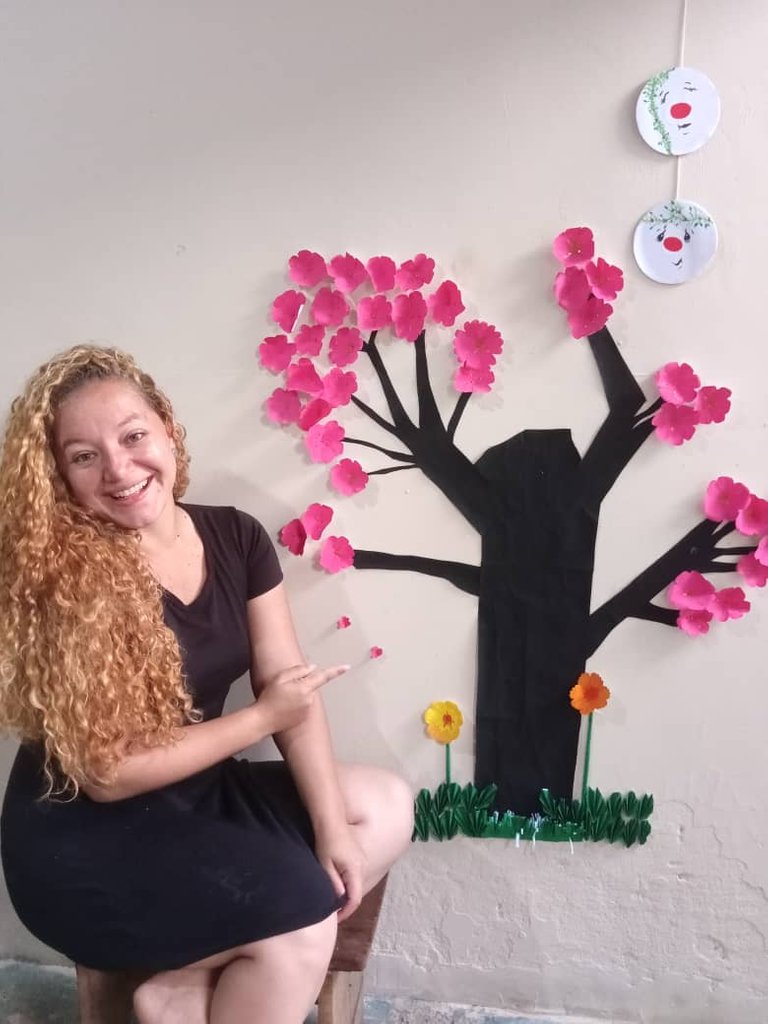
Hola mis queridos creadores de cosas hermosas, divertidas y útiles, como están? yo muy alegre de compartir con ustedes una linda obra en mi pared, quiero mostrarles lo que me inspire hacer para darle un toque diferente y colorido a mi hogar. Soy una fanática de reutilizar material de provecho y en esta oportunidad elabore un árbol muy colorido hecho solo con papel y por supuesto pinturas para darle unos lindos colores. Trabajar con este tipo de material es muy útil, porque además de ayudar al planeta, ayudanos a nuestro bolsillo ahorrándonos dinero.
Hello my dear creators of beautiful, fun and useful things, how are you? I am very happy to share with you a beautiful work on my wall, I want to show you what inspires me to do it to give my home a different and colorful touch. I am a fan of reusing useful material and this time I made a very colorful tree made only with paper and of course paints to give it some nice colors. Working with this type of material is very useful, because in addition to helping the planet, we help our pockets by saving money.
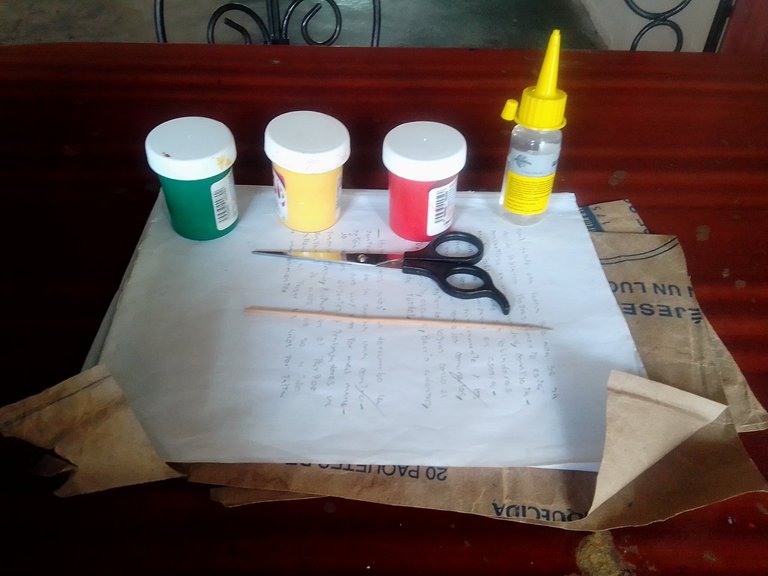
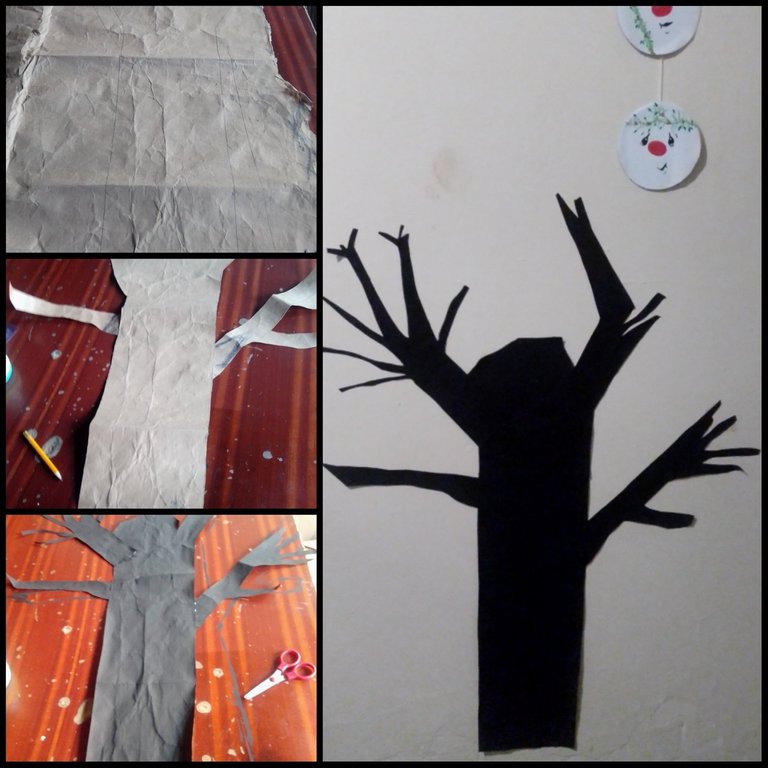
Paso 1 El Tronco 🌴
Para realizar el tronco del árbol use el papel cartón debido que es grande lo estire sobre la mesa y comencé con el lápiz a darle forma. Una vez dibuje lo recorte y luego procedí a pintarlo de negro, cuando estuvo seco lo pegue a la pared con Silicon.
Step 1 The Trunk 🌴
To make the trunk of the tree I used the cardboard paper because it is big, I stretched it on the table and I started to shape it with the pencil. Once I drew it, I cut it out and then I proceeded to paint it black, when it was dry I glued it to the wall with Silicon.
Paso 2 Las Flores🌺
Tome una hoja blanca y doble para sacar 4 cuadrados de al menos 8x8 cm. Luego Volví a doblar para hacer triángulos, en caso que a doblar no se den tus triángulos ayúdate con una tijera para lograrlo. Una vez tengas doblado en forma de triángulo, a este debemos hacer tres dobles hasta que esté un poco grueso esta figura ya nombrada; dibuja una especie de semi curva y recorta, luego recorta en una de las líneas marcadas de tu flor un pétalo y pega, pinta del color que más gustes, en mi caso fue color rosa e hice destellos con escarcha. En la siguiente imagen puedes apreciar.
Step 2 The Flowers🌺
Take a white sheet of paper and fold it to make 4 squares of at least 8x8 cm. Then I doubled again to make triangles, in case your triangles do not fold, help yourself with scissors to achieve it. Once you have folded in the form of a triangle, we must make three doubles to this until this already named figure is a little thick; draw a kind of semi curve and cut it, then cut a petal on one of the marked lines of your flower and paste, paint the color you like the most, in my case it was pink and I made sparkles with glitter. In the following image you can see.

Paso 3 La Grama 🌿
Con una hoja blanca doblamos igual hasta sacar cuatro cuadrados y a estos los recortamos a la mitad para que queden 2 triángulos. Cada uno vamos a ir doblando desde la parte inferior hasta llegar a la punta, los dobles son de la siguiente manera:doblo adelante, doblo al reverso. Cuando terminemos agregamos pega a la parte lisa y unimos para crear las hojas.
Step 3 The Grass 🌿
With a white sheet of paper we fold the same way until we get four squares and we cut these in half so that there are 2 triangles left. Each one of us is going to fold from the bottom to the tip, the doubles are as follows: forward fold, reverse fold. When we finish we add glue to the smooth part and join to create the leaves.

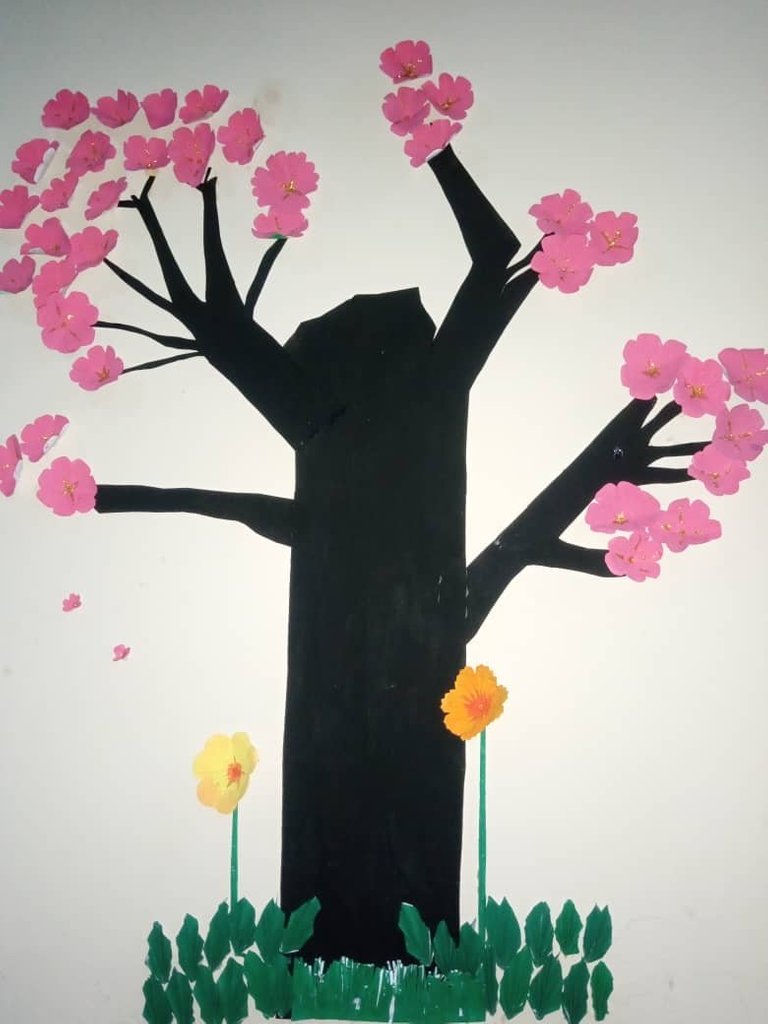
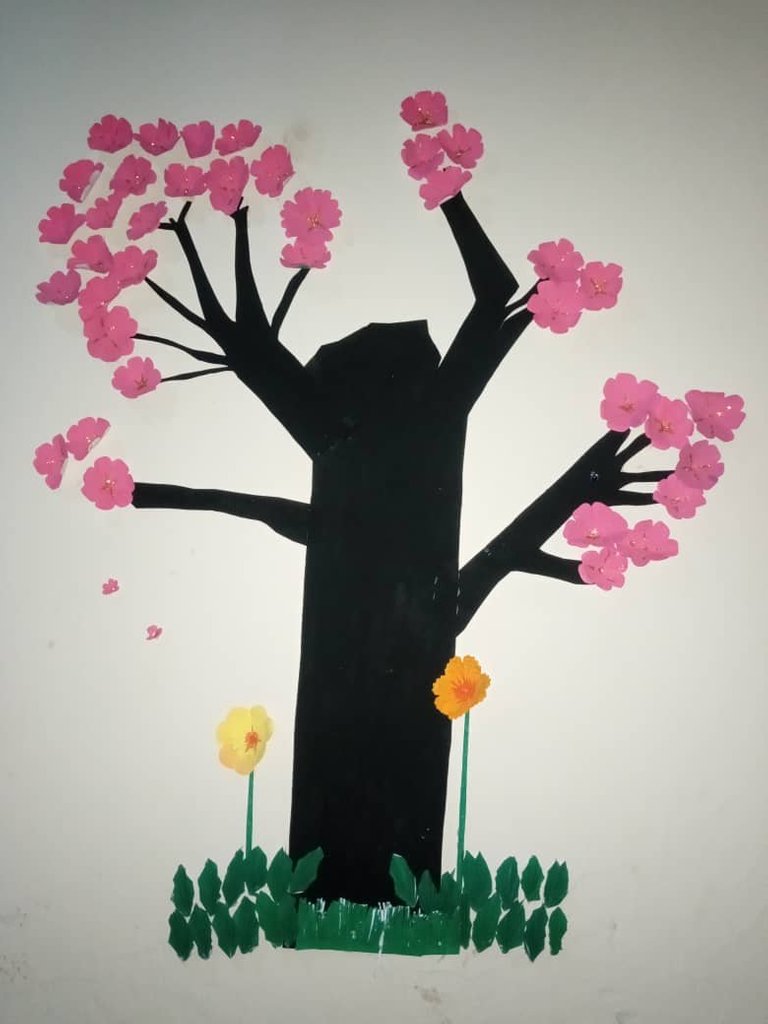
Arma En La Pared 🌴🌺🌿
Cuando ya tengas todos los elementos solo falta pegarlo a la pared, así fue en mi caso e hice otros detalles como las flores de la parte baja. Quise decorar un espacio de mi casa con mi manualidad hecha de papel.
Gun On The Wall 🌴🌺🌿
When you have all the elements, all you have to do is glue it to the wall, that's how it was in my case and I made other details like the flowers in the lower part. I wanted to decorate a space in my house with my craft made of paper.

🌺🌺Mi Árbol En La Pared Está Listo🌺🌺
🌺🌺My tree on the wall is ready🌺🌺
Muchas gracias mis queridos amigos, espero les haya gustado mi trabajo del día 😉. Hasta la próxima 🙋🏼♀️
Thank you very much my dear friends, I hope you liked my work for the day 😉. Until next time 🙋🏼♀️

Fotografías tomadas con mi teléfono yezz Max plus y banner creado y editado en Canva.
Photographs taken with my yezz Max plus phone and banner created and edited in Canva.
Me has dado una genial idea. Pensaba pintar mi pared pero se que cuando quisiera cambiar el diseño me arrepentiria despues, pues cubrir el color negro y de pinturas acrílicas no es tarea sencilla, pero a través de tu tutorial, veo que queda mucho mejor usar los materiales que indicas. Muchas gracias por compartir tus ideas con nosotros.
Aprovecho la oportunidad para invitarte a nuestro Discord y estés pendiente de las buenas nuevas.
https://discord.gg/tYENgKmTHA
Muchas gracias amiga ☺️ me siento halagada. Este diseño deseo ampliarlo y mi esposo quiere que use pintura directamente a la pared, pero yo quiero seguir usando mis materiales. Así que cuando lo termine lo haré espero el 90% sea con el material de provecho y no mucha pintura para evitar lo que me estás comentando. Bendiciones para ti 🙏 ya quiero ver tu trabajo también que seguro será hermoso.