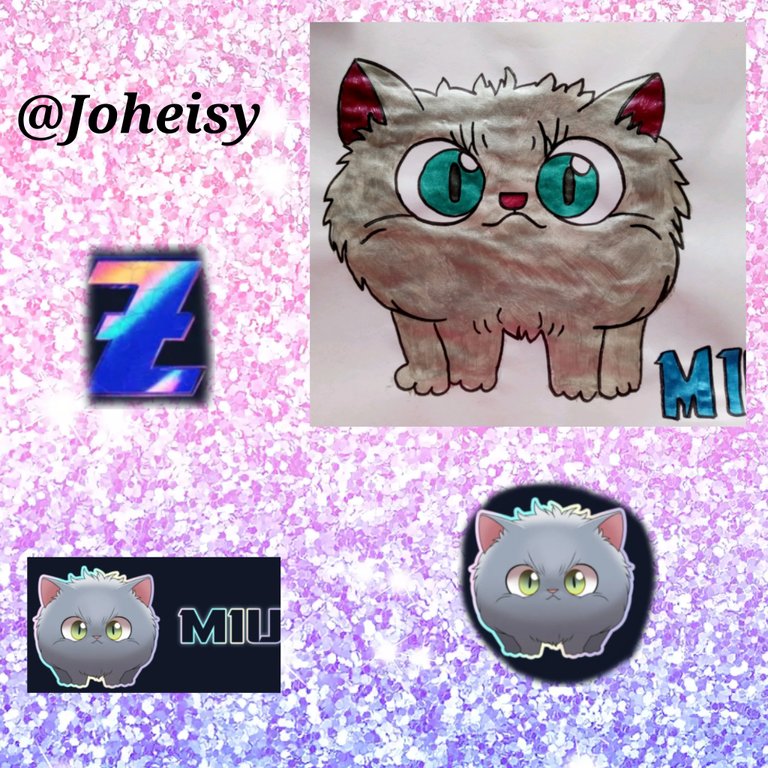
🐱Drawing My Dear MIU🐱Dibujando A mi Querido MIU🐱
Hello dear friends of this Hive community, I hope you are well a cordial greeting to all today I send you thousands of blessings for all the members of this platform.
- I tell you that if I am encouraging me to create content thanks to my sister and her publications, I really like drawing is one of my skills of course I do not consider myself one of the best because I have seen many drawings that are impressive but if I tell you something, love can always demonstrate it through that we make jewelry, drawings, paintings and everything we know is always good to express it in the different communities that has hive, and I feel fortunate to be a member of the web 3 and 4.
The materials used to make our painted miu drawing were the following:
🙂 White sheet
🙂 Pencil
🙂 Brushes
🙂 Metallic paints
🙂 Black marker

1
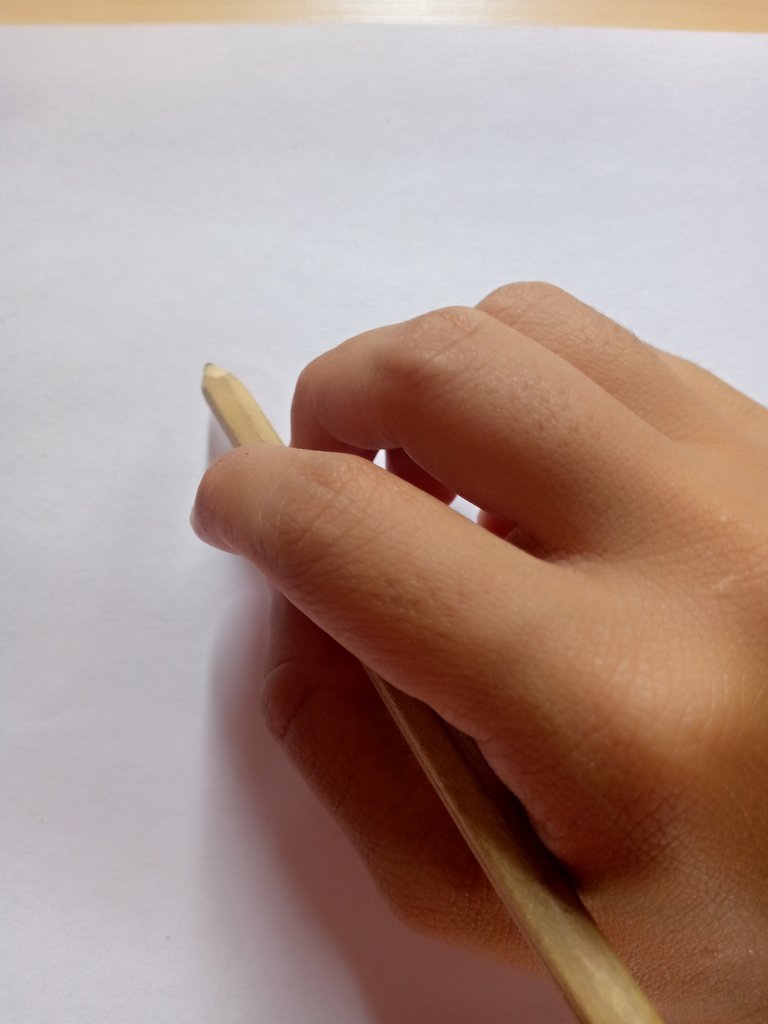
The first thing we are going to do is to select the white sheet and the pencil to have it ready on the table we must take into account the hygiene measures because when we are going to use white sheet they can easily get dirty I first clean the table and I made sure that everything had clean.
2
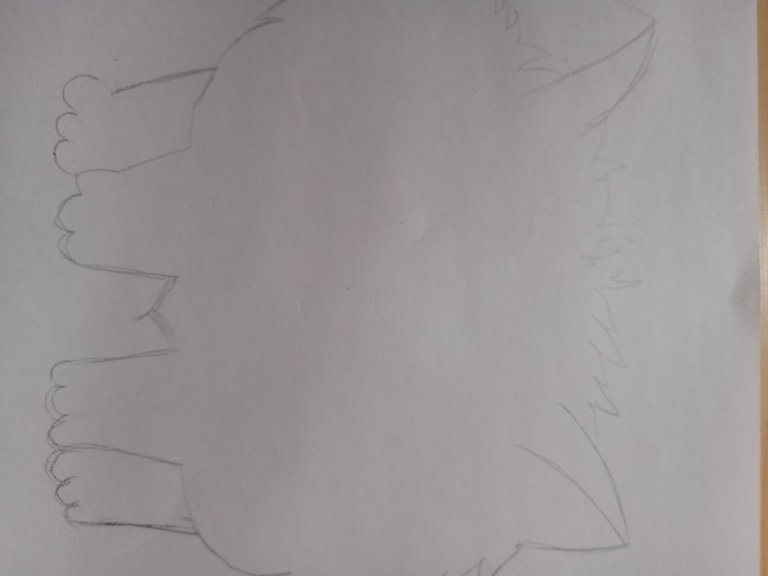
Now what we are going to do is to take the pencil and the white paper and start making the book starting first with the little ears and then from there we are going to draw several straight lines so that both are on the same level.
3
Once the part of the ears and the top fur are done, we are going to start drawing the lateral parts of the body of our kitten, making the fur towards the bottom in wavy zig zag shapes like this
4
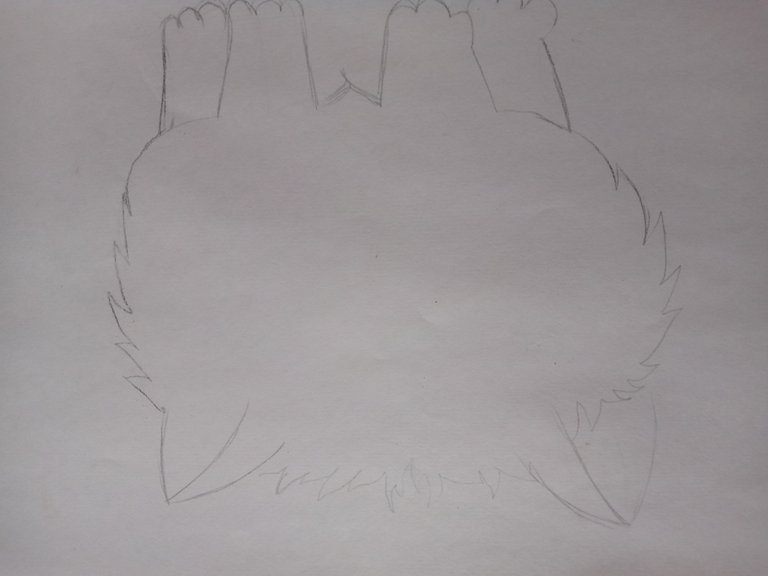
Now towards the bottom part we are going to draw the legs and feet of our mui cat, we must make sure that they are in the same way that we have to be careful with the pencil to avoid leaving smudges or sweaty hands and damage our drawing.
Then what we are going to do is to draw a watercolor shape in the center part of the face together with a small circle that will be the nose and the little mouth of the kitten.
5
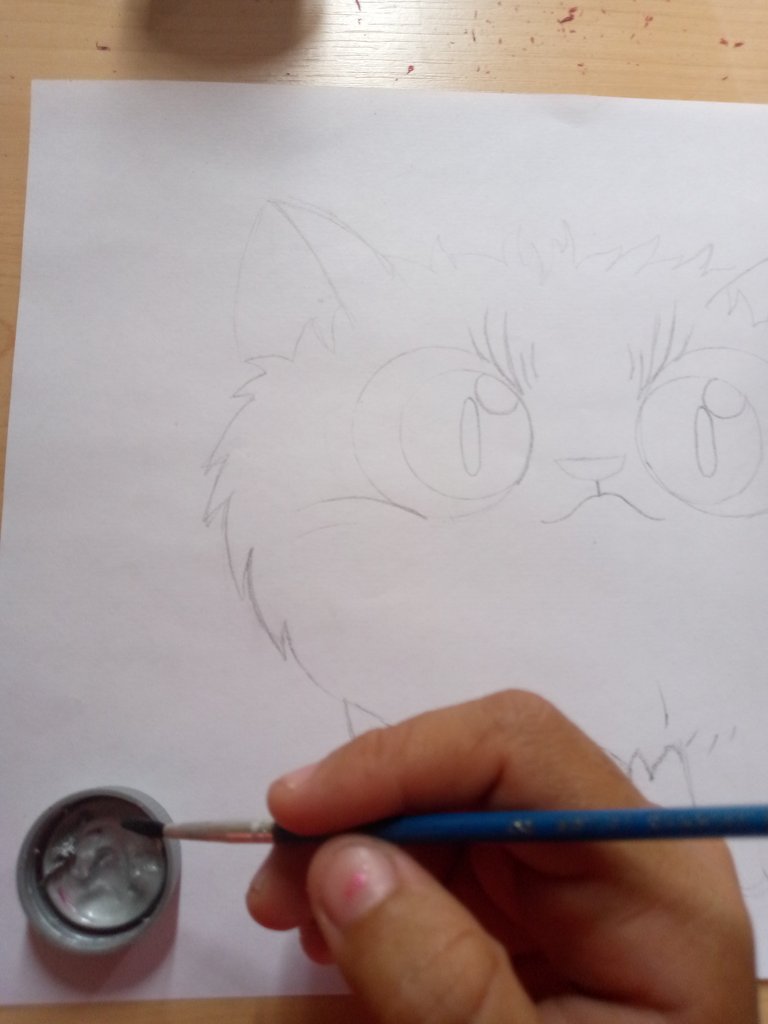
Once the nose is ready we are going to focus on making the part of the eyes using a round object that will help us to form the eyes of the cat after this we are going to make the eyelashes in the lower part and we are going to draw what is the part of the center of the eyes that is like another circle but small.
6
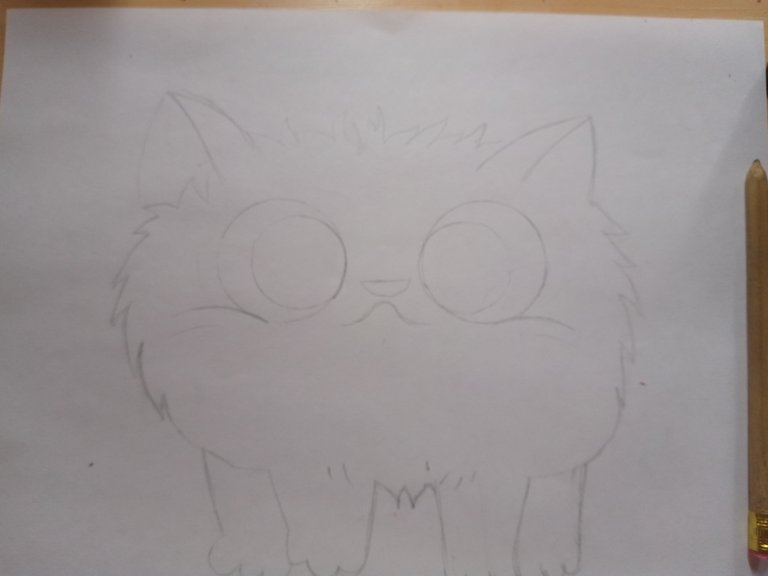
This way we have finished our pencil drawing.

7
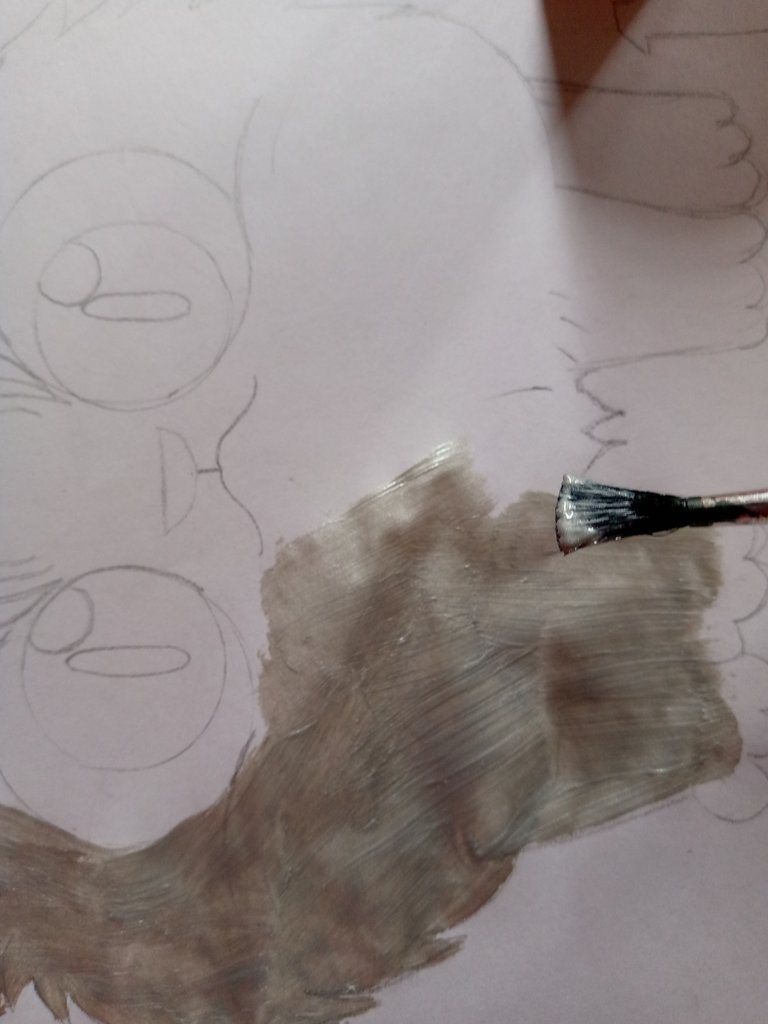
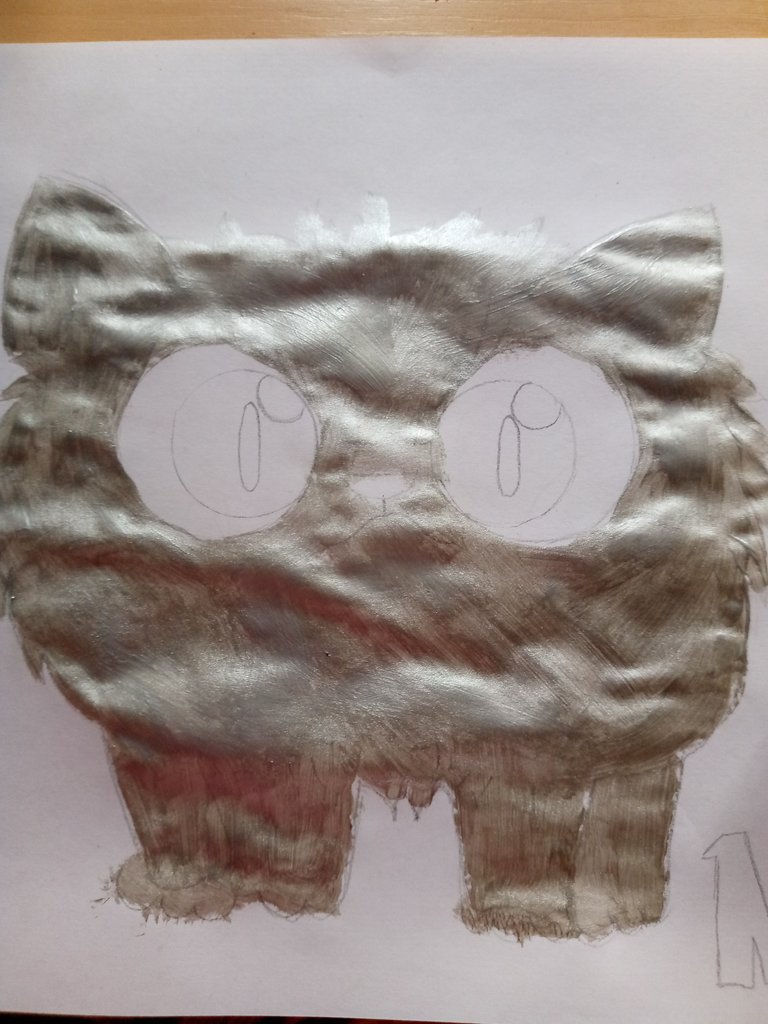
The first thing we are going to take is the brush and the metallic gray paint and we are going to paint the whole part of the body of our attic once it is ready we are going to move on to the other painting procedure.
8
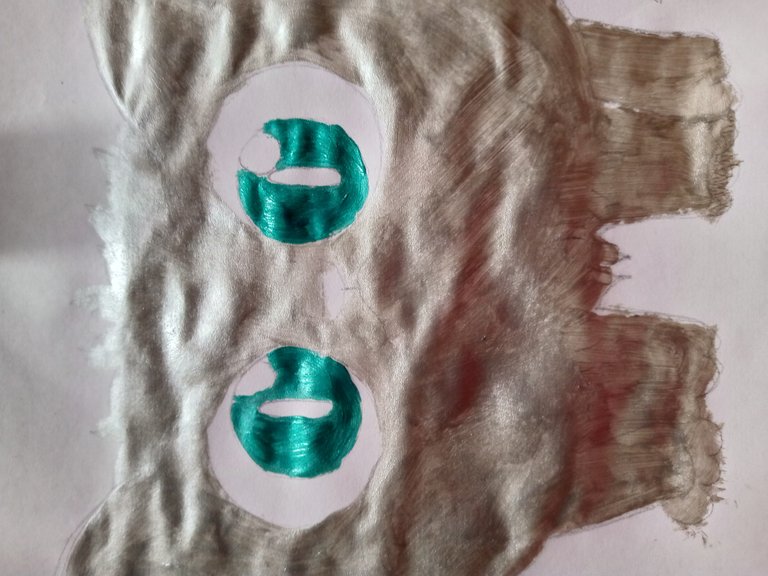
Now we are only going to paint apart from the eyes leaving the circle that is in the middle blank carefully we are going to do it like this
9
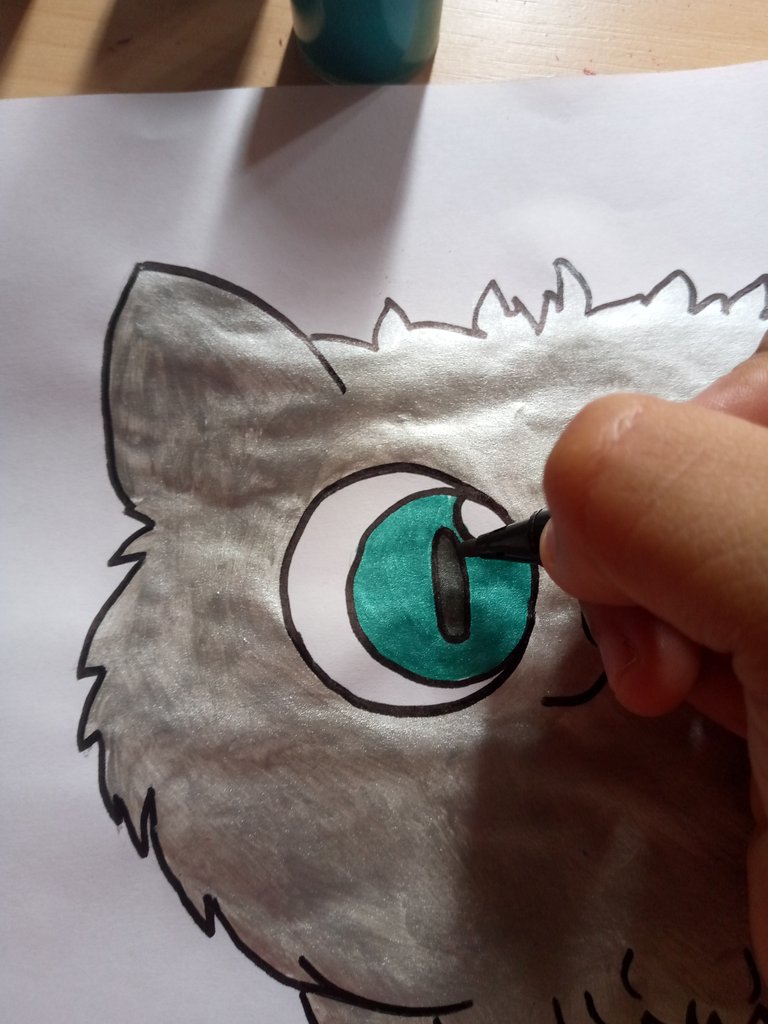
Once finished the part of the eyes in green color we paint the one in the center in black color leaving the circle of the upper right left part in white also.
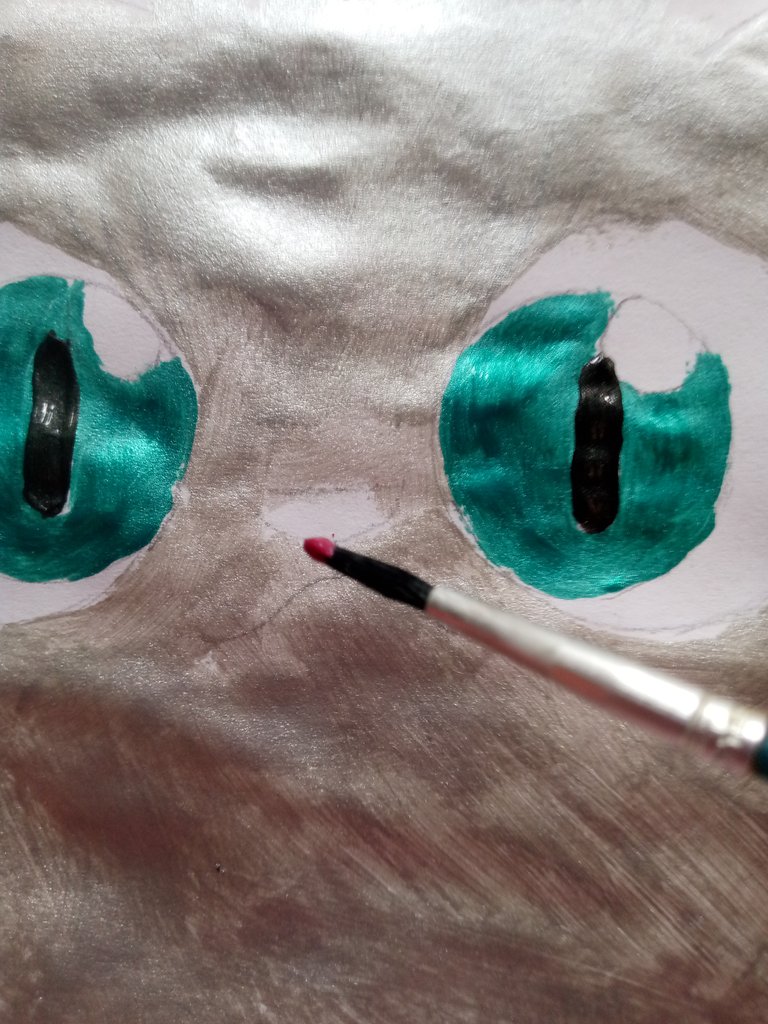
After that we are going to paint what is the part of the nose with intense red metallic paint in this way.
10
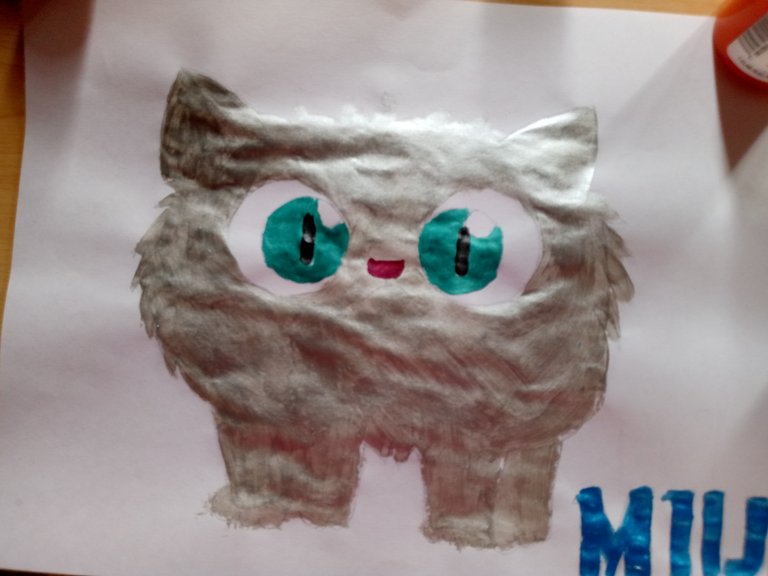
After having finished all our painted drawing we are going to blur with the black marker all the lateral parts of the cat's body, the eyes and the legs like this

11
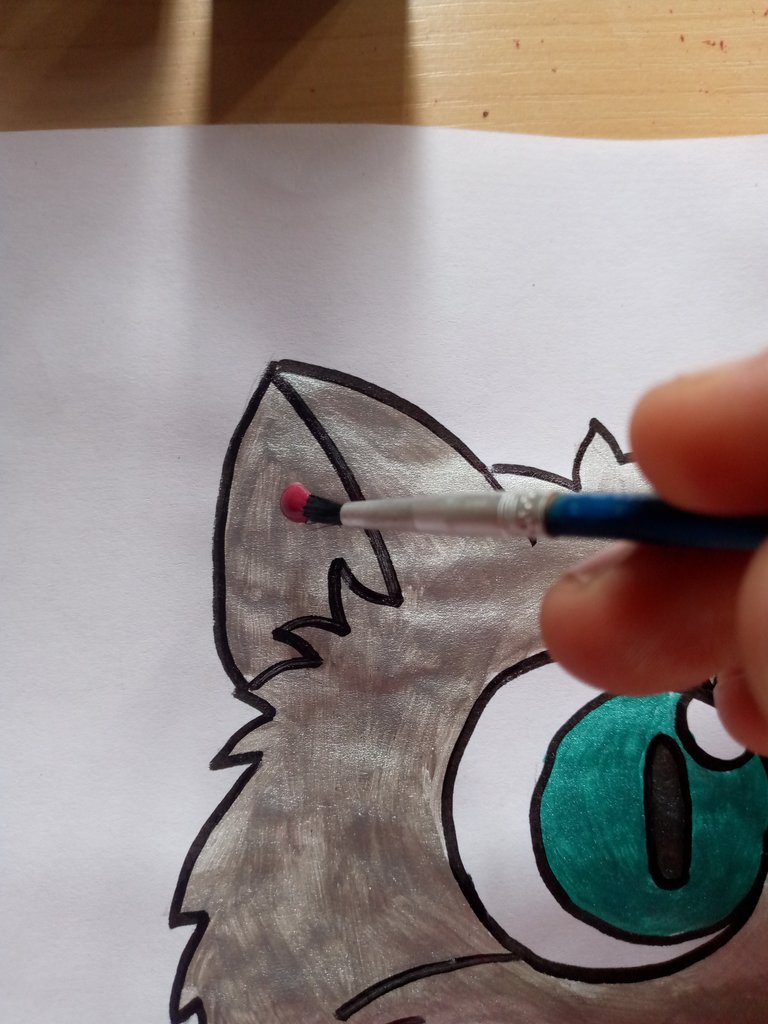
Lastly, I wanted to paint his name next to him in blue and that's it.
Now we are going to paint the ears in the same color as the nose to finish our miu kitty.
- I hope you can do it at home and I'm really excited and happy because it was very nice, and has been one of my favorite drawings until next time my dear Readers Thank you for supporting me.
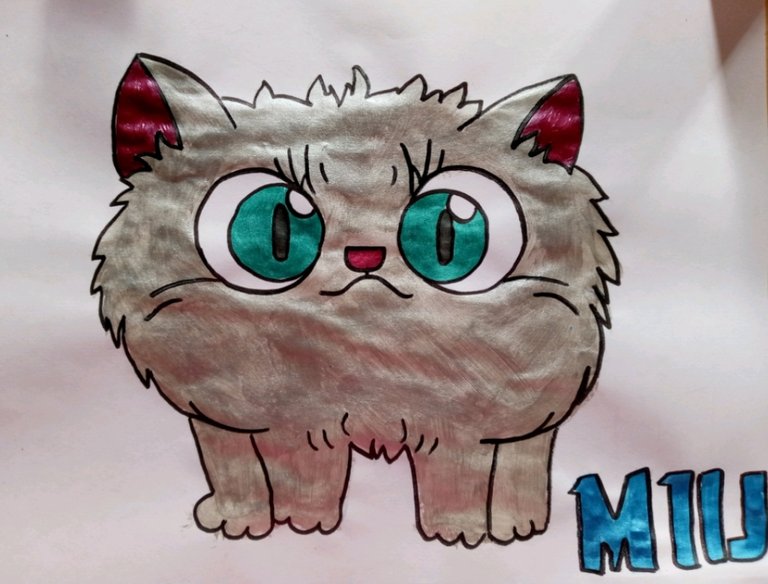
What did you think of my Dear MIU?
- The images belong to me.
- Translator Deelp
- The photo was edited by Polish.
Hola queridos amigos de esta comunidad de Hive, Espero que estén bien un cordial saludo para todos el día de hoy les mando miles de bendiciones para todos los integrantes de esta plataforma.
- Les digo que si me estoy animando a crear contenido gracias a mi hermana y a sus publicaciones, me gusta mucho dibujar es una de mis habilidades claro no me considero unas de las mejores porque eh visto mucjos dibujos que son impresionante pero si les digo algo, el amor siempre lo podemos demostrar a travez de que realizamos bistueria, dibujos, pinturas y todo lo que sabemos siempre es bueno expresarlo en las diferentes comunidades que tiene hive, y me siento afortunada de ser un miembro mas de la web 3 y 4.
Los materiales utilizados para hacer nuestro dibujo de miu pintado fueron los siguientes:
🙂 Hoja blanca
🙂 Lápiz
🙂 Pinceles
🙂 Pinturas metalizadas
🙂 Marcador negro
1
Lo primero que vamos a hacer es seleccionar la hoja blanca y el lápiz tenerlo preparado en la mesa debemos tomar en cuenta las medidas de higiene ya que cuando vamos a utilizar hoja blanca fácilmente se pueden ensuciar yo primero limpiar la mesa y Me aseguré de que todo tuviese limpio.
2
Ahora lo que vamos a hacer es tomar el lápiz y la hoja blanca y empezamos a realizar el libro comenzando primero por las orejitas luego de allí vamos a trazar varias rectas para que ambas queden de un mismo nivel.
3
Una vez ya realizada la parte de las orejas y del pelaje de arriba vamos a iniciar a dibujar las partes laterales del cuerpo de nuestro gatico, haciendo el pelaje hacia la parte de abajo en formas de Zig zag onduladas de esta manera
4
Ahora hacia la parte de abajo vamos a dibujar las piernas y pies de nuestro gato mui, debemos de asegurarnos que queden De igual forma es muy fácil de realizar a la hora de dibujar con el lápiz tenemos que ser cuidadosos con dejar borrones o en sudar las manos y dañar nuestro dibujo.
Luego lo que vamos a hacer es dibujar una forma de acuarela en la parte del centro de la cara junto con un pequeño círculo que este será la nariz y la boquita de el gatito.
5
Una bella lista la nariz nos vamos a enfocar en realizar la parte de los ojos utilizando un objeto redondo que nos ayude a formar los ojos del gato luego de esto se va a realizar las pestañas en la parte de abajo y vamos a dibujar lo que es la parte del centro de los ojos que viene siendo como otro círculo más pero pequeño.
6
Así de esta manera hemos terminado nuestro dibujo en lápiz.
7
Lo primero que vamos a tomar es el pincel y la pintura gris metalizada y vamos a pintar toda la parte del cuerpo de nuestro ático una vez ya lista vamos a pasar al otro procedimiento de pintura.
8
Ahora solo vamos a pintar aparte de los ojos dejando el círculo que está en el medio en blanco cuidadosamente vamos a realizarlo así de esta manera
9
Una vez terminada la parte de los ojos en color verde pintamos la del centro de color negro dejando el círculo de la parte de arriba derecha izquierda en blanco también.
Seguidamente de eso vamos a pintar lo que es la parte de la nariz con pintura roja intensa metalizada de esta manera.
10
Luego de haber terminado ya todo nuestro dibujo pintado nos vamos a encargar de difuminar con el marcador negro todas las partes laterales del cuerpo del gato de los ojos y de las piernas así de esta manera
11
Por ultimo quise hacerle al lado de el su nombre en azul y listo listo.
Ahora vamos a pintar las orejitas del mismo color de la nariz para así ya terminar nuestro gatito miu.
- Espero que puedan animarse a realizarlo en casa y realmente estoy emocionado y contenta porque me quedó muy lindo, y ha sido uno de mis dibujos favoritos hasta la próxima mis queridos Lectores Gracias por apoyarme.
Qué les parecio mi Querido MIU?
- Las imagenes me pertenecen.
- Traductor Deelp
- La foto la edite mediante Polish.
Hola amiga, un dibujo muy bonito y me gusto la manera como fuiste pintando y de esa manera lograr una gran obra de arte, además es increíble los detalles y se nota que tiene mucha paciencia y tranquilidad para así poder recrear todo eso.