1962 VW Beetle Project --- Part 4
Heyo hive! It’s time again for another update on this project!
I guess it’s already been another 3 months since the last update and I think things are coming along nicely.
I only spend about an hour a day or so (when I feel like it) working on it.
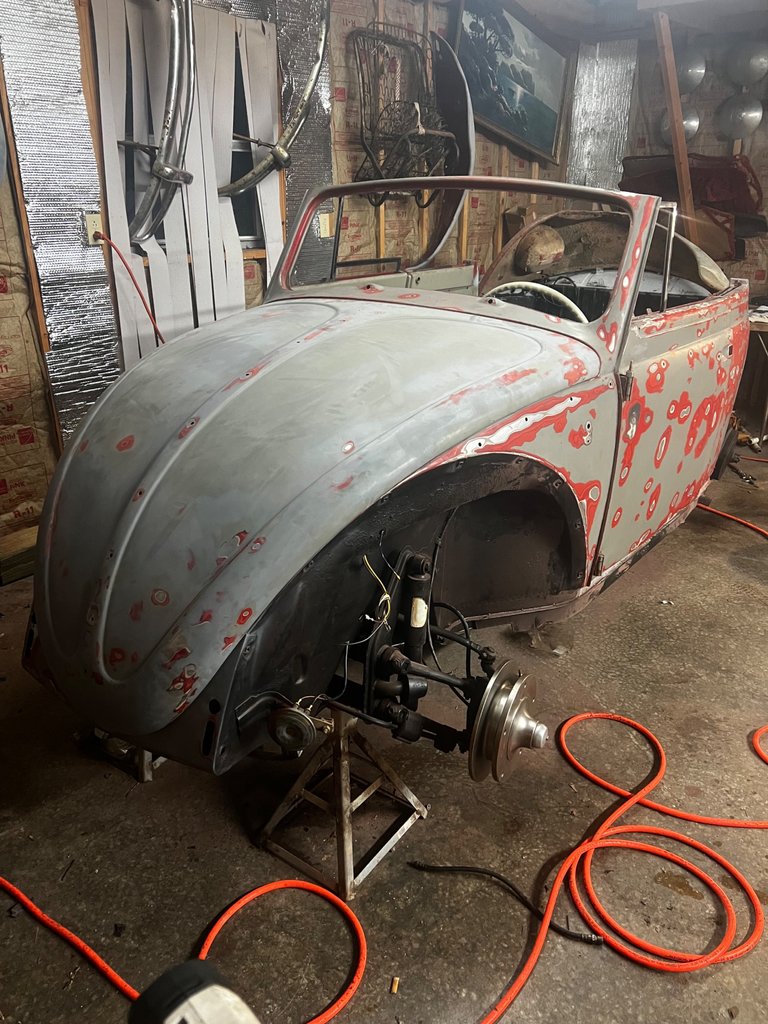
So far I’ve gotten one round of sanding the exterior (lots and lots of sanding), new wiring ran and brake parts installed. Stick around for the details.
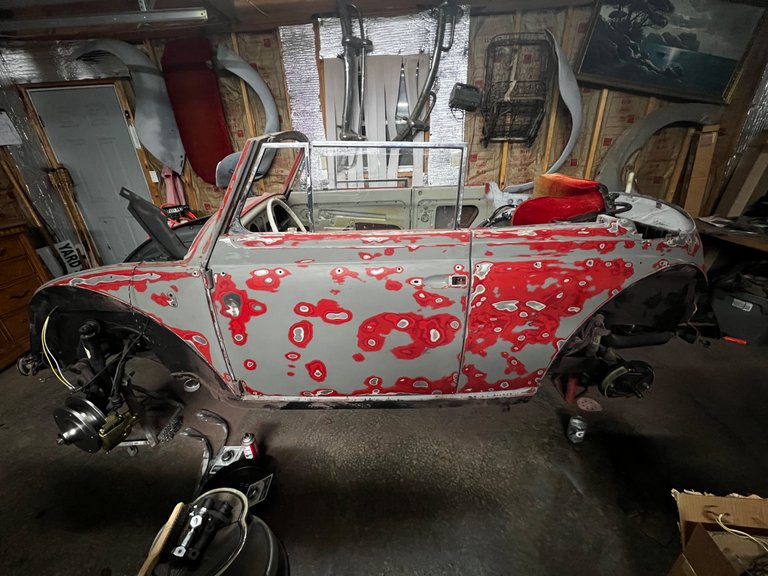
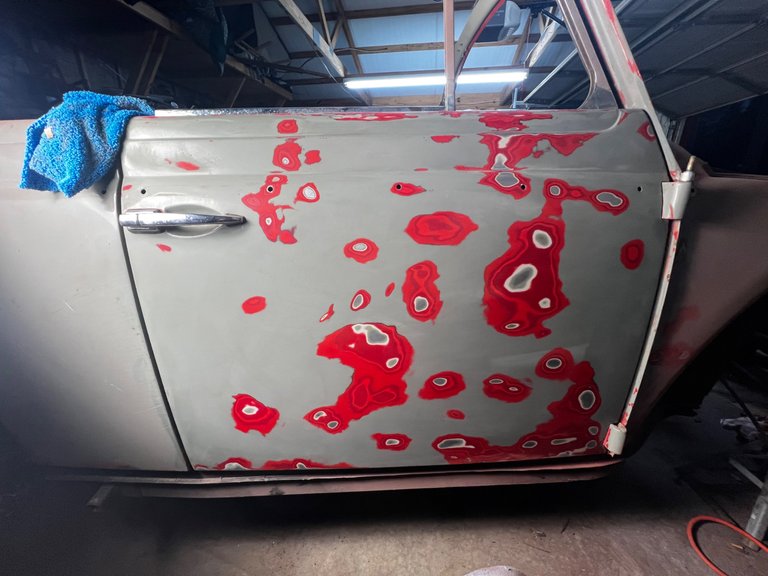
Sooooo much sanding…
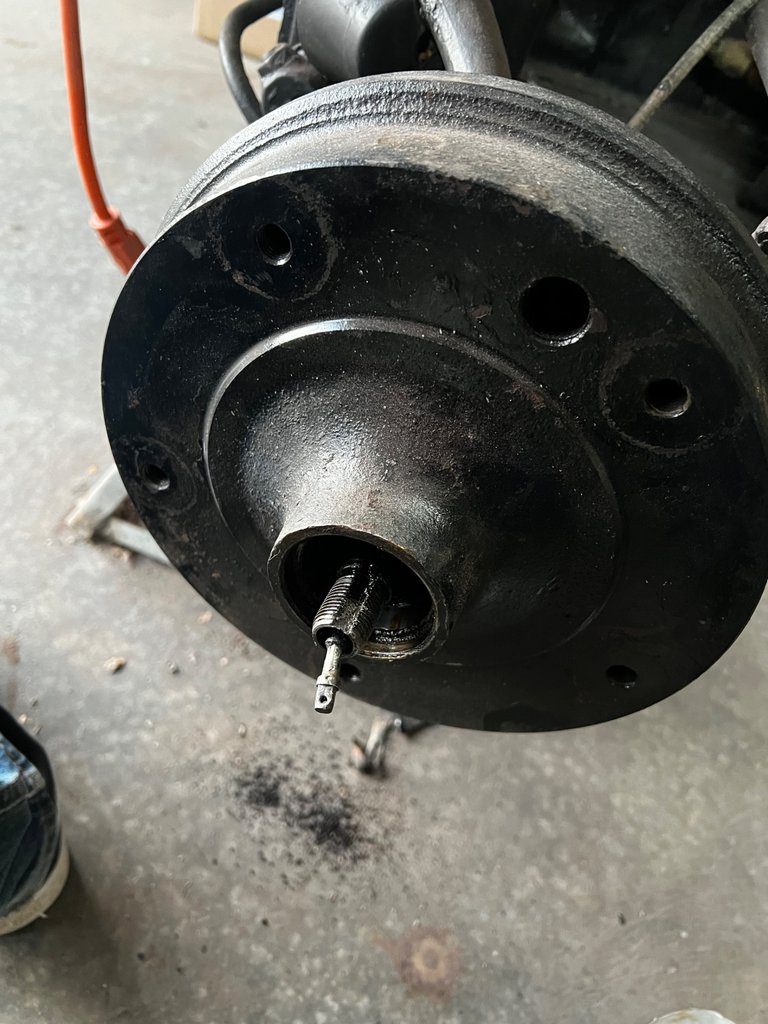
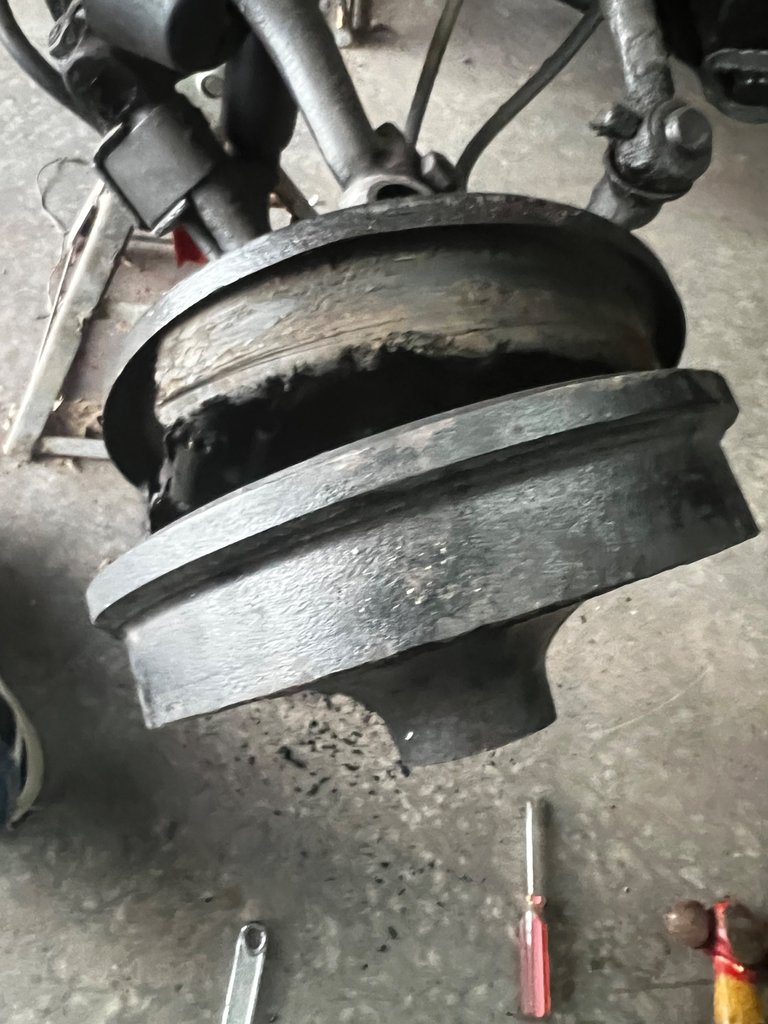
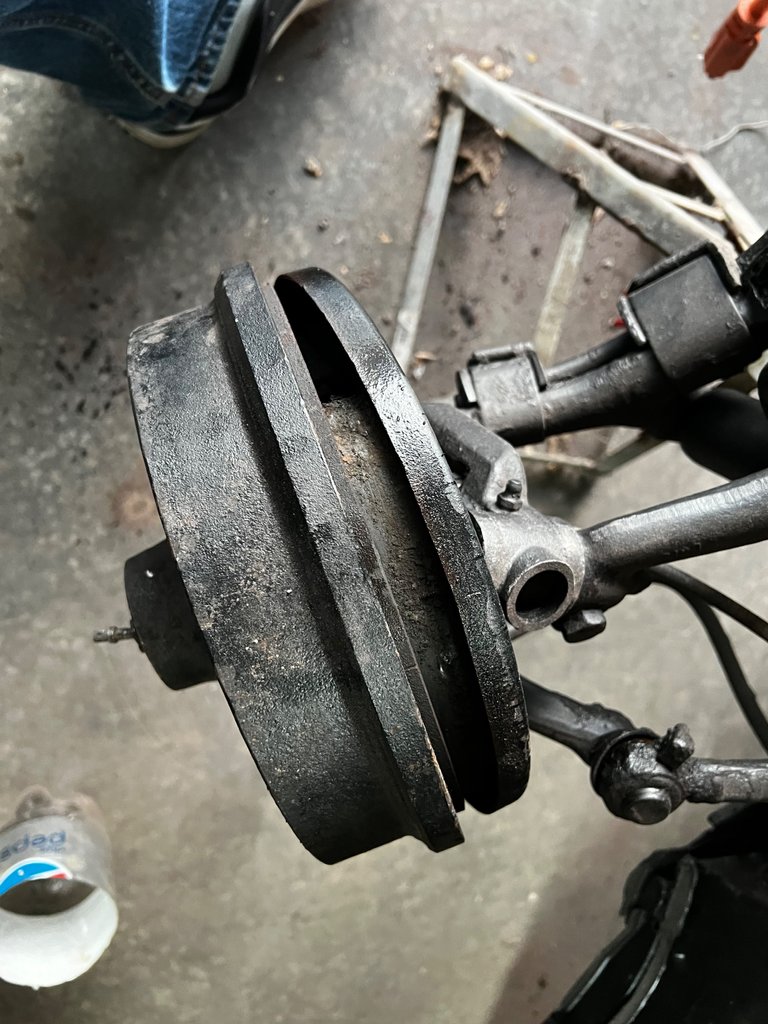
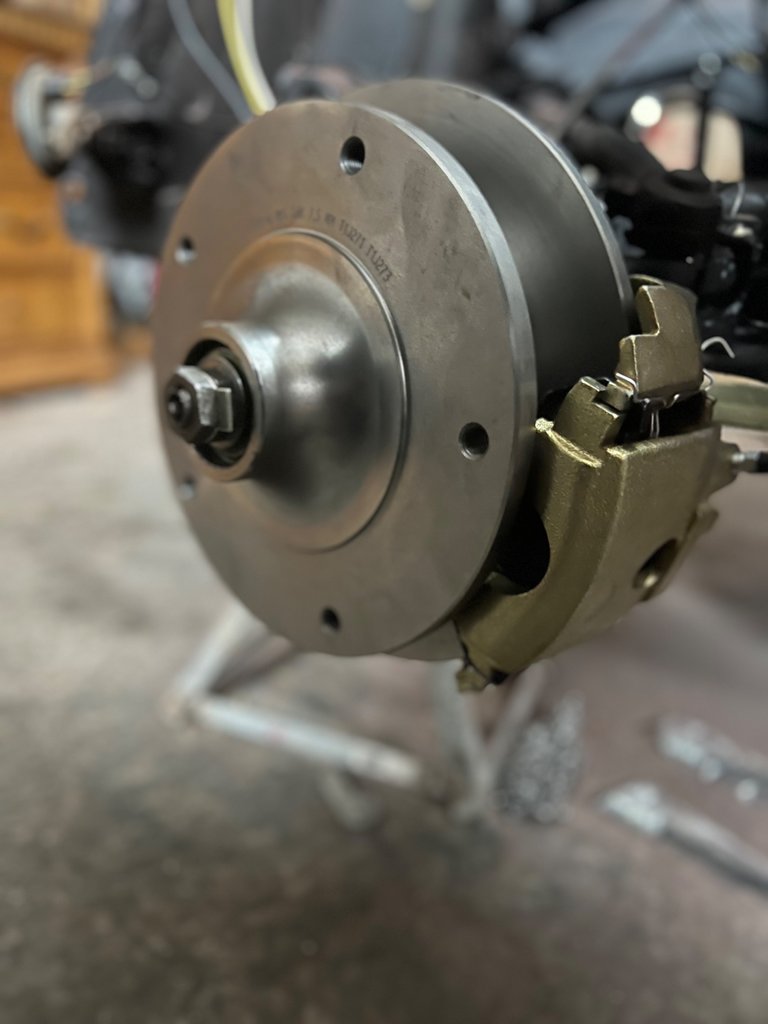
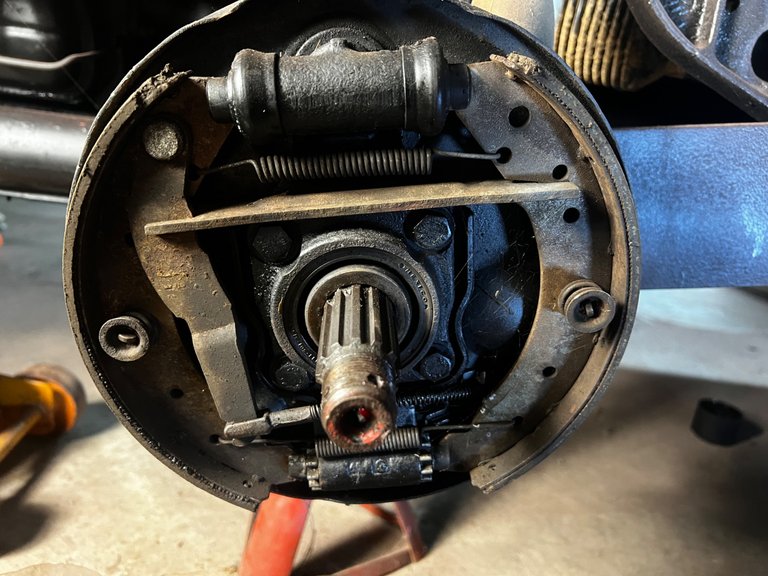
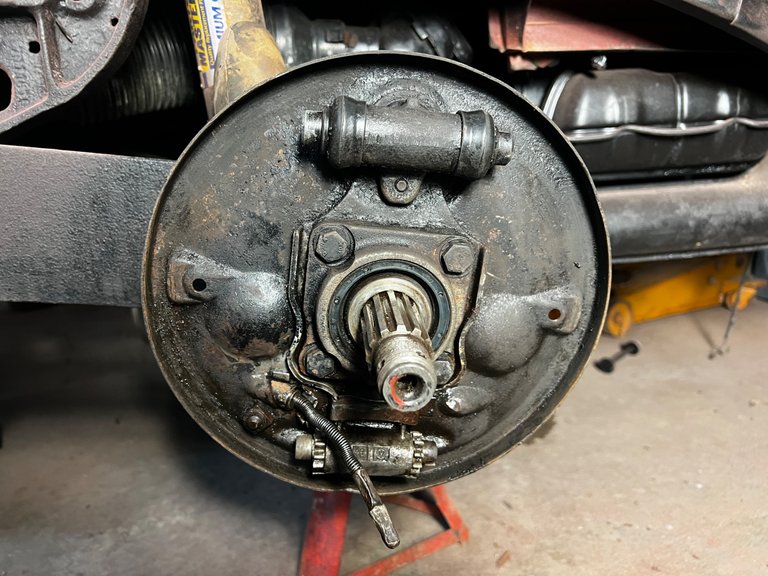
These hubs were seriously stuck and required seriously beating the shit out of them with a big hammer to get them off.
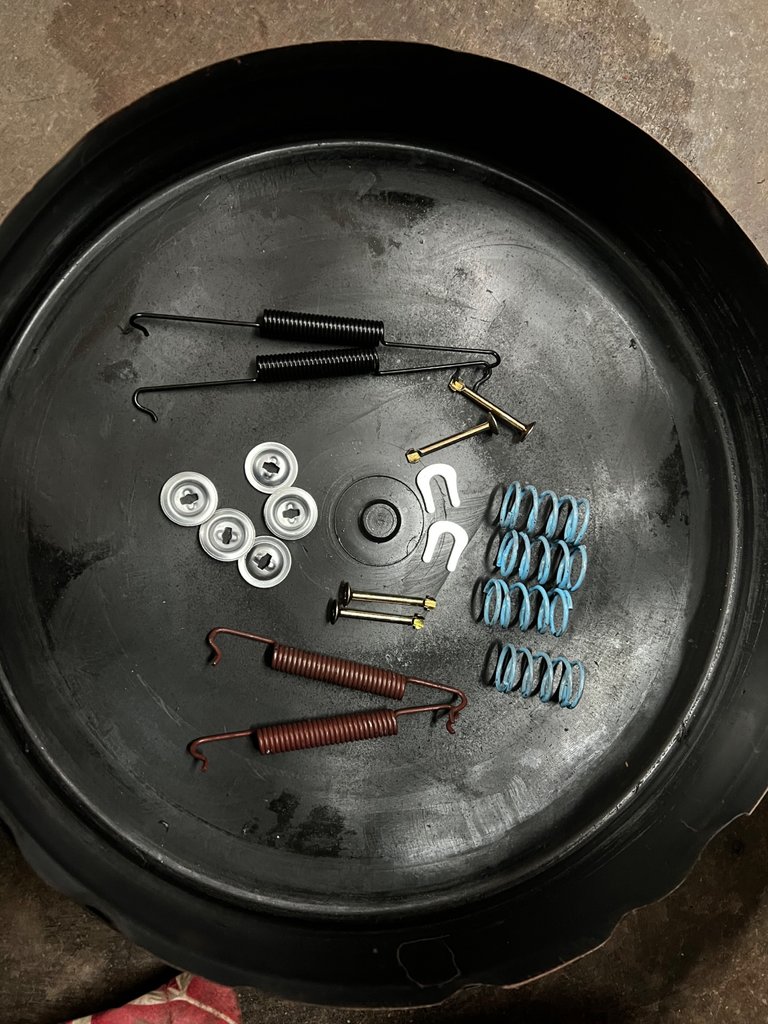
New parts ready to go on.
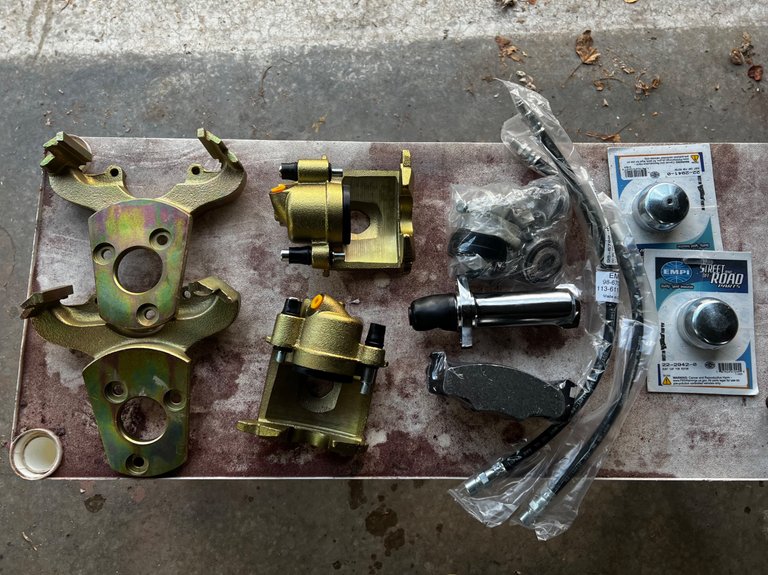
E
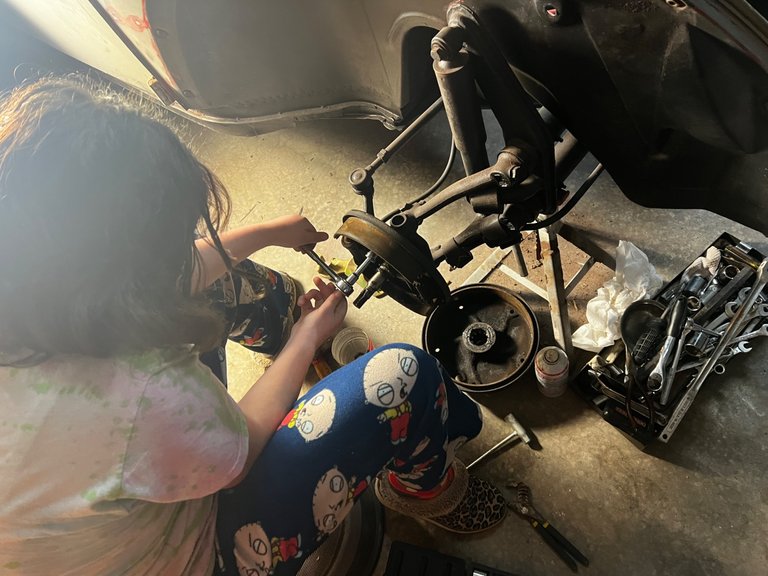
I did the drivers side but got the kid to do the passers side.
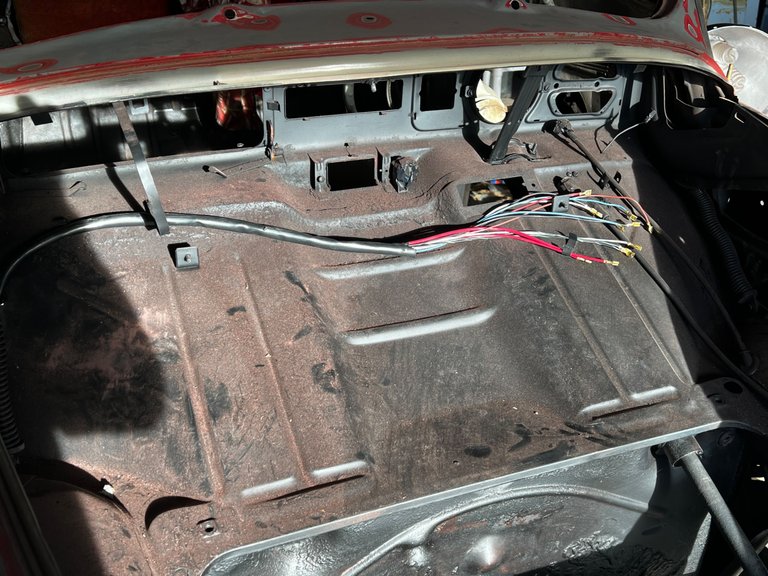
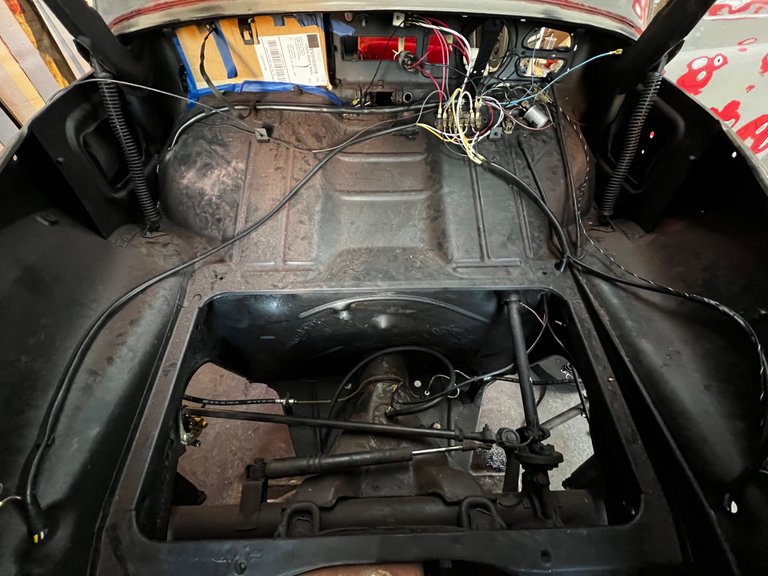
New wiring pulled in thru the body.
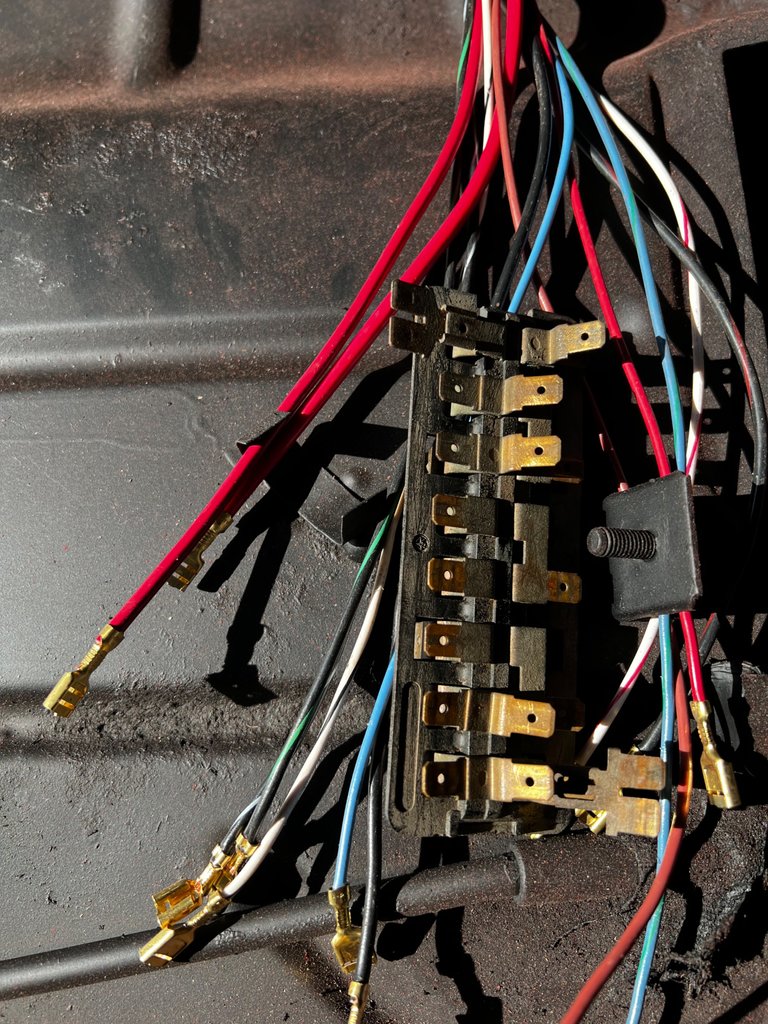
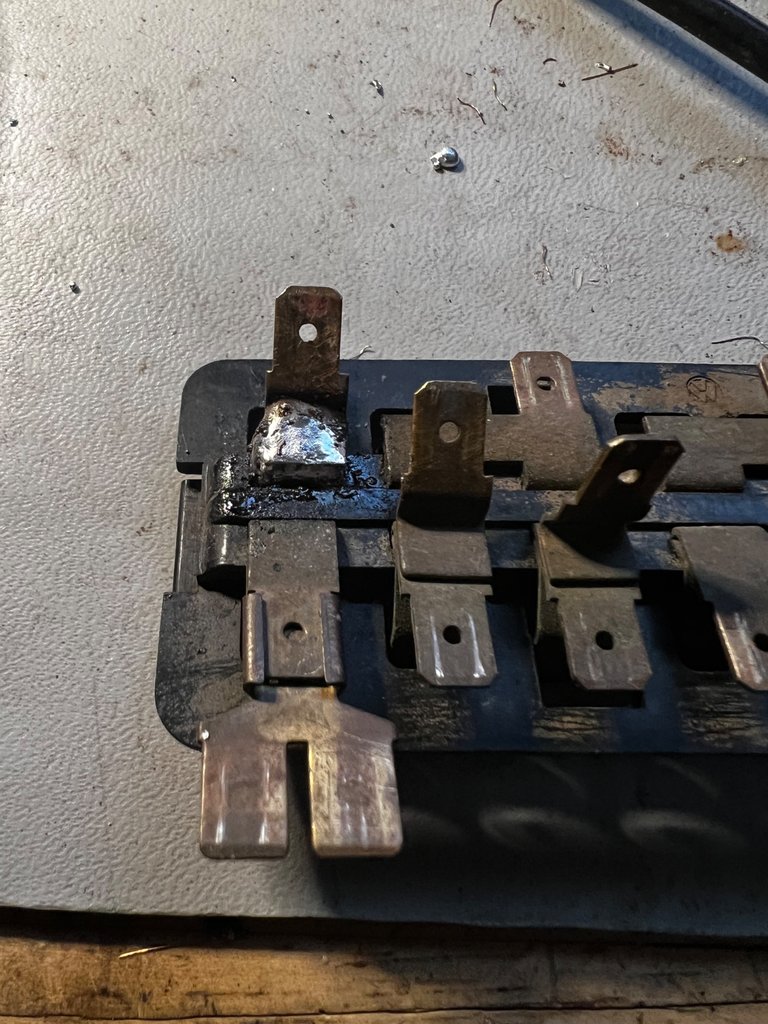
Of course the fuse box broke as soon as I got almost everything hooked up so I had to solder it back in place. A new box will eventually have to go in.
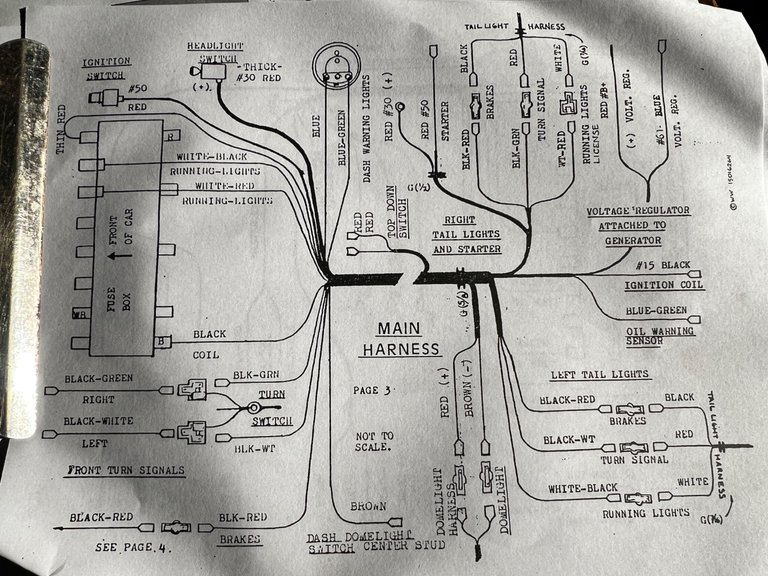
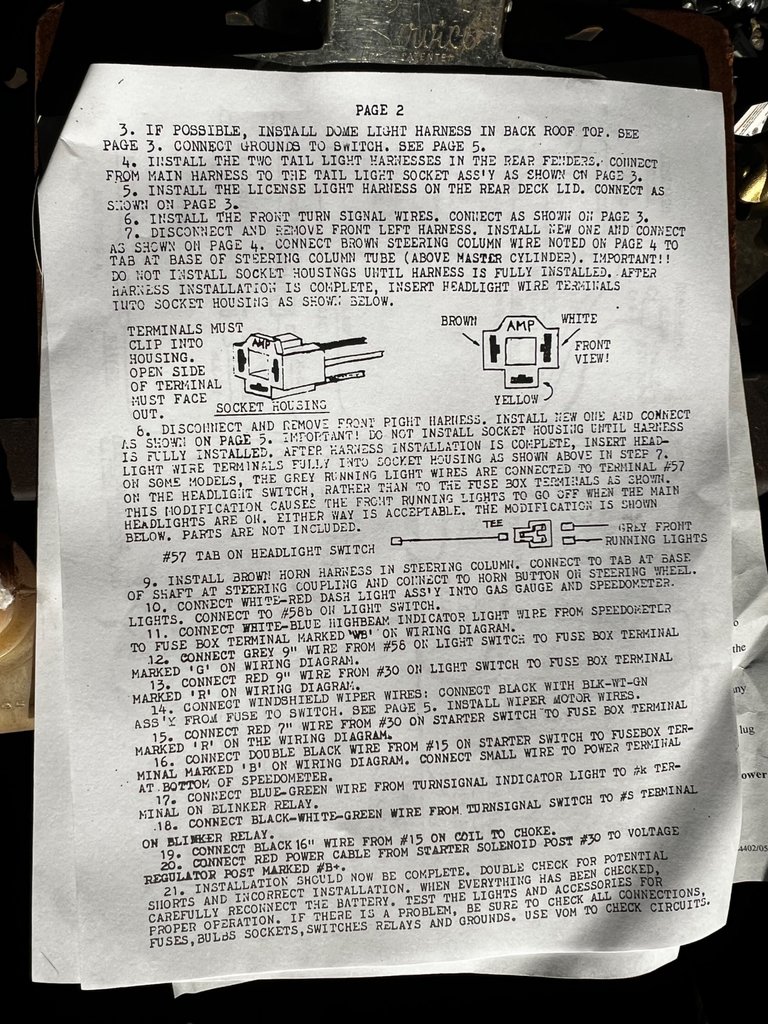
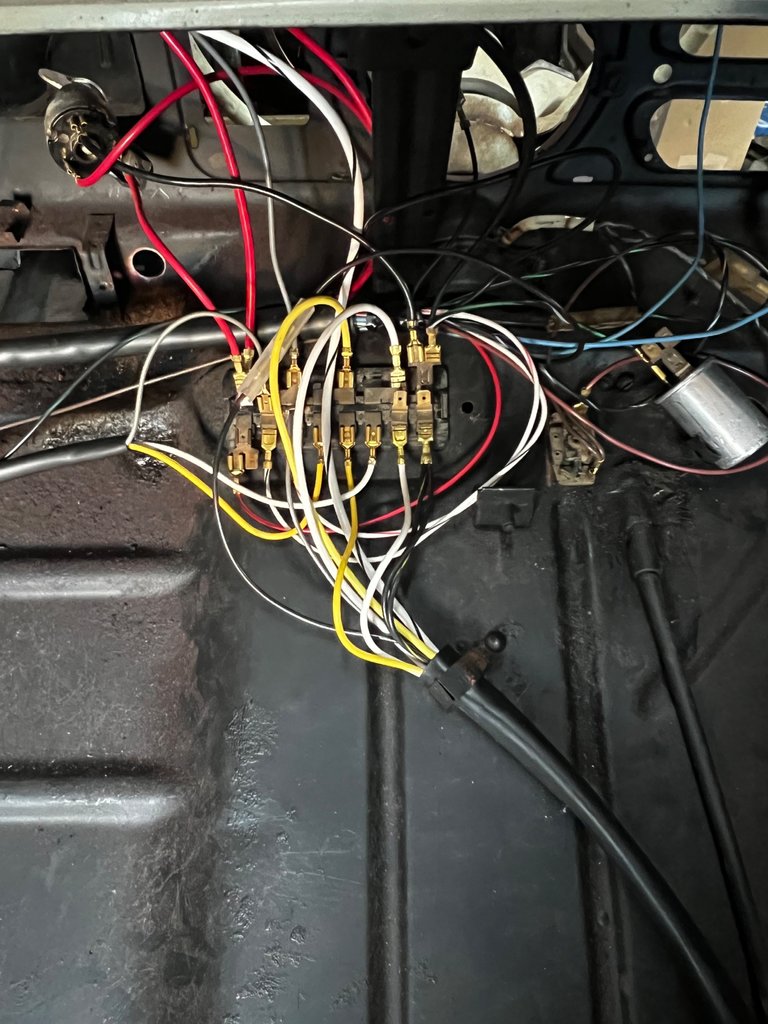
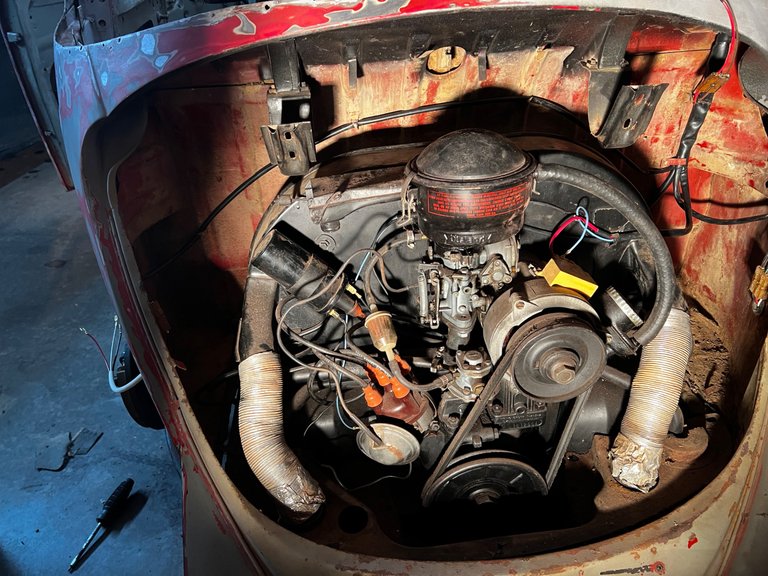
Got most of the wiring hooked up and she cranks over!
Taking a break from wiring, I worked on some of the convertible top parts.
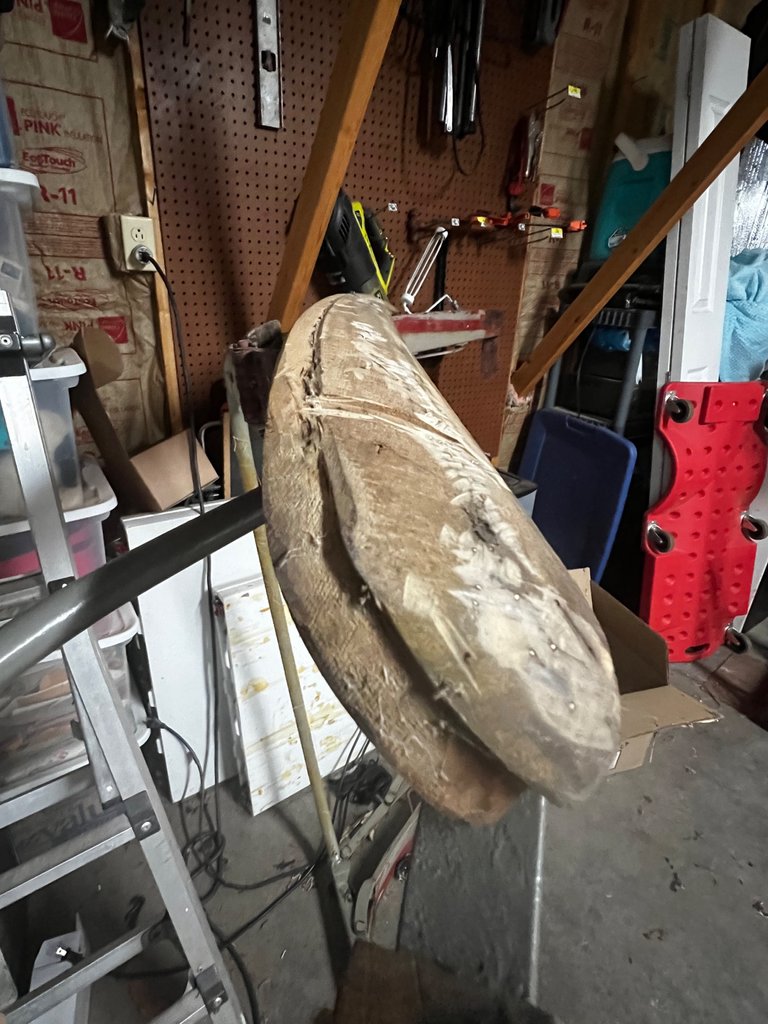
This was covered in staples but a grinder make quick work cleaning up the front wood bow.
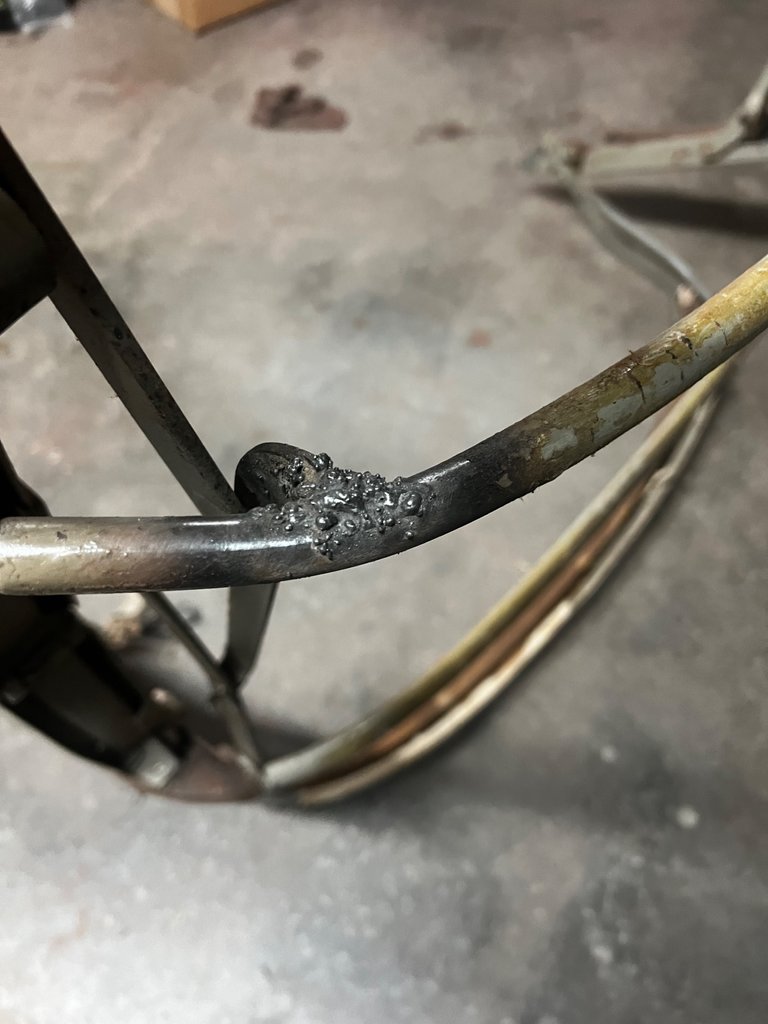
Welded the broken cross beam back.
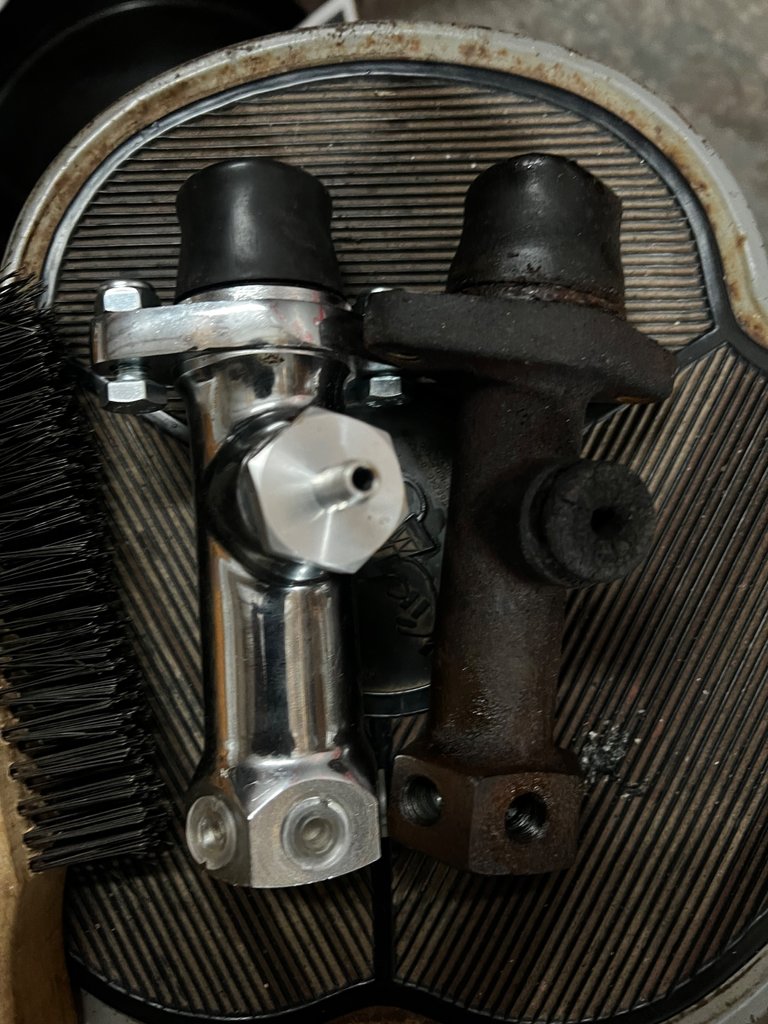
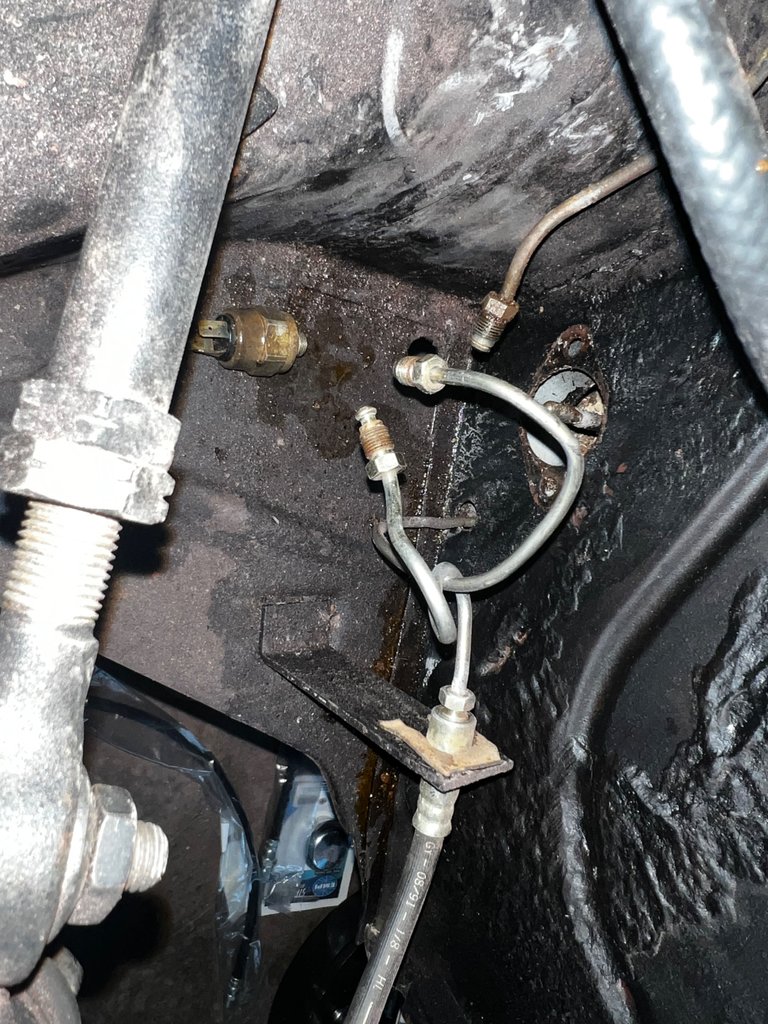

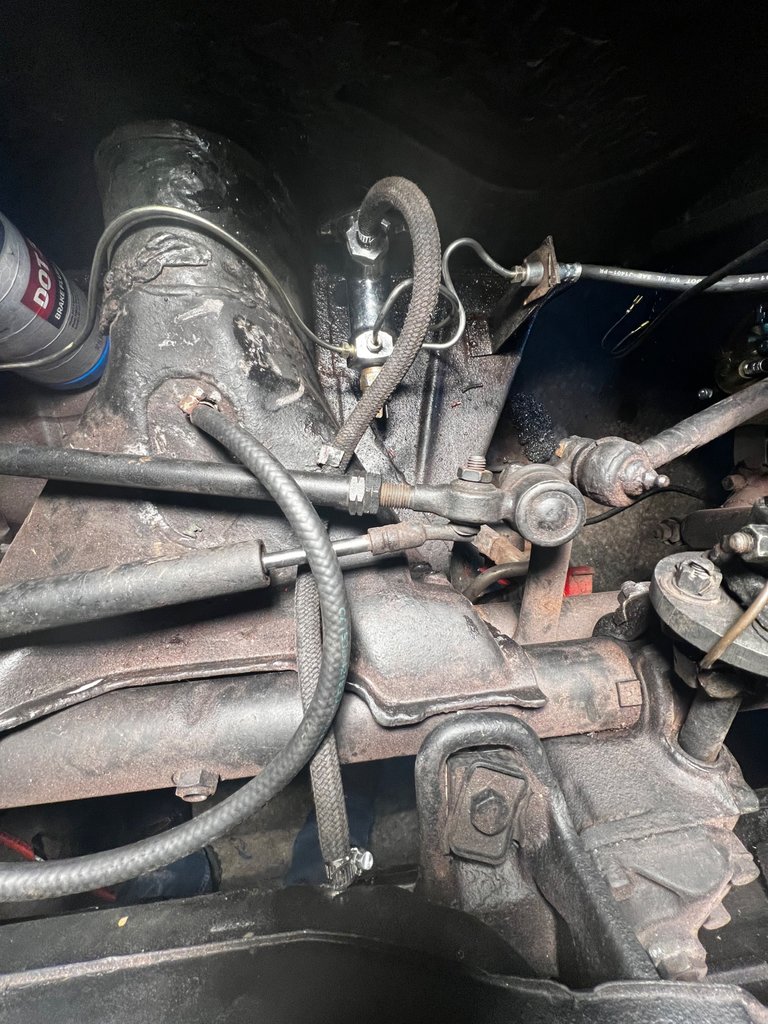
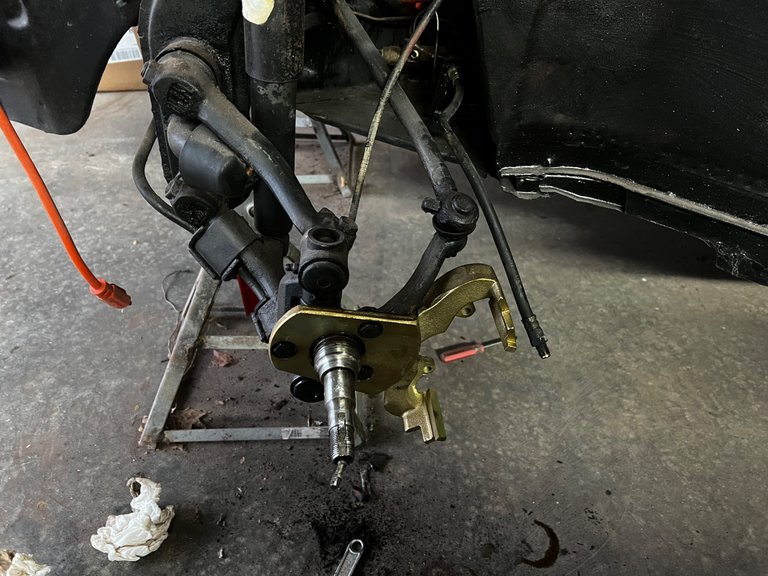
New master brake cylinder installed.
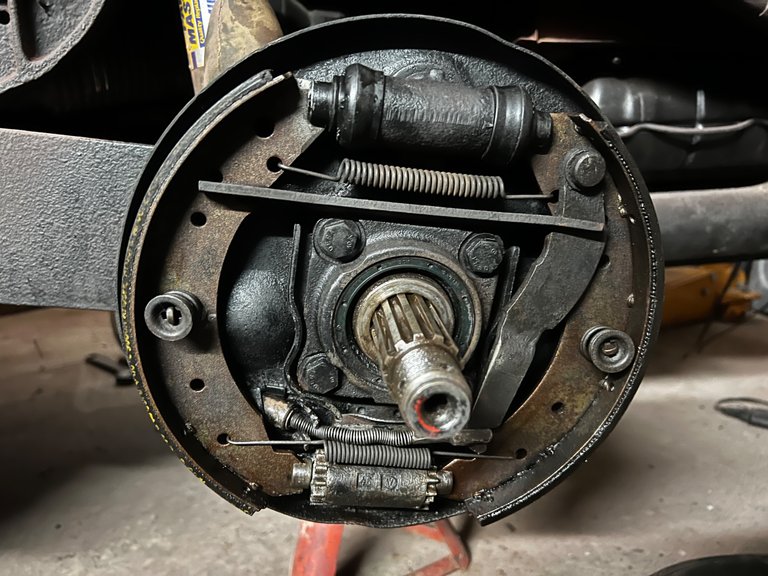
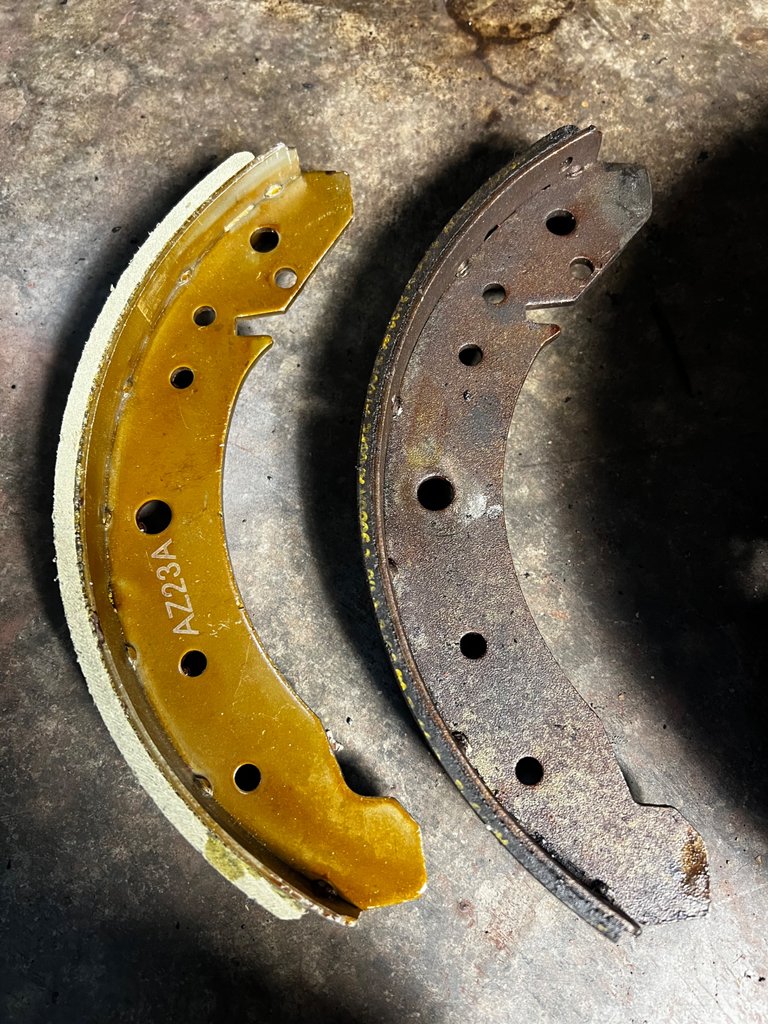
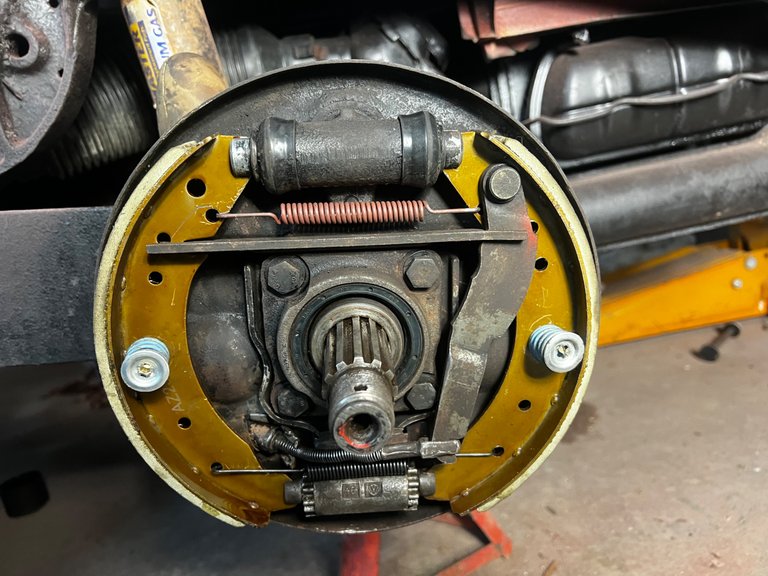
New back brake kit installed, and brake system mostly bled.
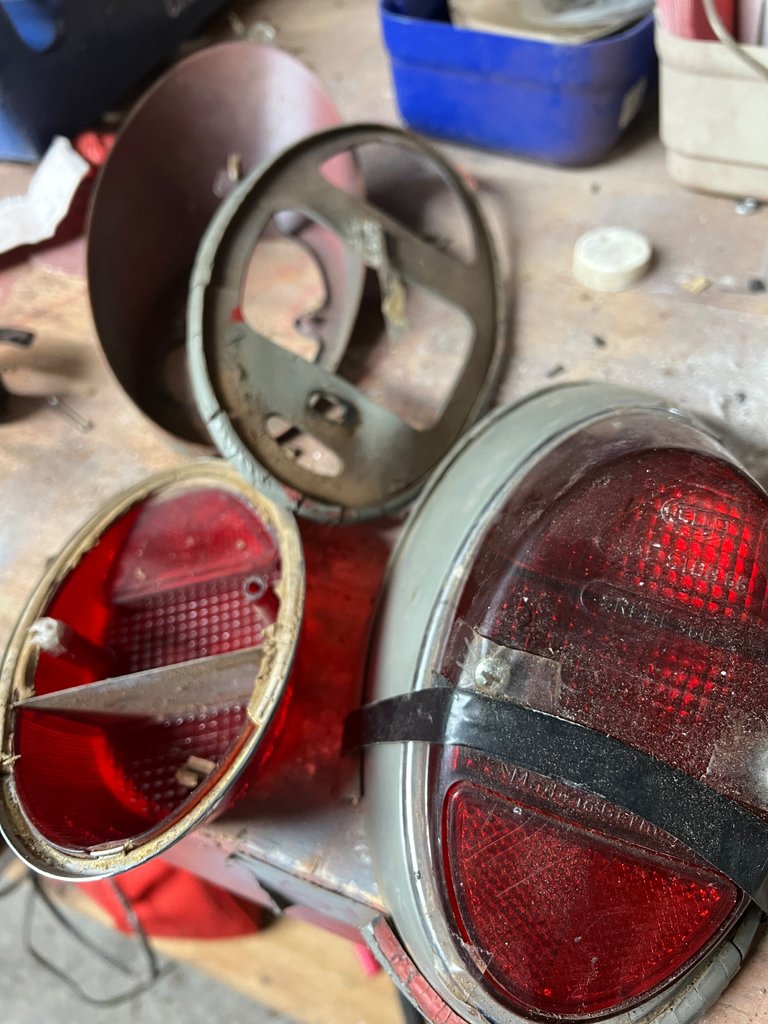
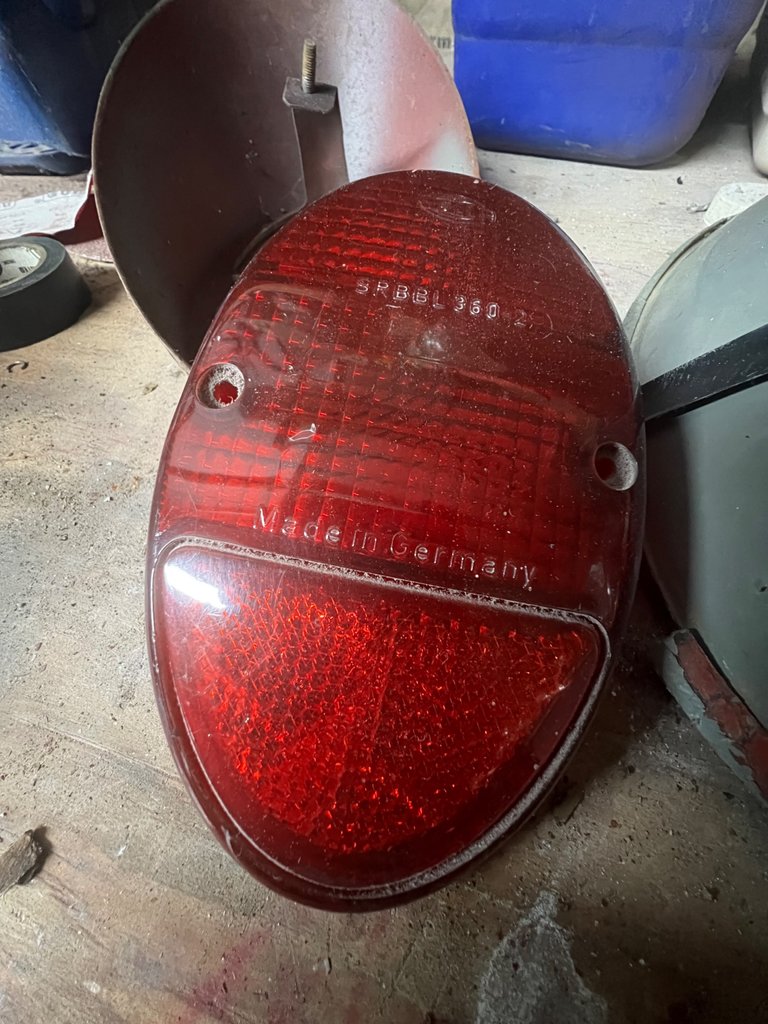
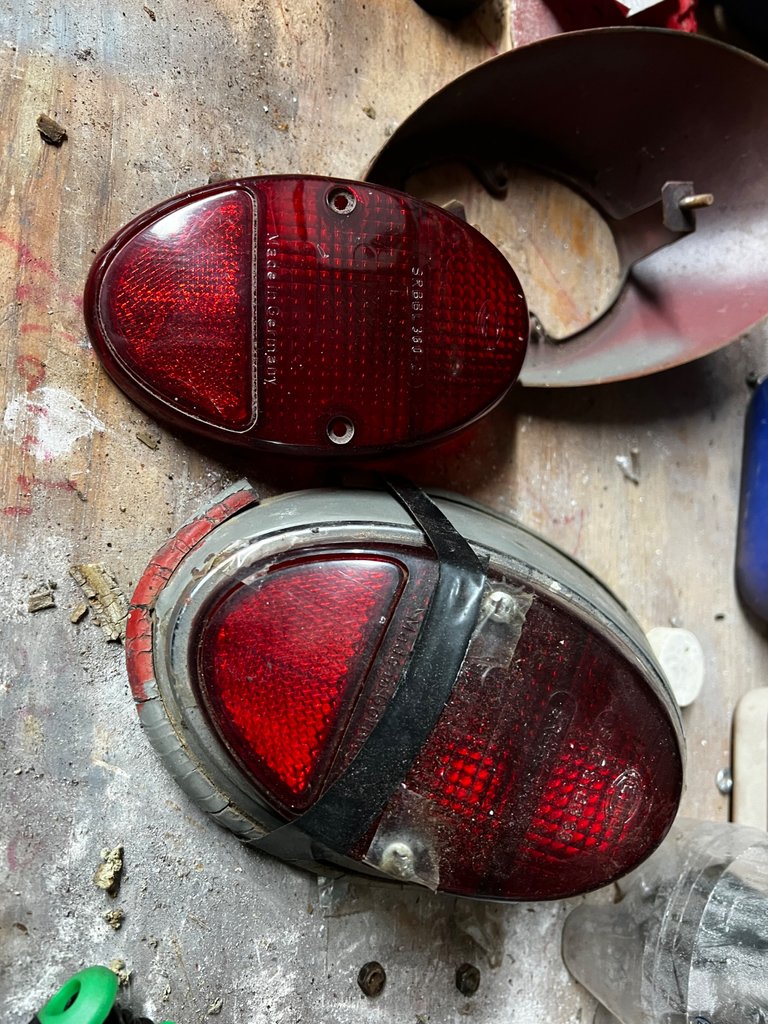
I got the tail light assemblies taken apart and lenses cleaned up.
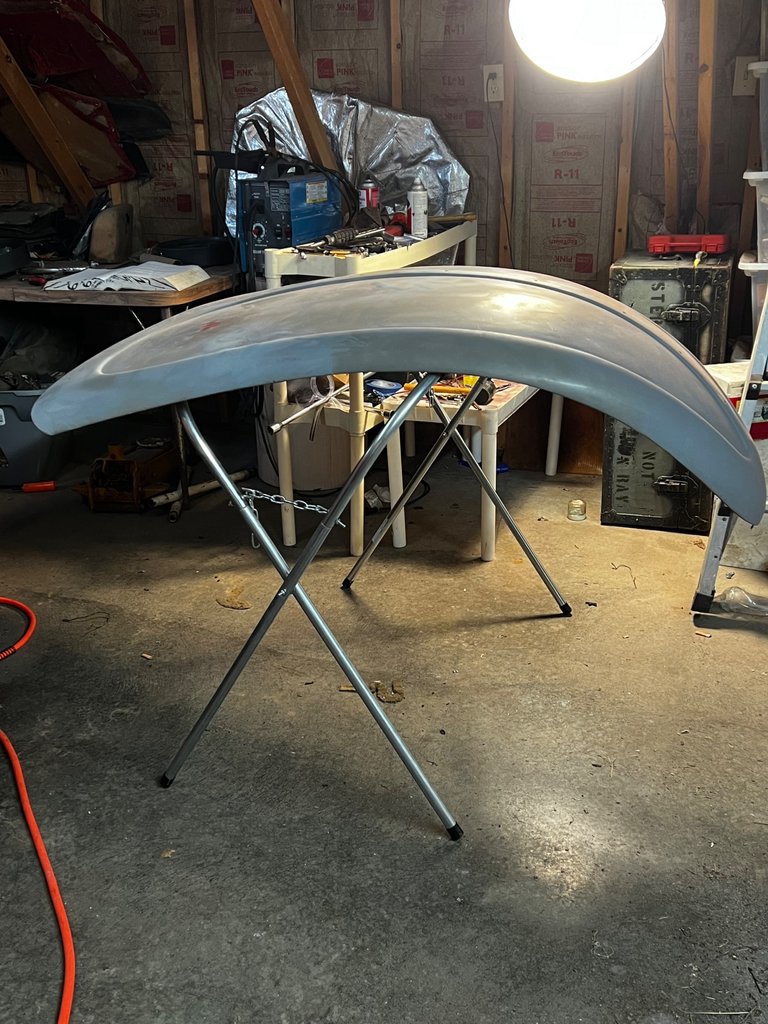
I did a little more sanding on the hood and welded a couple cracks on the bottom lip.
Got the glovebox off and chrome trim removed. All the removable parts have officially been removed now all the paint prep for those can start.
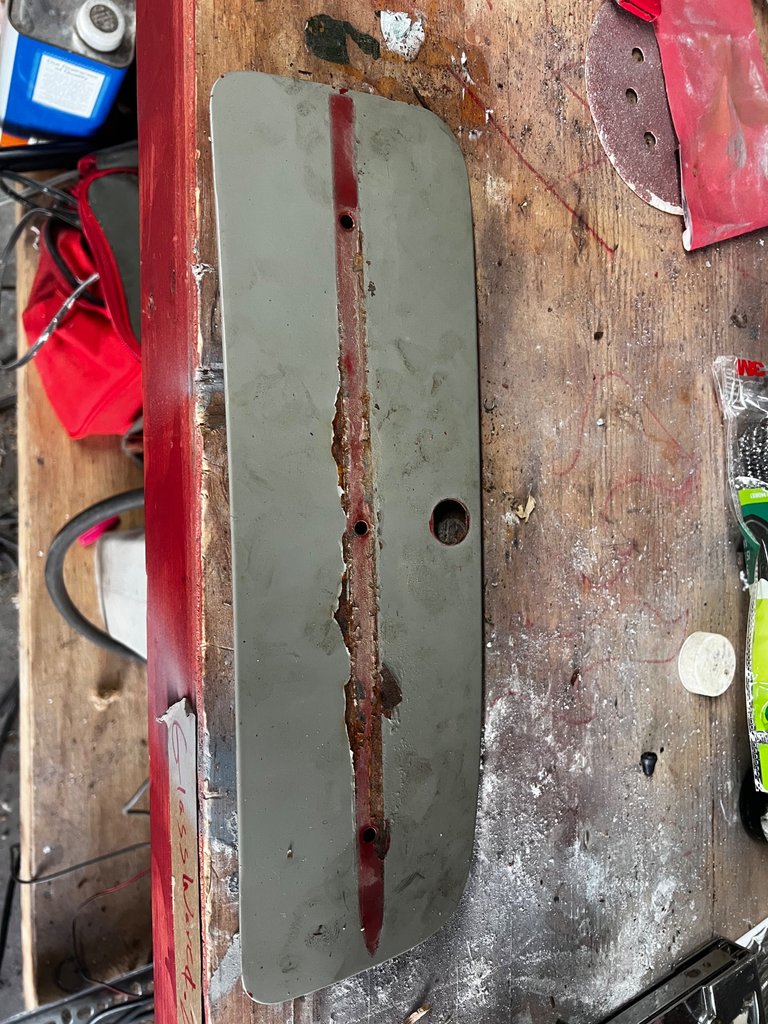
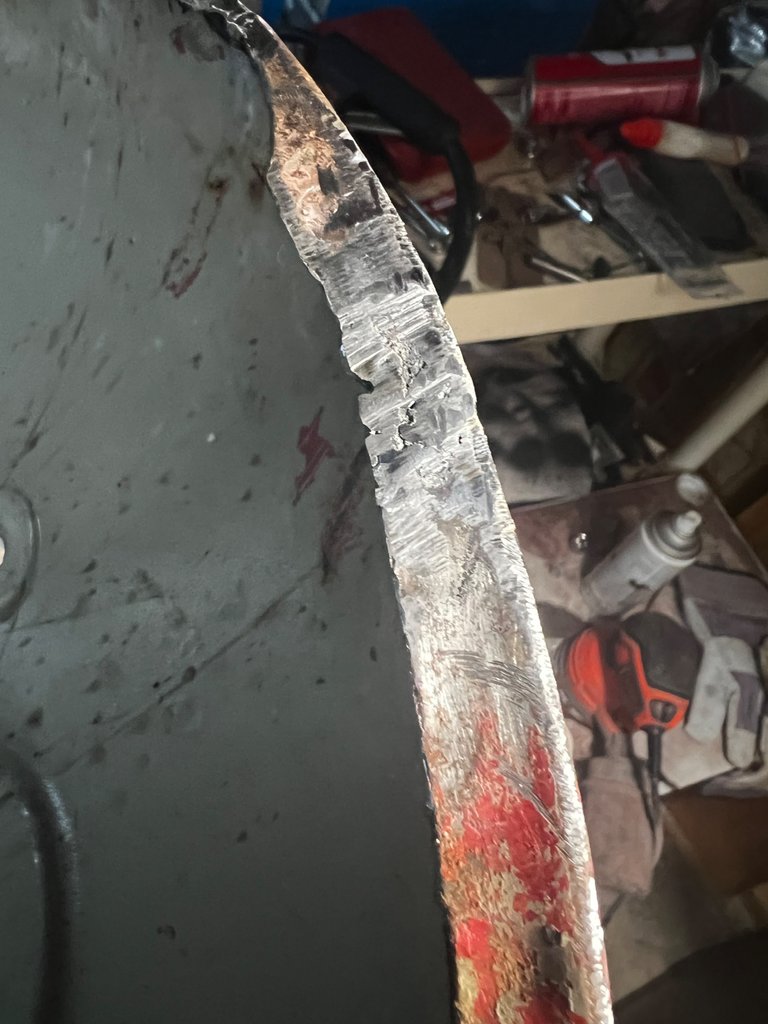
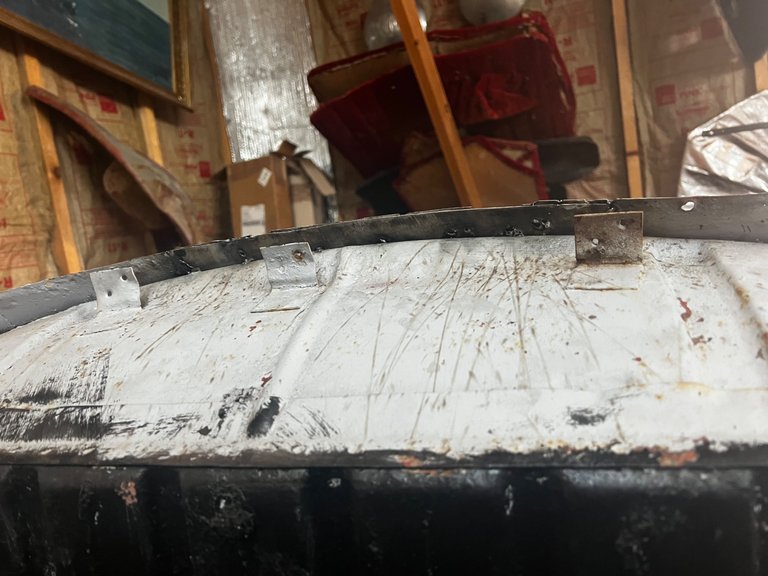
I’ve been thinking about how to fix this for months now. A wood bow (tack strip) sits in this slot to hold the convertible top down and over the years the metal on the exterior has just disintegrated.
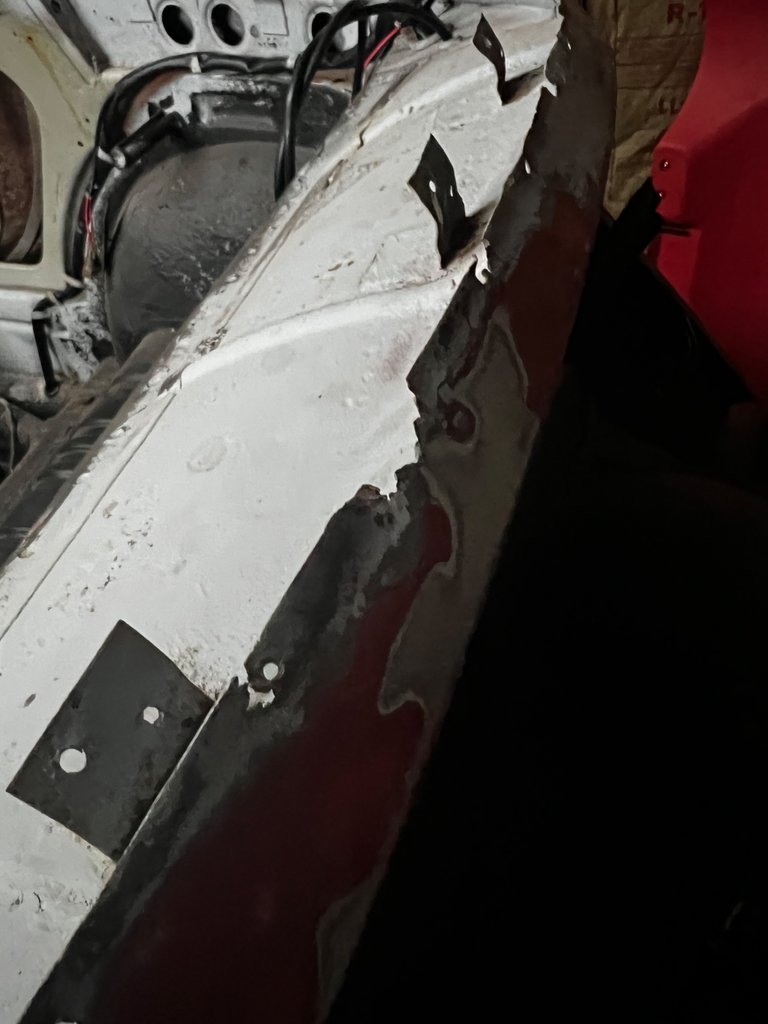
My dad had the idea to take some of the metal from a smashed fender that came with the car to fix it.
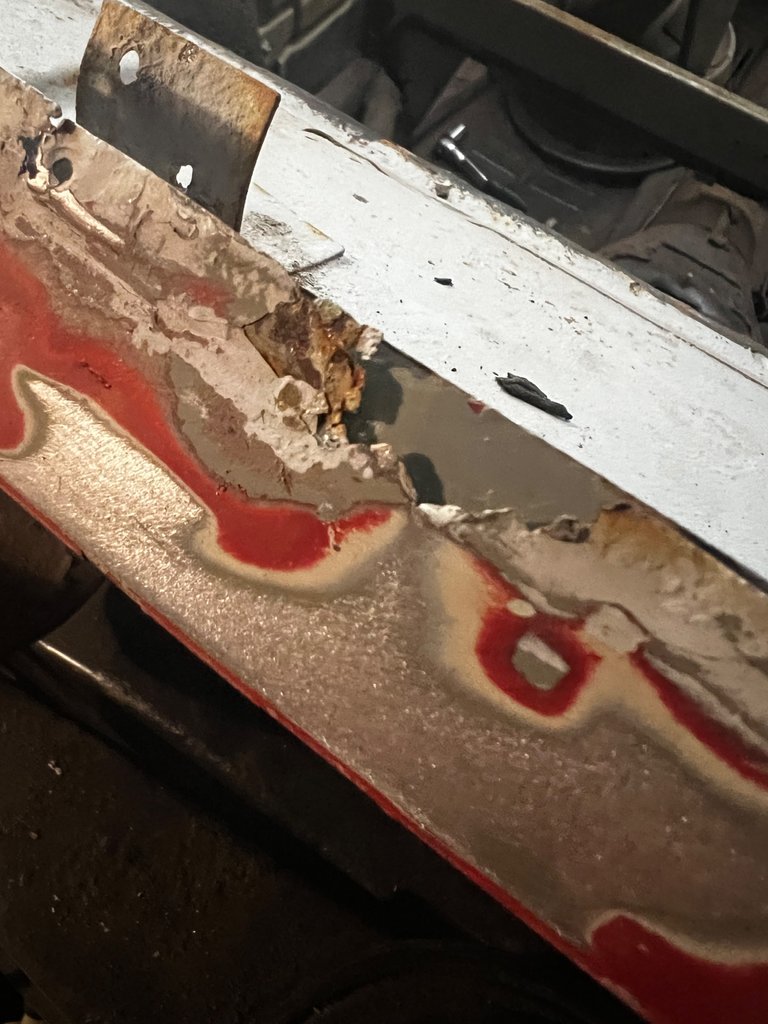
I cut out a 1” strip of the old fender and got it welded in under the old metal. It actually worked very well!
Sat the hood on just to see how it looks.
The kid and @jakeimnotshure are working on upholstery and I have lots more sanding to do before paint can happen but hopefully we will get there soon!
Thanks for sticking around and stay tuned for the next update!
That's gonna be a pretty Bug when it's all done! Cool progress log.
Thanks man I think it'll turn out pretty cool.
I didn’t know you were remodeling an old car! Don’t tell me you put down the DLSR for good now?
This is amazing. Fires me up to write my book with chapters funded by my followers on HIVE.
Keep it up Jason! Hope you’re well. 🤟
Naa the cameras still on the desk. Just not a lot of motivation to get it out. We do have a few senior sessions lined up for the spring. I need to spend a little time with it in the garage capturing some of the parts of this car. Good to see you around man!
Same to you.
Do it! I saw you got curated for the post about the process so far on the car! That’s fly what you got going on. The hands-on nature of that craft is impressive. Knowing parts and thinking of ways to come up with what you need… makes good reading, I think.
Dude thanks! It's just a good thing this thing is so simple! I really do appreciate the curators here. Just sucks I don't have much time to do any of that myself anymore...