RABBIT PRINT PAPER BAGS| @isabelladisenos
PAPER BAGS
Hello friends, it is a pleasure for me to be able to post for the first time in this community, before starting I want to leave you with MY PRESENTATION ON HIVE
To all the artists who make life in this community I send a greeting and a huge hug, I am very happy to be able to share it with all of you.

As I mentioned in my presentation, I have a small business, a small gift shop where I make my own products.
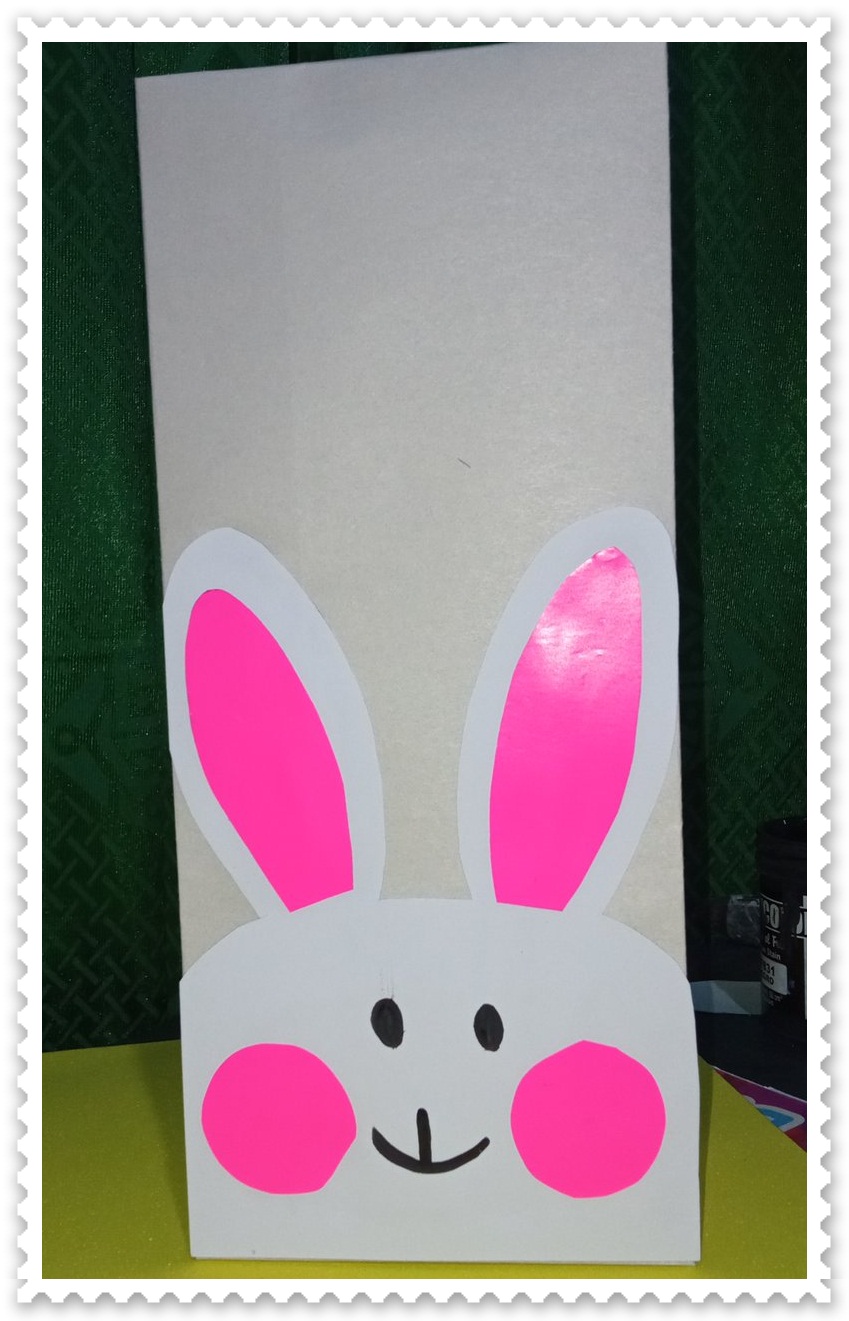
RABBIT PRINT PAPER BAGS
Step 1:
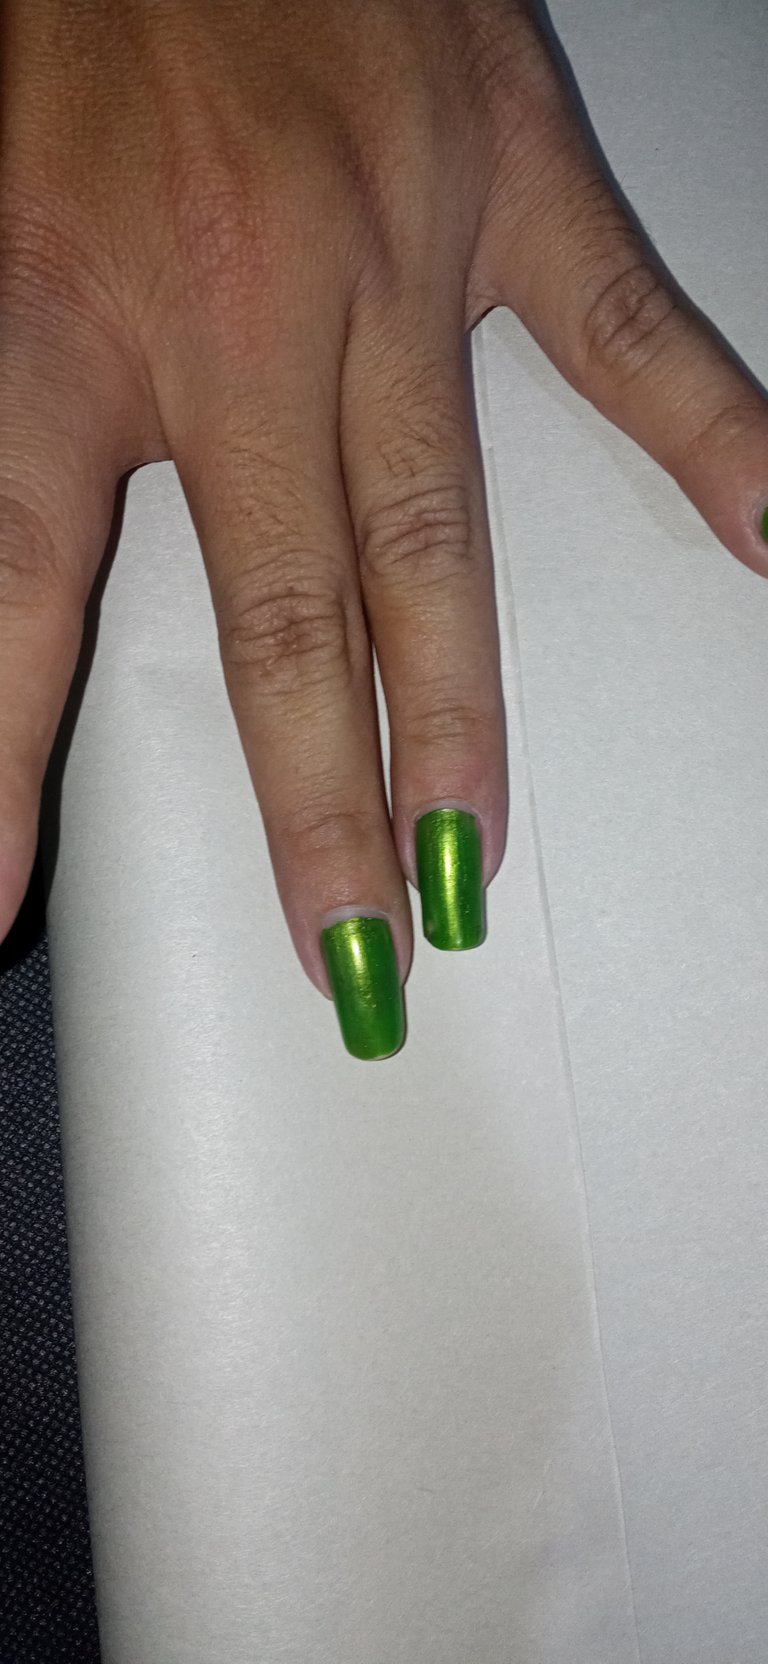
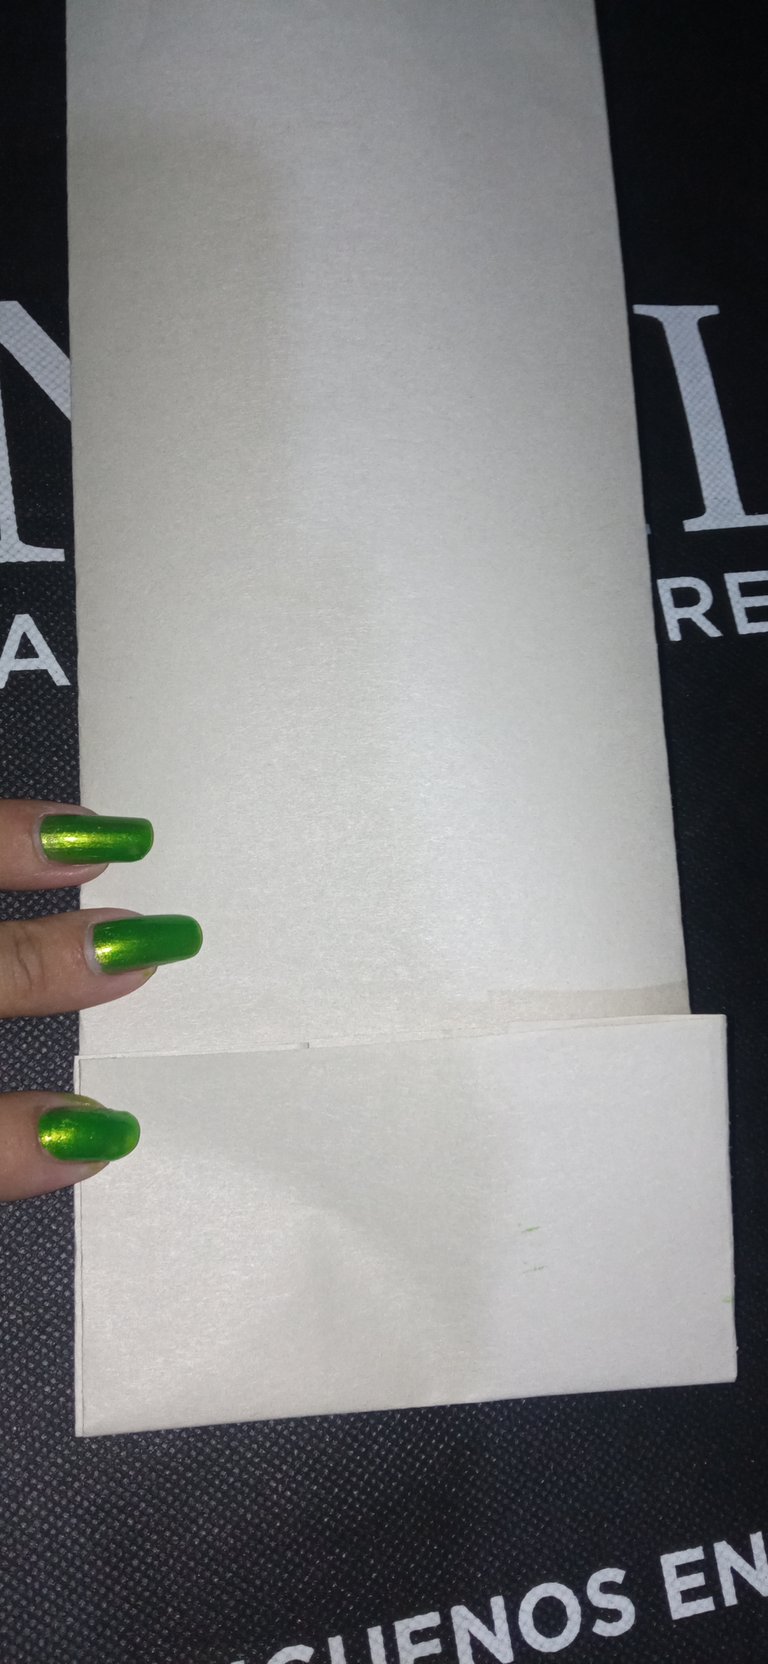
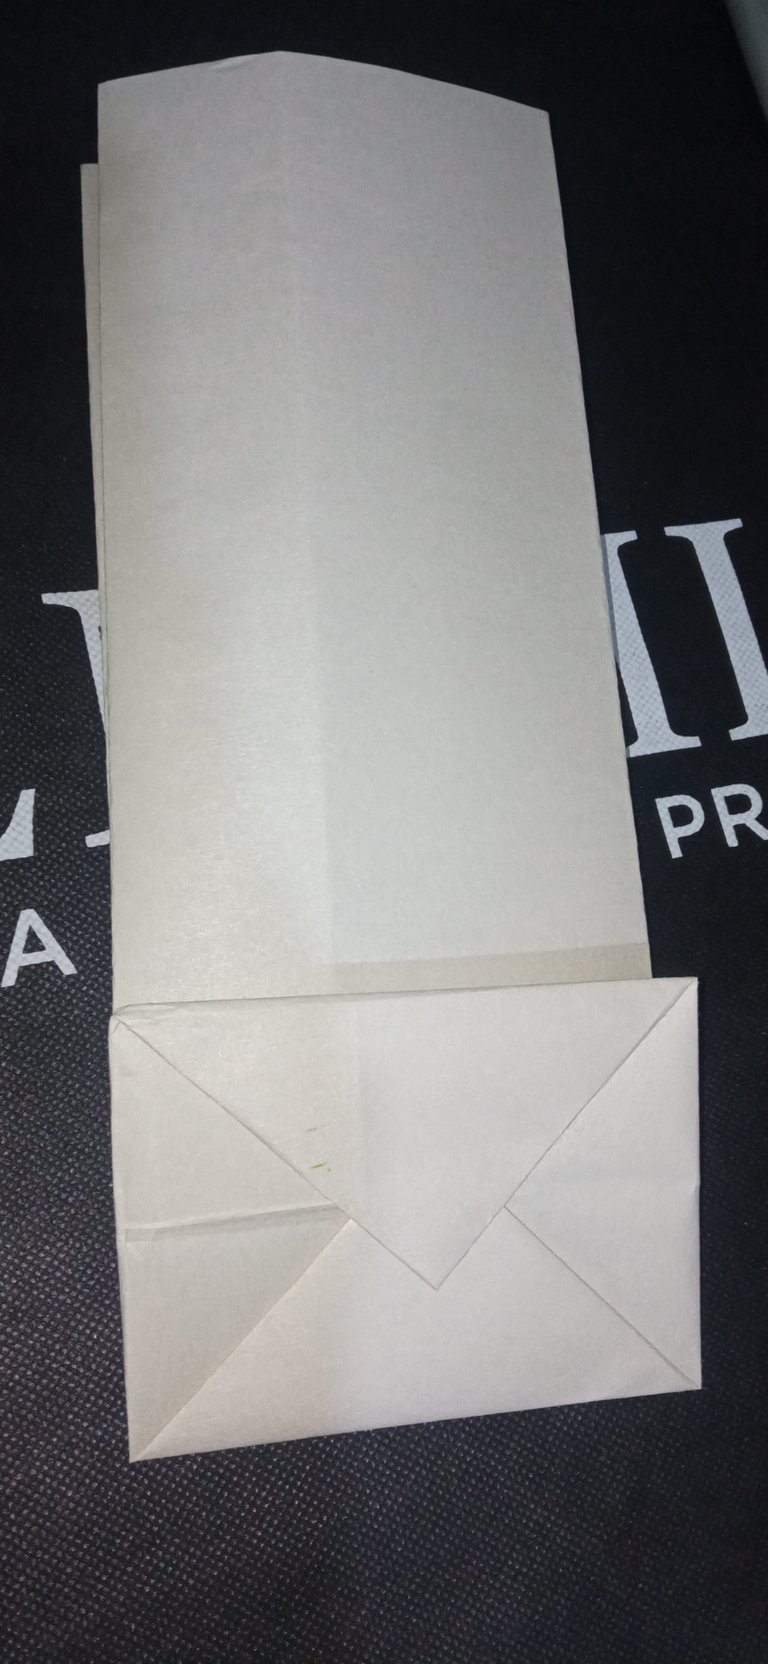
🌸 I took my sheet of brown paper and glued its two ends together:
🌸 Once glued, I placed my 2 fingers to measure the first fold of my bag.
 | 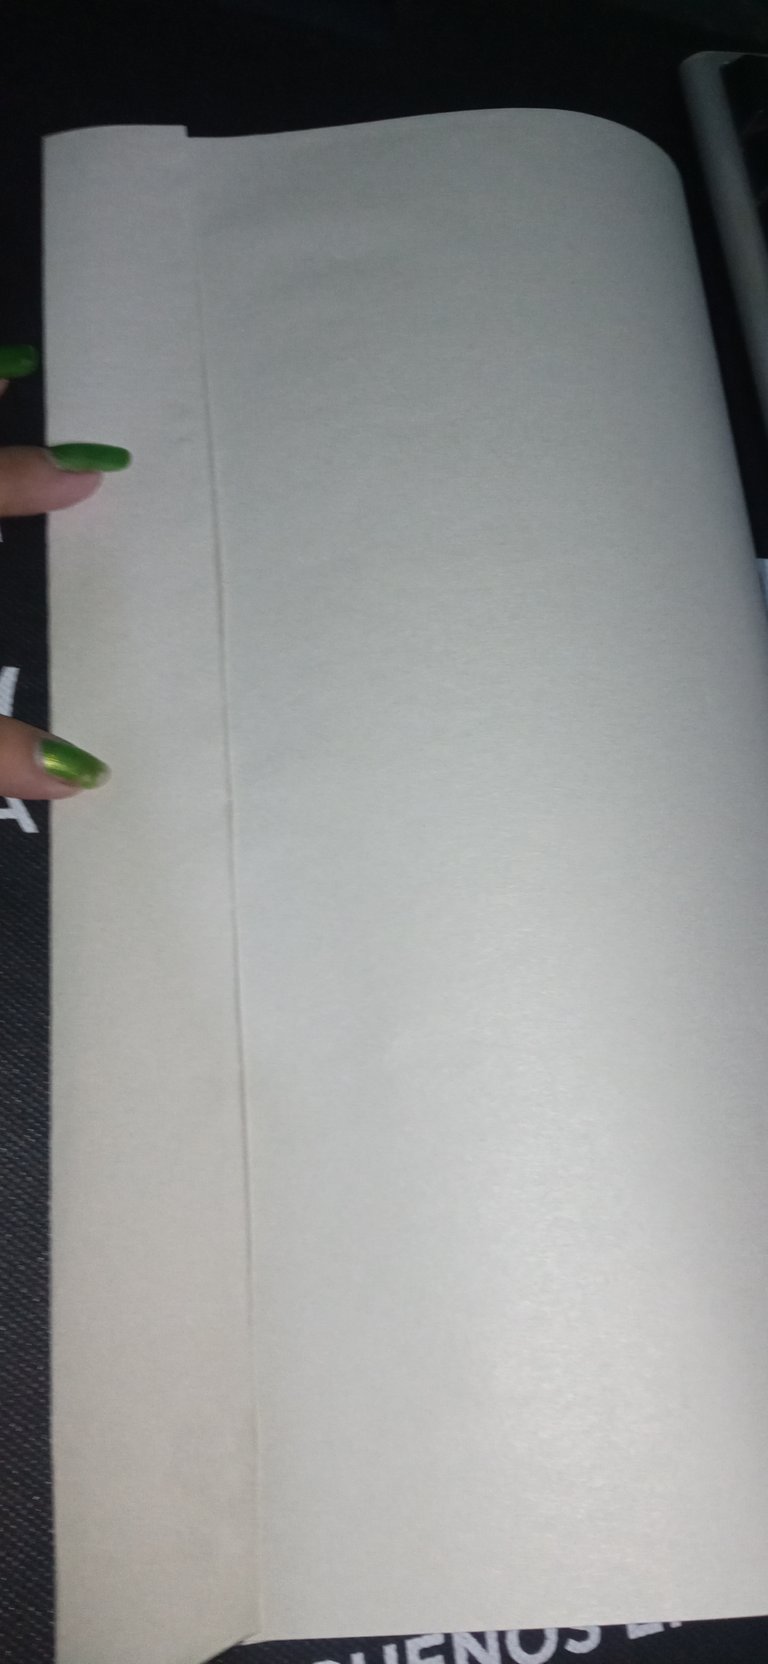 |
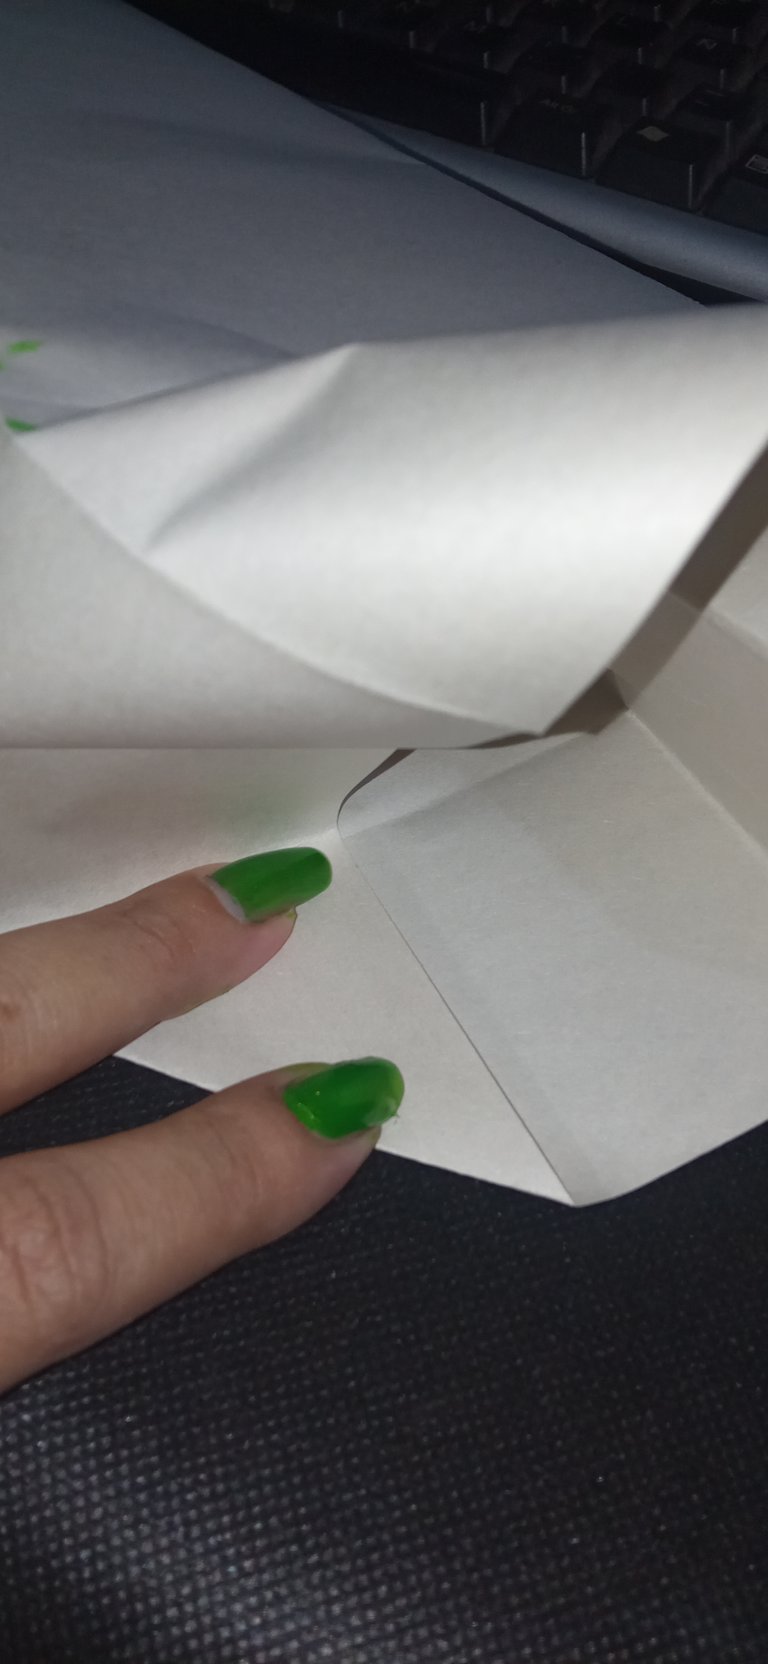
🌸When the fold is done I will do the same on the other side and we will join those doubles. in the same way we will do the other side and once the folds of the bag have been made, the shape can be observed more.
 | 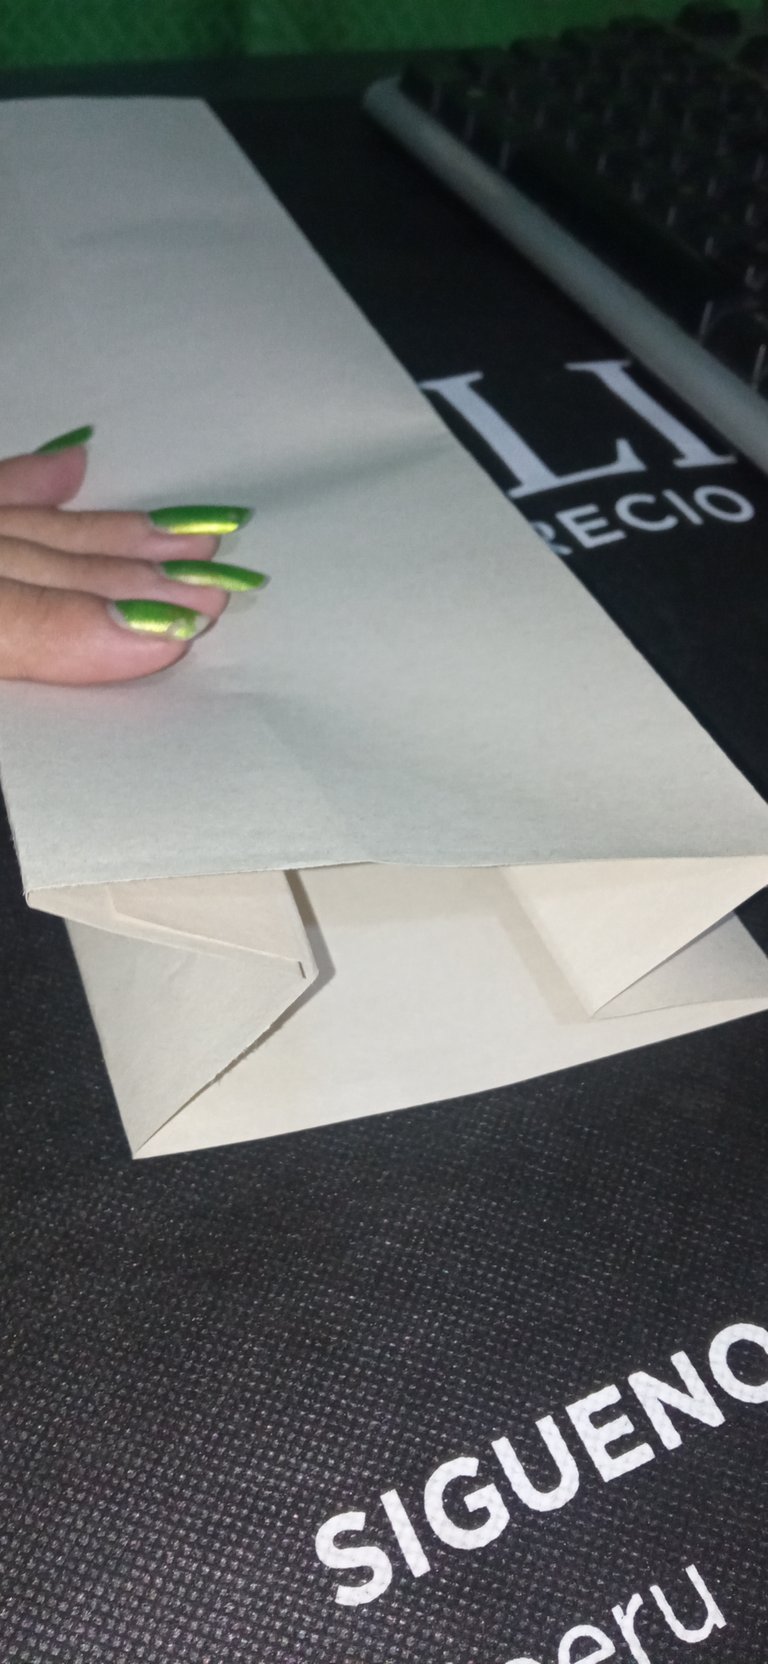 |
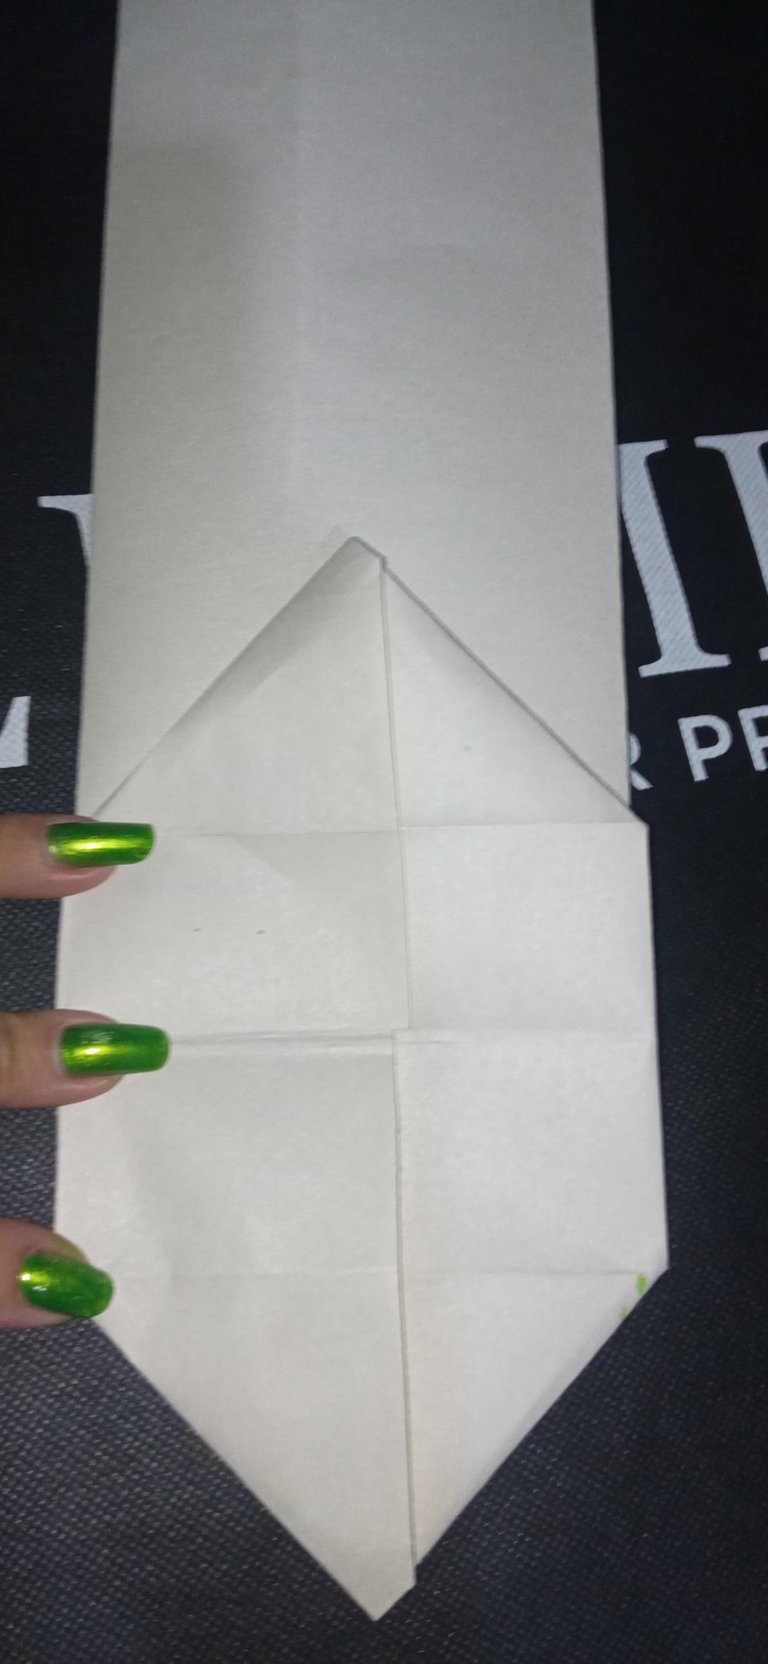
🌸Now we will make the bottom or the base of the bag. We are going to start measuring with 3 fingers to make the fold of the bottom part.
🌸 Now I am going to orient the vertical line of the doubles with the horizontal to make the 4 tabs of the 2 doubles at the bottom
 |  |
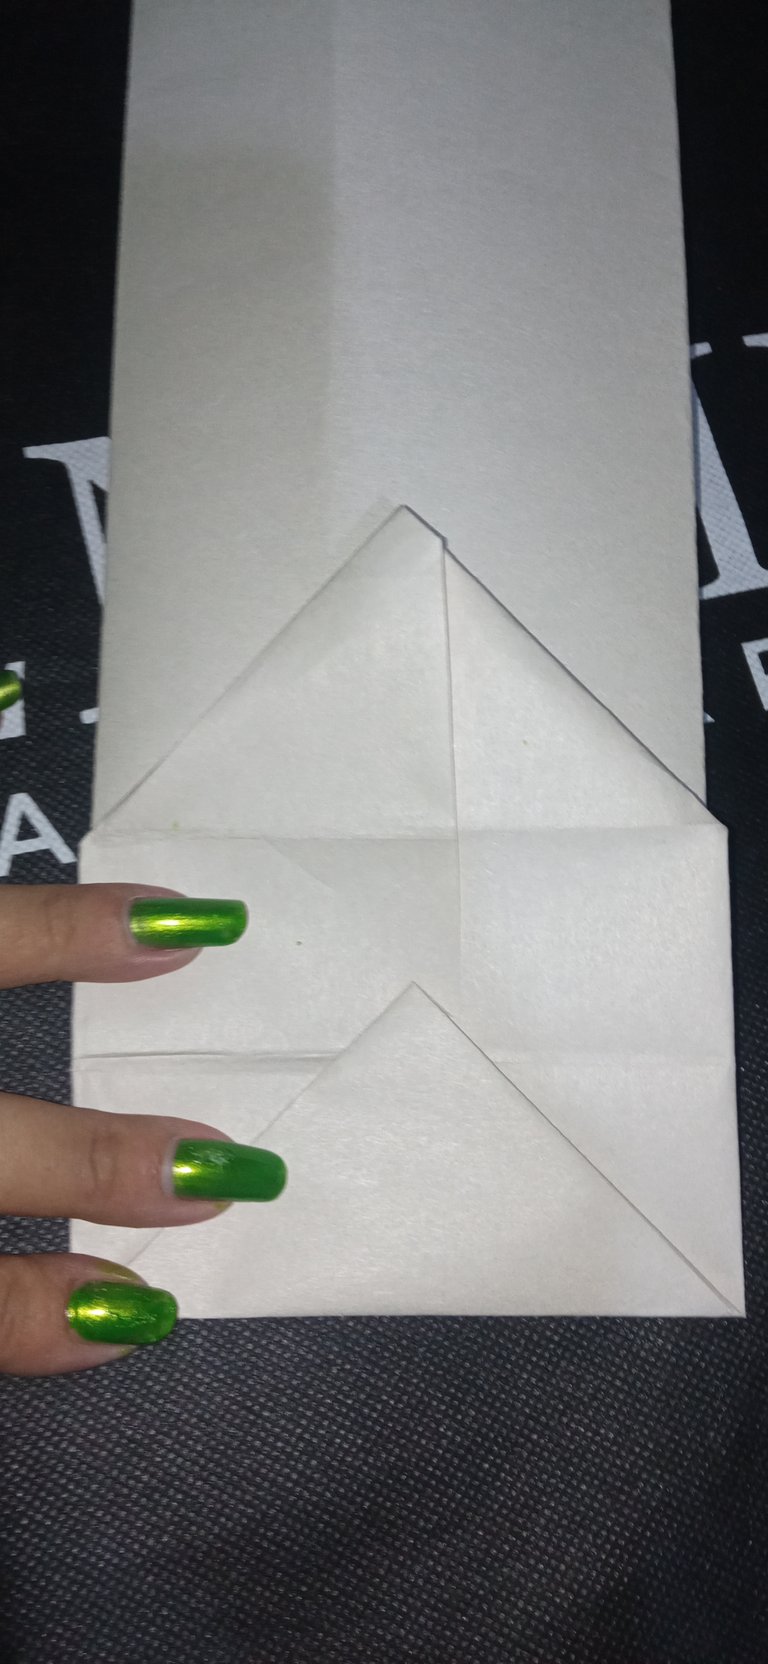
🌸By orienting the vertical double with the horizontal on both sides, it will look like this:
🌸 Before doing the doubles we are going to fully stretch the bottom area which will automatically make a break in the back of the bag. then if we are going to fold the bottom part up and the top part down.
 |  |
🌸Now we are going to glue those tabs and we will have the bag almost ready.
DECORATING
Una vez lista la bolsa entonces la podemos decorar creativamente... en esta oportunidad haré unos lindos conejos... una blanca y uno negro. Espero que les guste. 💗
Step 1:
I painted the first bag but then I realized that it was prettier with contact paper.
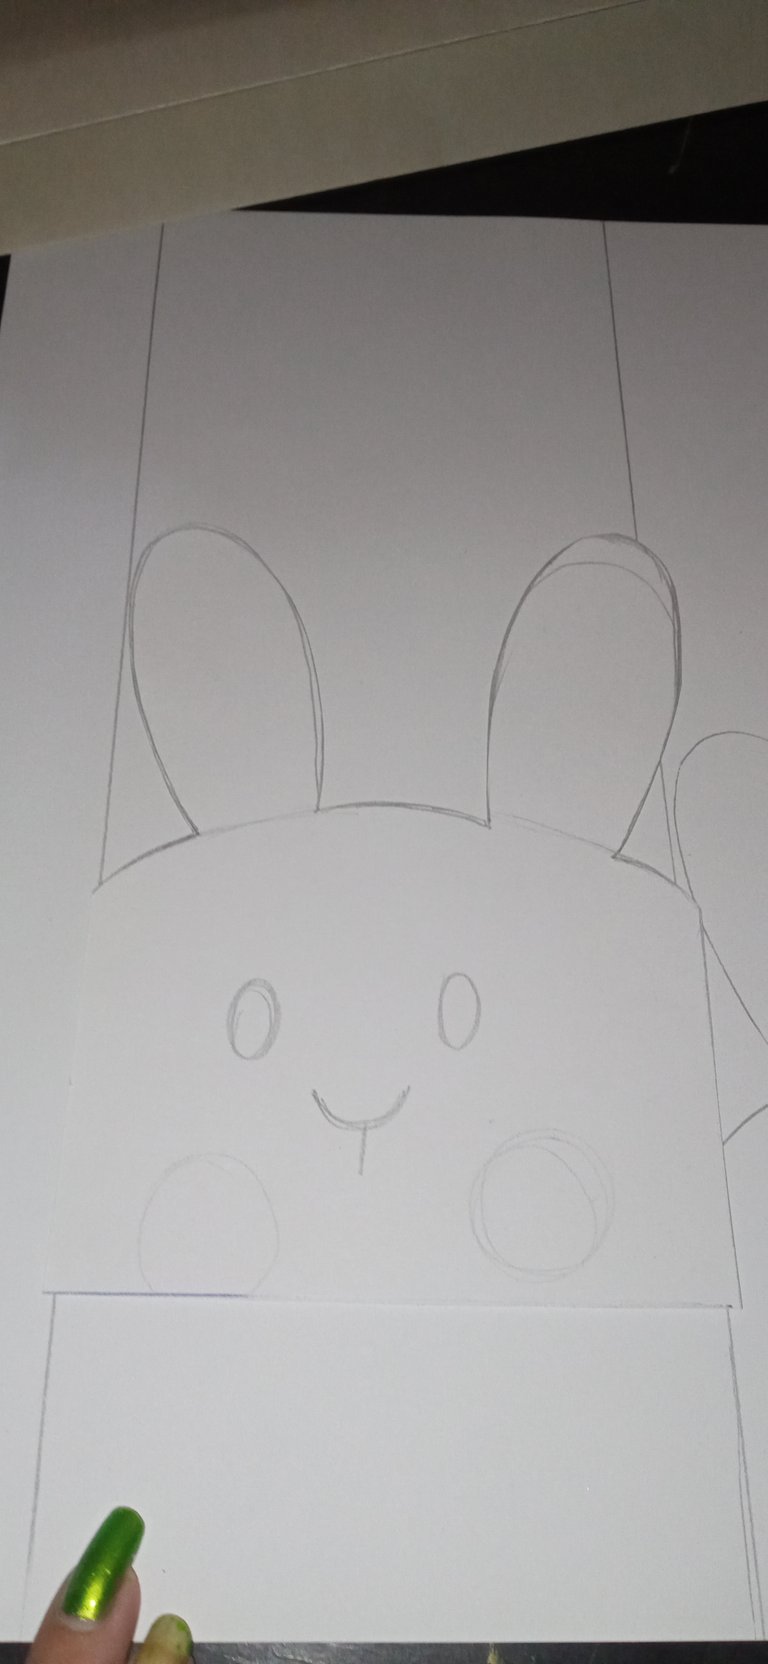
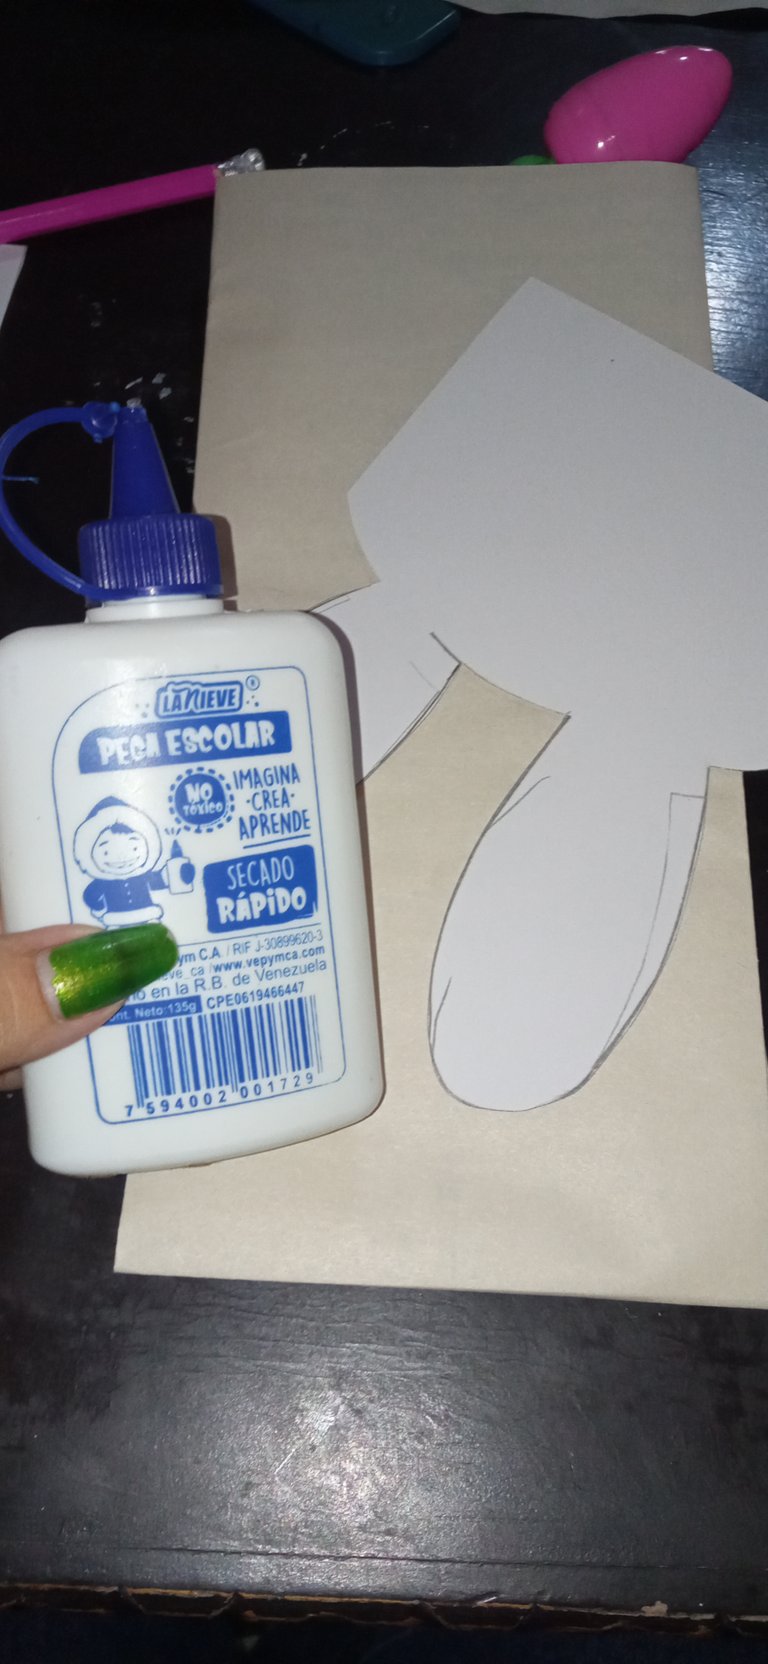
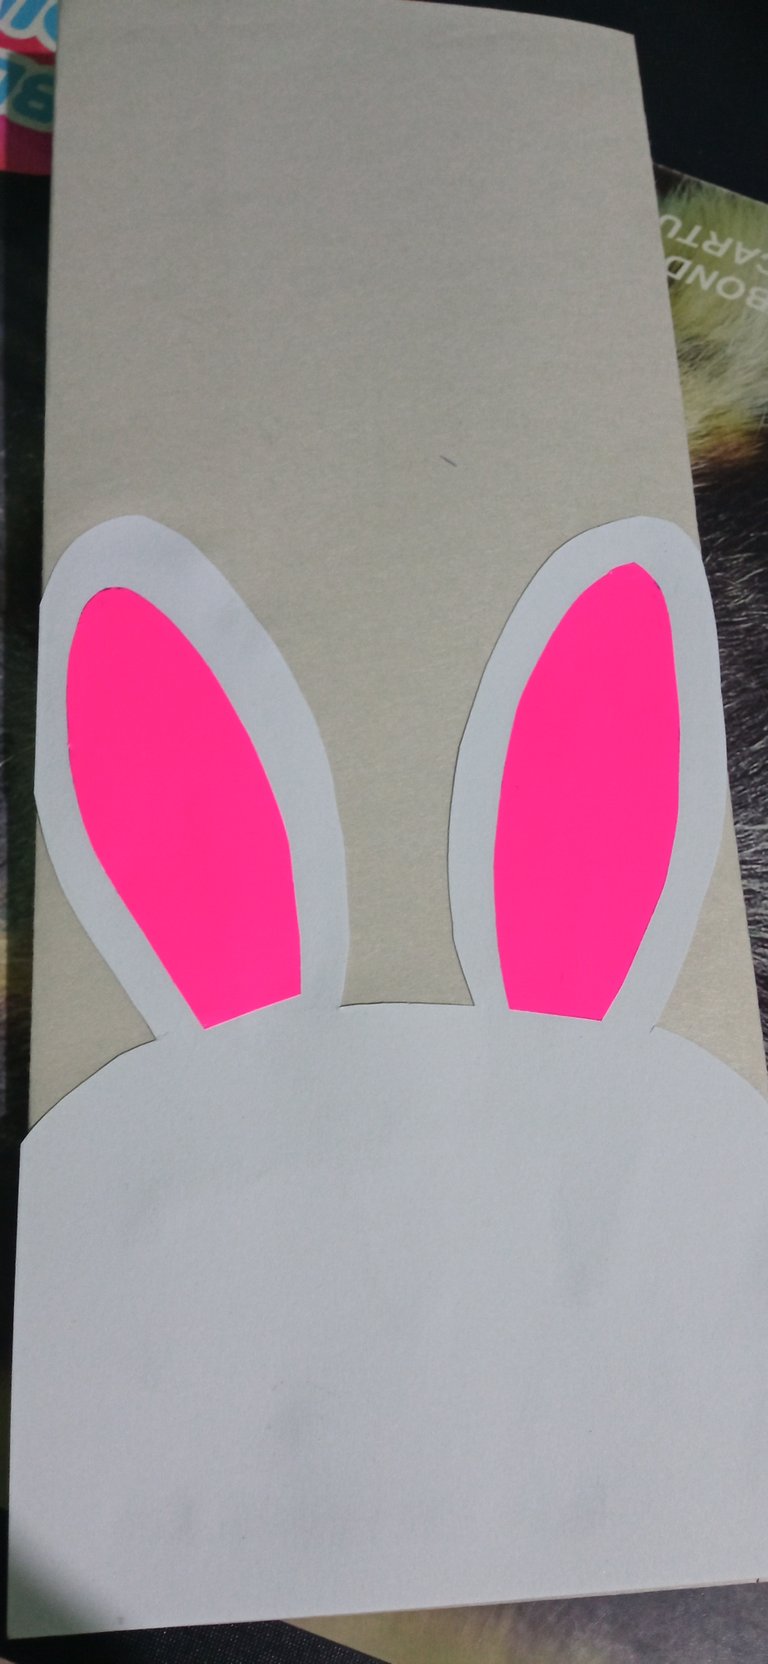
Well, first of all, I drew the rabbit and cut it out leaving it as a pattern so that all the bags will be the same size.
Then I embossed it on a white cardboard which I can pick up and paste in my bag.
 |  |
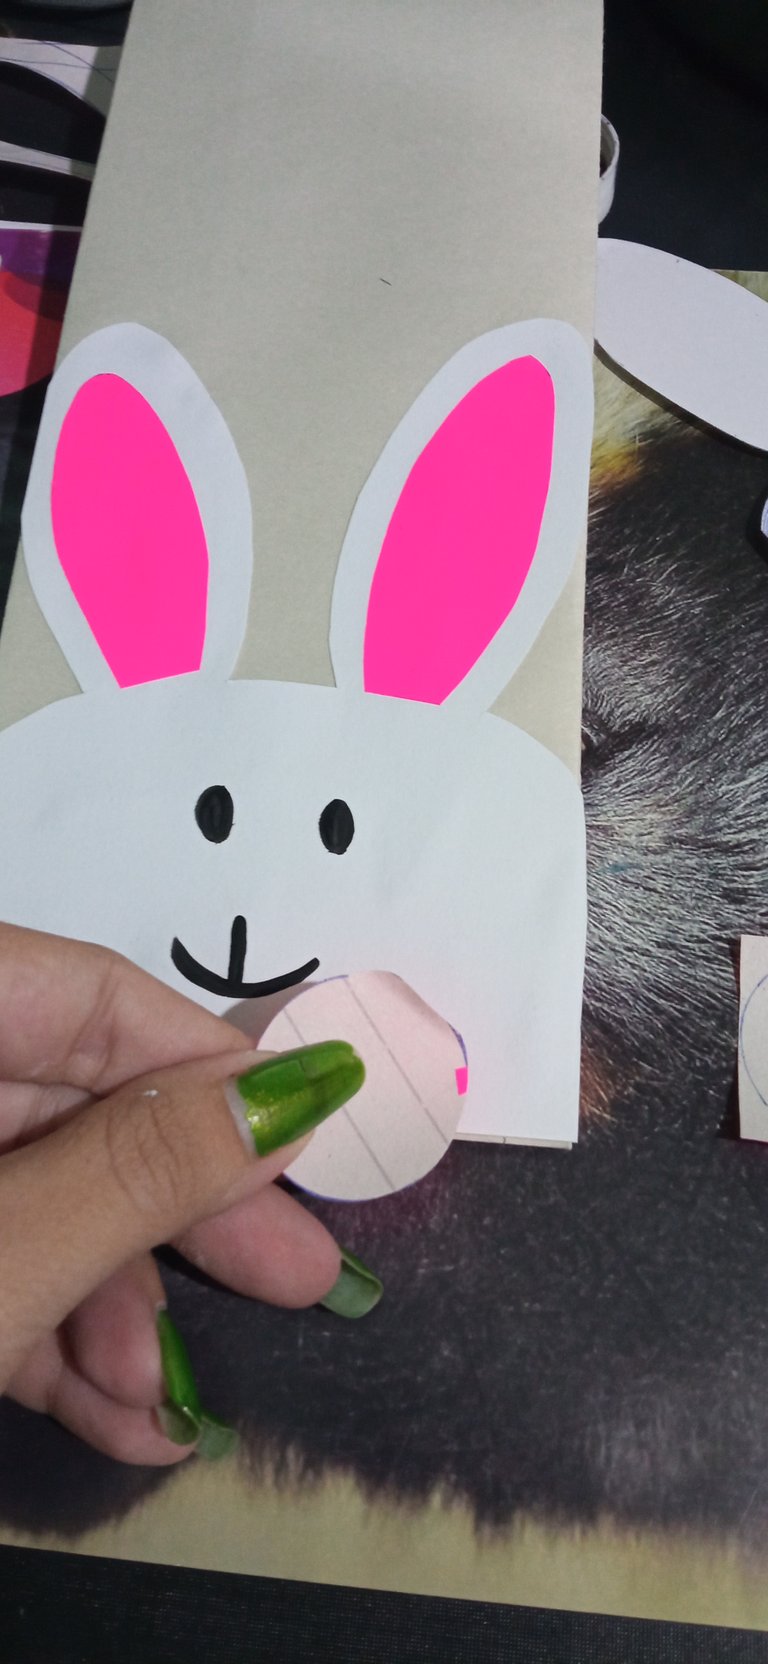
Step 2:
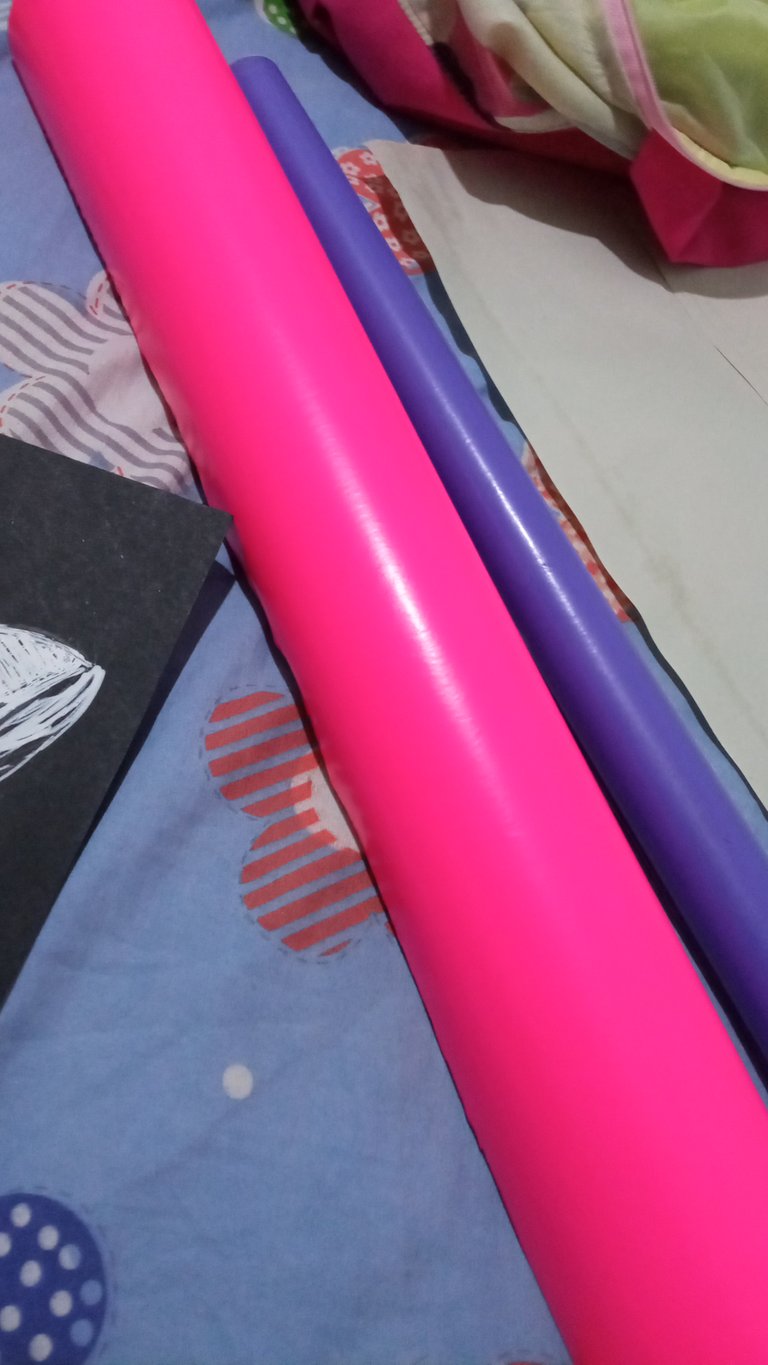
Cut out the contact paper patterns for the ears and the blush on the cheeks and glue them on.
 |  |
 |  |
You saw how cute they look with contact paper 💗💗 try it at home
#diy #palnet #creativecoin #neoxian #manualidades #handmade #design
!
:)