(ESP-ENG) Lindos separadores kawaii para tus libros/Cute kawaii dividers for your books
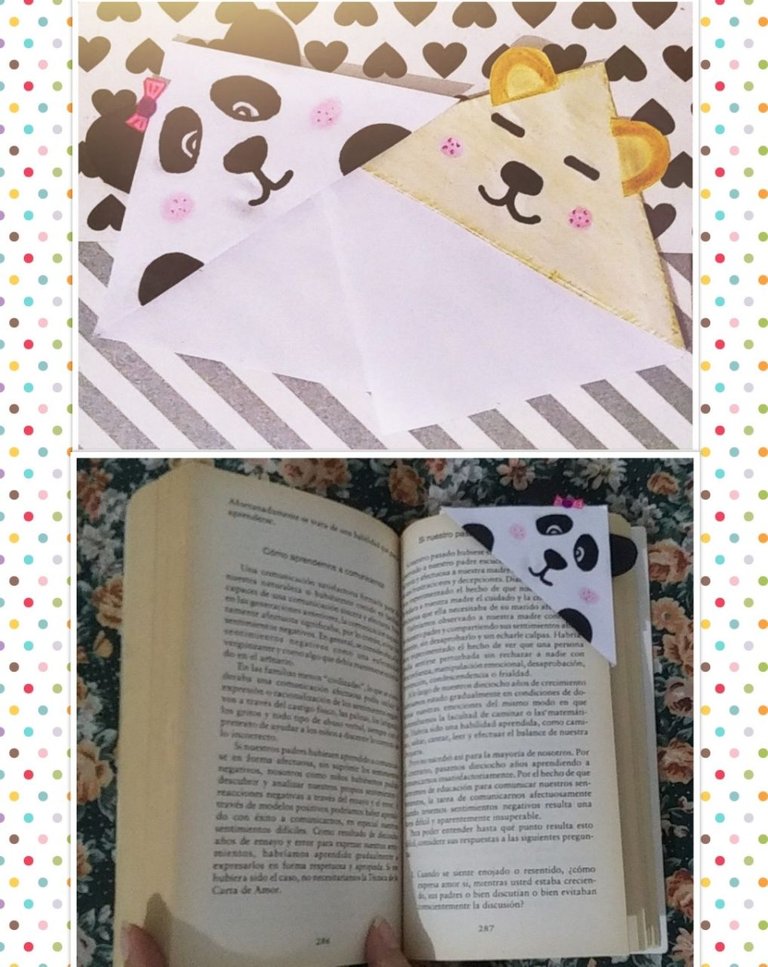
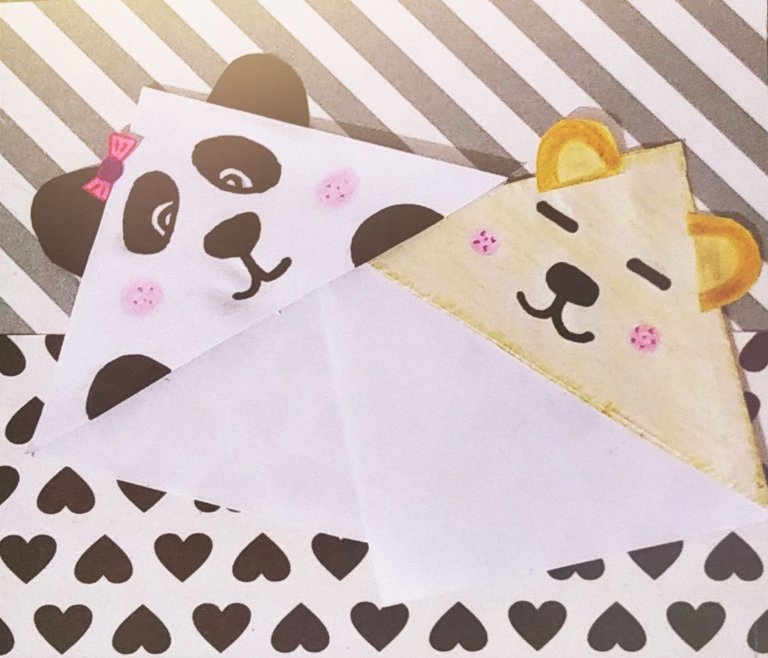
Hello dear hive community, I'm back here! Today I want to show you some cute Kawaii bookmarks that I made for my books, they are easy and don't need a lot of materials. The funniest thing is that you can decorate them to your liking, in my case I really like pandas, so I decorated one with the face of a panda and another with a bear for my boyfriend.
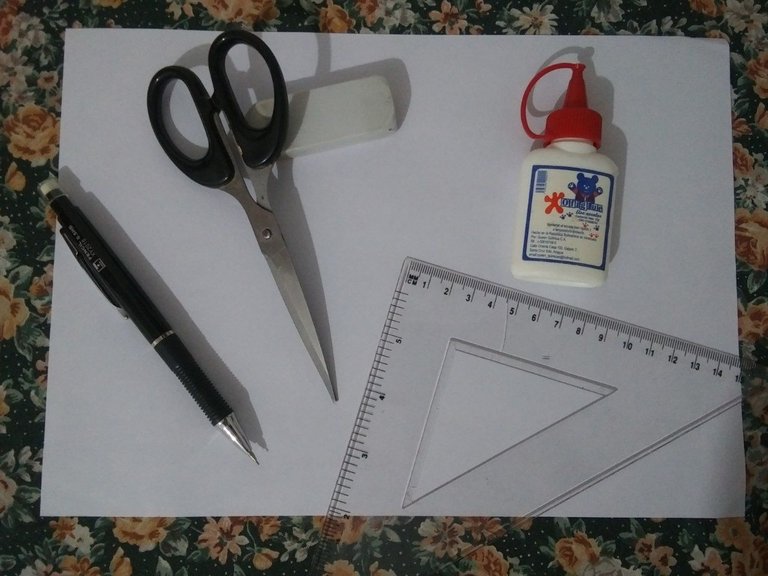
A continuación les dejo los materiales que utilice, si no tienes alguno puedes improvisar con lo que tengas a tu alcance
- Cartulina blanca o de colores
- Regla
- Lápiz
- Tijera
- Pegamento
- Borrador
- Colores
Then I leave the materials that I use, if you do not have any you can improvise with what you have at your fingertips
- White or colored cardstock
- Ruler
- Pencil
- Scissors
- Glue
- Eraser
- Colors
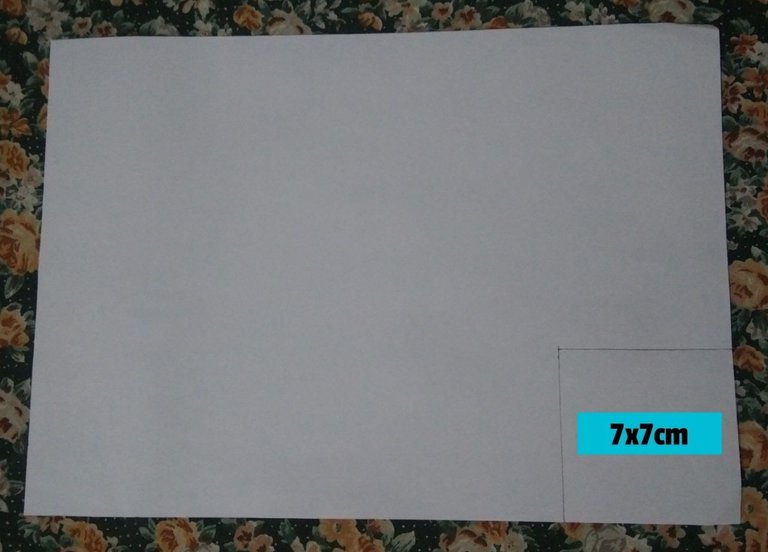
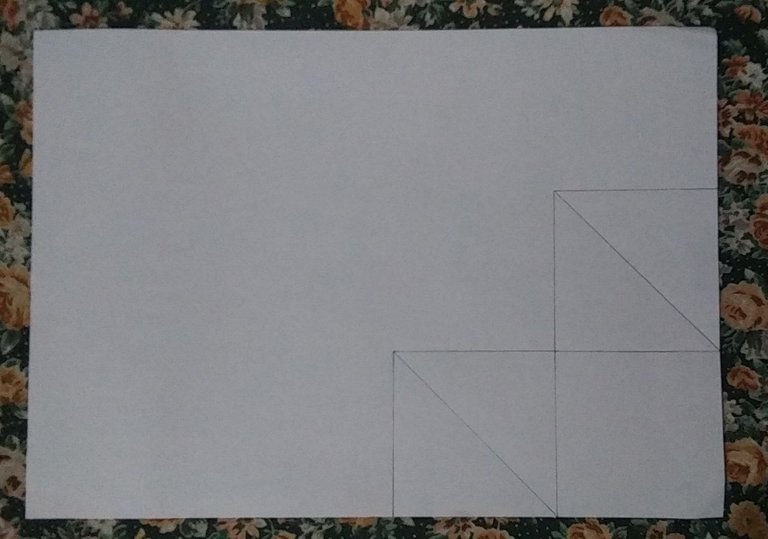
Paso 1:
Sobre una cartulina vamos a dibujar un cuadrado de 7x7cm , luego dibujamos otro igual encima del anterior, y otro a la izquierda, tenemos que tener 3 cuadrados, observa la imagen.
Step 1:
On a piece of cardboard we are going to draw a 7x7cm square, then we draw another equal one on top of the previous one, and another one to the left, we have to have 3 squares, see the image.
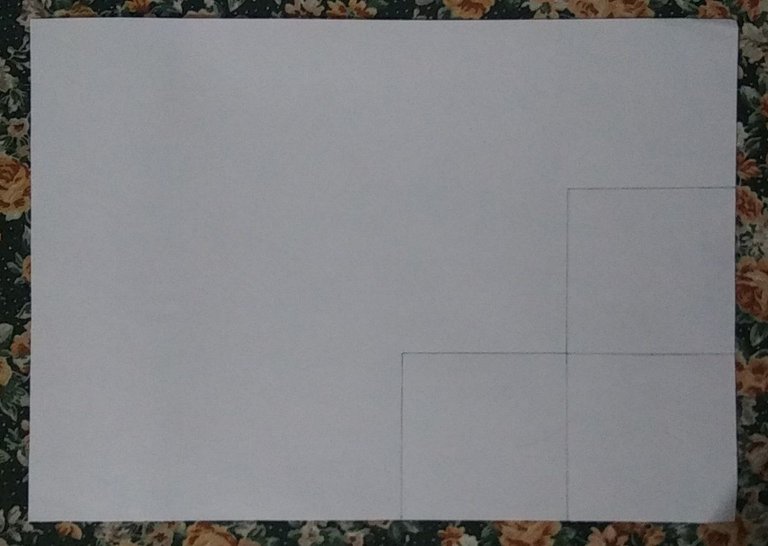
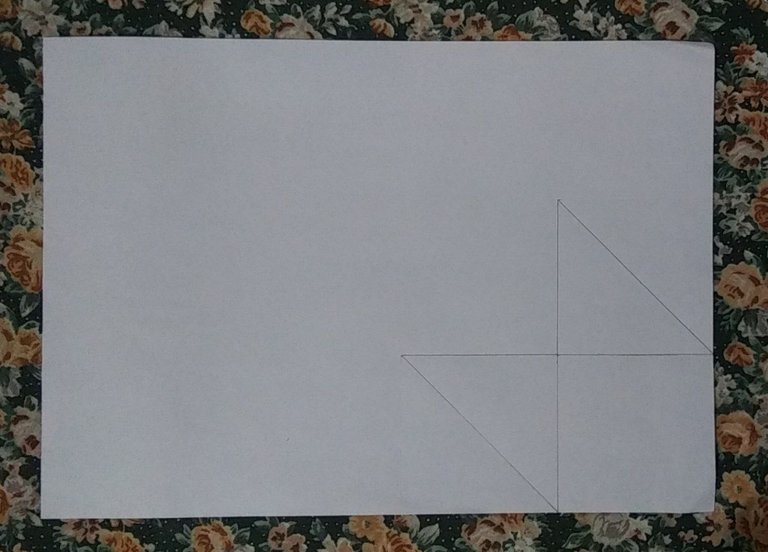
Paso 2:
Vamos a dividir el cuadrado superior y el de la izquierda por la mitad, haciendo una línea diagonal, y luego borramos la línea de cada extremo, te debe quedar como la siguiente imagen.
Step 2:
We are going to divide the upper square and the one on the left in half, making a diagonal line, and then we delete the line from each end, it should look like the following image.
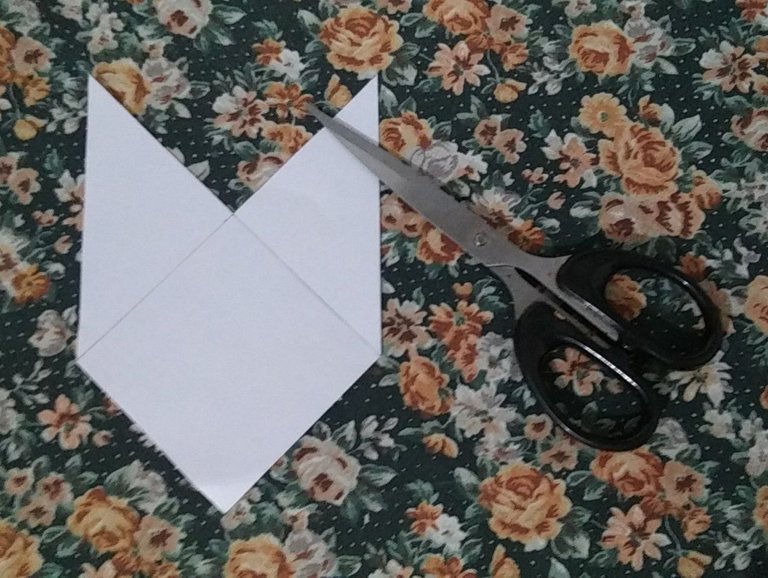
Paso 3:
Recortamos siguiendo el contorno que dibujamos en la cartulina, una vez recortado procedemos a borrar todas las líneas que hemos hecho con el lápiz. Ahora vamos hacer los dobleces en ambos lados con ayuda de la regla.
Step 3:
We cut following the contour that we drew on the cardboard, once cut we proceed to erase all the lines that we have made with the pencil. Now we are going to make the folds on both sides with the help of the ruler.
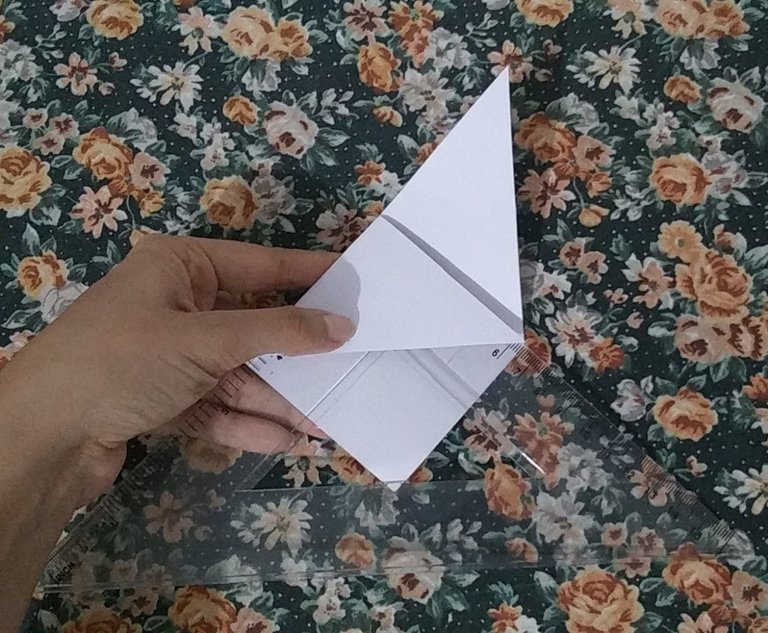
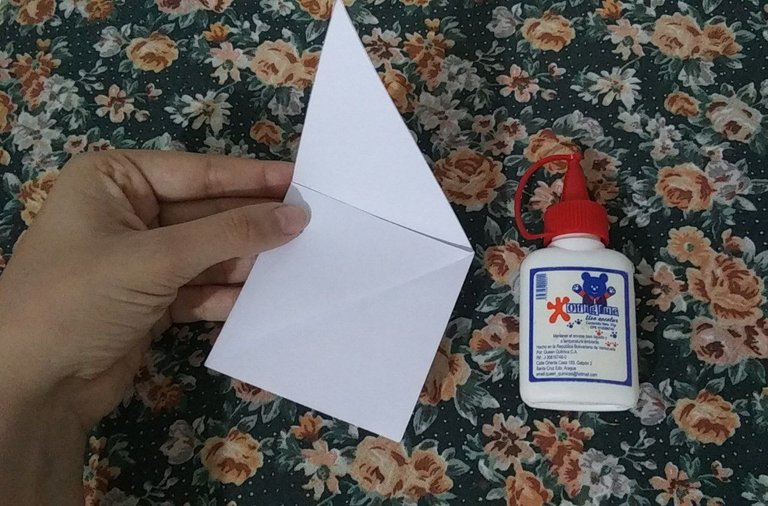
Paso 4:
Al tener los dobleces, vamos a doblar un triángulo hacia dentro y sobre el otro vamos a colocar pegamento para pegarlo encima. Tiene que quedarnos como una especie de bolsillo.
Step 4:
When we have the folds, we are going to fold a triangle inwards and on the other we are going to put glue to stick it on top. It has to stay as a kind of pocket.
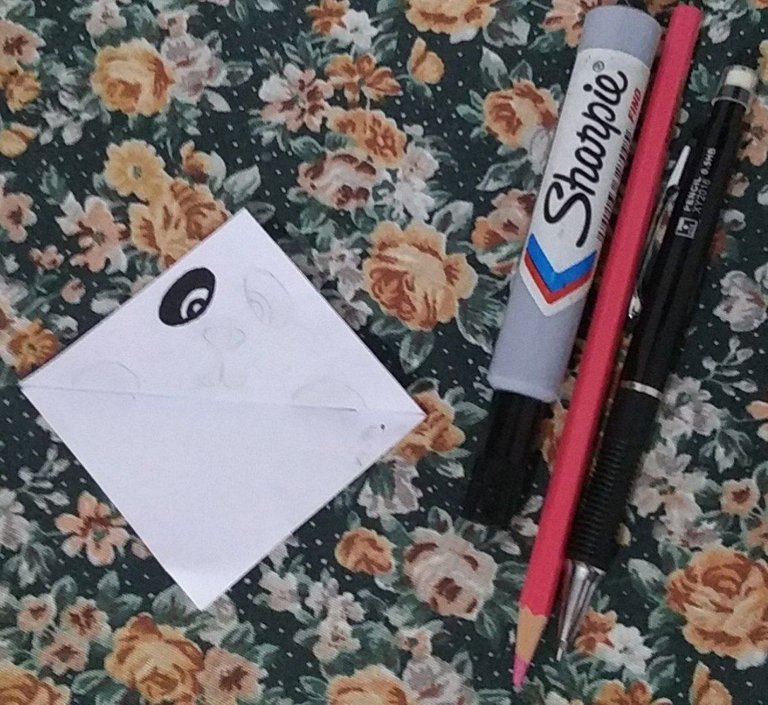
Paso 5
Ahora solo debes decorarlo a tu gusto, yo dibuje la carita de un panda y le hice unas orejas.
Step 5
Now you just have to decorate it to your liking, I drew the face of a panda and I made some ears.
Y listo, ya tienes separadores lindos para tus libros, espero que les haya gustado.
And that's it, you already have cute dividers for your books, I hope you liked them. 😊
Muy lindo y creativo, además de útil felicidades.
Gracias!