[Eng\Esp] Making a Pot Gripper.\ Elaborando un Agarrador para ollas.
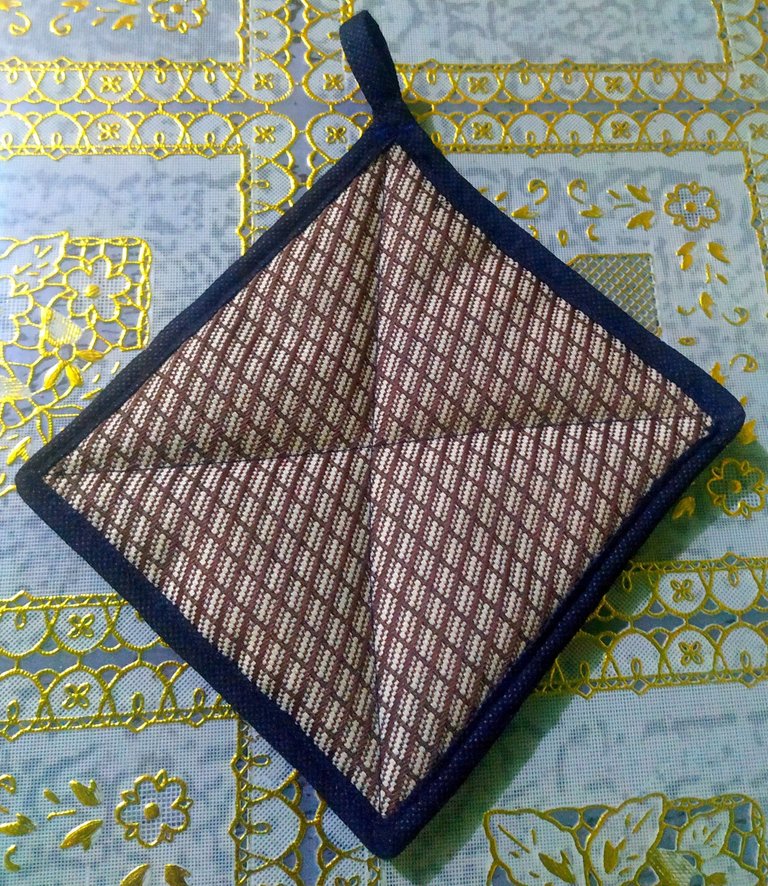
Hello friends of Hive, she sent a friendly greeting to all the members that make up this great community, which allows us to show you the skills that we develop daily in our homes, in order to obtain good results. Well, here I meet you, to make a pot holder, which sometimes in our home we don't have and when we have to grab a hot pot, we don't know what to use, because today we are going to make one, with few materials, in the photographs will see the materials and the step by step.
Hola amigos de Hive, les envió un amigable saludo a todos los miembros que conforman esta gran comunidad, que la cual nos permite mostrarle las habilidades que elaboramos diariamente en nuestros hogares, con el fin de obtener buenos resultados. Y bueno por aquí me encuentro con ustedes, para elaborar un agarrador para ollas, que a veces en nuestro hogar no tenemos y cuando nos toca agarrar una olla caliente, no sabemos que utilizar, pues hoy vamos a elaborar uno, con pocos materiales, en las fotografías verán los materiales y el paso a paso.
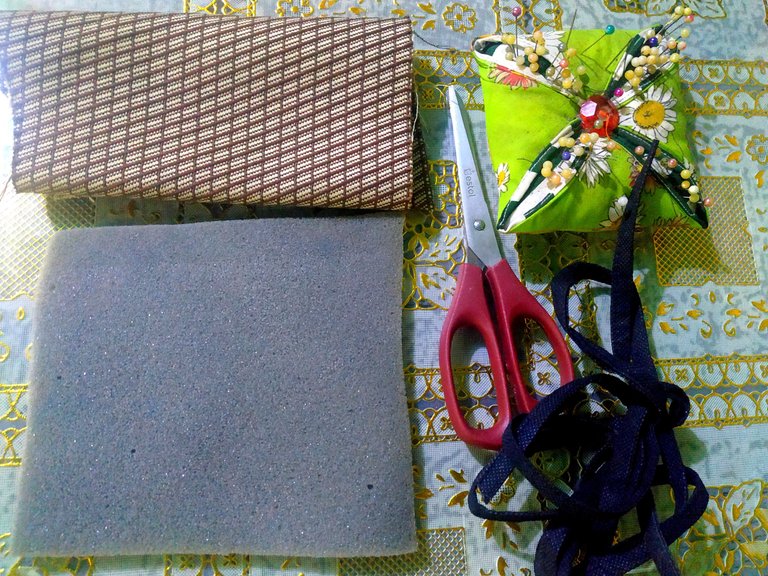
The materials to use:
- Pieces of cloth
- A square of foam rubber
- Bias
- Scissor
- Pins
Materiales a utilizar:
- Retazos de tela
- Un cuadrado de goma espuma
- Sesgo
- Tijera
- Alfileres
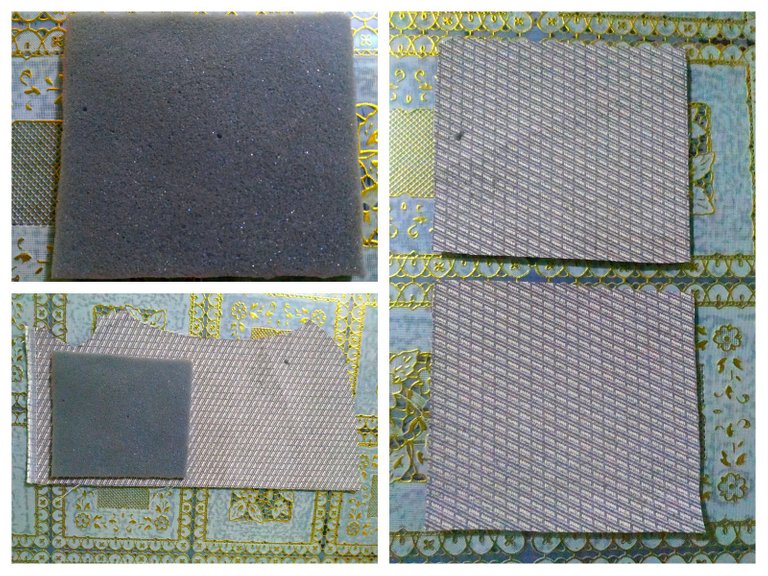
Step 1:
We take the 13 cm x 13 cm square of foam rubber, then on the fabric we place the foam rubber square, and cut to get two squares of the same size.
Paso 1:
Agarramos el cuadrado de goma espuma de 13 cm x 13 cm, luego sobre la tela colocamos el cuadrado de goma espuma, y recortamos para sacar dos cuadrados del mismo tamaño.
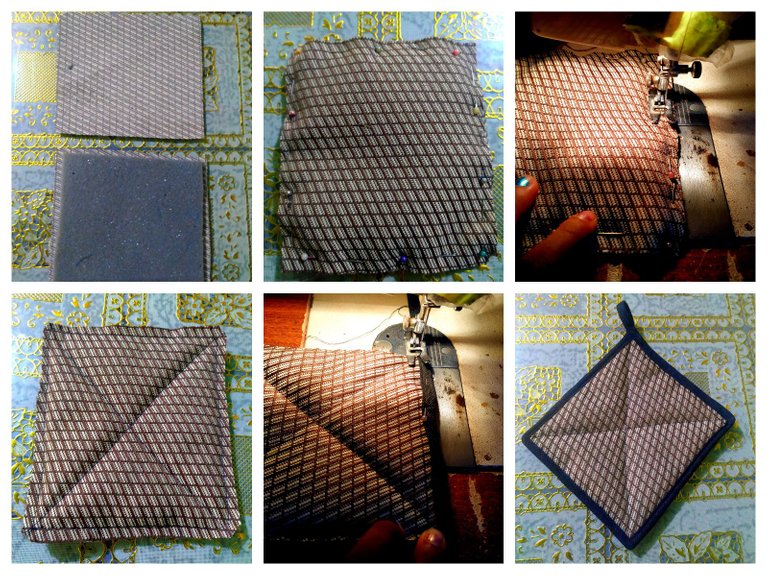
Step 2:
We place the fabric and on it, we mount the foam rubber, and then we place the other square of the fabric. Now we press with pins all around and pass a straight seam around the contour, then we pass two diagonal seams, so that they intersect, as shown in the image. And finally we put the bias.
Well my friends, I hope you can enjoy this great idea, so that you can make it at home, and if you don't have bias you can use fabric, so you can do it your way. Thank you, take care.
Paso 2:
Colocamos la tela y sobre de ella montamos la goma espuma, y luego colocamos el otro cuadrado de la tela. Ahora prensamos con alfileres por todo alrededor y pasamos una costura recta por todo el contorno, luego pasamos dos costuras diagonales, de manera que se crucen, como se observa en la imagen. Y por último colocamos el sesgo.
Bueno mis amigos, espero que puedan disfrutar de esta gran idea, para que lo puedan elaborar en sus hogares, y si no tienen sesgo pueden utilizar tela, así lo hacen a su gusto y manera. Gracias, cuídense.
Collage making program: Fotojet Link
Translated from google translator Link
Photo editing program: PhotoFiltre 7
Las fotos fueron tomadas desde un Xiaomi Mi A2.
Programa para hacer el collage: Fotojet Enlace
Traducido del traductor de Google Enlace
Programa para editar fotos: PhotoFiltre 7
I say goodbye until another opportunity.
Thanks for your support.
Me despido hasta otra oportunidad.
Gracias por su apoyo.
Copyright @imargasa. All rights reserved.
Congratulations, your post has been upvoted by @dsc-r2cornell, which is the curating account for @R2cornell's Discord Community.