Tutorial on Sewing a Simple Elegant Dress
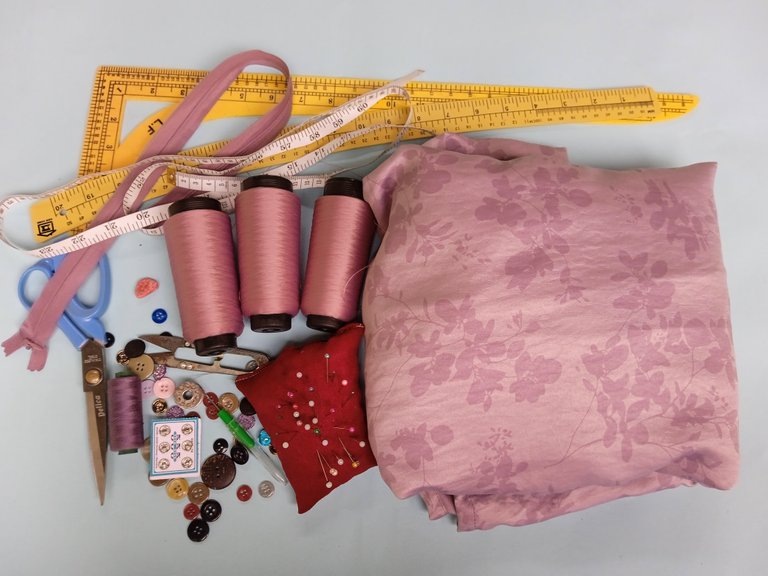
Today I had a customer who wanted to sew a dress at my place, a request from my customer, namely a party dress that is not official, like an ordinary robe that you can go to a party, you can go anywhere with that dress, you don't have to go to a party, that's what it's called with other unofficial party dresses, such as brocade dresses, which are clothes that are worn for official events, they are not suitable for wearing elsewhere, such as going to the market, going to the mall, visiting relatives and others.
That's why my customer wants to sew a party dress that can go anywhere with the party dress. That way my customer brings as much as 3 m of cloth which is enough for himself to spend alone because my customer is a tall and bulky person so the amount of cloth my customer brings should be sufficient for the model of dress he requested.
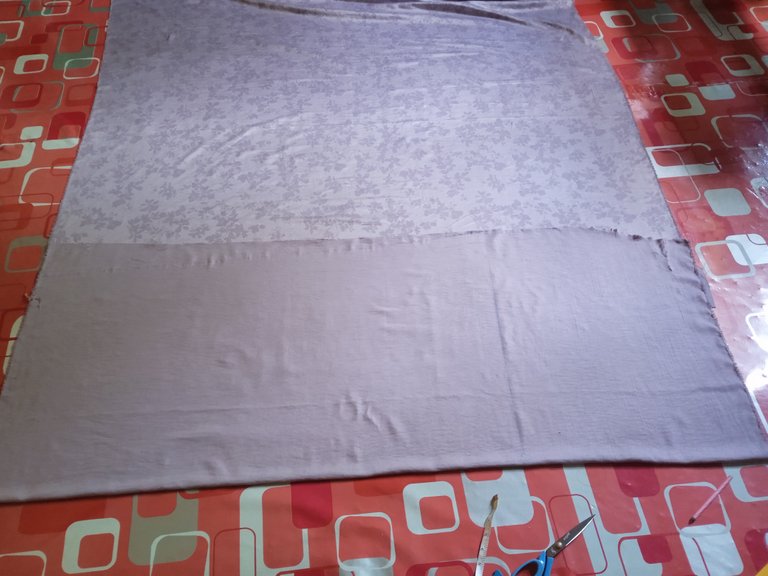
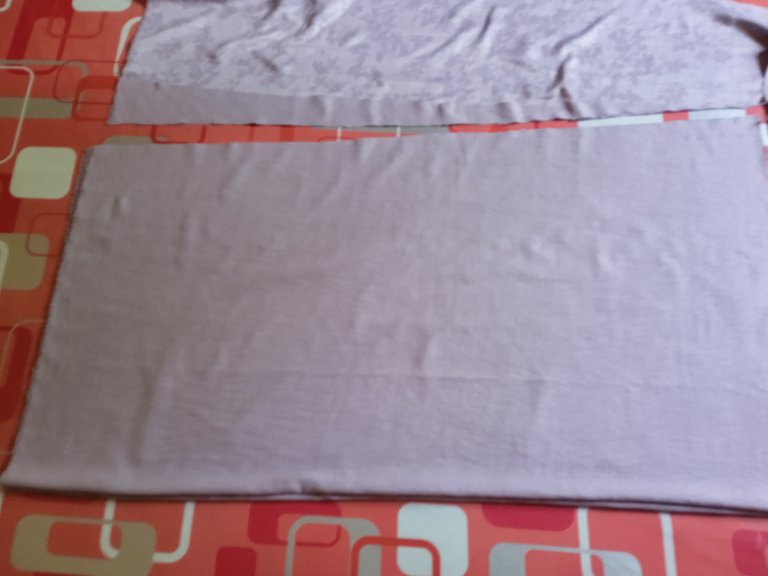
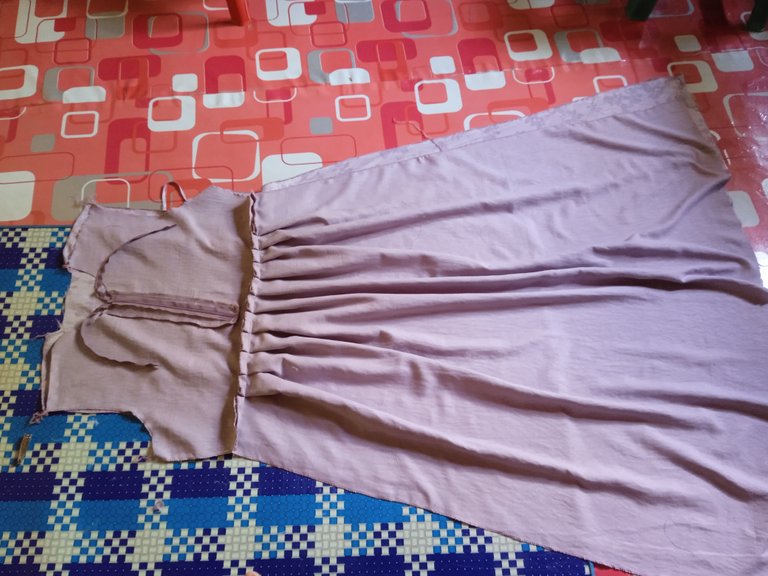
So the way we fold the cloth for the dress model is different because there are different types of clothes. The way we fold the cloth is because of my customer's request here, a dress model that has pleats on the waist and also has a cut on the waist and the way I fold the cloth is me fold it between the width and width not like I usually fold the rectangle but here I fold it between the width of the cloth and the width why I fold the cloth like this? because if the rectangular cloth is folded it will automatically not be enough for a waist-cutting dress that has pleats, so I folded it like this so that there was sufficient fabric available, which is like the picture I show below.

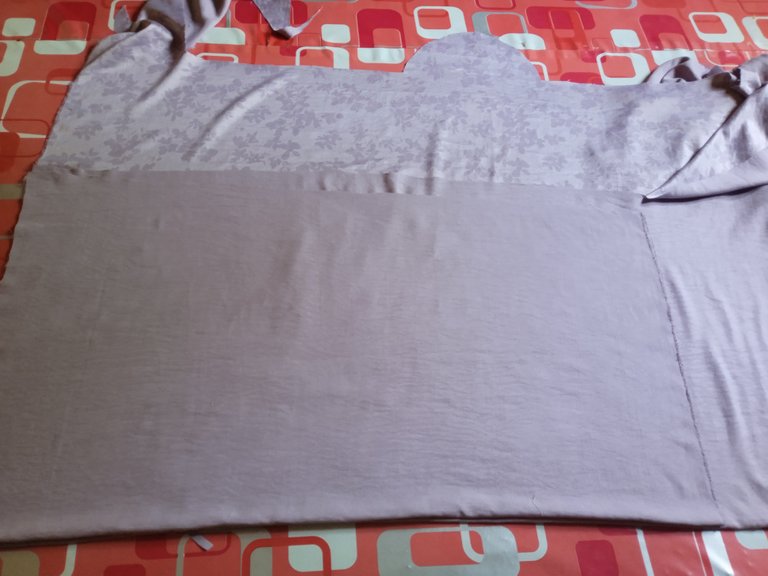
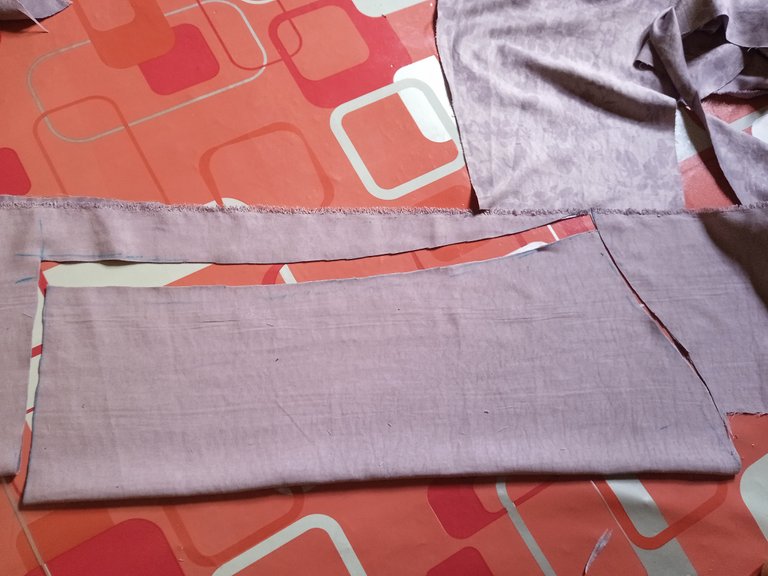
For the first measurement, I measured the skirt part first because every dress that has a waist cut that must be measured first is the bottom or part of the skirt. This is a tip for tailors so they can save fabric and have enough fabric.
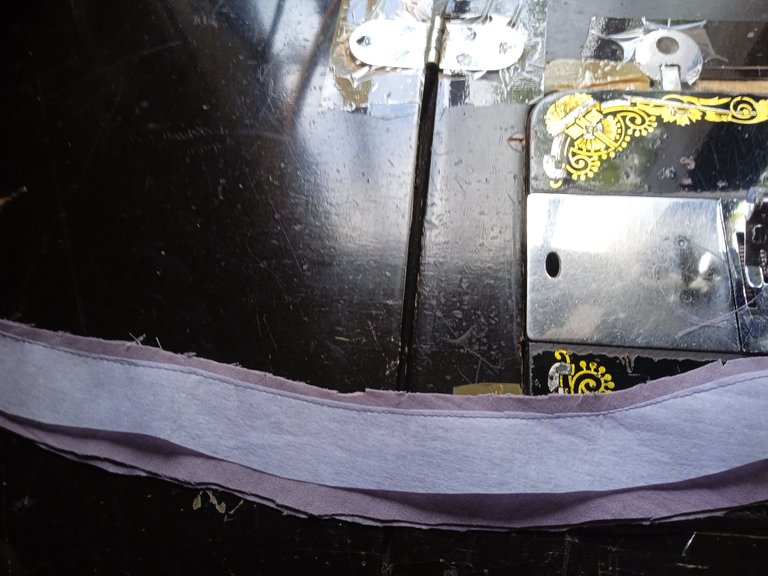
So here are the results of measuring and cutting the skirt and also in the measurements here I exaggerated between the sides of the waist by 5 inches, namely to make pleats at the waist later.

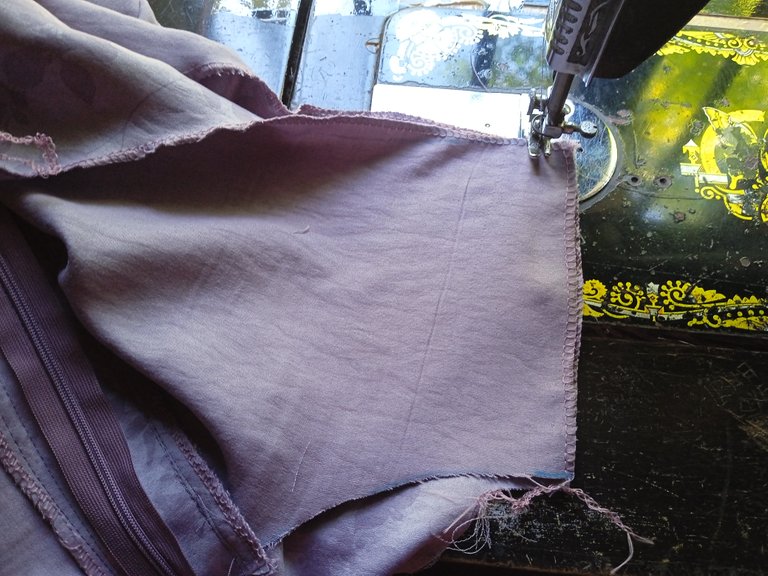
Since my stitched dress this time didn't have a zipper on the back but the zipper was on the front, therefore I immediately traced the front pattern skirt with the back pattern skirt with the same measurements.
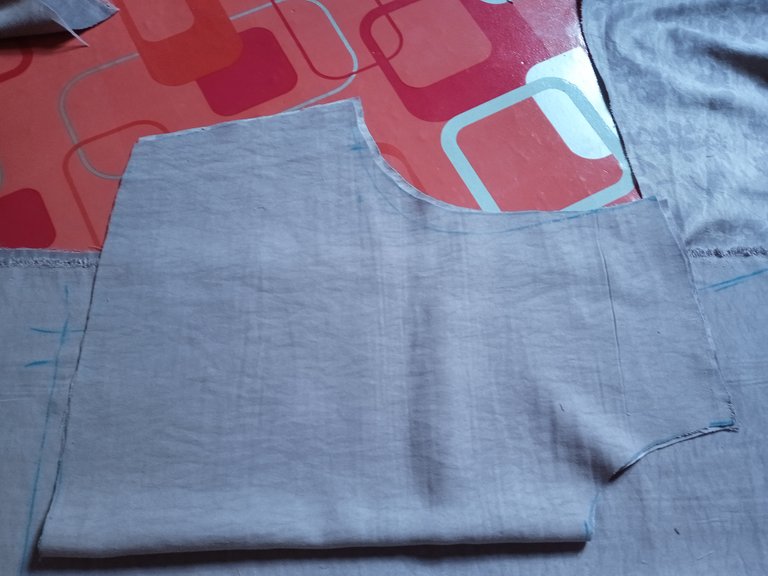
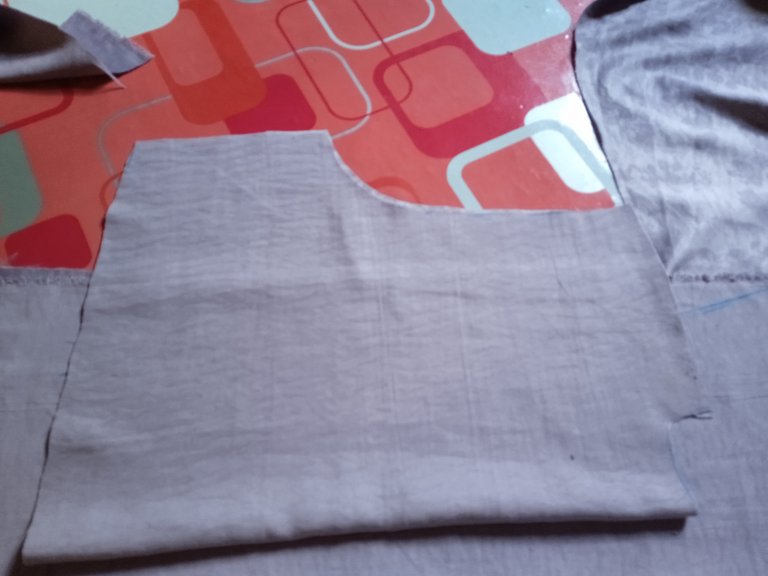
Now we measure the remaining fabric from cutting the skirt on the front and back of the body pattern. After the measurements and cuts on the front body pattern are finished, after that, we trace it to cut the back pattern by exaggerating the sides on the armpit and waist seams to make stubs on the back.
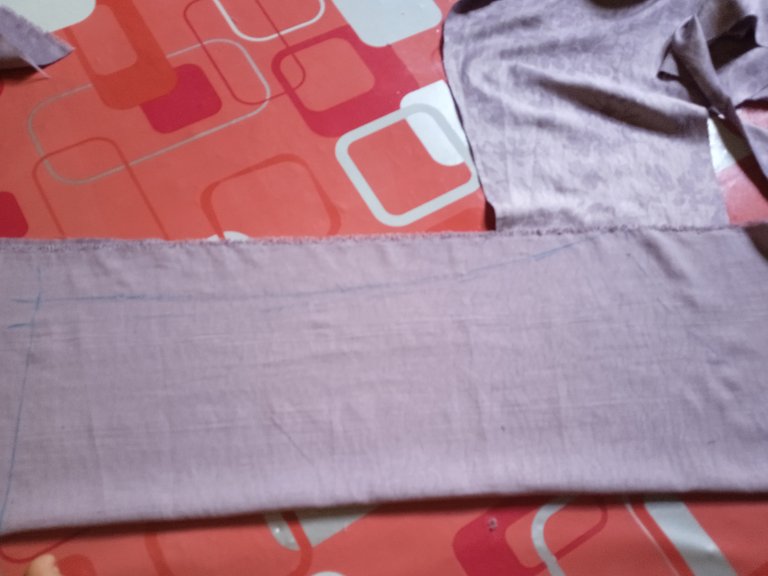
Lastly, making the arm pattern is like the picture that I show below.
After all the measurements and cutting of the shirt pattern, now I want to overdo the results of cutting the shirt.

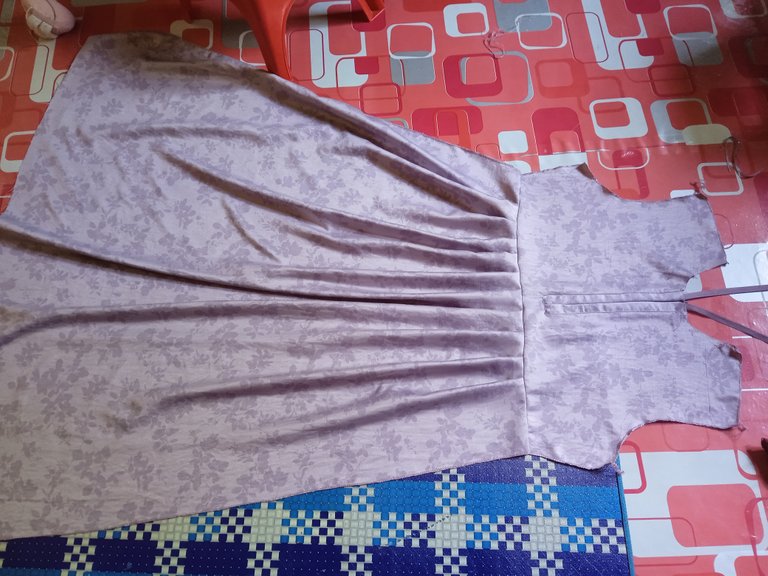
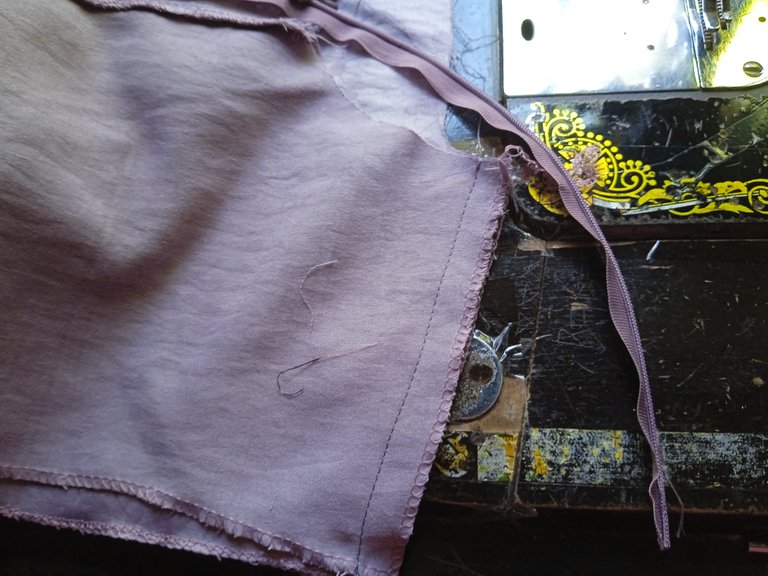
For the first stitch I made a zipper first on the front. And forming pleats at the waist, I put a pin in advance so that it's easier later when I attach it between the body and the skirt.


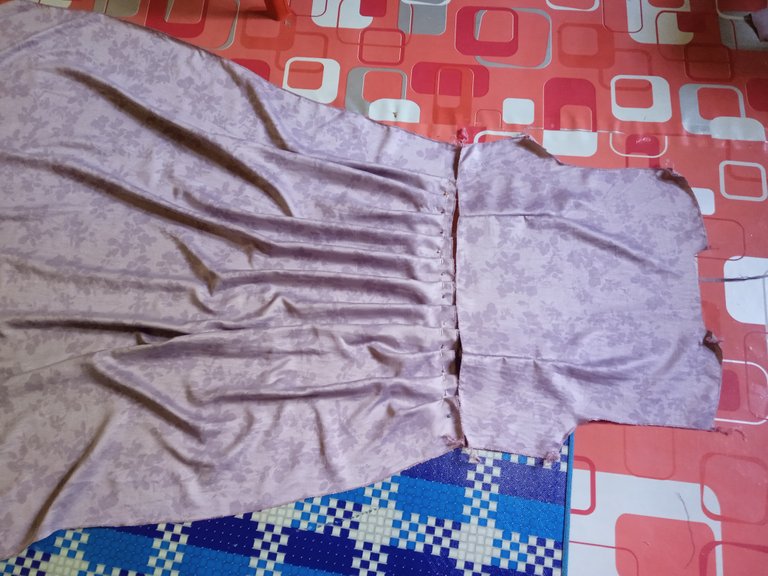
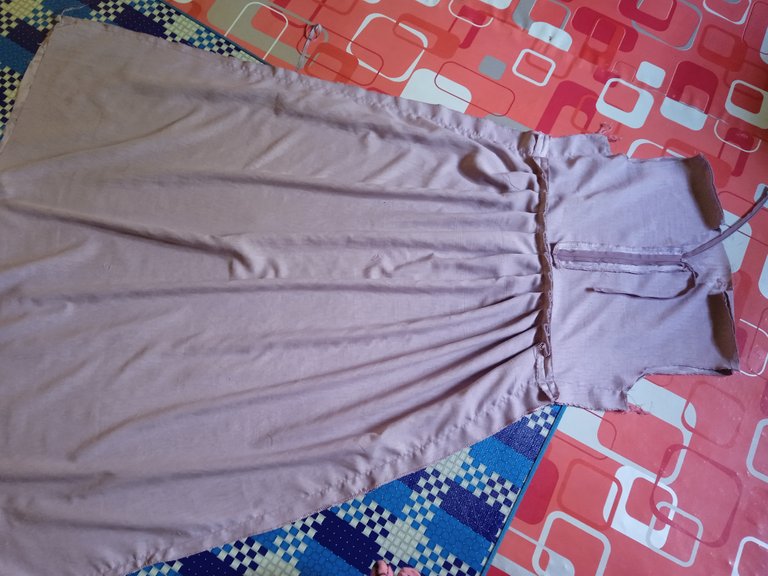
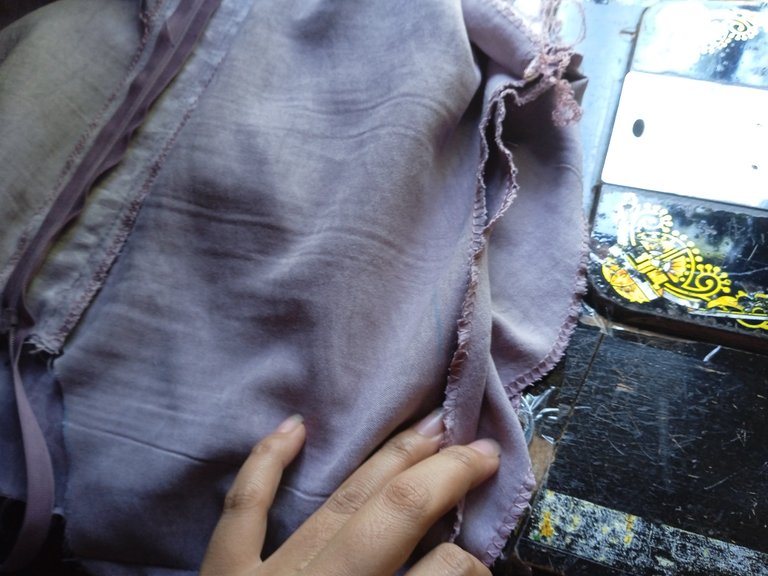
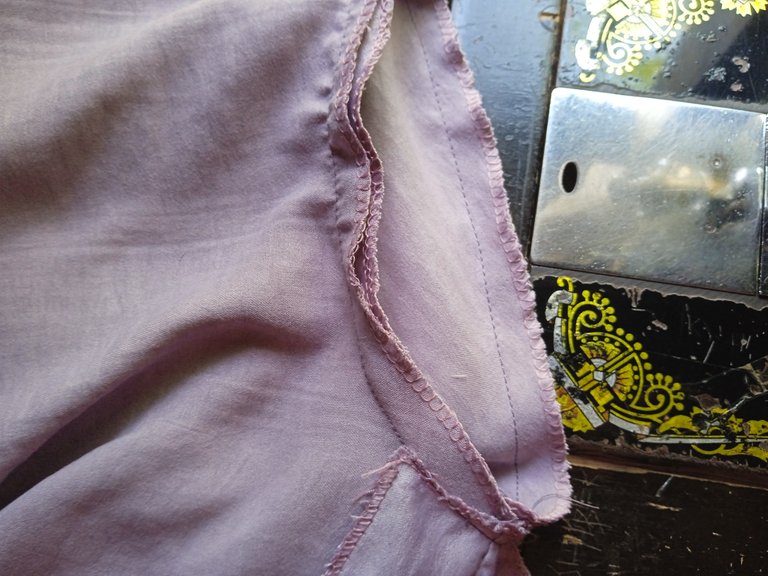
After I attached the pin to the pleats of the skirt, then I immediately sewed it together with the body pattern. This is the result of attaching the body and front pattern skirt.
And then the body is attached to the back pattern and first I made a kubnat on the back and gave a pin on the skirt, after that I attached it between the body and the skirt which I gave a pin.
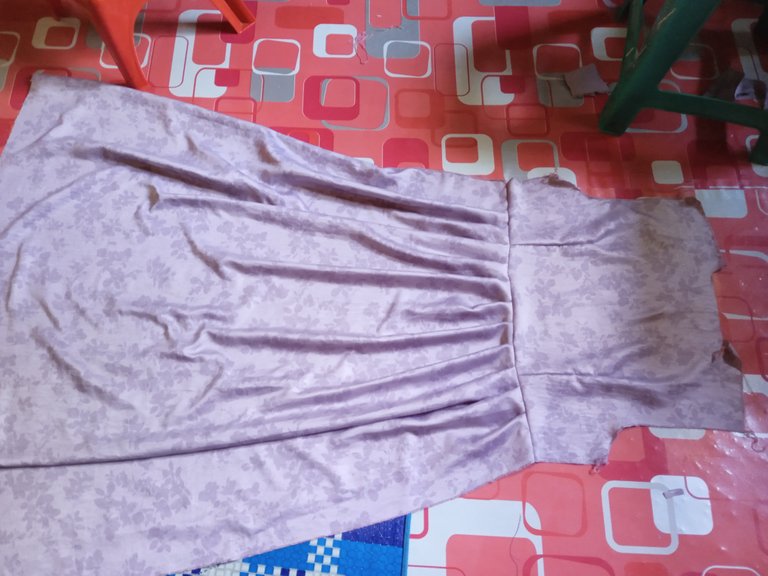
Next is the installation between the front and back patterns of the first stitch, namely on the shoulder after the new shoulder is sewn from the armpit to the bottom of the skirt.
Then stitches on the arm, after that just attaching between the arm and the body by turning the arm to the outside and inserting it into the body like the picture I show.

And this is the result of the installation of the body and arms.
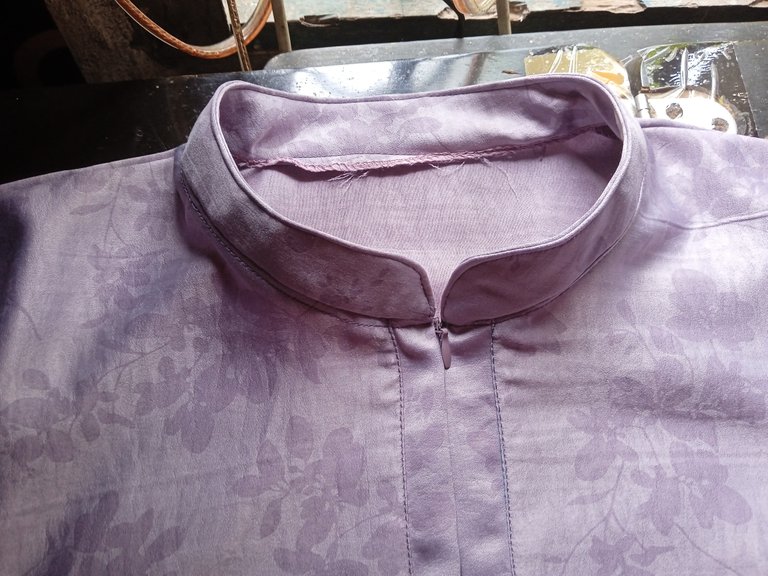
The last one is forming the shanghai collar, after I formed the shanghai collar I only cut the collar on one side because here I'm wearing a zipper on the front. Usually I immediately sew between the collar and neckline. If the zipper is behind me, I overhaul it once after I attach the collar and neckline. Unlike my stitches, this time I first overhaul the shanghai collar, then I sew it between the collar and neckline.
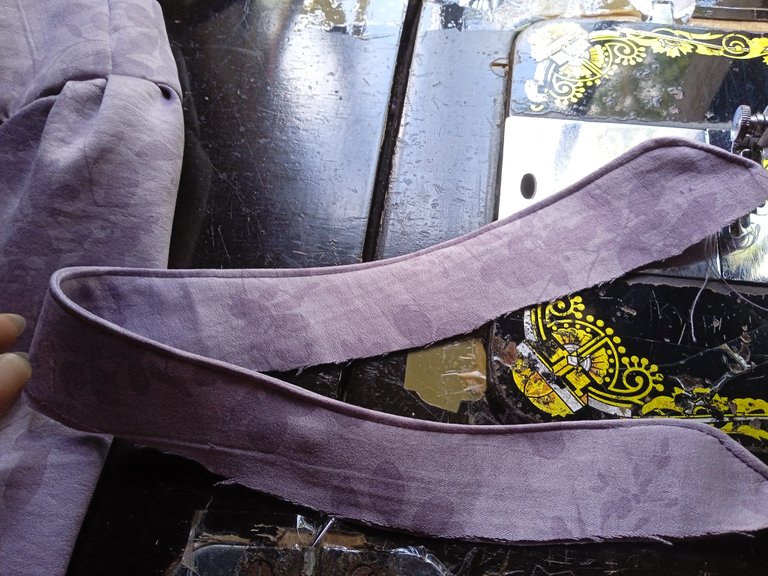
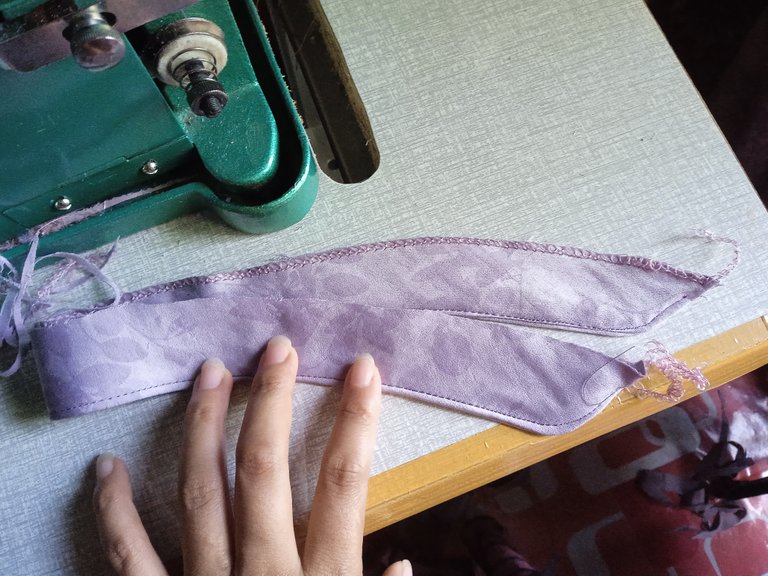
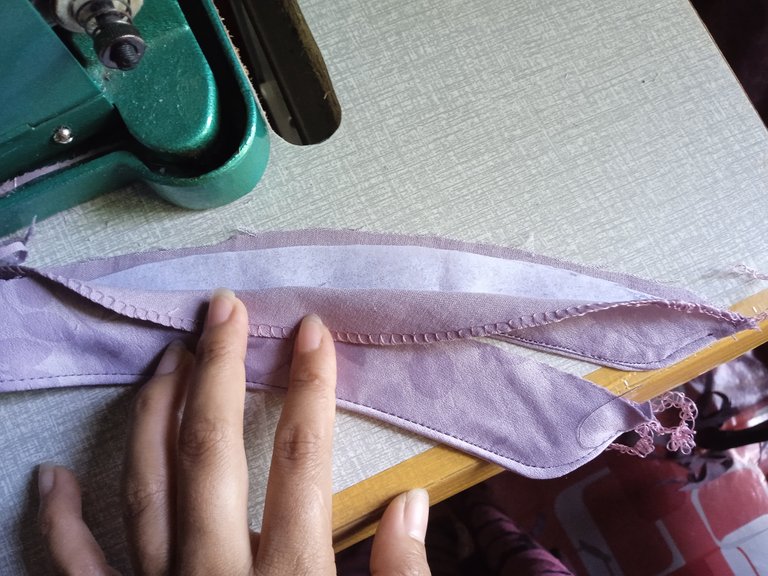
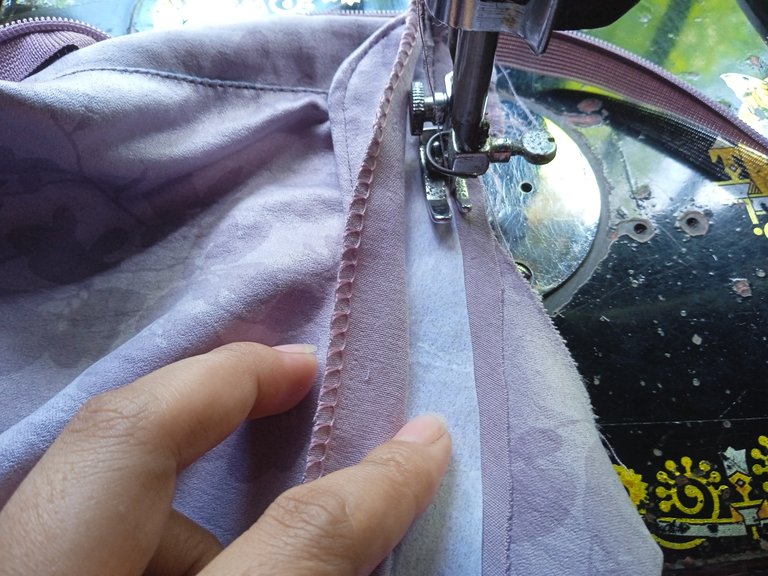
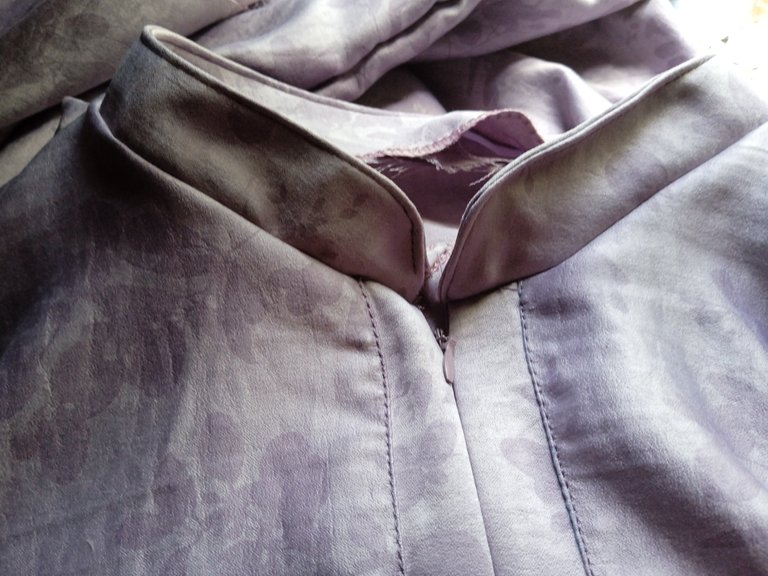
After the seam between the collar and the neckline was finished, I sewed it on the outside so that the side of the collar that I overlapped earlier could be attached.
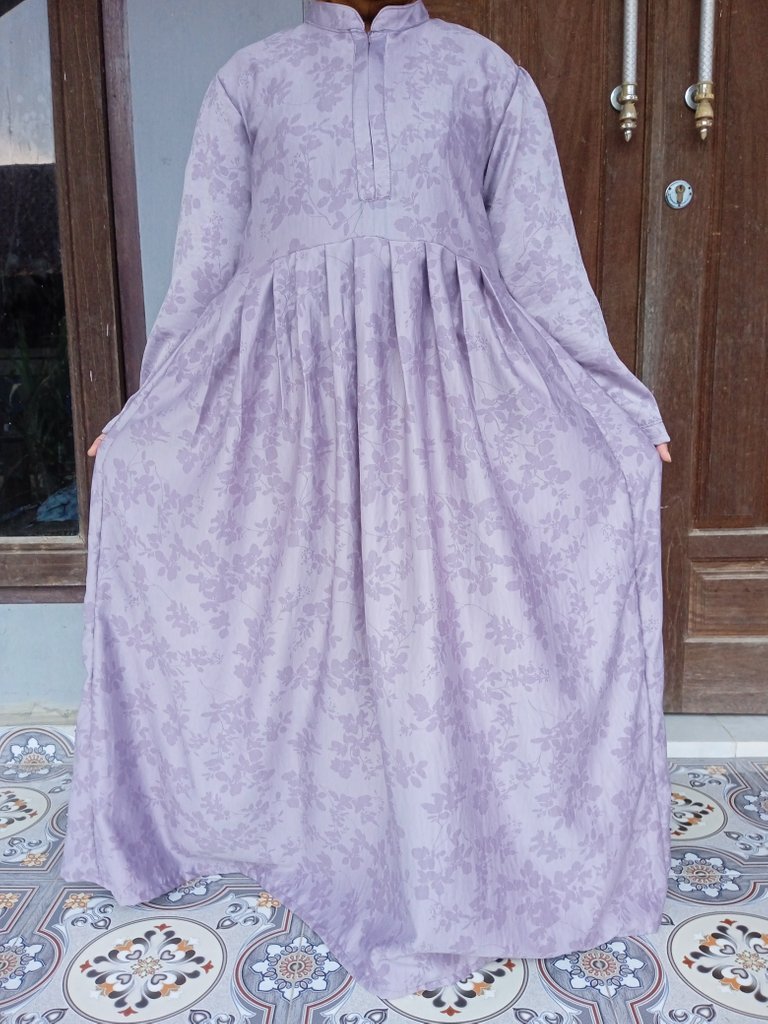
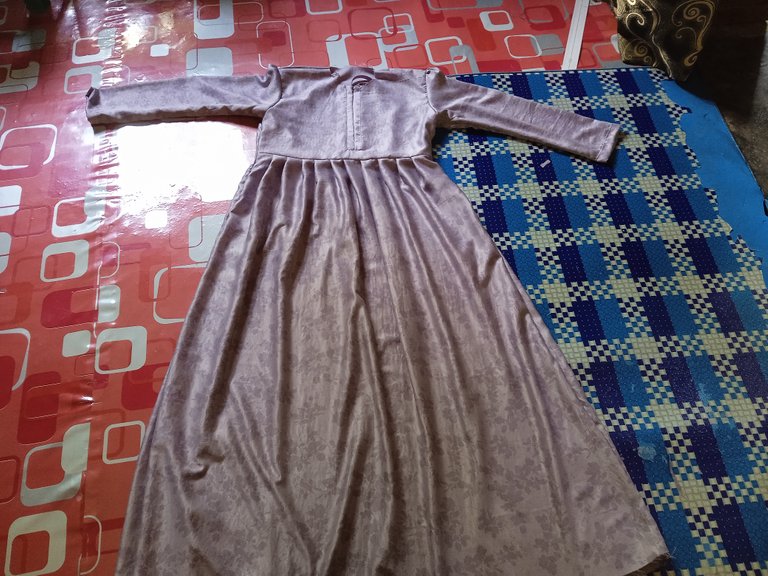
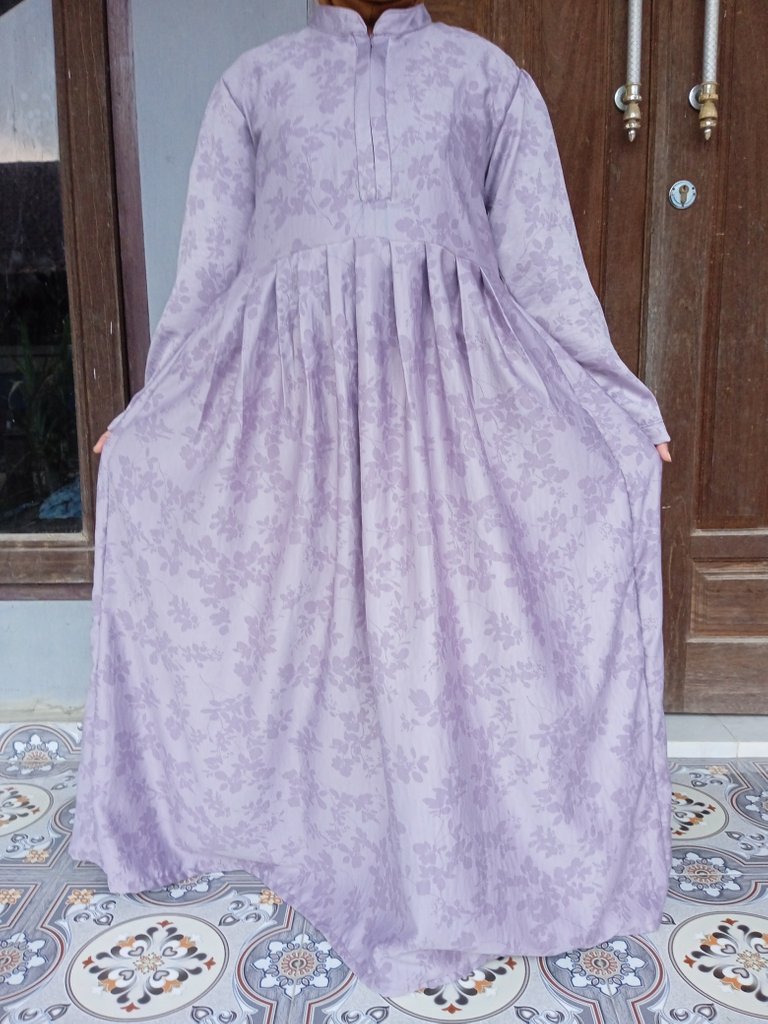
The final result is as follows.
Thank you for listening to my sewing tutorial, I hope it can be useful for those of you who need it, see you in my next post.
Thank you for sharing this post in the DIYHUB Community!
Your content got selected by our fellow curator semarekha & you just received a little thank you upvote from us for your great work! Your post will be featured in one of our recurring compilations which are aiming to offer you a stage to widen your audience within the DIY scene of Hive. Stay creative & HIVE ON!
Please vote for our hive witness <3
Thank you for your support.
It is a very nice suit with a professional finish. I really liked the collar and the sleeves is what gives me the most work in sewing.
Thank you for visiting, yes the collar is the last part which when sewing must be careful so that the clothes look neat and more perfect.
https://twitter.com/1577117567721816068/status/1626457105539469313
The rewards earned on this comment will go directly to the people( @tere.alv ) sharing the post on Twitter as long as they are registered with @poshtoken. Sign up at https://hiveposh.com.
Thank you so much.
This is beautiful, you have done so well in the cutting and sewing process, it makes it easier to make for a beginner. Beautiful outcome, keep up the good work of creativity. Thanks for sharing @honeyflow
Terima kasih kata baiknya dan sama-sama.
Congratulations, your post has been upvoted by @dsc-r2cornell, which is the curating account for @R2cornell's Discord Community.
Thank you.