Side Pocket Non-Formal Robe Sewing Tutorial
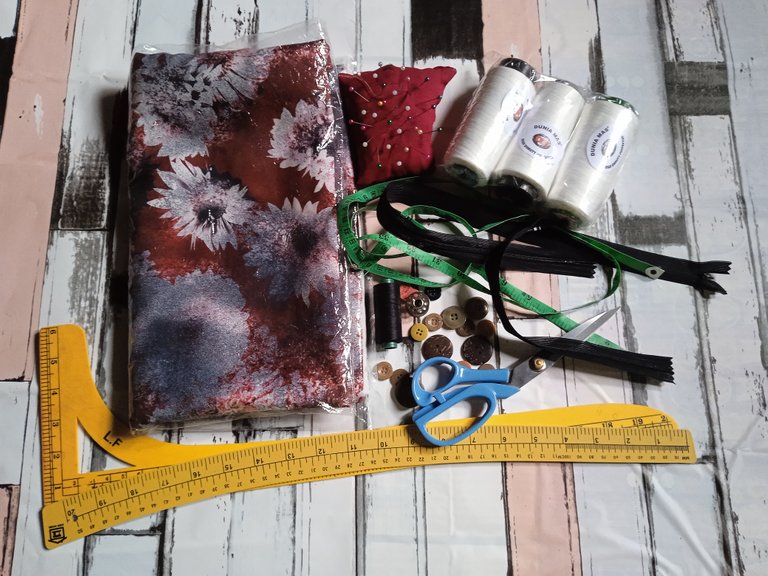
Today I had a new customer who wanted to sew clothes at my place and he brought 2 and a half meters of cloth for a normal style robe because my customer was an older woman so the clothes she wore were just mediocre because if there were a lot of clothes the model, she will feel uncomfortable wearing clothes that are too flashy that are not suitable for her age.
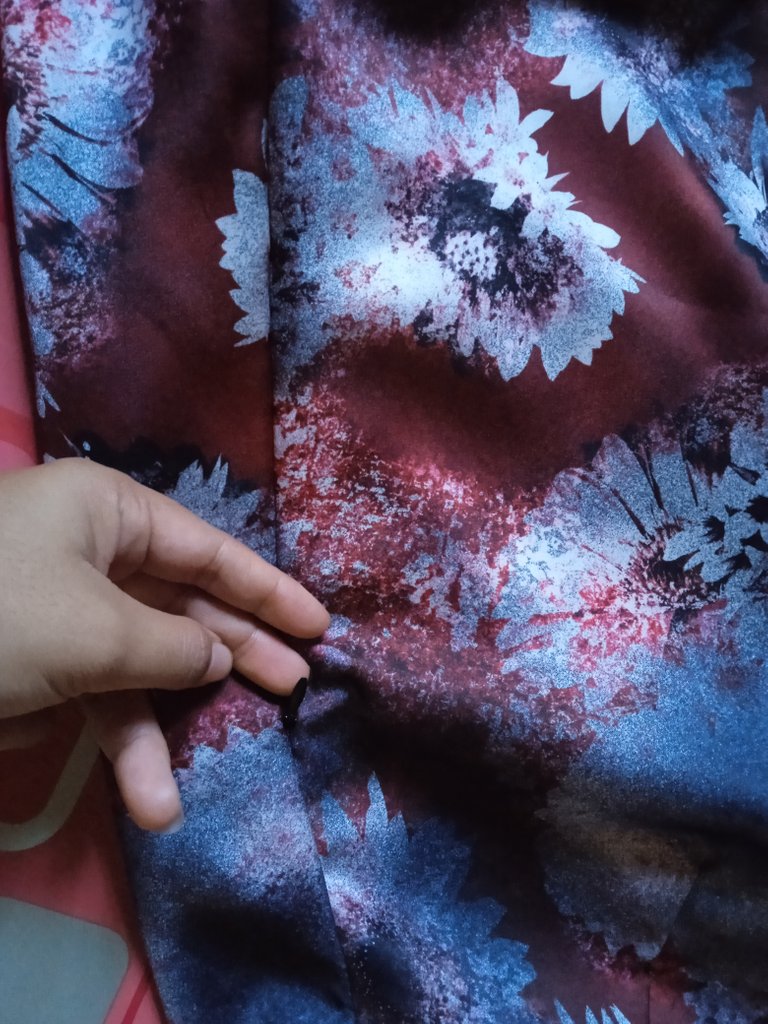
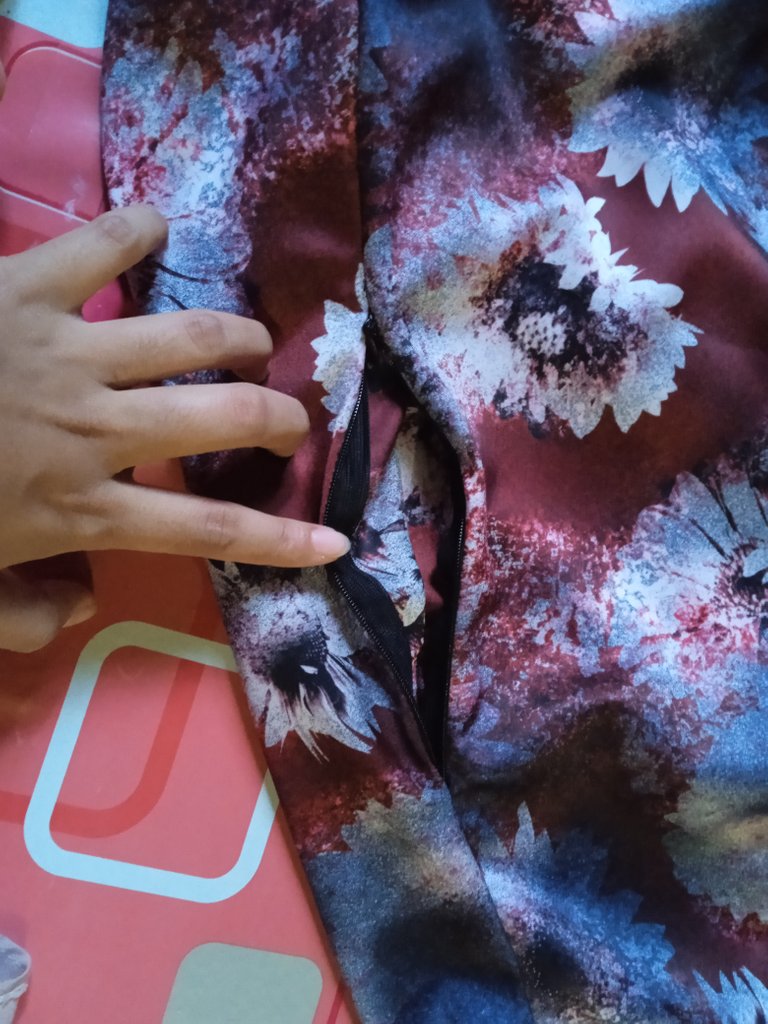
A request from my new customer is an ordinary robe that is worn by an aged woman and wears a back zipper. She also wants the clothes she wears to use a side pocket and add a zipper to the side pocket so that anything put in the sleeper pocket can be safe and not easy fell due to a side zipper.

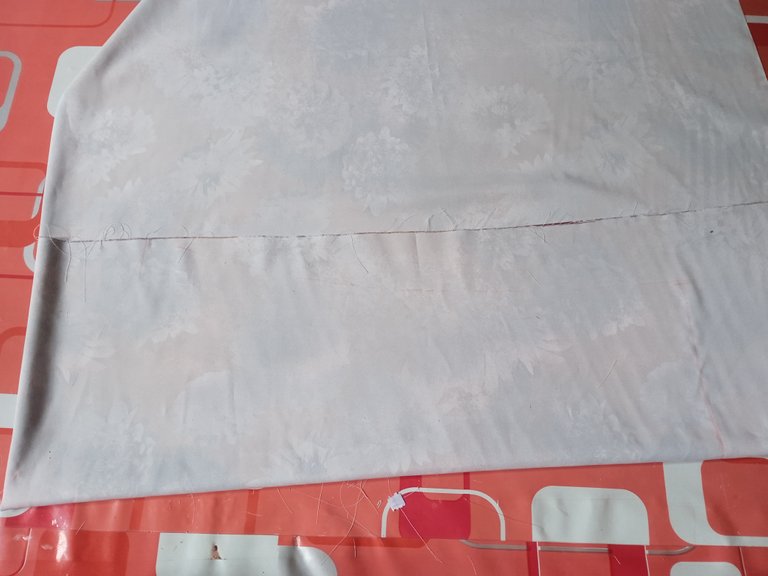
Ok, I have 2 and a half meters of cloth here for an adult's robe, which has a wide skirt that is almost the same width as a silker skirt.
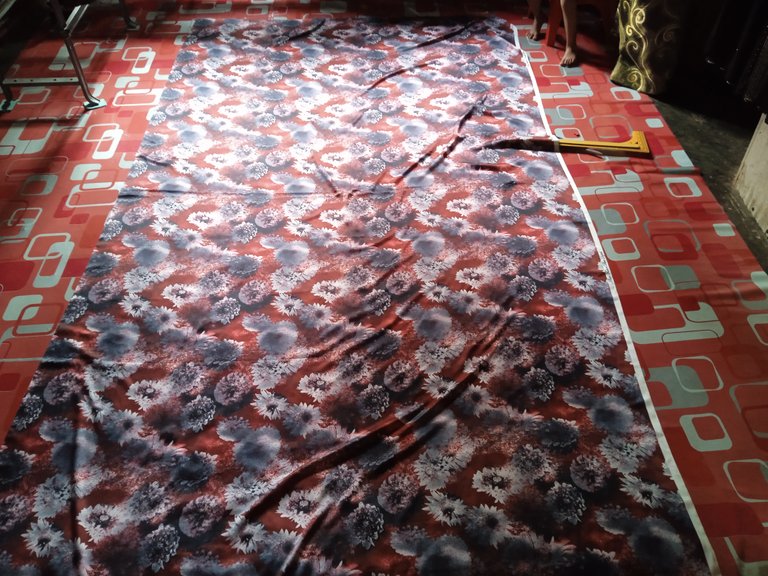
So for folding the cloth for a robe that has a waist cut, what I have to measure first is the skirt part and the method for folding the cloth must be rectangular. fabric folding like the picture I show below.

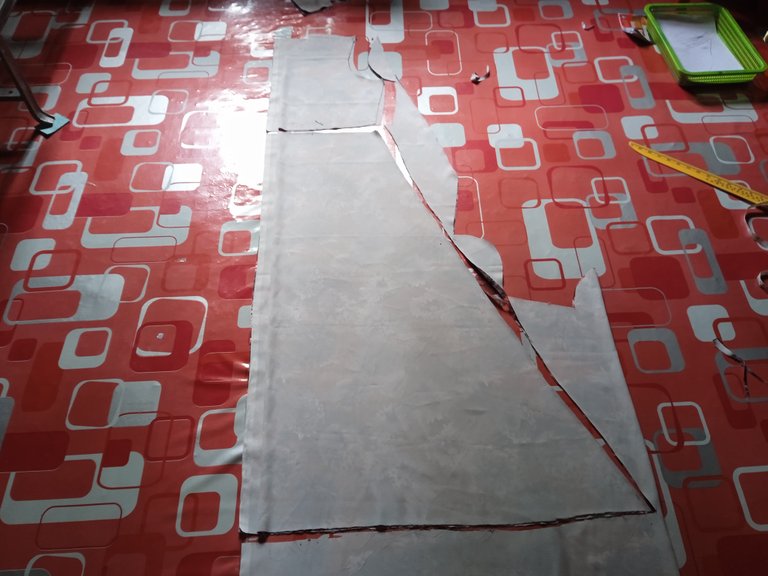
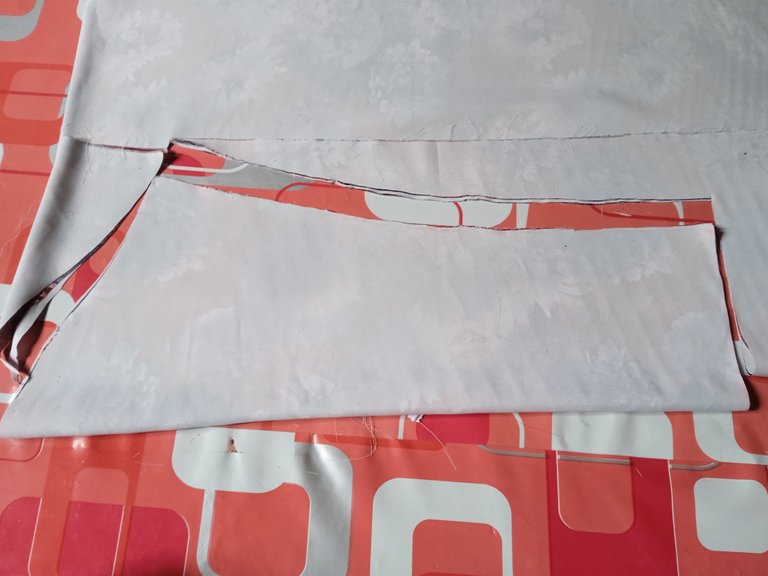
The pattern that I am describing is the pattern for the front, so first I measure it from the middle of the fabric down. The method I use is a tip to save more on the existing fabric. Even though there is a cut at the waist, I still measure it like measuring the basic pattern, that is, there is no waist cut. After I measure it from the shoulder to the feet, then I draw the waist cut, and this is the result of cutting the front pattern.

So for the back pattern I only need to put the front pattern that I have measured and cut on the available fabric, no need to change the fold of the existing fabric, it's just to fix the fold so I just put it in and overlaid the tray for the back zipper, over the shoulder on the armpit and waist brackets.
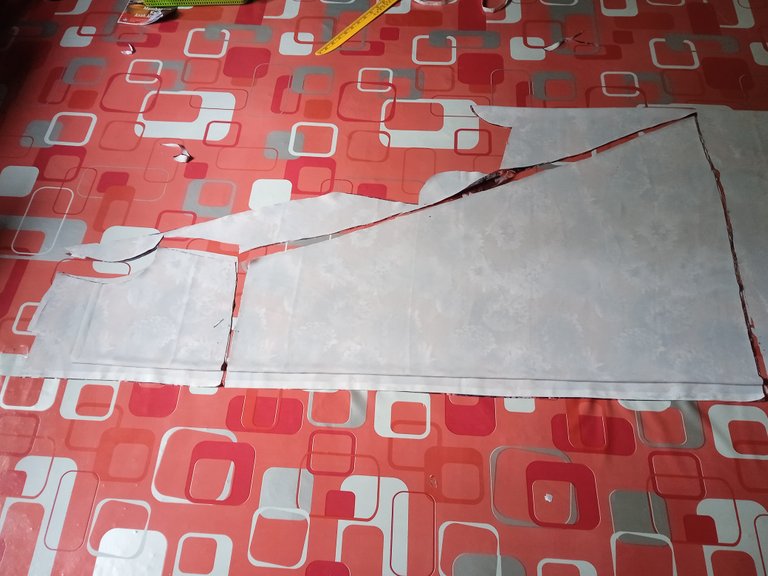
After cutting the pattern on the back, I now proceed to measure and cut the pattern for the sleeves, so here I measure and cut the fabric directly into two hands. I didn't cut one arm, but directly measured and cut it into two arms and the entanglement of the fabric, which is as follows.
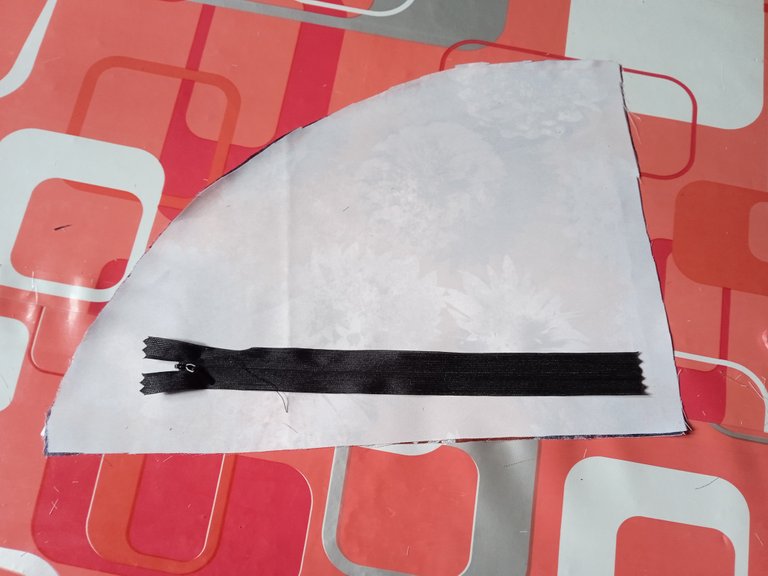
Because this shirt has a side pocket, so I measured and cut the pattern for the Bobok pocket, which is like the picture I show.
After measuring and cutting the pattern on the front, back of the sleeves and along with the side pockets, I immediately torn the shirt. First I crocheted the waist of the front pattern, after that I hooked up the back pattern and hooked the waist after that, then I used the zipper on the back, then I attached the side sleeper pockets, after I sewed on the hips and hooked the bobok pockets, after that, I just using a zipper is like wearing a zipper on the back and this is a picture of attaching the sleeping bag.
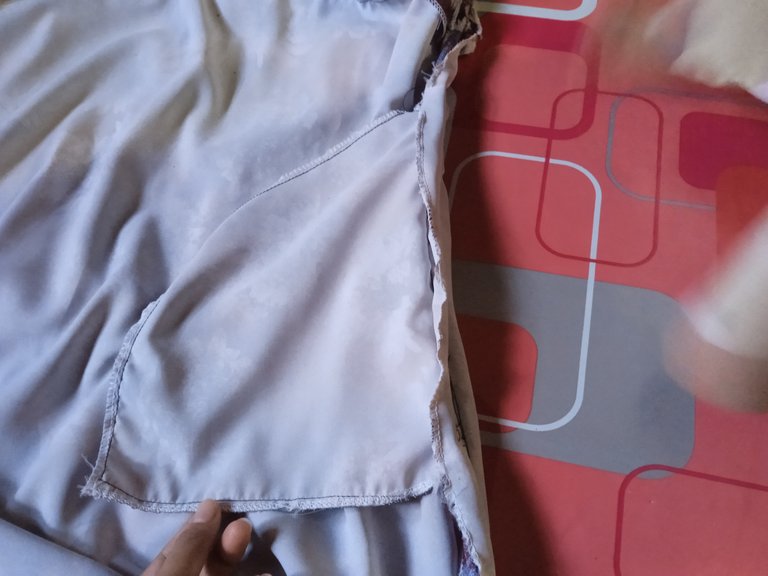
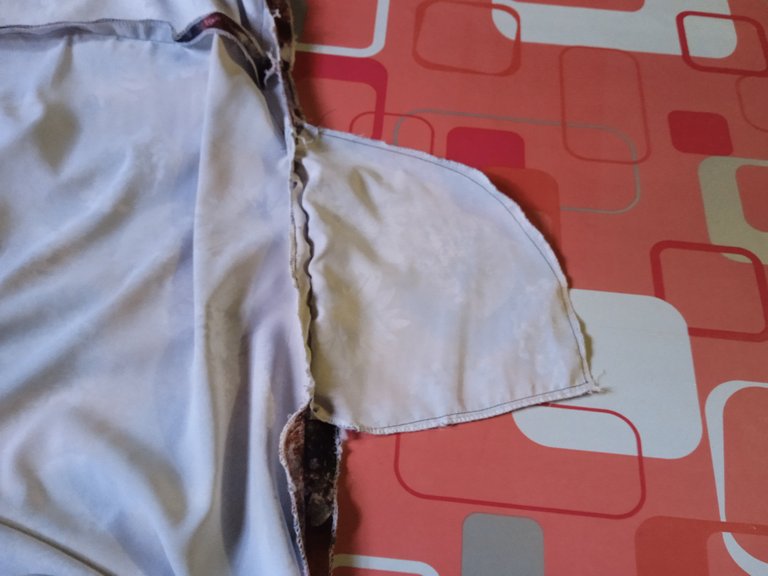
This is the result of patterning the front and back as well as attaching the sleeves and sleep pockets.

Finally, this is the result of my work today, namely my new customer's clothes and he wants to wear them on an important day, hopefully my work today can satisfy my new customers and in the future I can become a subscriber at the sewing house@honeyflow.


Thank you for listening to the tutorial that I made, I hope it can be useful and useful for those of you who are still very beginners and see you in my next post.
Thank you for sharing this post in the DIYHUB Community!
Your content got selected by our fellow curator ashikstd & you just received a little thank you upvote from us for your great work! Your post will be featured in one of our recurring compilations which are aiming to offer you a stage to widen your audience within the DIY scene of Hive. Stay creative & HIVE ON!
Please vote for our hive witness <3
Thank you very much for support team.
https://twitter.com/1453422906373926917/status/1621190598651949056
The rewards earned on this comment will go directly to the people( @neoseven ) sharing the post on Twitter as long as they are registered with @poshtoken. Sign up at https://hiveposh.com.
Congratulations @honeyflow! You have completed the following achievement on the Hive blockchain And have been rewarded with New badge(s)
Your next target is to reach 300 replies.
You can view your badges on your board and compare yourself to others in the Ranking
If you no longer want to receive notifications, reply to this comment with the word
STOPCheck out our last posts:
Support the HiveBuzz project. Vote for our proposal!
Congratulations, your post has been upvoted by @dsc-r2cornell, which is the curating account for @R2cornell's Discord Community.
Thank you for the support
The fabric is beautiful
♥️👏🤗🤗🌹🌹😜😜🌹😘😘❤️♥️👏🤗🤗😍😊✨😚
Thank you.