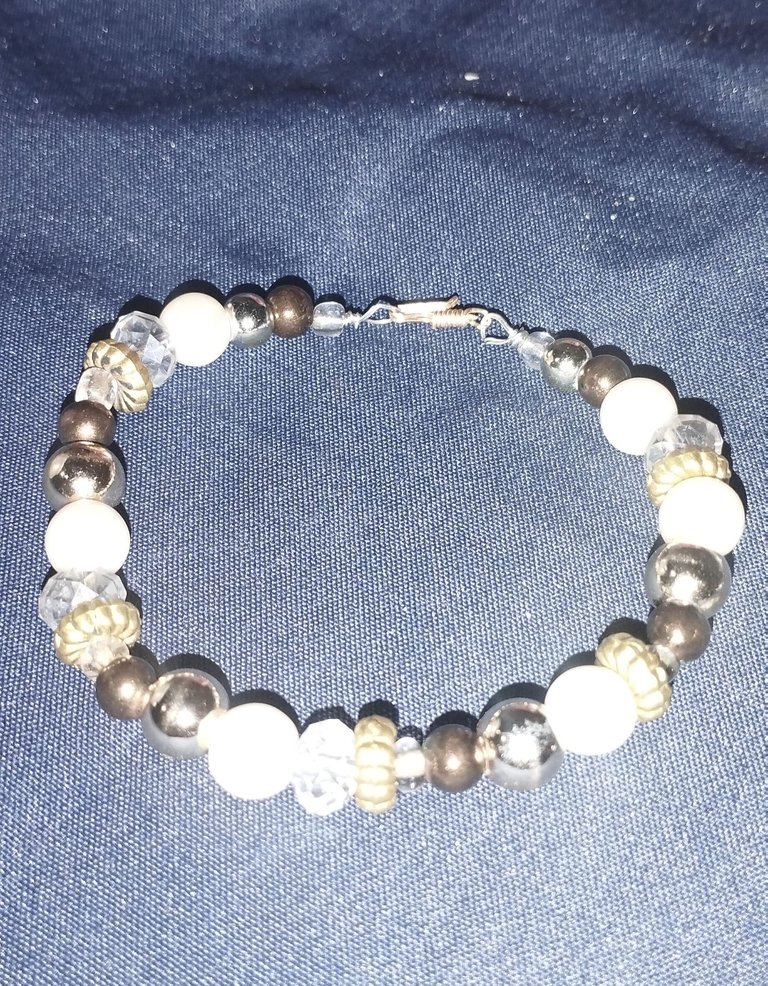
Hermosa Pulsera de Perlas y Cristales. / Beautiful pearl and crystal bracelet.
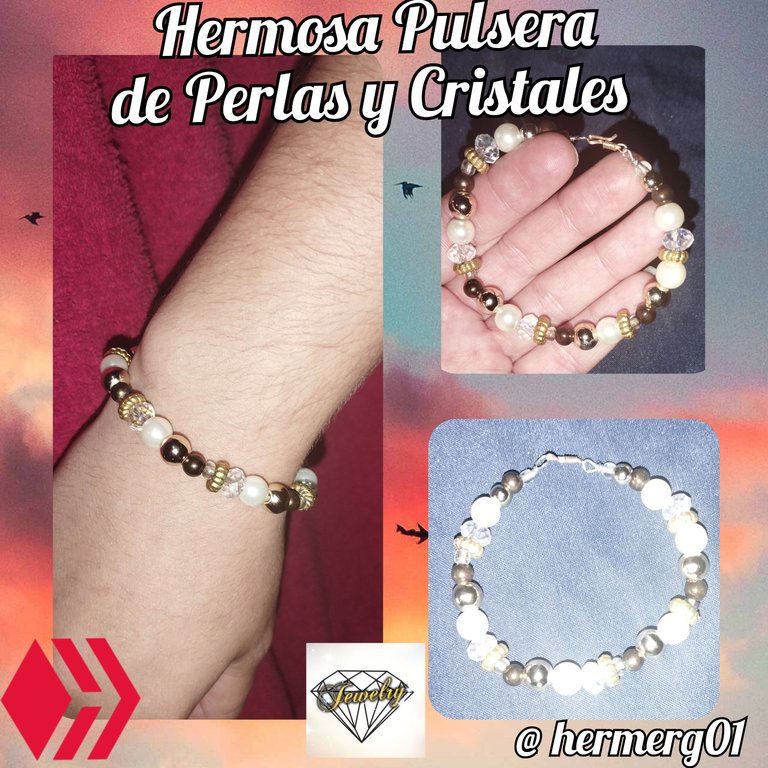
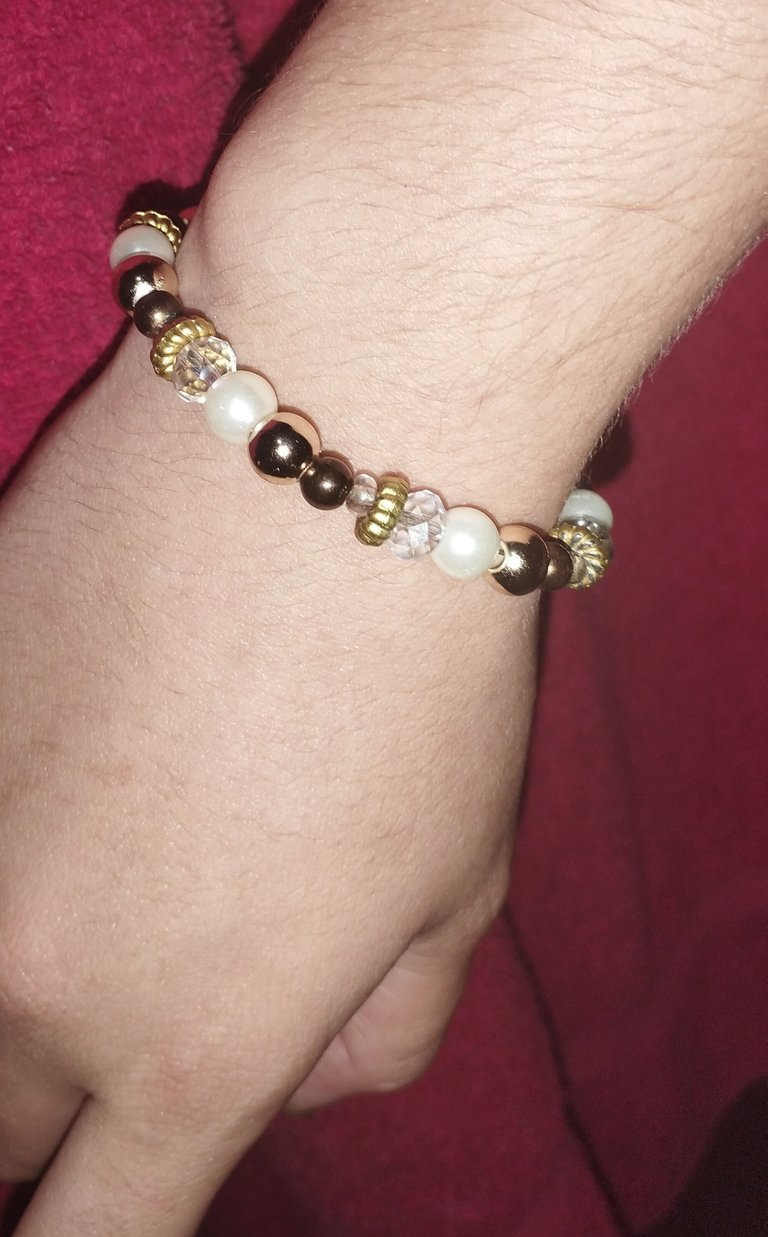
Hola amigos de esta prestigiosa comunidad de @jewelry me animé a elaborar está pulsera es sencilla pero muy bonita, estuve algo desanimado porque no he logrado encajar en la comunidad de hive al crear mis contenidos pero he leído varios post y he estado obteniendo ideas y me pareció bien elaborar está pulsera es sencilla espero les guste. Estoy poniendo a prueba mis habilidades a estás elaboración de joyas y es muy bonito haber algo con nosotras manos. Mi hija tenía estás perlas y varios cristales y le dije préstame ese material que voy a realizar pago bonito. Ella intrigada no esperaba que yo hiciera la pulsera y al final me dijo tómame una foto aquí con ella puesta y me la regalas,bueno le gustó mucho a ella espero que a ustedes mis queridos amigos hivers. Veo ahora el arduo trabajo que tienen las personas que elaboran este tipo de joyas yo dure como una hora para realizarla y eso que es fácil pero cuando no tienes experiencia en algo te toma tiempo adaptarse. Pero logré mi objetivo y estoy feliz por eso.
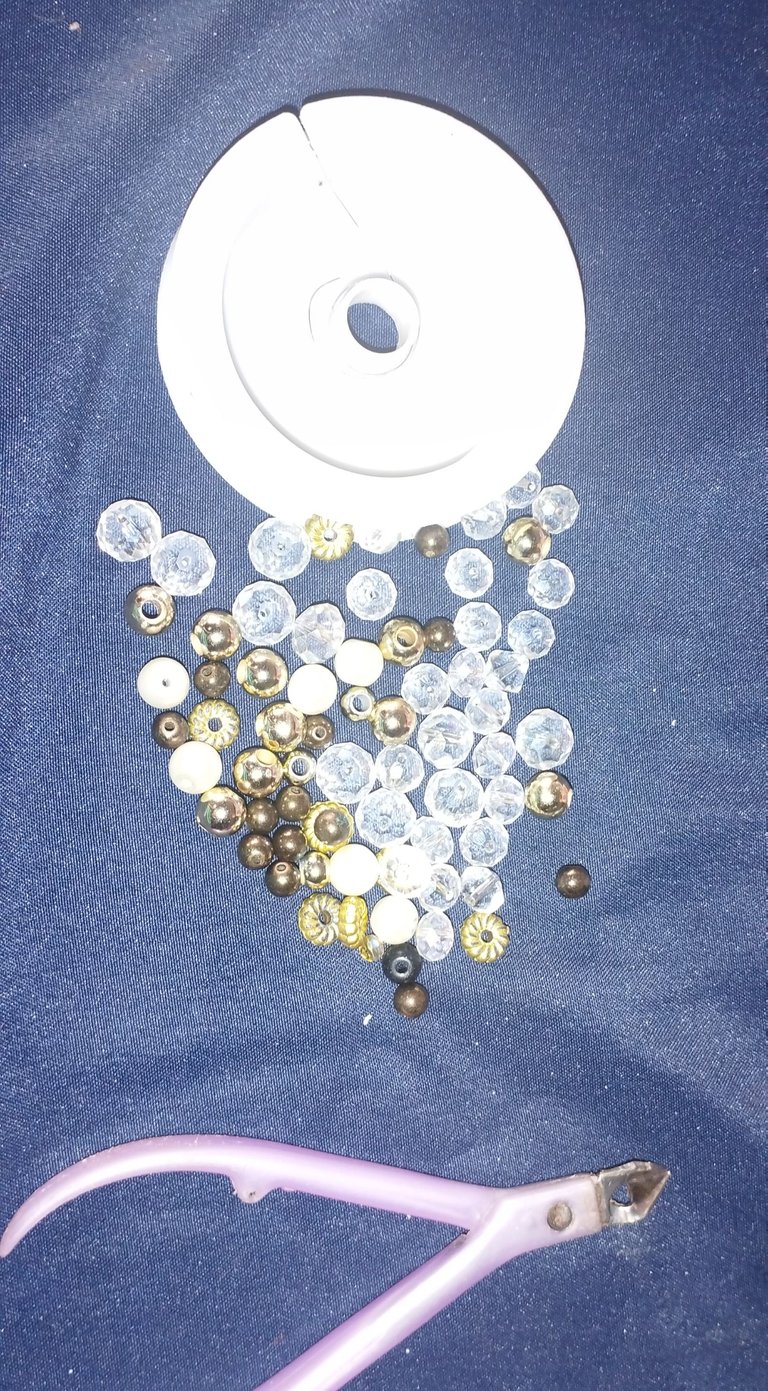
Utilicé los Materiales siguientes:
✓ Alambre número 28.
✓ Pinza.
✓ Perlas.
✓ Cristales.
✓ Separadores.
✓ Cuentas doradas.
✓ Broche.
PASO A PASO:
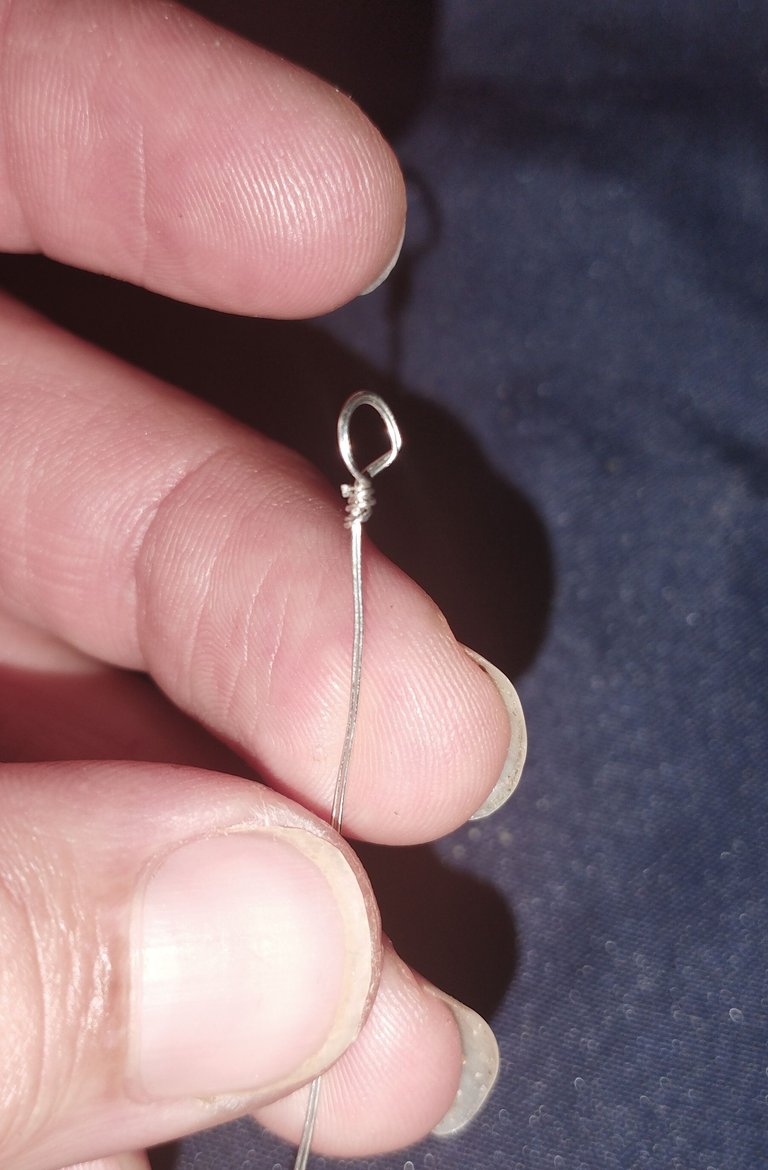
Primer Paso:
Primero hice un círculo con el alambre para que sea un argolla interna de la pulsera dónde se va a abrochar, lo realice así porque no sé si le ponía una argolla se viera más separada de las perlas y así me gustó también espero sea buena idea.
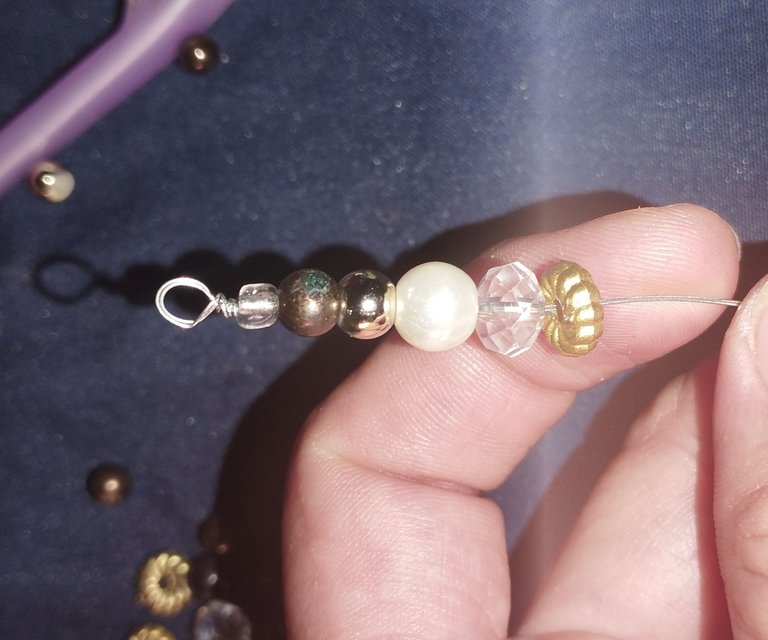
Segundo Paso:
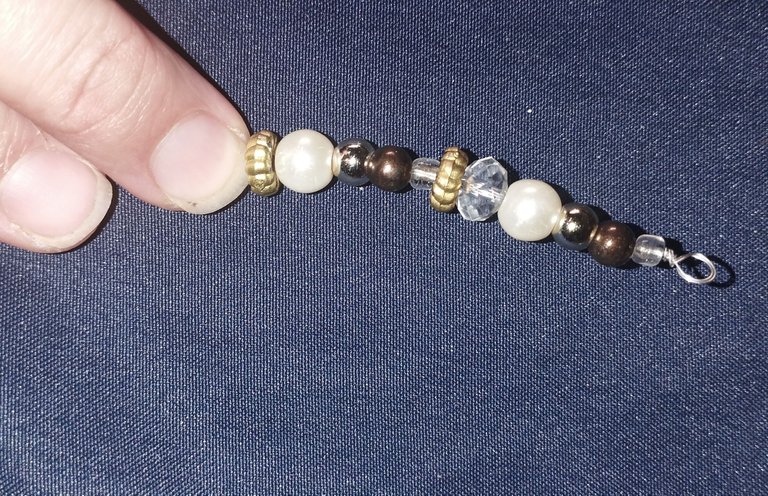
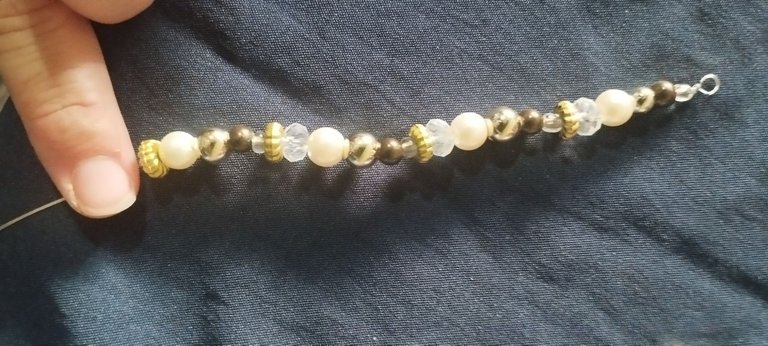
Vamos a ir colocando las piedras en el orden que desees yo empecé con una mostacilla transparente, luego una dorada oscura,un dorada brillante, una perla, un cristal, un separador, y así vamos repitiendo el proceso hasta el largo que desees.
Tercer Paso:
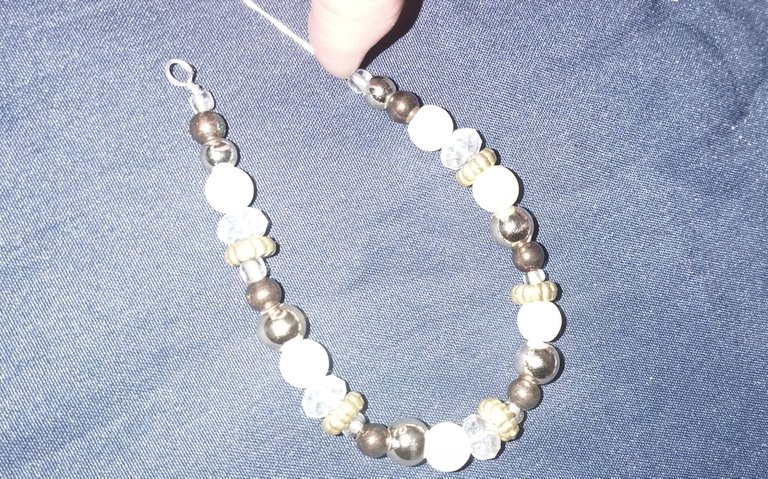
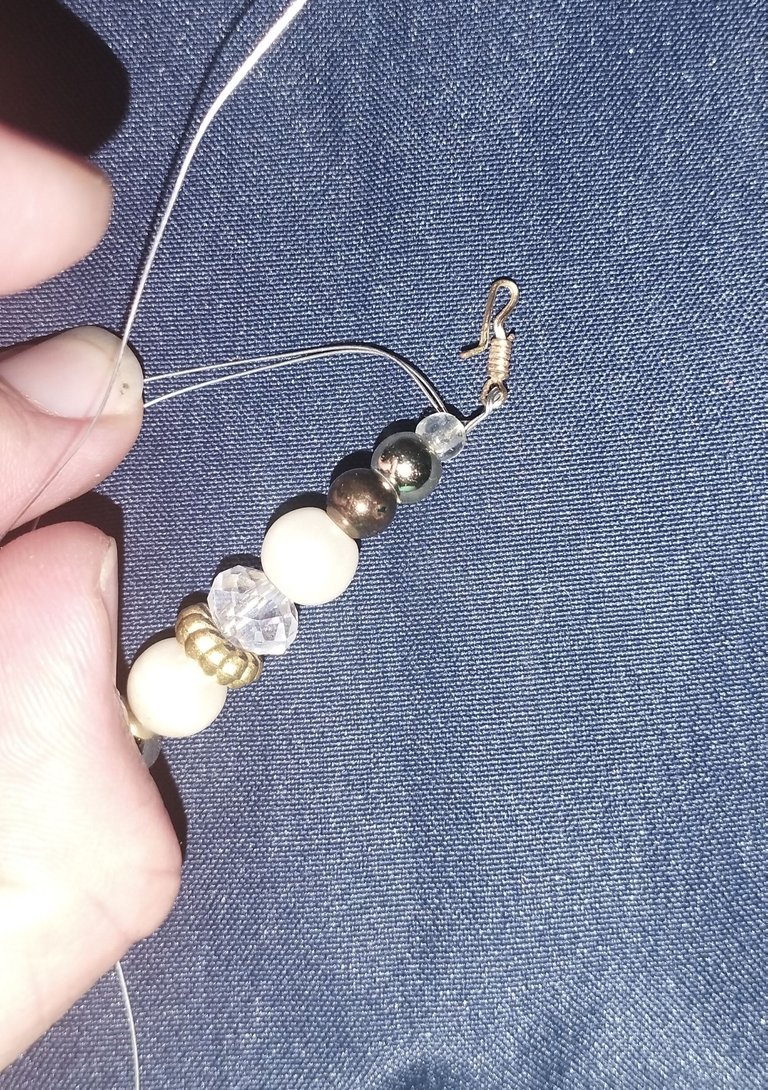
Ya una vez terminamos la cantidad de piedras, le vamos a colocar en la punta el broche y ya tendremos lista nuestra bella pulsera. En pasos muy fácil de elaborar.
Espero les guste esta linda y fácil pulsera en estos cortos pasos de elaboración.
Gracias por el apoyo, gracias por leerme y que Dios les llene de bendiciones.
Hasta pronto y saludos.
Las imagenes me pertenecen, fueron tomadas de mi teléfono Redmi Note 11.
Las imágenes fueron editadas por programa de editor de fotos Polish.
traductor: Deepl Traslator.
Hello friends of this prestigious community @jewelry I was encouraged to develop this bracelet is simple but very nice, I was a little discouraged because I have not managed to fit into the community of hive to create my content but I have read several posts and I've been getting ideas and I thought good to develop this bracelet is simple I hope you like it. I am testing my jewelry making skills and it is very nice to have something with our hands. My daughter had these pearls and several crystals and I told her to lend me this material that I am going to make a nice payment. She was intrigued and didn't expect me to make the bracelet and at the end she told me to take a picture of me wearing it and give it to me as a gift, well she liked it very much and I hope you my dear hivers friends will too. I see now the hard work that people who make this kind of jewelry have, it took me about an hour to make it and it is easy but when you do not have experience in something it takes time to adapt. But I achieved my goal and I am happy for that.
STEP BY STEP:
First step:
First I made a circle with the wire to be an internal ring of the bracelet where it will be fastened, I did it this way because I don't know if I put a ring it would look more separated from the pearls and I also liked it this way, I hope it is a good idea.
Second Step:
We are going to place the stones in the order you want, I started with a transparent bead, then a dark golden one, a shiny golden one, a pearl, a crystal, a separator, and so on repeating the process until the length you want.
Third Step:
Once we finish the amount of stones, we will place the clasp at the end and we will have our beautiful bracelet ready. In steps very easy to elaborate.
I hope you like this cute and easy bracelet in these short making steps.
Thank you for your support, thank you for reading me and may God fill you with blessings.
See you soon and best regards.
The images belong to me, they were taken from my Redmi Note 11 phone.
The images were edited by Polish photo editor program.
translator: Deepl Traslator.
Congratulations @hermerg01! You have completed the following achievement on the Hive blockchain And have been rewarded with New badge(s)
Your next target is to reach 50 upvotes.
You can view your badges on your board and compare yourself to others in the Ranking
If you no longer want to receive notifications, reply to this comment with the word
STOPTo support your work, I also upvoted your post!
Thank You ✨
You're welcome @hermerg01, it's well deserved! Congrats on your constant involvement on Hive 😊👍
Muy hermosa.. éxitos amigo ! Y bienvenido de vuelta querer es poder .
Gracias por el apoyo 🤗❤️
It is a simple and beautiful bracelet. Love it. Keep up the good work!
Thank You ❤️✨
Muy linda amiga éxitos
The bead is so beautiful and attractive