Physical Sciences and Daily Practices - Problem Solving : (EN/FR)
Goals:
Hello my friends from the HIVE community. I have the pleasure of sharing with you real concrete experimental activities in the field of automobile mechanics. These activities can guide you and help you overcome some of the problems you may encounter while driving your car.
I have a good command of auto mechanics and I like DIY. Whenever I run into a problem (like a malfunction in a part of a car engine), I will always try to resolve it. I rediscover the pleasure of handling whatever the degree of difficulty of a given problem. For me: solving a problem is looking for a solution. The search for the solution becomes a need. But how ?
The physical sciences promote reflection, problem identification, analysis, hypothesis formulation, experimentation, interpretation, understanding, criticism, the need to seek solutions.The physical sciences develop the scientific mind of the human being … etc… Finally: It is to be autonomous.
In this perspective, I treat an example of a problem situation that I experienced. I will show you, afterwards, how I reacted? It might be a bit hard for most people especially for the ladies as such a problem situation will require very specific skills. Therefore, I would like to share my experiences with them to help them deal with such situations similar to the one I have experienced.
The problem:
While driving my car and on the way, I noticed that the temperature light signaled to me that the temperature is increasing and the engine is overheating. This sudden rise in temperature was a stimulus that prompted me to make a quick decision to prevent damage to other parts of the engine. In that case , I stop my car by braking it little by little and then I stop the engine running completely. I open the hood of my car to let the engine cool in the open air by exchanging thermal energy with the outside environment. In this engine there is a malfunction of a given component that caused the temperature to rise: which one? How to detect it?
🌗Warning:
Never open the water drain bottle because there may be an overpressure inside the closed circuit, and if you open it, hot water may be ejected on your face under this high pressure.
Diagnosis - hypotheses - solution:
There are several signs that could be causing the temperature to rise in this engine. I thought of all the possible hypotheses by testing them one by one.
- 1st hypothesis: thermostat malfunction
- 2nd hypothesis: water pump malfunction
- 3rd hypothesis: malfunction of the temperature mano
- 4th hypothesis: fan malfunction
- 5th hypothesis: clogging of the radiator
- 6th hypothesis: water leak.
🌗Question:
Which of these assumptions will be taken into account in this case?
Strategies:
The first operation consists in making the diagnosis by general observation (overview) of the engine. Fortunately, I found that water was leaking out of the engine from the exhaust manifold side and reaching the ground, so this is a water leak. But, that doesn't stop me from testing the other 5 hypotheses for security reasons and that's what I did. Now, hypothesis # 6 is taken into account. As I followed the path of the water flow, I found that the malfunction affected a sandblasting pellet attached to the engine block on the exhaust area side. Access to this pellet is difficult except that we will remove the elements that embed it. So, I took my car back, by SOS, to my workshop where I fixed the fault by changing the badge as shown in the photos below recorded using my cell phone. (Of course, I have the necessary material for the repair).
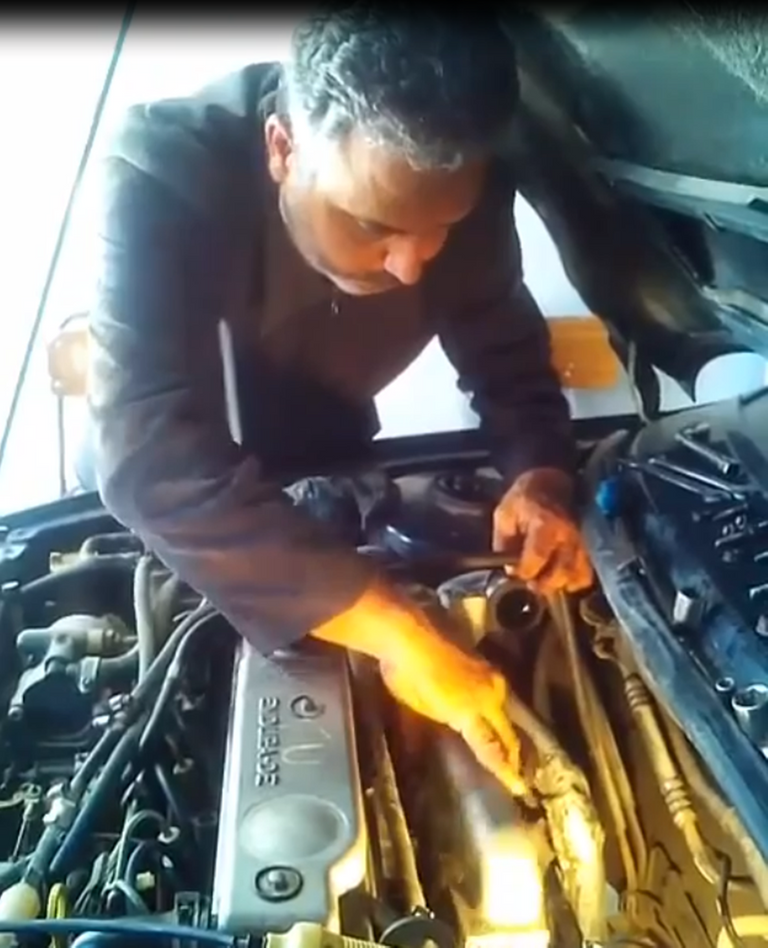
Photo taken by my mobile phone - Location: my workshop at home - (Tunisia)
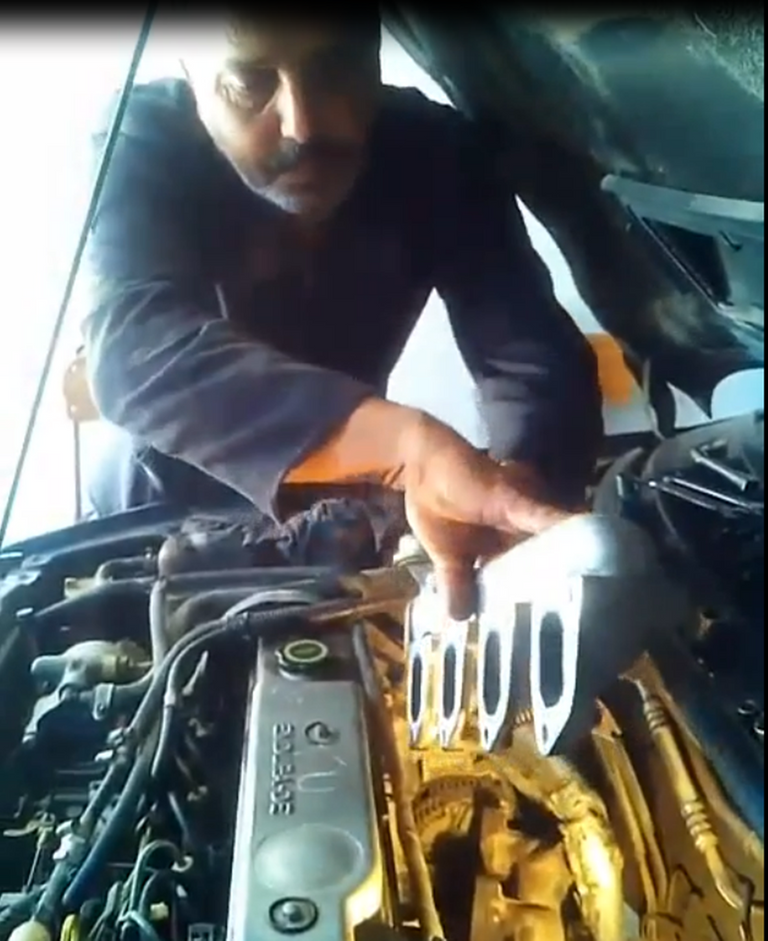
Photo taken by my mobile phone - Location: my workshop at home - (Tunisia)
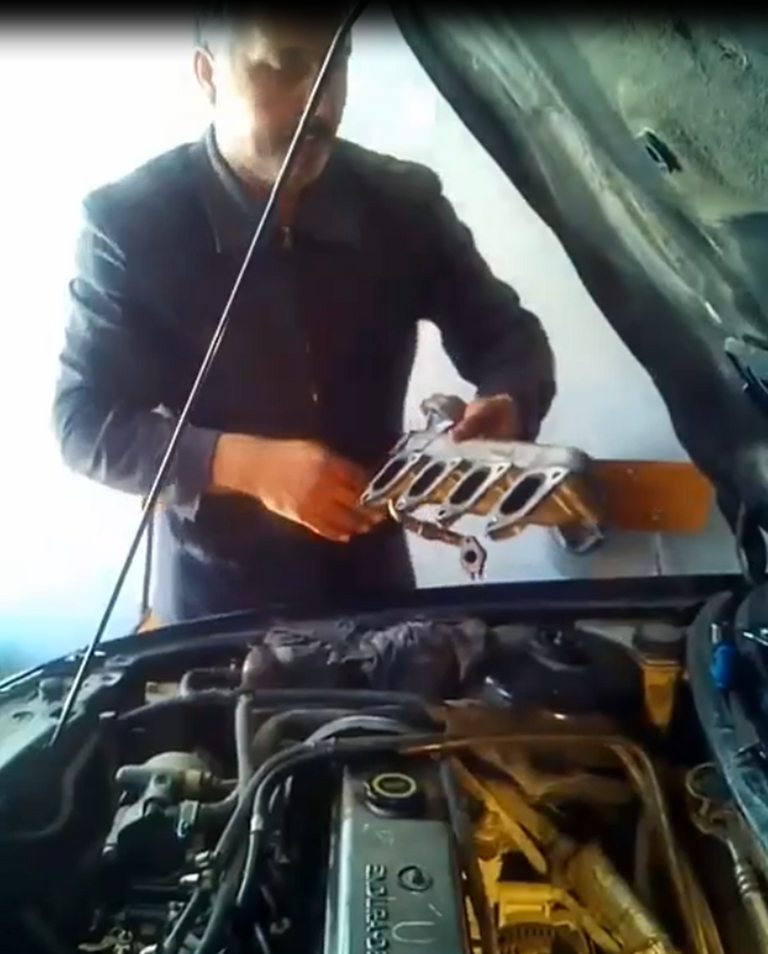
Photo taken by my mobile phone - Location: my workshop at home - (Tunisia)
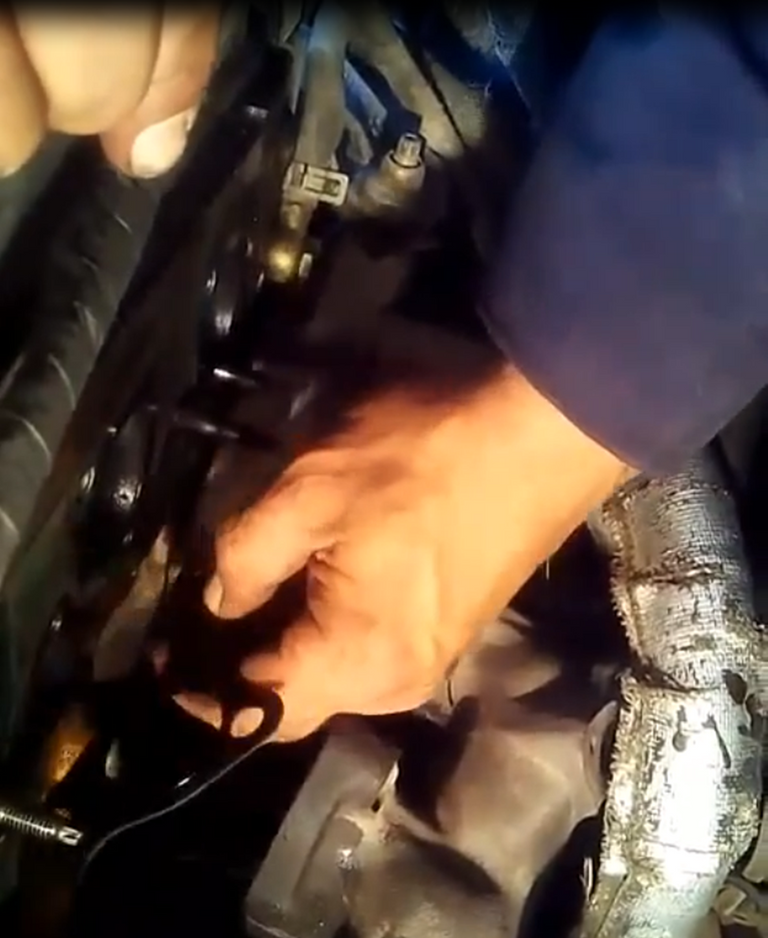
Photo taken by my mobile phone - Location: my workshop at home - (Tunisia)
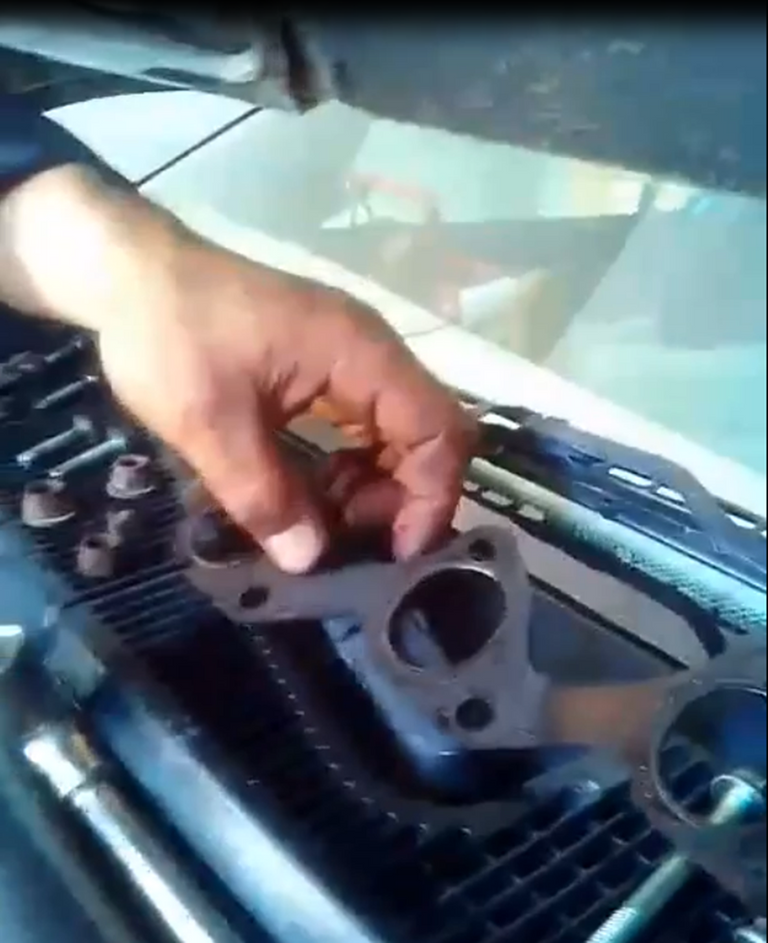
Photo taken by my mobile phone - Location: my workshop at home - (Tunisia)
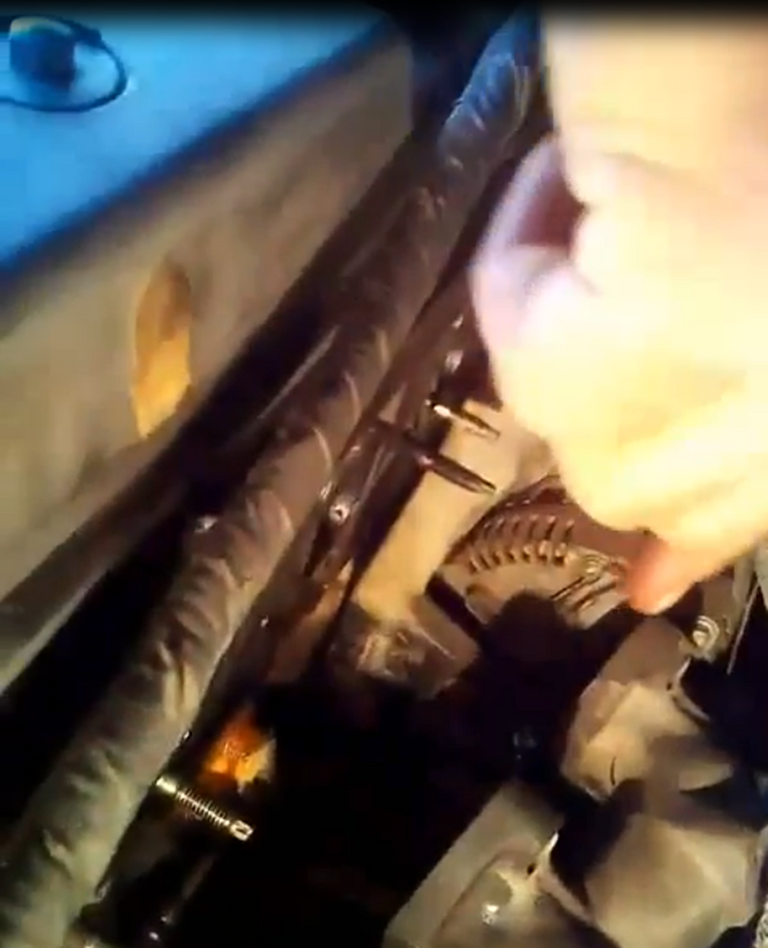
Photo taken by my mobile phone - Location: my workshop at home - (Tunisia)
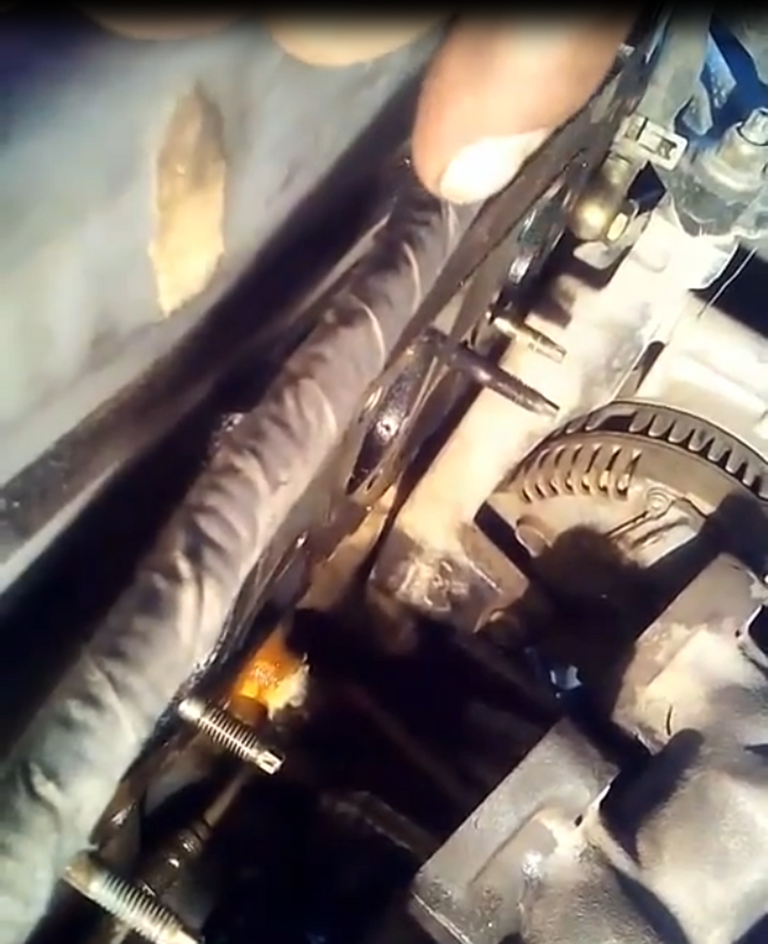
Photo taken by my mobile phone - Location: my workshop at home - (Tunisia)
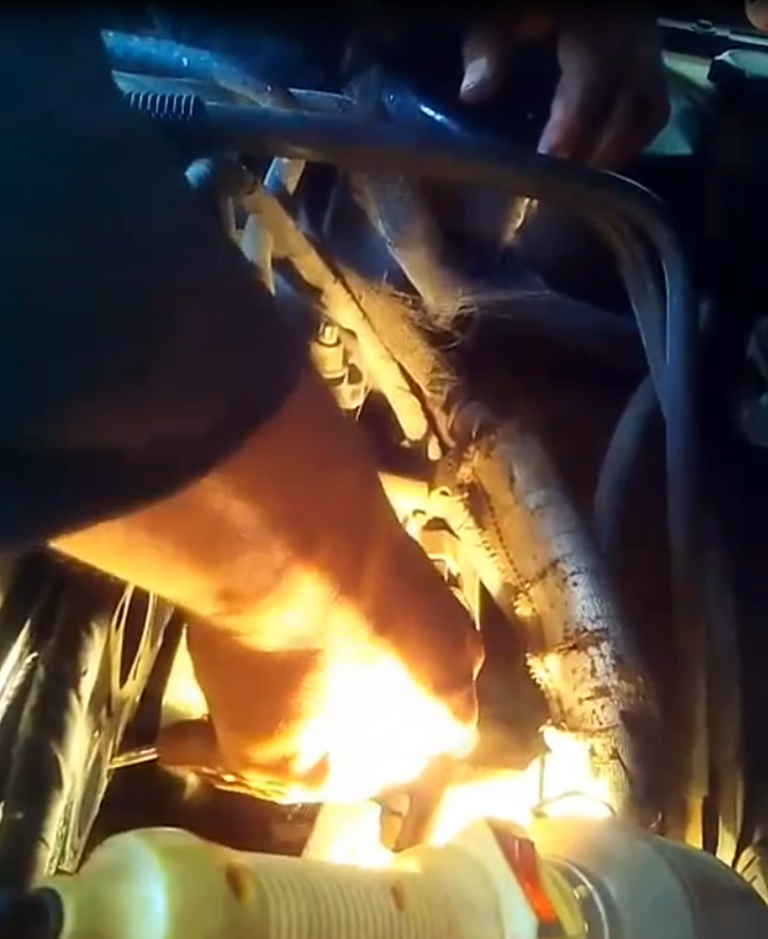
Photo taken by my mobile phone - Location: my workshop at home - (Tunisia)
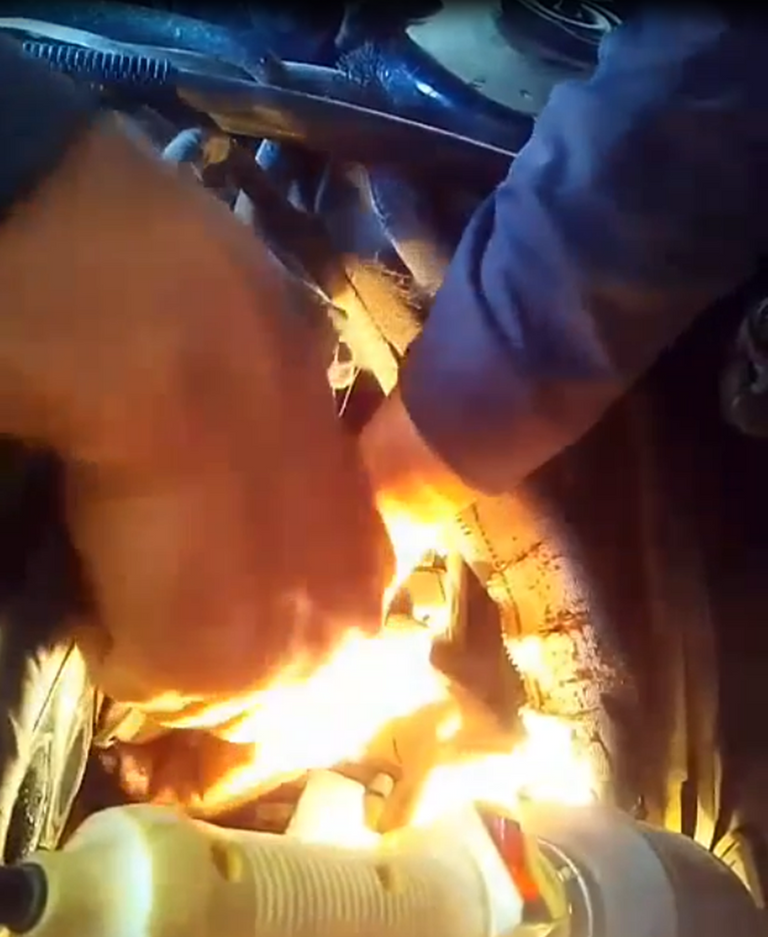
Photo taken by my mobile phone - Location: my workshop at home - (Tunisia)
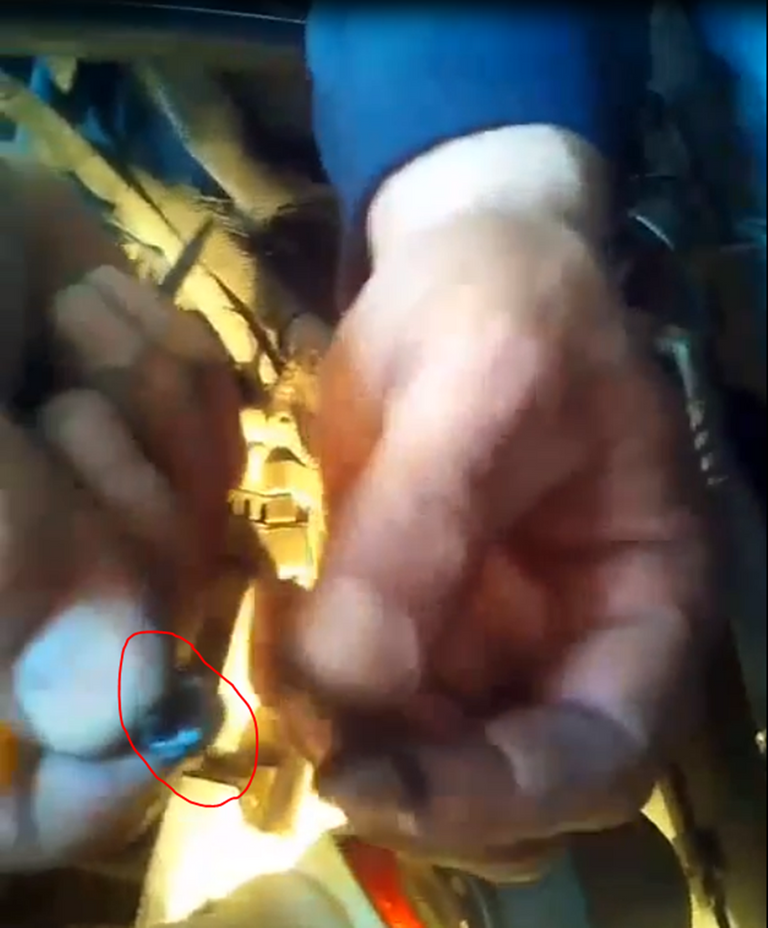
Photo taken by my mobile phone - Location: my workshop at home - (Tunisia)
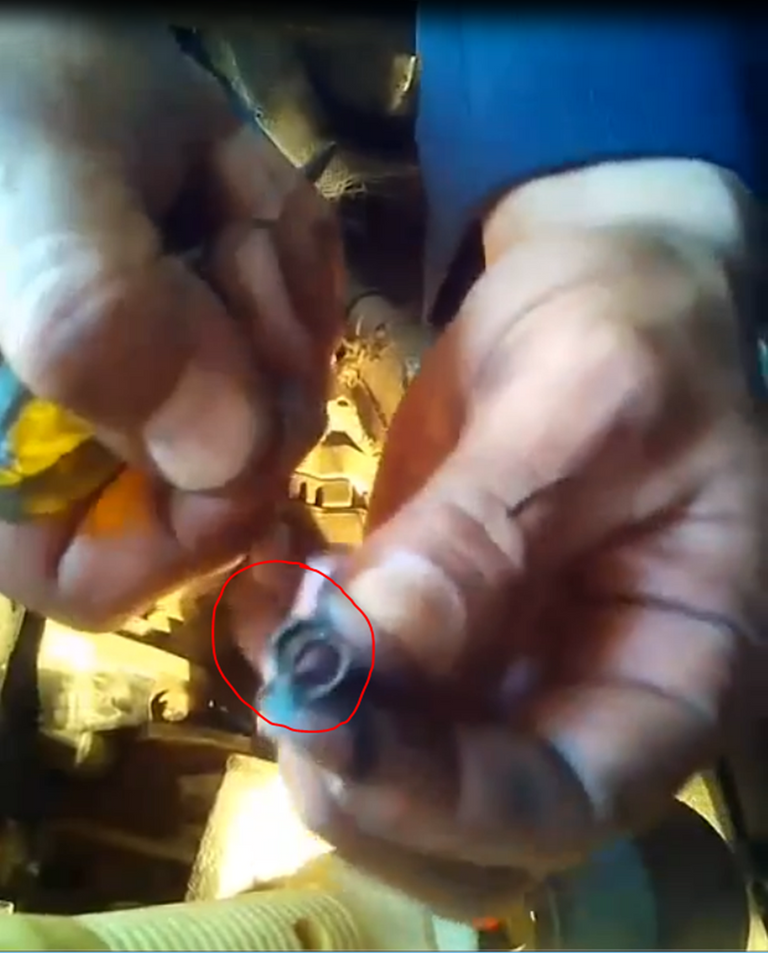
Photo taken by my mobile phone - Location: my workshop at home - (Tunisia)
Repair and verification procedures:
• Facilitate access to the used pellet by removing the components which embed it.
• Replace the used tablet with another new one.
• Secure the dismantled components in their places and make sure that they are properly tightened with their screws, bolts and nuts.
• Fill the drain bottle with radiator water up to the mark. Do not forget to purge the circuit to release the air trapped inside).
• Make sure that there is no more water leakage and that the temperature warning light works normally after starting the engine.
In the end, the problem is solved. But it does not stop there, I took the opportunity, for this occasion, to change the oil seal, at the level of the refrigerant linked to the oil filter as shown in the following photos taken by my mobile phone:
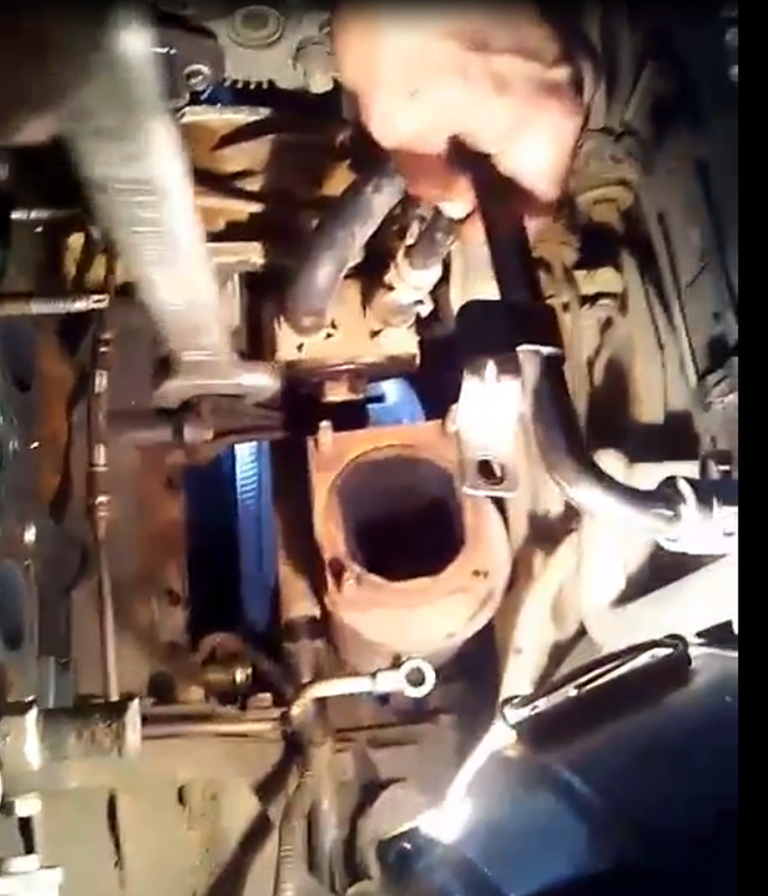
Photo taken by my mobile phone - Location: my workshop at home - (Tunisia)
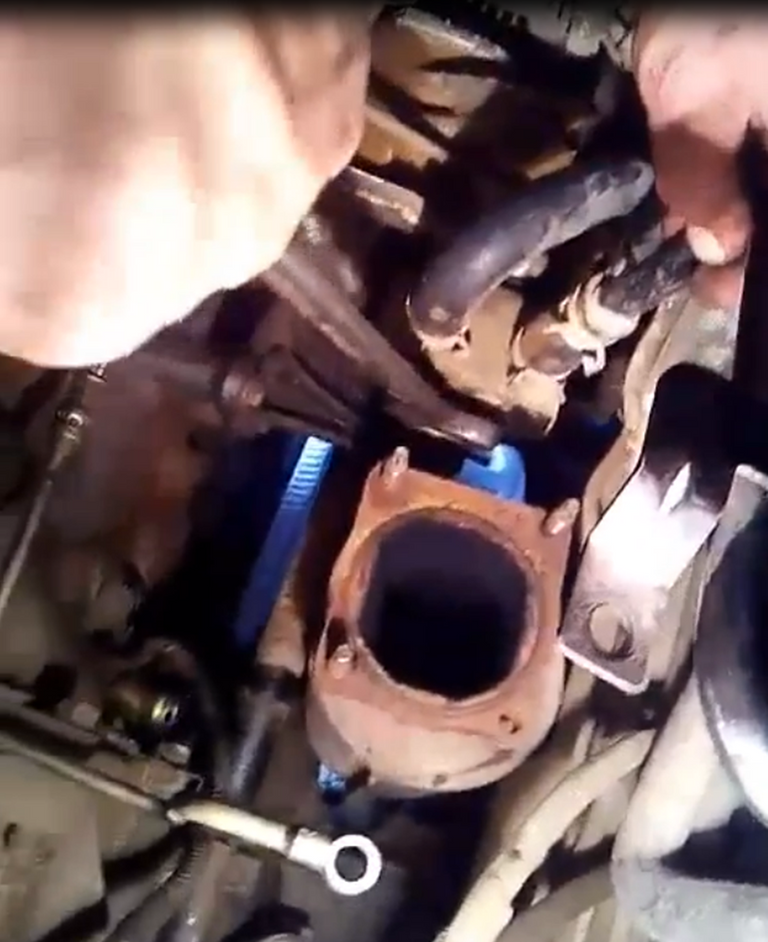
Photo taken by my mobile phone - Location: my workshop at home - (Tunisia)
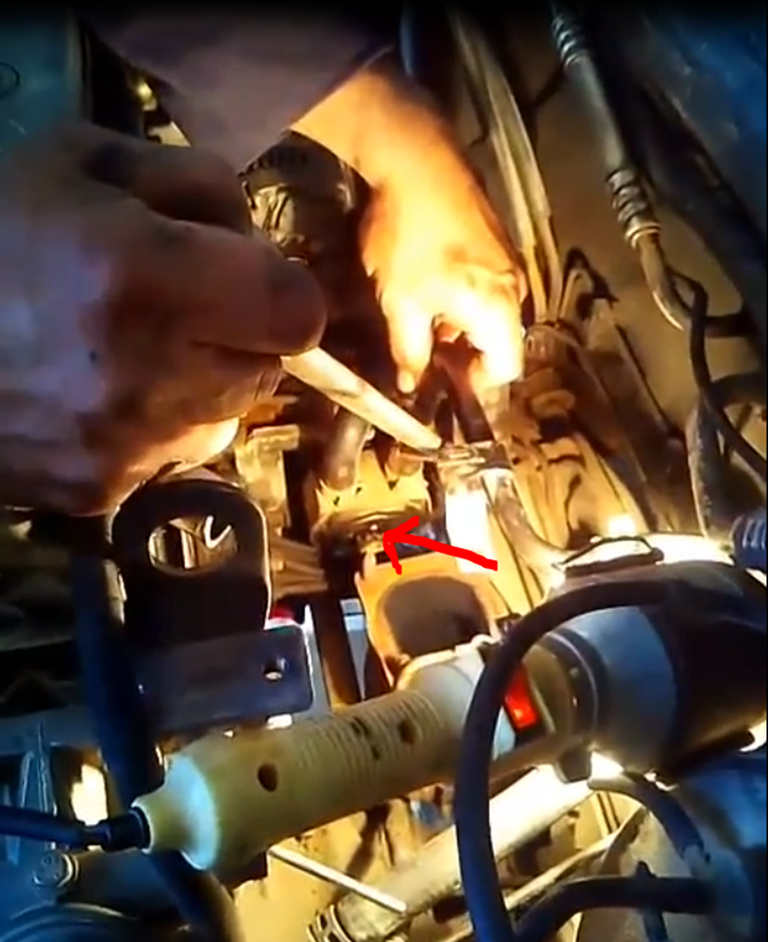
Photo taken by my mobile phone - Location: my workshop at home - (Tunisia)
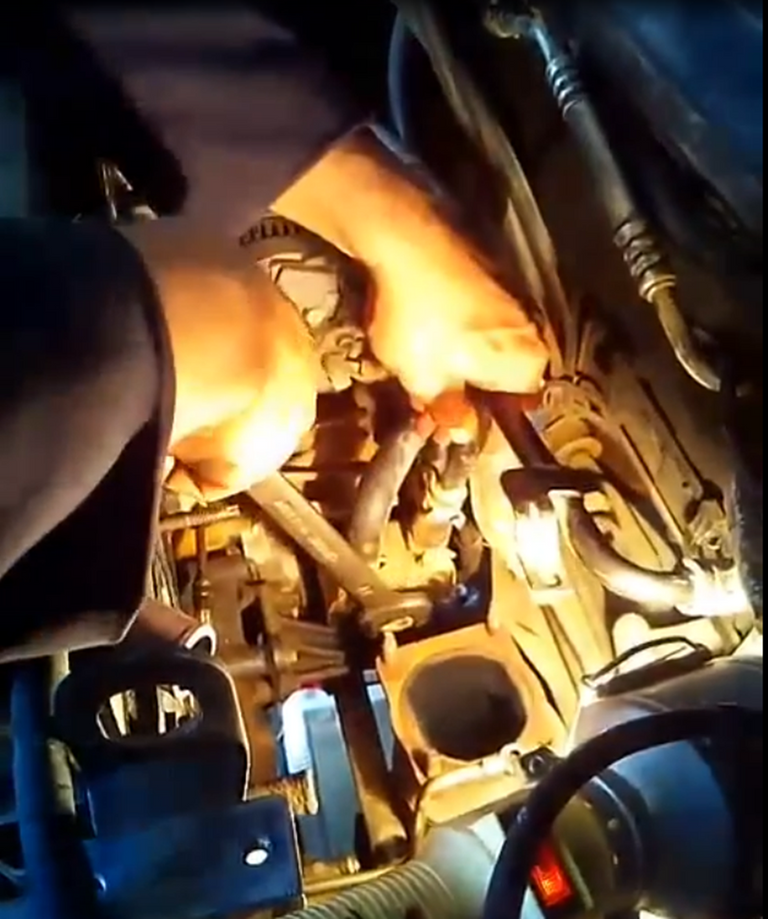
Photo taken by my mobile phone - Location: my workshop at home - (Tunisia)
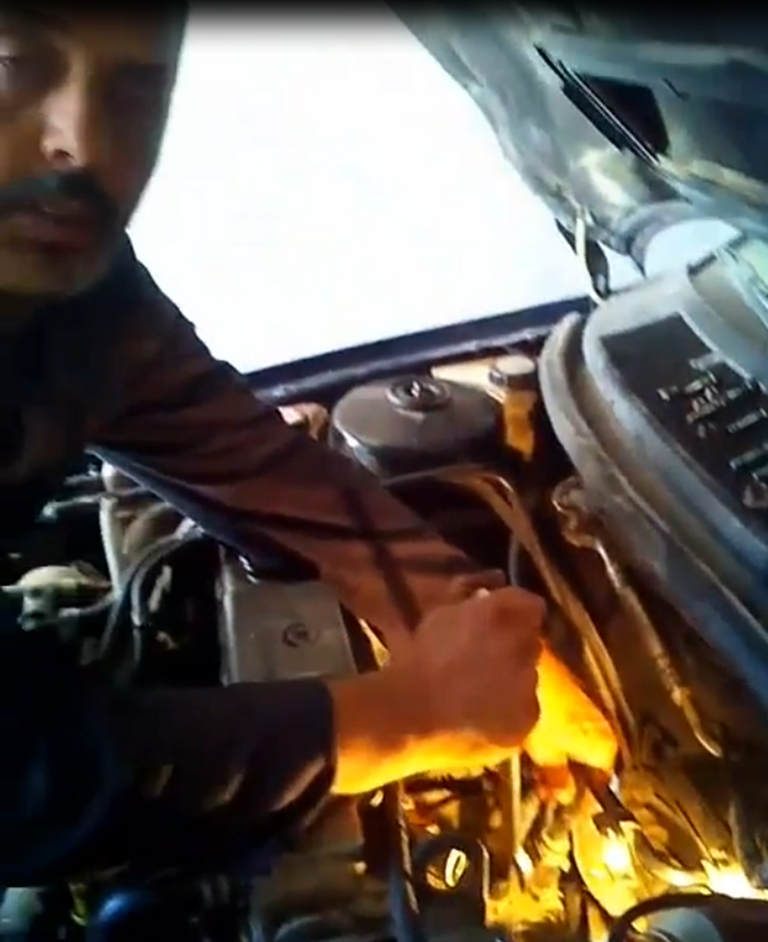
Photo taken by my mobile phone - Location: my workshop at home - (Tunisia)
🌗Note:
If you have any questions about auto mechanics, I am at your disposal to share the opinions with you. I hope to be able to contribute positively to the evolution of this ecosystem through my future posts. Encourage me !!! ... Have a nice day ..
(Version Française)
Buts:
Bonjour mes amis de la communauté HIVE. J'ai le plaisir de partager avec vous de réelles activités expérimentales concrètes dans le domaine de la mécanique automobile. Ces activités peuvent vous guider et vous aider à surmonter certains des problèmes que vous pouvez rencontrer en conduisant votre voiture.
J'ai une bonne maîtrise de la mécanique automobile et j'aime le bricolage. Chaque fois que je rencontre un problème (comme un dysfonctionnement dans une partie d'un moteur de voiture), j'essaierai toujours de le résoudre. Je retrouve le plaisir de manipuler quel que soit le degré de difficulté d'un problème donné. Pour moi : résoudre un problème c'est chercher une solution. La recherche de la solution devient un besoin. Mais comment ?
Les sciences physiques favorisent la réflexion, l'identification de problèmes, l'analyse, la formulation d'hypothèses, l'expérimentation, l'interprétation, la compréhension, la critique, la nécessité de chercher des solutions. Les sciences physiques développent l'esprit scientifique chez l'être humain… etc… Enfin : C'est être autonome.
Dans cette perspective, je traite un exemple de situation problématique que j'ai vécue. Je vous montrerai, après, comment j'ai réagi ? Cela peut être un peu difficile pour la plupart des gens, en particulier pour les femmes, car une telle situation problématique nécessitera des compétences très spécifiques. Par conséquent, j'aimerais partager mes expériences avec eux pour les aider à faire face à des situations similaires à celle que j'ai vécue.
Le problème:
En conduisant ma voiture et en chemin, j'ai remarqué que le voyant de température m'a signalé que la température augmente et que le moteur surchauffe. Cette augmentation soudaine de la température a été un stimulus qui m'a incité à prendre une décision rapide pour éviter d'endommager d'autres parties du moteur. Dans ce cas, j'arrête ma voiture en la freinant petit à petit puis j'arrête complètement le moteur. J'ouvre le capot de ma voiture pour laisser refroidir le moteur à l'air libre en échangeant de l'énergie thermique avec l'environnement extérieur. Dans ce moteur il y a un dysfonctionnement d'un composant donné qui a fait monter la température : lequel ? Comment le détecter ?
🌗Attention :
N'ouvrez jamais la bouteille de vidange d'eau car il peut y avoir une surpression à l'intérieur du circuit fermé, et si vous l'ouvrez, de l'eau chaude peut être éjectée sur votre visage sous cette haute pression
Diagnostic - hypothèses - solution:
Il y a plusieurs signes qui pourraient faire monter la température dans ce moteur. J'ai pensé à toutes les hypothèses possibles en les testant une par une.
1ère hypothèse : dysfonctionnement du thermostat
2ème hypothèse : dysfonctionnement de la pompe à eau
3ème hypothèse : dysfonctionnement du mano de température
4ème hypothèse : dysfonctionnement du ventilateur
5ème hypothèse : colmatage du radiateur
6ème hypothèse : fuite d'eau.
🌗Question:
Laquelle de ces hypothèses sera prise en compte dans ce cas ?
Stratégies:
La première opération consiste à faire le diagnostic par observation générale (vue d'ensemble) du moteur. Heureusement, j'ai découvert que de l'eau s'échappait du moteur du côté du collecteur d'échappement et atteignait le sol, il s'agit donc d'une fuite d'eau. Mais, cela ne m'empêche pas de tester les 5 autres hypothèses pour des raisons de sécurité et c'est ce que j'ai fait. Maintenant, l'hypothèse n°6 est prise en compte. En suivant le trajet de l'écoulement de l'eau, j'ai constaté que le dysfonctionnement affectait une pastille de sablage fixée au bloc moteur du côté de la zone d'échappement. L'accès à cette pastille est difficile sauf qu'on va supprimer les éléments qui l'encastrent. J'ai donc amené ma voiture, par SOS, dans mon atelier où j'ai réparé la panne en changeant le badge comme le montrent les photos ci-dessous enregistrées à l'aide de mon téléphone portable. (Bien sûr, j'ai le matériel nécessaire pour la réparation).
Photo prise avec mon téléphone portable - Lieu : mon atelier à la maison - (Tunisie)
Photo prise avec mon téléphone portable - Lieu : mon atelier à la maison - (Tunisie)
Photo prise avec mon téléphone portable - Lieu : mon atelier à la maison - (Tunisie)
Photo prise avec mon téléphone portable - Lieu : mon atelier à la maison - (Tunisie)
Photo prise avec mon téléphone portable - Lieu : mon atelier à la maison - (Tunisie)
Photo prise avec mon téléphone portable - Lieu : mon atelier à la maison - (Tunisie)
Photo prise avec mon téléphone portable - Lieu : mon atelier à la maison - (Tunisie)
Photo prise avec mon téléphone portable - Lieu : mon atelier à la maison - (Tunisie)
Photo prise avec mon téléphone portable - Lieu : mon atelier à la maison - (Tunisie)
Photo prise avec mon téléphone portable - Lieu : mon atelier à la maison - (Tunisie)
Photo prise avec mon téléphone portable - Lieu : mon atelier à la maison - (Tunisie)
Procédures de réparation et de vérification :
• Faciliter l'accès à la pastille usagée en enlevant les composants qui l'encastrent.
• Remplacer la pastille usagée par une autre neuve.
• Fixer les composants démontés à leurs places et assurez-vous qu'ils sont correctement serrés avec leurs vis, boulons et écrous.
• Remplir le flacon de vidange d'eau du radiateur jusqu'au repère de trait de jauge. Ne pas oublier de purger le circuit pour évacuer l'air emprisonnée à l'intérieur.
• Assurez-vous qu'il n'y a plus de fuite d'eau et que le voyant de température fonctionne normalement après le démarrage du moteur.
Au final, le problème est résolu. Mais ça ne s'arrête pas là, j'en ai profité, pour cette occasion, pour changer le joint d'huile, au niveau du réfrigérant lié au filtre à huile comme le montrent les photos suivantes prises par mon téléphone portable :
Photo prise avec mon téléphone portable - Lieu : mon atelier à la maison - (Tunisie)
Photo prise avec mon téléphone portable - Lieu : mon atelier à la maison - (Tunisie)
Photo prise avec mon téléphone portable - Lieu : mon atelier à la maison - (Tunisie)
Photo prise avec mon téléphone portable - Lieu : mon atelier à la maison - (Tunisie)
Photo prise avec mon téléphone portable - Lieu : mon atelier à la maison - (Tunisie)
Remarque :
Si vous avez des questions à propos la mécanique auto, je suis à votre disposition pour partager avec vous les avis. J'espère pouvoir contribuer positivement à l'évolution de cet écosystème à travers mes futurs posts. Encourage moi !!! … Bonne journée..
You are a motivated, curious and persevering good man. Continue on the same path. Good luck
J'adore quand les autres fond du bricolage, mais moi je suis nule. J'espère que si je tombe en panne, tu me dépanne :-)
good luck and I hope you can have the car of your dreams with Ecency
proud of you . C💖💐👍ontinue
welcome friend change the car so as not to waste time🤣🤣🤣😁😁👍
welcome. This is MR bean's car