REPLACEMENT OF FAN SPEAKERS/ SUSTITUCIÓN DE BOCINAS DE VENTILADOR |ENG/ESP|
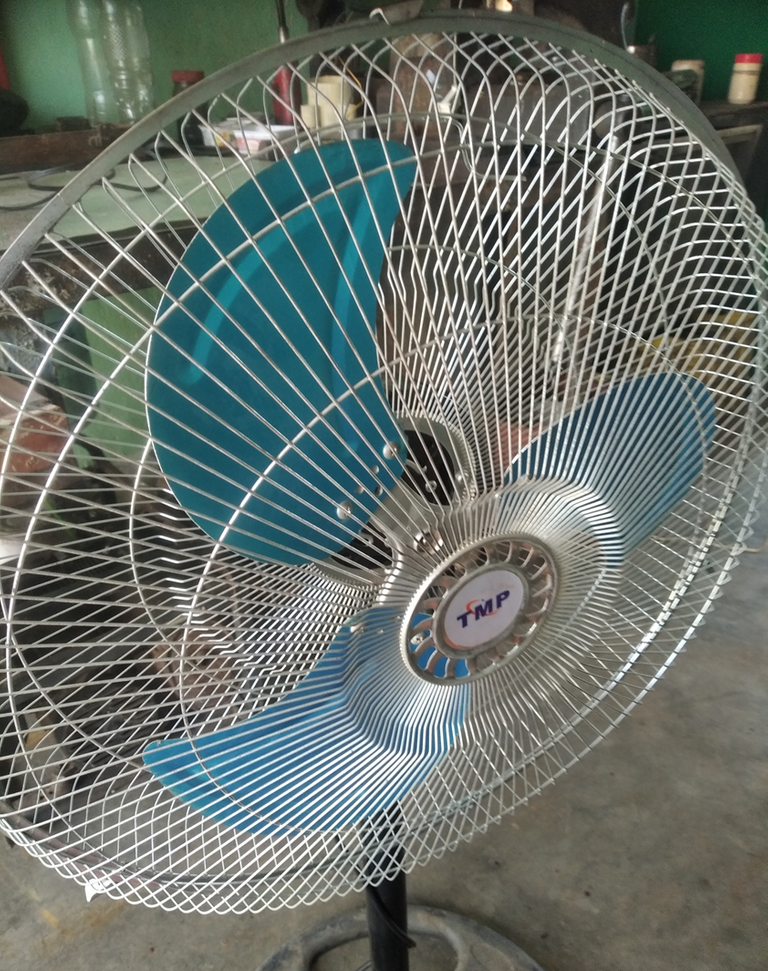
Hello friends of this community, today I am going to explain what to do when your fan does not work because it is stuck when you turn it on. The first thing is to place your hand on the top and you will notice that it feels like a vibration and a buzzing sound, this indicates that the motor horns have wear and therefore causes the armature or motor shaft to lie down and need replacement of horns, here I will explain step by step how to change them.
Hola amigos de esta comunidad, en el día de hoy les voy a explicar que hacer cuando tu ventilador no funciona porque se encuentra trancado cuando lo enciendes. Lo primero, es colocarle la mano en la parte superior y notaras que se siente como una vibración y un zumbido, esto nos indica que las bocinas del motor tienen degaste y por lo cual hace que el inducido o eje del motor se recueste y necesita sustitución de bocinas, aquí les explicare paso a paso como cambiarlas.
The following steps must be carried out:
1.For safety it must be disconnected from electrical power.
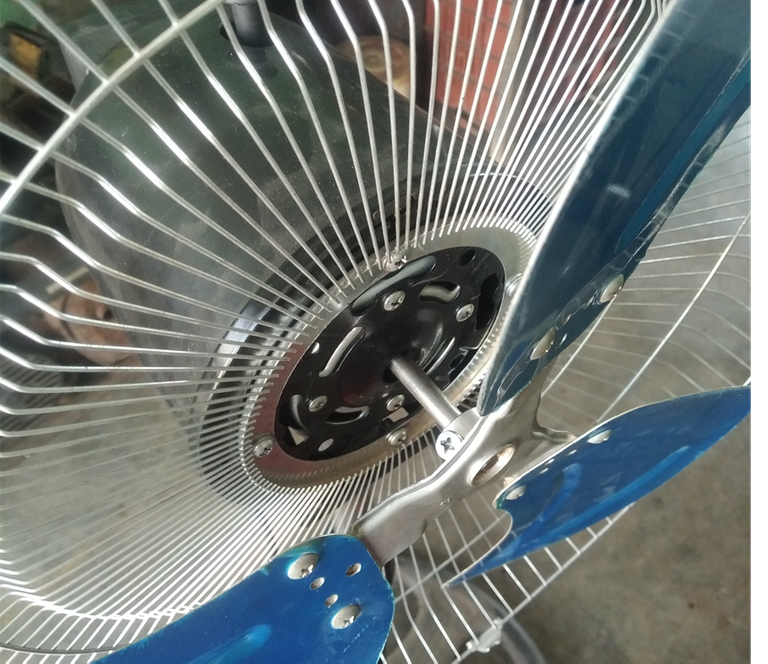
2.Remove the blade protector.
3.Remove the blade, this is done by loosening with a screwdriver a screw that is behind the blade.
4.Unscrew the screws that hold the second blade guard.
Se deben realizar los siguientes pasos:
1.Por seguridad hay que desconcertarlo de la energía eléctrica.
2.Quitar protector del aspa
3.Sacar el aspa, esto lo realizas aflojando con un destornillador un tornillo que se encuentra por detrás del aspa.
4.Destornillar los tornillos que sujetan el segundo protector del aspa.
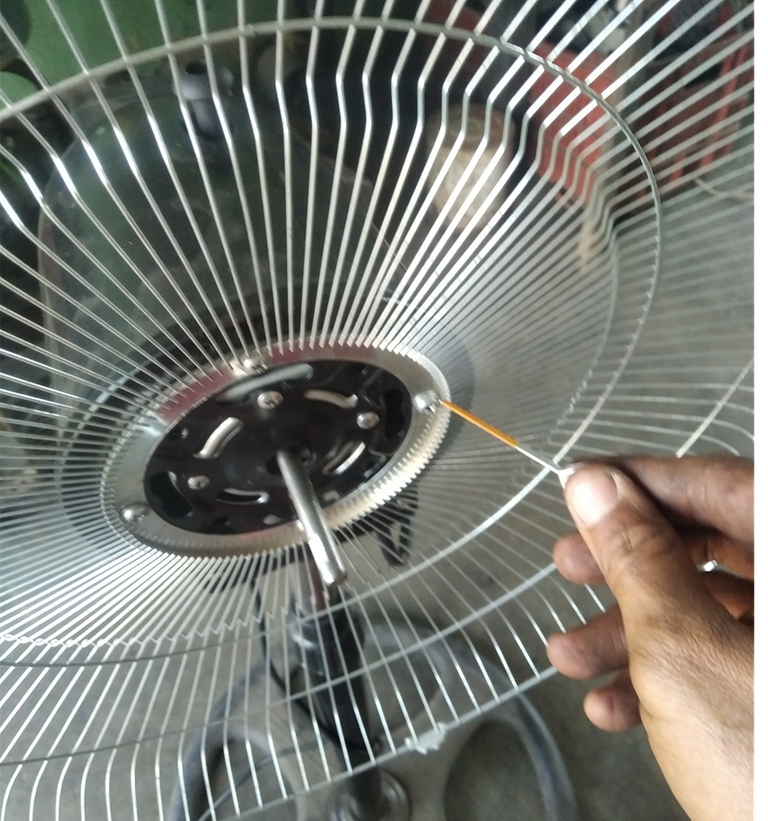
5.At the bottom of the fan where the pedestal is located, there is a screw that is loosened and the motor is removed from the pedestal.
5.En la parte inferior del ventilador donde está el pedestal hay un tornillo lo aflojan y despegan el motor del pedestal.
6.Remove the screws at the front of the motor.
6.Quitar los tornillos que están en la parte frontal del motor.
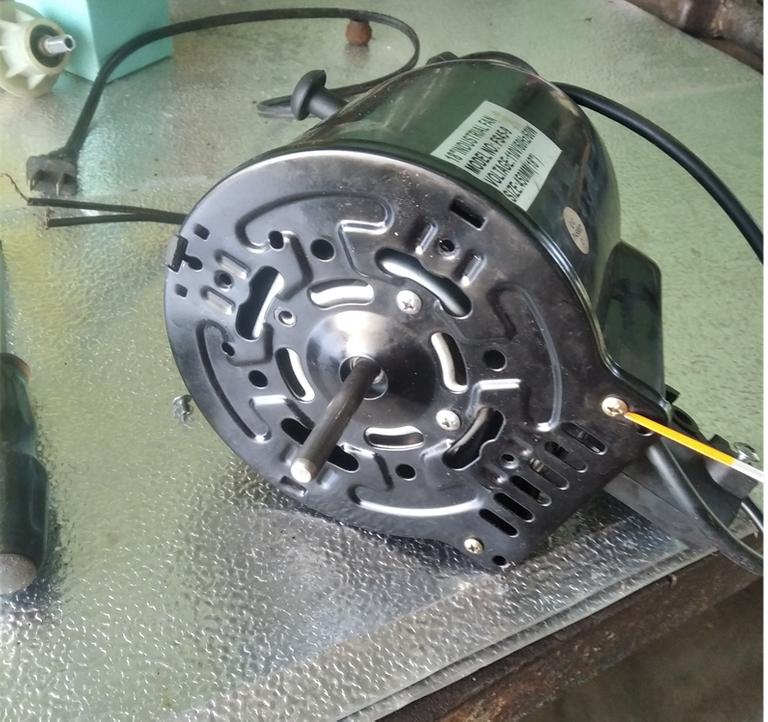
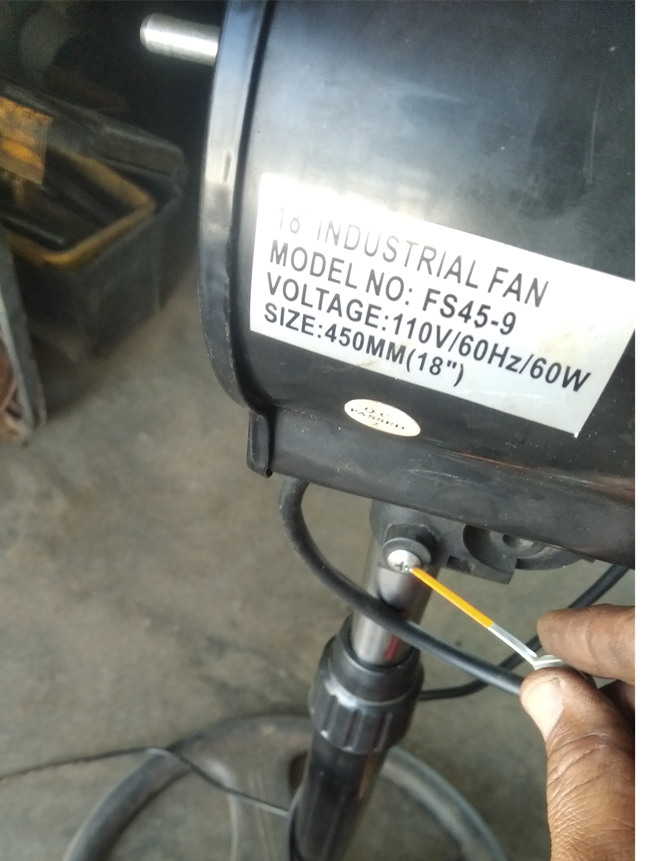
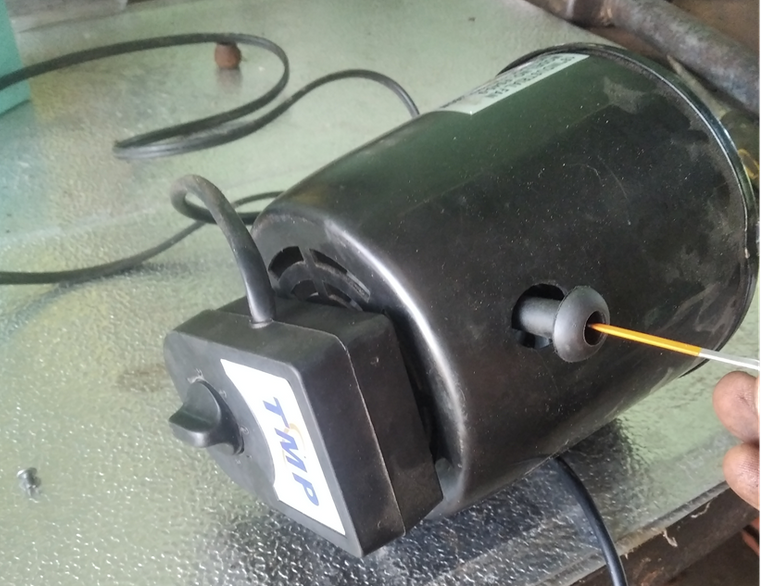
7.Next you must remove the cover that covers the motor. This you achieve it locating for the superior part a knob with orifice, there you are going to see a screw that it is necessary to detach and for the later side where this the ignition control detaches the control pushing it upwards and there is the screw; you take out these screws and this way you manage to take out the cover that covers the motor.
7.Seguidamente debes sacar la tapa que cubre el motor. Esto lo logras ubicando por la parte superior una perilla con orificio, allí vas a ver un tornillo que hay que despegar y por el lado posterior donde esta el mando de encendido se despega el mando empujándole hacia arriba y allí está el tornillo; sacas estos tornillos y así logras sacar la tapa que cubre el motor.
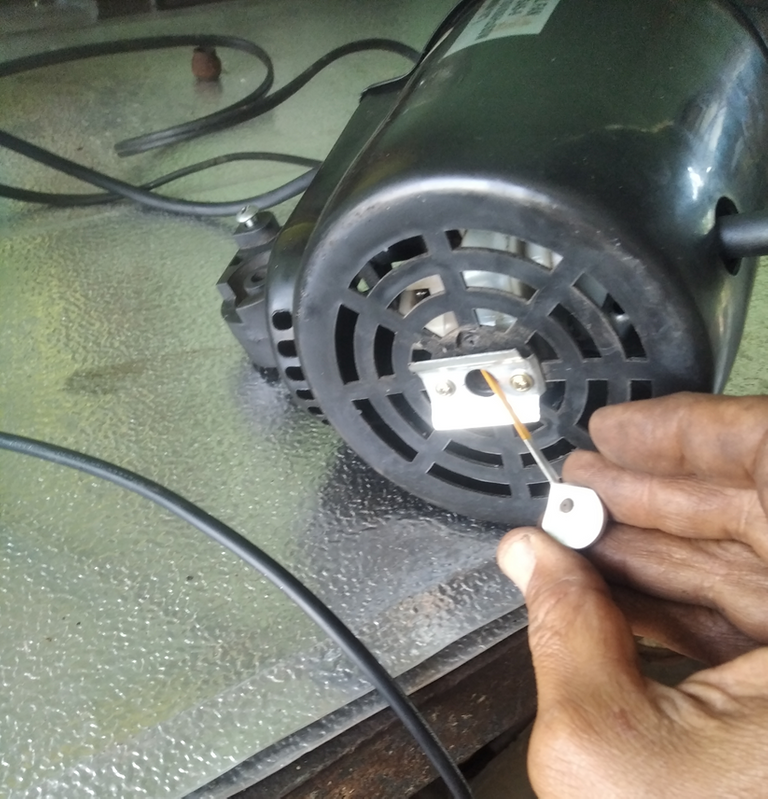
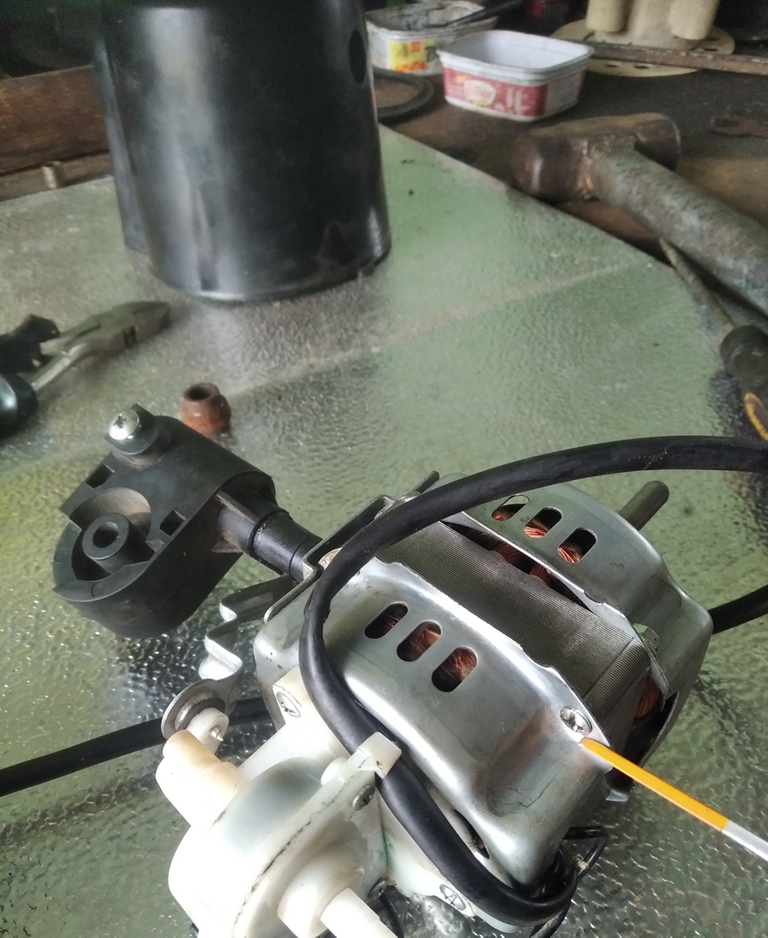
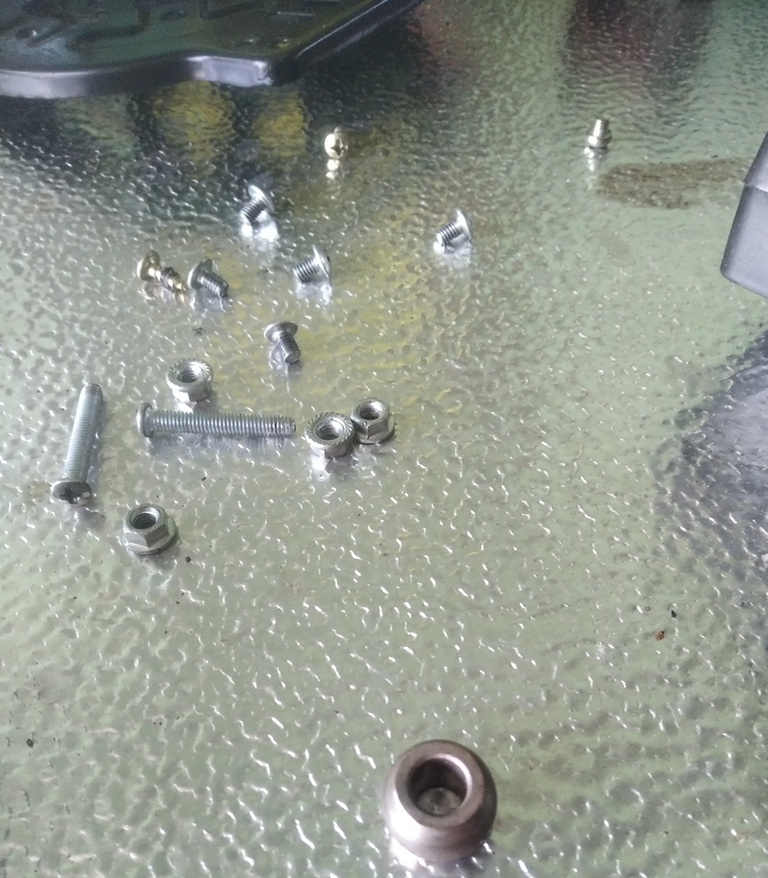
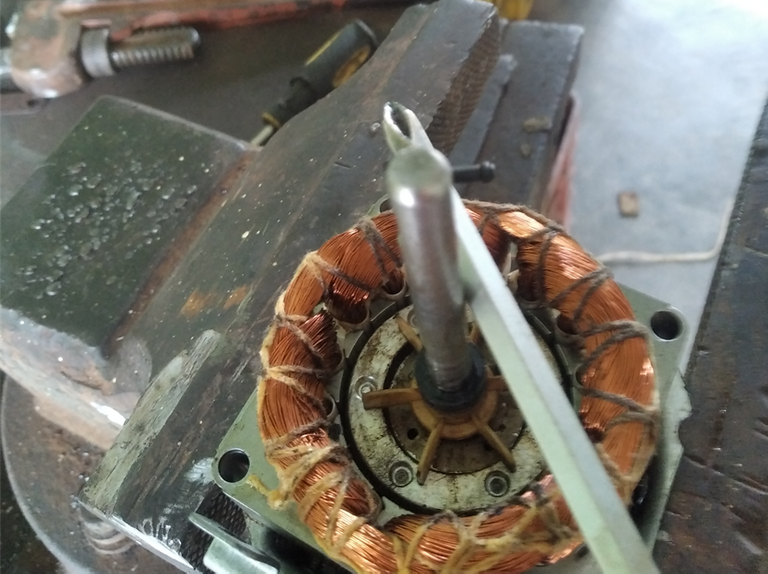
8.Once the motor is uncovered, get four screws with nuts, loosen them and carefully without pulling the winding wires, uncover the motor taking out the armature or motor shaft, being disassembled in four pieces.
8.Una vez destapado el motor, se consiguen cuatro tornillos con tuercas, los aflojas y con mucho cuidado sin halar los cables del embobinado destapas el motor sacando el inducido o eje del motor, quedando desarmado en cuatro piezas.
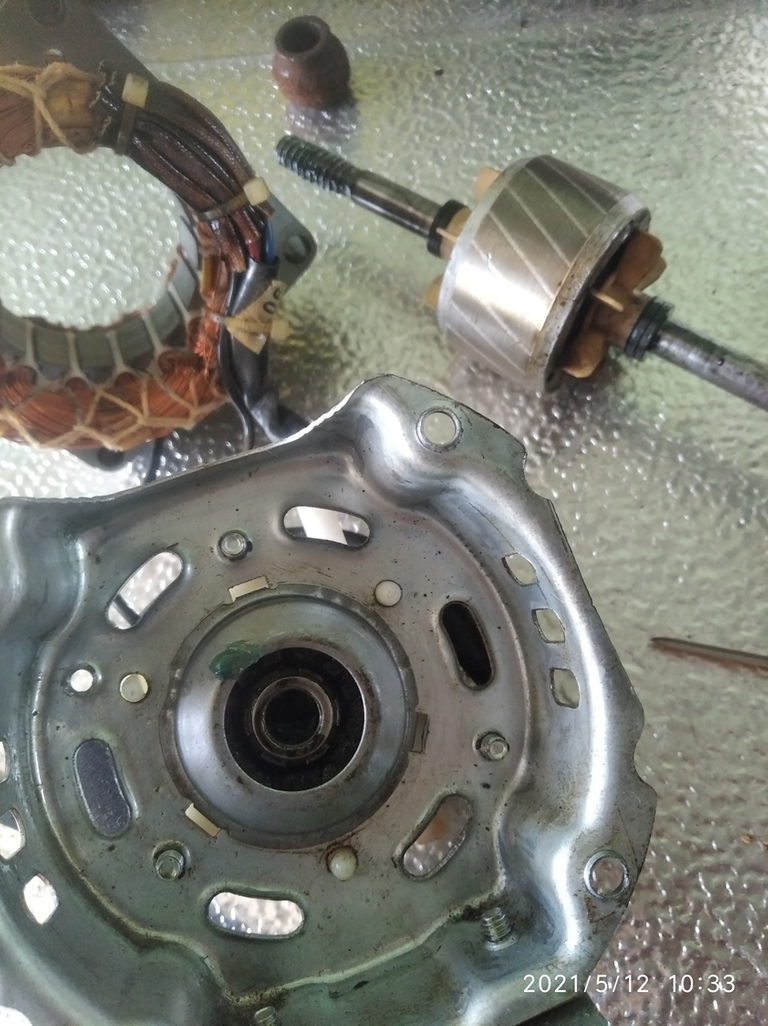
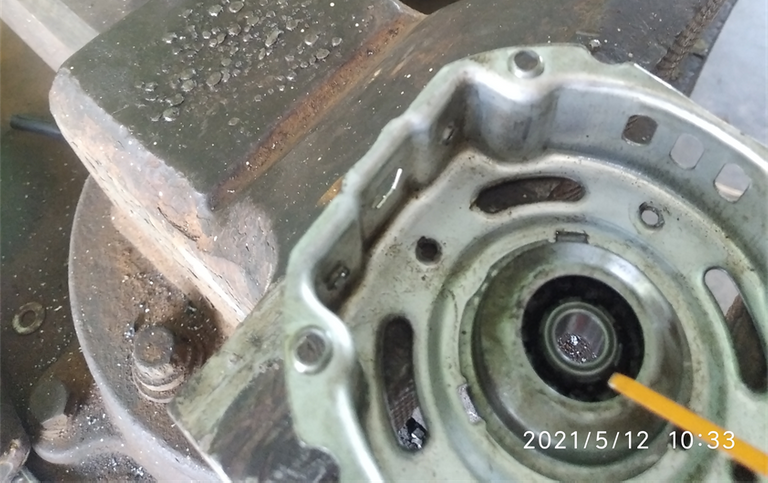
9.In each cover there is a horn, which come out by lifting some pins.
9.En cada tapa se encuentra una bocina, las cuales salen levantando unas clavijas.
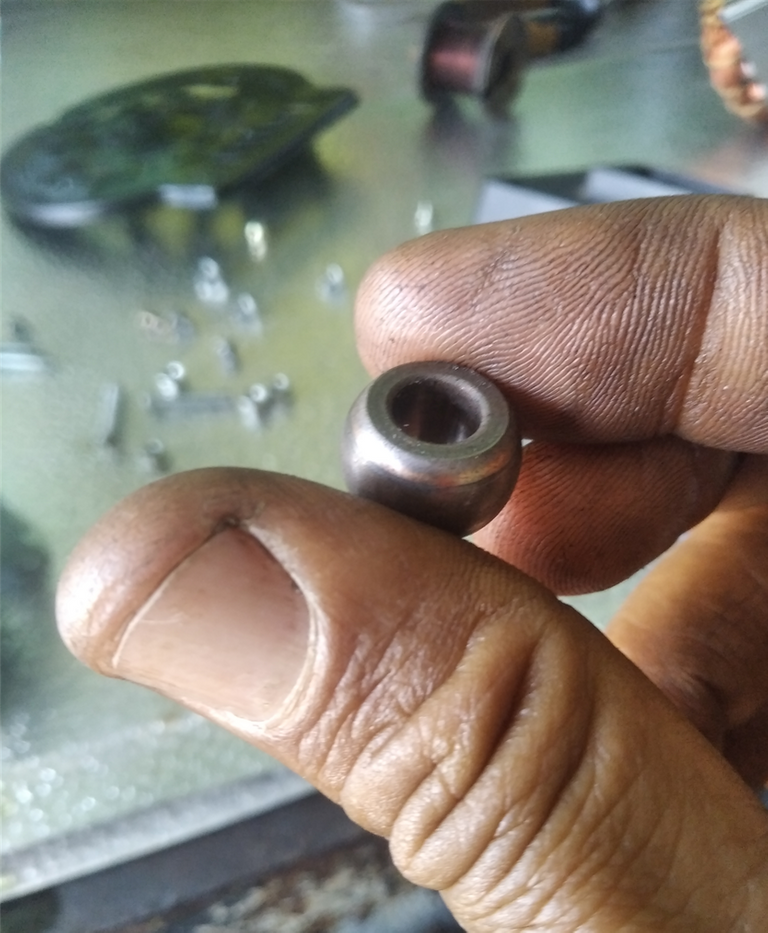
10.They are replaced by new ones that you can buy in any store of spare parts of electrical appliances, placing a little oil where the horns are and you continue assembling.
10.Se sustituyen por unas nuevas que la puedes comprar en cualquiera tienda de repuestos de electrodomésticos, colocándole un poco de aceite en donde están las bocinas y continúas armando.
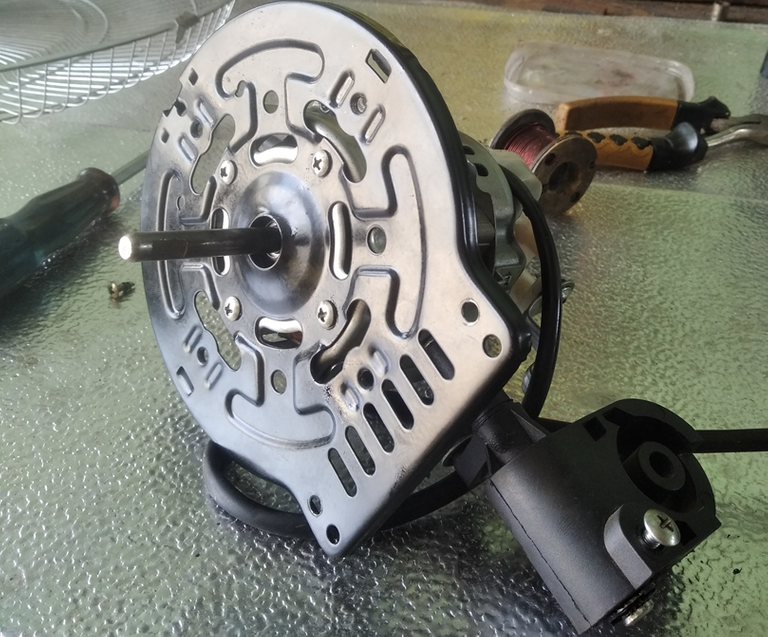
11.When the motor is going to be assembled, start by placing the rear cover of the motor, and very carefully with the winding, insert the motor armature. Once introduced, with a screwdriver you hit it several times until it couples in the horn, turn the shaft, then you place the front cover, screw it and repeat the previous procedure with the shaft giving small blows to level the shaft with the horns, you continue assembling the rest of the motor and you will see that when you turn on it will turn without problem.
11.Cuando se va armar el motor, se comienza colocando la tapa trasera del mismo, con mucho cuidado con el embobinado se introduce el inducido del motor. Una vez introducido, con un destornillador lo golpeas varias veces hasta que acople en la bocina, gire el eje, luego colocas la tapa fontal, atornillas y se repite el procedimiento anterior con el eje dándole pequeños golpes para anivelar el eje con las bocinas, continúas armando el resto del motor y veras que al encender girara sin problema.
Well friends, I hope you liked it and I hope it helps you to make your own repairs at home without looking for a technician, it is super easy and simple to do.
Bueno amigos, espero que les hayas gustado y les sirva para que ustedes mismo hagan sus reparaciones en casa sin estar buscando un técnico, es super fácil y sencillo de realizar.
Thanks for reading, see you next time.
Gracias por leer, hasta la próxima entrega.
Translated with www.DeepL.com
Curioso trabajo, no sabia como cambiar las bocinas, deberías intentar hacer publicaciones relacionadas a temas similares pero también de mecánica automotriz :D